FOLDAWAY trestle table
Alun Machin
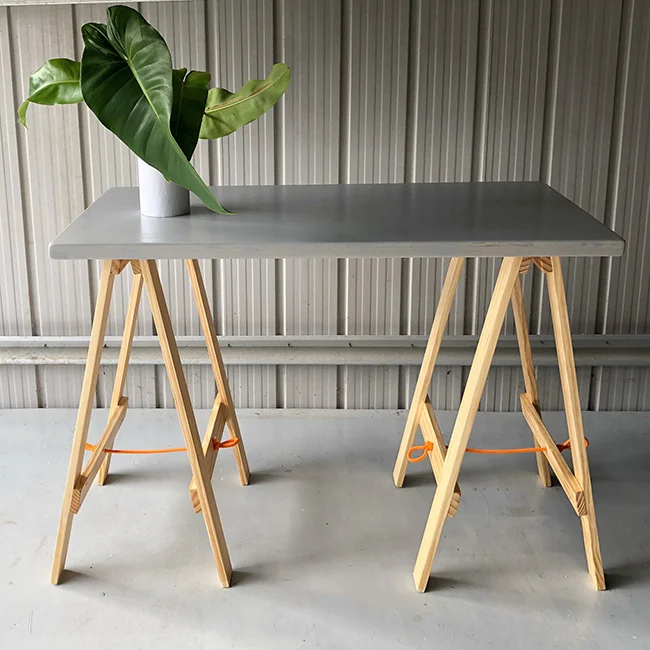
A trestle table is practical and easy to make and you can have some fun with the details like using coloured rope to put a modern twist on this classic design.
The trestles use a fair bit of timber, so I’ve kept the costs down by using 64mm DAR clear pine. Simply seal it with Monocel Clear Timber Varnish to help protect from moisture damage.

When building a trestle, make holes for the rope before assembly, position the rails on the inside of the legs, and use fixed-pin hinges.

The top is made from laminated oak panel, which is just 18mm thick, so adding a frame underneath makes it appear more solid while acting as a stopper to ensure there’s no chance of the tabletop slipping off the trestles.

The finish is achieved with three coats of Monocel Stain & Varnish in Grey, which protects from wear and tear while still showing the woodgrain. I love that from a distance it looks a bit like concrete.
DIY MATERIALS
2 x 2.4m lengths of 64mm x 19mm DAR pine
1200 x 600 x 18mm laminated timber panel from Bunnings
2.4m length of 42mm x 19mm DAR pine
1.2m length of 42mm x 19 DAR pine
30mm timber screws
4 x 70mm-wide fixed-pin hinges
mini tray and roller with two microfibre covers
1200mm length of 8mm-thick rope
masking tape
DIY TOOLS
tape measure
combination square
dropsaw
drill with driver bit
10mm drill bit
8g countersinking bit
random orbital sander with 180- and 240-grit sanding discs or sanding block with sheets
at least four clamps
hand saw
utility knife or scissors

STEP 1 Cut the legs and rails
Use a tape measure to mark out 64mm DAR pine for eight legs at 720mm long and eight rails at 480mm long. Set up a drop saw to cut the pieces to size.
TIP For each cut allow 3mm, which is the width of saw blade. To ensure all pieces are exactly the same, it’s best to measure and cut one piece at a time.

STEP 2 Make the rope holes
On four rails, measure half way along and 32mm from the sides to mark a hole for the rope, drilling with a 10mm drill bit.

STEP 3 Set out the legs
Position the top rail over two legs and the base rail 150mm up from the ends, using the combination square to check, making sure the edges are flush and straight.
TIP It’s easier to work with two drills, with one set up for drilling and the other for driving. Otherwise, have the bits on hand and swap them as you go.

STEP 4 Drill and secure
Countersink the top rail with two holes at each joint, then secure with screws. Check the base rails are square, then countersink and secure.
TIP Countersinking the screws ensures the heads sit just below the surface so the trestle can be stored flat.
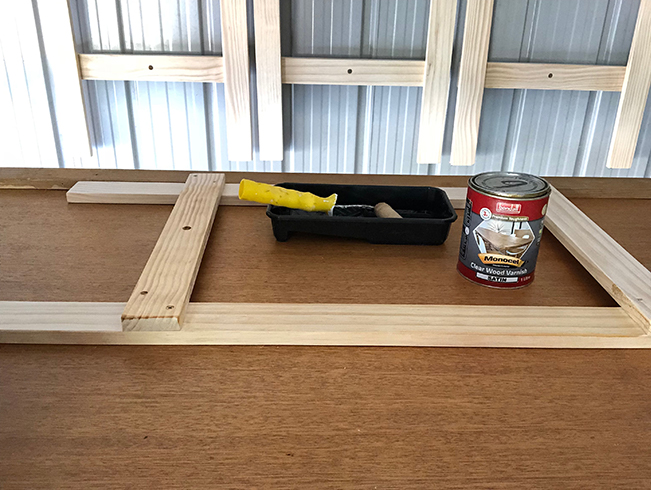
STEP 5 Seal the base
Sand the legs all over with a 180-grit sanding disc then use a mini tray and roller with microfibre cover to apply Monocel clear varnish, leaving to dry then applying a second coat.
TIP For an all-over finish, apply varnish on the rail side first, leave to dry then turn the legs over to complete the coat and leave to dry.

STEP 6 Set out the frame
Cut 42mm DAR pine into two 1200mm-long side pieces and two 600mm-long end pieces. Position them around the underside of the timber panel, butting the end of each length against the previous piece, adjusting so all edges are flush with the panel.
TIP This method ensures there are no gaps, and each piece should protrude at one end slightly.
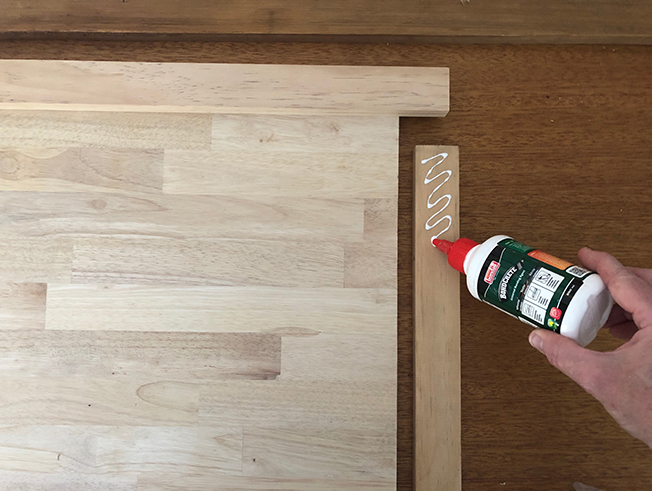
STEP 7 Glue up the frame
Clamp the pieces to fit then, beginning with an end piece, remove the clamp to apply Bondcrete adhesive and return it to position and re-clamp, ensuring one end is butted against the previous piece and one end protrudes.
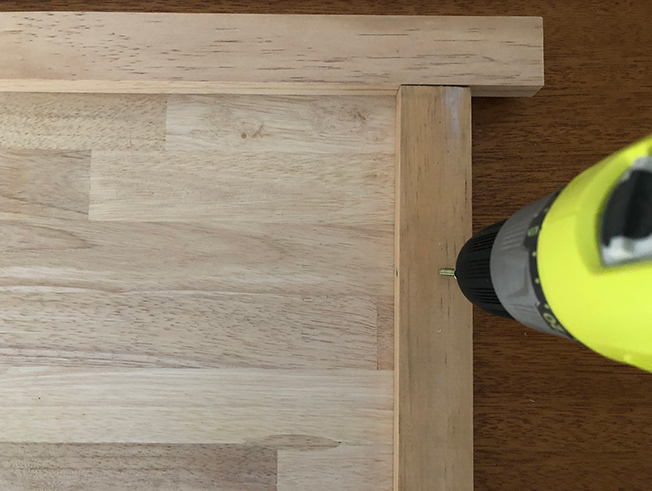
STEP 8 Secure the frame
Countersink along each side, about 100mm from the ends and in the centre, then secure with screws.
TIP After adding the screws, remove the clamps and reposition them over the corners to apply extra pressure while drying.

STEP 9 Trim the frame
Use a handsaw to remove the protruding pieces of the frame, cutting as close to the tabletop as possible.

STEP 10 Round-over the corners
Use 120-grit abrasive paper to smooth the cuts and round-over the edges and corners. Repeat with 180-grit, sanding over the top, moving with the grain. Repeat over all surfaces with 240-grit for a silky finish.

STEP 11 Apply varnish
Use a mini roller to apply the first coat of Monocel varnish in Grey, rolling around the edges and leaving to dry. Seal the roller in plastic wrap and pour the excess varnish back into the tin.
Apply a second and third coat, leaving to dry thoroughly between each.
TIP Raise the tabletop on some offcuts so you can run the roller underneath to pick up any drips.

STEP 12 Assemble the trestles
Set out pairs of legs, top to top, with the rails facing up and an equal gap of 4mm between them to fit the barrel of the hinges. Position the hinges, about 10mm from the edge, make pilot holes and secure with screws.

STEP 13 Thread the rope
Use masking tape to seal one end of the rope and thread it through both sets of trestles, spreading the bases to be 250mm apart and allowing for 150mm rope either side. Use a utility knife or scissors to cut the pieces.
TIP The rope for each trestle is about 600mm long.

STEP 14 Tie off the ends
Tie a knot at each side, leaving a loop and pushing the ends of the rope into the holes.

STEP 15 Set up the table
To assemble the table, position the trestles about 600mm apart, spreading the bases so the rope is taught. Position the tabletop, making sure the trestles sit within the frame.

Sealing the timber means the table can be used anywhere – in the workshop, by the pool or barbecue, as a bar or serving table.