Guide to Timber Stain & Varnish
Natasha Dickins
I always finish woodworking projects by sealing them to protect against moisture and UV damage while resisting dents and scratches. While I often use clear varnish, adding a stain can add more depth and warmth.
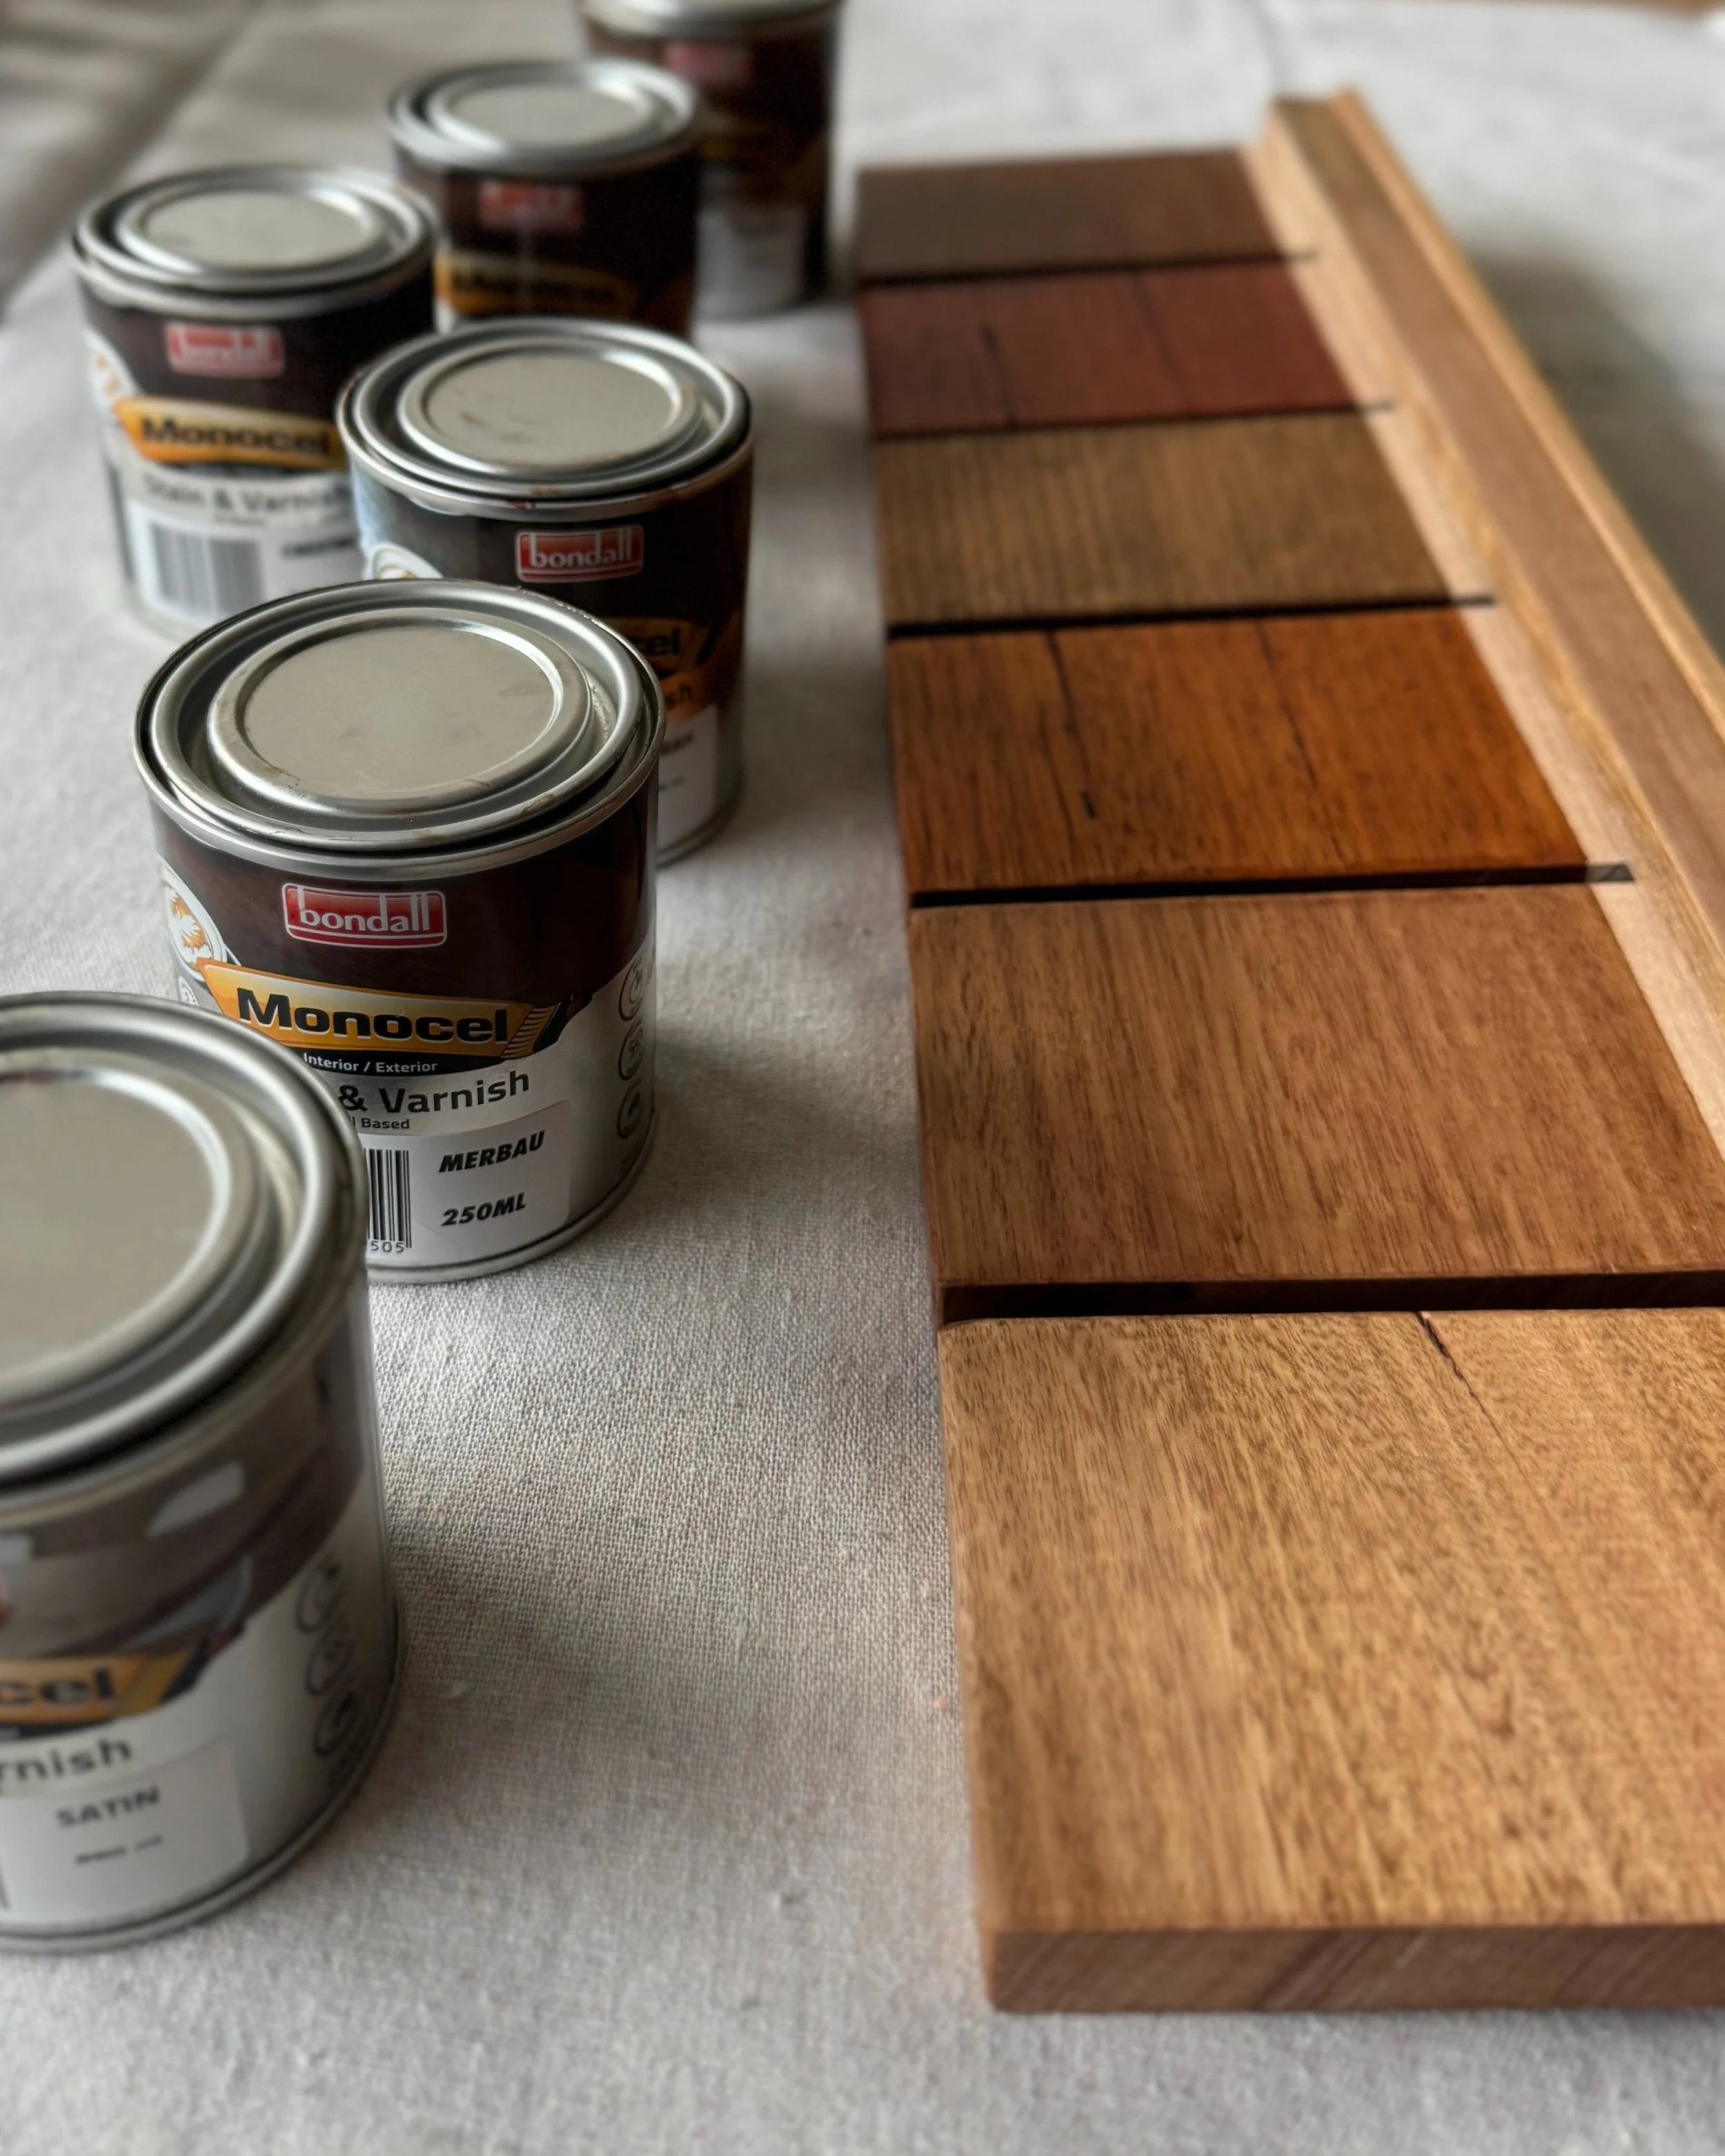
Timber stains have mid-strength pigment that colours the raw timber. One of my favourite combination products is oil-based Monocel Stain & Varnish that penetrates the surface to enrich without completely covering the woodgrain.
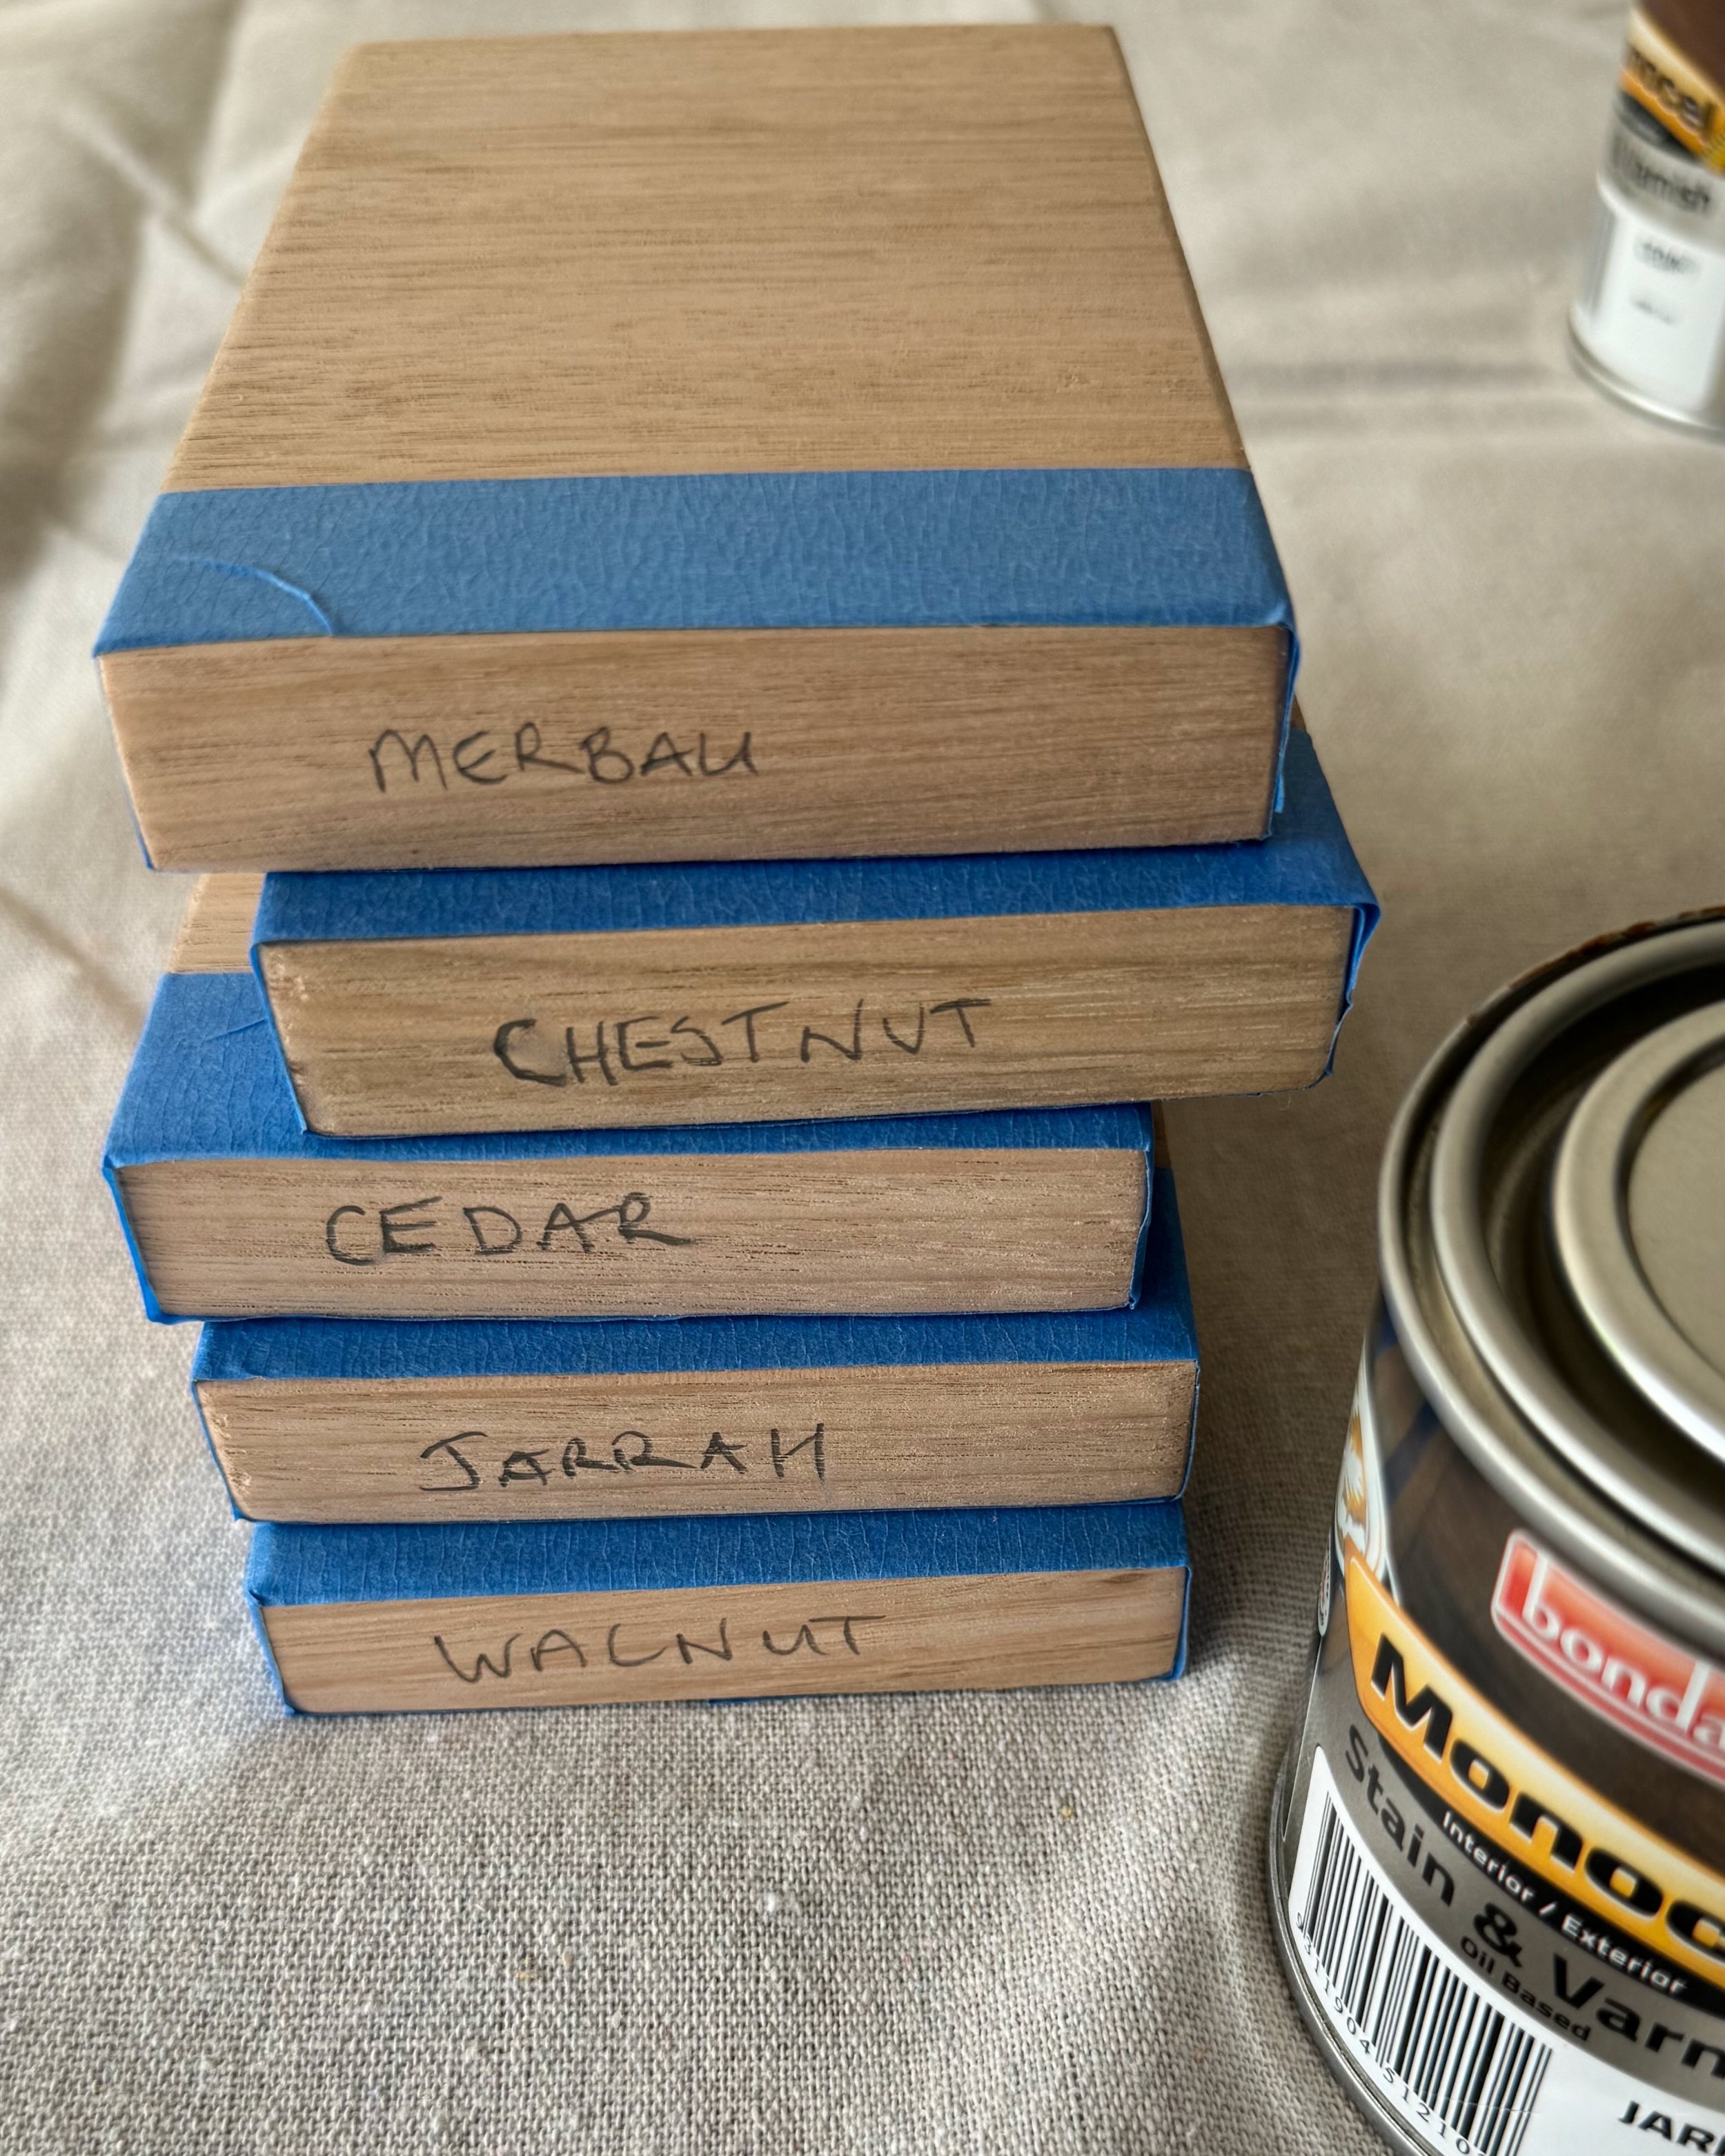
I made some samples from Tasmanian oak, a eucalyptus hardwood also called Victorian ash.
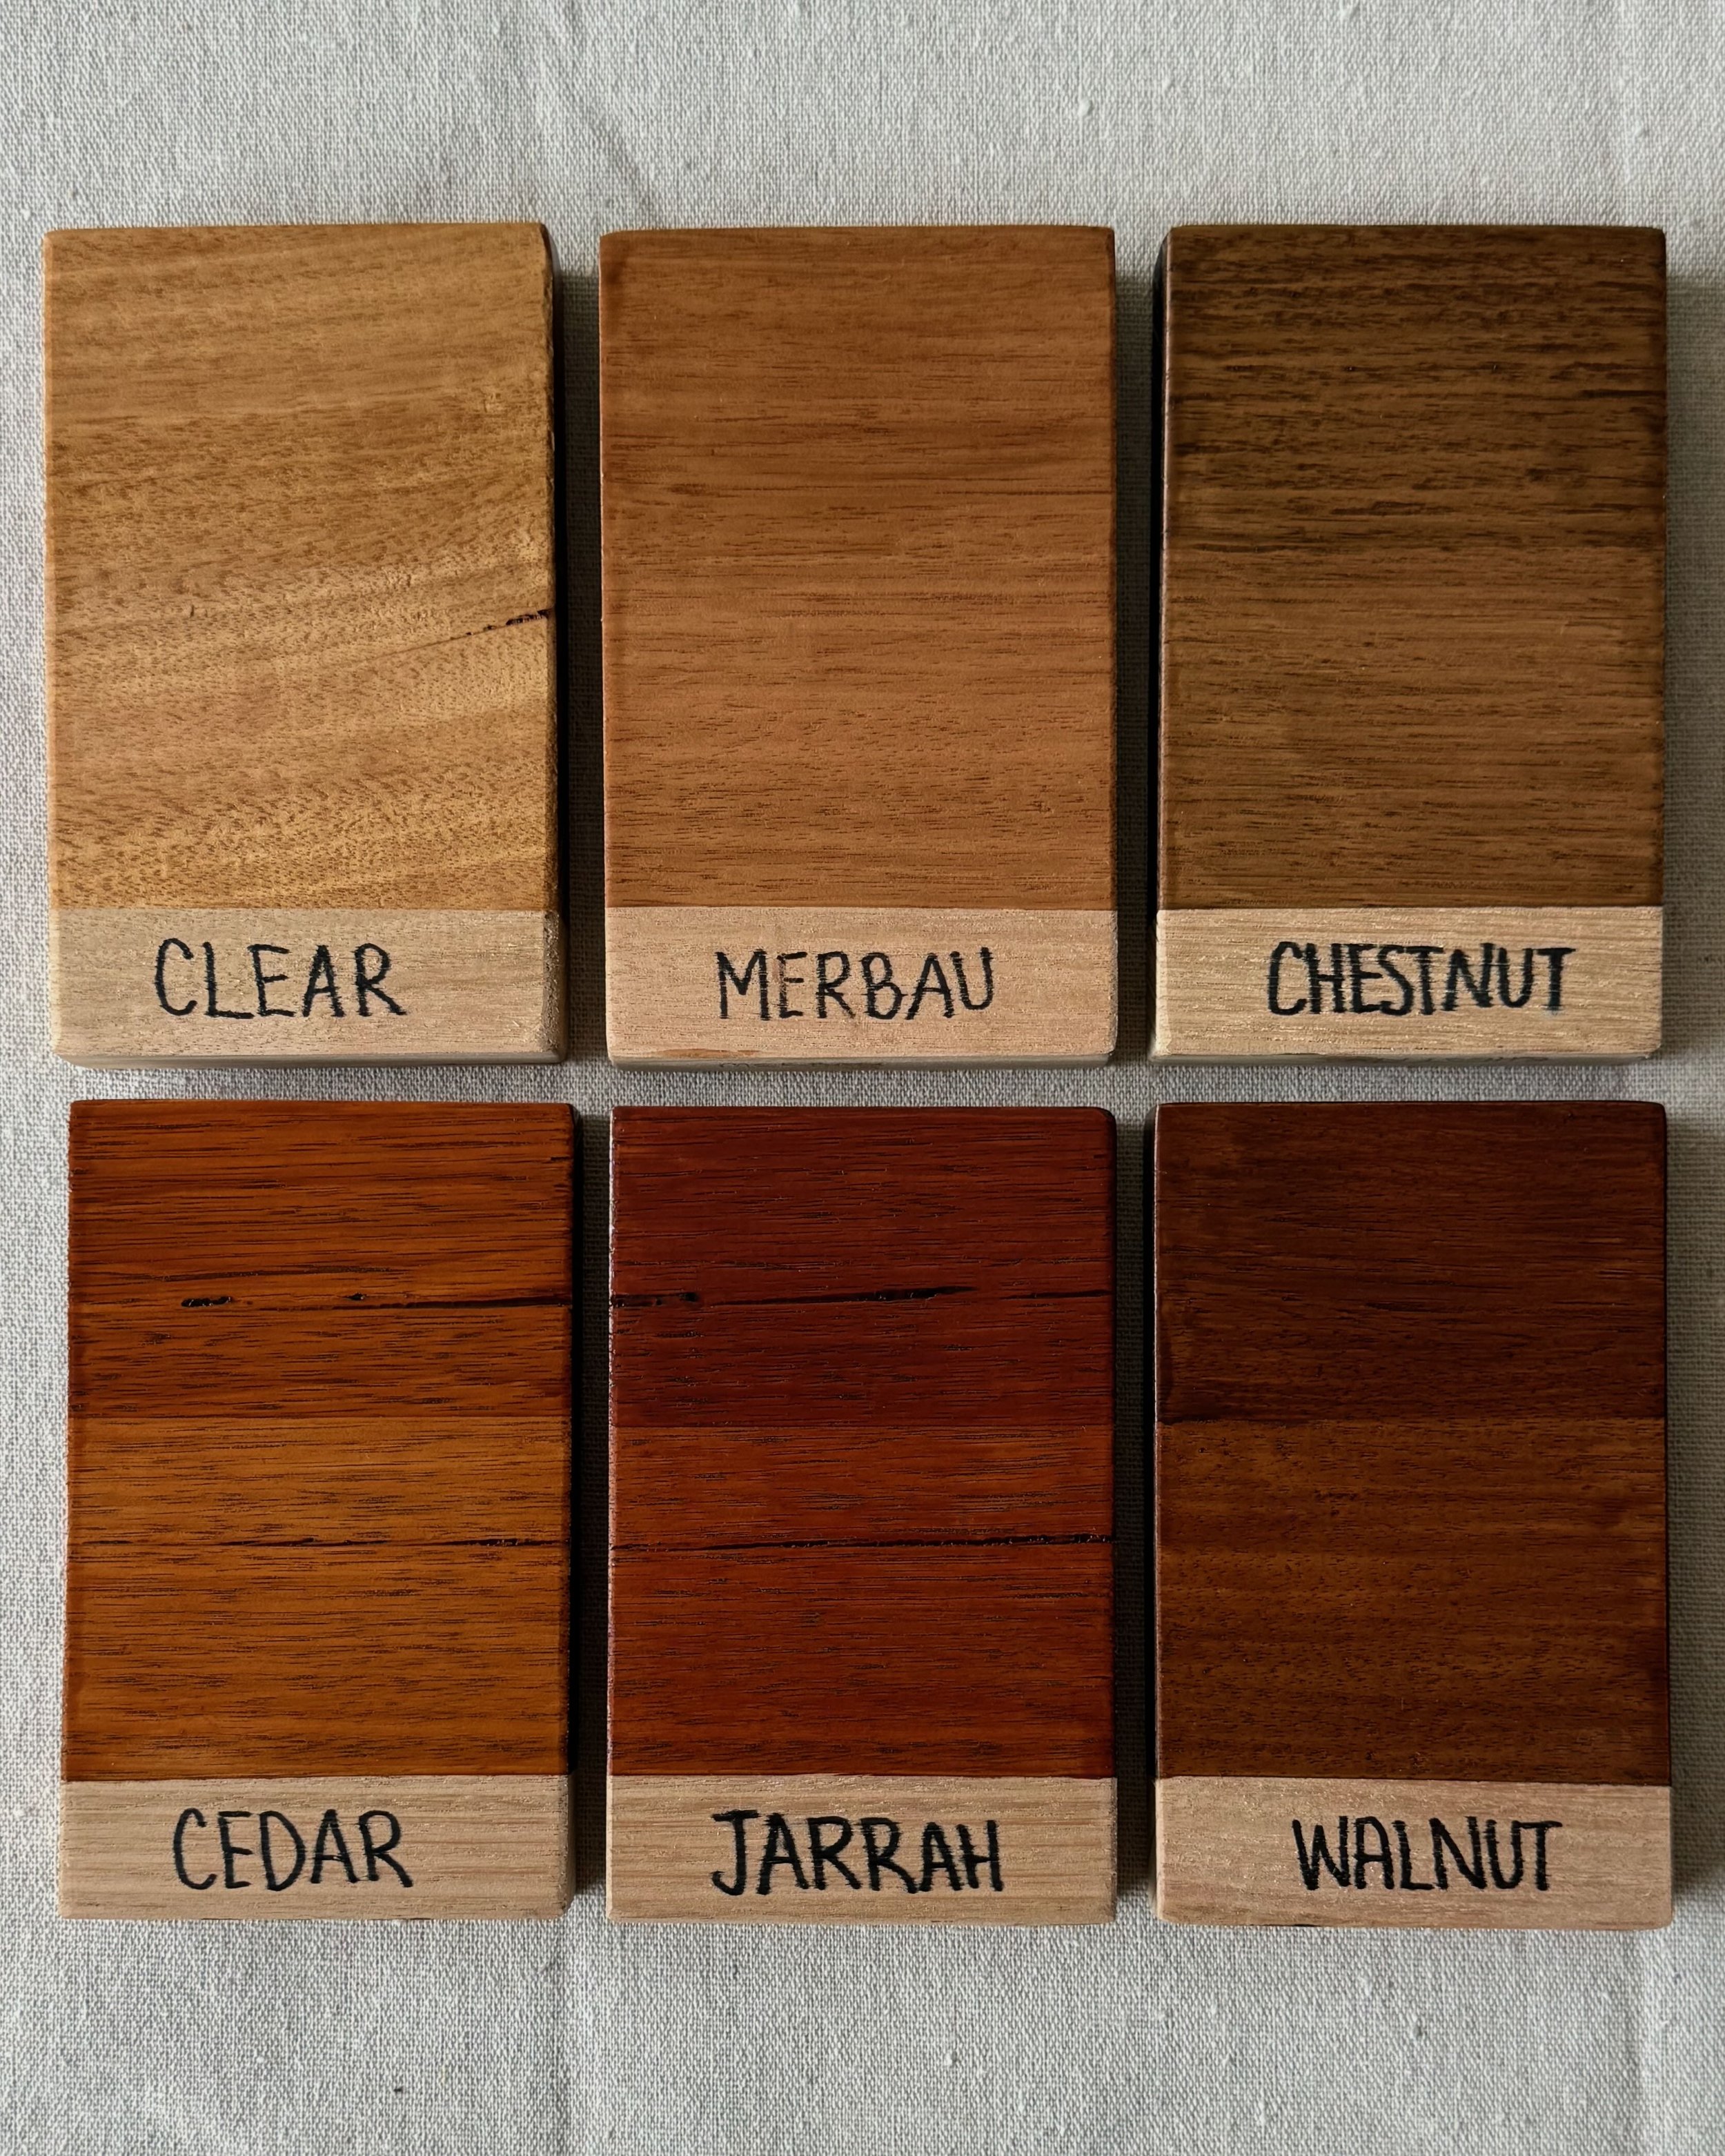
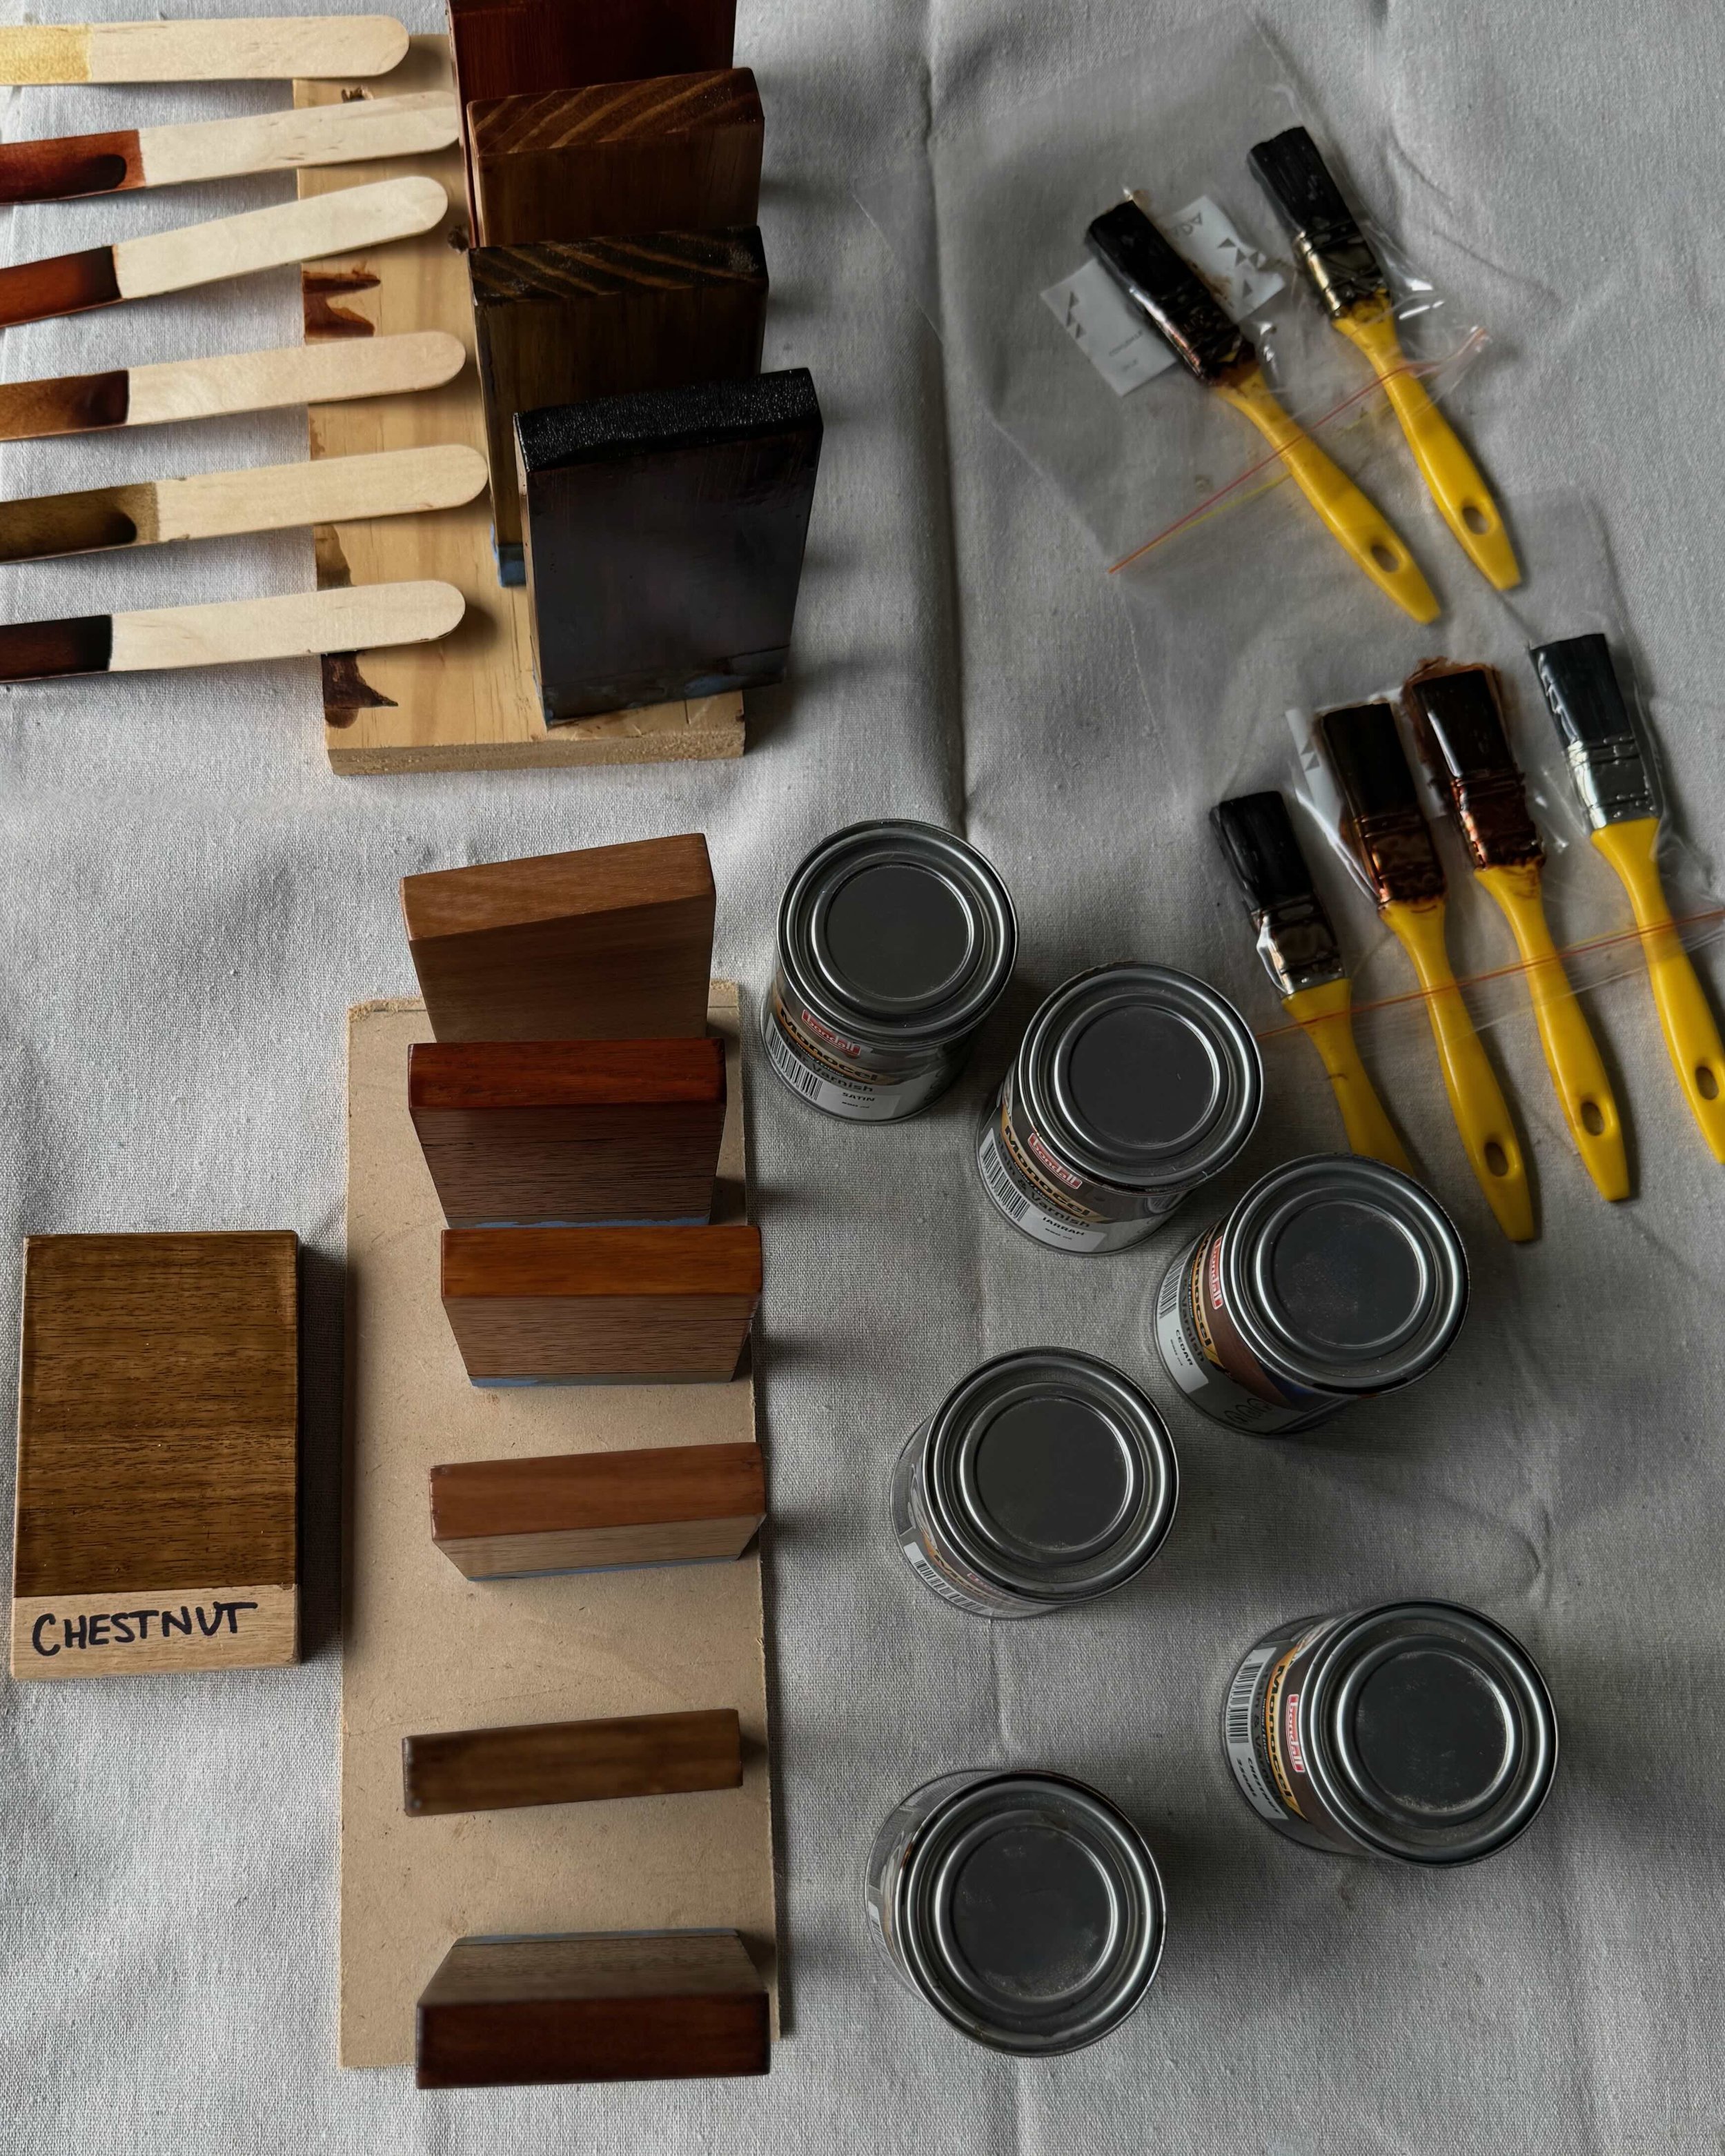
There are five semi-transparent tints that give a satin finish with a slight sheen: Merbau, Chestnut, Cedar, Jarrah and Walnut. I also did a Clear sample without stain.
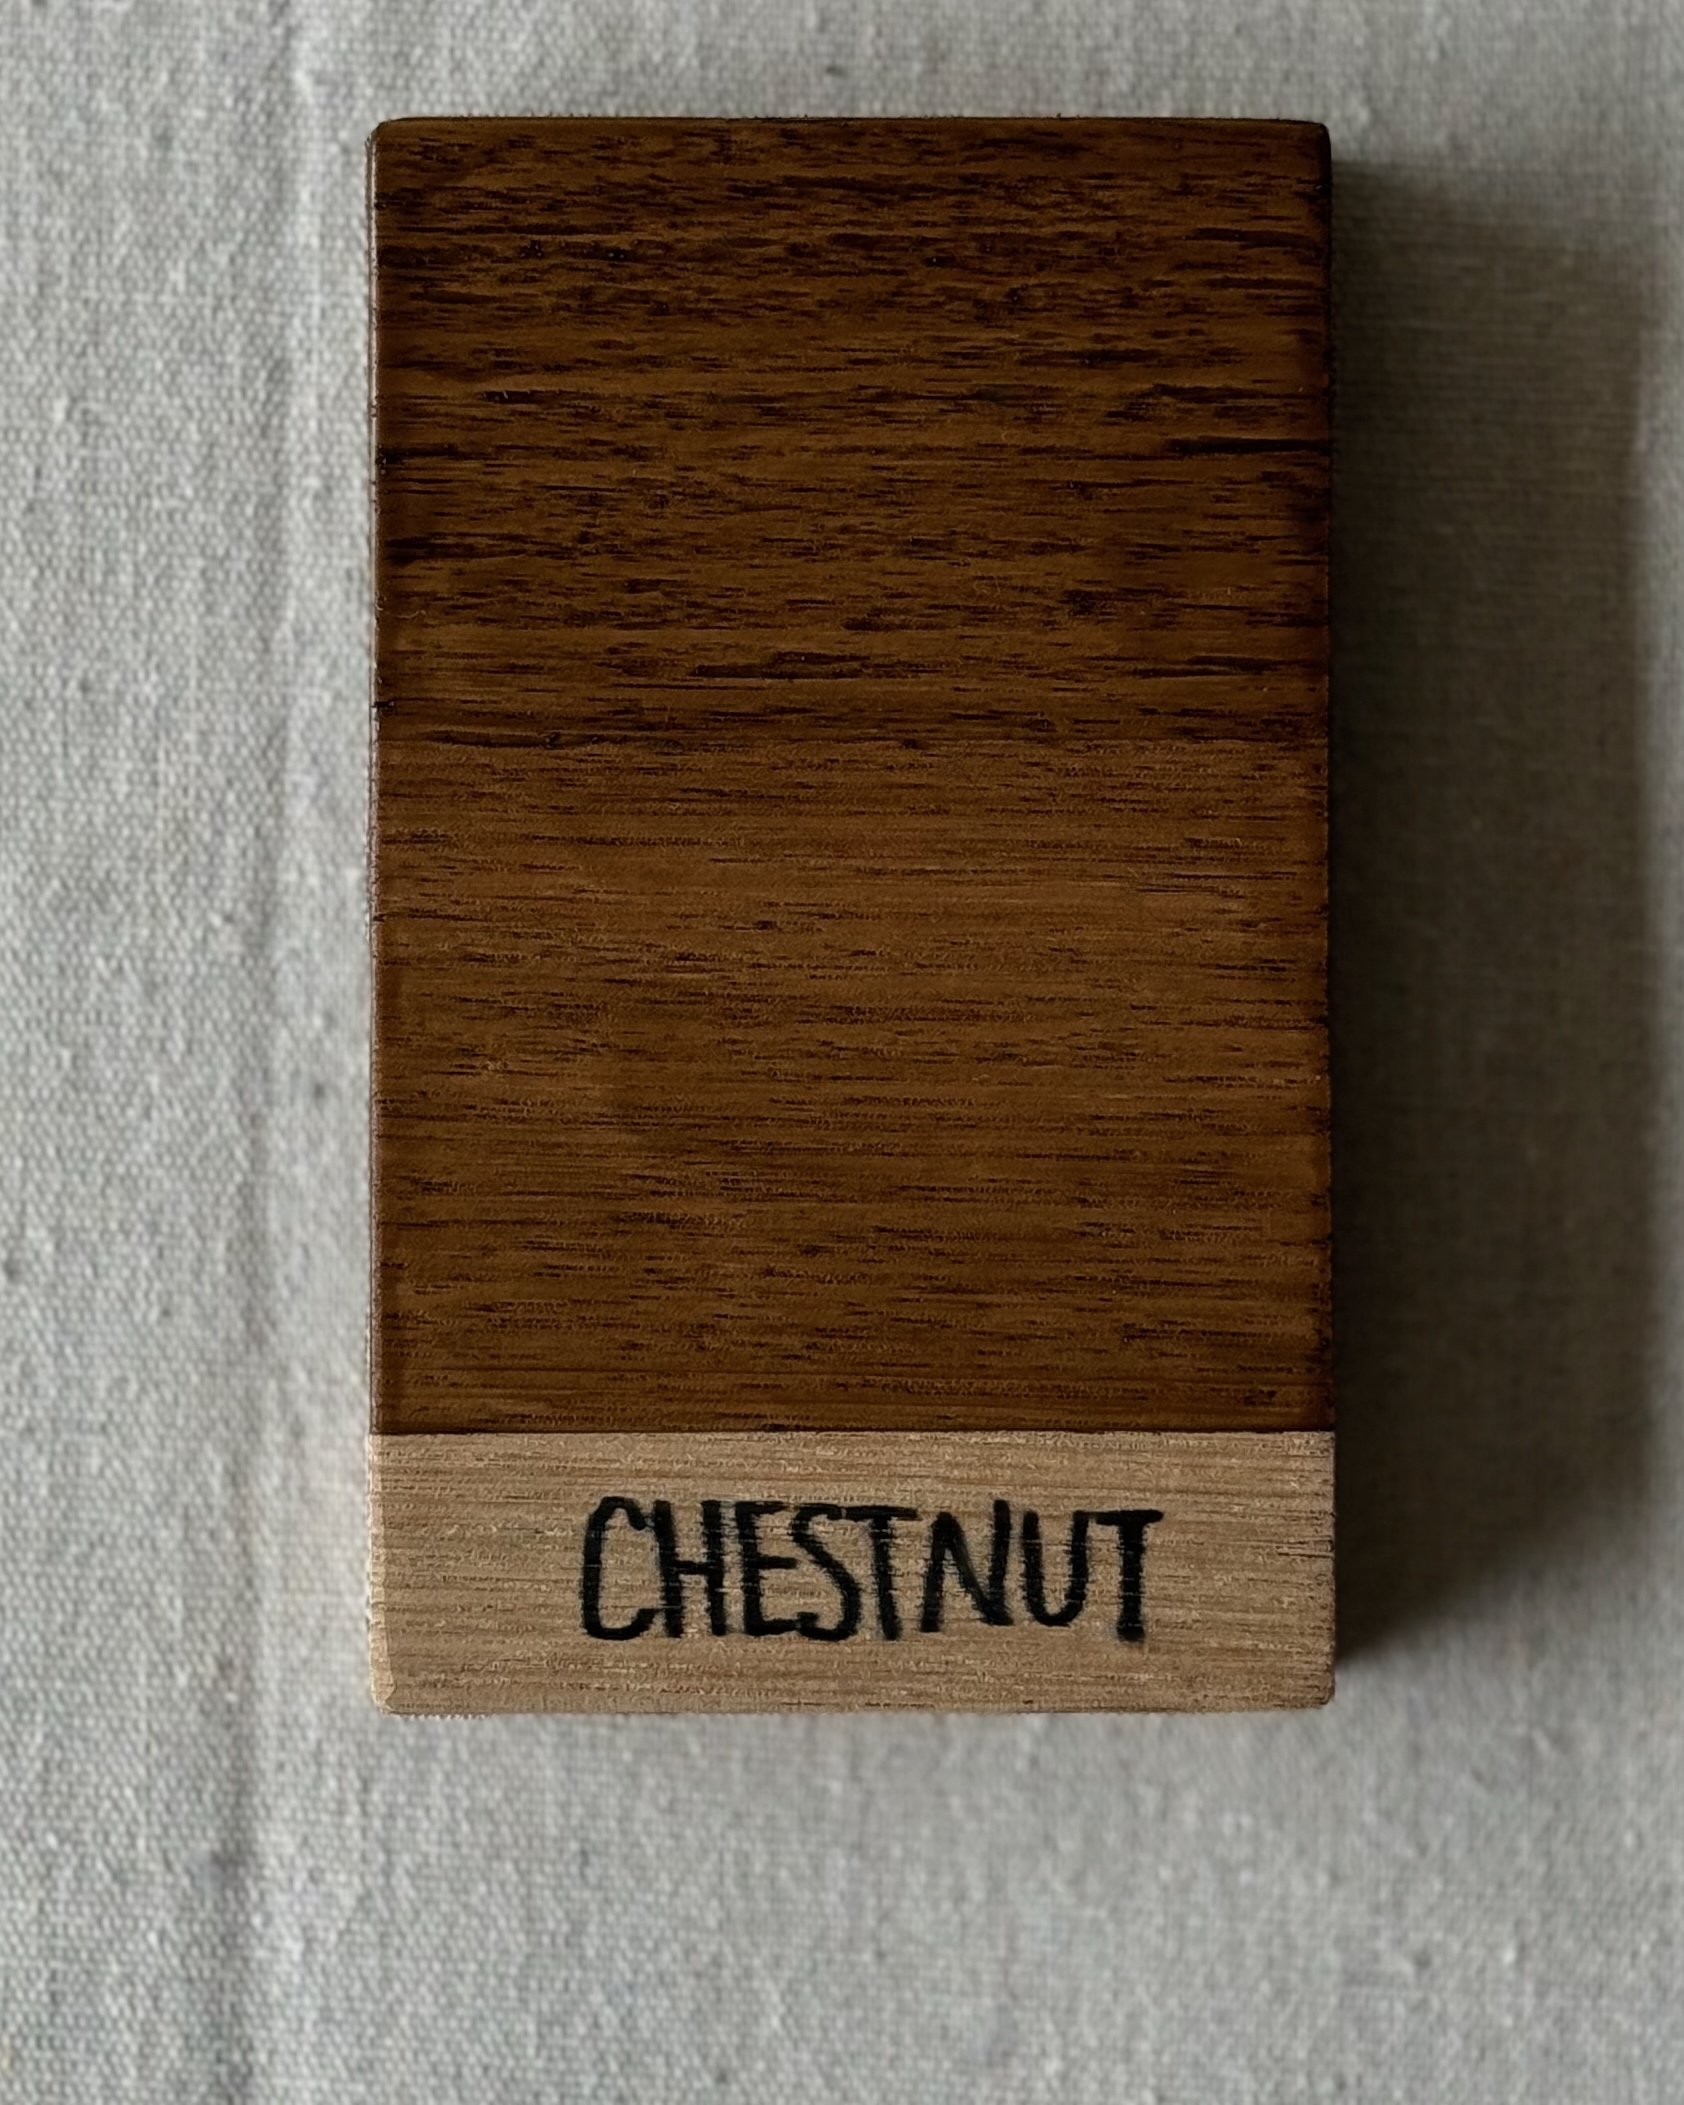
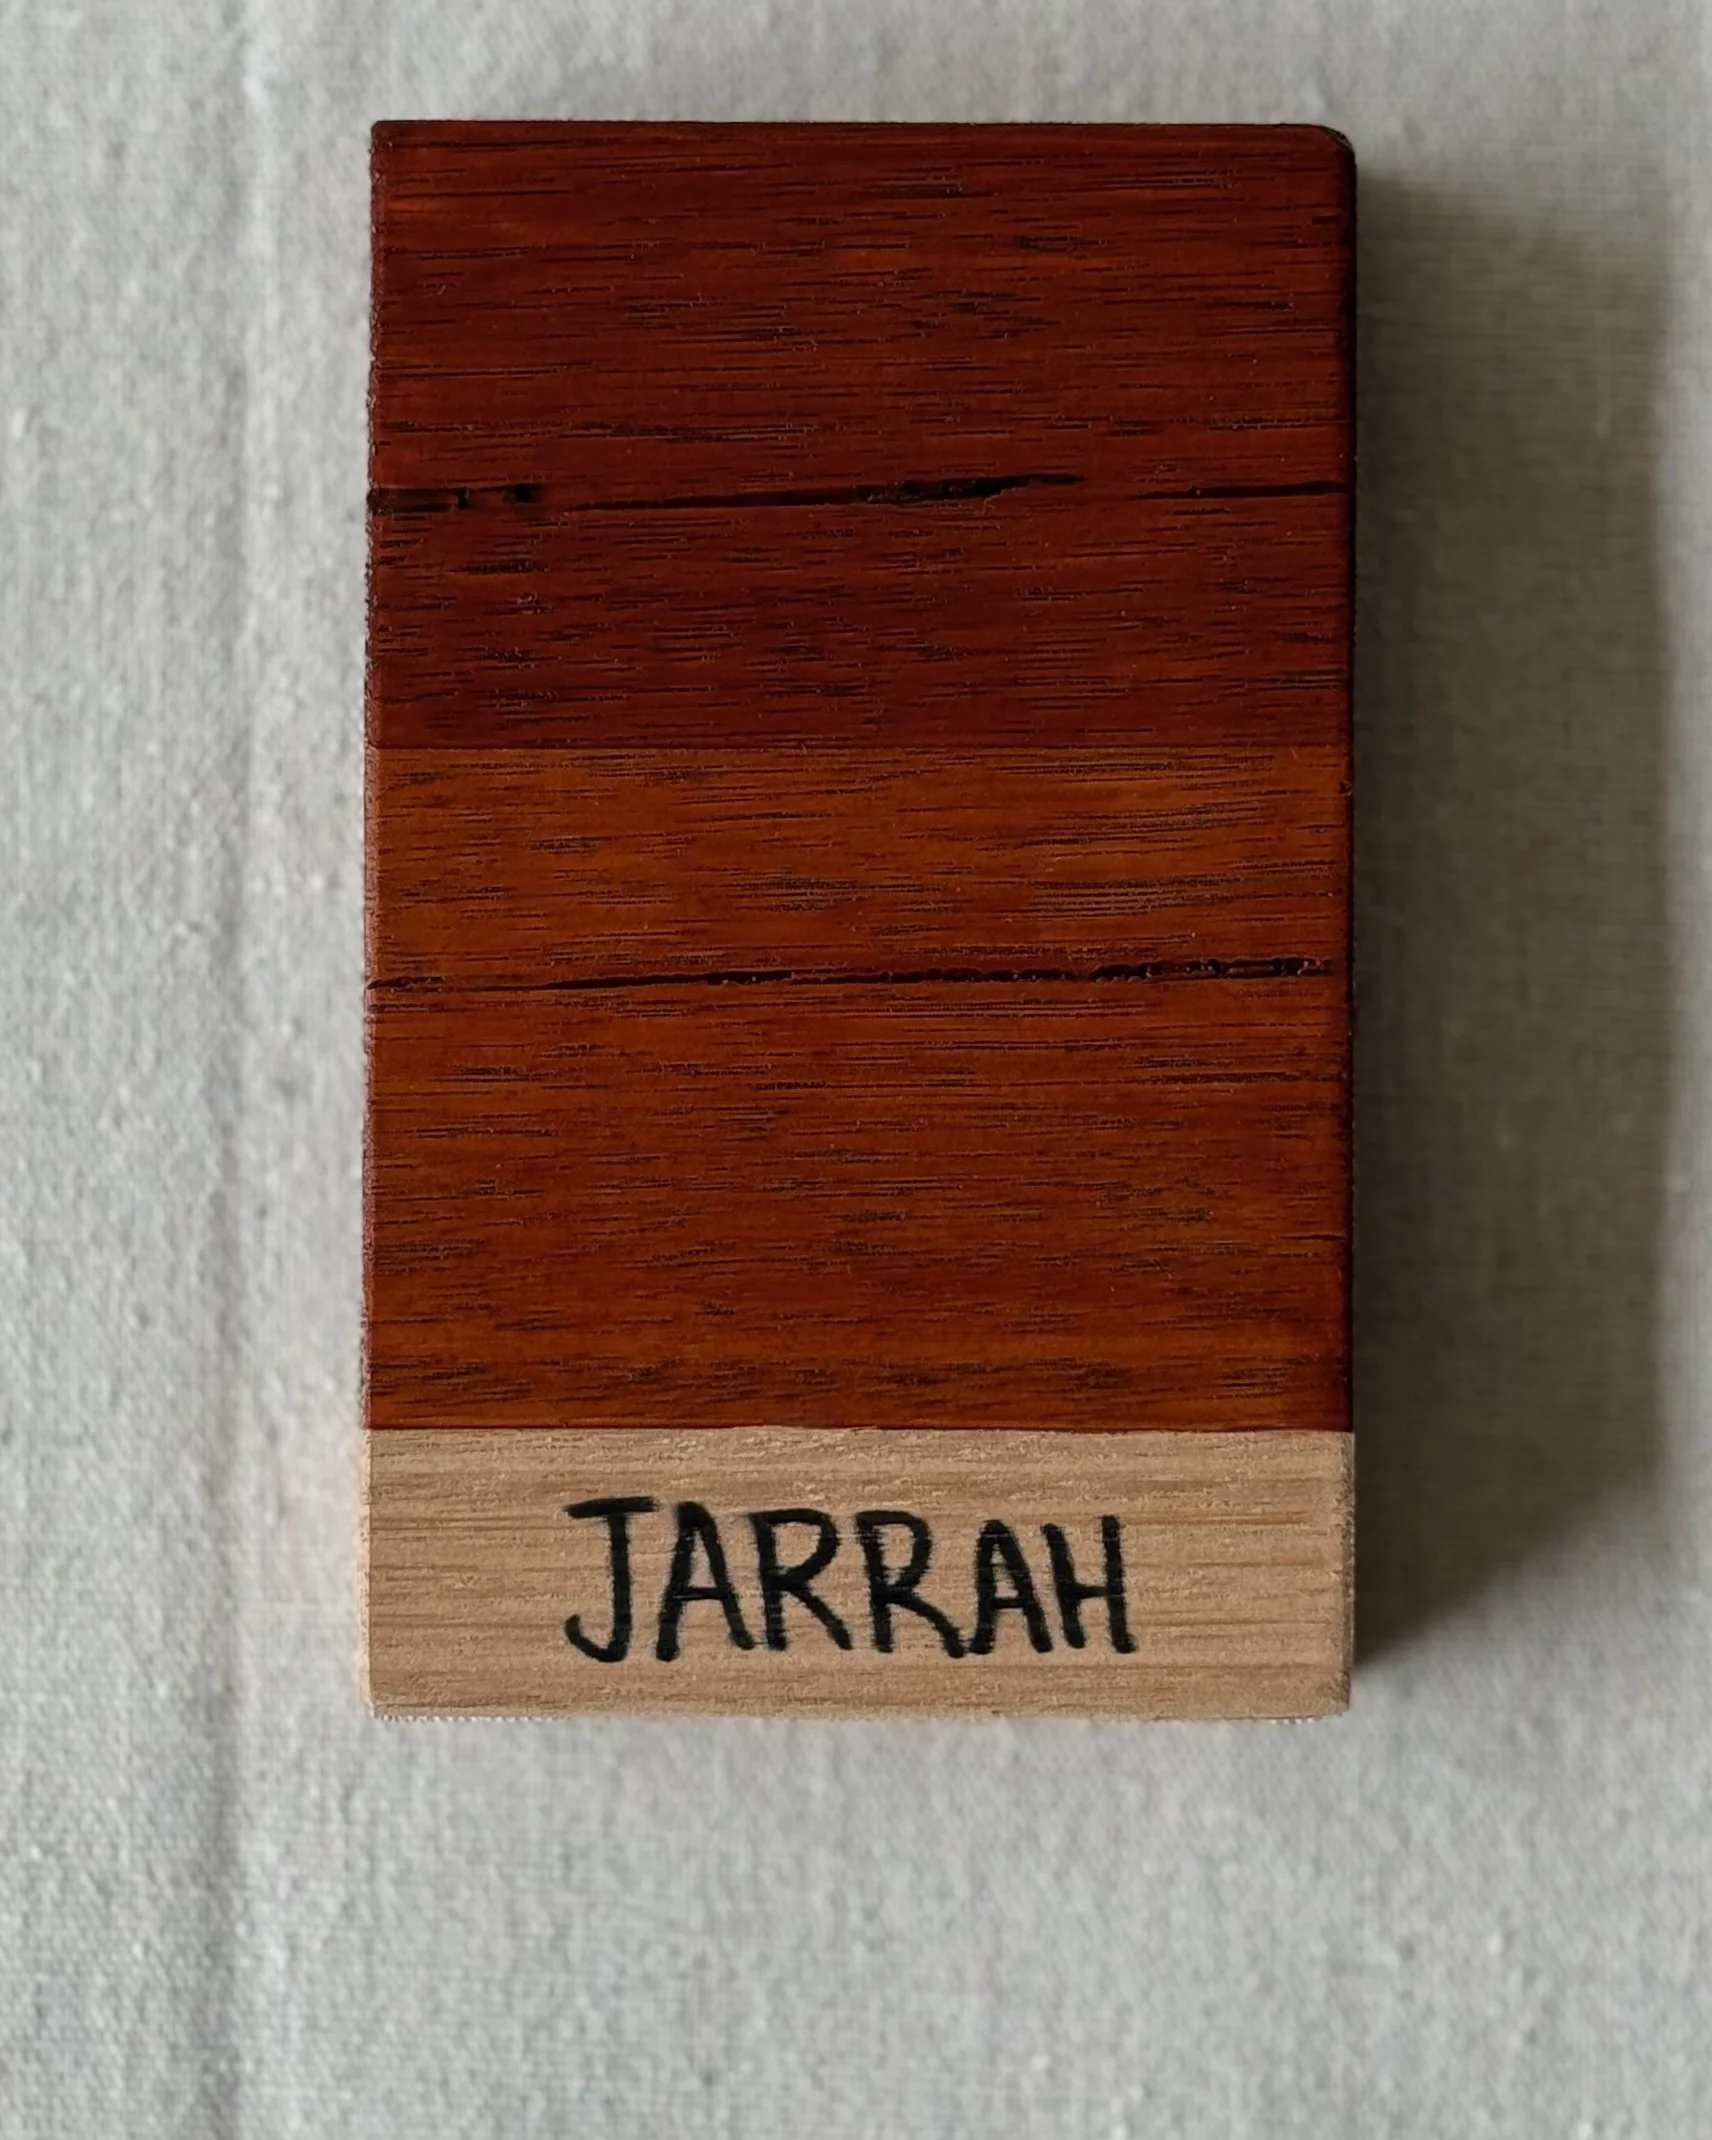
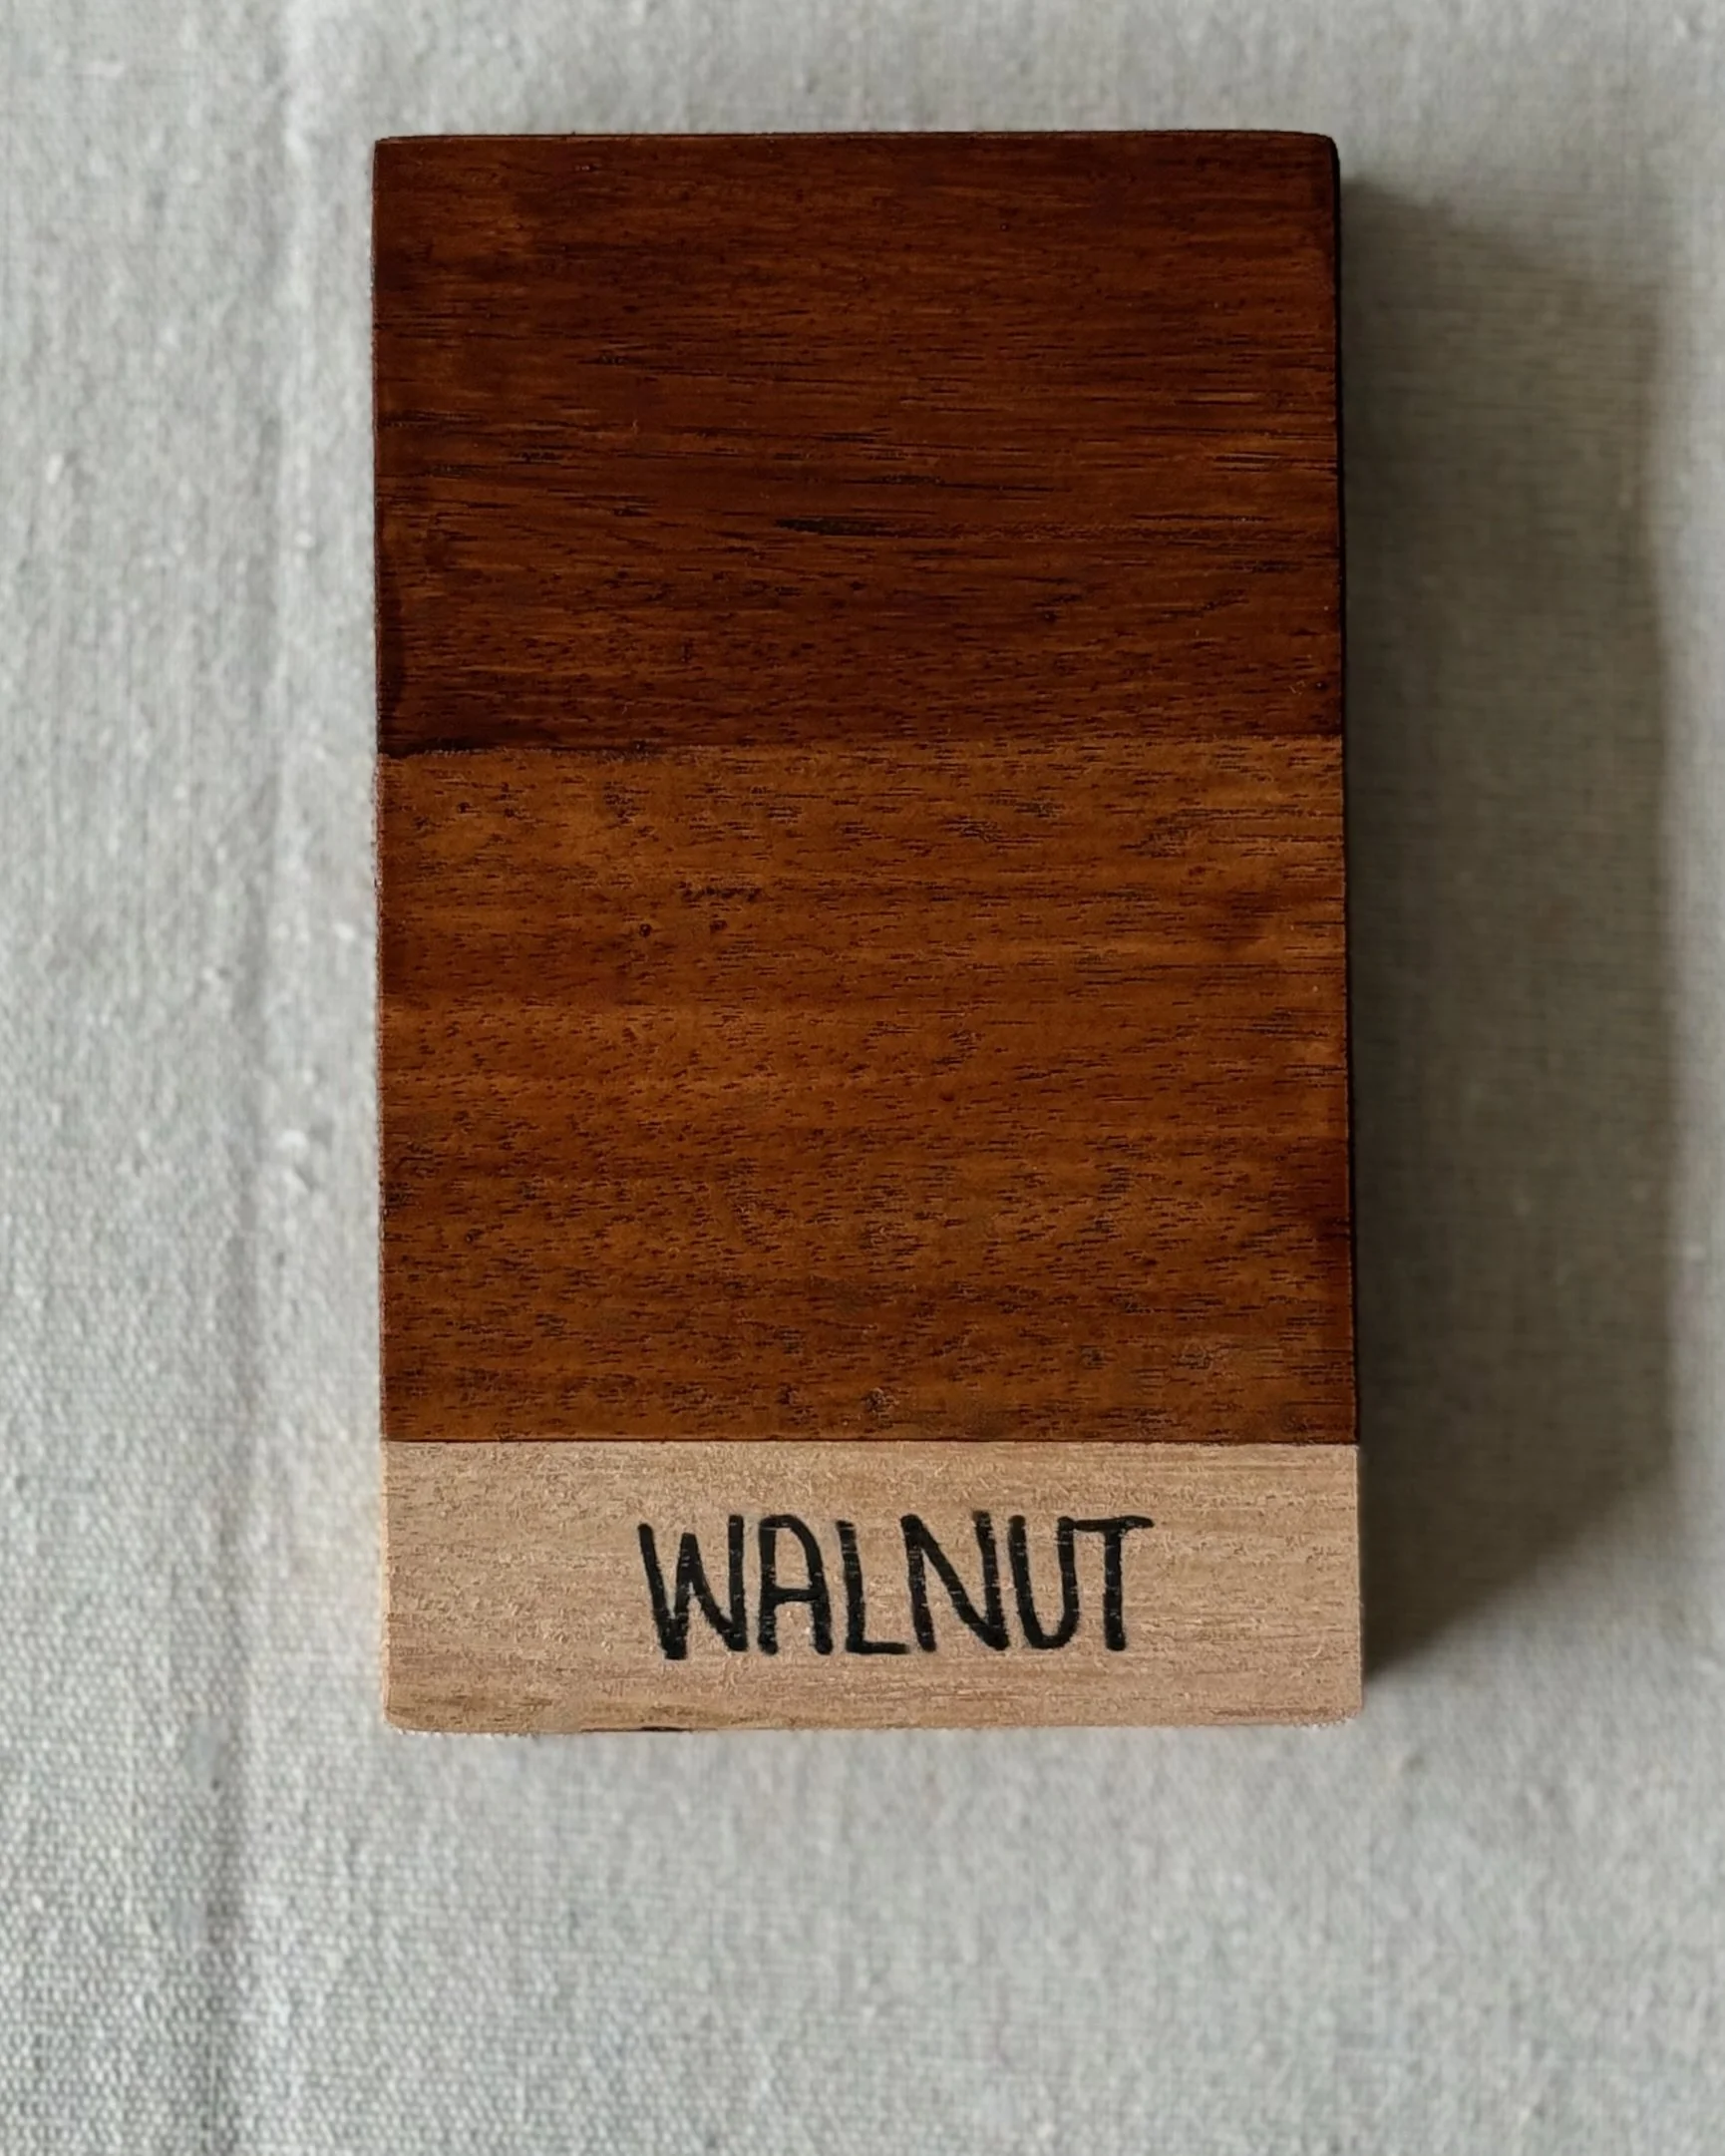
TIP I left the base of the sample raw. The middles section shows one coat and the top shows two.
“A combination stain-and-varnish seals the timber while adding colour to enhance the grain. I couldn’t decide on a colour so created a set of samples to keep in my workshop.”
Monocel CLEAR Varnish gives a naturally light, golden-honey finish. This is Satin. It also comes in Matt, Gloss and Ultra Gloss.
STYLE Natural
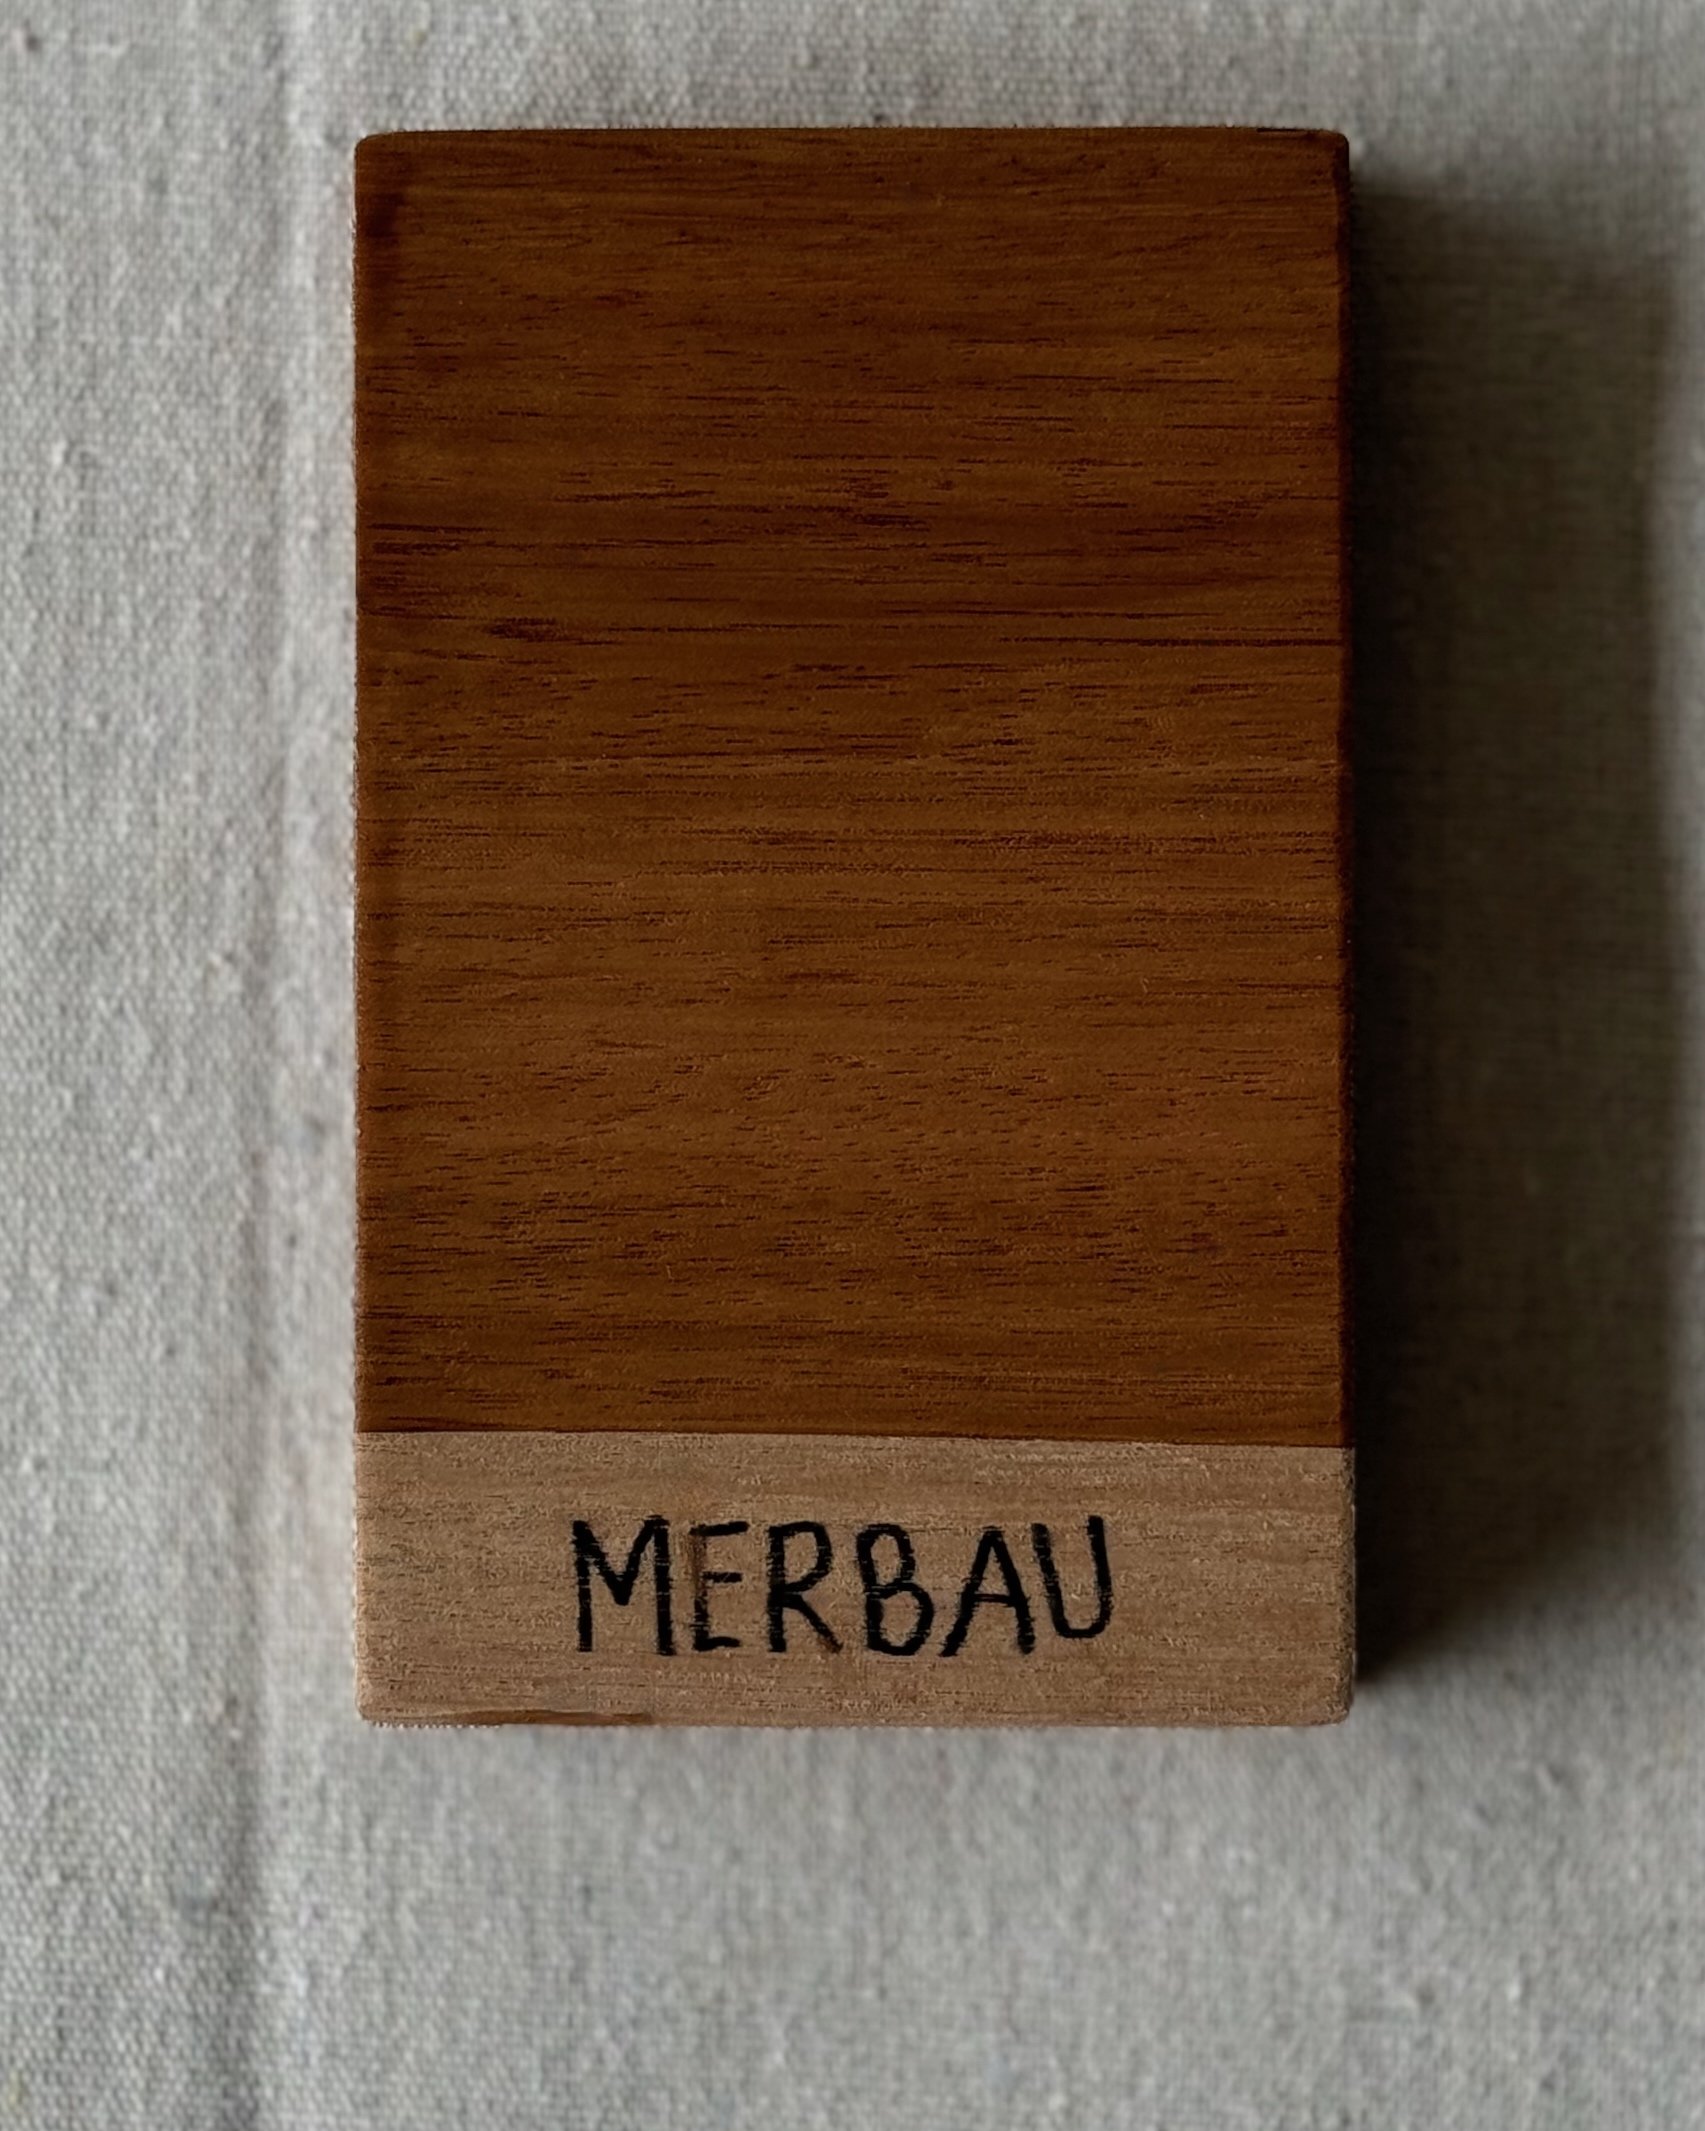
Monocel Stain & Varnish in MERBAU results in a soft, golden-brown with a slightly pink tones. It’s the lightest of the stains.
STYLE Modern
Monocel Stain & Varnish in CHESTNUT has a medium-brown finish that darkens over woodgrain. It pares well with black fixtures and fasteners.
STYLE Industrial
Monocel Stain & Varnish in CEDAR is a warm, mid-brown with a golden tint that results in a coppery finish. It suits antique style furniture.
STYLE Classic
Monocel Stain & Varnish in JARRAH is a strong, deep red-brown. Add more coats for a deeper finish. This species was often used in Federation homes.
STYLE Traditional
Monocel Stain & Varnish in WALNUT is the darkest of the stains, creating a luxurious, rich brown shade that suits vintage furniture.
STYLE Mid-century
APPLYING STAIN & VARNISH
➀ Smooth the timber with fine-grit sandpaper then wipe away the dust.
➁ Apply the first coat, leaving to dry for 5-6 hours.
➂ Smooth lightly with fine-grit sandpaper then wipe away dust.
➃ For interior projects, apply 2-3 coats, leaving to dry after each. For exteriors projects, apply 3-4 coats.
TIP Use a brush for small or intricate areas and a mini mohair roller for larger areas. Between coats, wrap in a zip-lock bag to prevent it from drying out. If waiting for longer than 6-8 hours, wash and leave the brush to dry or replace the roller cover.
Which finish will you choose for your next project?
Tag me on your project and follow more of my DIY journey on Instagram for tool tips, home improvement and simple building tutorials.
