Midcentury Mosaic Table
Natasha Dickins
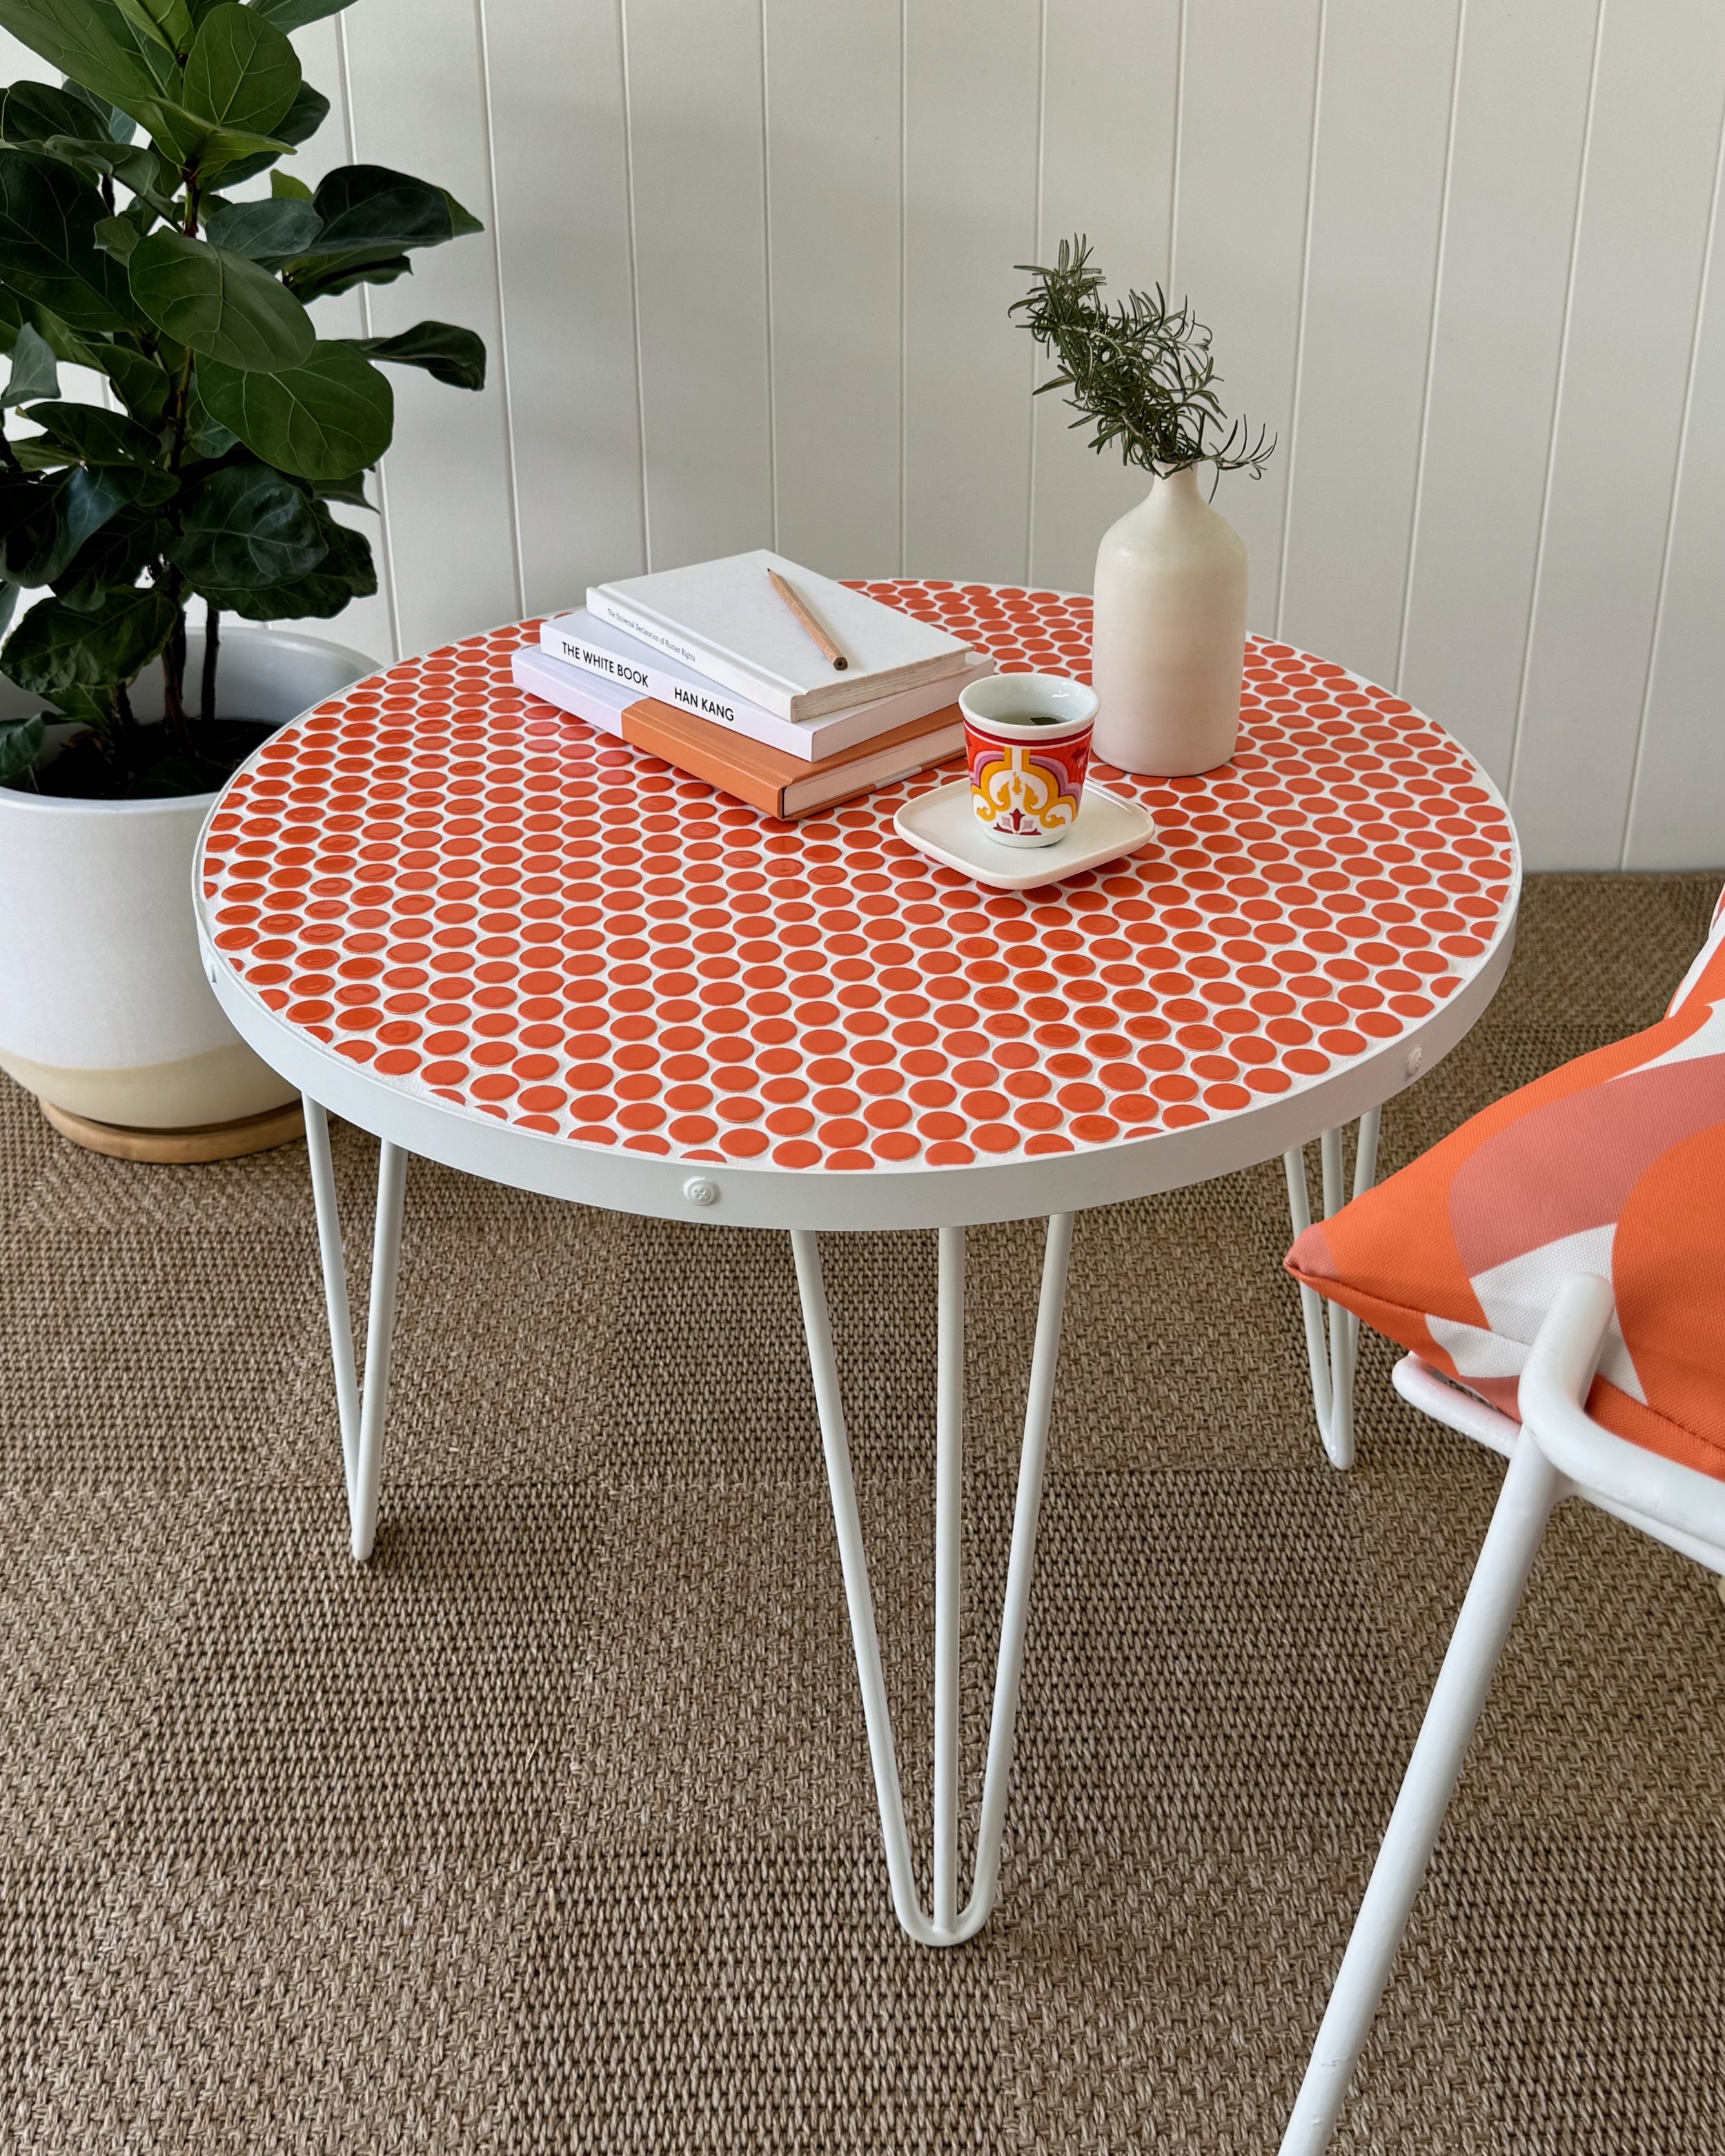
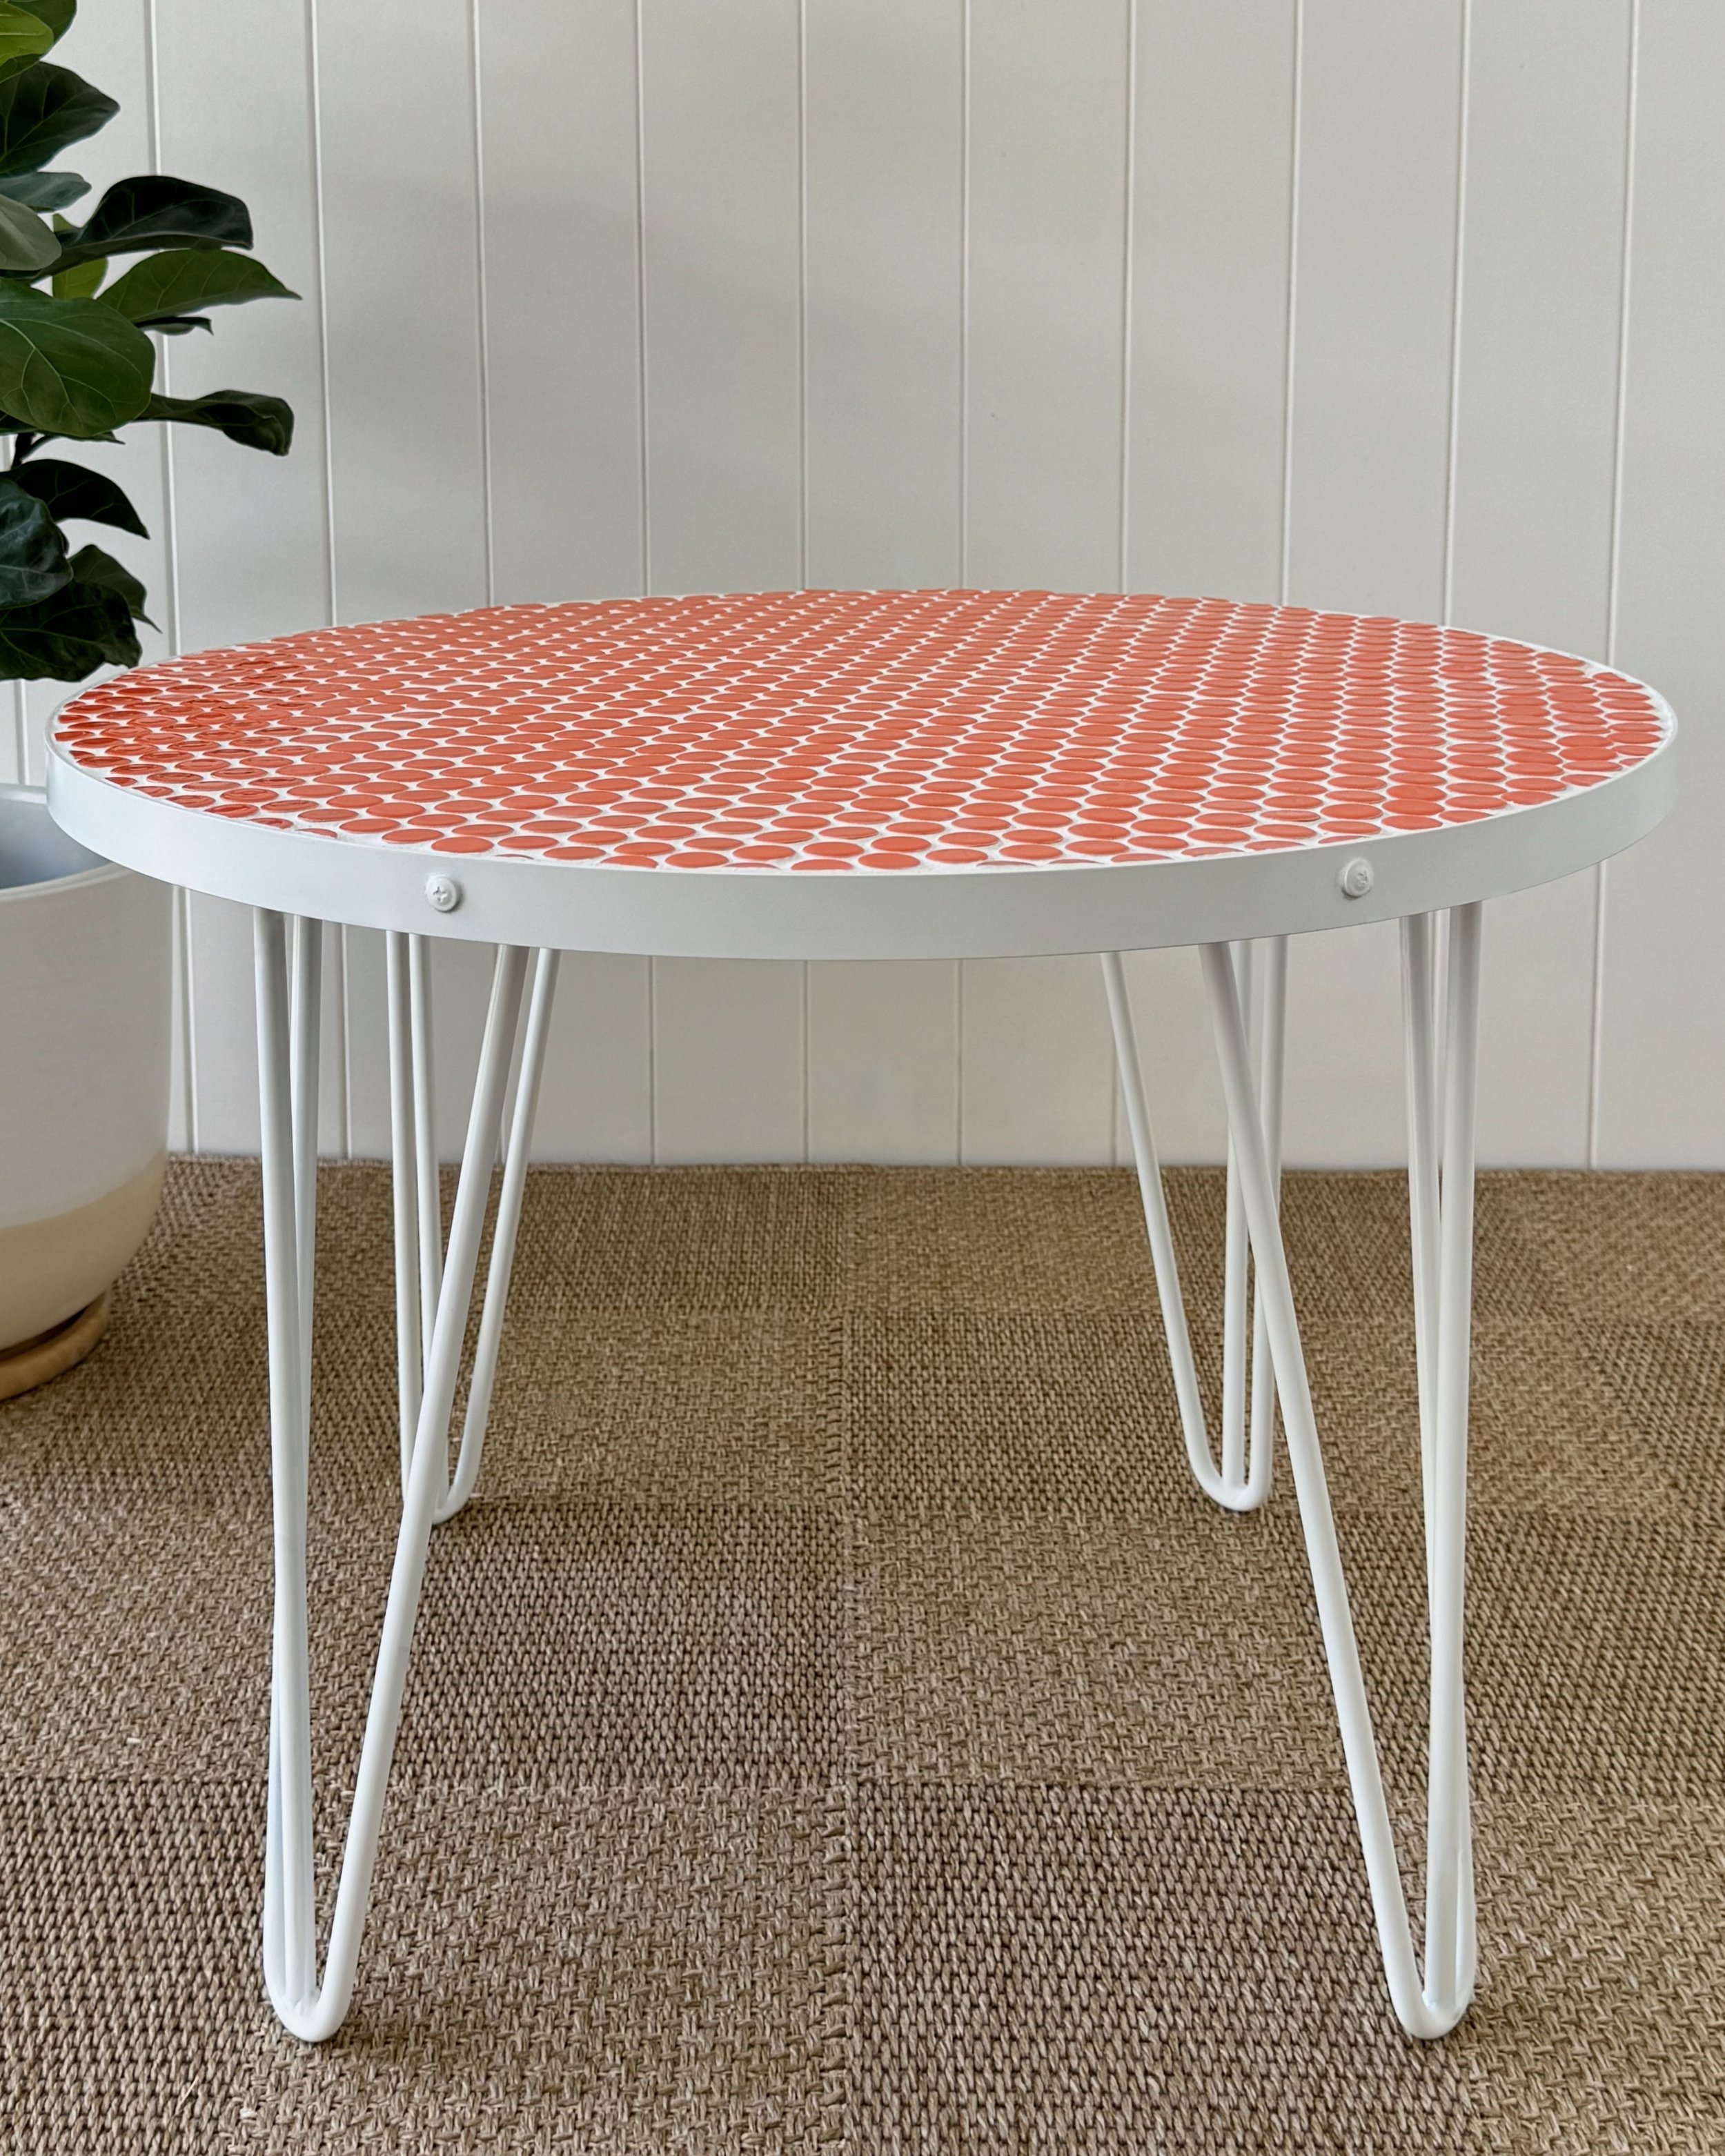
I had these orange mosaics from a previous project and wanted to turn them into a mini masterpiece with midcentury style.
Contrasting them with white grout, aluminium edging and hairpin legs keeps it fresh.
PSST Scroll to the end to see what I originally made with these!
“My favourite colour meets my obsession for making tiny tables... Note that a good grout sealer is the key to keeping tiled furniture looking good.”
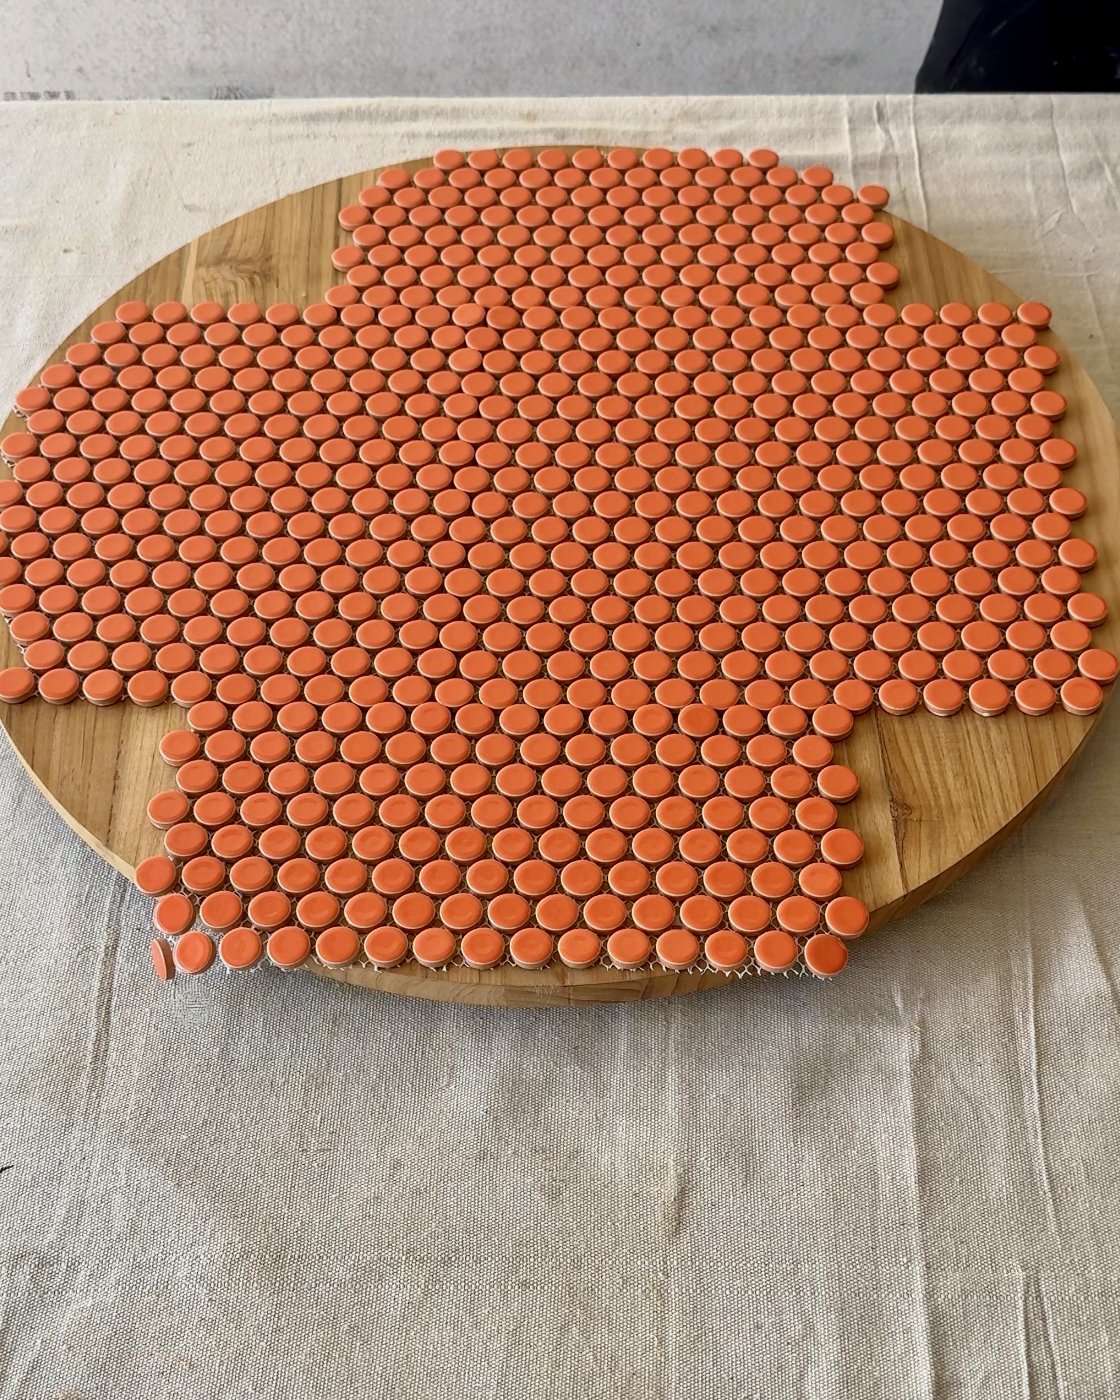
I started with a pre-cut 600mm-diameter round panel from a hardware store. Then I set out mosaic mats and cut away the excess around the edges using scissors.
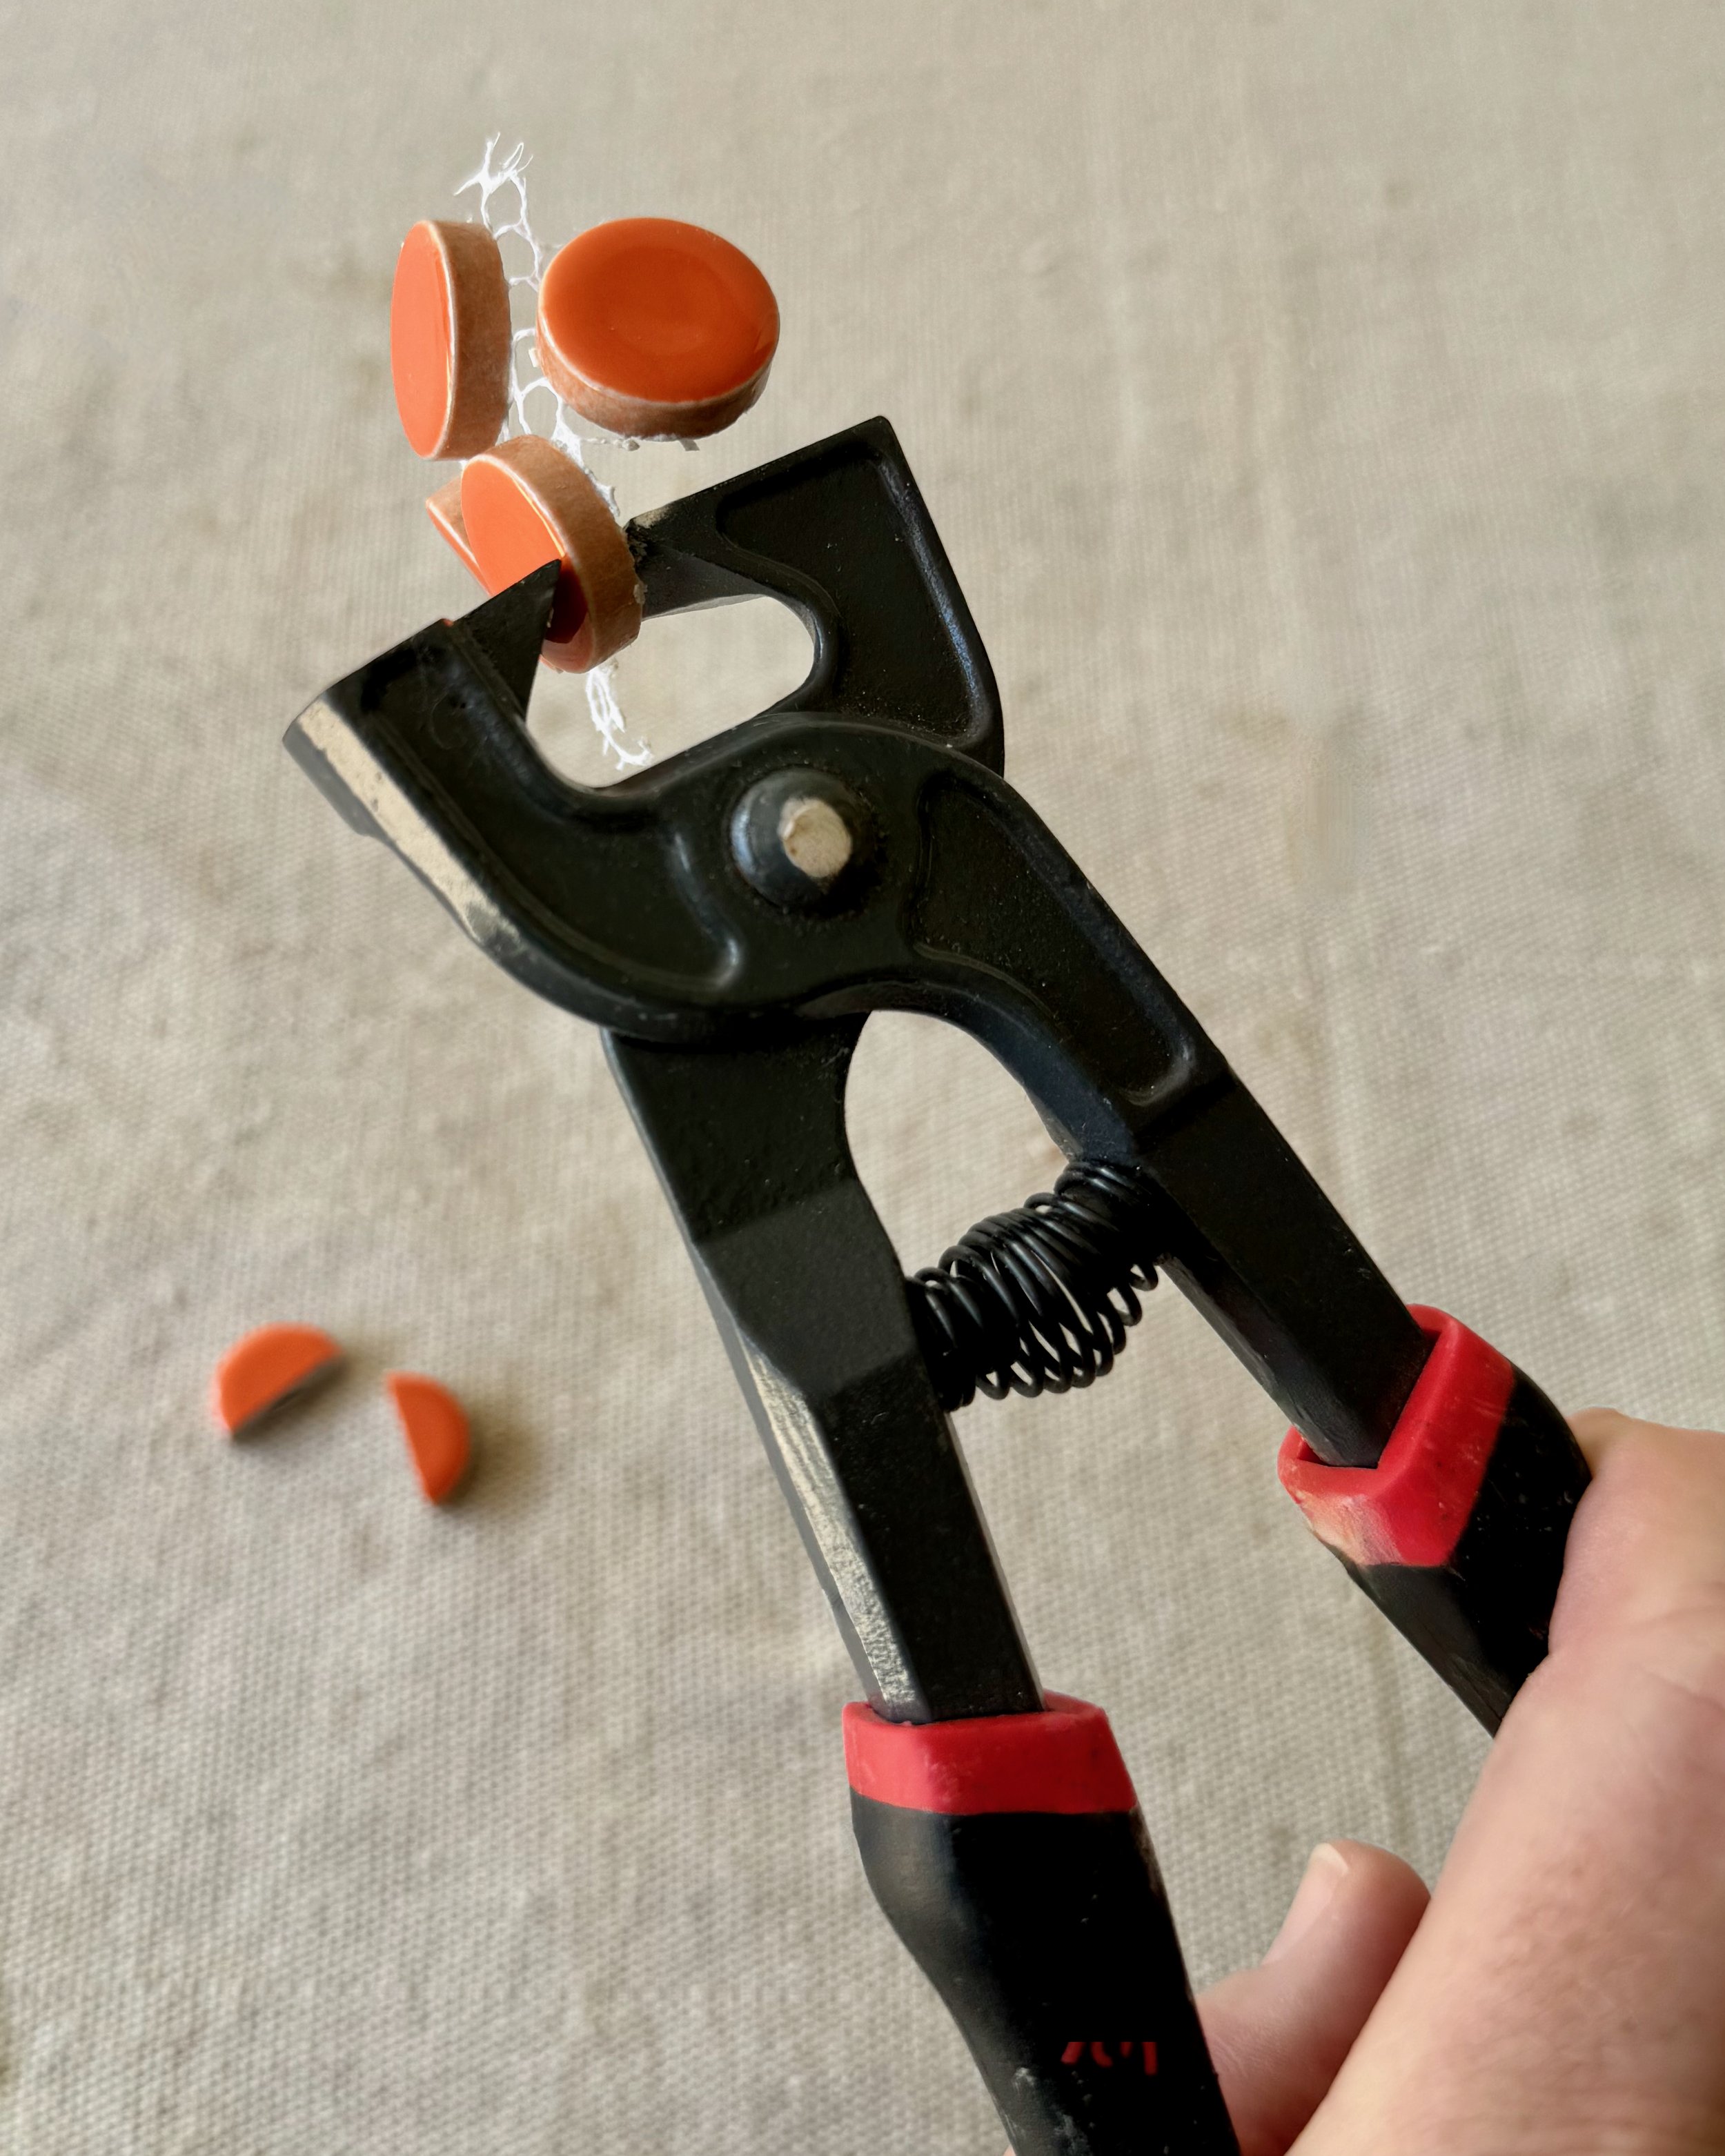
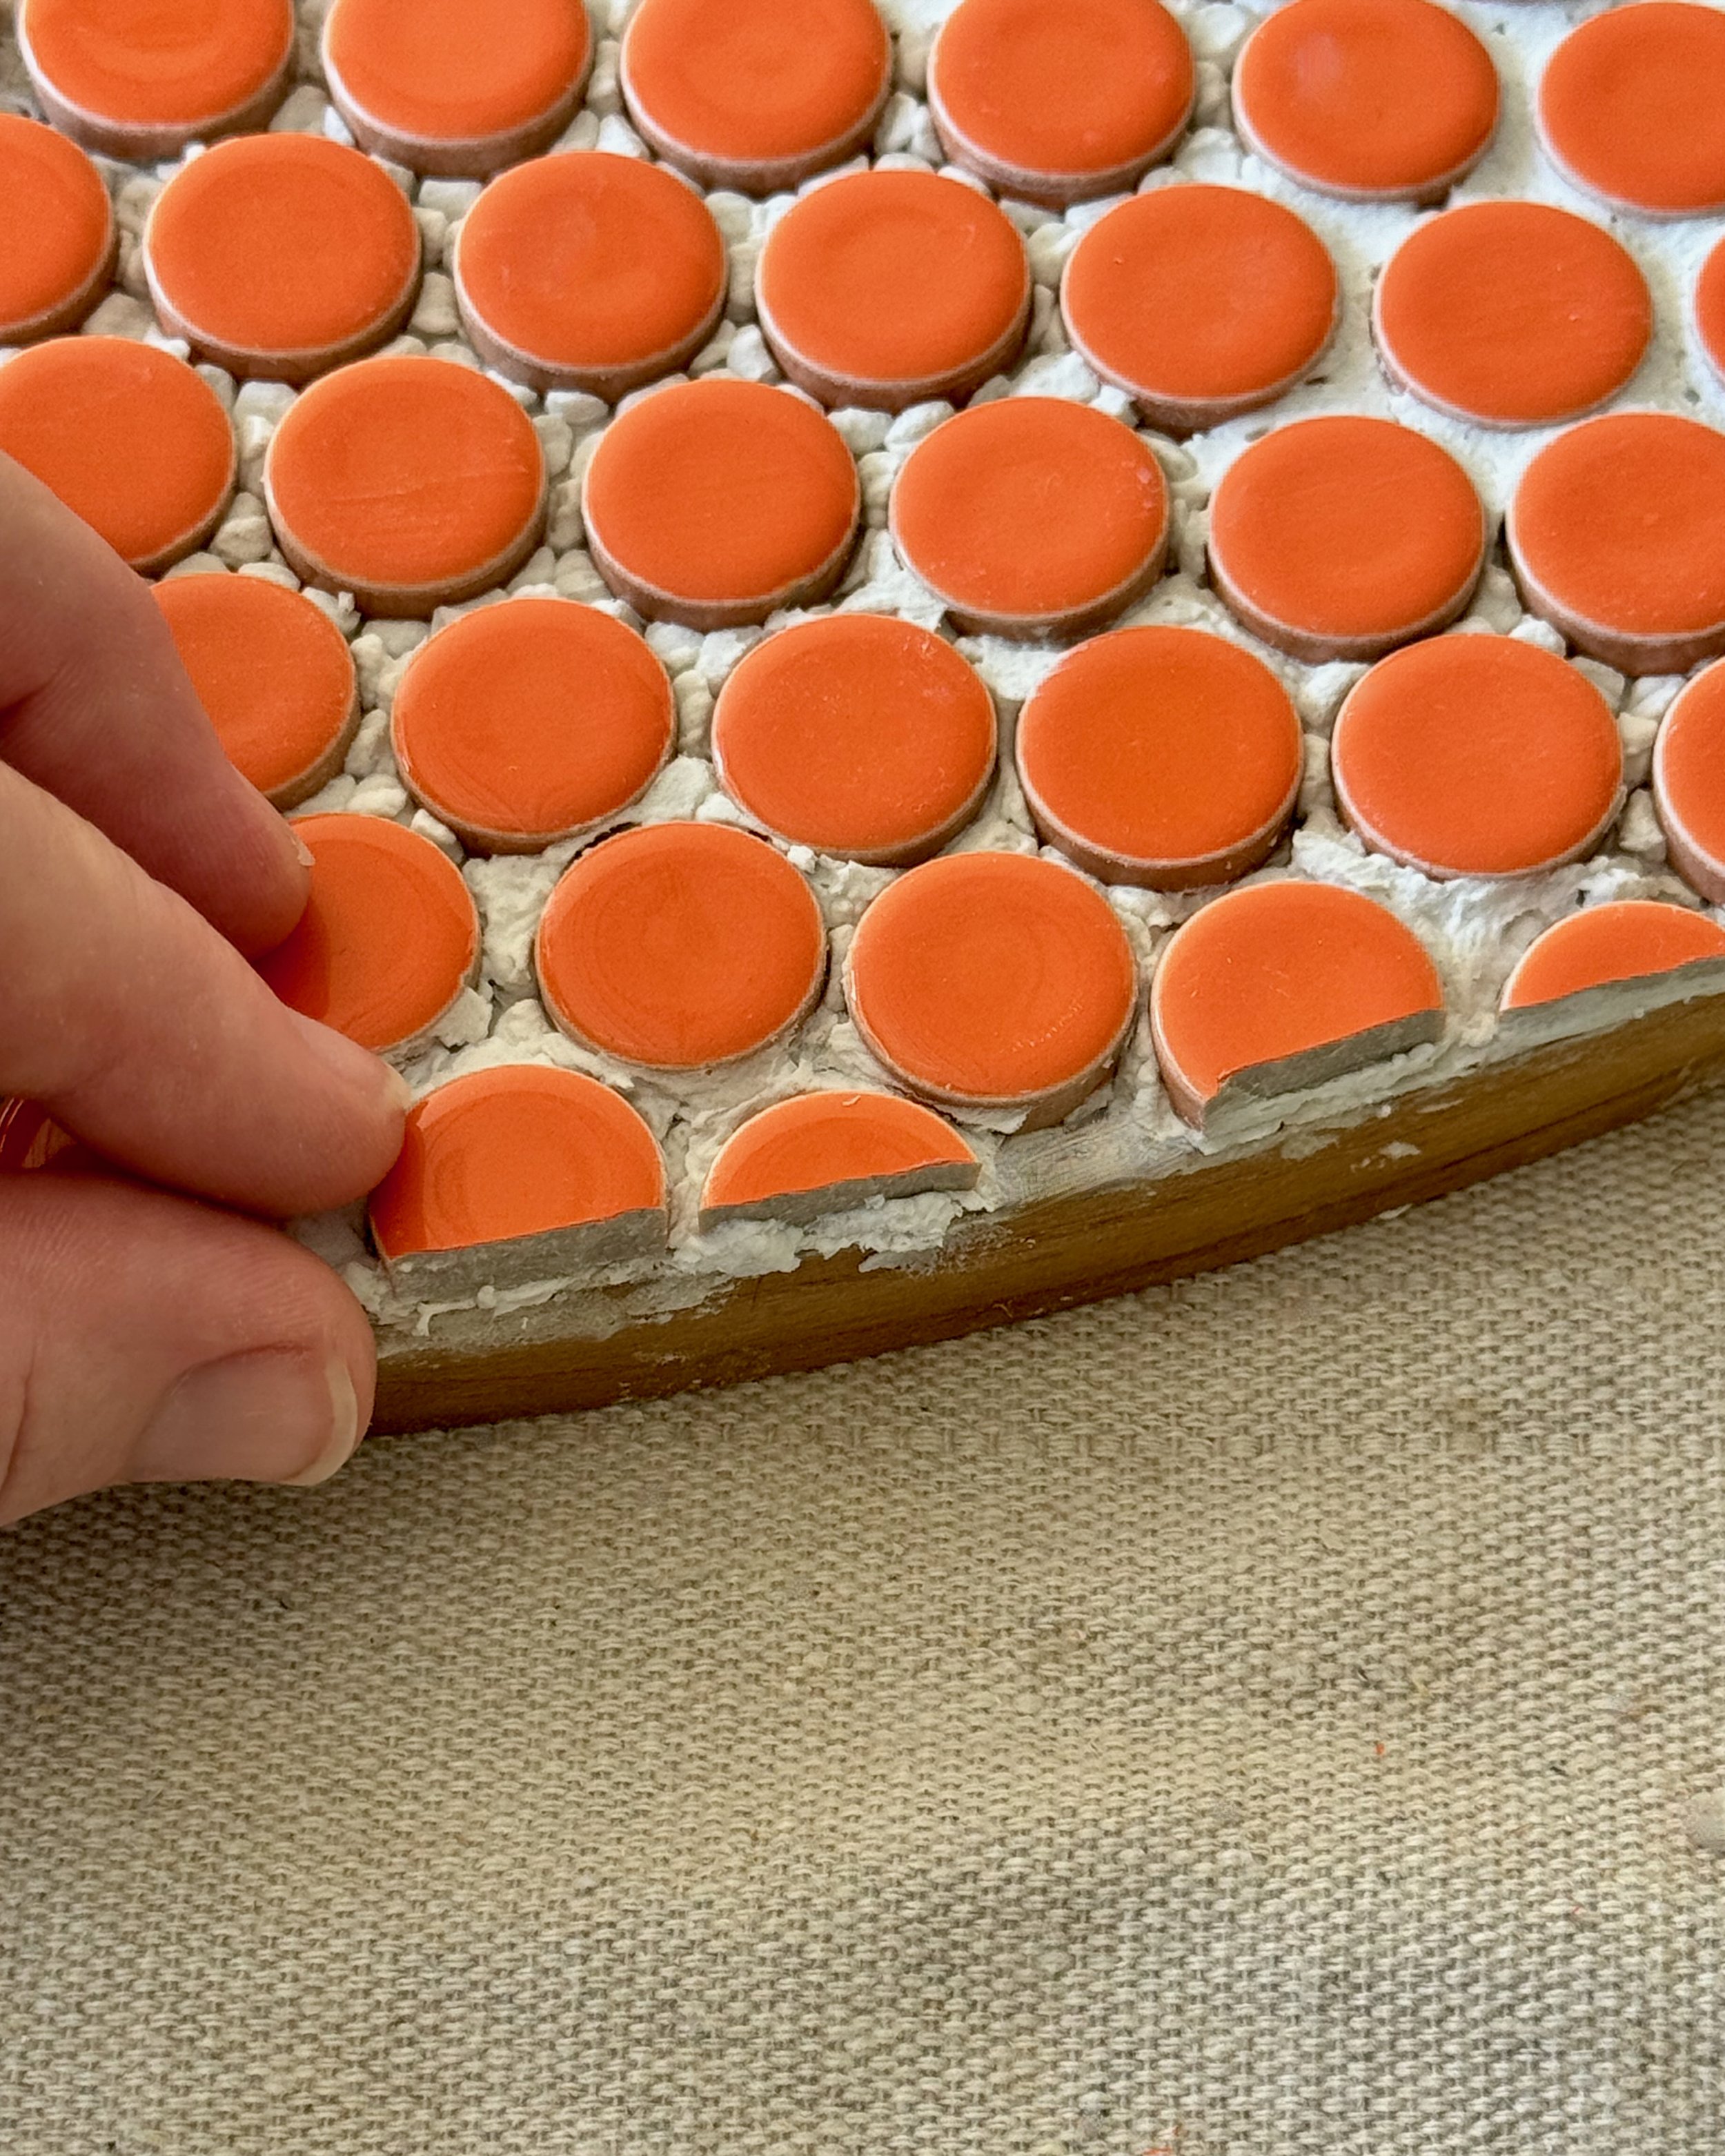
I used tile nippers to cut tiles to fit around the edge, positioning the blade straight against the tile, then using two hands to squeeze the handles.
TIP Keep the tiles attached to the backing mesh so they’re easier to hold and snip.
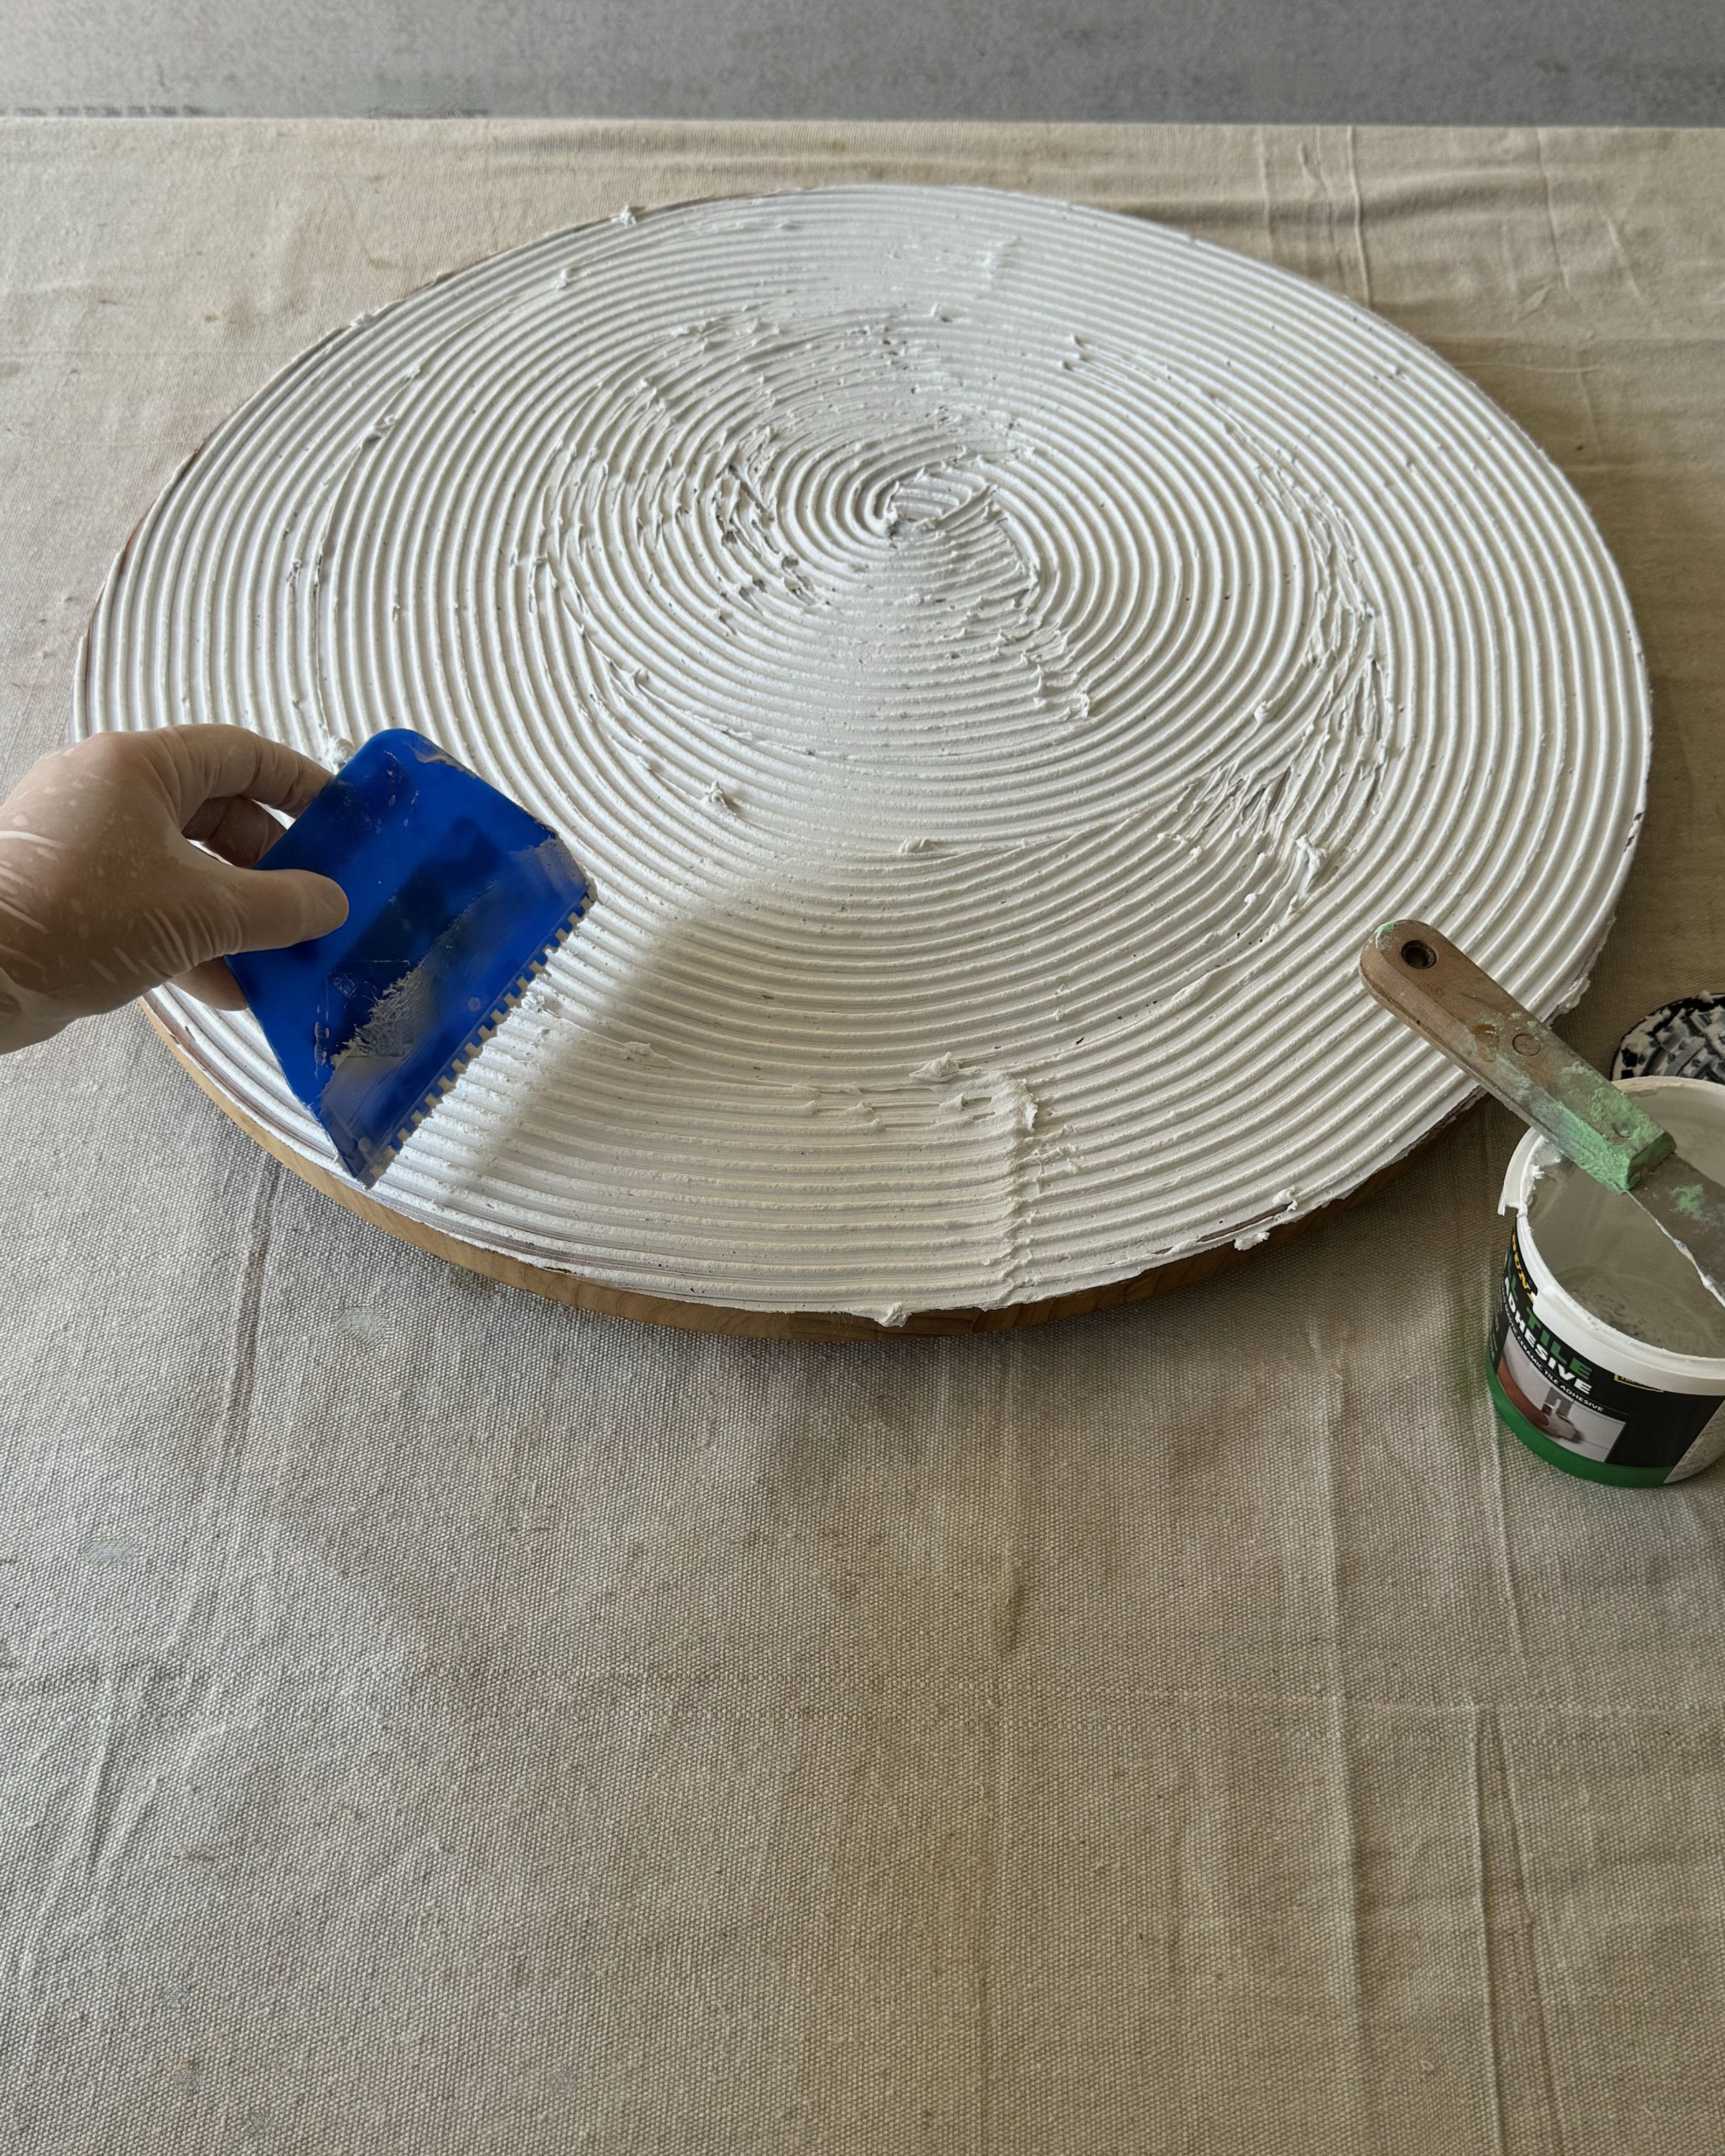
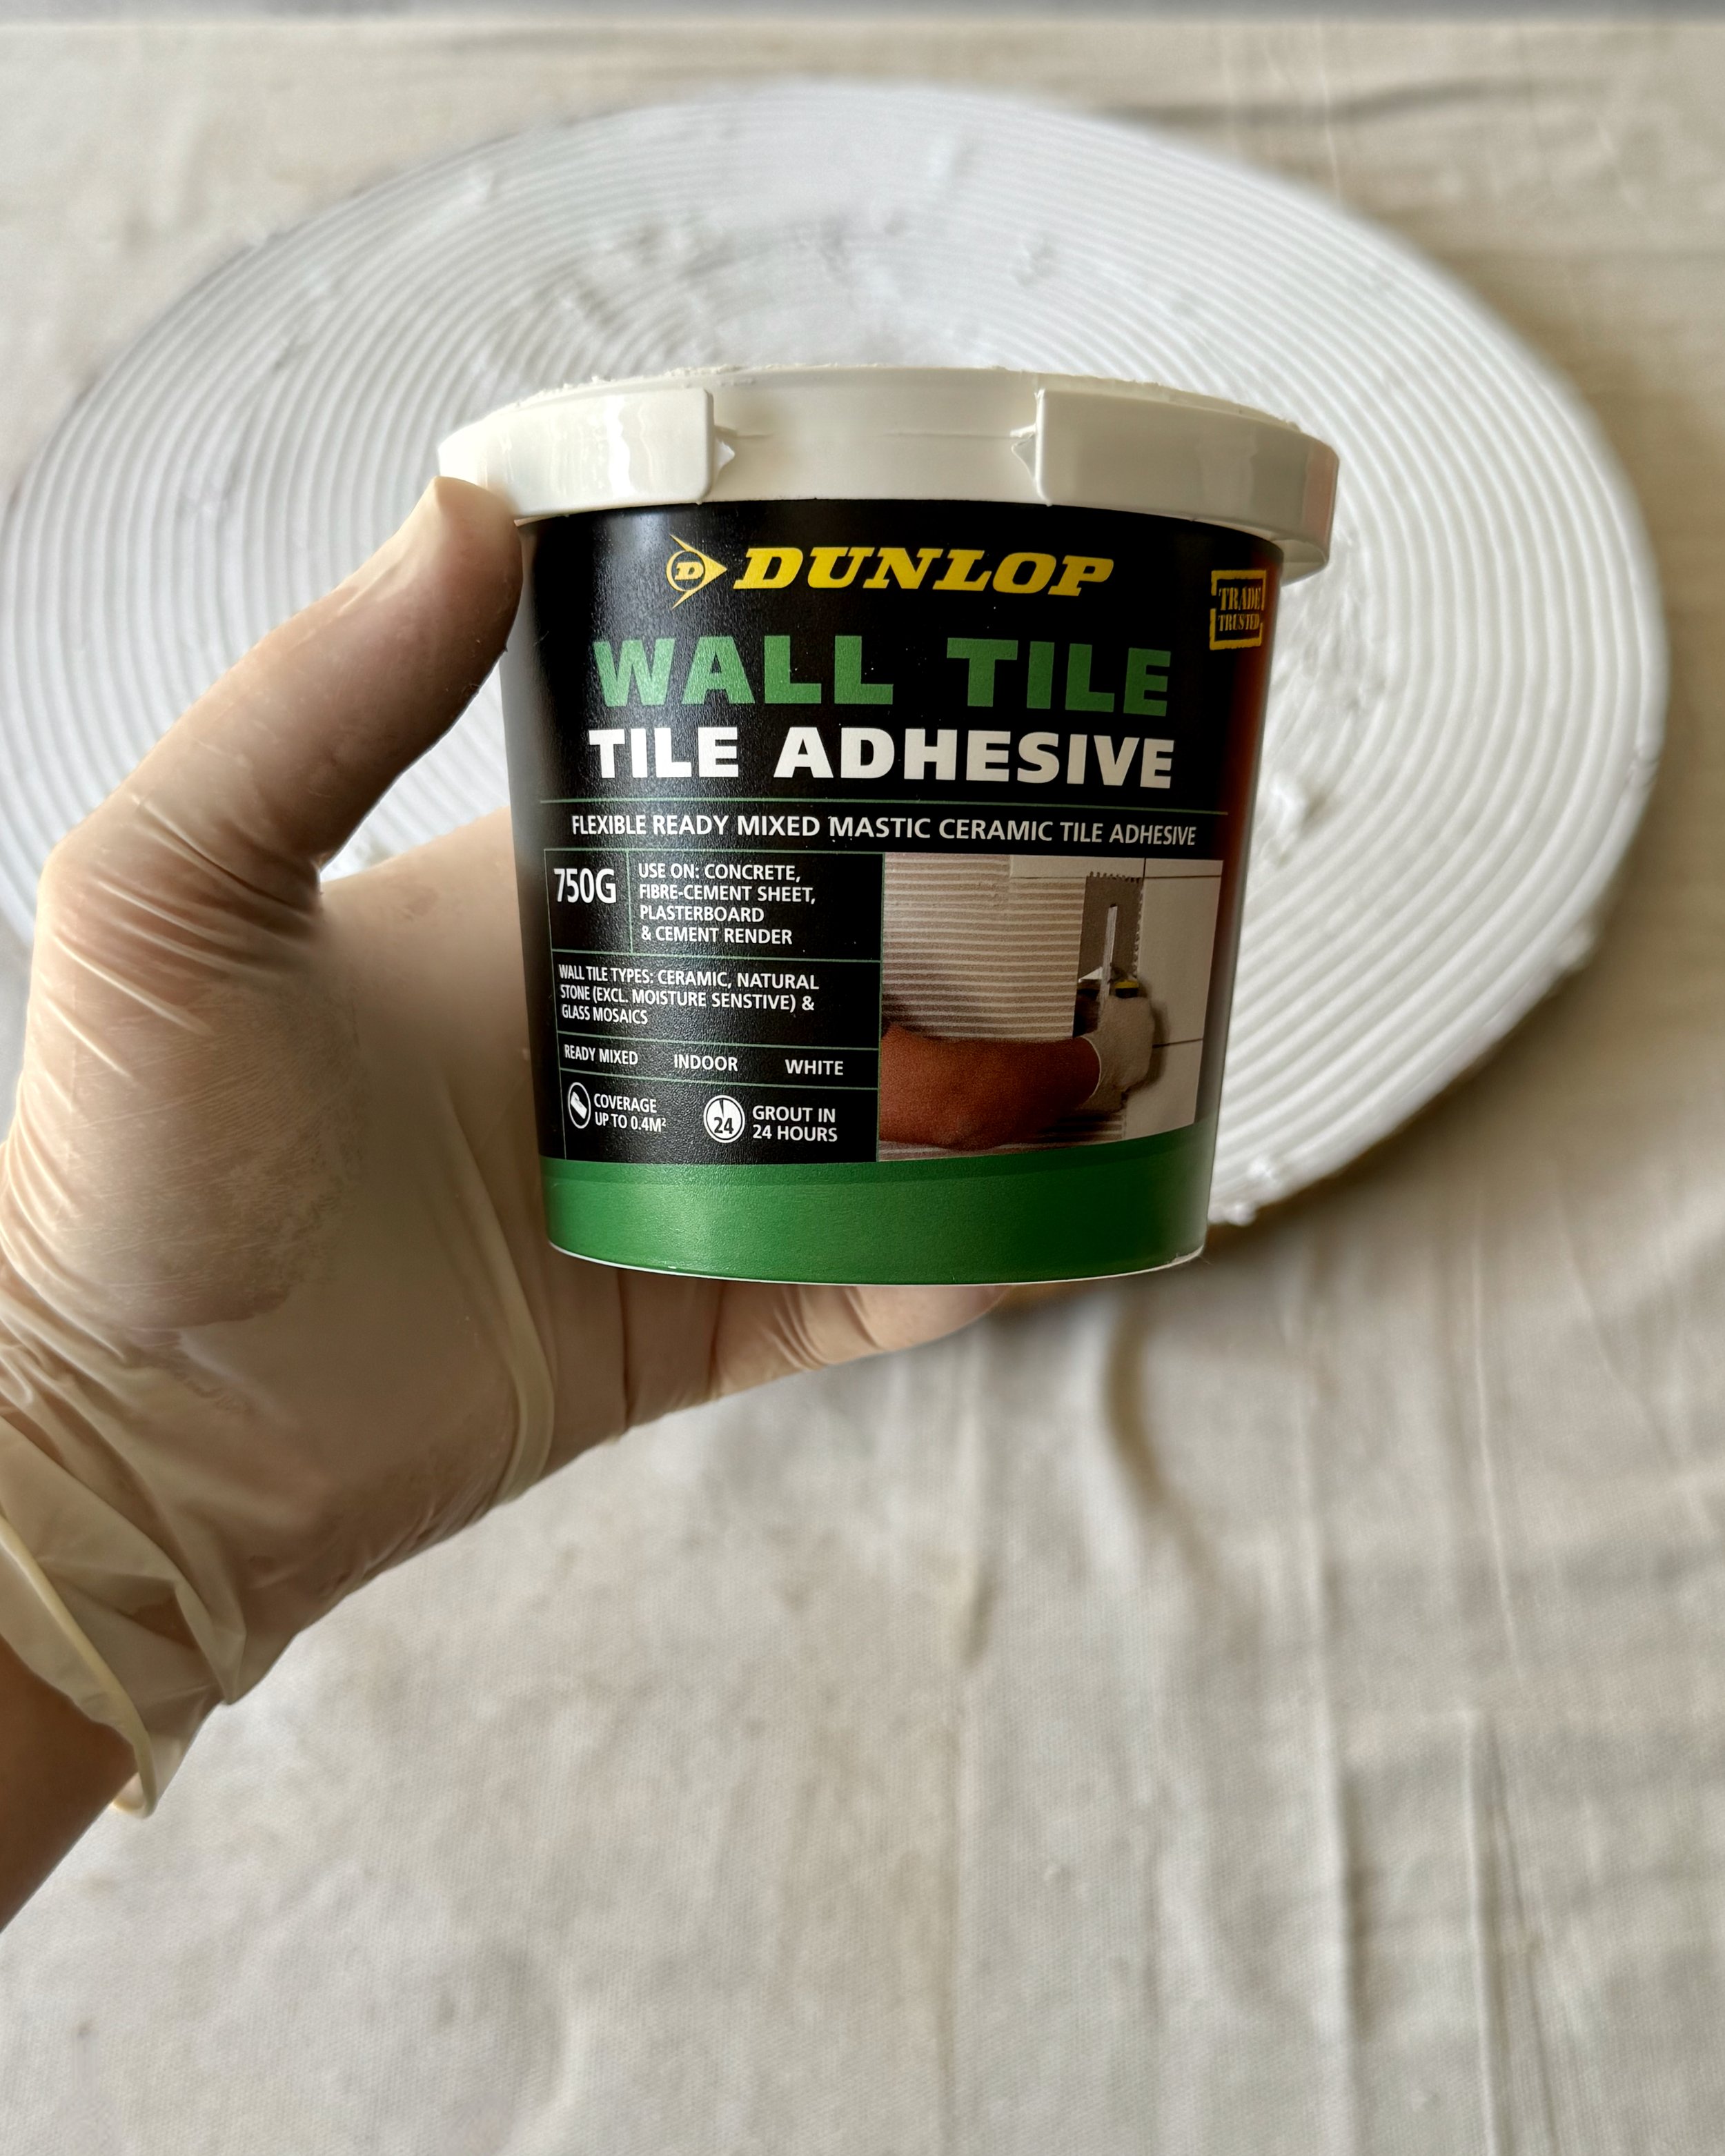
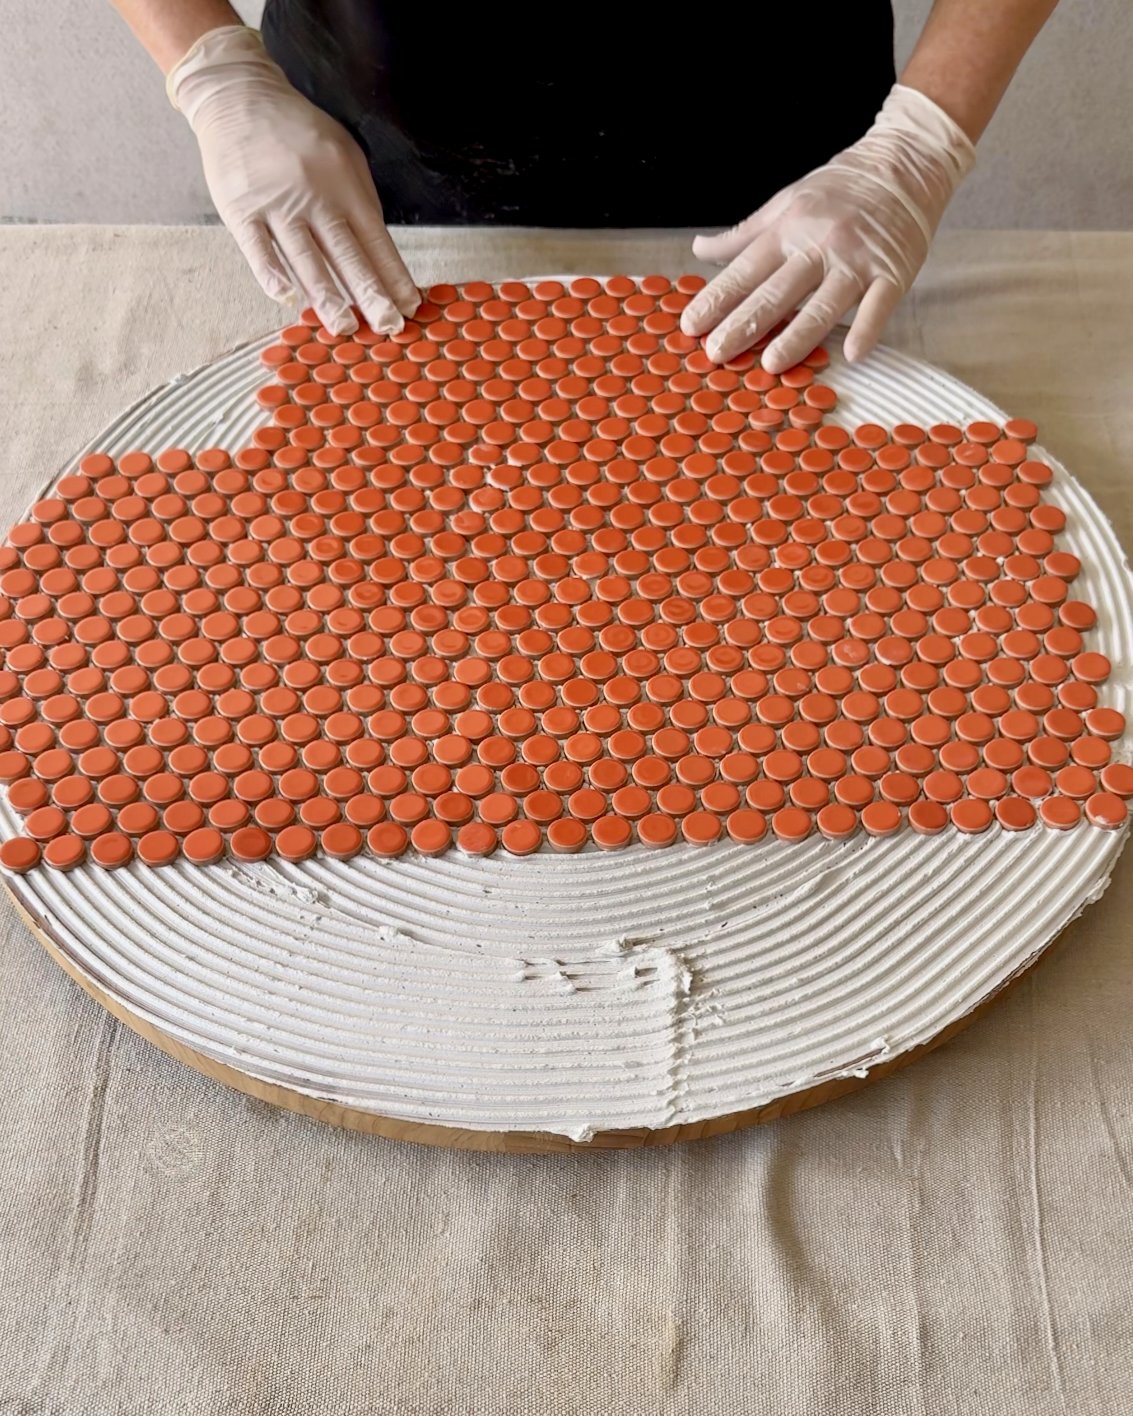
I applied a ready-mix tile adhesive with a notched trowel, keeping about a tablespoon in the pot to use for the cut tiles around the edges. A 750g tub is the perfect amount.
After repositioning two mosaic mats through the middle, I worked around them to add smaller sections of tiles.
I added cut pieces to fill in around the edges, using a little extra adhesive to stick them down.
Then I smoothed over the surface with a small rubber squeegee to ensure it was even while embedding the tiles in the adhesive.
I wiped away any excess with a damp sponge and left it to dry overnight.
I scooped about a cup of ready-to-go ultra white grout onto the mosaics, working it into the gaps with the squeegee and adding more as needed.
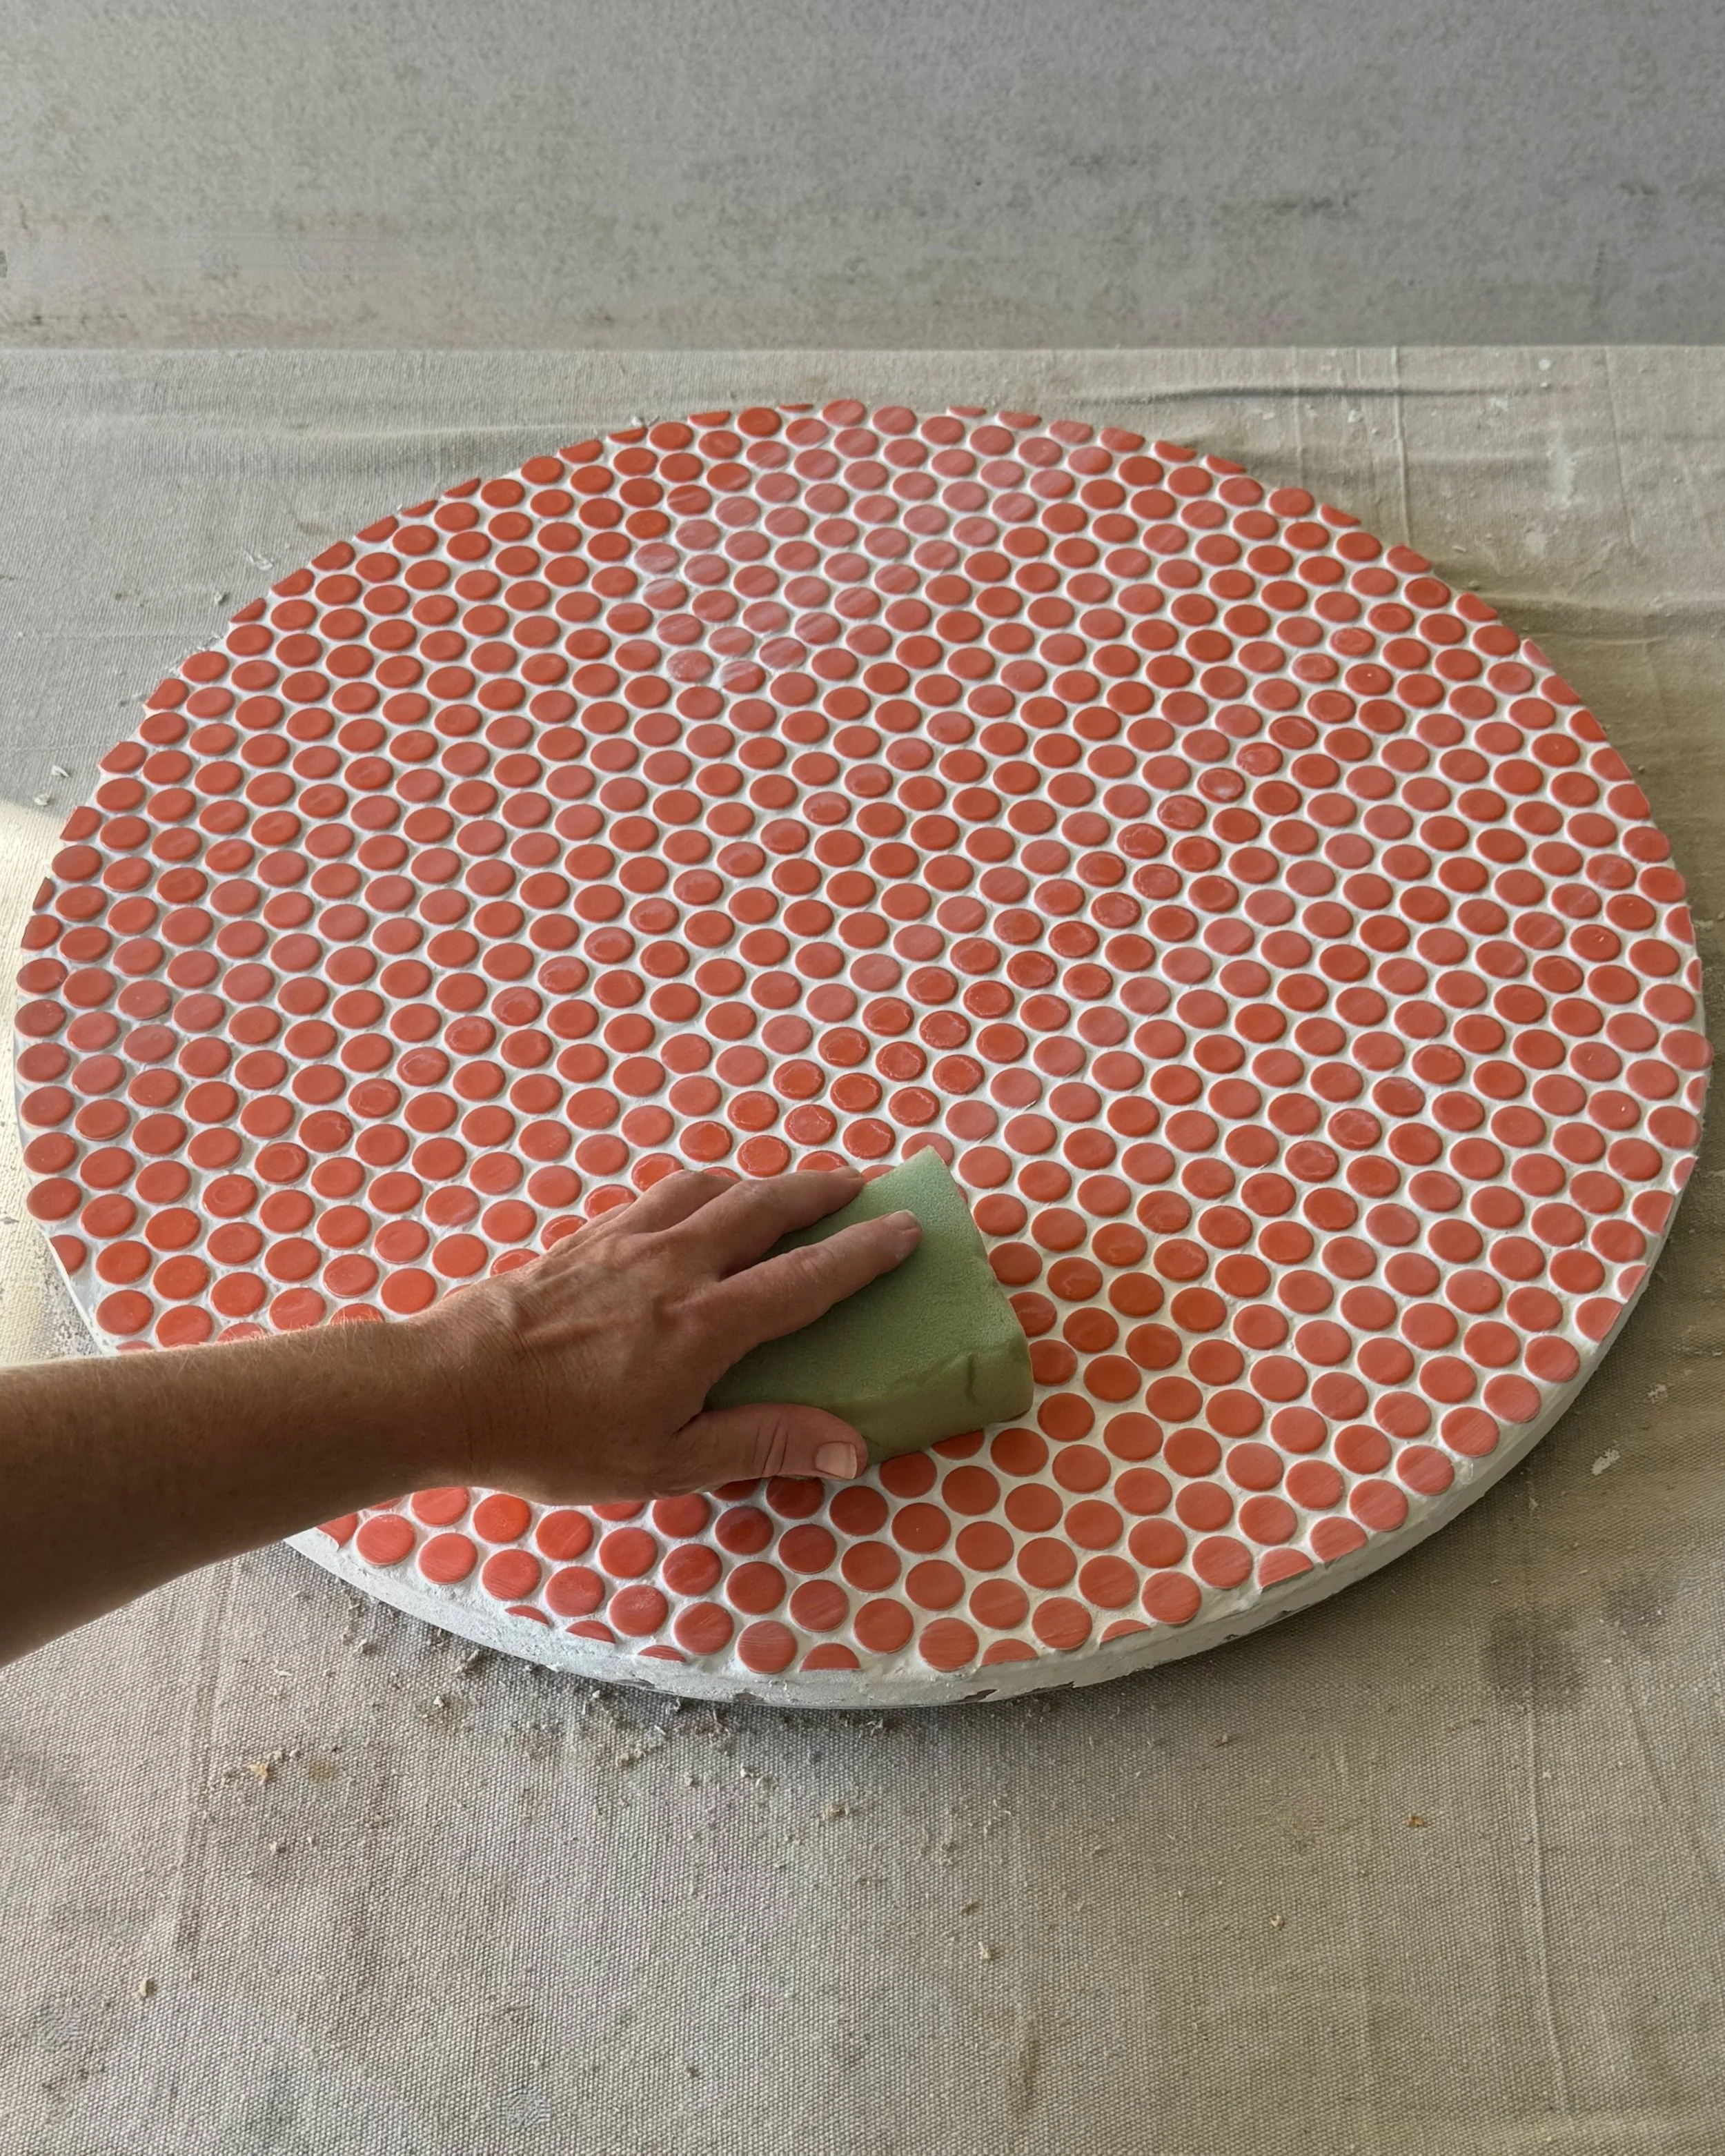
To wipe away the grout haze, I used a clean, slightly damp sponge, rinsing and wringing it out before reusing. Then I left the grout to cure overnight.
TIP As the grout dries it leaves a haze over the tiles that takes a couple of wipes to remove.
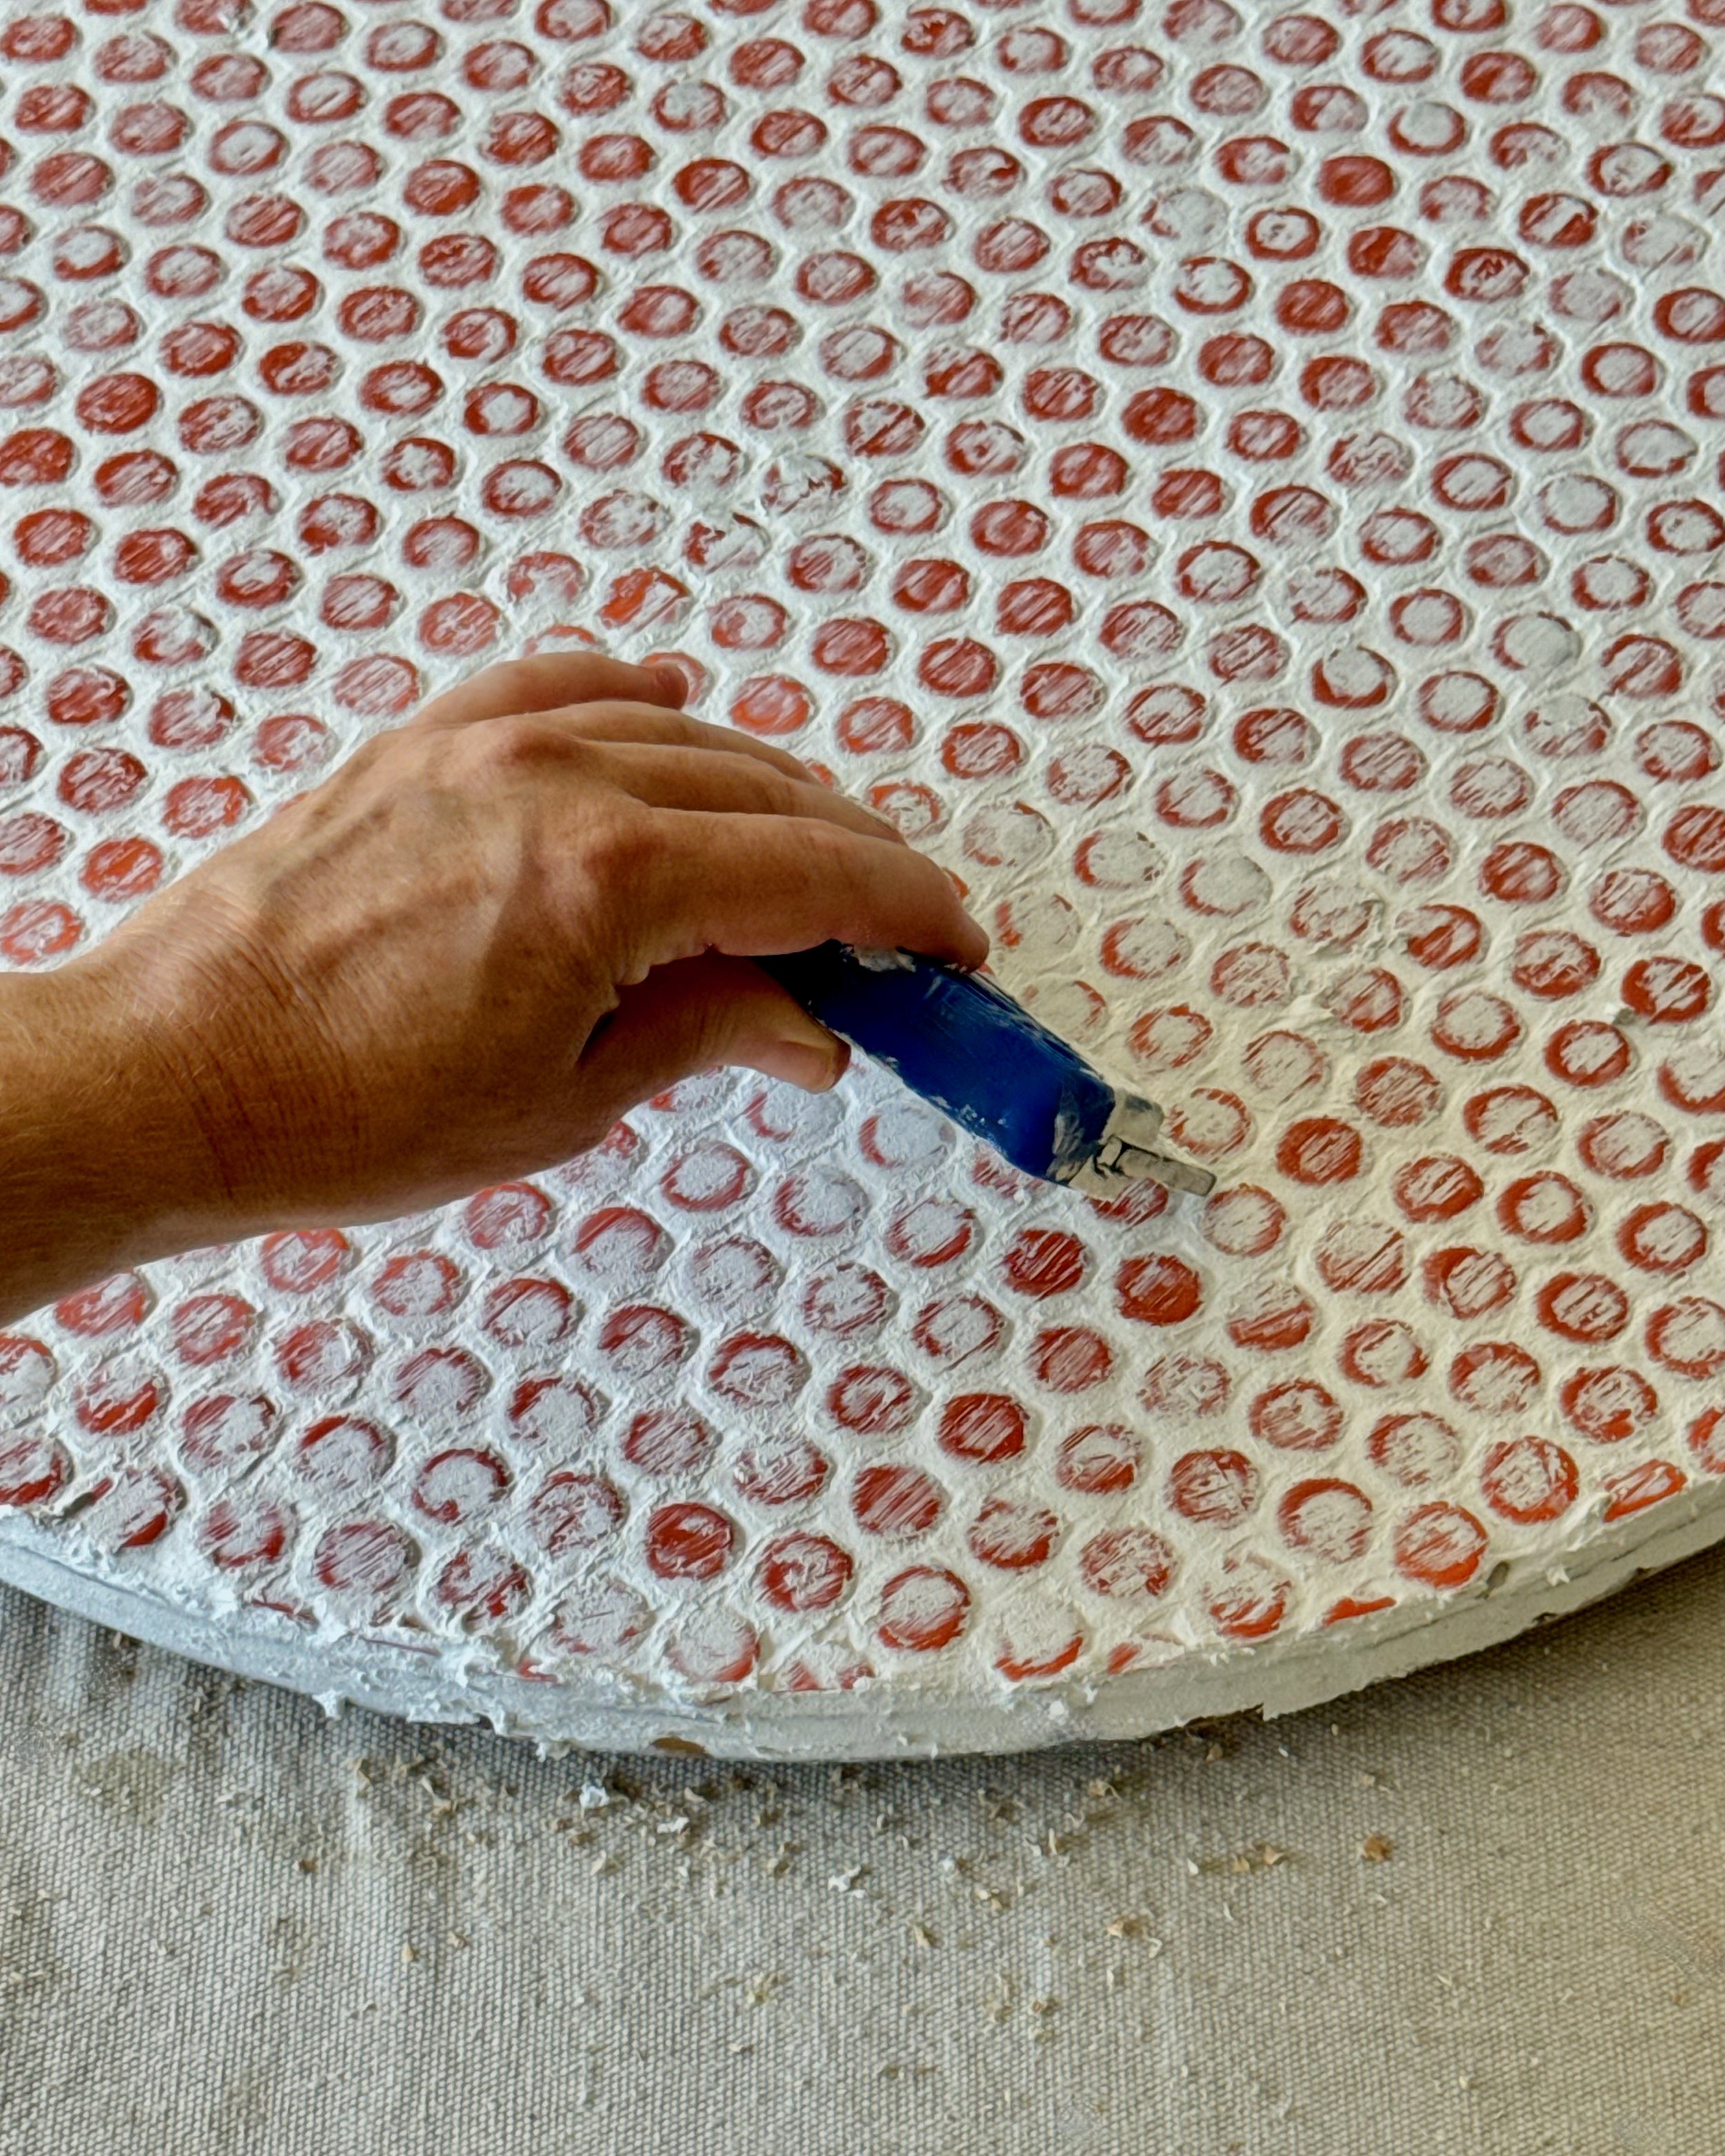
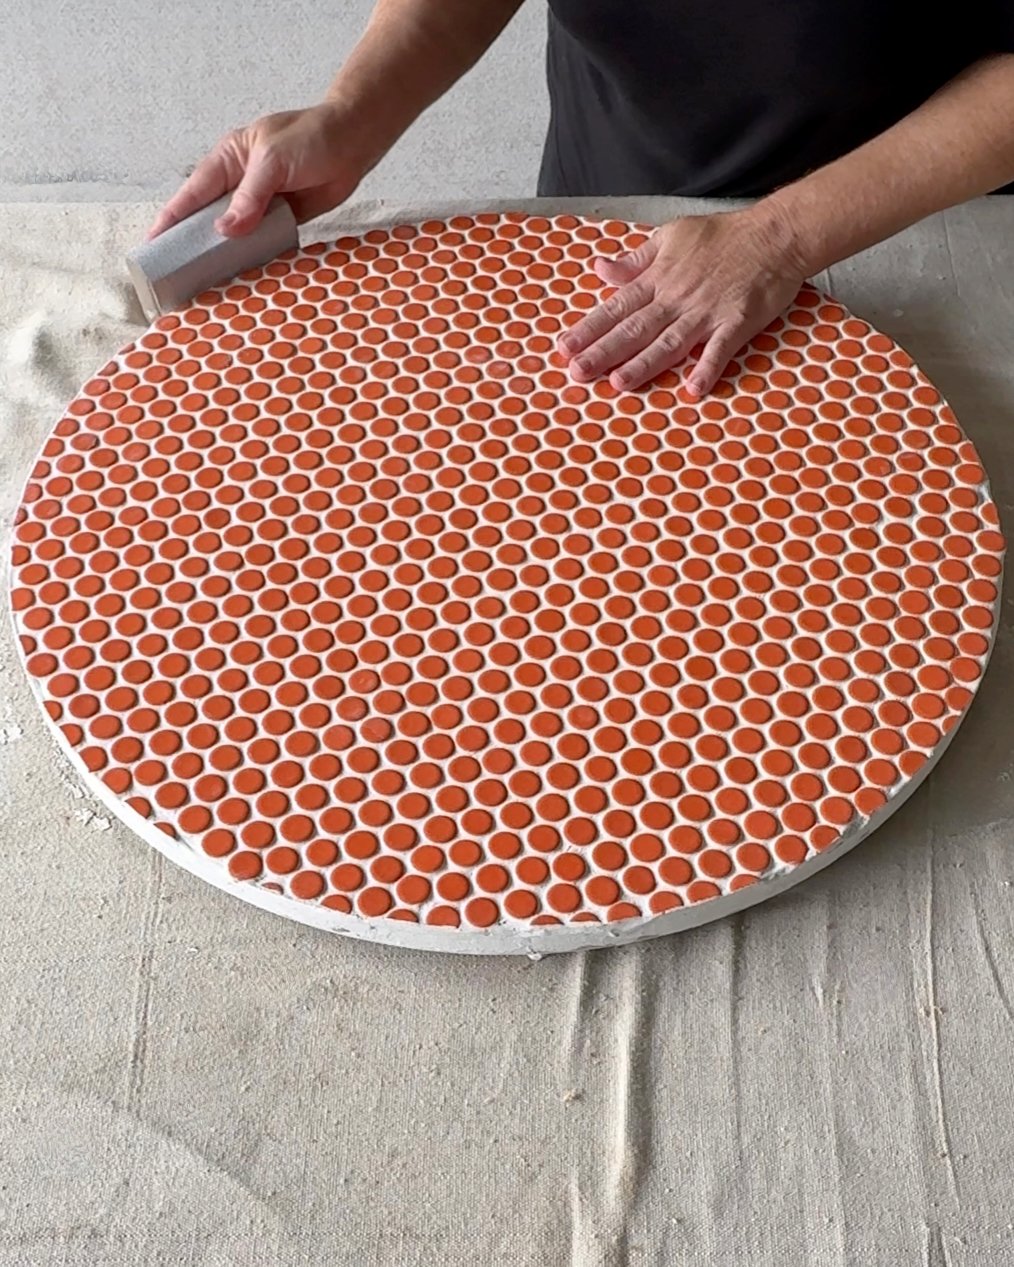
Using 180-grit abrasive paper, I sanded around the edges, removing some of the grout so the edge is smooth.
“If you’d prefer to skip the aluminium edging, work the grout neatly around the edges. Leave to dry then sand smooth and be sure to seal it well.”
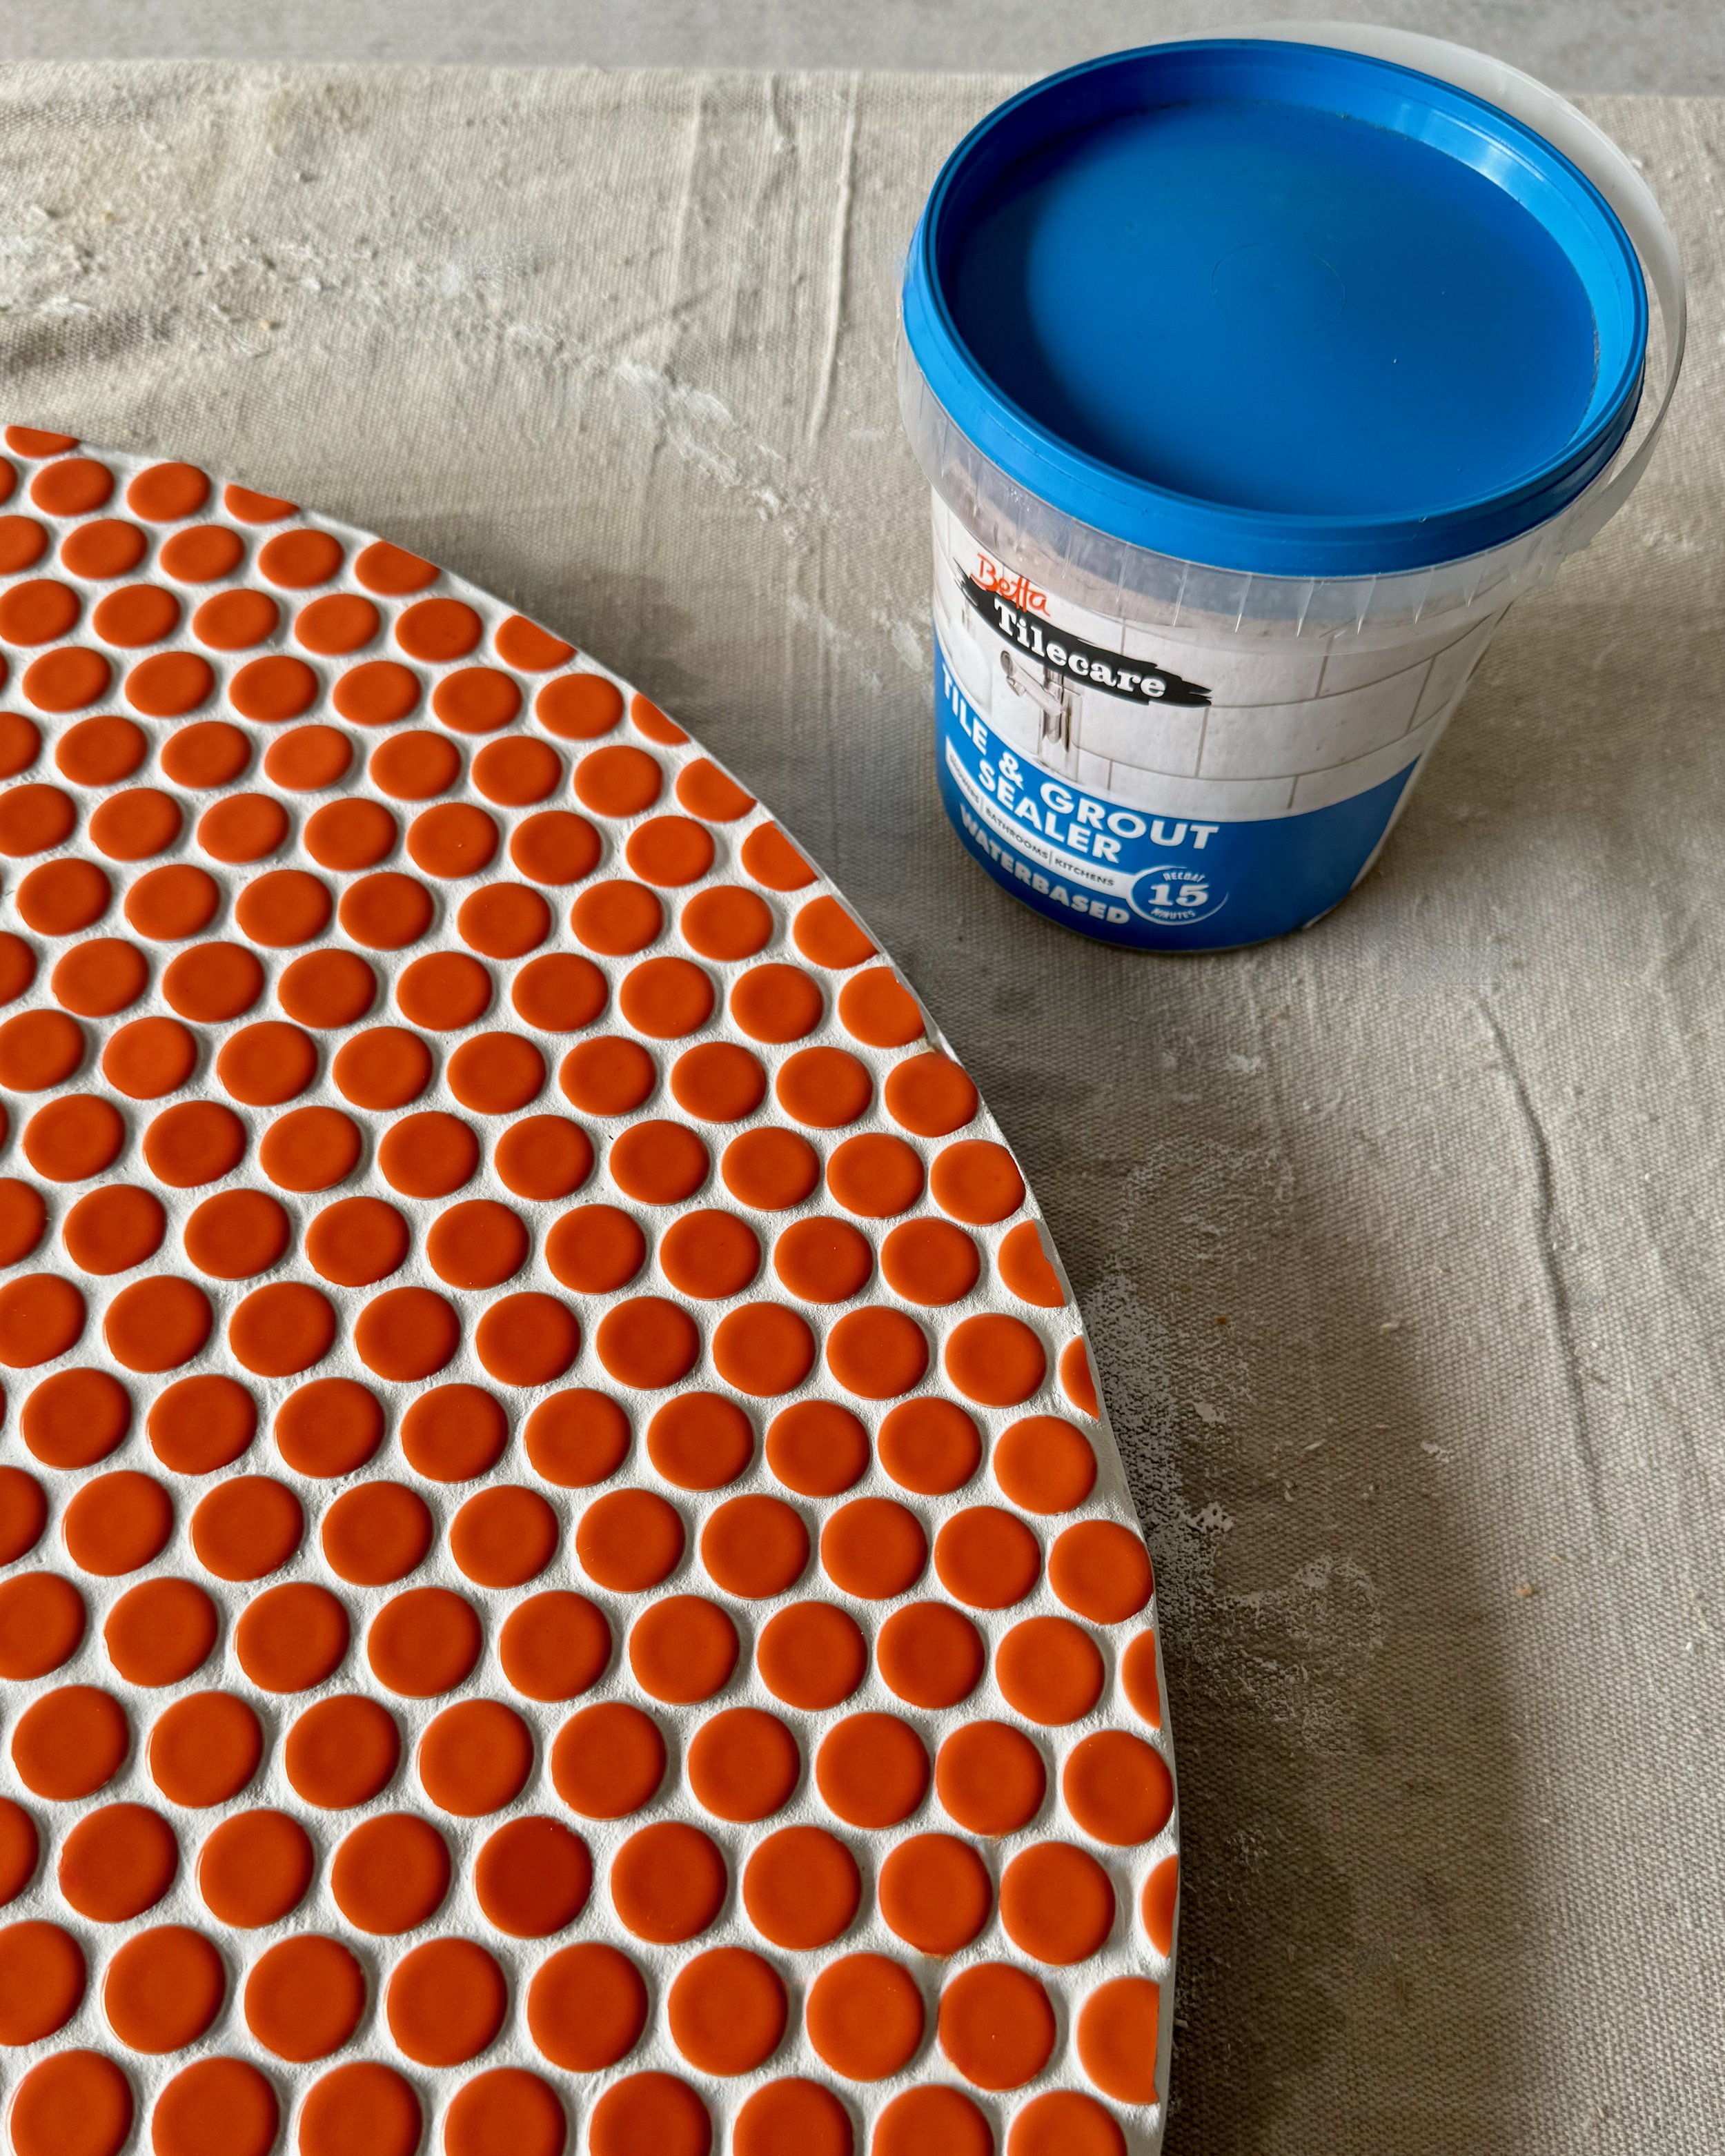
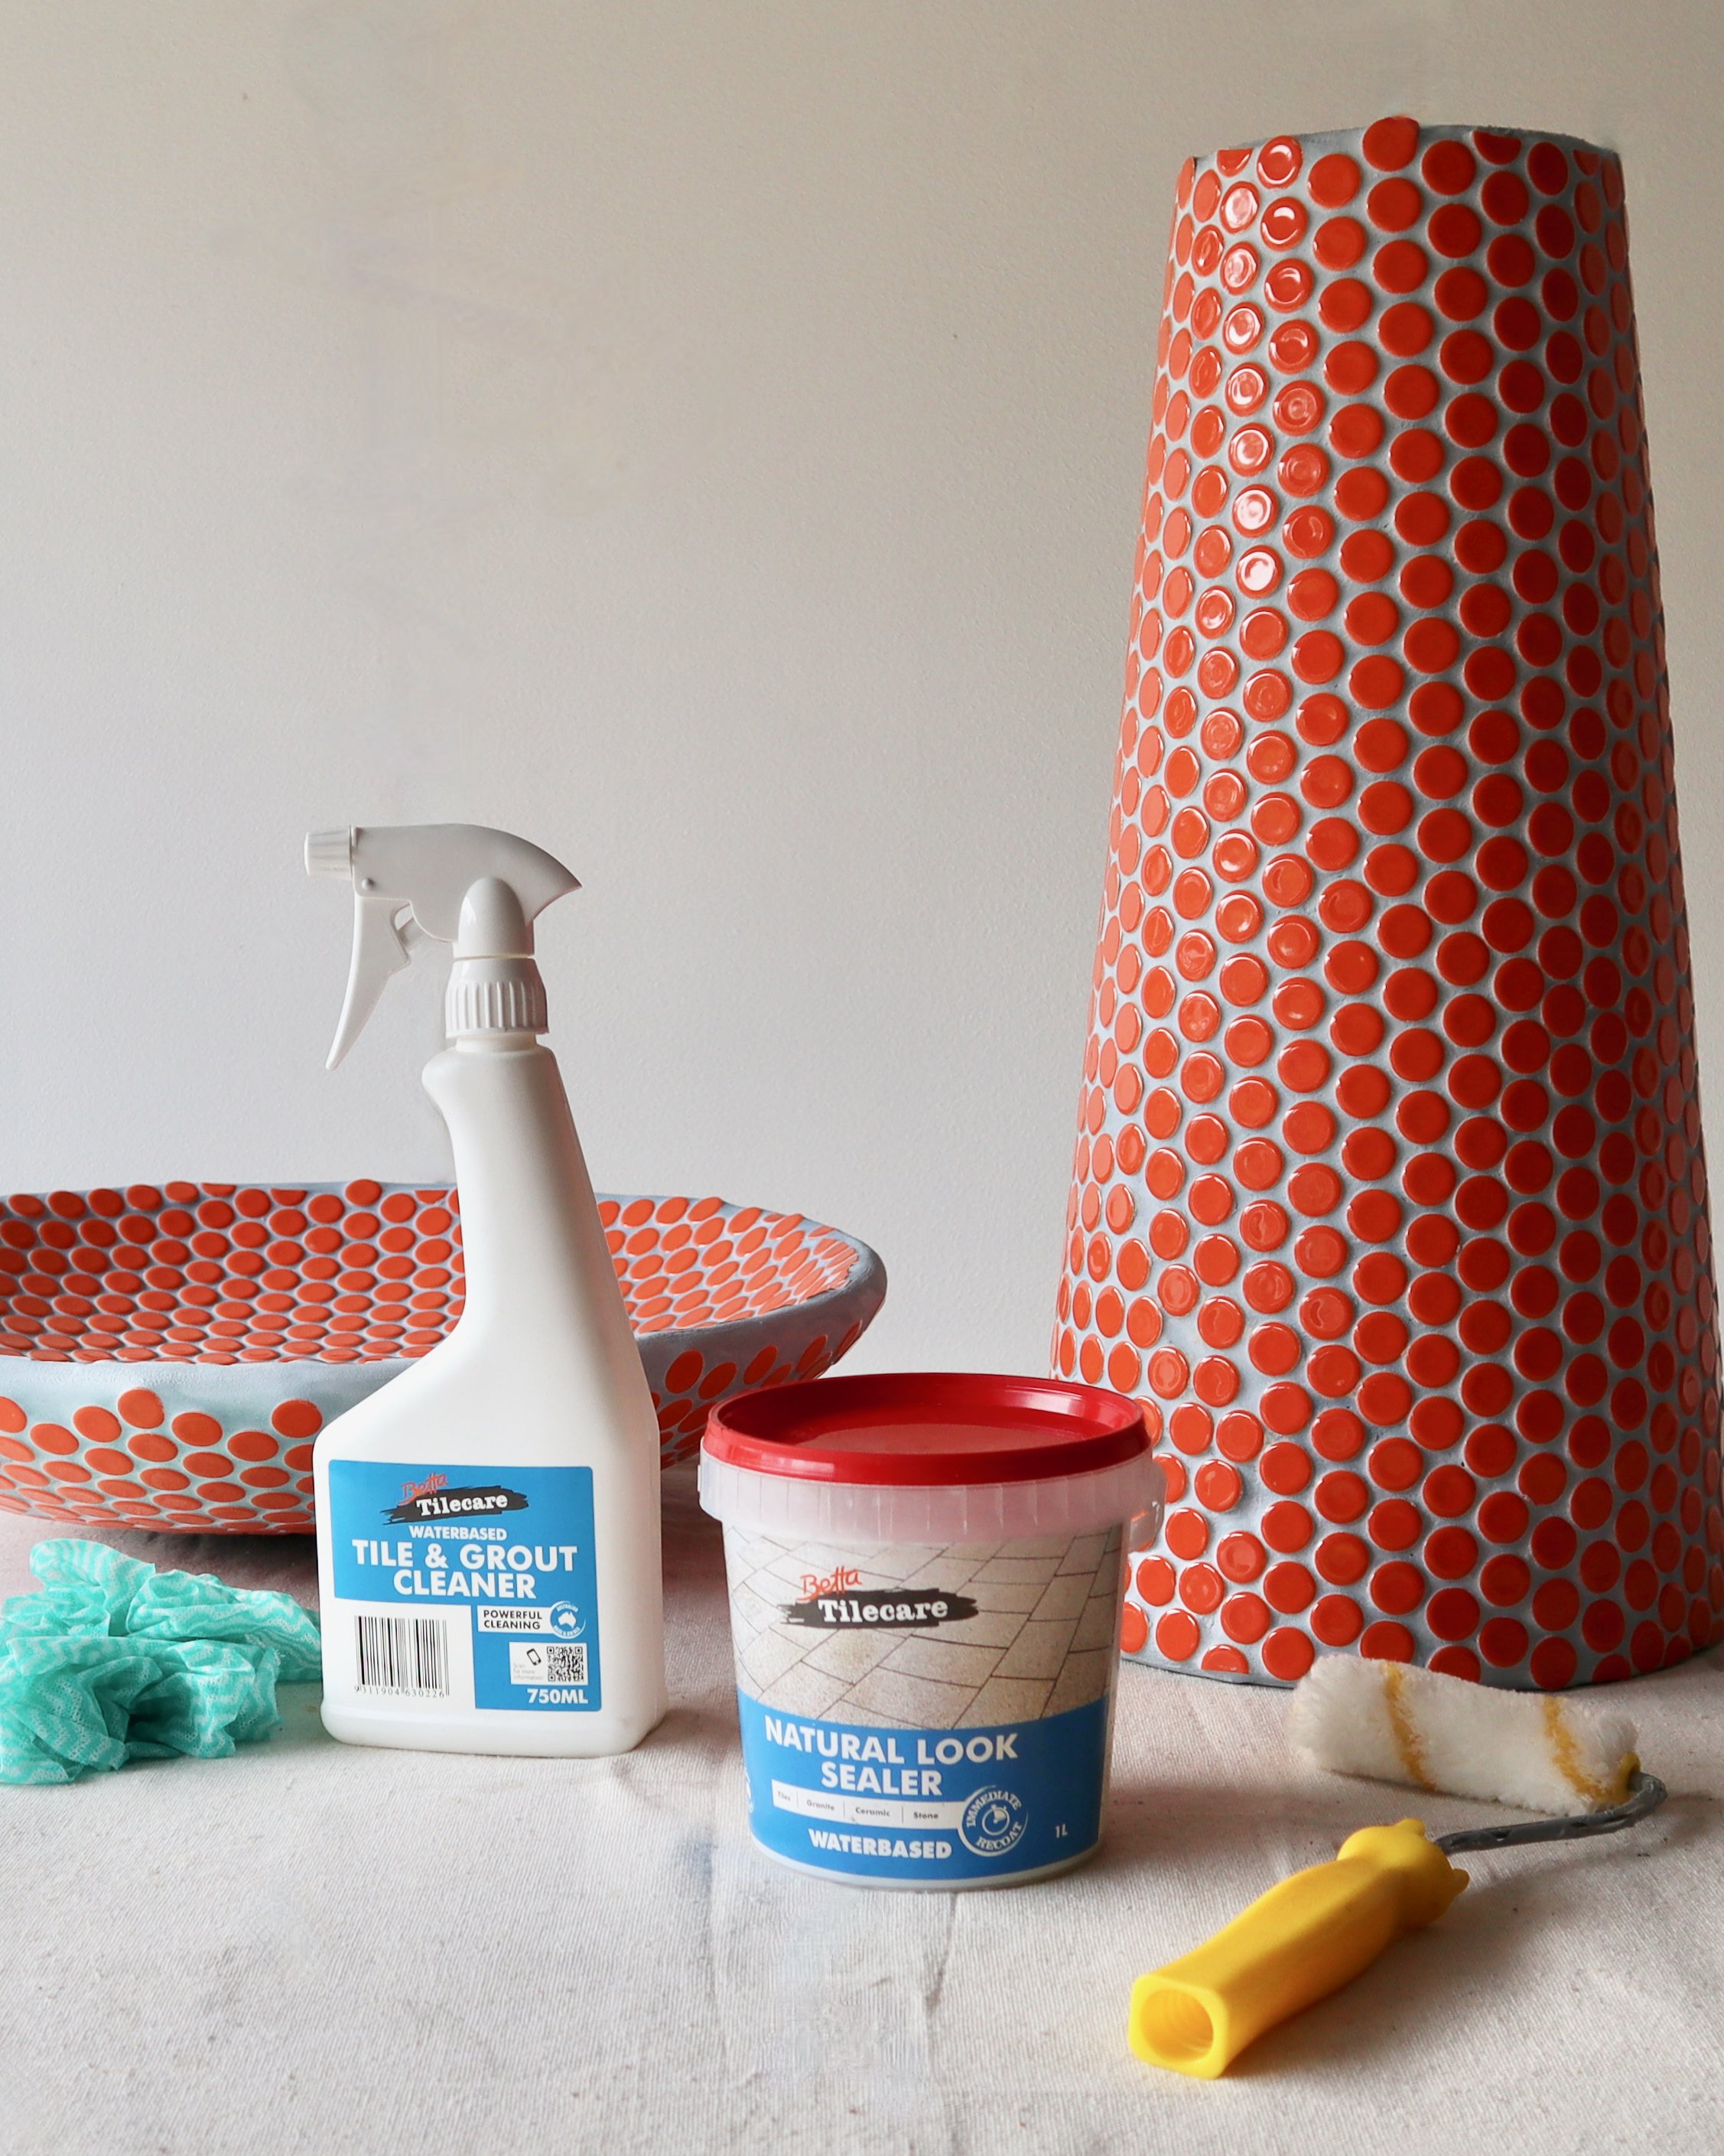
To finish, I applied two generous coats of Bondall Betta TileCare Waterproofing Tile & Grout Sealer with a mini roller, ensuing that it soaks into the grout. I wiped away the excess with a microfibre cloth and left it to dry.
TIP While the sealer doesn’t absorb into the glazed tiles, it’s essential for sealing the porous grout.
Edging around the table hides the joins while protecting the grout from chipping.
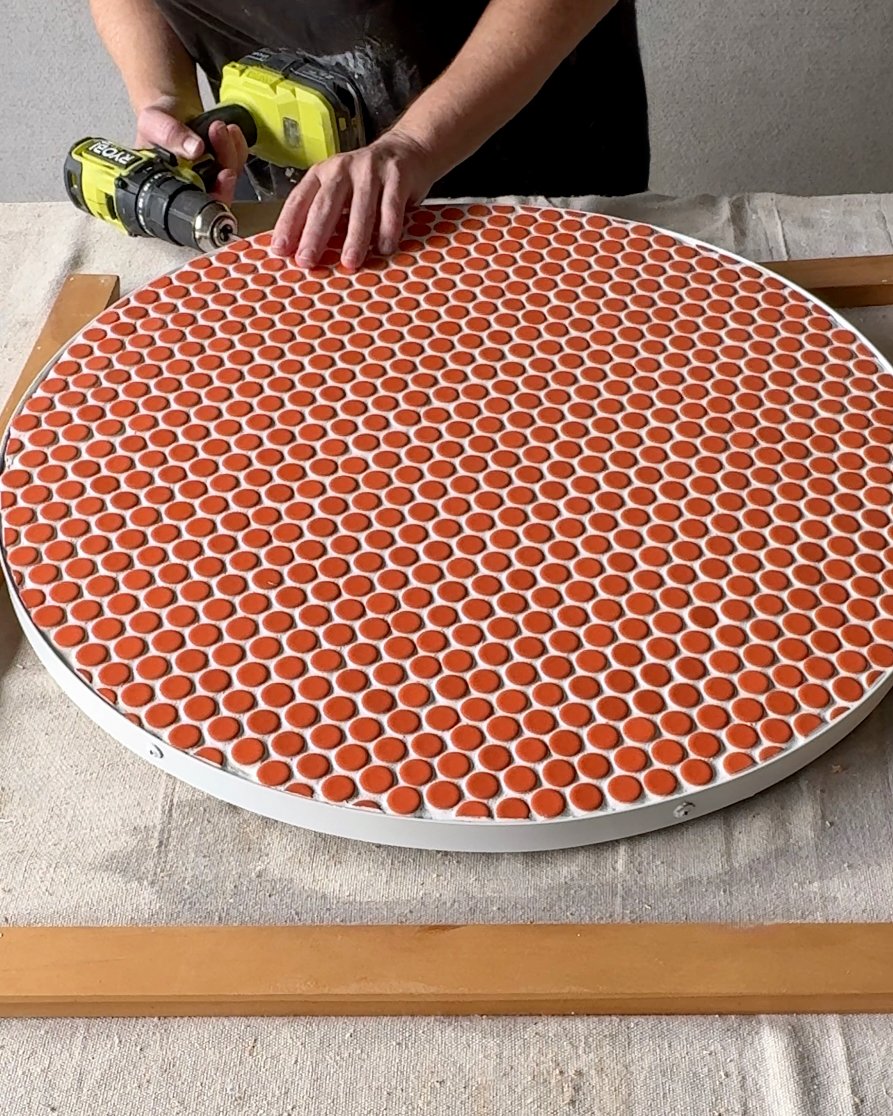
I positioned a 2m length of 25mm x 3mm aluminium flat bar to fit around the table and cut with a hacksaw. Then I used a 3mm bit to drill holes every 300mm, attaching it to the table with 20mm white button head screws.
TIP When drilling the holes, position them evenly, about 10mm from the base so that the screws go into the timber panel.
I marked centrelines both ways then positioned 400mm hairpin legs to mark the holes in the plates. I predrilled with a 3mm bit then secured with the button head screws.
White hairpins were unavailable at the time, so I used primer and a metal paint to spray them white, along with the piece of aluminium edging.
While the timber base makes the table not suitable to be left out in direct weather, it is sealed well enough to be left undercover.
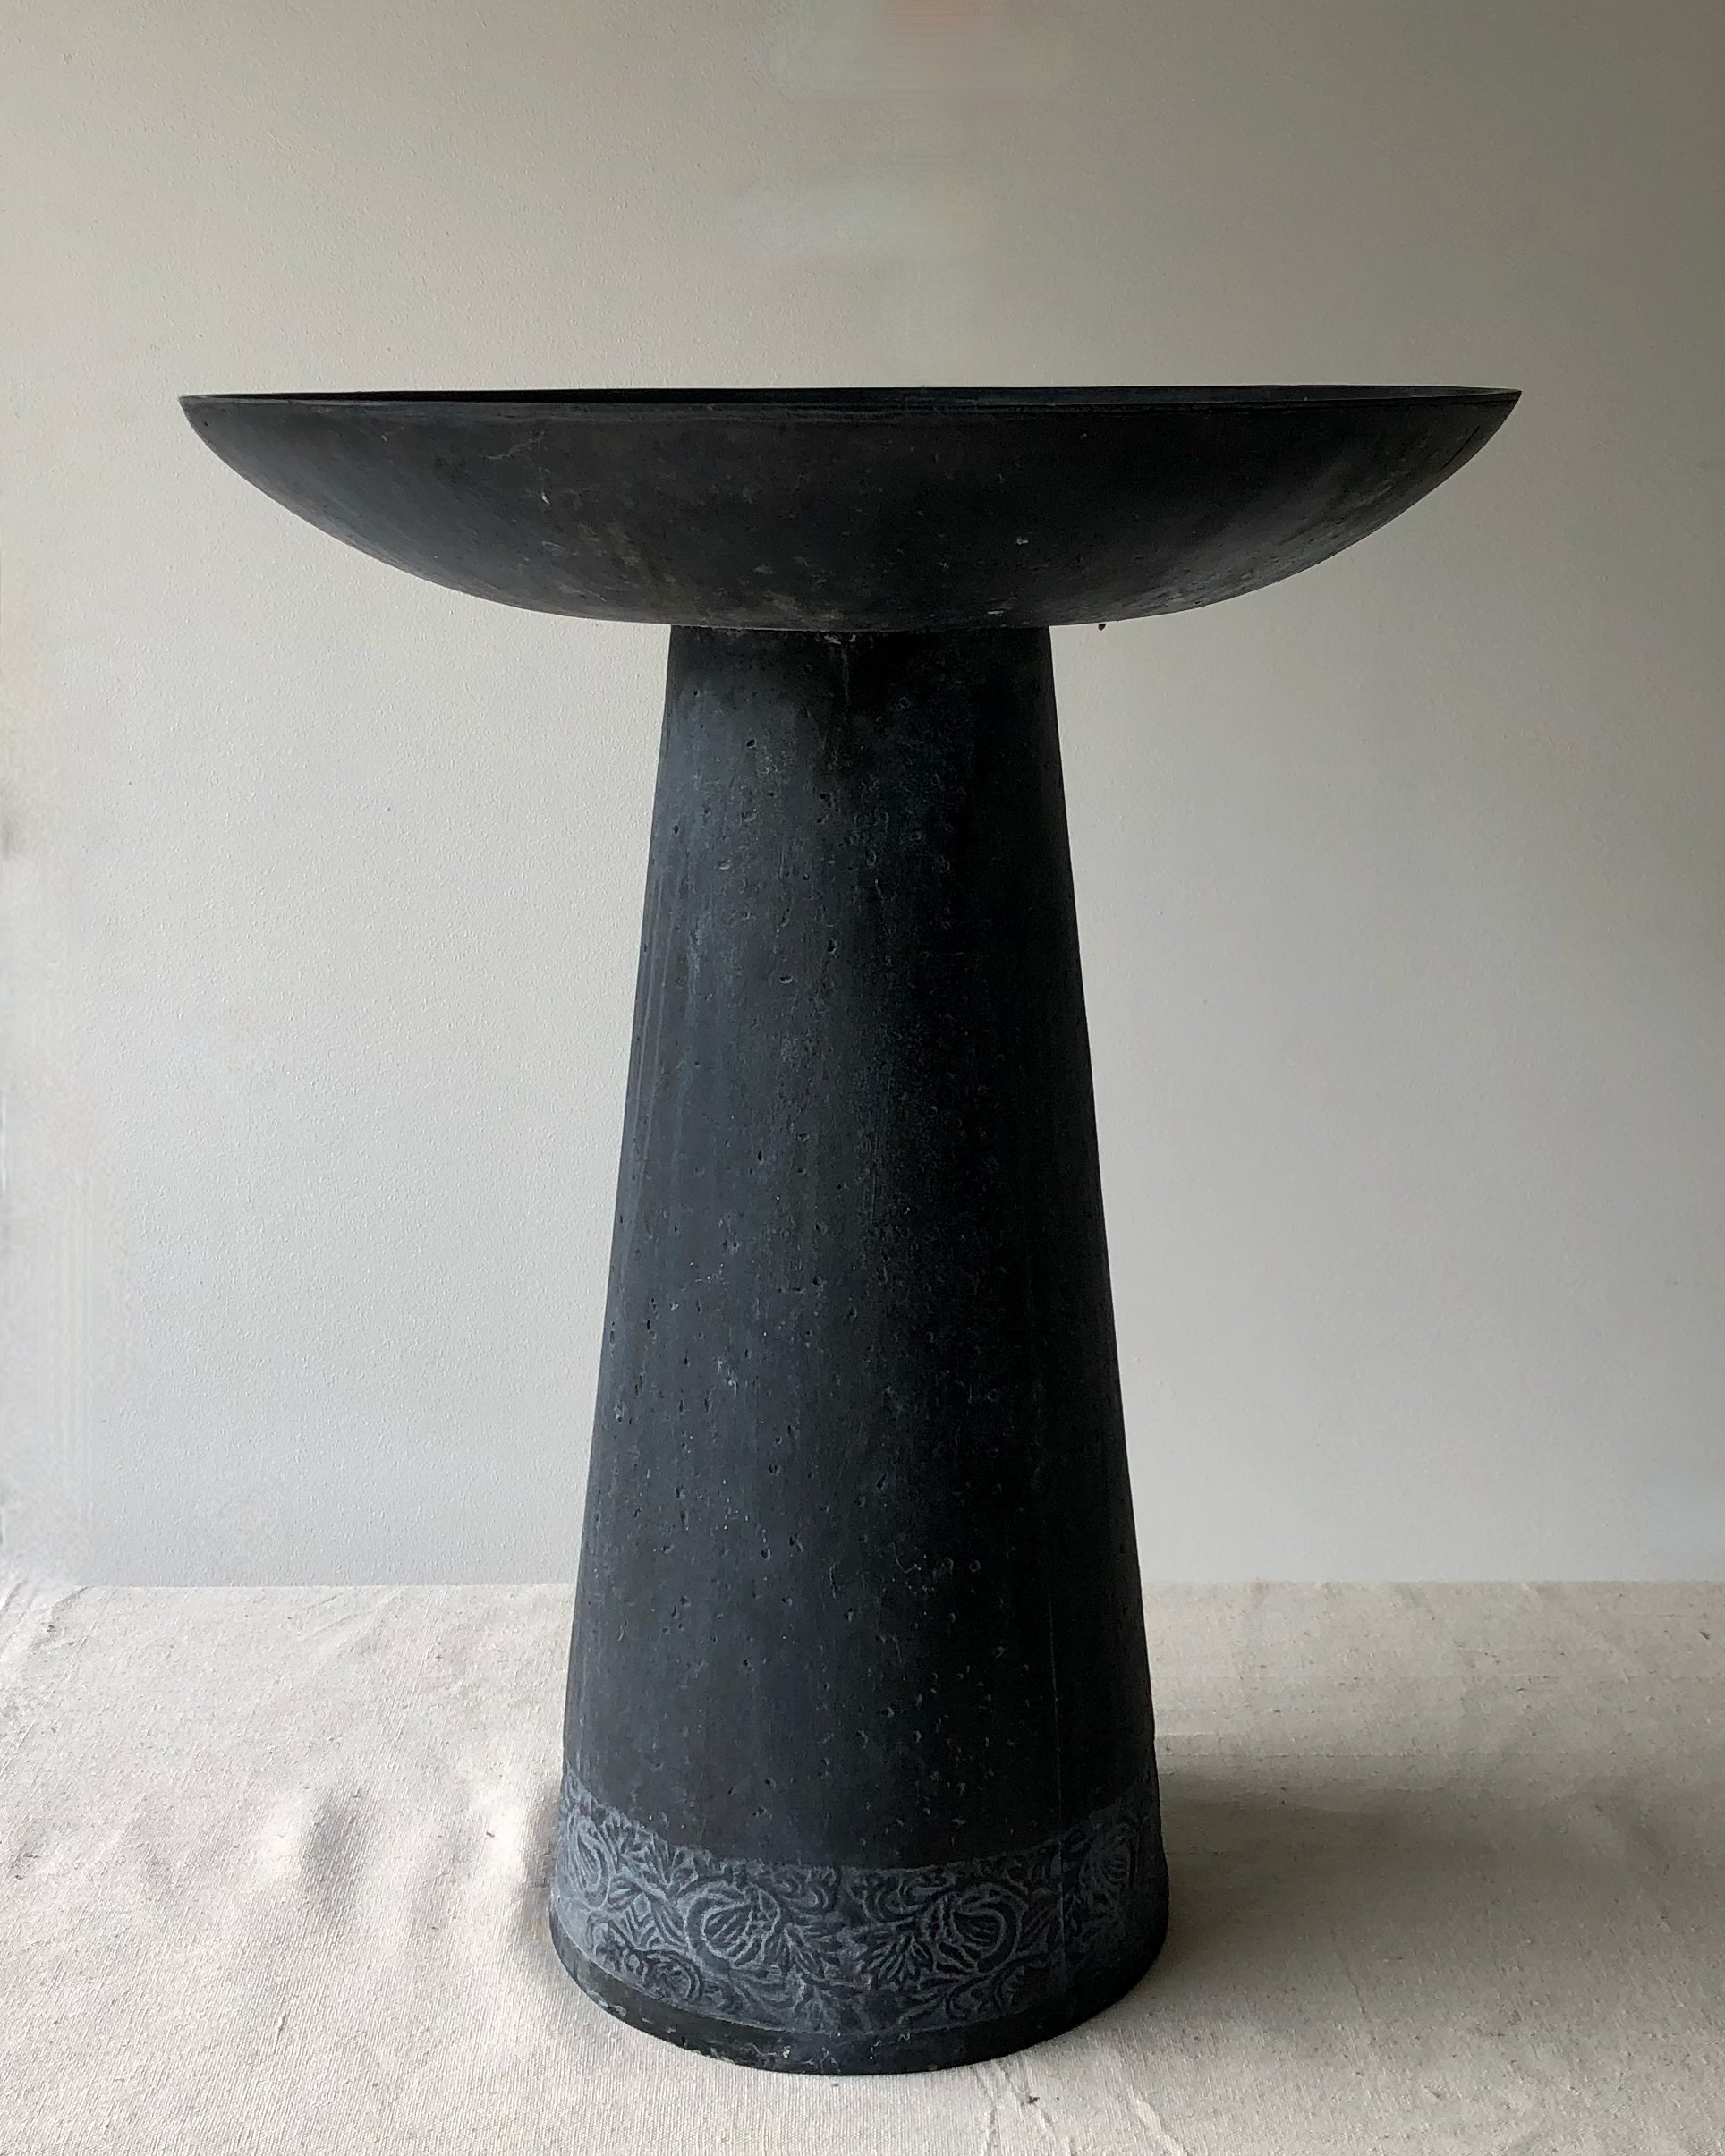
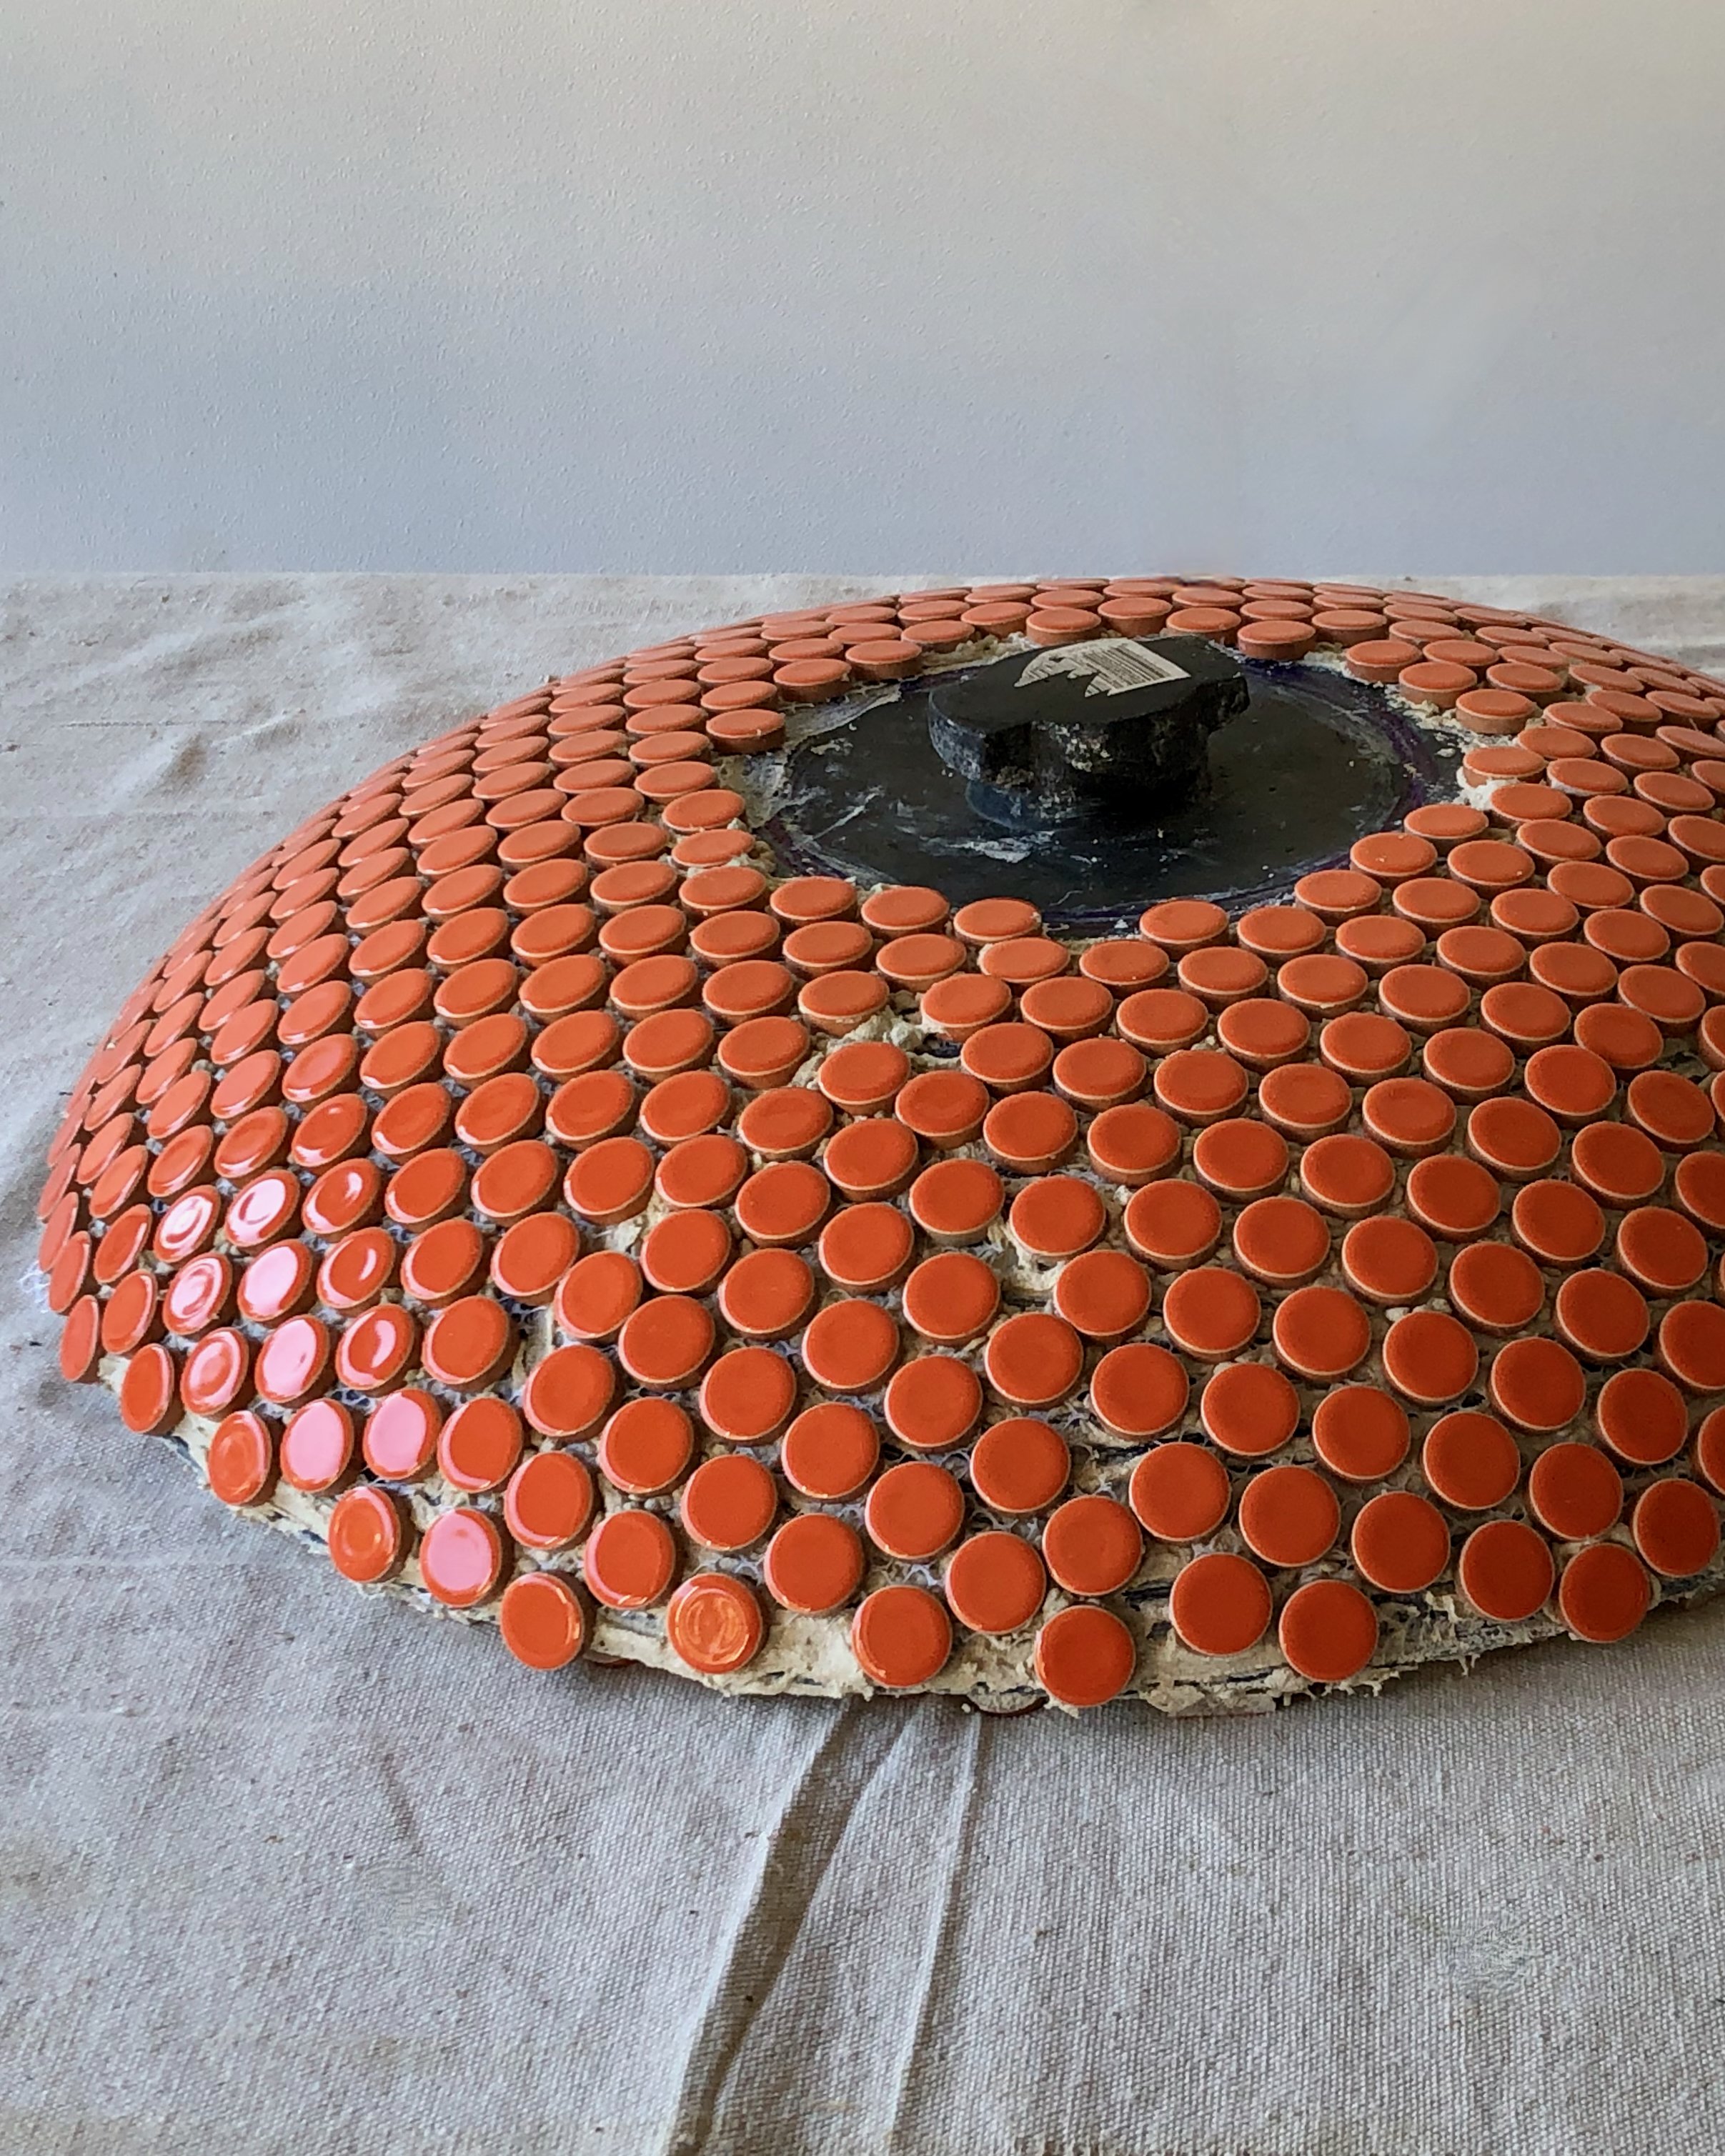
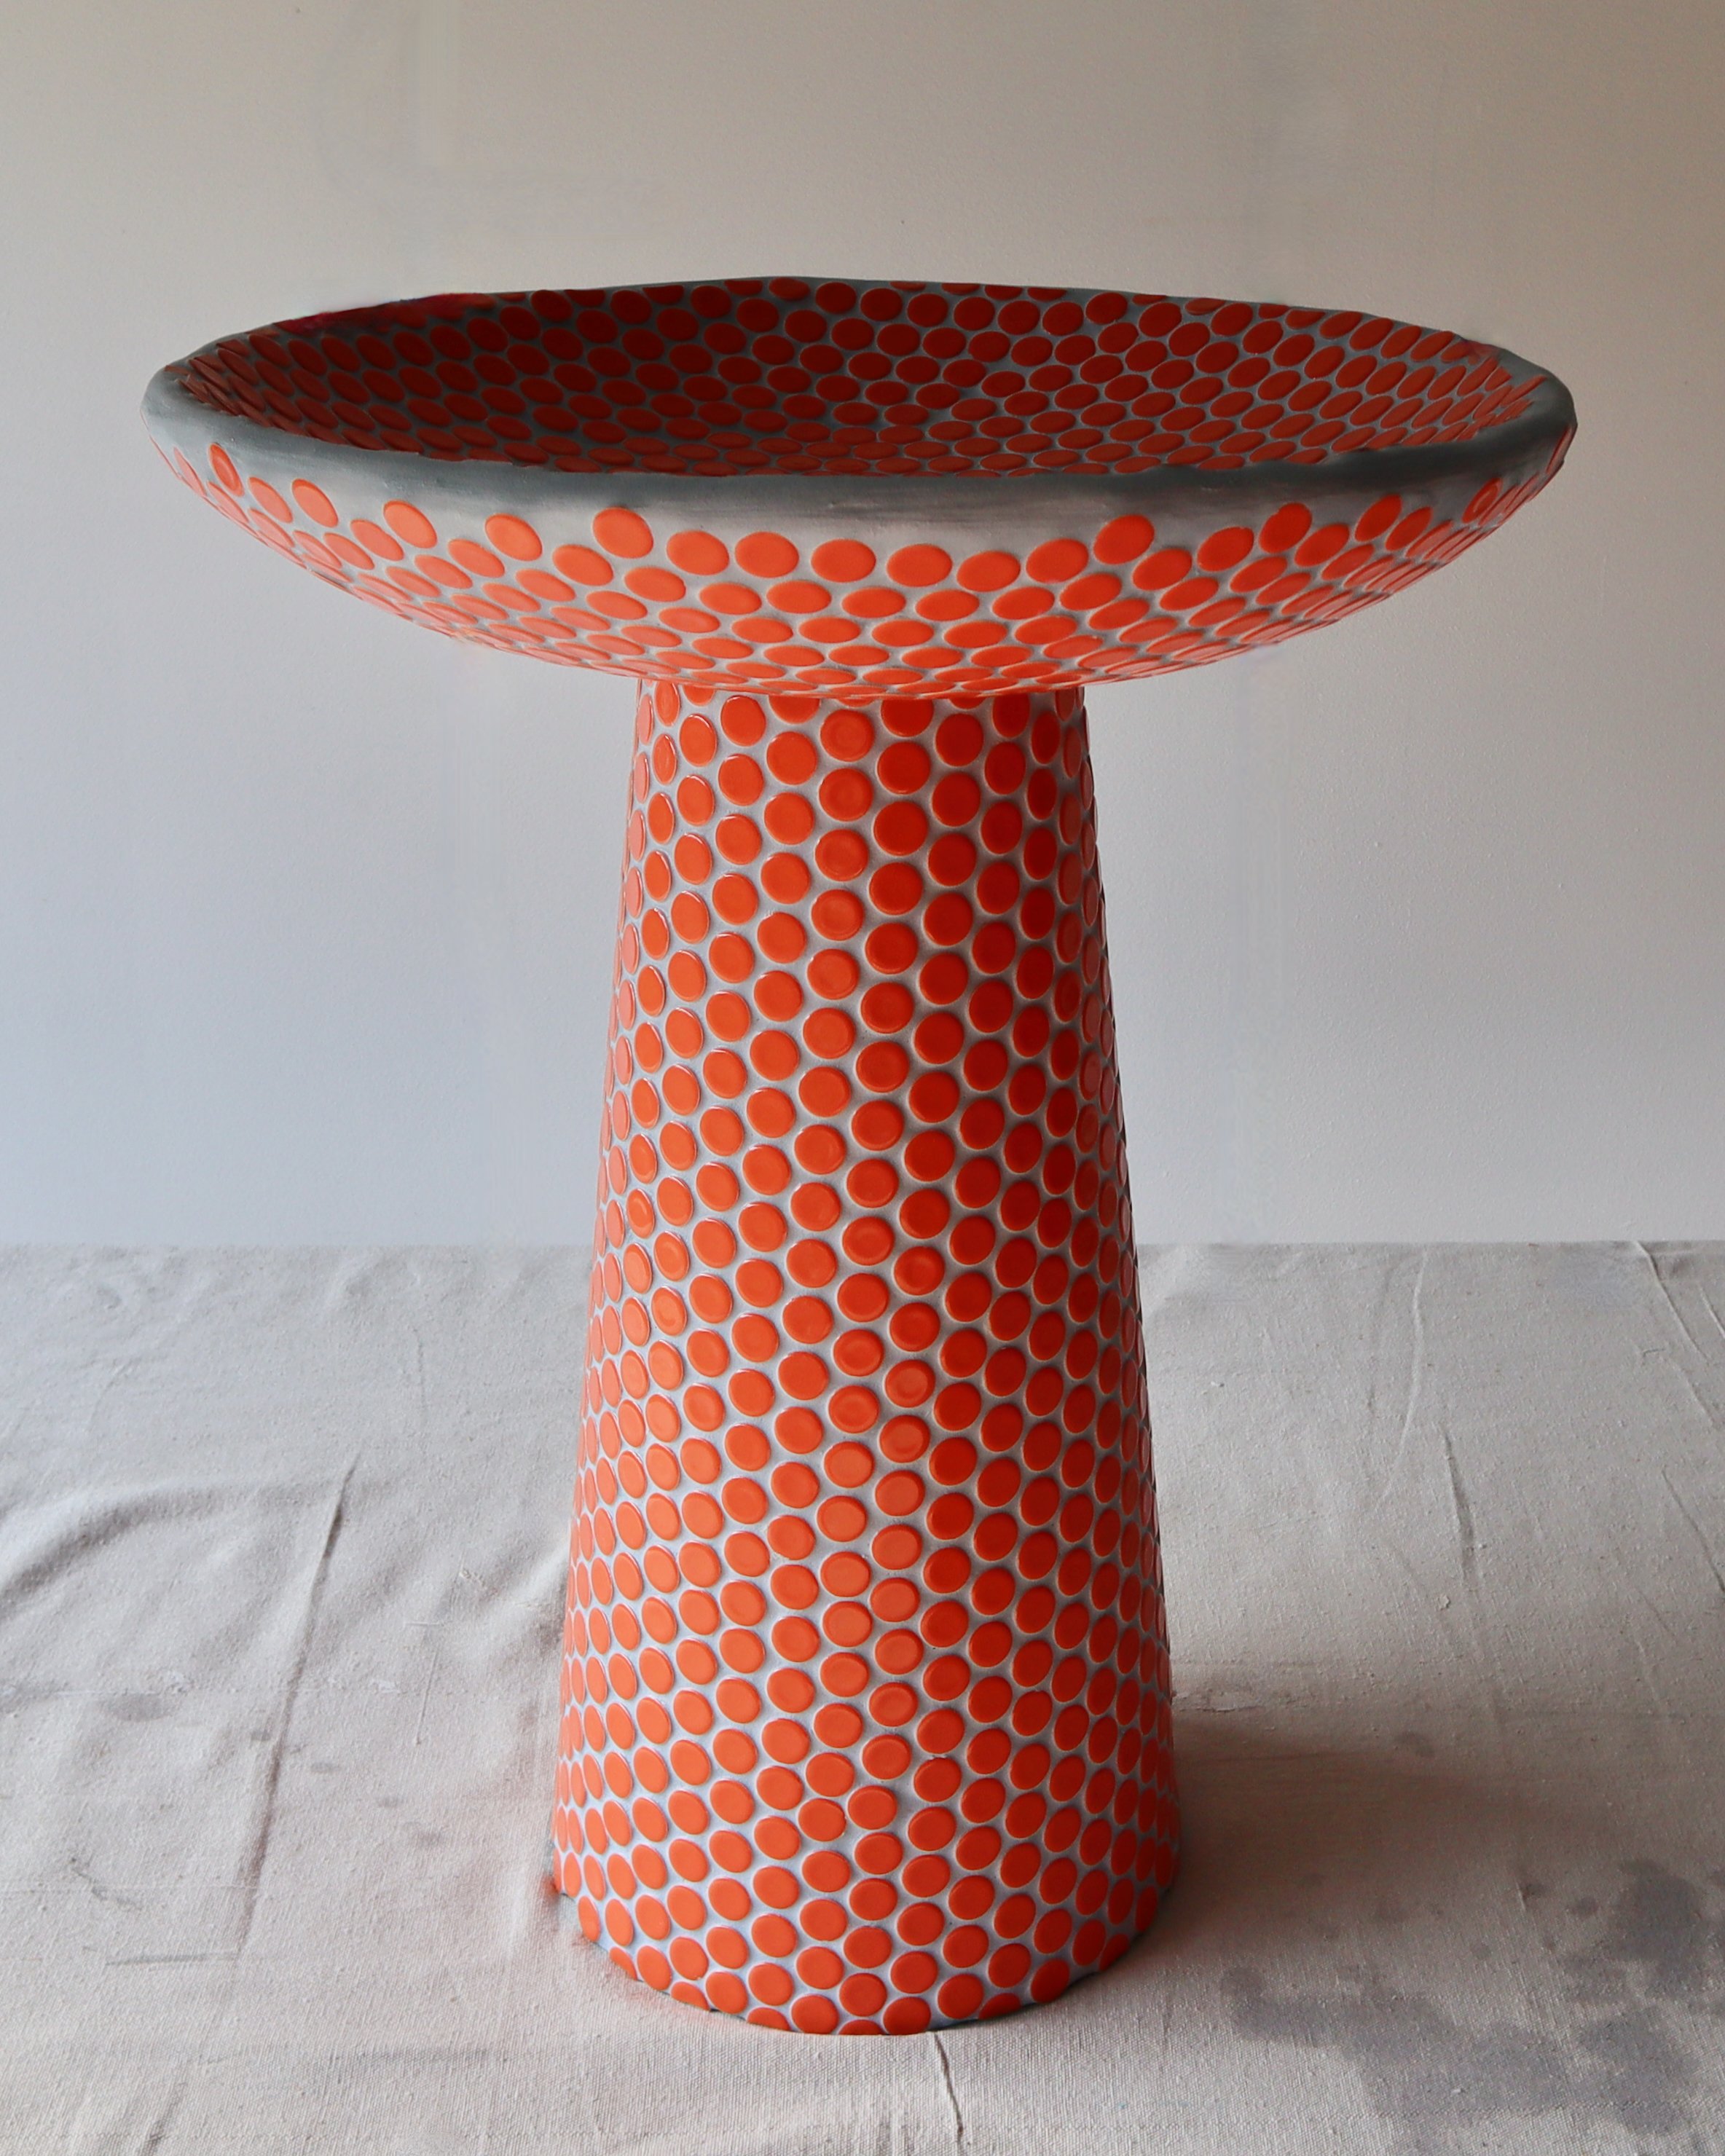
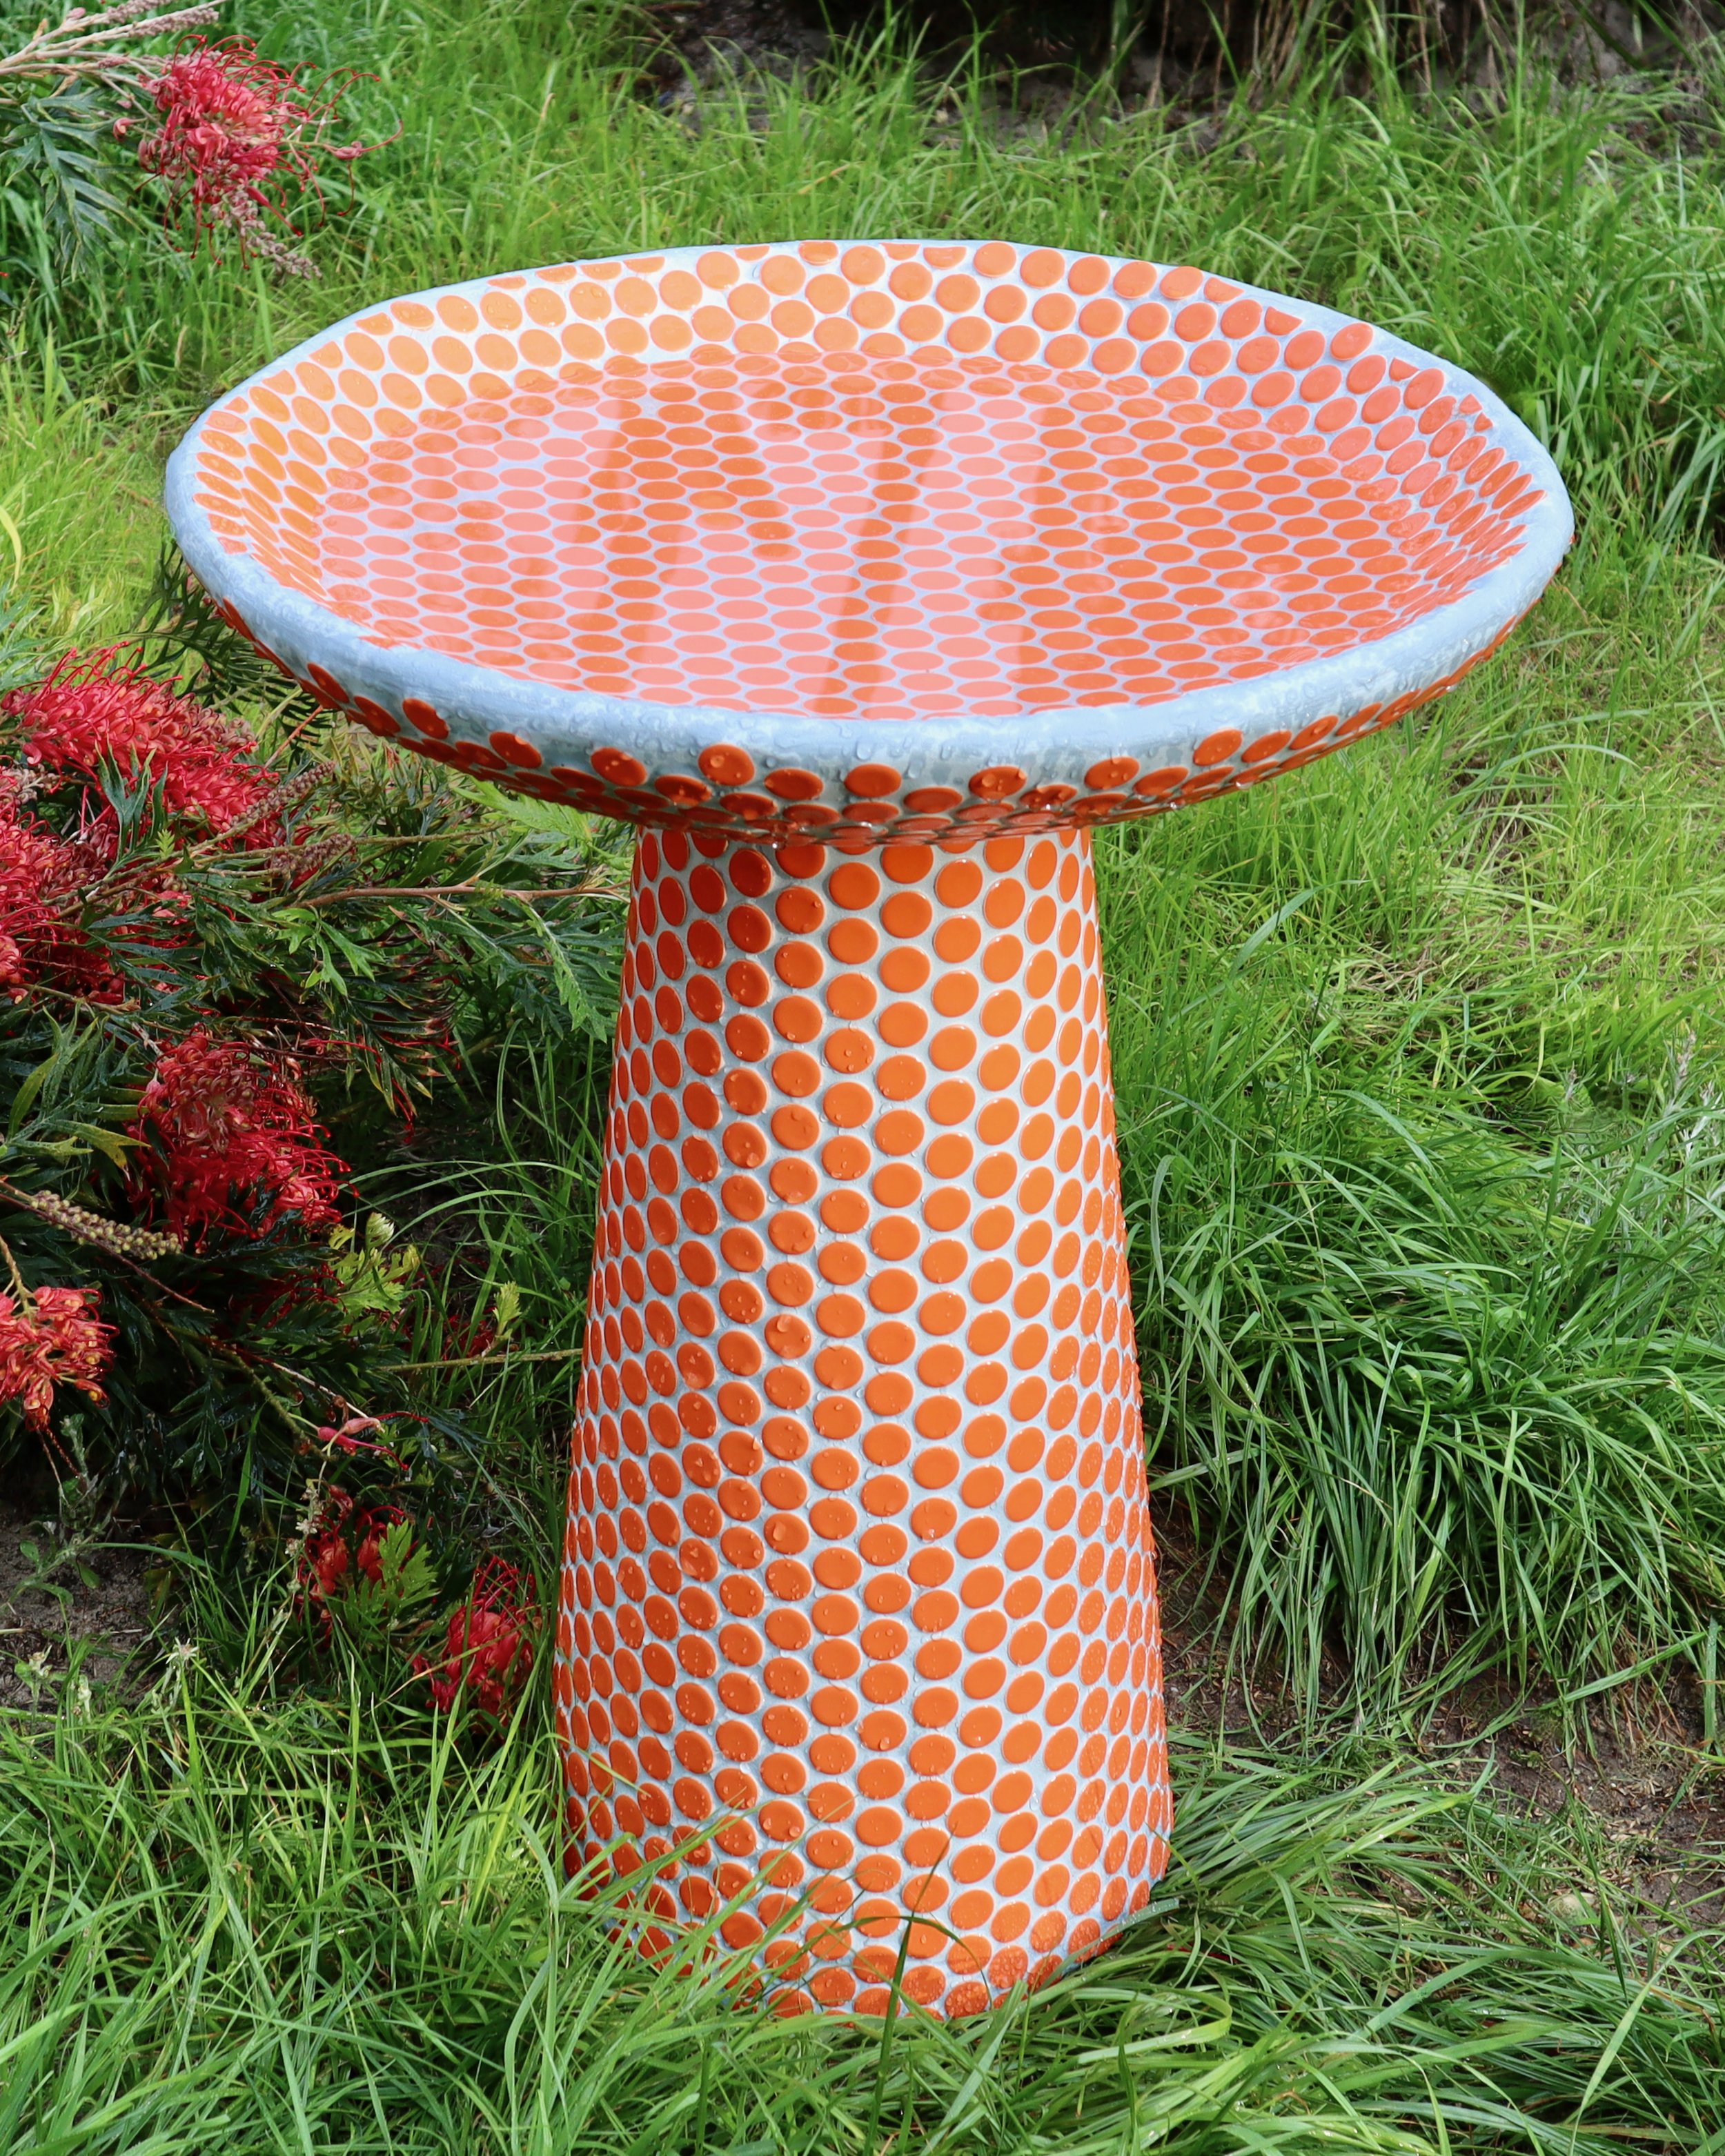
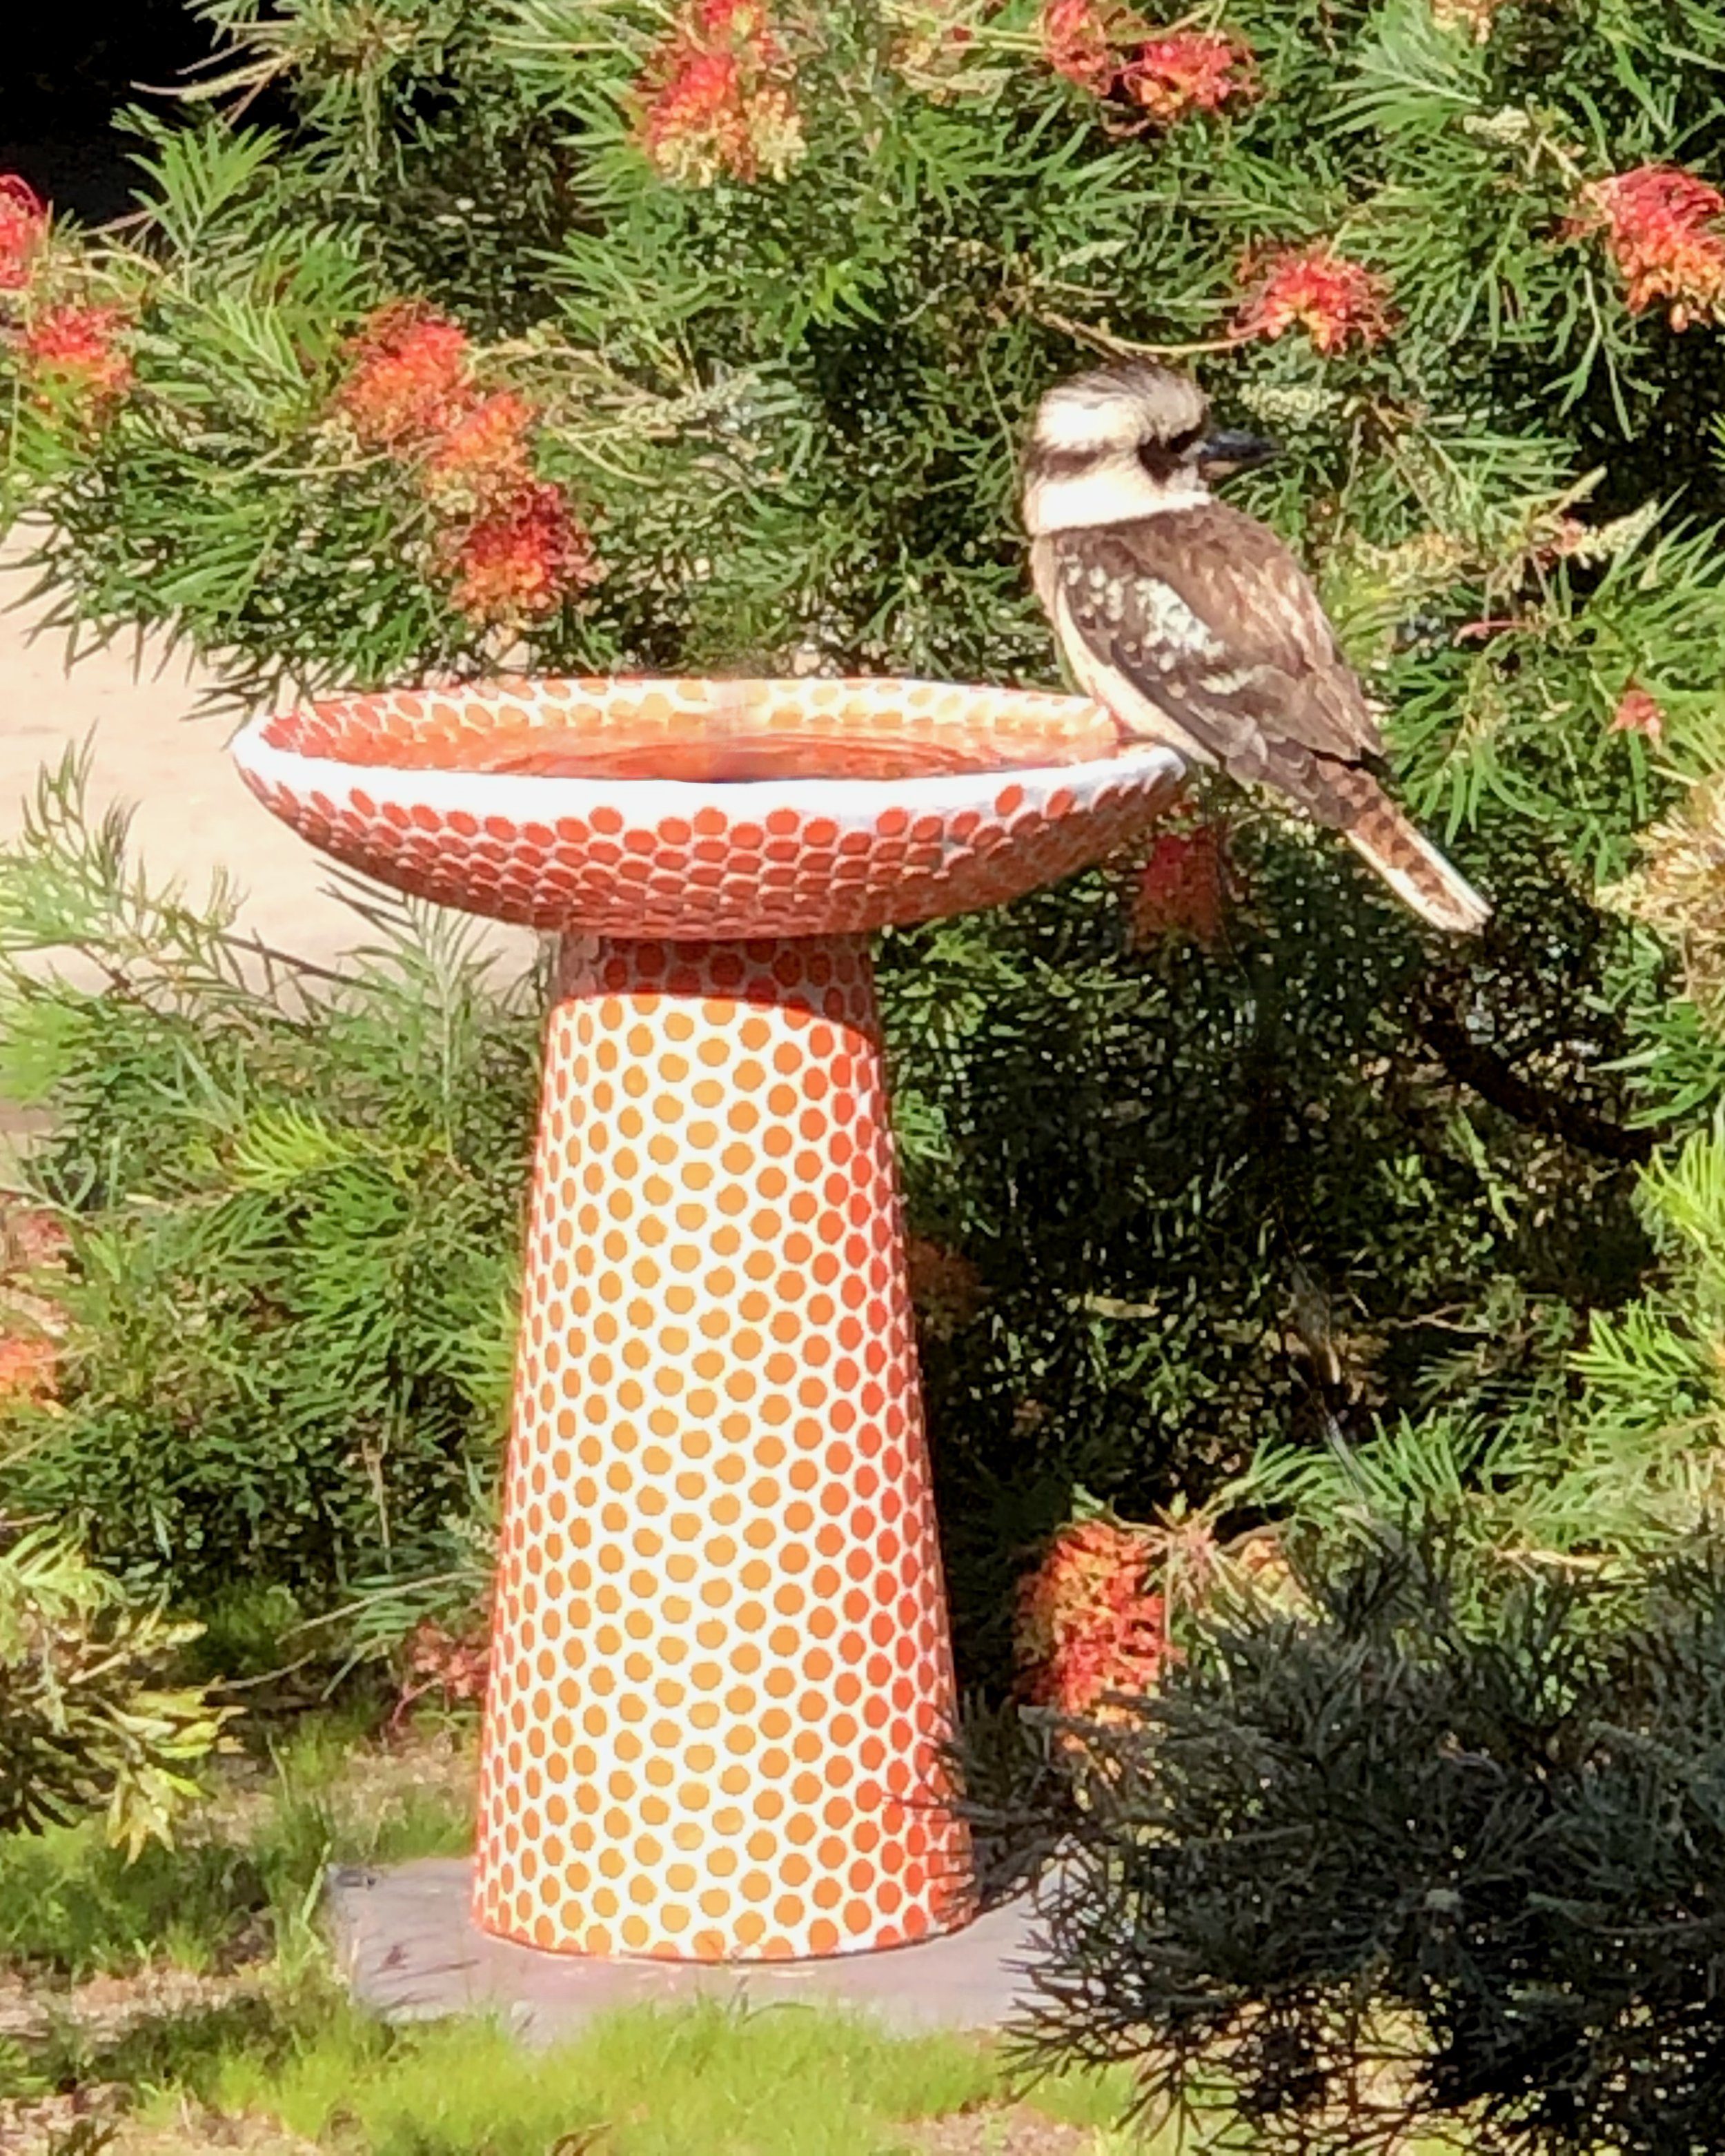
I used these orange mosaics to clad a birdbath using the same technique as this table. It’s been in the garden for a few years now and still looks good. The kookaburras love it!
Will you be getting stuck into some tiliing?
Tag me on your project and follow more of my DIY journey on Instagram for tool tips, home improvement and simple building tutorials.
