Tiling with Mosaics
Natasha Dickins

Tiling often gets put in the too-hard basket, but laying mosaics is a pretty simple DIY job. Just have a water source nearby when cleaning the grout, and allow for the full drying times. It also helps to keep the area neat and tidy as you work.
TIP This handy technique suits various applications, including a kitchen splash back. But if you prefer subways, check out my tiled fireplace hearth. For square mosaics, see my how-to tile furniture project.
“For smaller areas I like to use premixed materials and products with built-in applicators because they get the job done faster, with less mess. I’ve found the extra expense is a great investment in time and energy.”

For tiling the easy way, I choose round or square mosaics and set them out to avoid having to cut the tiles. Then simply take the guesswork out of mixing up adhesive and grout from scratch with pre-made products.

My project involved tiling over newly installed FC sheeting, but if you’re working with an existing background, use a level to check it is flat, sanding over high points and using a plaster knife to screed any dips with multipurpose joint compound.

After masking around the area, I covered the bench with a drop cloth and taped down the edges. Then positioned 3mm T-shaped tile spacers against the wall to keep the tiles from sitting directly on the bench while creating a gap to seal with silicone later.

I worked out the positioning of the sheets so the straight edges were against the bench and adjusted the size of the squares along the top edge by cutting the mesh from the back with a utility knife.
TIP Mosaics are most often sold as 300mm-square sheets with the tiles adhered to a mesh backing.

To install the tiles, I spread premixed tile adhesive over the area using a small square-notched trowel held at 45°.
TIP Choose small tools for working into awkward spaces such as underneath wall-mounted cabinets and around fittings.

Beginning along the base and working upwards, I pushed the sheets into the adhesive, moving them slightly to ensure evenly spaced gaps between the joins.

I tapped over the surface using a rubber mallet with a pine offcut to ensure the mosaics embedded into the adhesive with a flat, even finish.

Then I wiped with a damp sponge to remove any surface adhesive and left it to cure for a day.
TIP Curing tends to be affected by temperature and humidity, so check the adhesive is totally dry before moving onto the next step.

Marble tiles are porous so, after removing the spacers along the bench, I used an aerosol tile and grout sealer for two quick coats over the surface to help prevent the grout from sticking. This is the same product as the final sealer, but I used a spray for this step as it dries even quicker, and the surrounding area is still protected from overspray with the drop sheet and tape.
TIP Skip this preliminary sealing step for non-porous glass or ceramic mosaics, but always seal the grout to finish.

I used a small rubber squeegee to apply premixed, ready-to-go grout, working it into into the gaps then leaving it to semi-dry for about 15 minutes. I used 1.5kg of grout per four sheets of mosaics.
TIP I chose an ultra white grout to complement the pale green-grey of the tiles, but avoid using coloured grout, especially black, for unsealed natural stone tiles (such as marble, slate, sandstone and travertine) as it can stain the surface.

To remove the excess grout, I wiped over the tiles in one direction with a damp sponge, continually rinsing in a bucket of water and wiping until the surface was clean, leaving it to cure for a couple of hours.
TIP If grout smudges out of the joints, wait another 10 minutes before sponging. Keep the water and sponge clean by continually rising and refilling the bucket under a tap.

I tidied away the drop cloth and cleaned the area of dust, wiping the tiles with a microfibre cloth to remove the grout haze that develops as the surface dries.
After applying another row of tape between the bench and tiles, I applied white silicone sealant, running a damp finger along to remove excess and smooth the surface.
TIP Choose silicone with an applicator to save having to use a caulking gun.
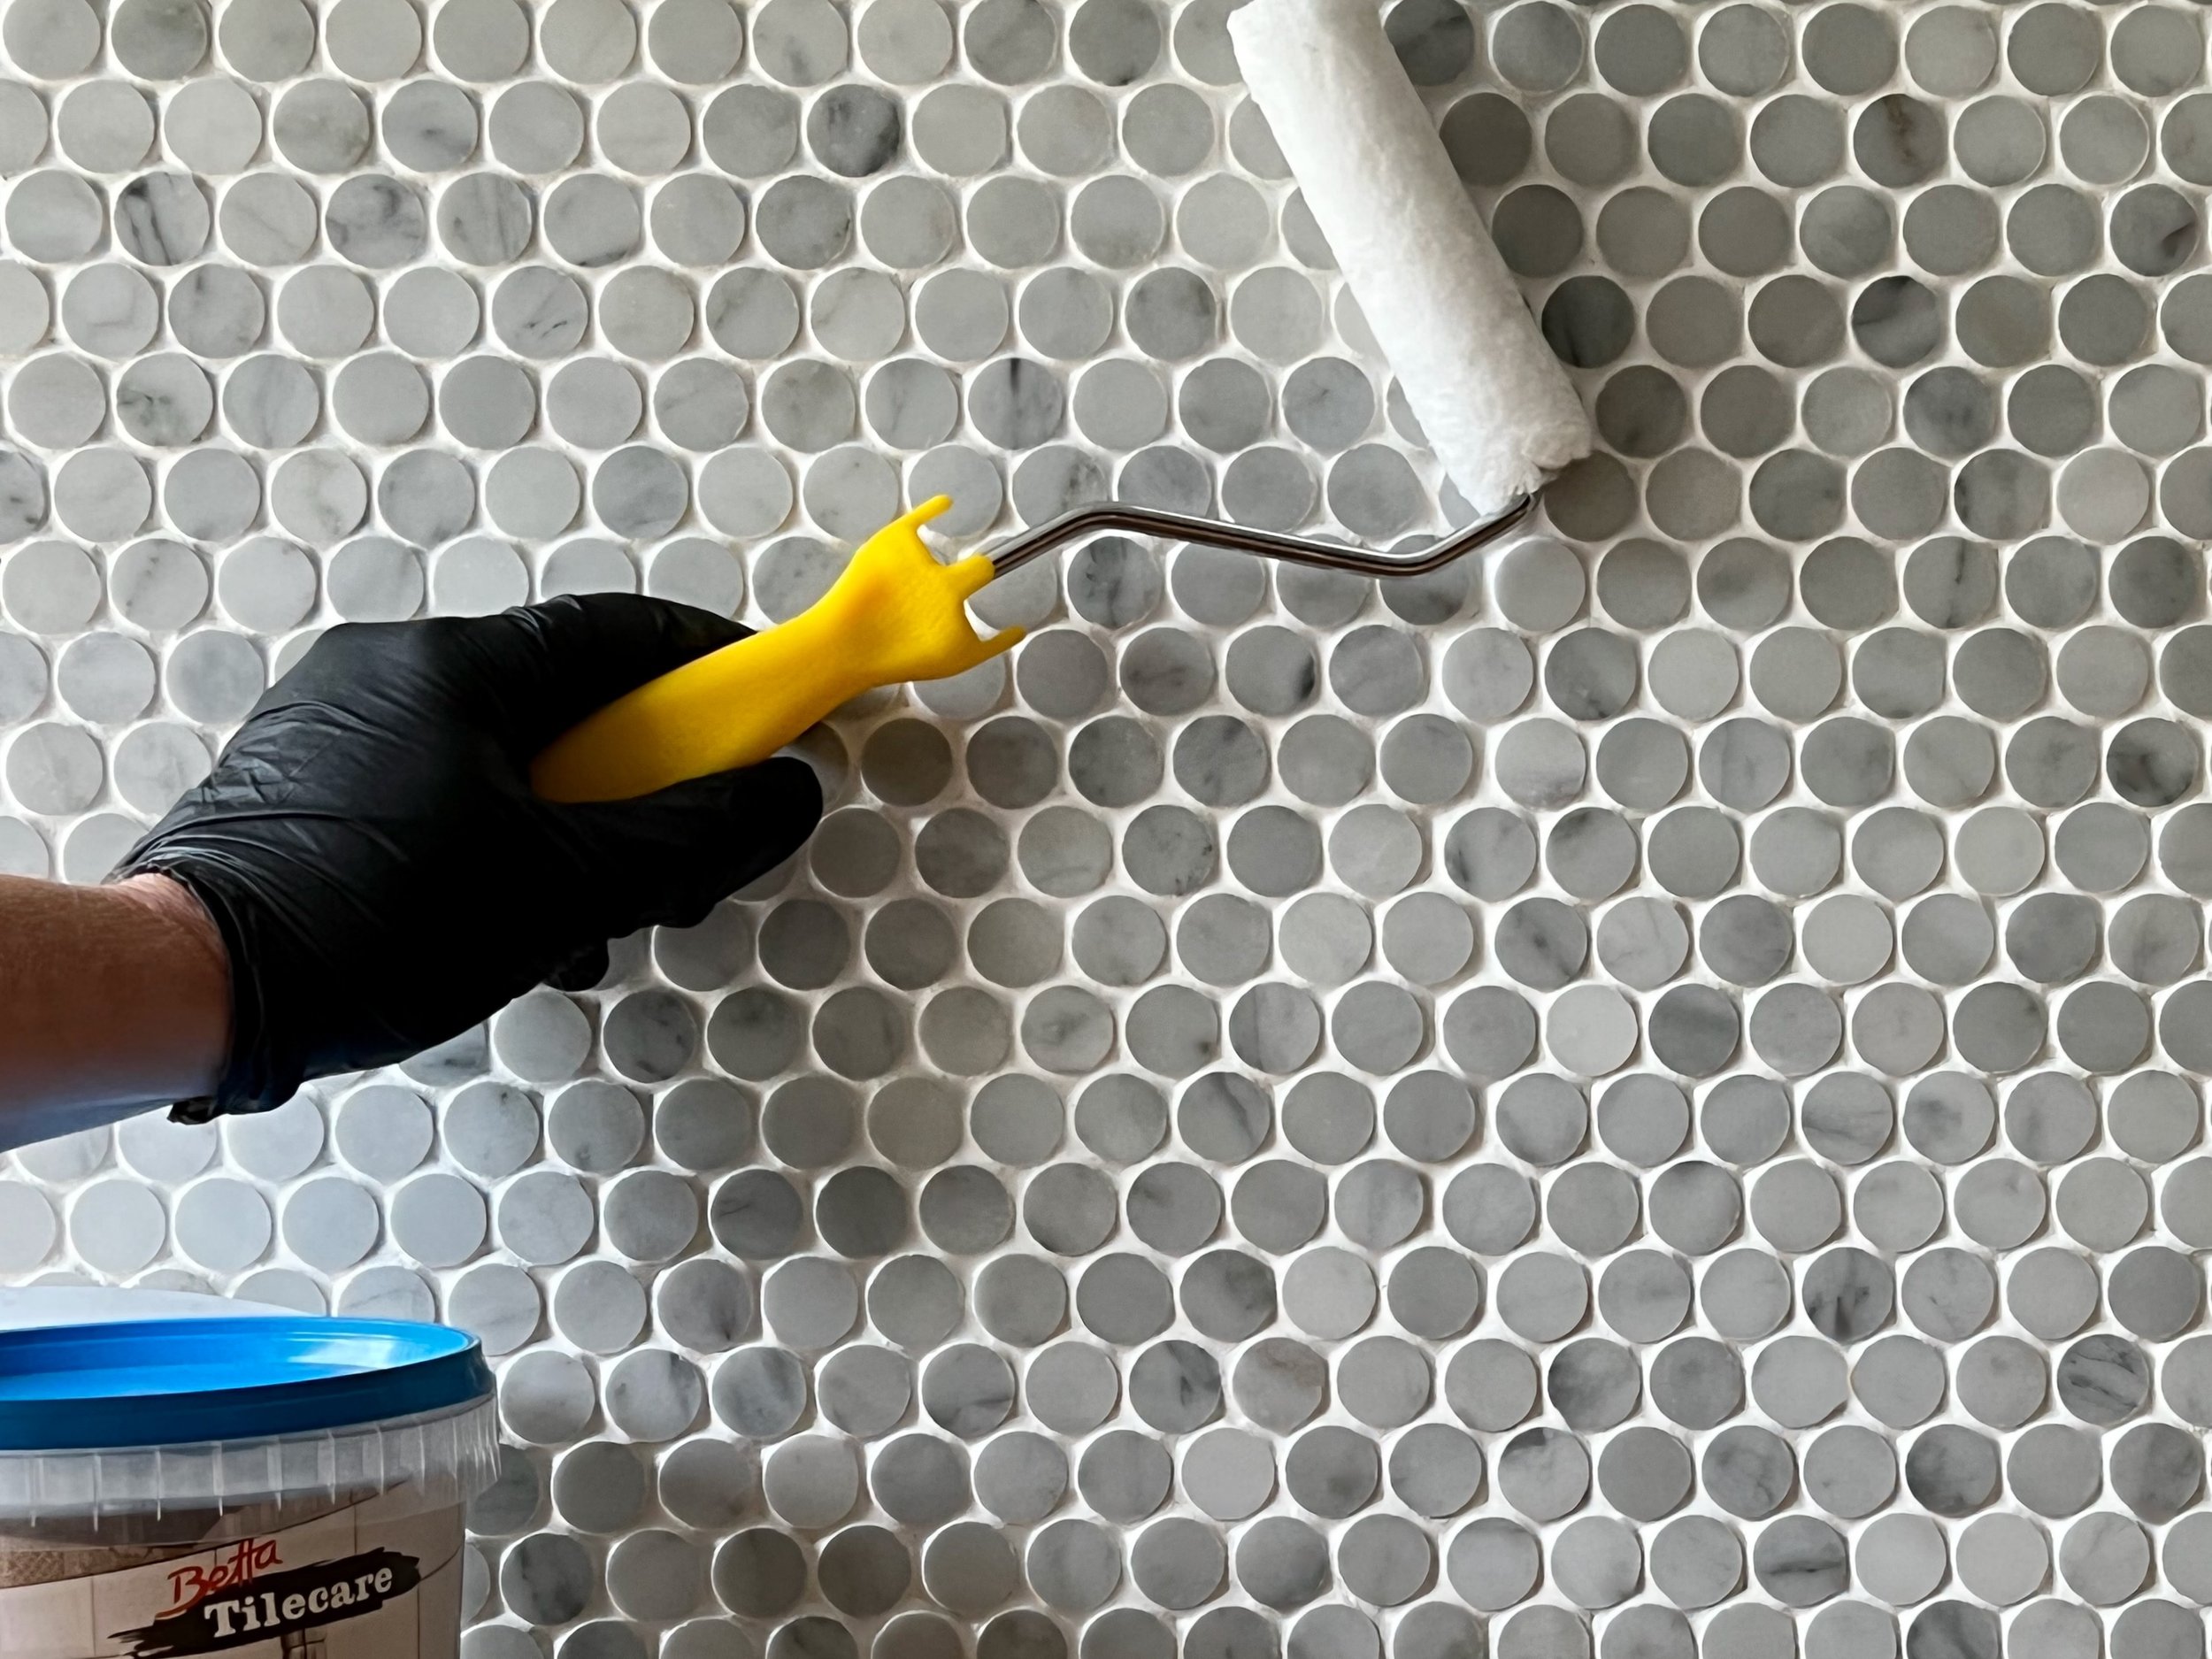
After leaving the entire project to cure for another day, I wiped over the tiles again with a clean, slightly damp cloth and applied two wet-on-wet coats of tile and grout sealer with a mini microfibre roller.

Then I removed the tape and left it to dry overnight.

The lovely tiles are Decor8 penny-round, honed marble mosaics in Bianco Carrara, which come in standard mesh squares of 305mm. I used them to illustrate this how-to DIY project featured in Bunnings Magazine.
Are you planning to try your hand at tiling?
Tag me on your project and follow more of my DIY journey on Instagram for tool tips, home improvement and simple building tutorials.