FESTIVE WREATH MADE OF DOWEL
Alun Machin

A timber wreath is easy to make unique if you choose a main material that can have colour variations. Then give it life by adding found objects, including something green or from nature.
My favourite material to work with is timber, so I made this festive decoration using 18mm-square beading to join round 8mm dowel to make four squares. I finished the squares in different shades of varnish for a tonal effect and to protect it from the weather while it hangs on the front door.

DIY TOOLS & MATERIALS
small handsaw
two 2.4m lengths of Porta 8mm dowel
a 320mm length of Porta 18mm x 18mm pine beading
drill with 8mm bit
Bondall Bondcrete adhesive
hand-sanding block with 180-grit abrasive paper
clean kitchen sponge
scissors
gloves
Bondall Monocel Stain & Varnish in Black, Walnut, Jarrah and Baltic Pine
picture hanging wire
wire cutters or pliers
multitool or pliers
decorations including gum nuts, leaves, wooden stars
picture wire, leather or string to attach the decorations

STEP 1 Cut the lengths of dowel
Cut 16 pieces of 8mm dowel to 300mm lengths using a small handsaw.
TIP I prefer a Japanese handsaw as it’s easy to use and cuts smoothly.

STEP 2 Drill the beading
On the square beading, mark the centre down adjacent sides, mark 9mm down for the hole and 18mm down for the cut line, marking up 16 pieces. Drill halfway into each side to make holes about 5mm deep.

STEP 3 Cut the beading
Use the handsaw to cut the beading into 18mm squares and use the sanding block with abrasive paper to neaten the cuts.
TIP It’s safer to hold the length of beading to drill all the holes first, then cut the squares.

STEP 4 Glue up the frame
Dab Bondall Bondcrete into the holes, position the dowel and make sure each square is flat and leave to dry.
TIP Weight the corners down with tins of varnish or blocks of timber for about 30 minutes, which is all the time it takes for this glue to dry.
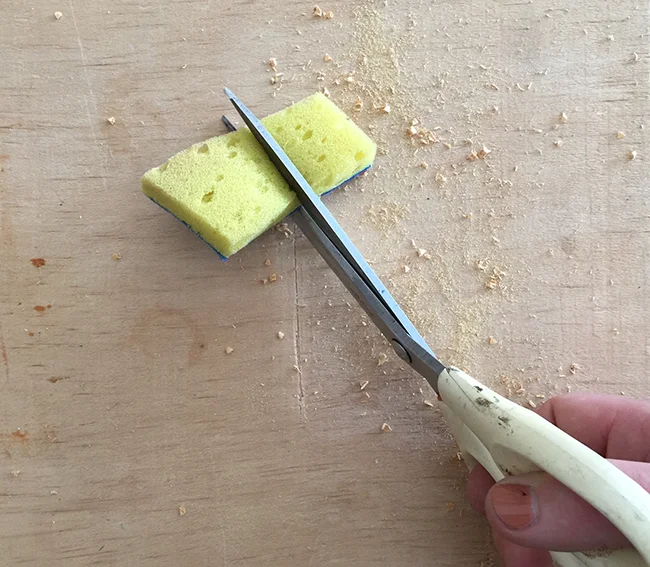
STEP 5 Apply the stain
Cut a kitchen sponge into small pieces of about 40mm square, one for each shade of Monocel Stain & Varnish. Wear gloves to dip the sponge into the varnish and use the open lid to dab the sponge and remove excess before applying.
TIP Leave the varnish to dry thoroughly, covering the sponges in plastic wrap to prevent them from drying out, then apply a second coat.

STEP 6 Join the squares
Cut 150mm lengths of picture wire with wire cutters. Begin with the darkest square at the back, position the next square and join them in two places, twisting the wire at the back using pliers or a multitool and cutting off the excess. Attach the next square in the same way, working around the wreath.
TIP Before joining, position the squares to work out how they overlap, and always tie off the wire at the back.

STEP 7 Attach decorations
Use picture wire, leather or string to attach layers of decorations, beginning at the base of the wreath and working from the centre to keep the weight balanced.
TIP Avoid materials that are too heavy, begin with a flat layer of greenery or leaves then add smaller features of flowers or nuts.

TIMBER STARS I found timber stars at a hardware store, sealed them in various shades of Monocel Stain & Varnish, drilled holes through the centres then threaded them with leather and ceramic beads.

BUSH FOLIAGE To hold dried sprigs of leaves and gumnuts, I drilled a hole through a piece of square beading to use as a mini vase and pushed them through either side, attaching the arrangement with a length of leather.

PLASTIC PLANTS Or use sprigs of plastic foliage.