CLASSIC DINING CHAIR REVAMP
Alun Machin

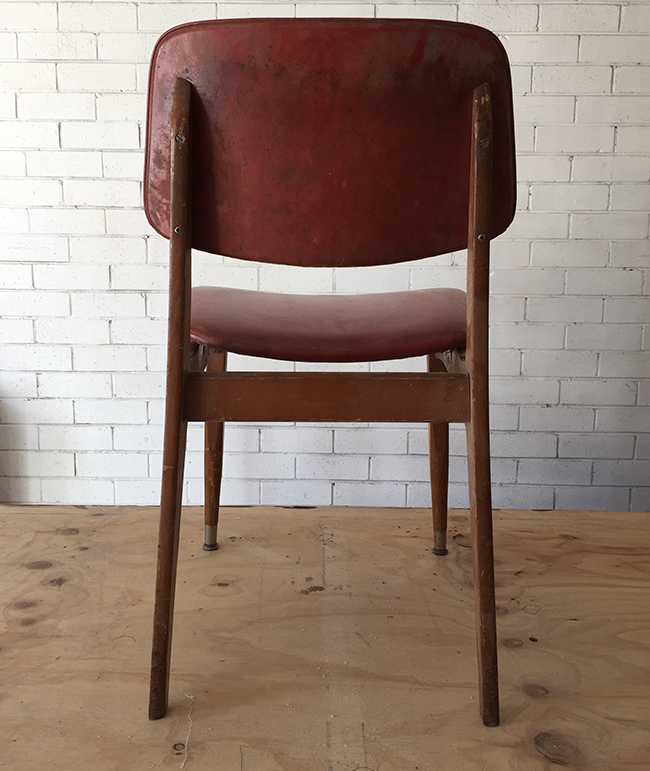
I love a vintage find, especially if it’s an Aussie classic like this dining chair, which I found on the side of the road.
But old furniture usually needs some changes to make it collectible again, and I have a three-step process that works for any makeover.

Here’s my plan:
Remove one thing that makes it most dated. In this case it’s the old red vinyl.
Add an element to make it more functional and modern. Which will be new varnish to protect the plywood.
Improve the experience. Sand the the frame and renew the finish for a designer result.

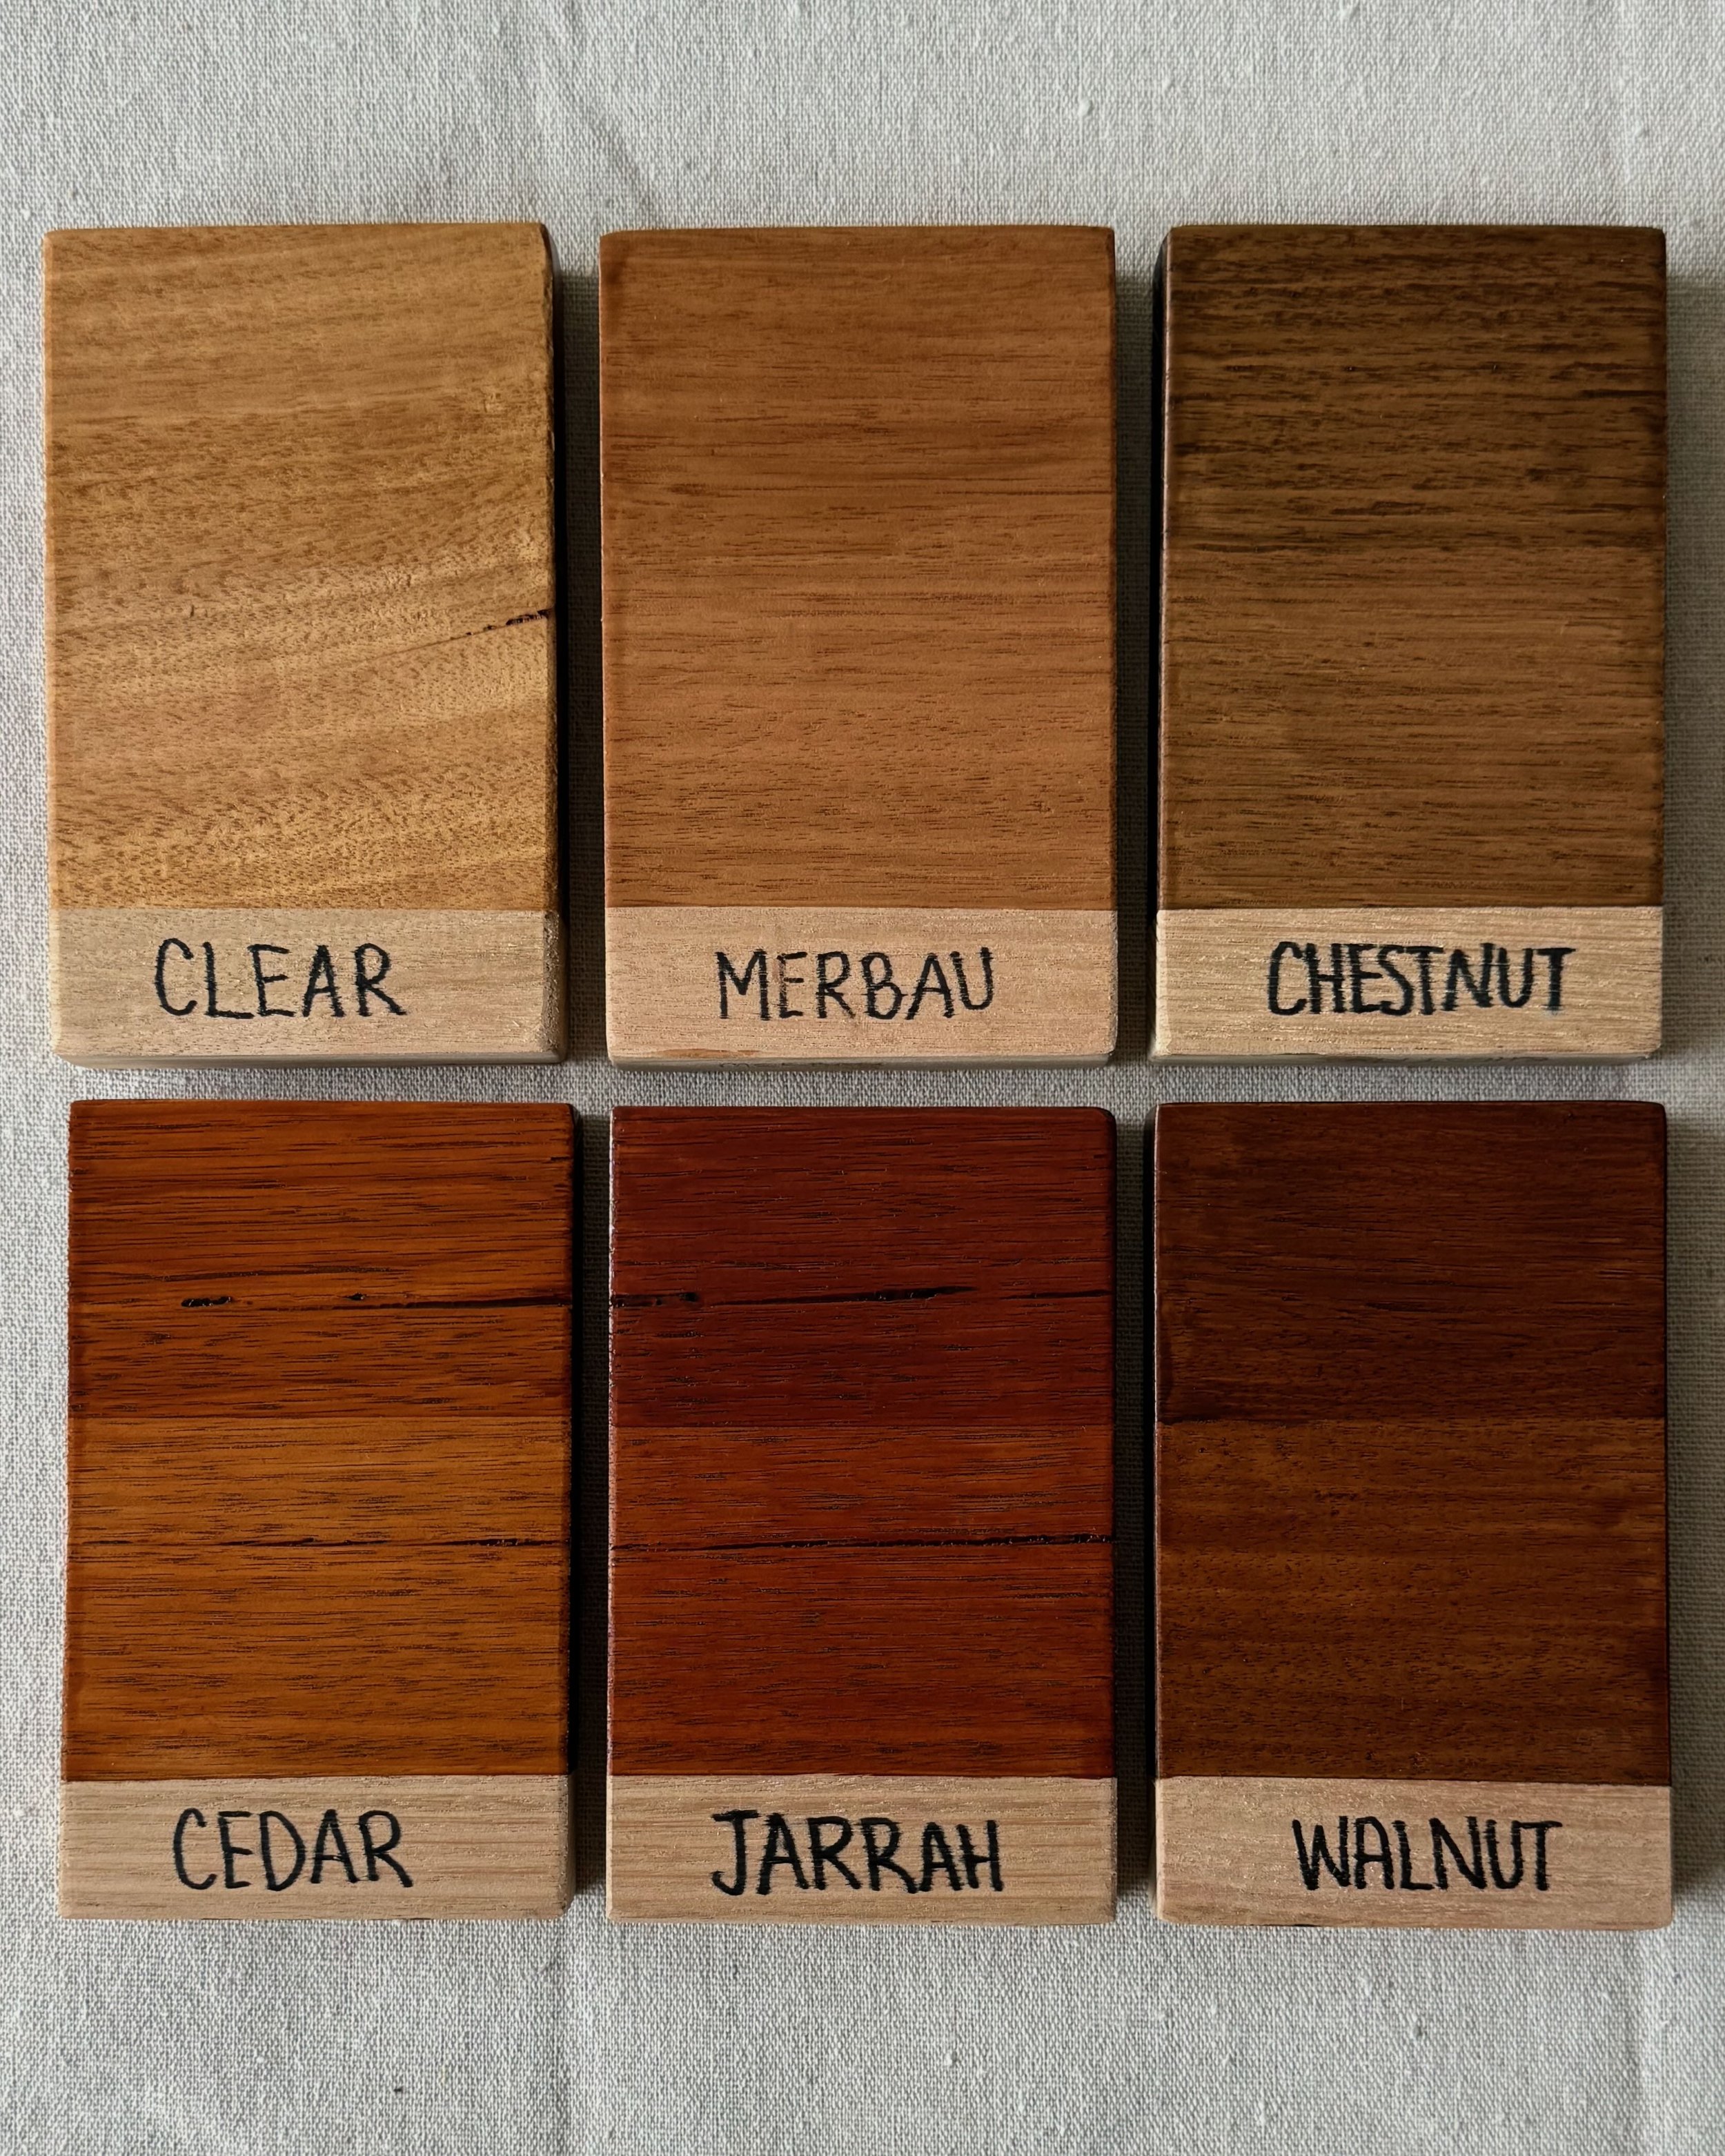
I wanted to contrast the old orangey varnish with a rich, dark stain that highlights the woodgrain. Using Monocel Stain & Varnish in Walnut for the frame gives a smooth, tough finish to prevent further wear and tear.
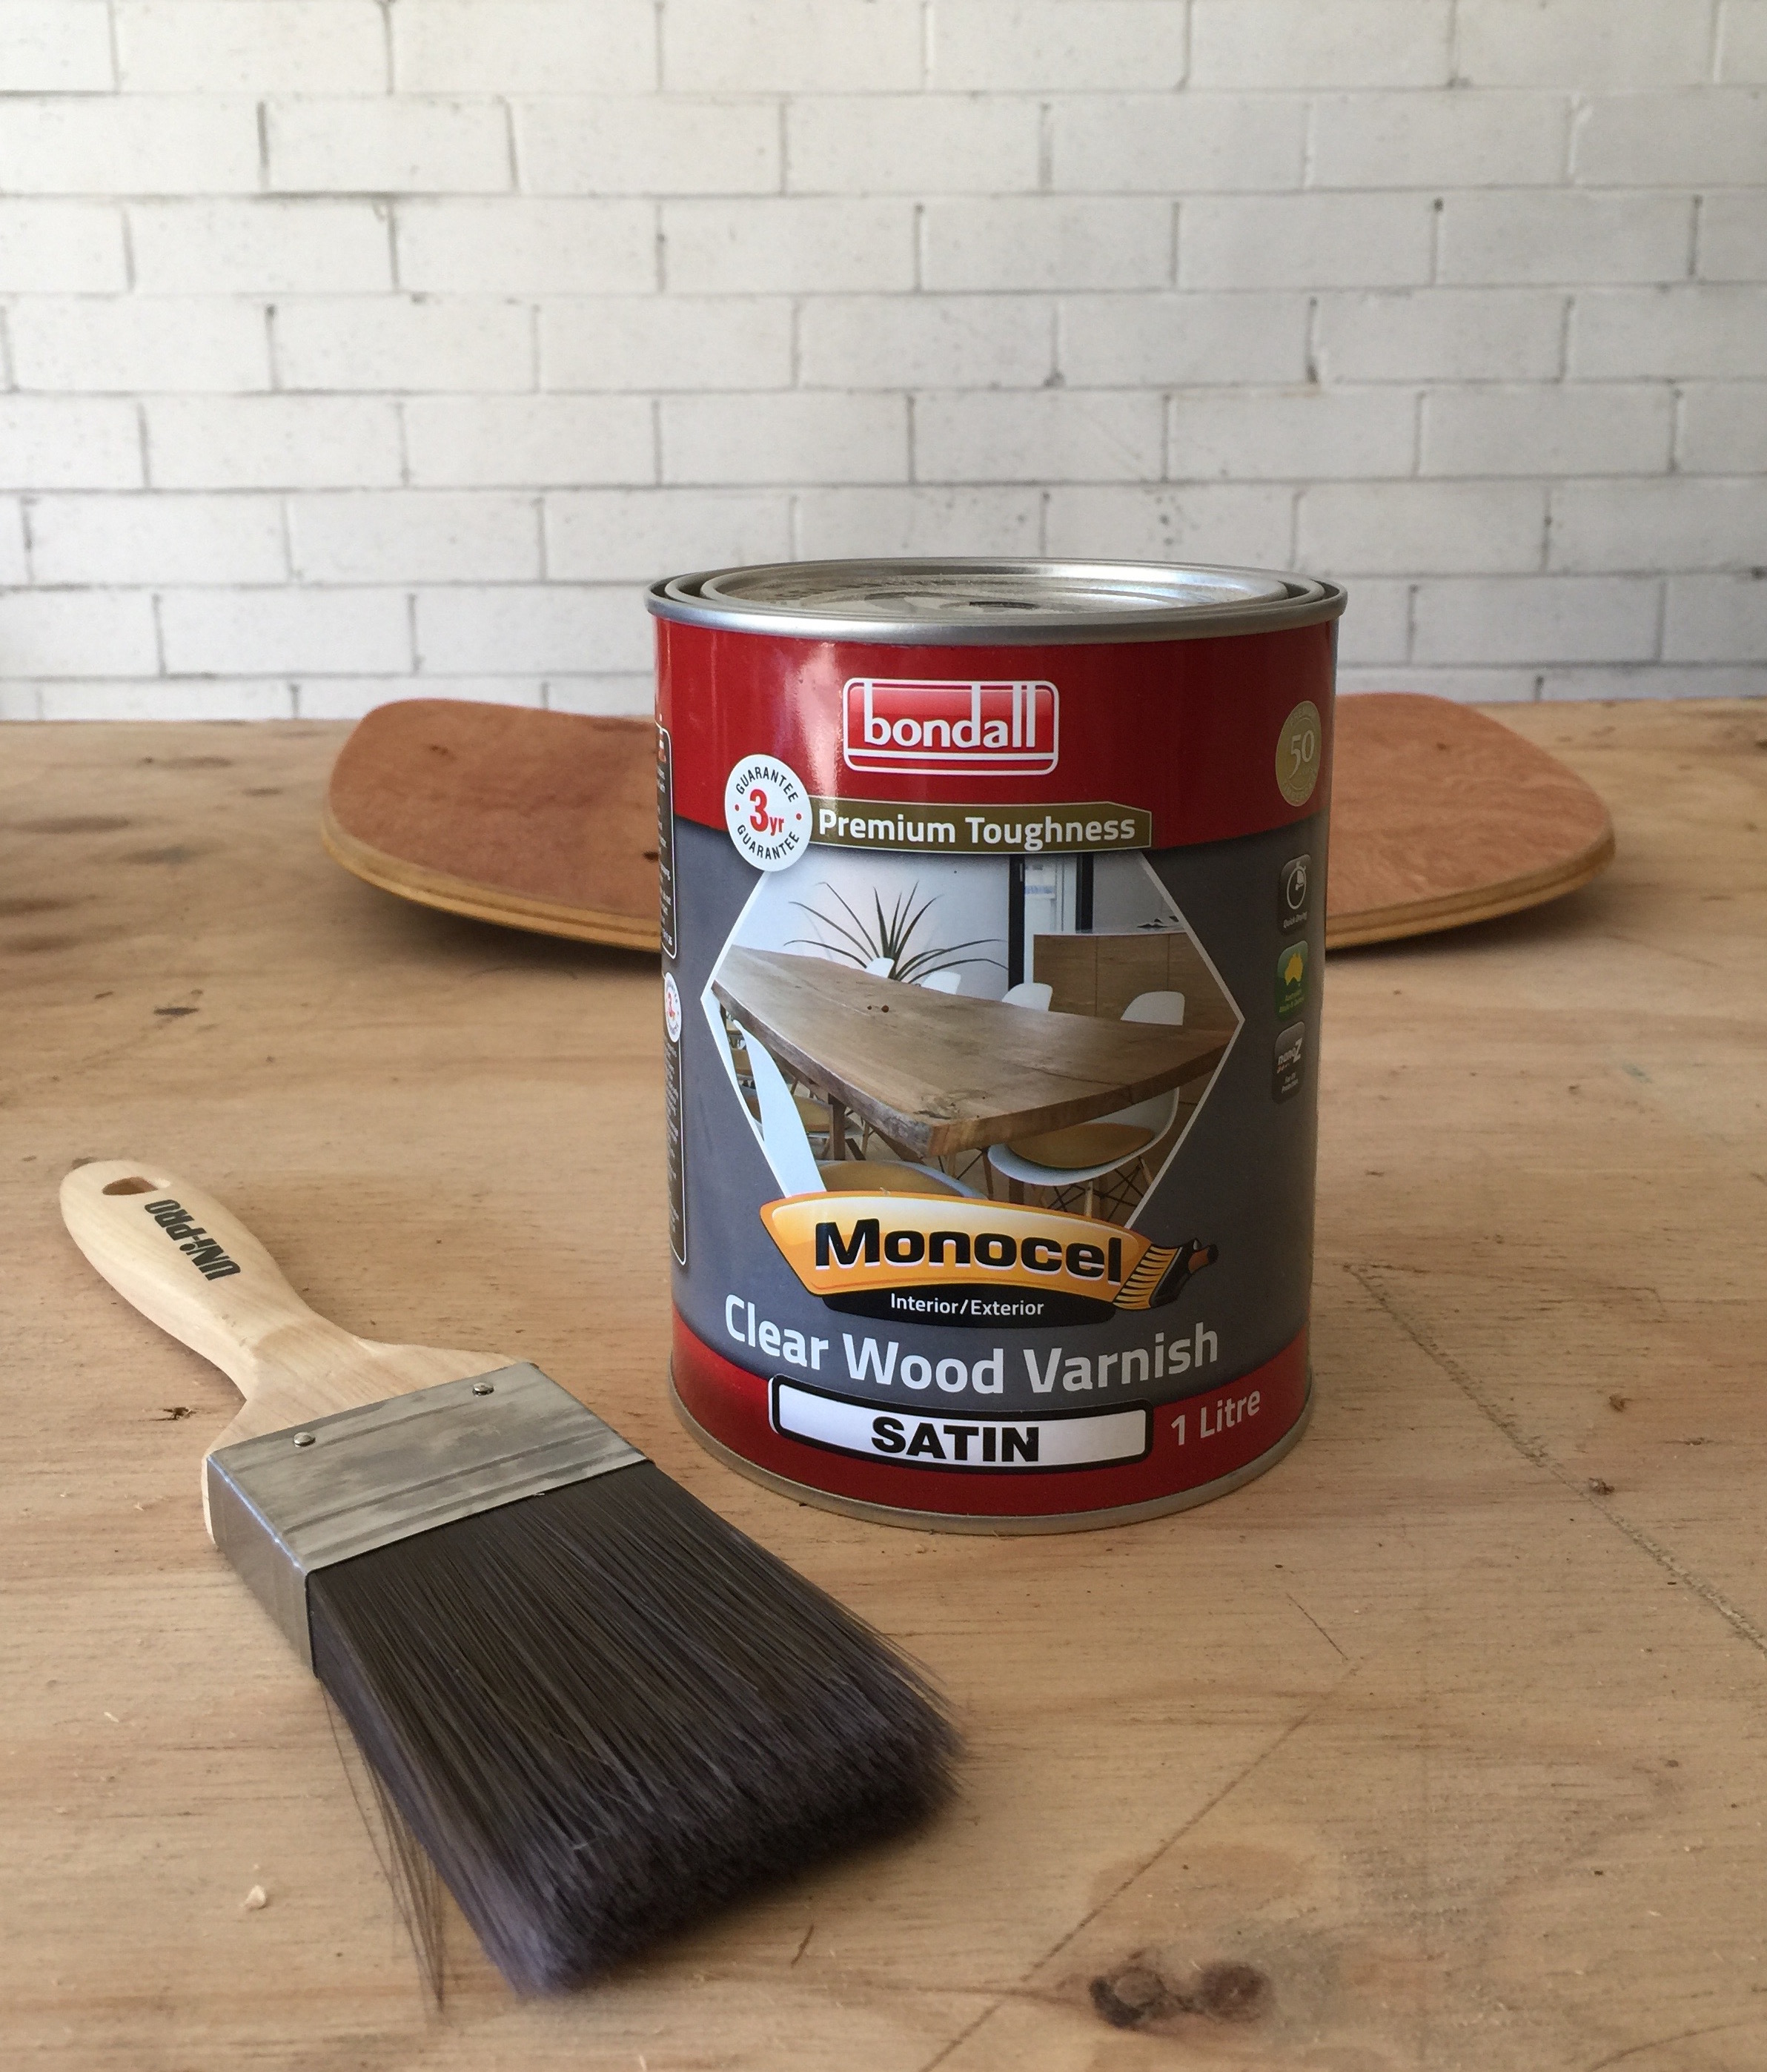
For the seat and backrest I used Monocel Clear Wood Varnish in Satin for a lovely matt surface that preserves the natural look while protecting the plywood.

DIY MATERIALS
Bondall Bondcrete adhesive
8mm dowel to fill holes
Monocel Stain & Varnish in Walnut
Monocel Clear Wood Varnish in Satin
timber filler
spare screws, from 15mm long
DIY TOOLS
drill or screwdriver
hand-sanding block or random orbital sander, with 120 and 240-grit abrasive paper
2 paintbrushes
paint stirrer
clean cloths
WORKING WITH VARNISH
A combination stain and varnish provides a tint to highlight the woodgrain while providing a protective coating.
I chose a satin finish for a modern contrast to the previously shinier, lighter tan colour popular when this chair was originally made in the late 1960s.
DIY TIP Don't scrimp on your brushes! It’s the key to a lovely finish. They should be soft, clean and no wider than 50mm for working on small surfaces like a chair.

STEP 1 Dismantle the chair
Remove the seat and backrest using a drill or screwdriver to undo the screws, keeping them to reuse later.
TIP Check the frame is sturdy, applying adhesive to any wonky joints and clamping to dry.

STEP 2 Smooth out scratches and dents
Use a random orbital sander or a hand-sanding block with 120-grit abrasive paper to sand all surfaces, smoothing along the edges and corners, down the legs and around the feet. Wipe the dust away with a clean cloth.

STEP 3 Renew the frame
Use a clean paintbrush to apply Monocel Varnish & Stain over the entire frame, working fast and watching for drips. Apply two coats, leaving to dry thoroughly between each.
TIP Load up your brush then seal it in plastic wrap to keep it from drying out between coats.
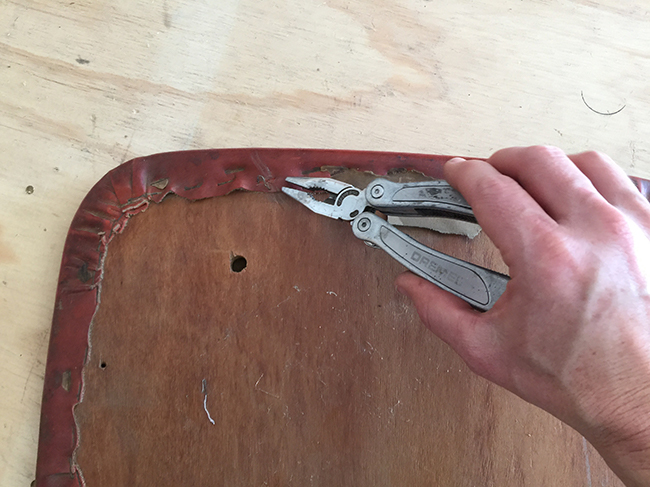
STEP 4 Remove the upholstery
Take off the vinyl and foam using staple remover and multitool then sand both sides of the plywood with 120 then 240-grit abrasive paper, rounding over the edges so the seat is comfortable to sit on.

STEP 5 Clean up the plywood
Cover small holes in the plywood with timber filler and use dowel to fill bigger holes, gluing it with fast-drying Bondcrete, then cut the protruding ends and sand smooth.

STEP 6 Seal the seat and backrest
Use a clean brush to apply Monocel Clear Wood Varnish in Satin, working it into the edges and leaving to dry thoroughly.

STEP 7 Reassemble the chair
To put the chair together, check the old screws don’t protrude through the seat and backrest, replacing them with shorter timber screws if necessary.

I shared this before-and-after project with the fabulous Helen at Recycled Interiors & The Hub: Australia's Home For Sustainable, Eco & Vintage Decorating & Design. Check out her insightful blog where she’s always creating new and inspiring ways to have a happy, healthy home.