Easy DIY paving
Alun Machin

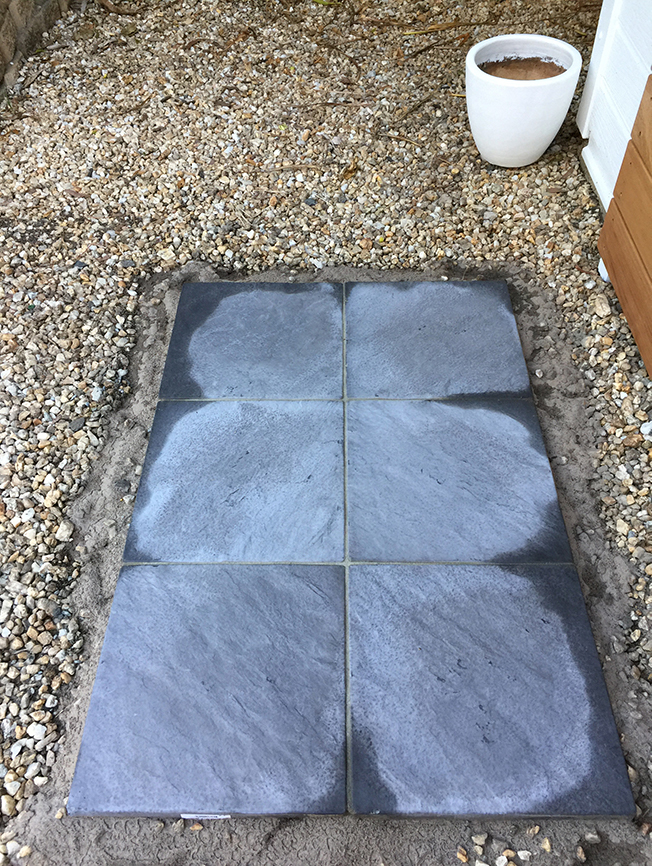
Set out pavers on a base of ready-mix concrete and simply add water!
It cost about $100 to lay and seal these six pavers, and you can use the same technique to pave other areas of your yard.

Position the paving
To finish off my outdoor shower area, I added a solid platform underfoot with simple pavers, installing them after the shower to ensure they’re in the best possible spot for standing directly under the water.

DIY Tools & Materials
three bags of quick-set ready-mix concrete
six concrete pavers 400mm-square x 40mm thick
spirit level
stakes, string and mallet
shovel
safety gear including mask and gloves
broom and watering can
scourer
microfibre mini paint roller with tray
1 Set out the pavers
Lay out the pavers to check the pattern and position.
TIP These are centred under the shower, about 240m from the wall.

2 Mark out the perimeter
Tap metal stakes into corners using a mallet then run a stringline around the perimeter.
TIP Wind the string around each stake from the outside and in the same direction to ensure straight lines.

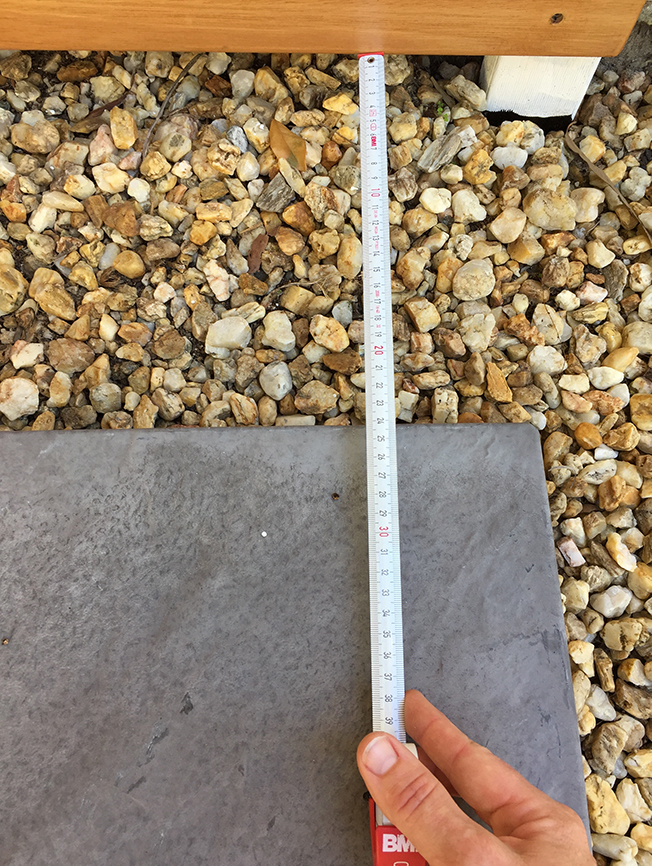
3 Prepare the base
Remove the pavers and use a shovel to clear the base, digging down to make it about 60mm deep.

4 Pour in the concrete
Pour in three bags of ready-mix concrete to fill the base to halfway, creating a layer of about 30mm, keeping about two handfuls aside to use as grout.
TIP Avoid working on a windy day and wear a mask.

5 Screed the concrete
Ensure the base is flat by using a spirit level to spread the concrete and smooth the surface.

6 Lay the pavers
Position the pavers, beginning with the first row in the far corner and laying the second row from the centre to ensure the joints are straight.
TIP Use a mallet to tap down the pavers and shift them into position.

7 Fill the joints
Sprinkle the remaining dry concrete over the pavers as grout, using a broom to brush it into the joints and avoid flicking powder onto the surrounding areas.

8 Set the joints
Use a watering can to pour water over the pavers, making sure the edges are well soaked, and avoid pouring directly onto the joint lines. Leave to cure and dry completely.
9 Tidy up the joints
Remove the stakes and check that the grout hasn’t washed away at the edges, adding a little more dry concrete and sprinkling with water if needed to make the edges square and neat. Leave to cure and dry completely for at least 24 hours.

10 Clean the surface
Use a scourer with Bondall TileGuard Tile & Grout Cleaner to prepare the surface for sealing, washing away the residue thoroughly with water.

11 Seal the pavers
Use a roller with Bondall TileGuard Natural Look Sealer, working quickly to apply two coats without allowing the surface to dry out, then leave to dry.

12 Tidy the surrounds
Rake the pebbles or the surface material up to the sides of the pavers to finish.

Check out the full instructions on how to install a luxury outdoor shower with hot water.