INSTALL DECKING FASCIA
Natasha Dickins
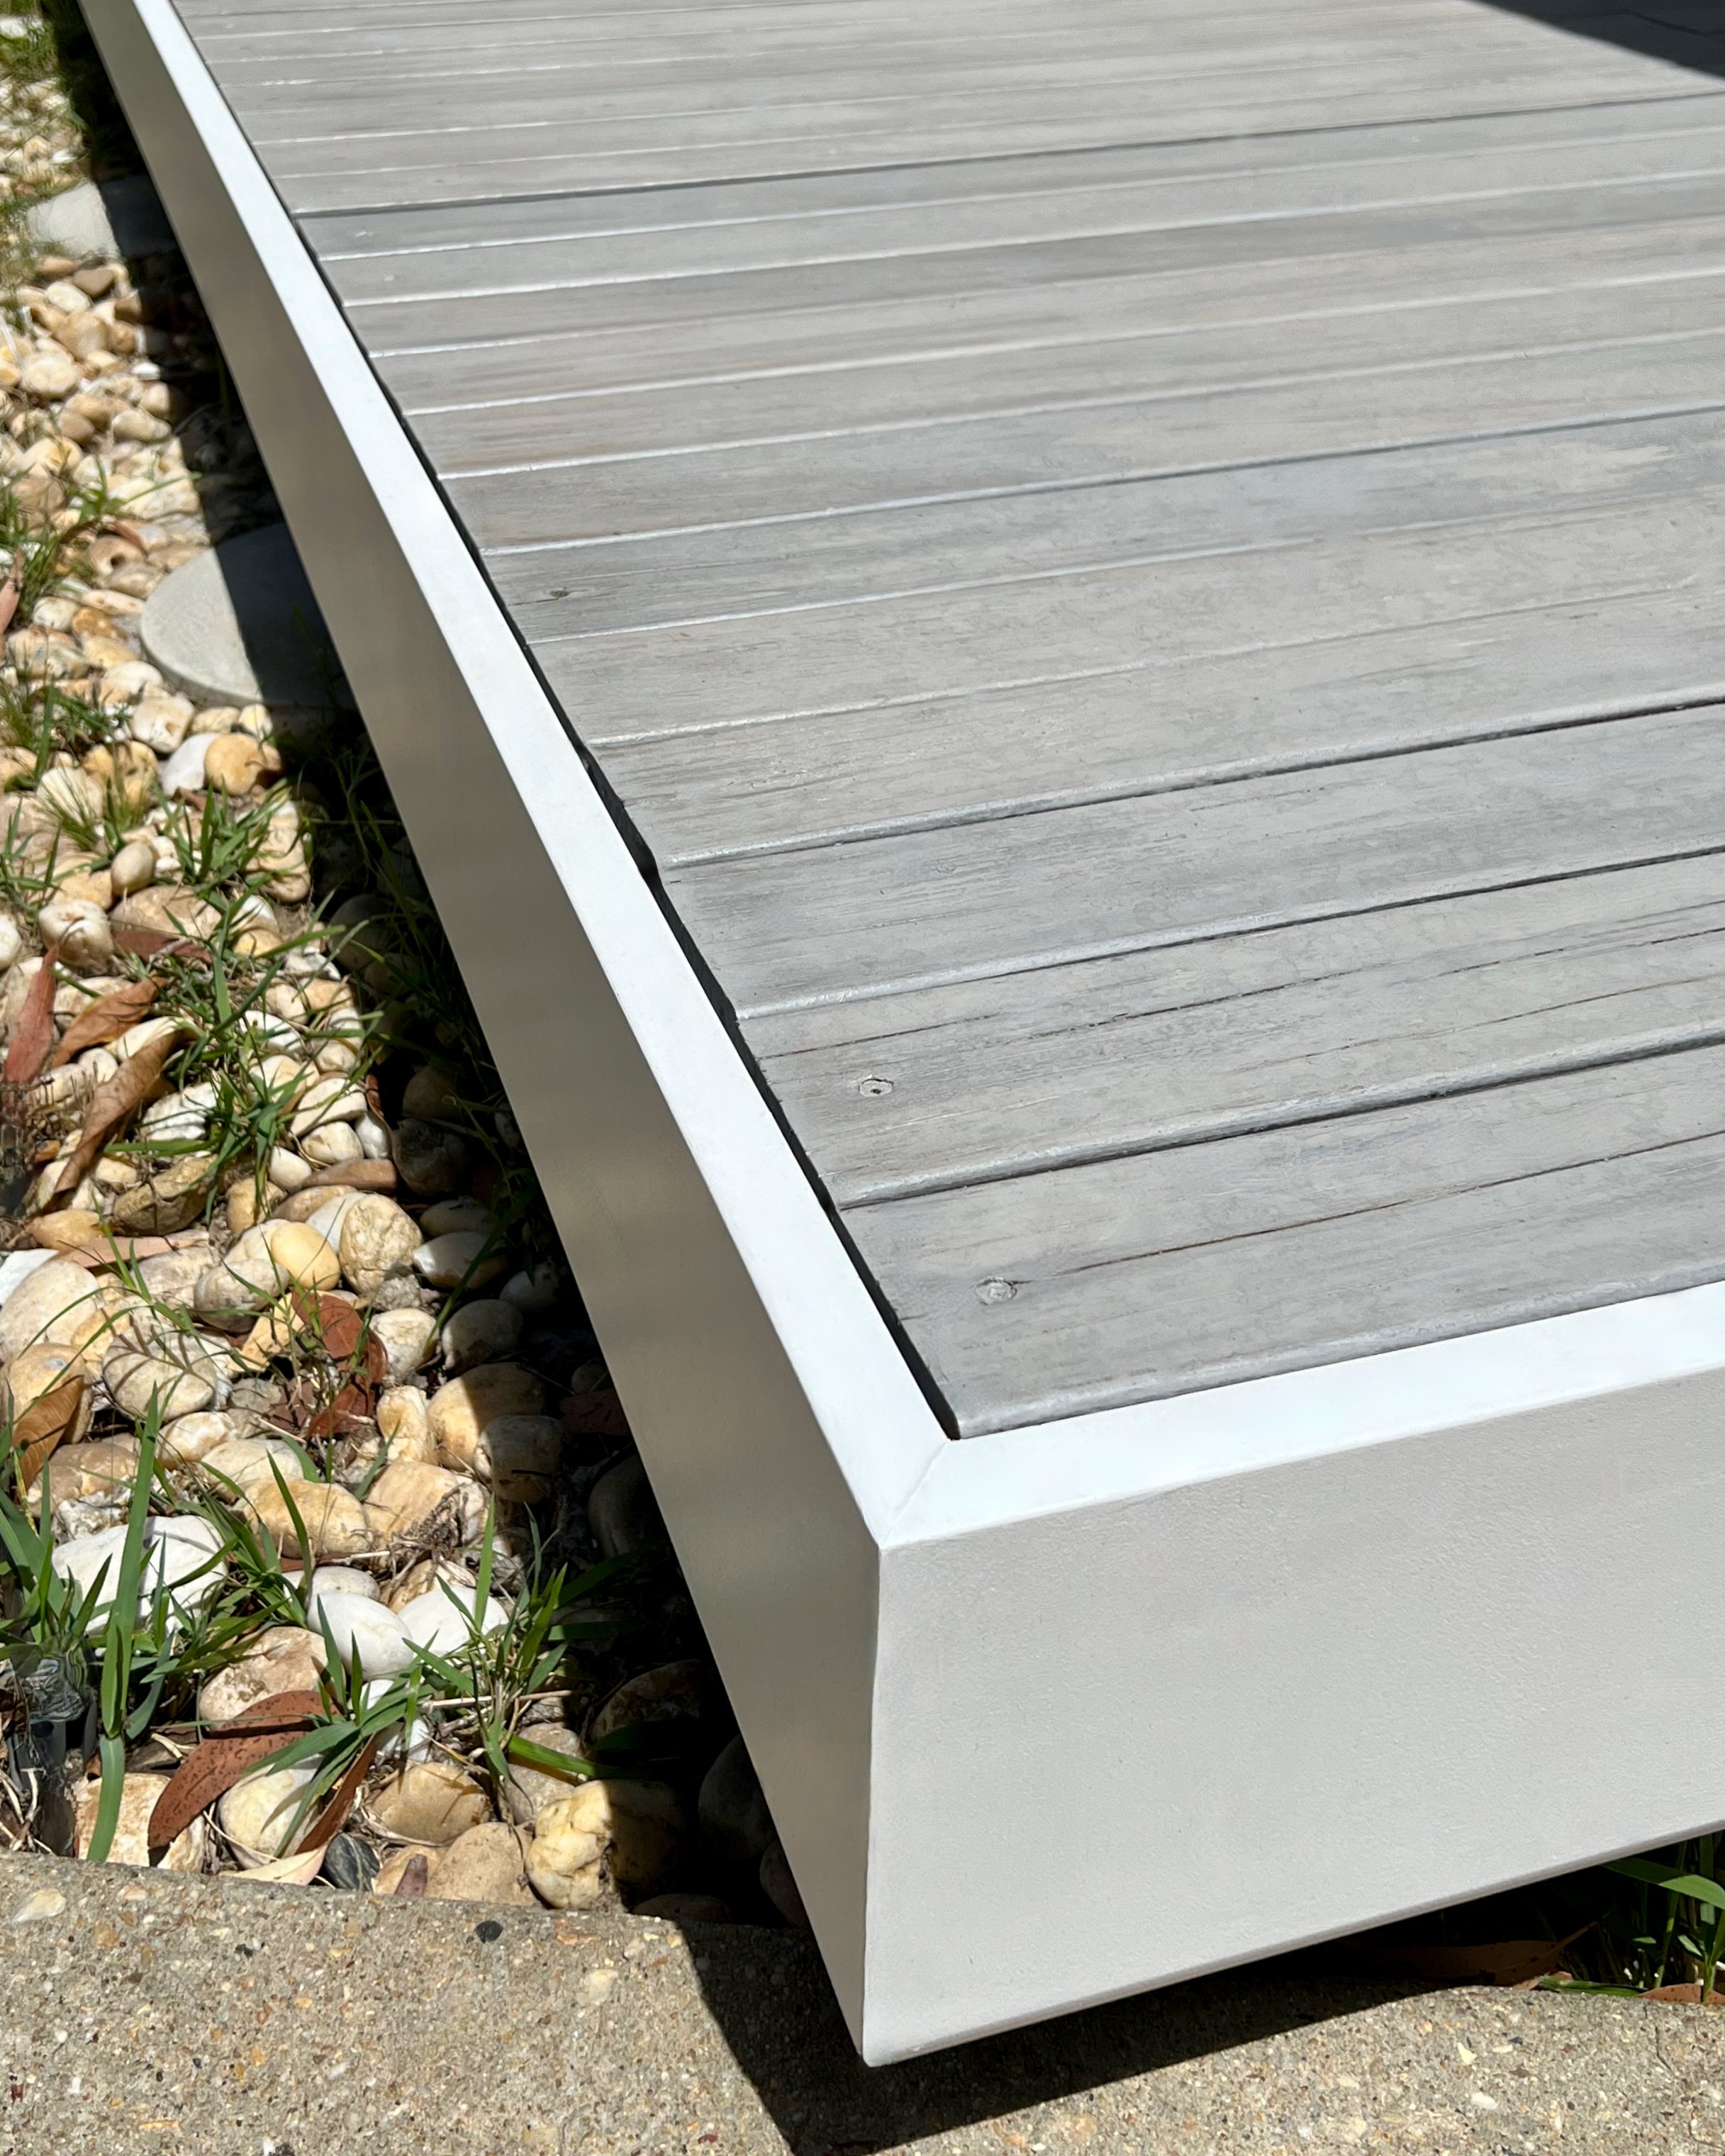
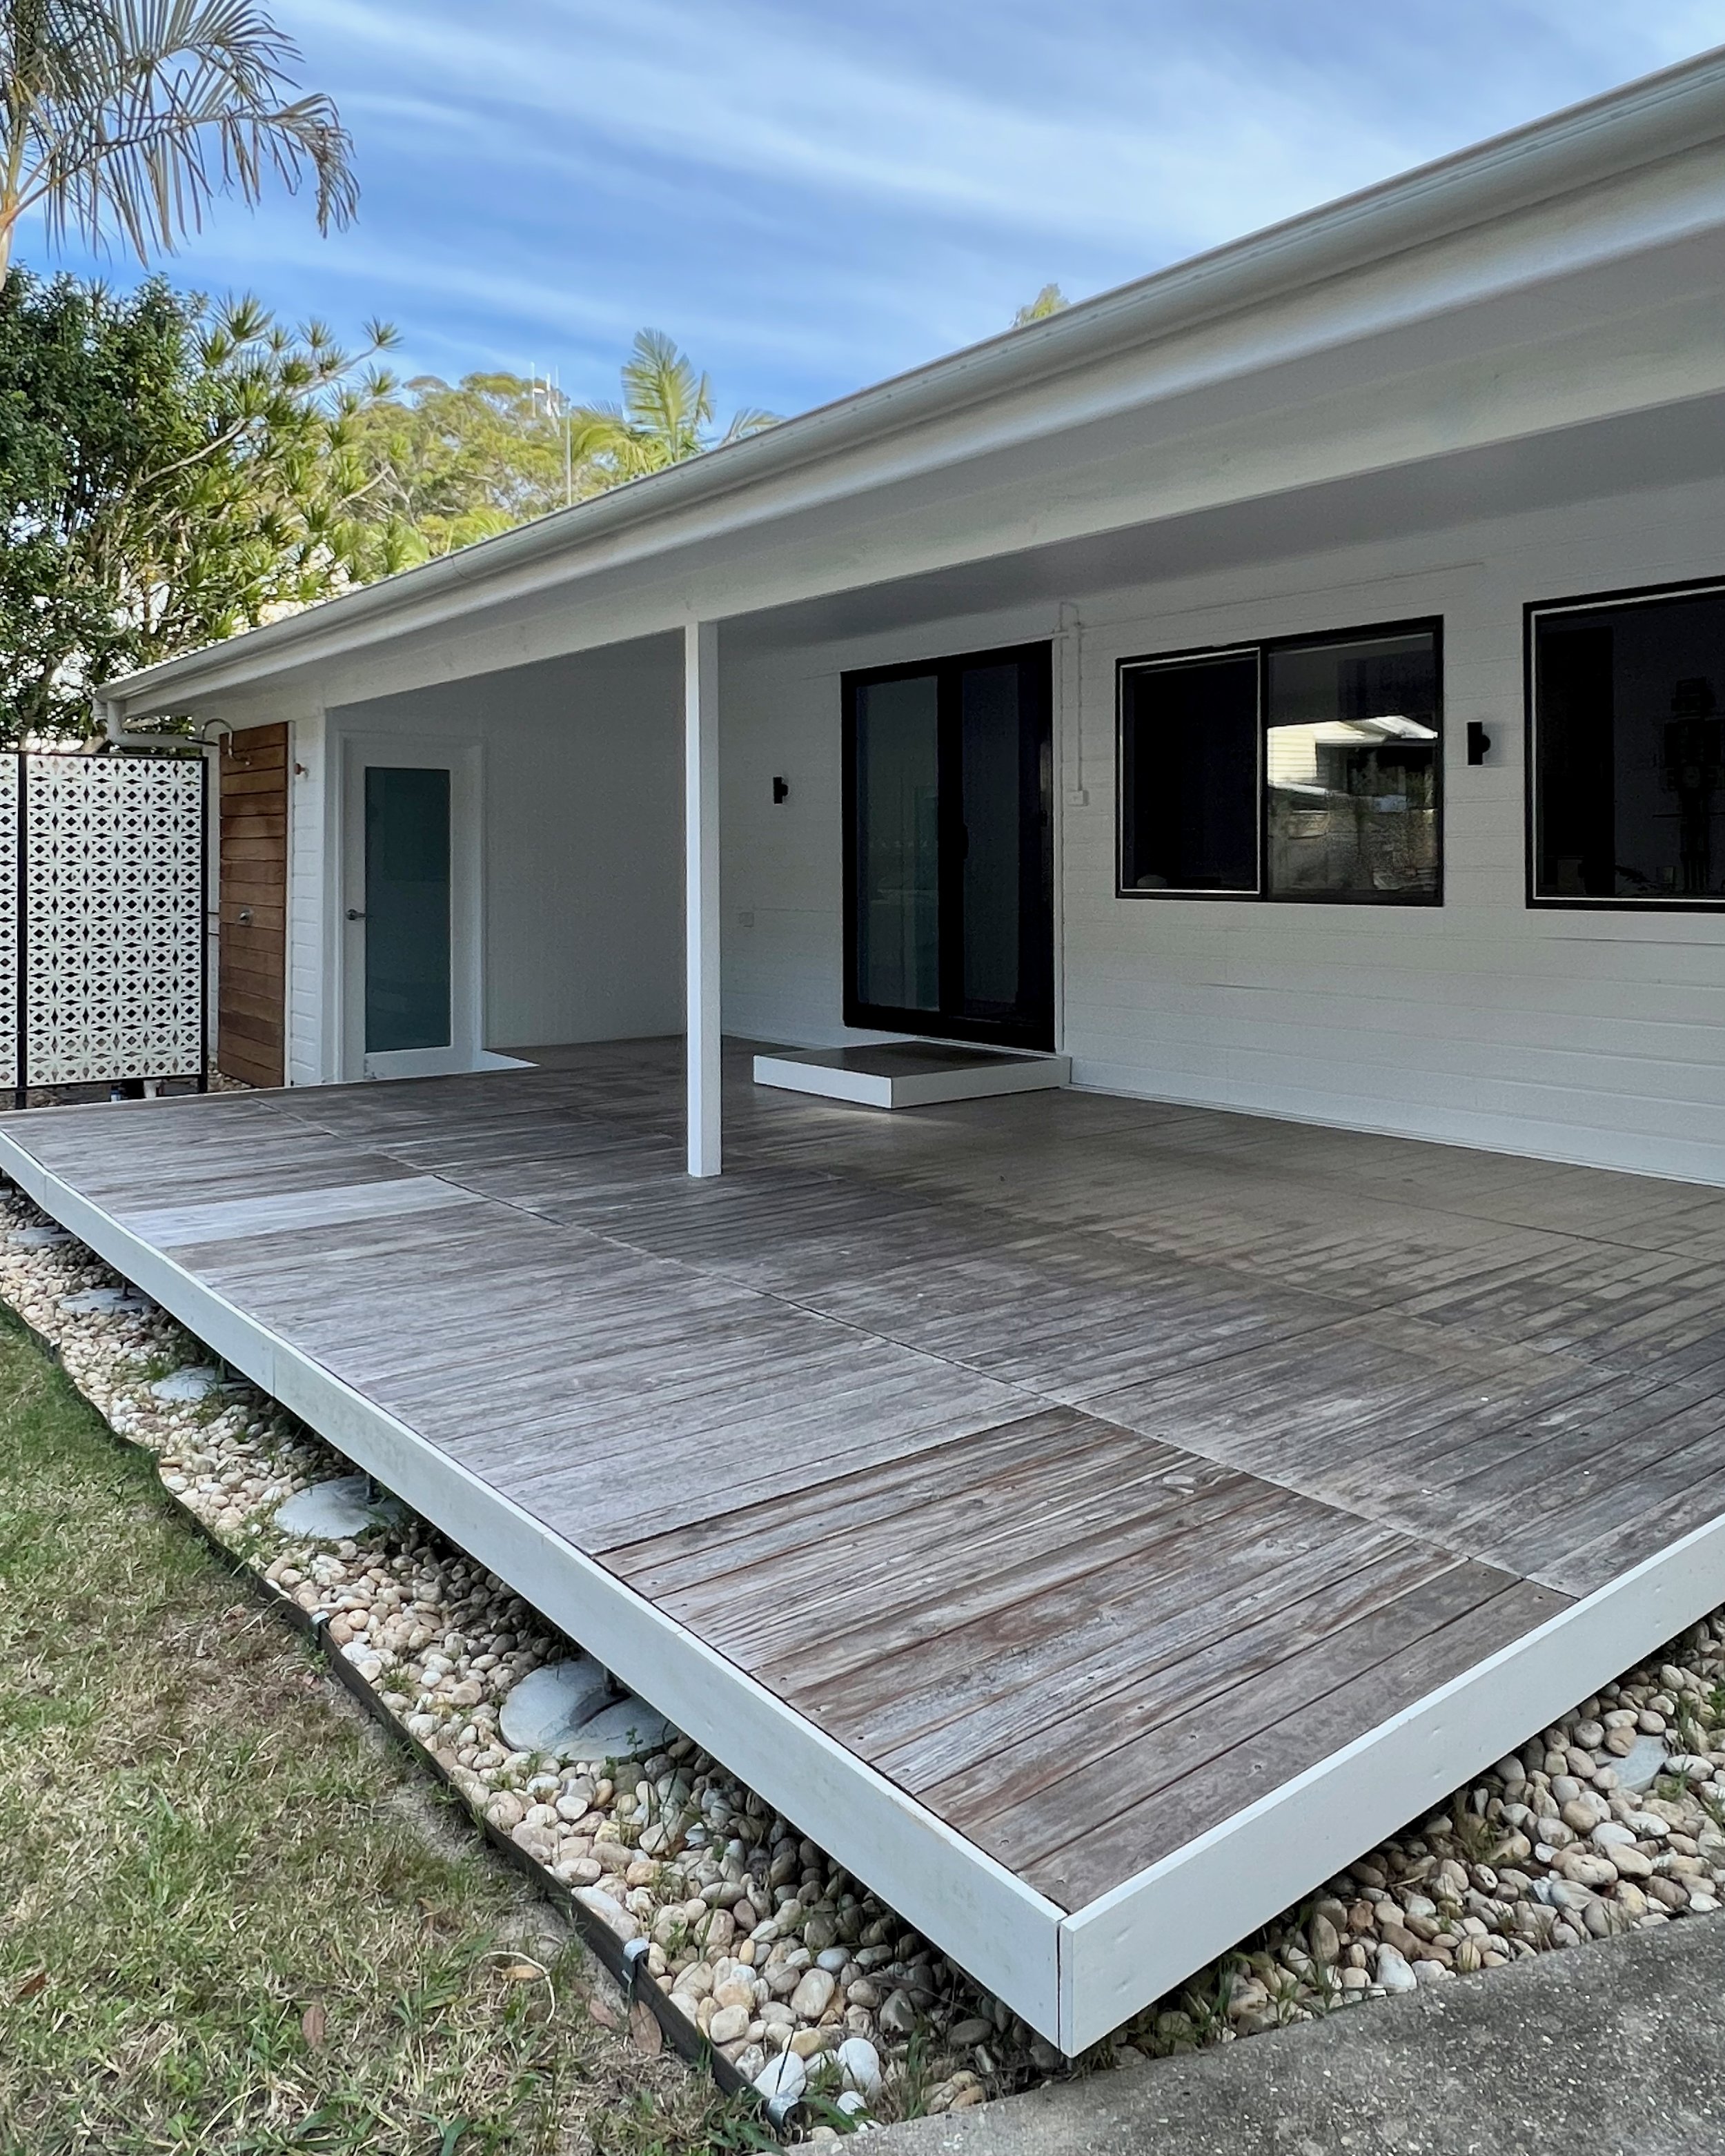
Most decks tend to be framed in the same material as the decking boards, but installing a snappy white-painted fascia contrasted with my grey-stained treated pine deck for a modern finish.
I trimmed the deck using barge boards traditionally used for eaves as I had some leftover from a roof install. They’re also weatherproof and insect resistant, and I wanted to include the rounded bullnose profile as a design feature.
I built this deck a couple of years ago, installing the original fascia with pre-primed 140mm x 18mm treated pine boards, butt-jointed at the corners. It looked great but has suffered a lot of wet weather.
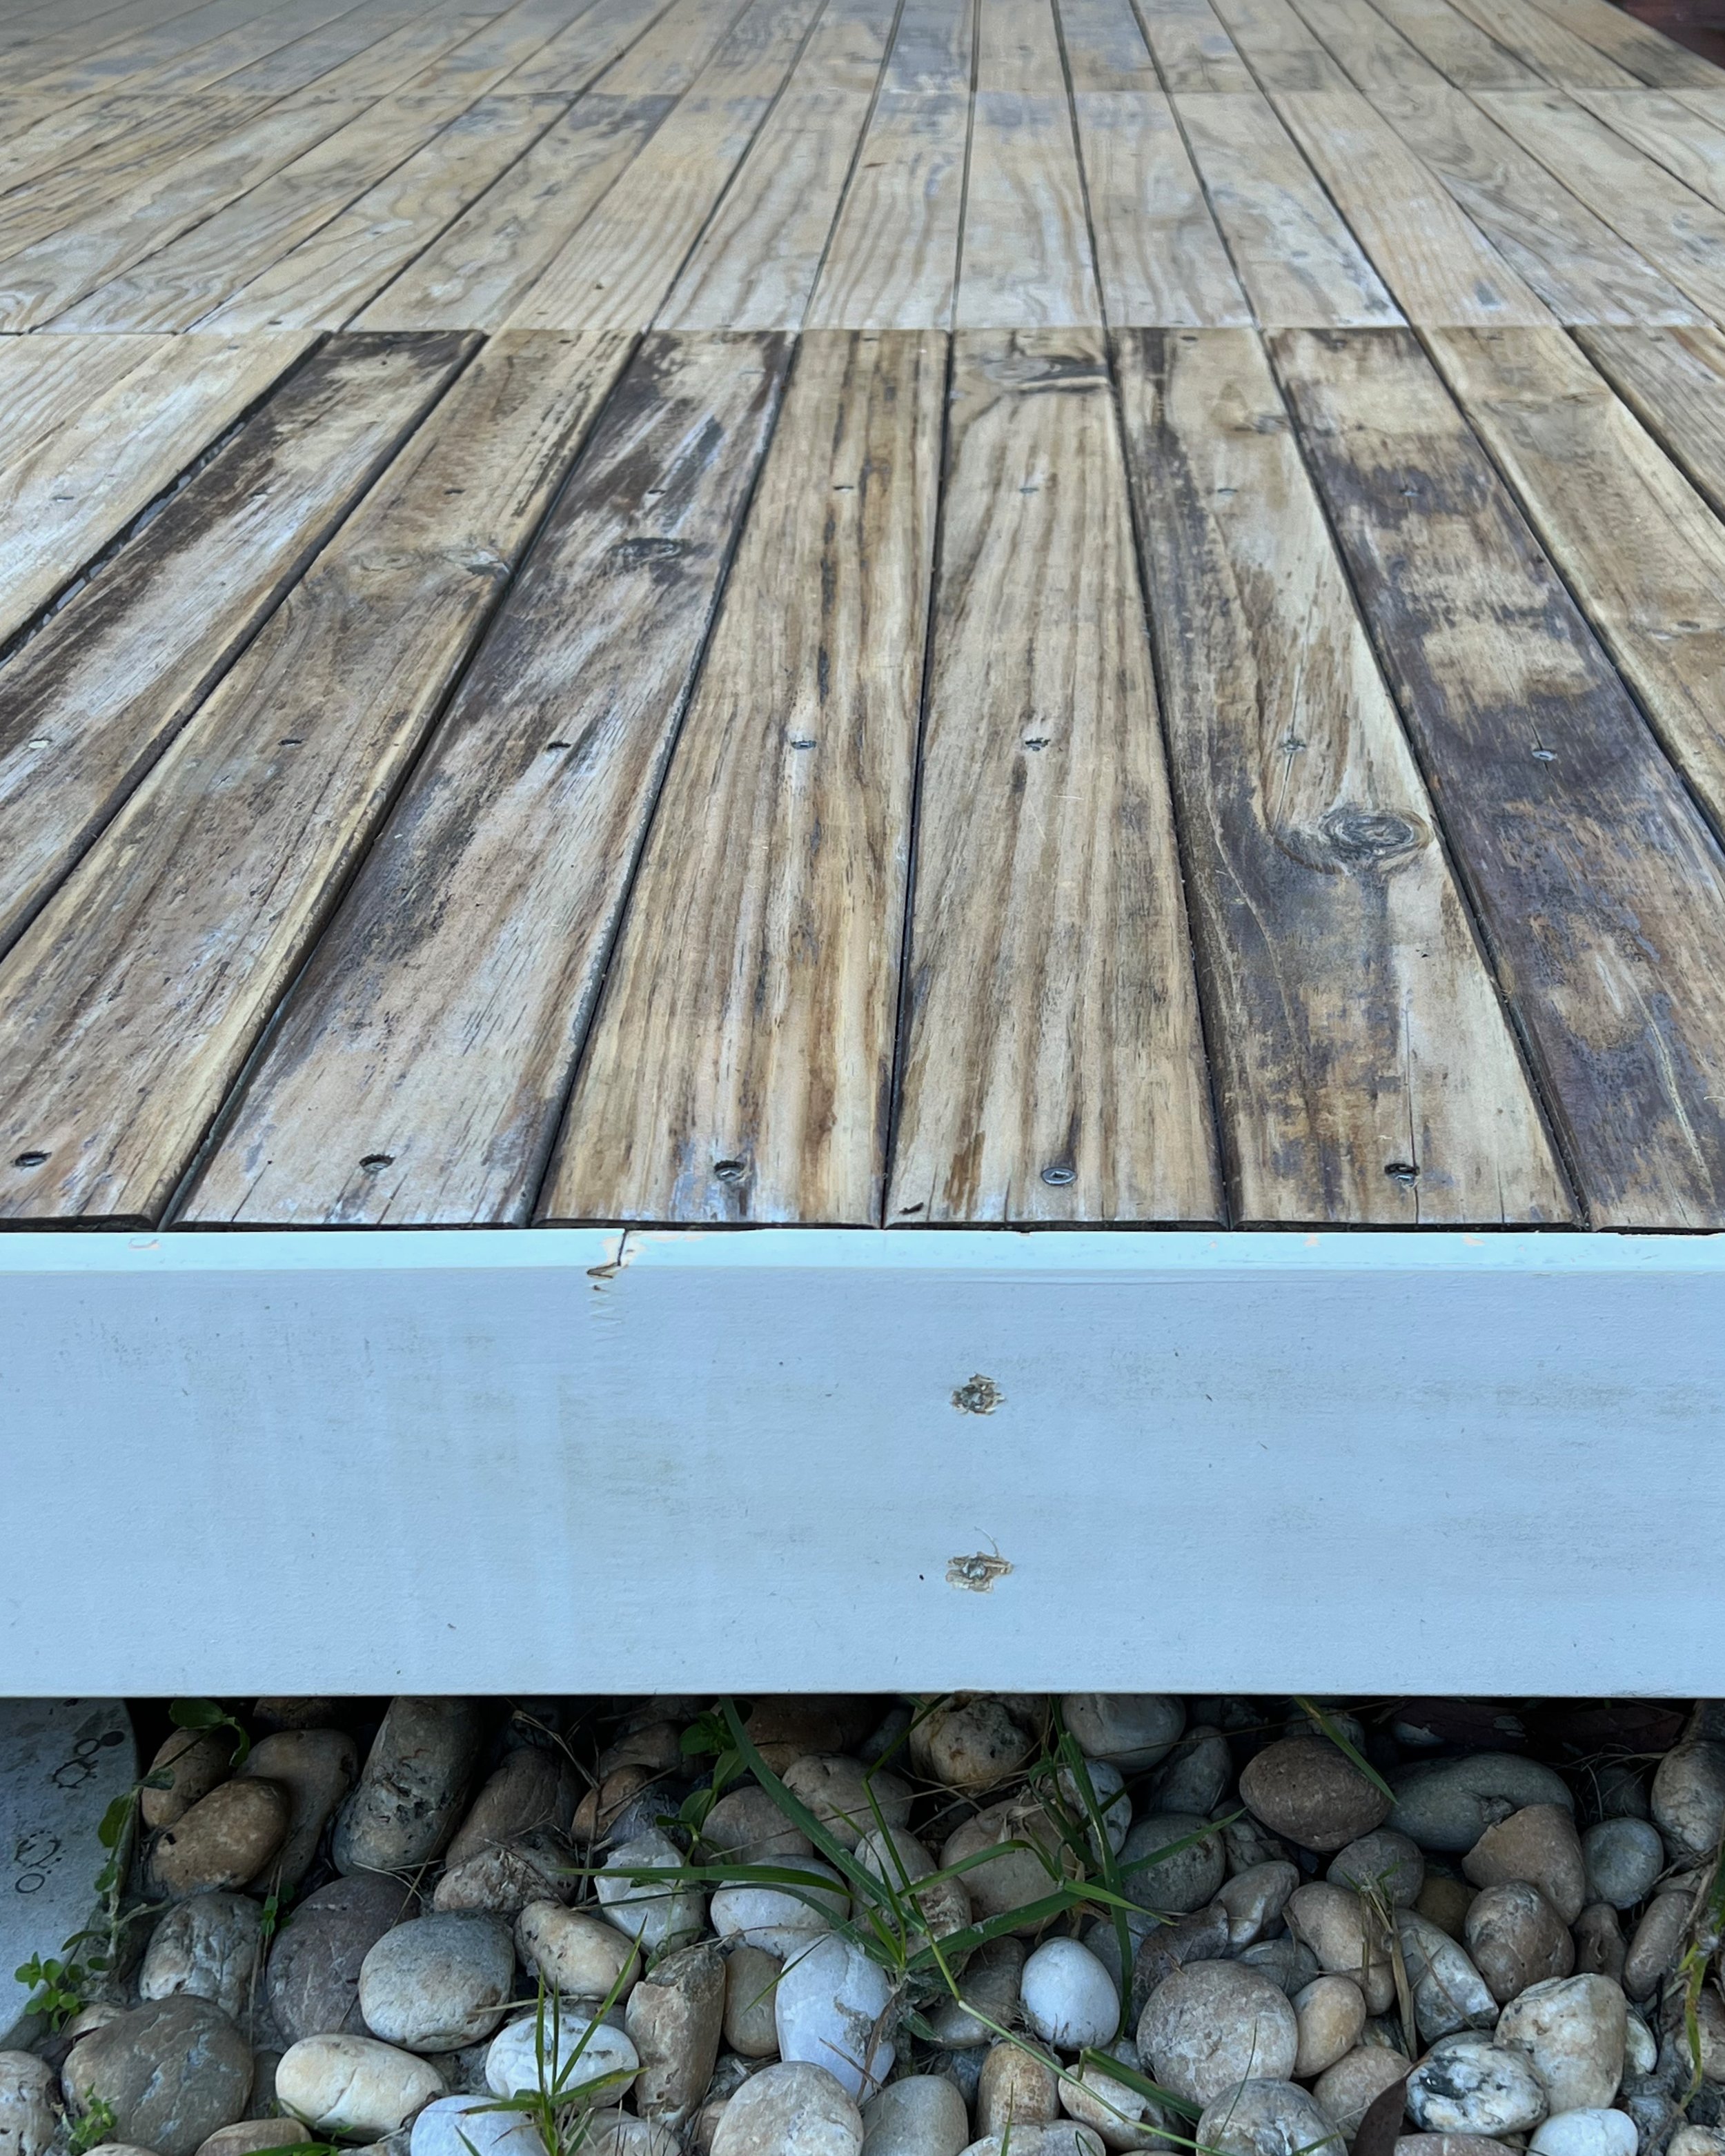
BEFORE The longest board I had was 2.7m, so there were a couple of joins along the front. They’d since split and sustained moisture damage. The corners had also moved and come apart.
After knocking the original filler off the countersunk screw holes, I removed the screws and took off the original trim.

Then I washed, sanded and resealed the deck with two coats of Cabot’s Deck & Exterior Water Based Timber Stain in Beach House Grey, knowing it would drip down the sides, which is why held off reinstalling the fascia.
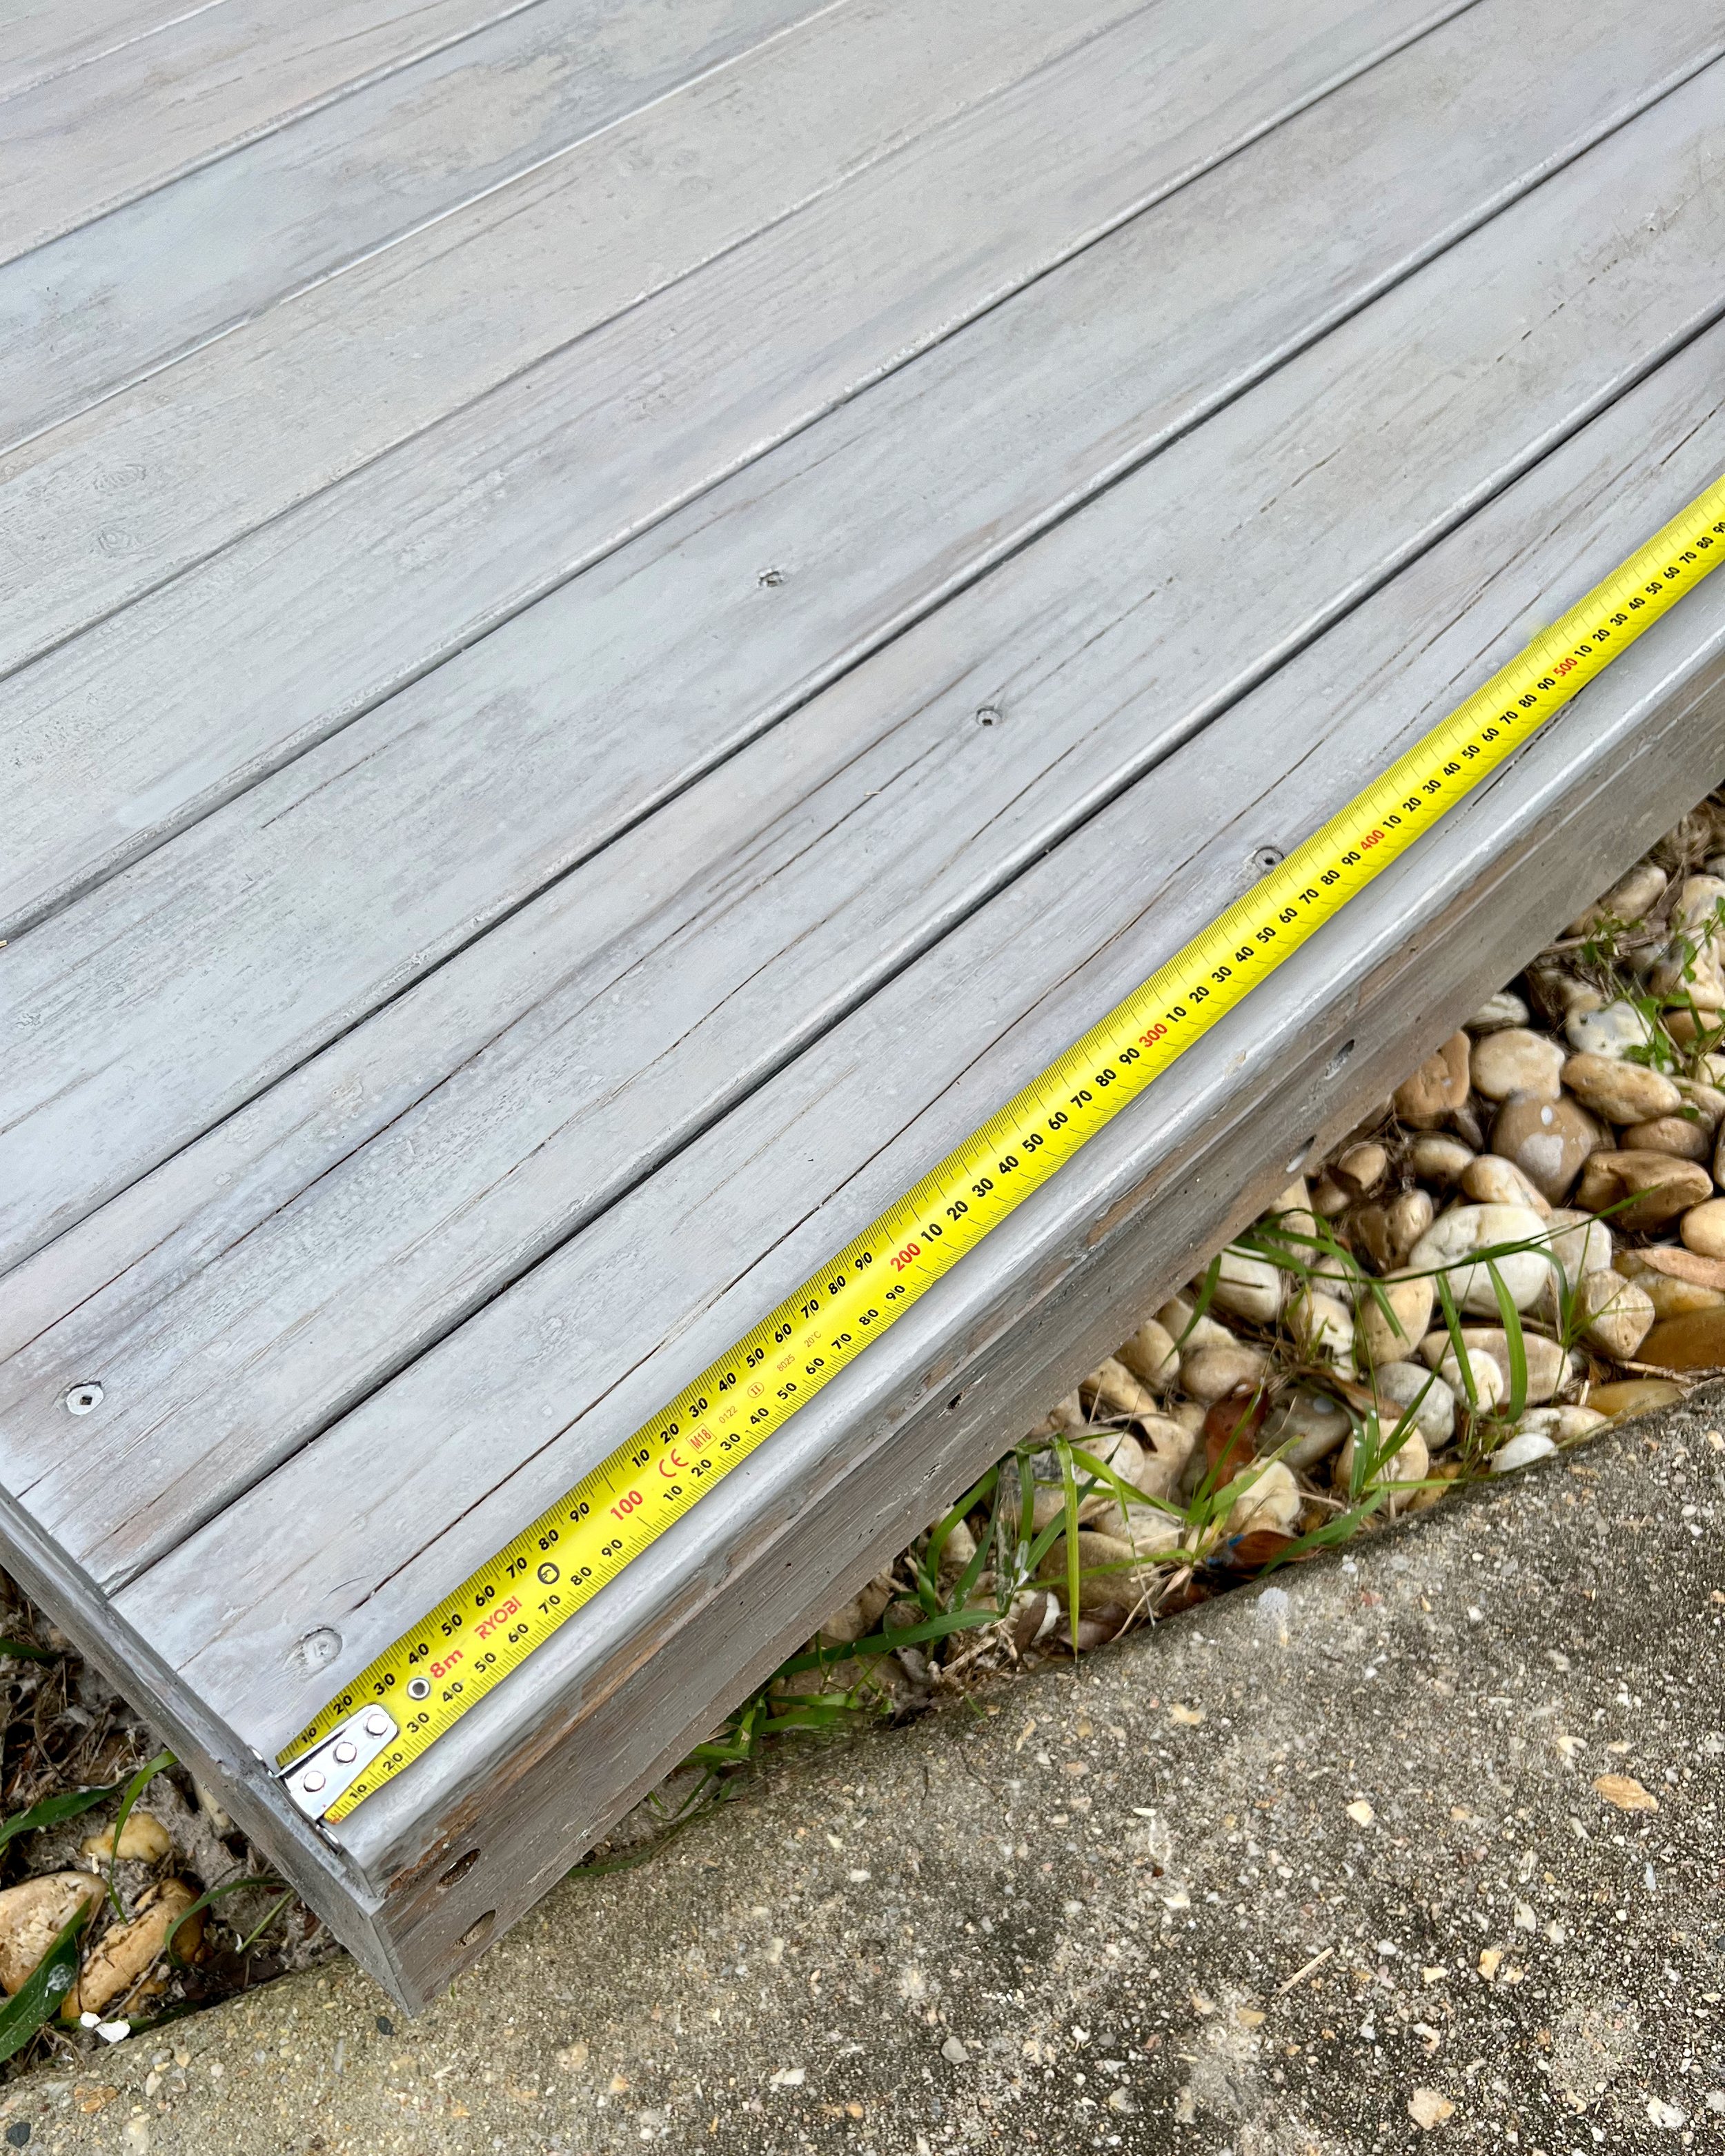
I set out to replace the original trim with Woodhouse Weatherproof 180mm x 25mm bullnose fascia boards as I had some leftover from a roofing project and bought a new 7.2m length to span the entire front of the deck.

The Woodhouse Weatherproof range of H3 LOSP boards is treated against fungal and insect attack and sealed with a pink primer, ready for painting. So I just had to mitre the ends, paint and install.
These wider boards would better hide the deck supports and make the entire area appear more substantial. The bullnose profile adds a subtle design element that helps with water runoff underneath.
Because they’re made for roofing, these boards come in super-long lengths. Great for downsizing joins but difficult to manoeuvre!
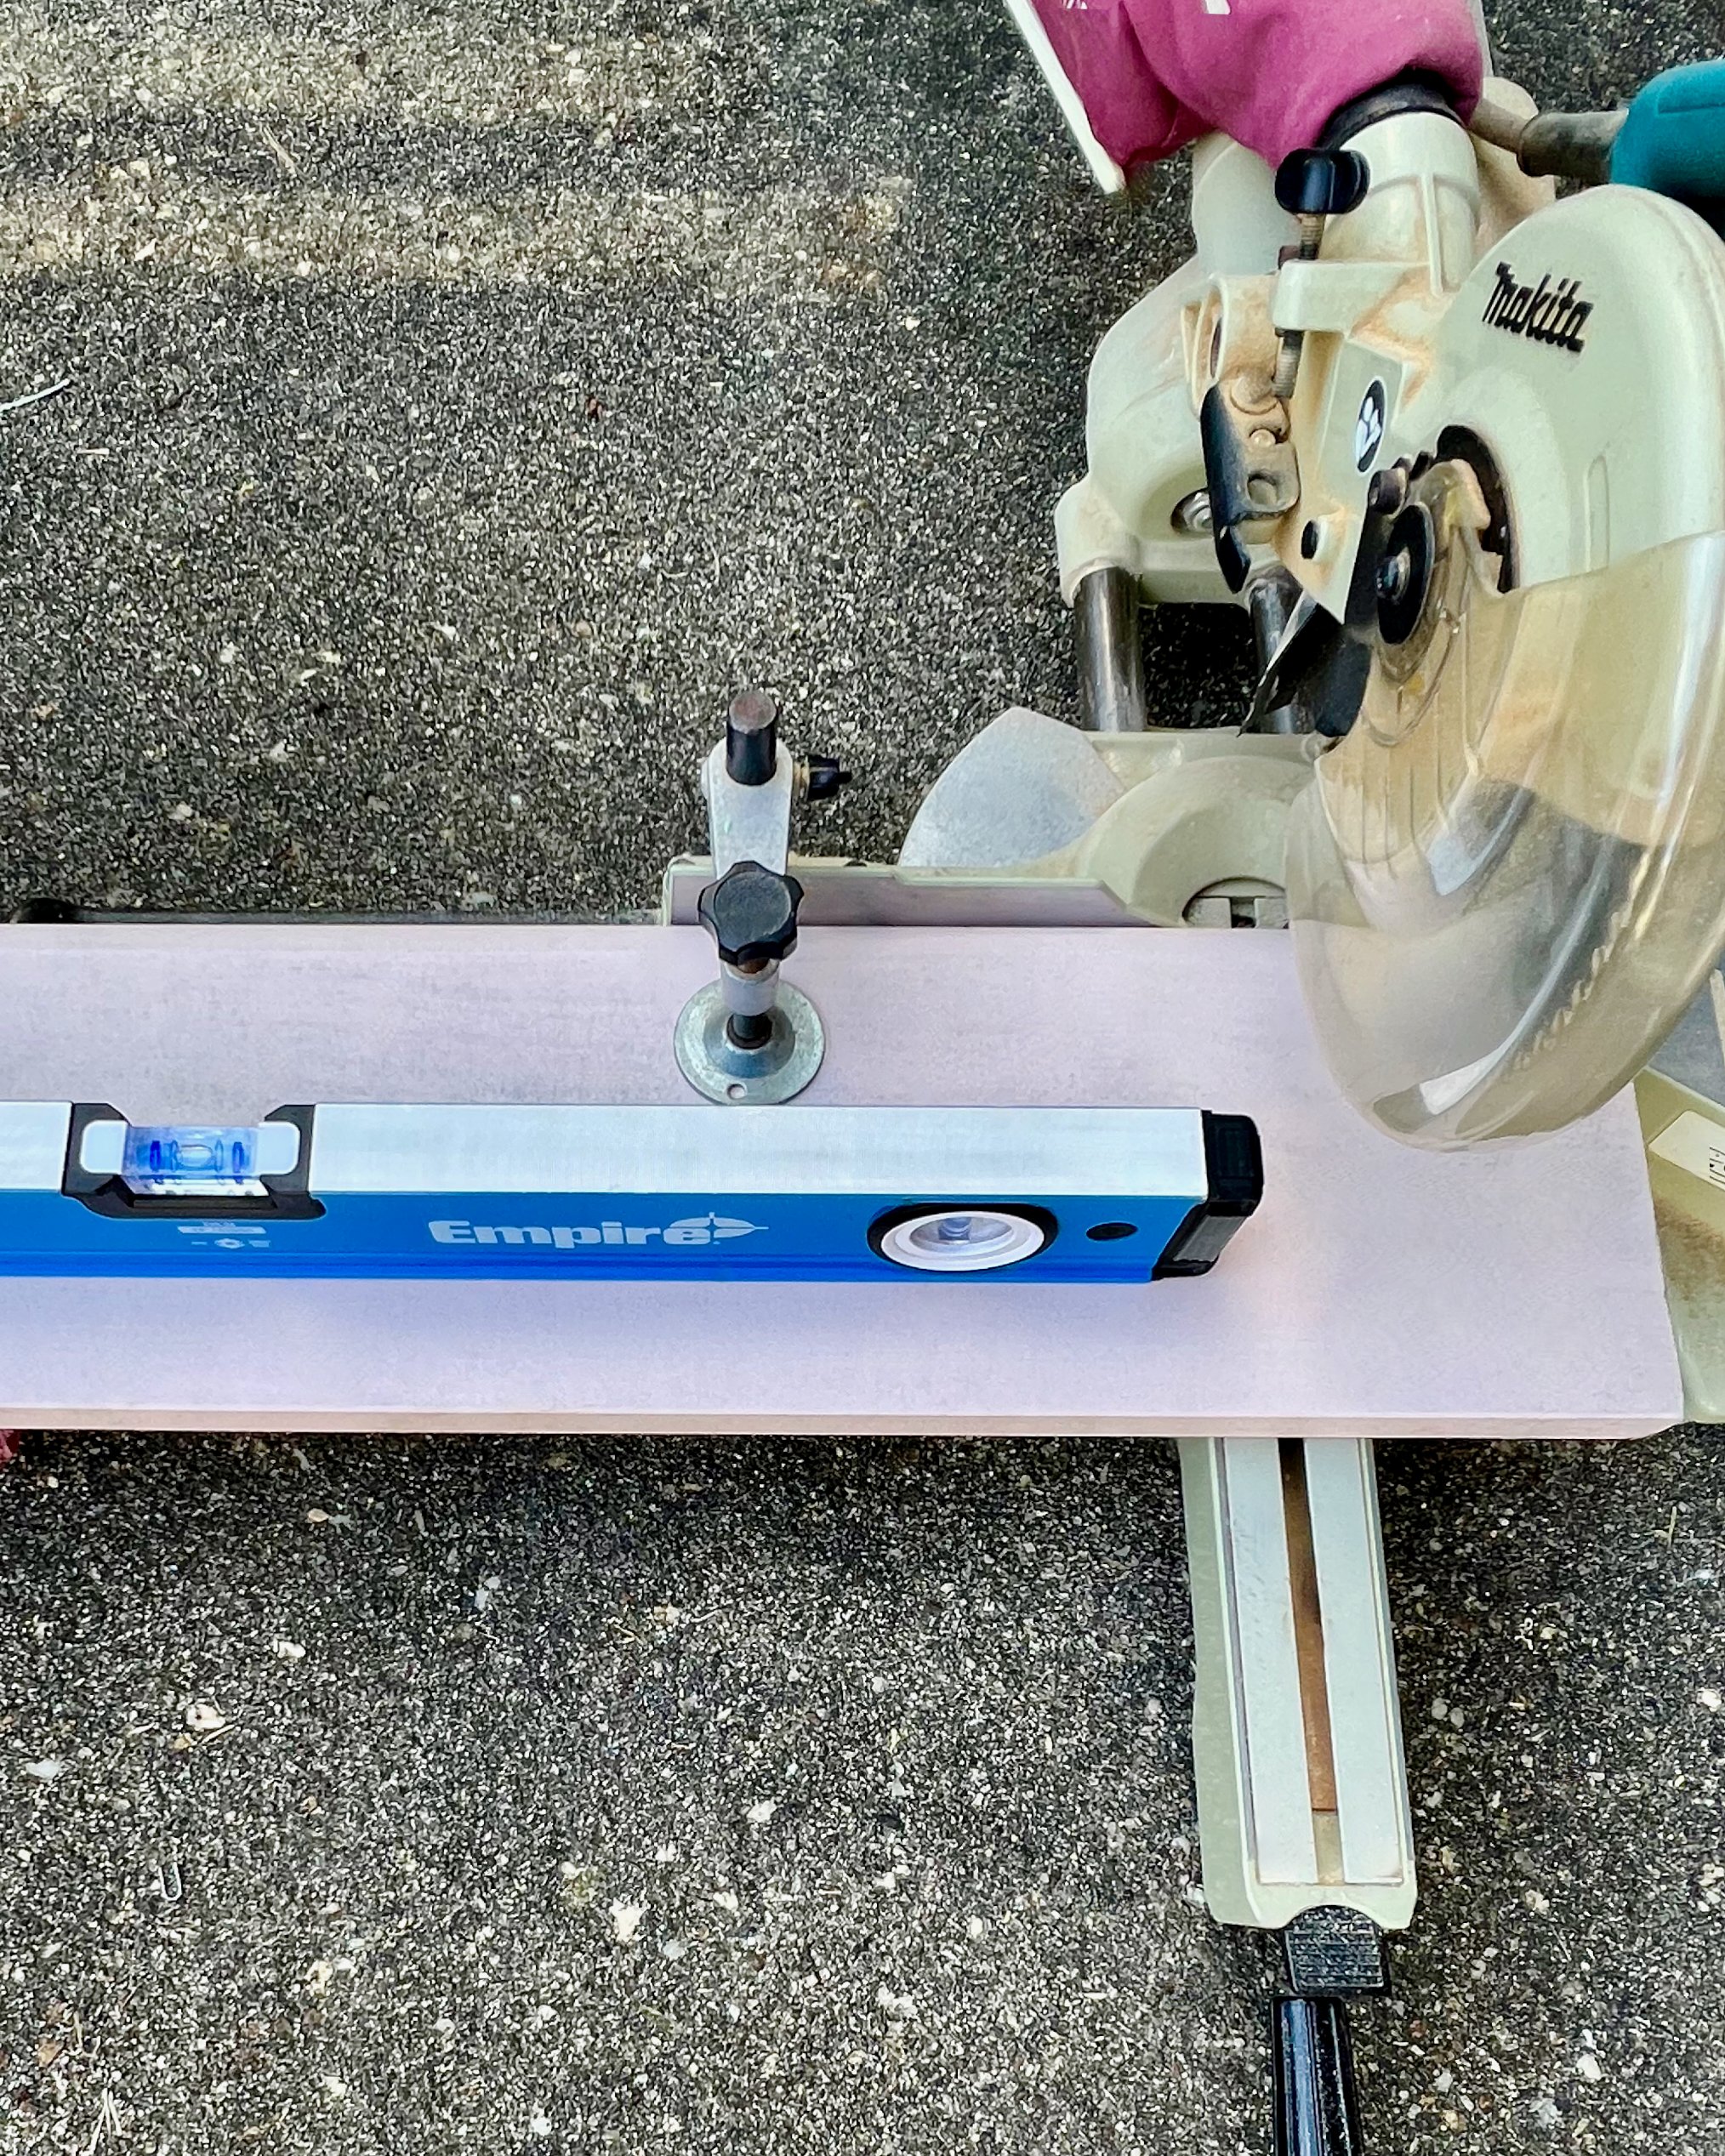
To cut my 7.2m-long board, I set the mitre saw on the ground with timber offcuts spaced underneath board, about 600mm apart. Then I used a spirit level to check it was straight, adjusting the offcuts as needed before mitring the ends.

I painted the boards all over with two coats of exterior paint using a mini roller, making sure the raw ends were properly sealed.

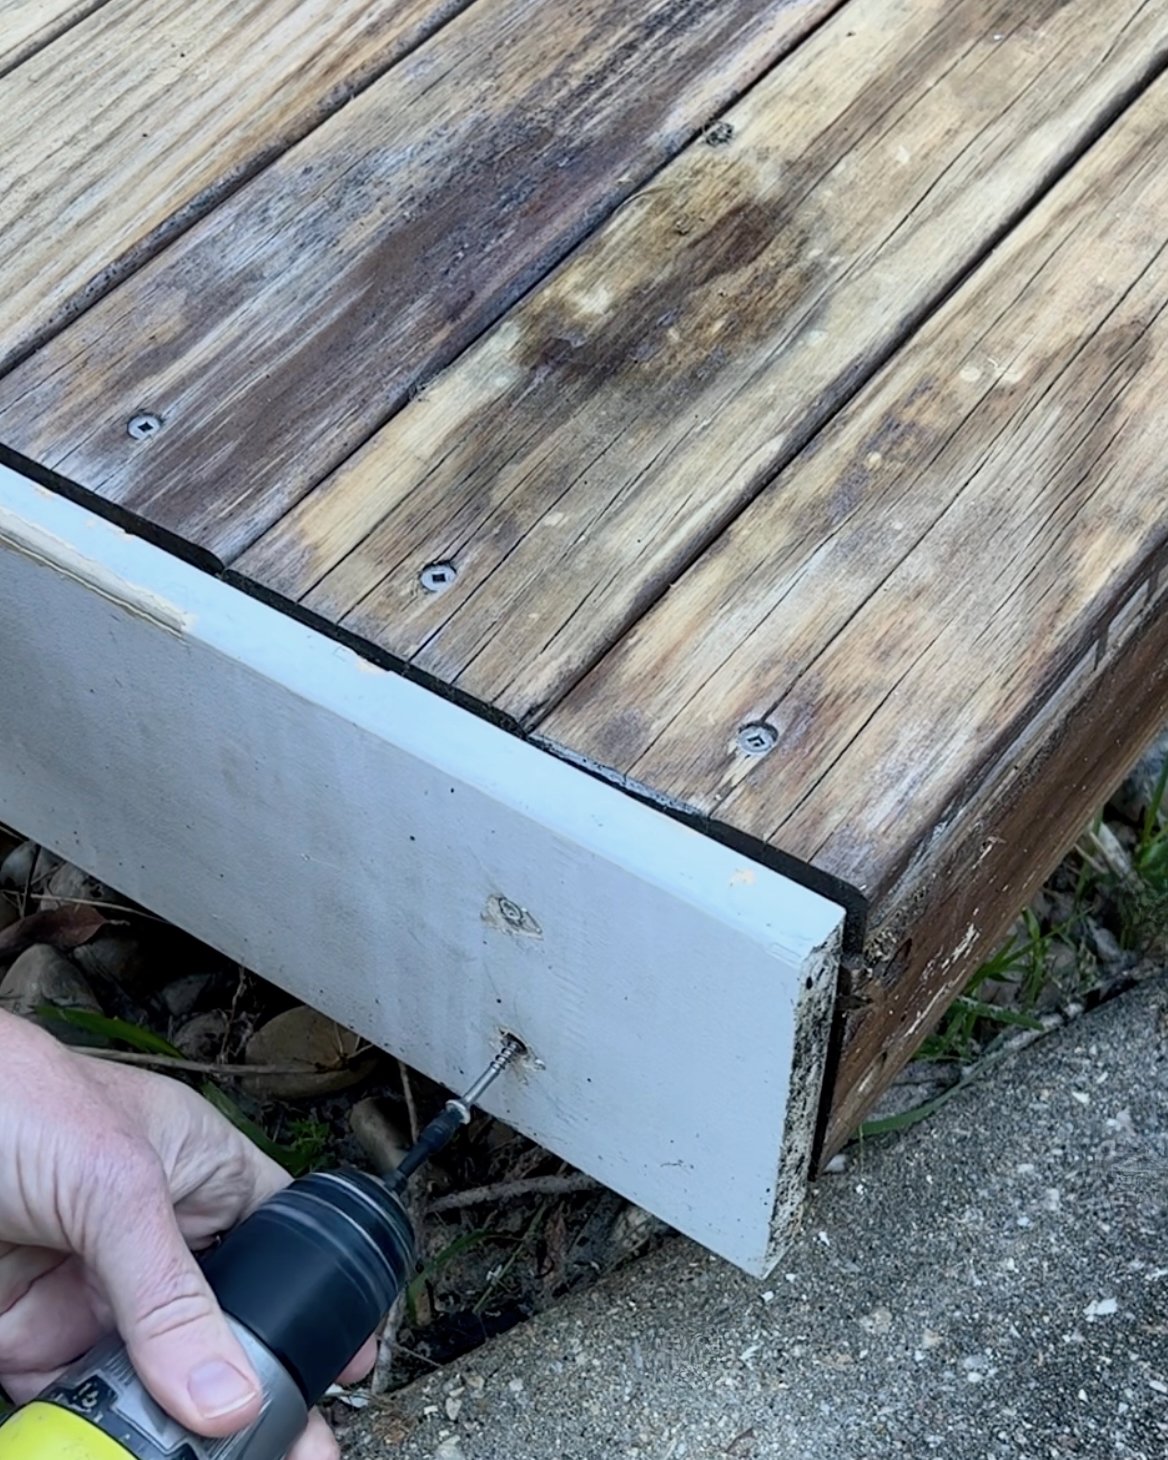
I positioned the boards around the edge of the deck using offcuts and clamps to hold them in place and used a countersinking bit to pre-drill before securing with stainless steel decking screws.
Then I went back to remove the corner screws…

… to apply fast-drying exterior construction adhesive along the inside of the joints to prevent them splitting. I reinstalled the screws and wiped away the excess adhesive that squeezed out.
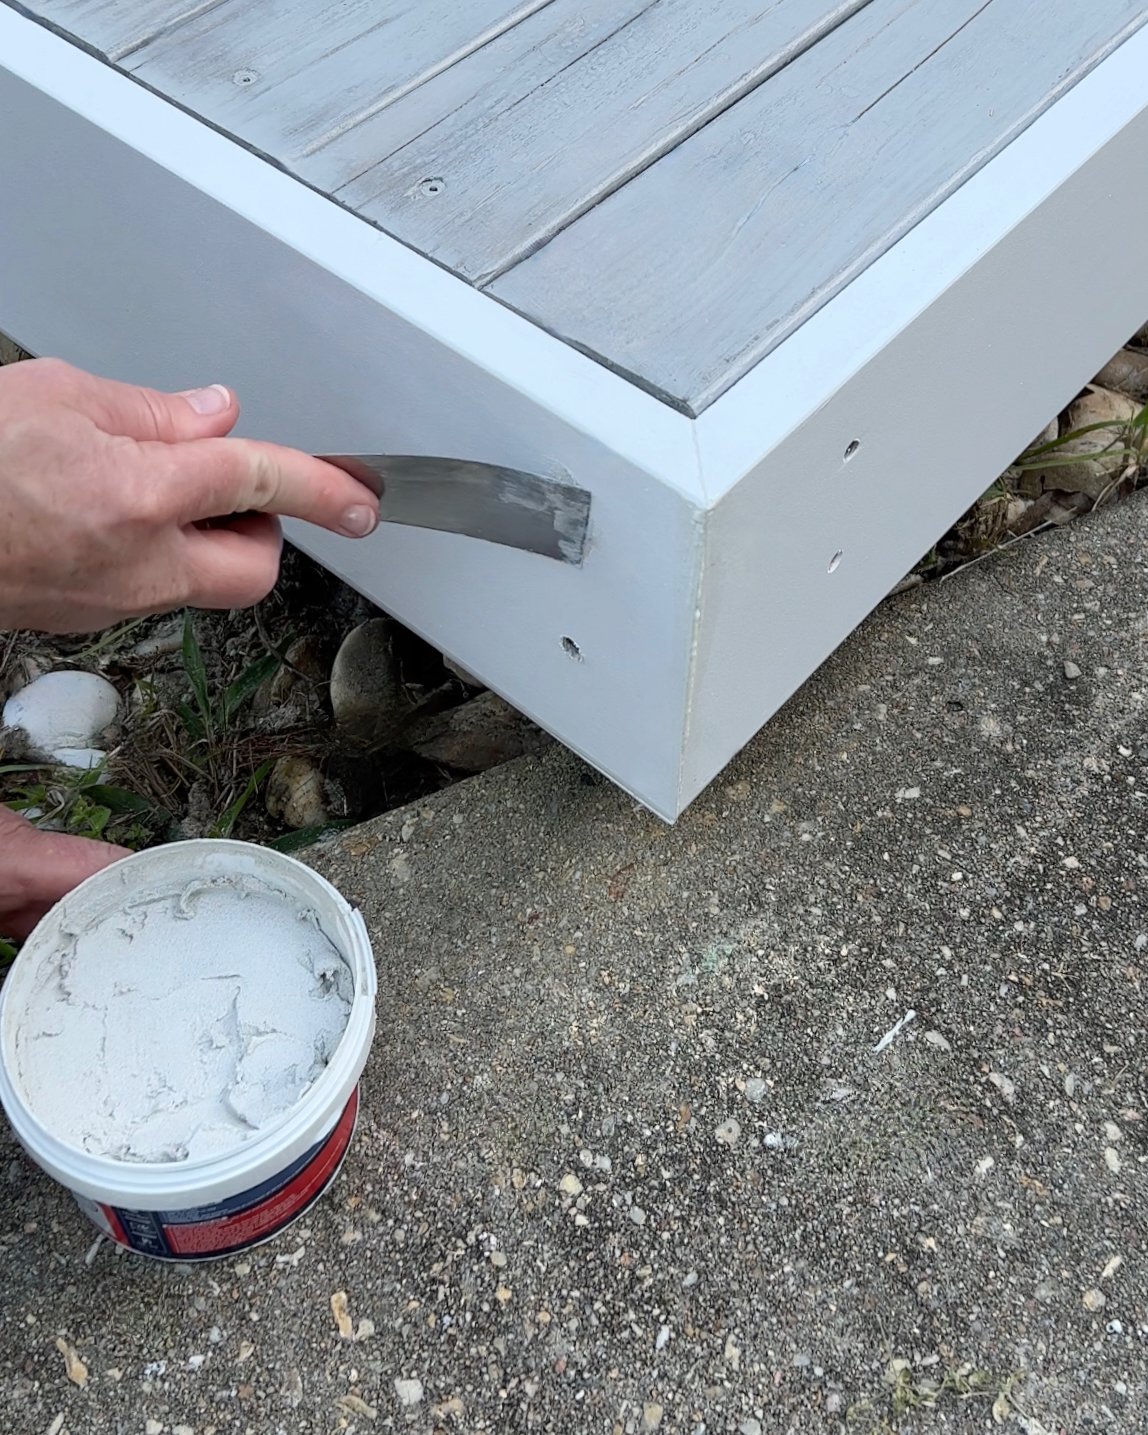
I smoothed over the holes with timber filler, sanded and touched up with paint to hide the screws and neaten the corners.
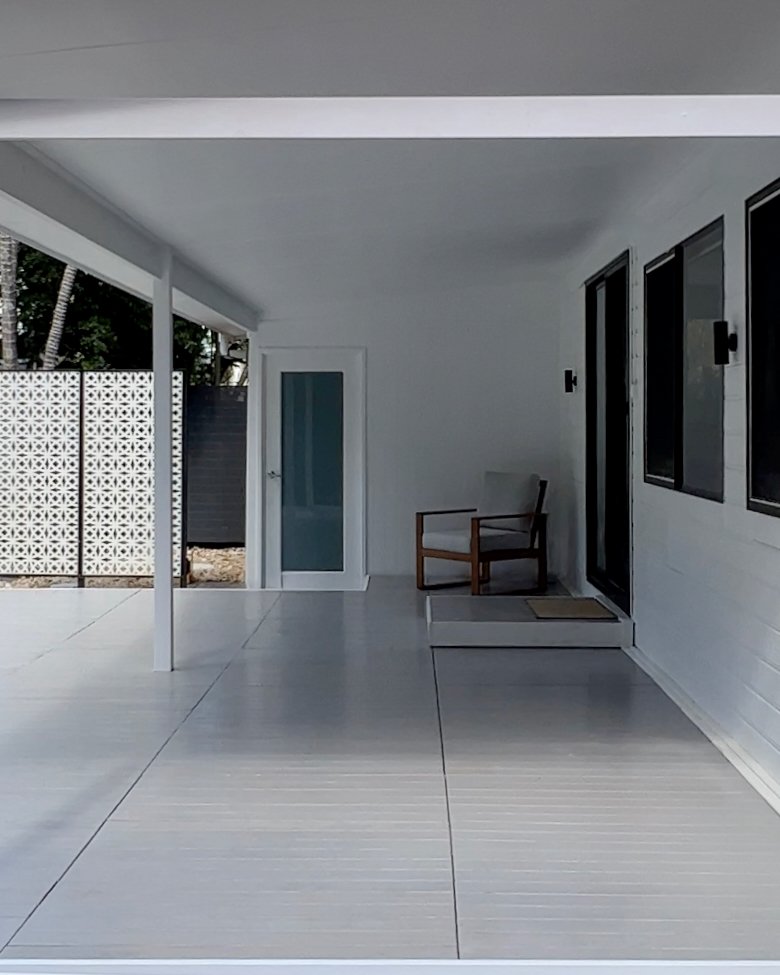
AFTER Changing the fascia was like adding a giant picture frame around the deck. The revived area has become a blank canvas for outdoor living and is the most-used space in the house.

Are you planning to revamp your deck this summer?
Tag me on your project and follow more of my DIY journey on Instagram for tool tips, home improvement and simple building projects.