Remodel a flatpack into a built-in cabinet
Natasha Dickins
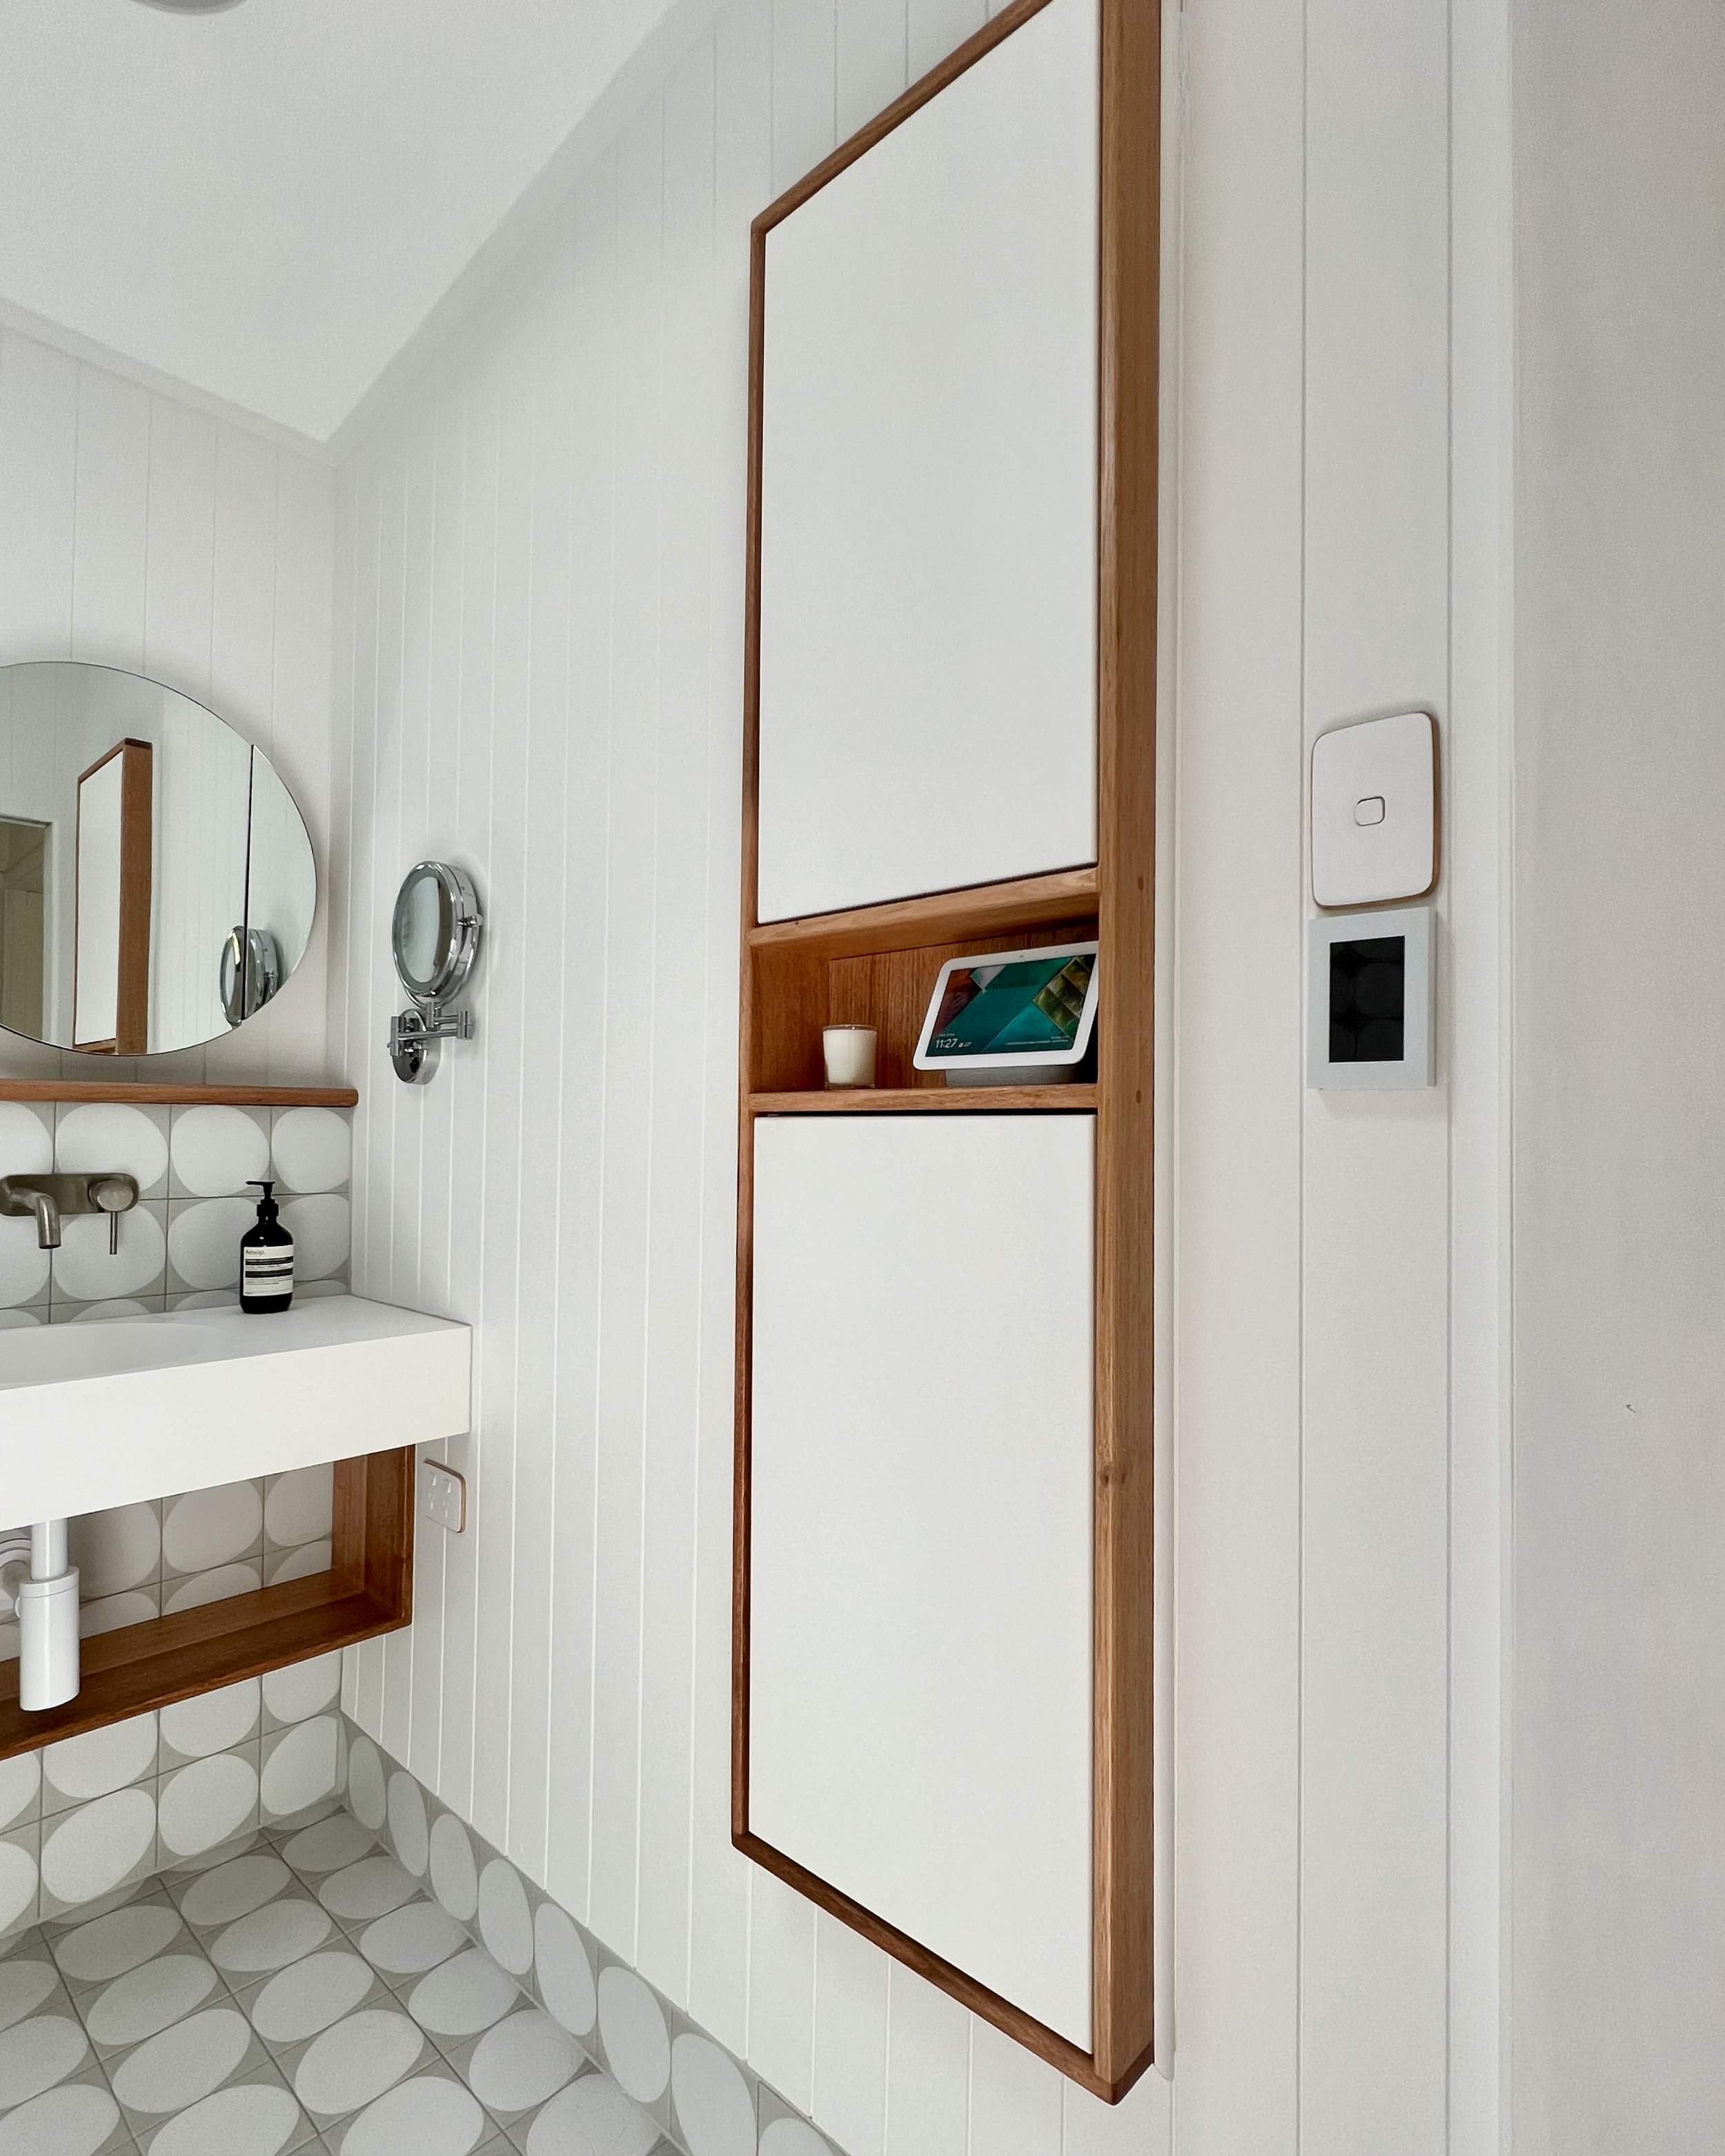
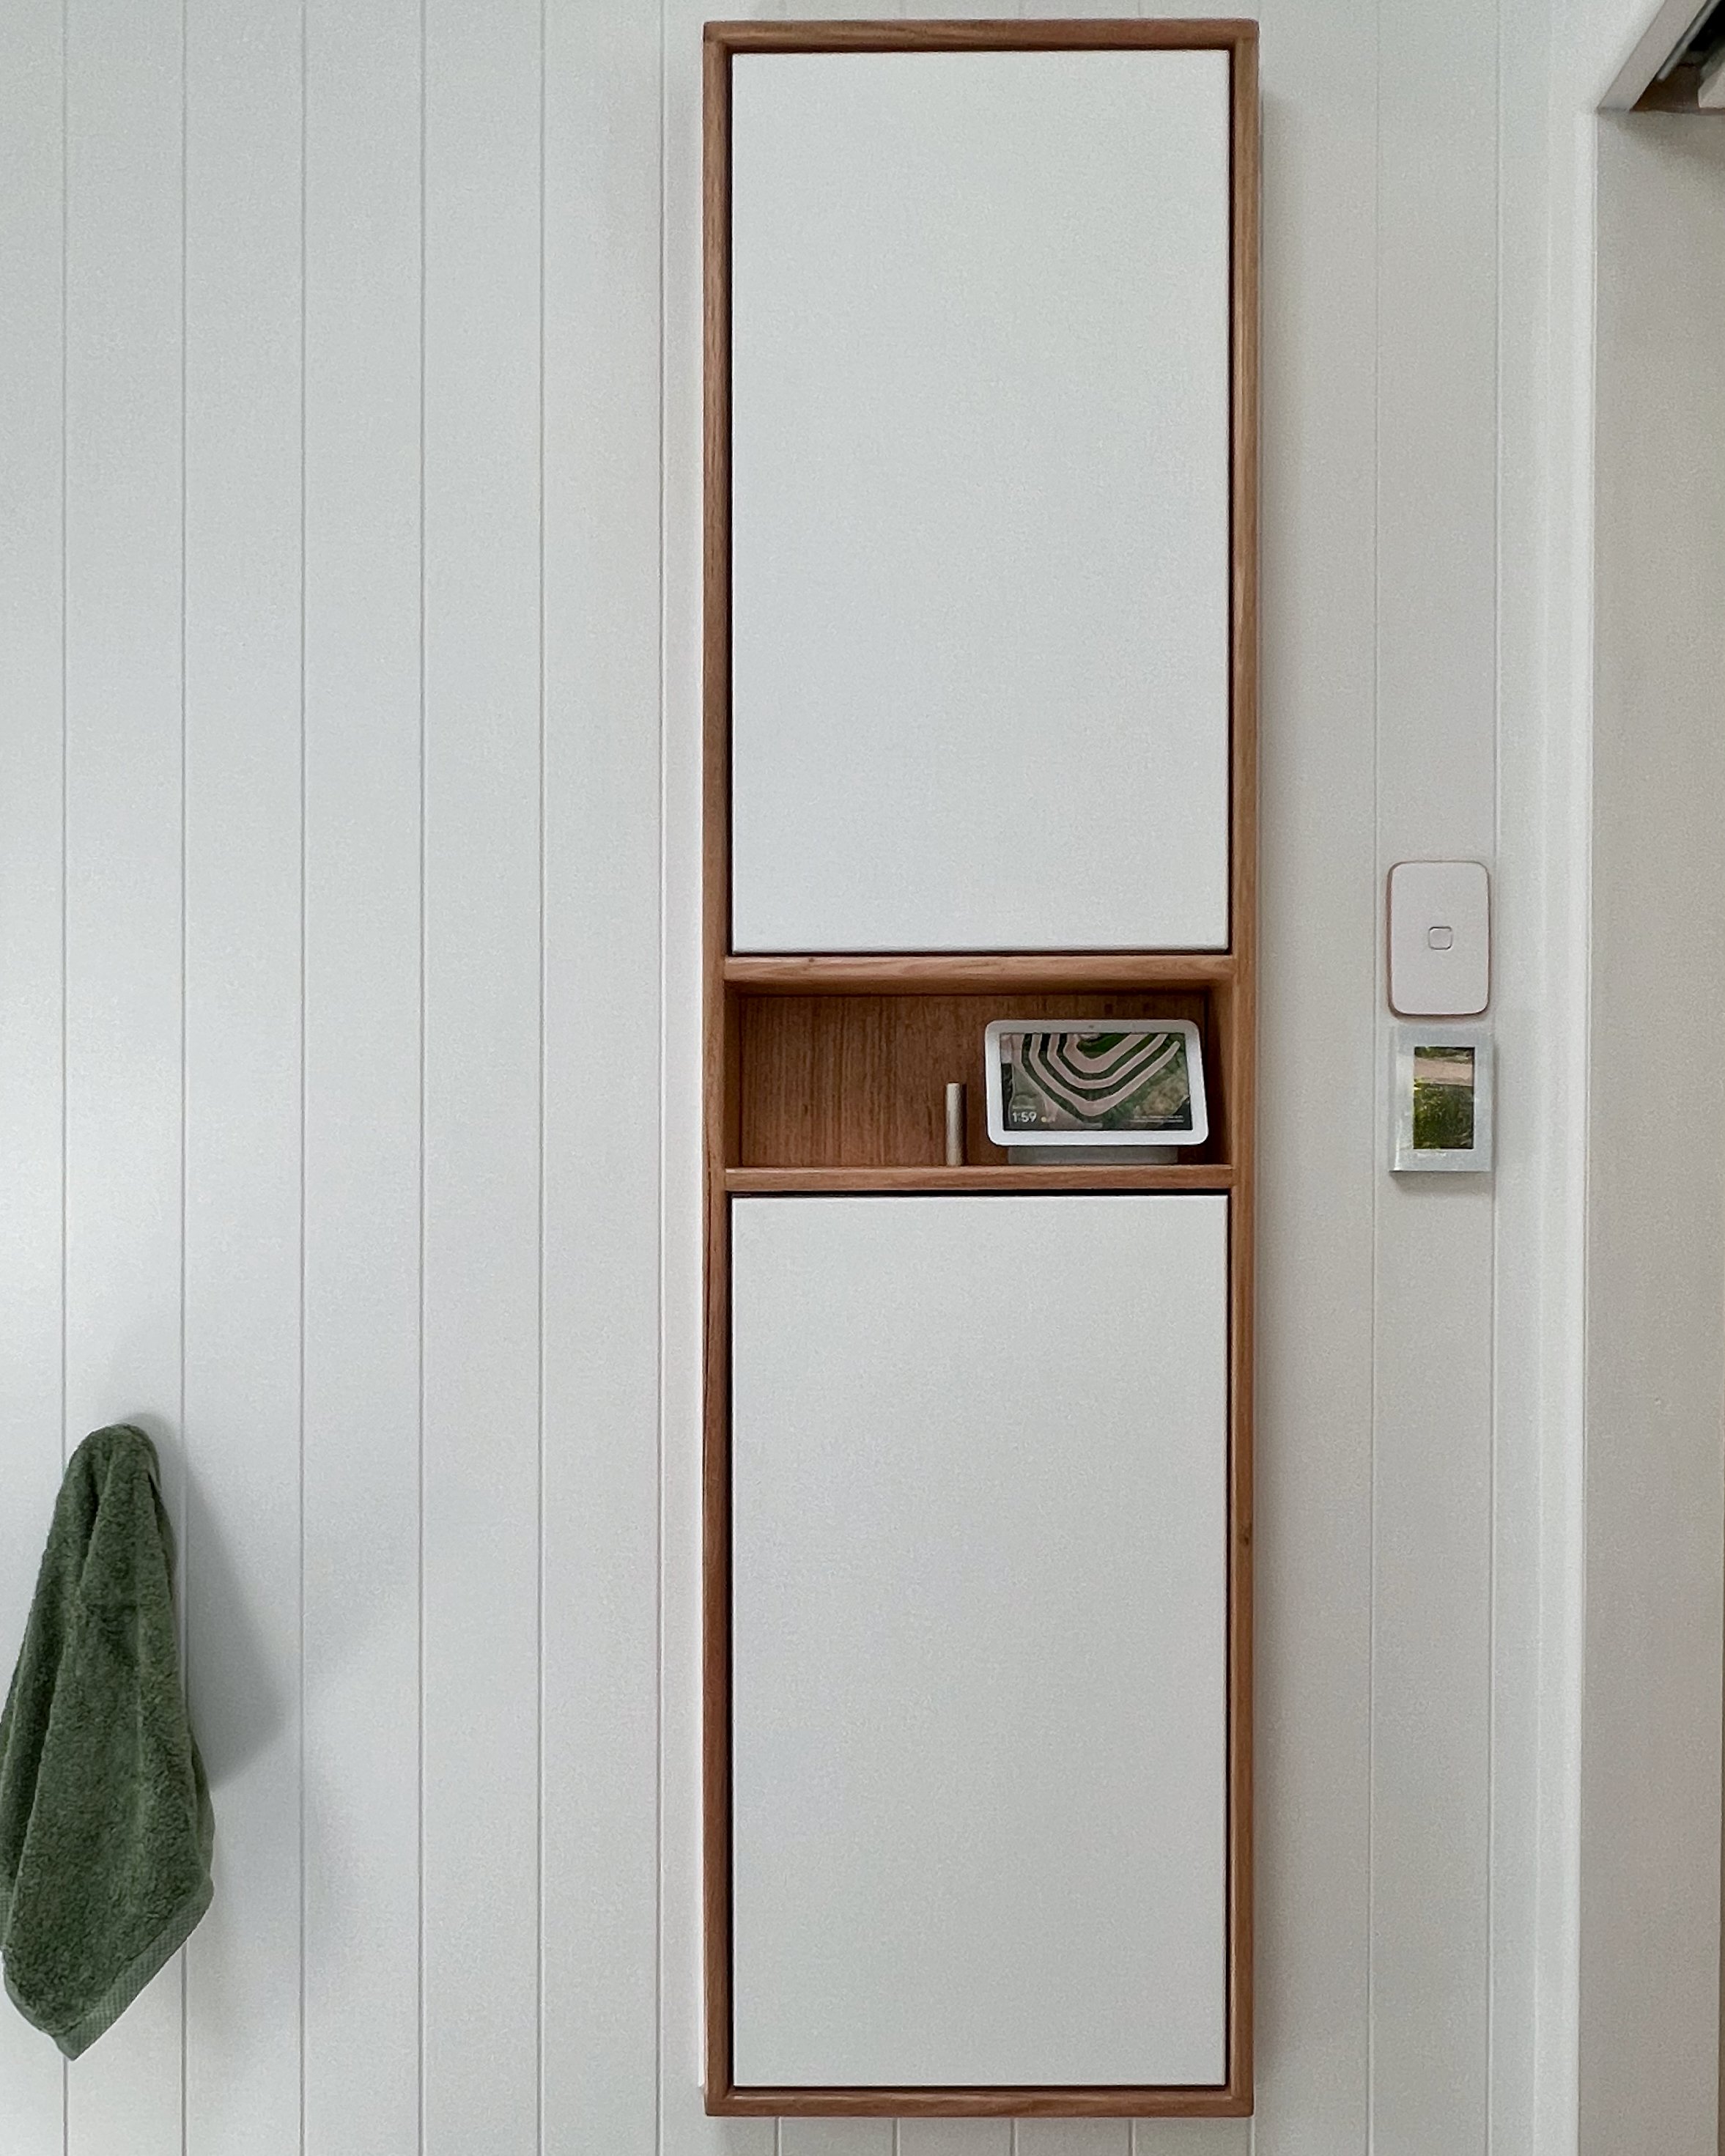
I built this slimline storage for my bathroom by cutting a flatpack unit depth-ways and using the pre-drilled holes to reassemble it into two units joined by a timber frame that sits in the wall studs.
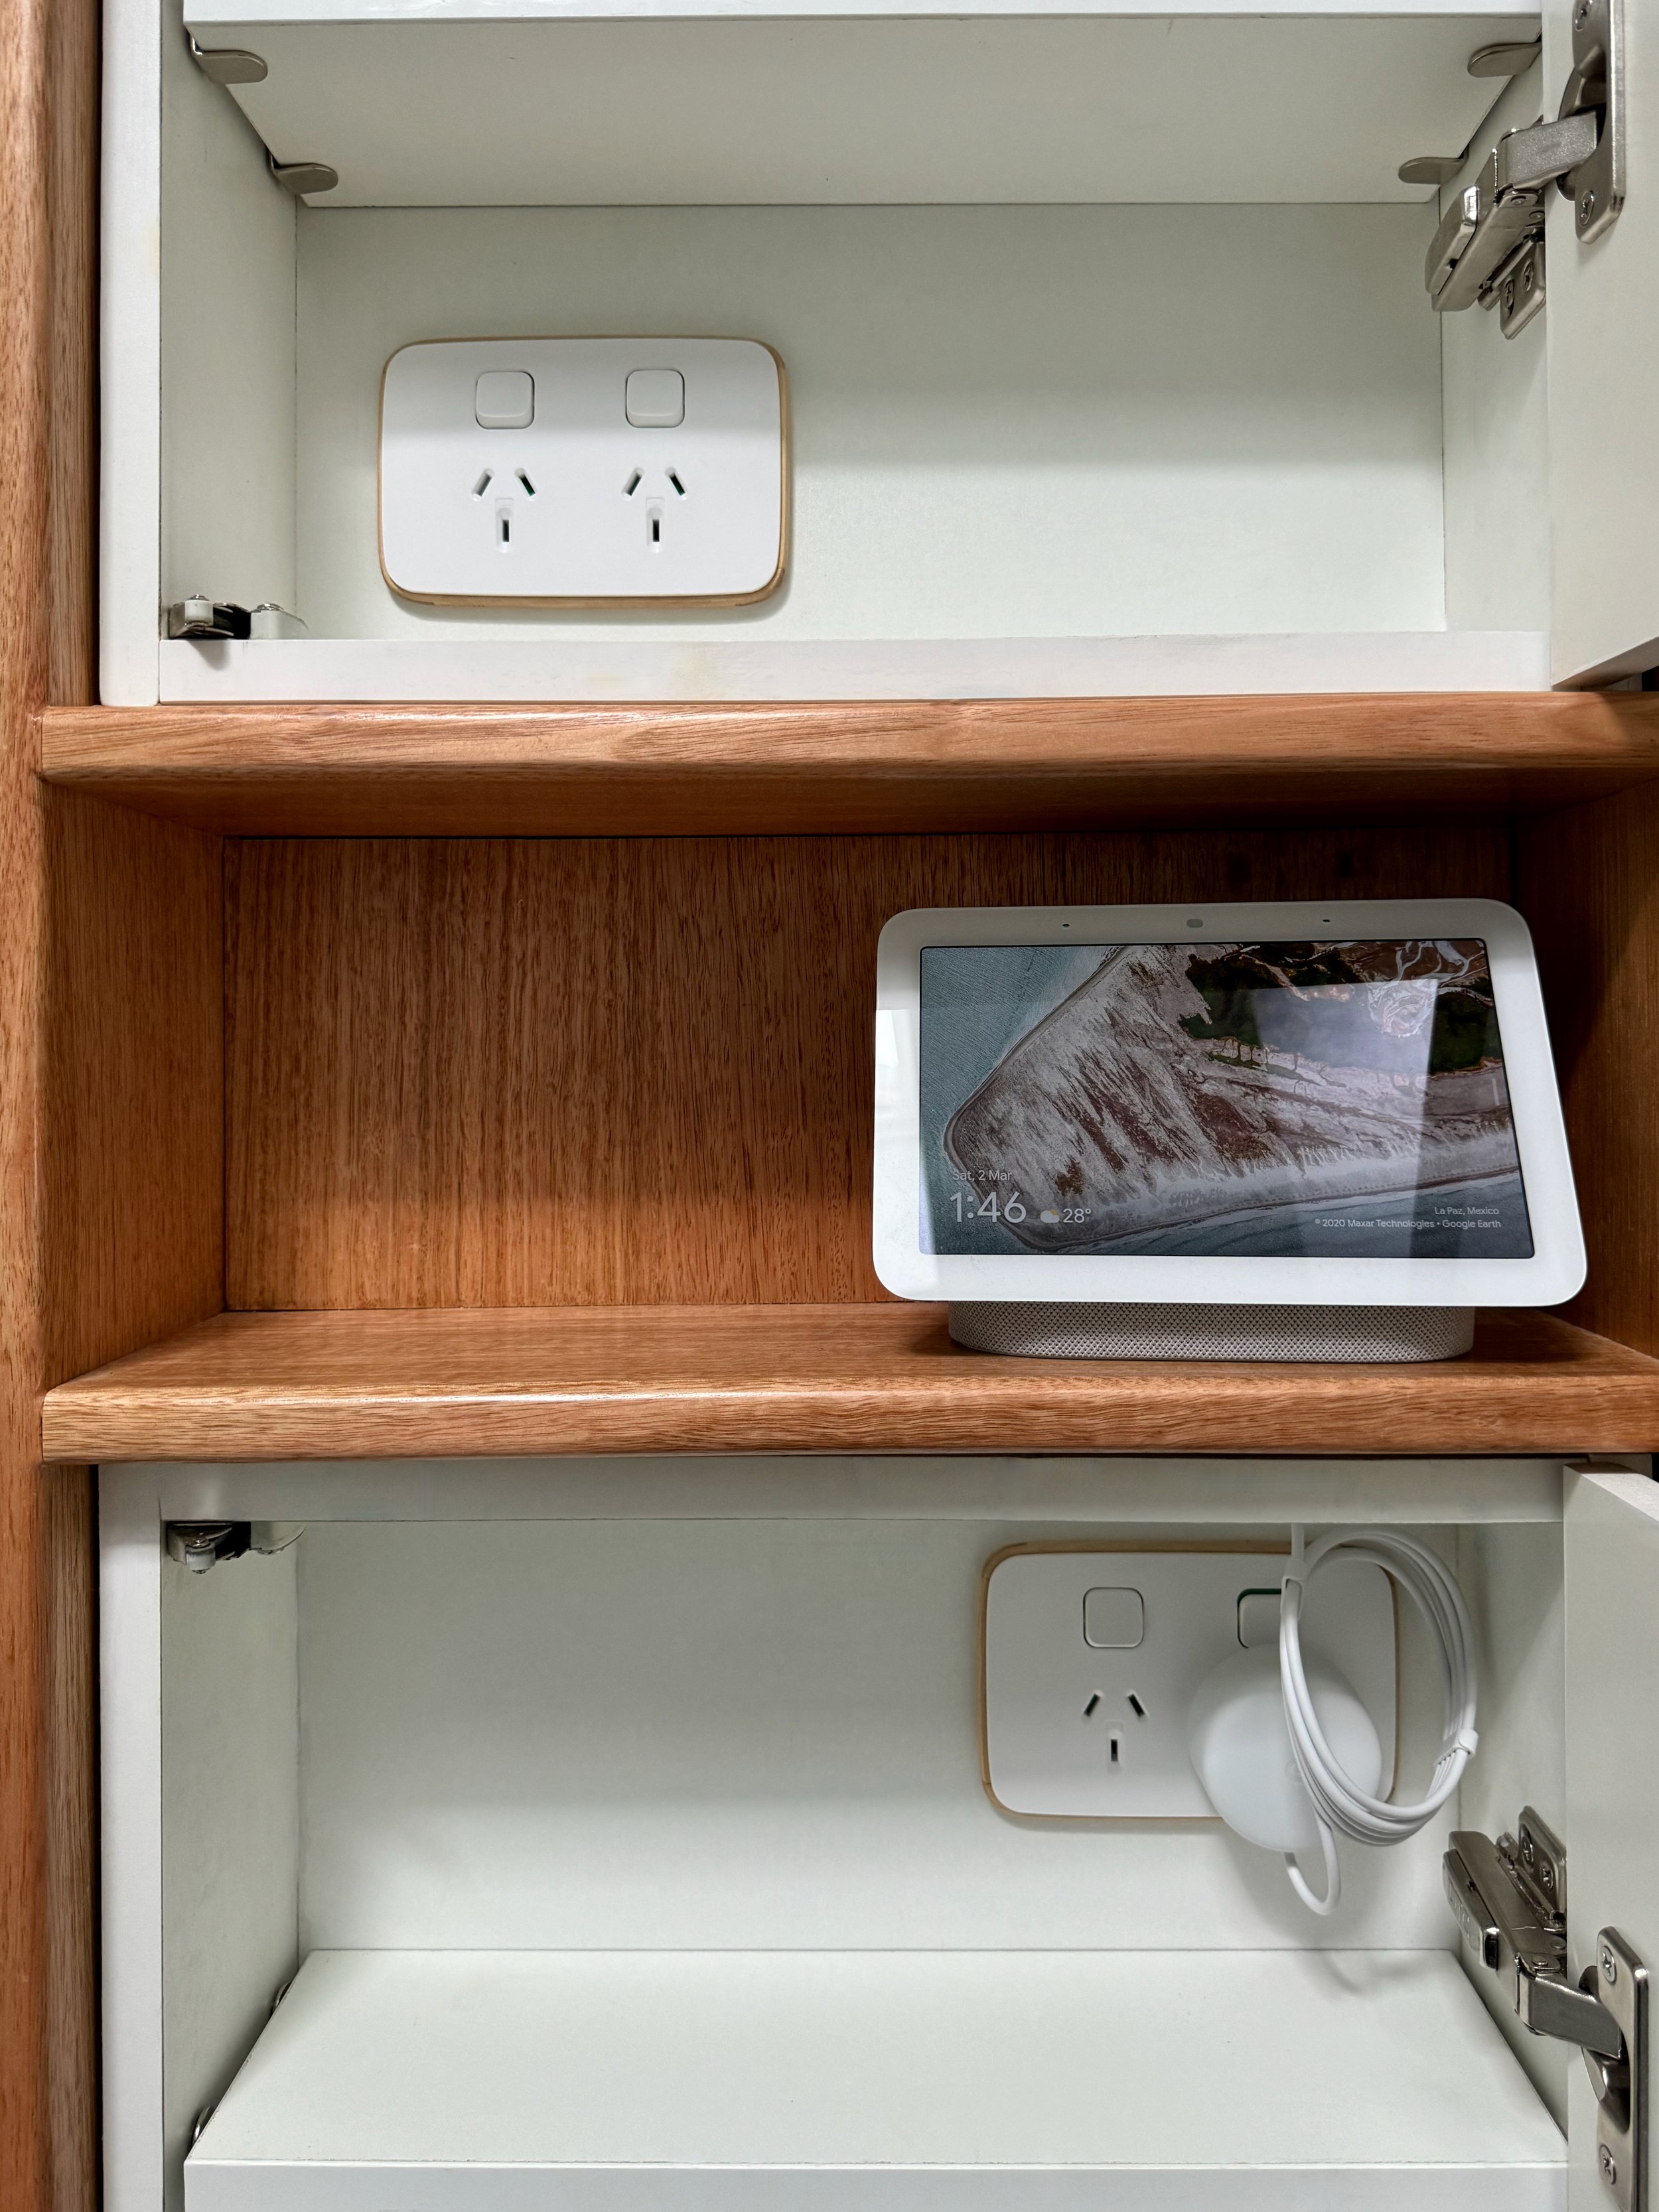
The doors have push-to-open hardware to eliminate the need for fussy handles. There are also hidden power points.
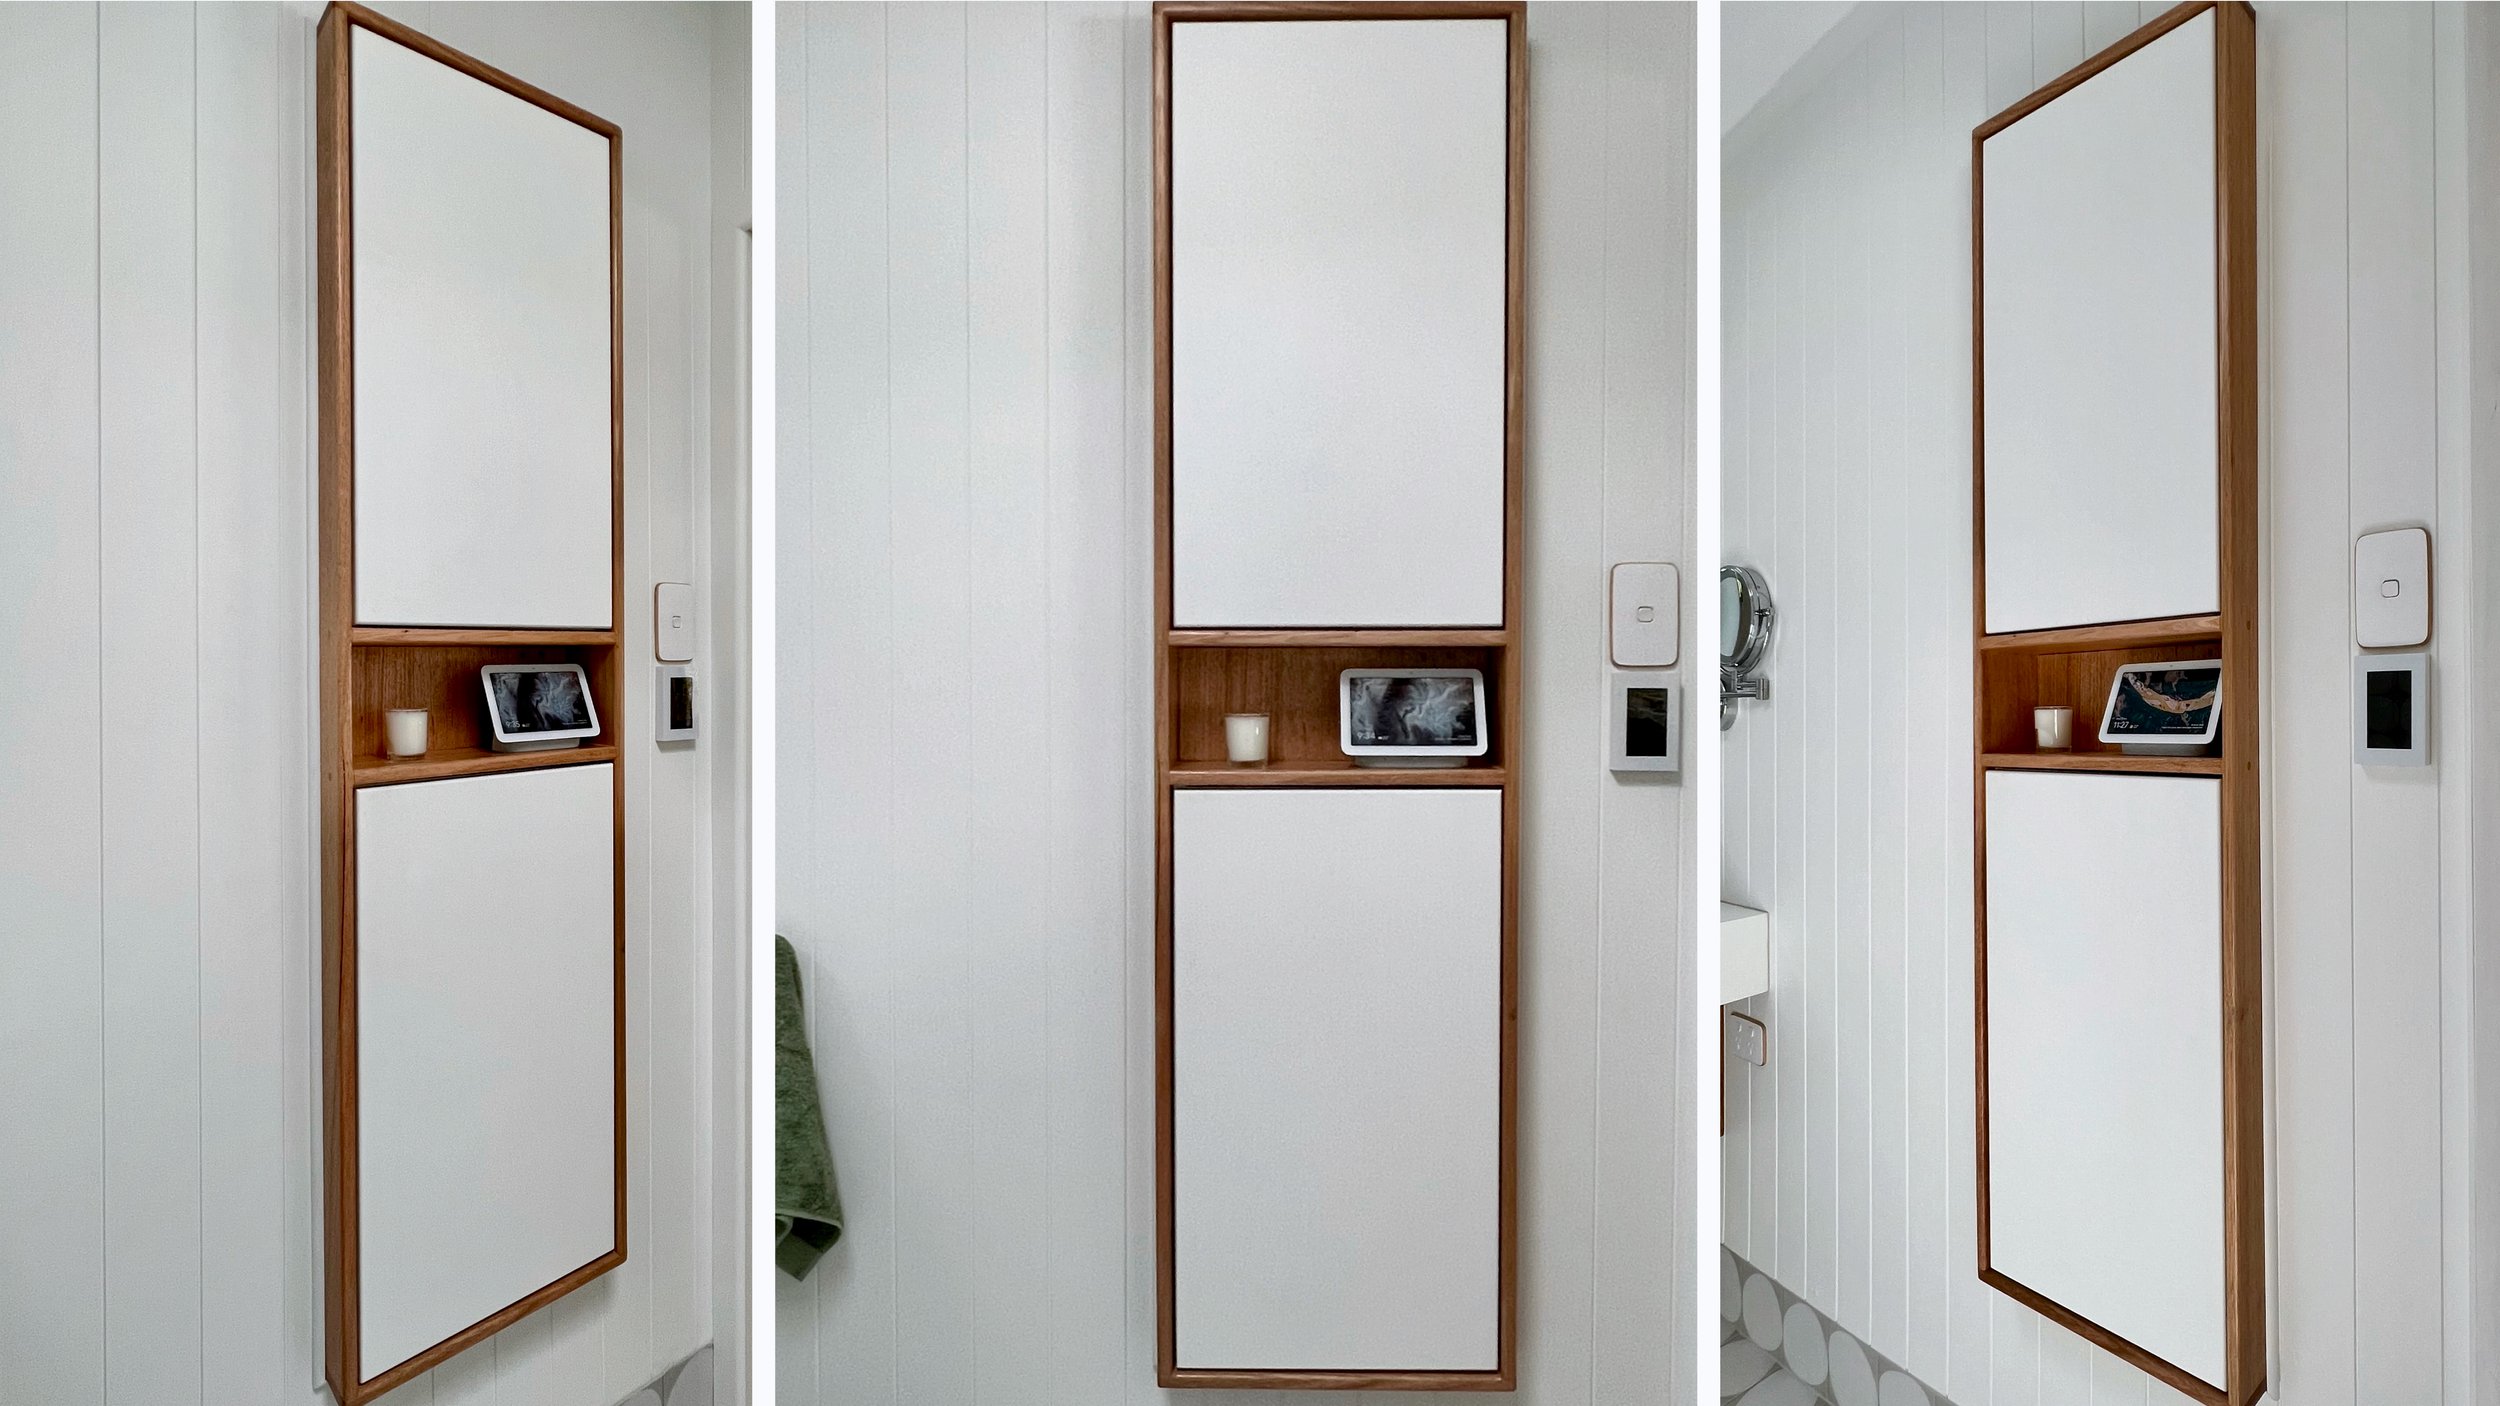
The finished cabinet is 1680mm high, 445mm wide and 140mm deep. It sits halfway into the wall, supported by the studs and protrudes into the room by 70mm. The shelves are 100mm, about the same depth as a regular shaving cabinet.
TIP Adapt these specs to suit your wall space by using a different-size flatpack and adjusting the height of the middle shelf.
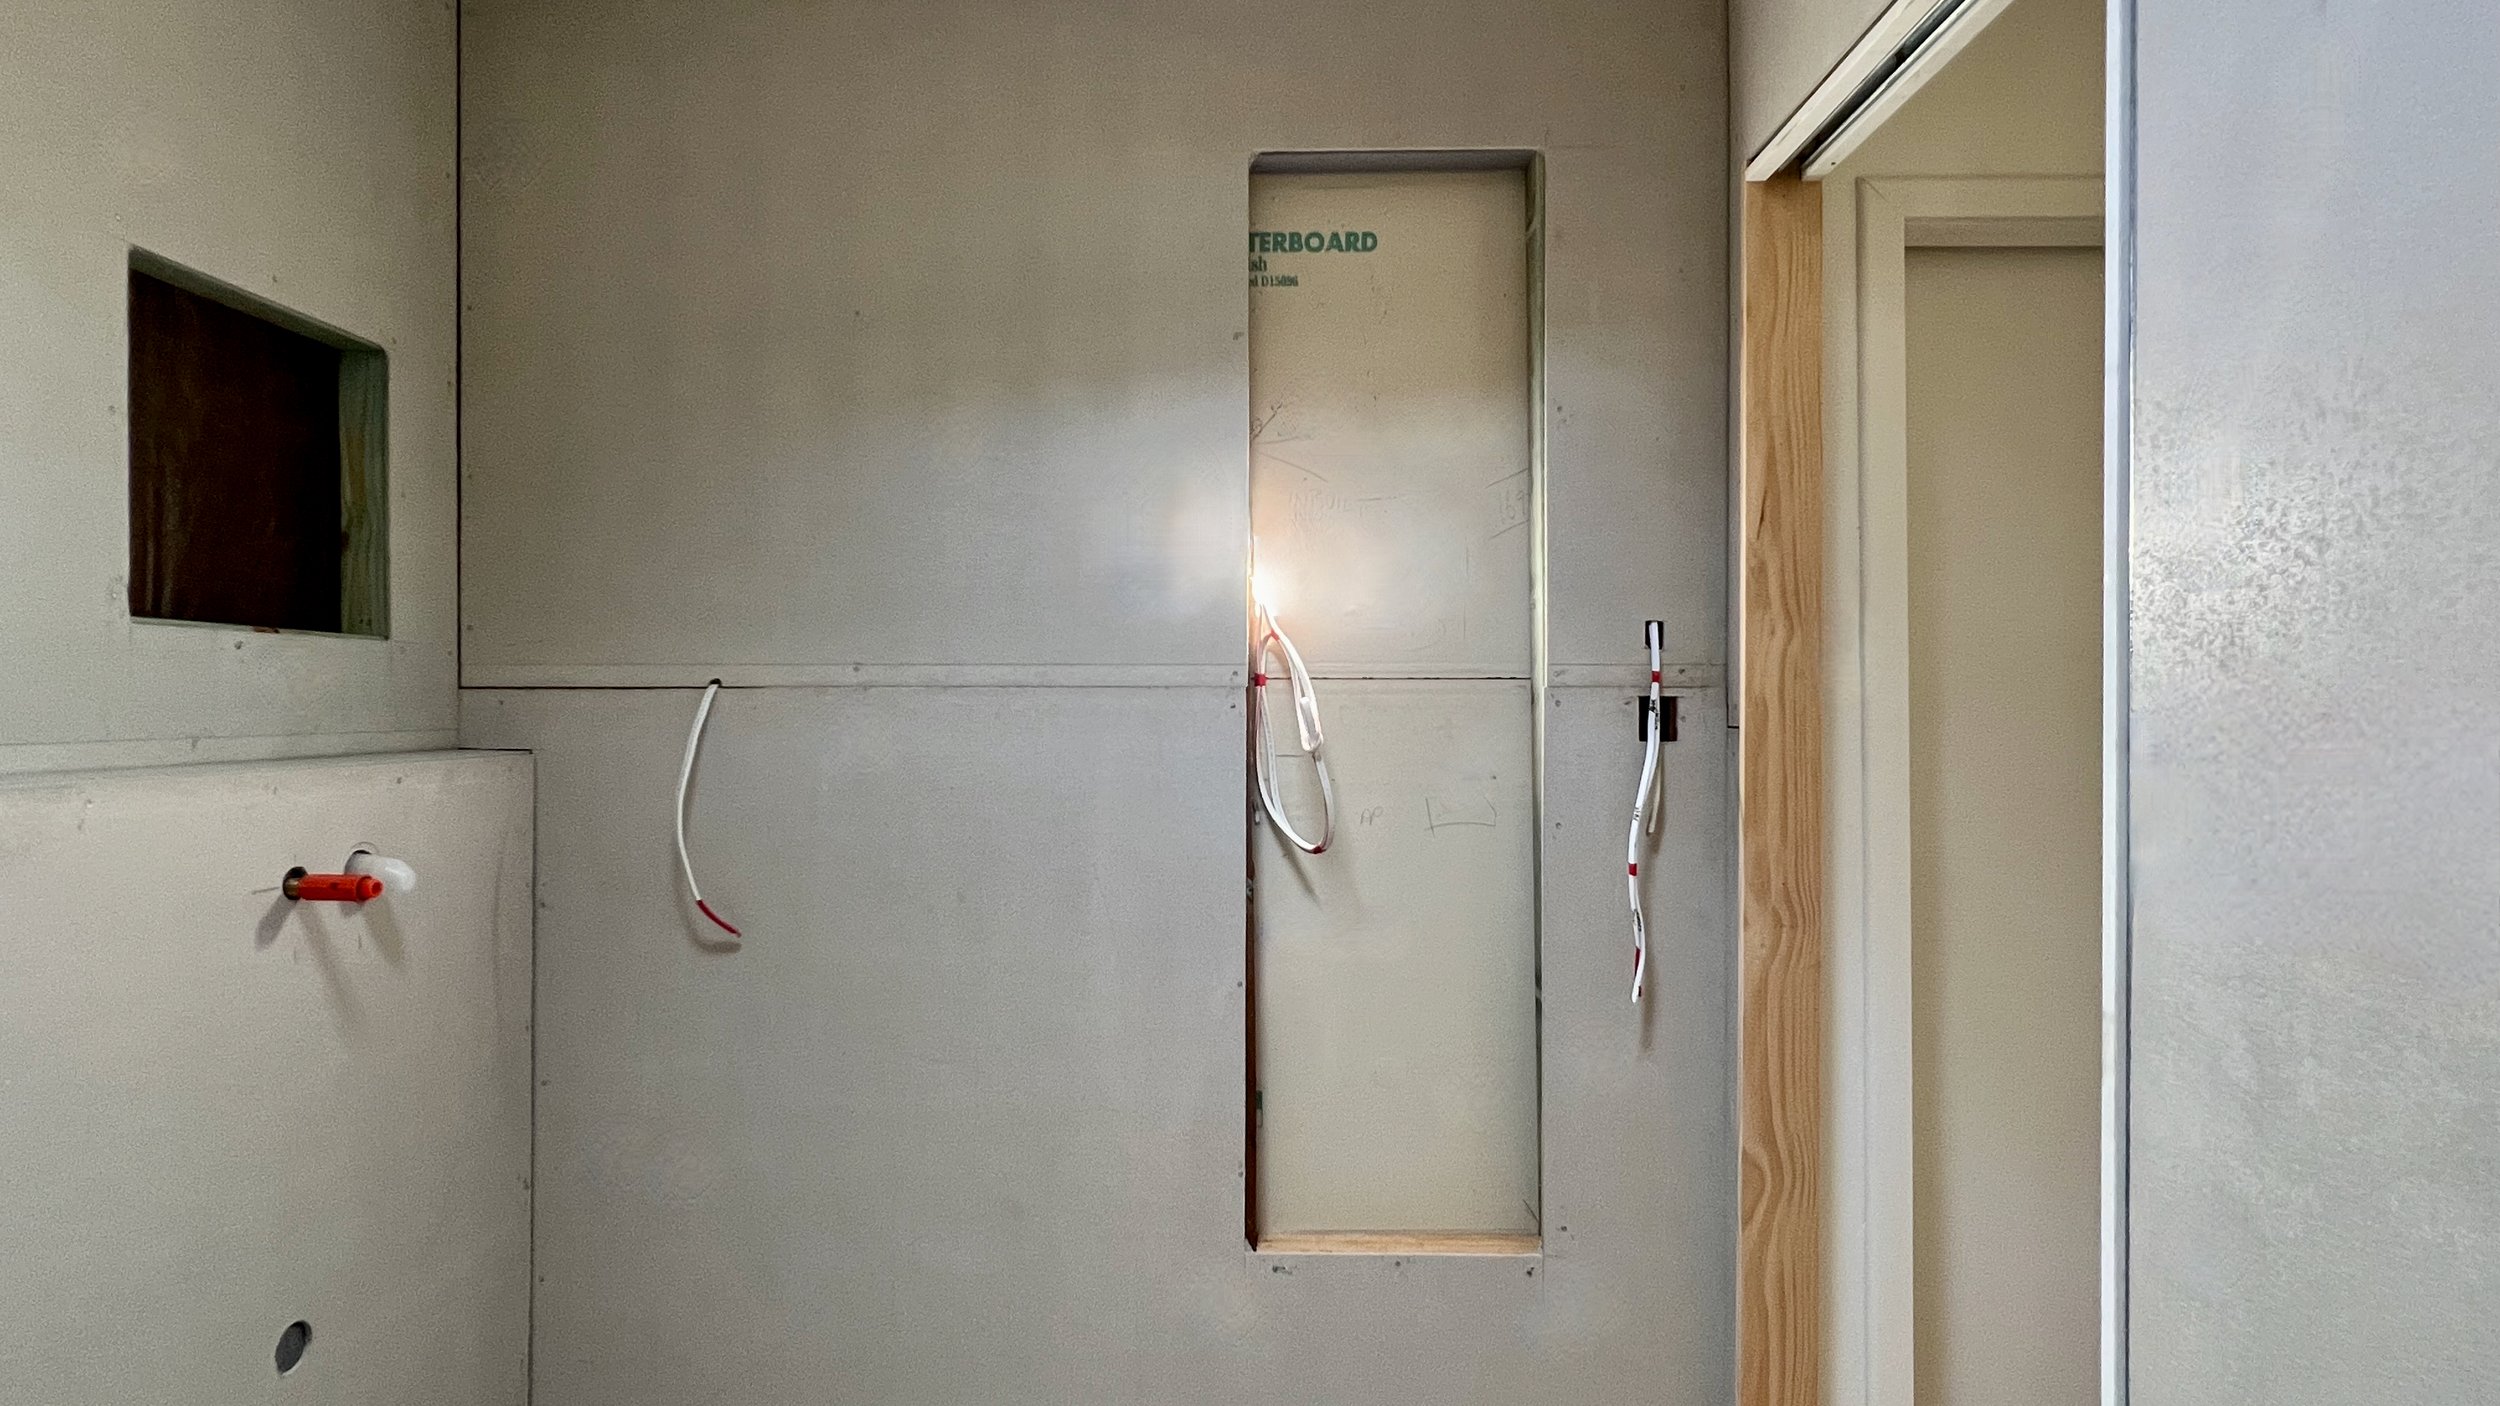
I made up the cabinet so the builder could use the frame as a template when sheeting the wall and the electrician could run the wiring for power points. I installed the cabinet later in the process, simply pulling the wires through and leaving them for the final fix off.
“I chose to use a flatpack, rather than make the cabinet from scratch because the pre-cut pieces with pre-drilled holes saved tweaking measurements and a lot of time.”
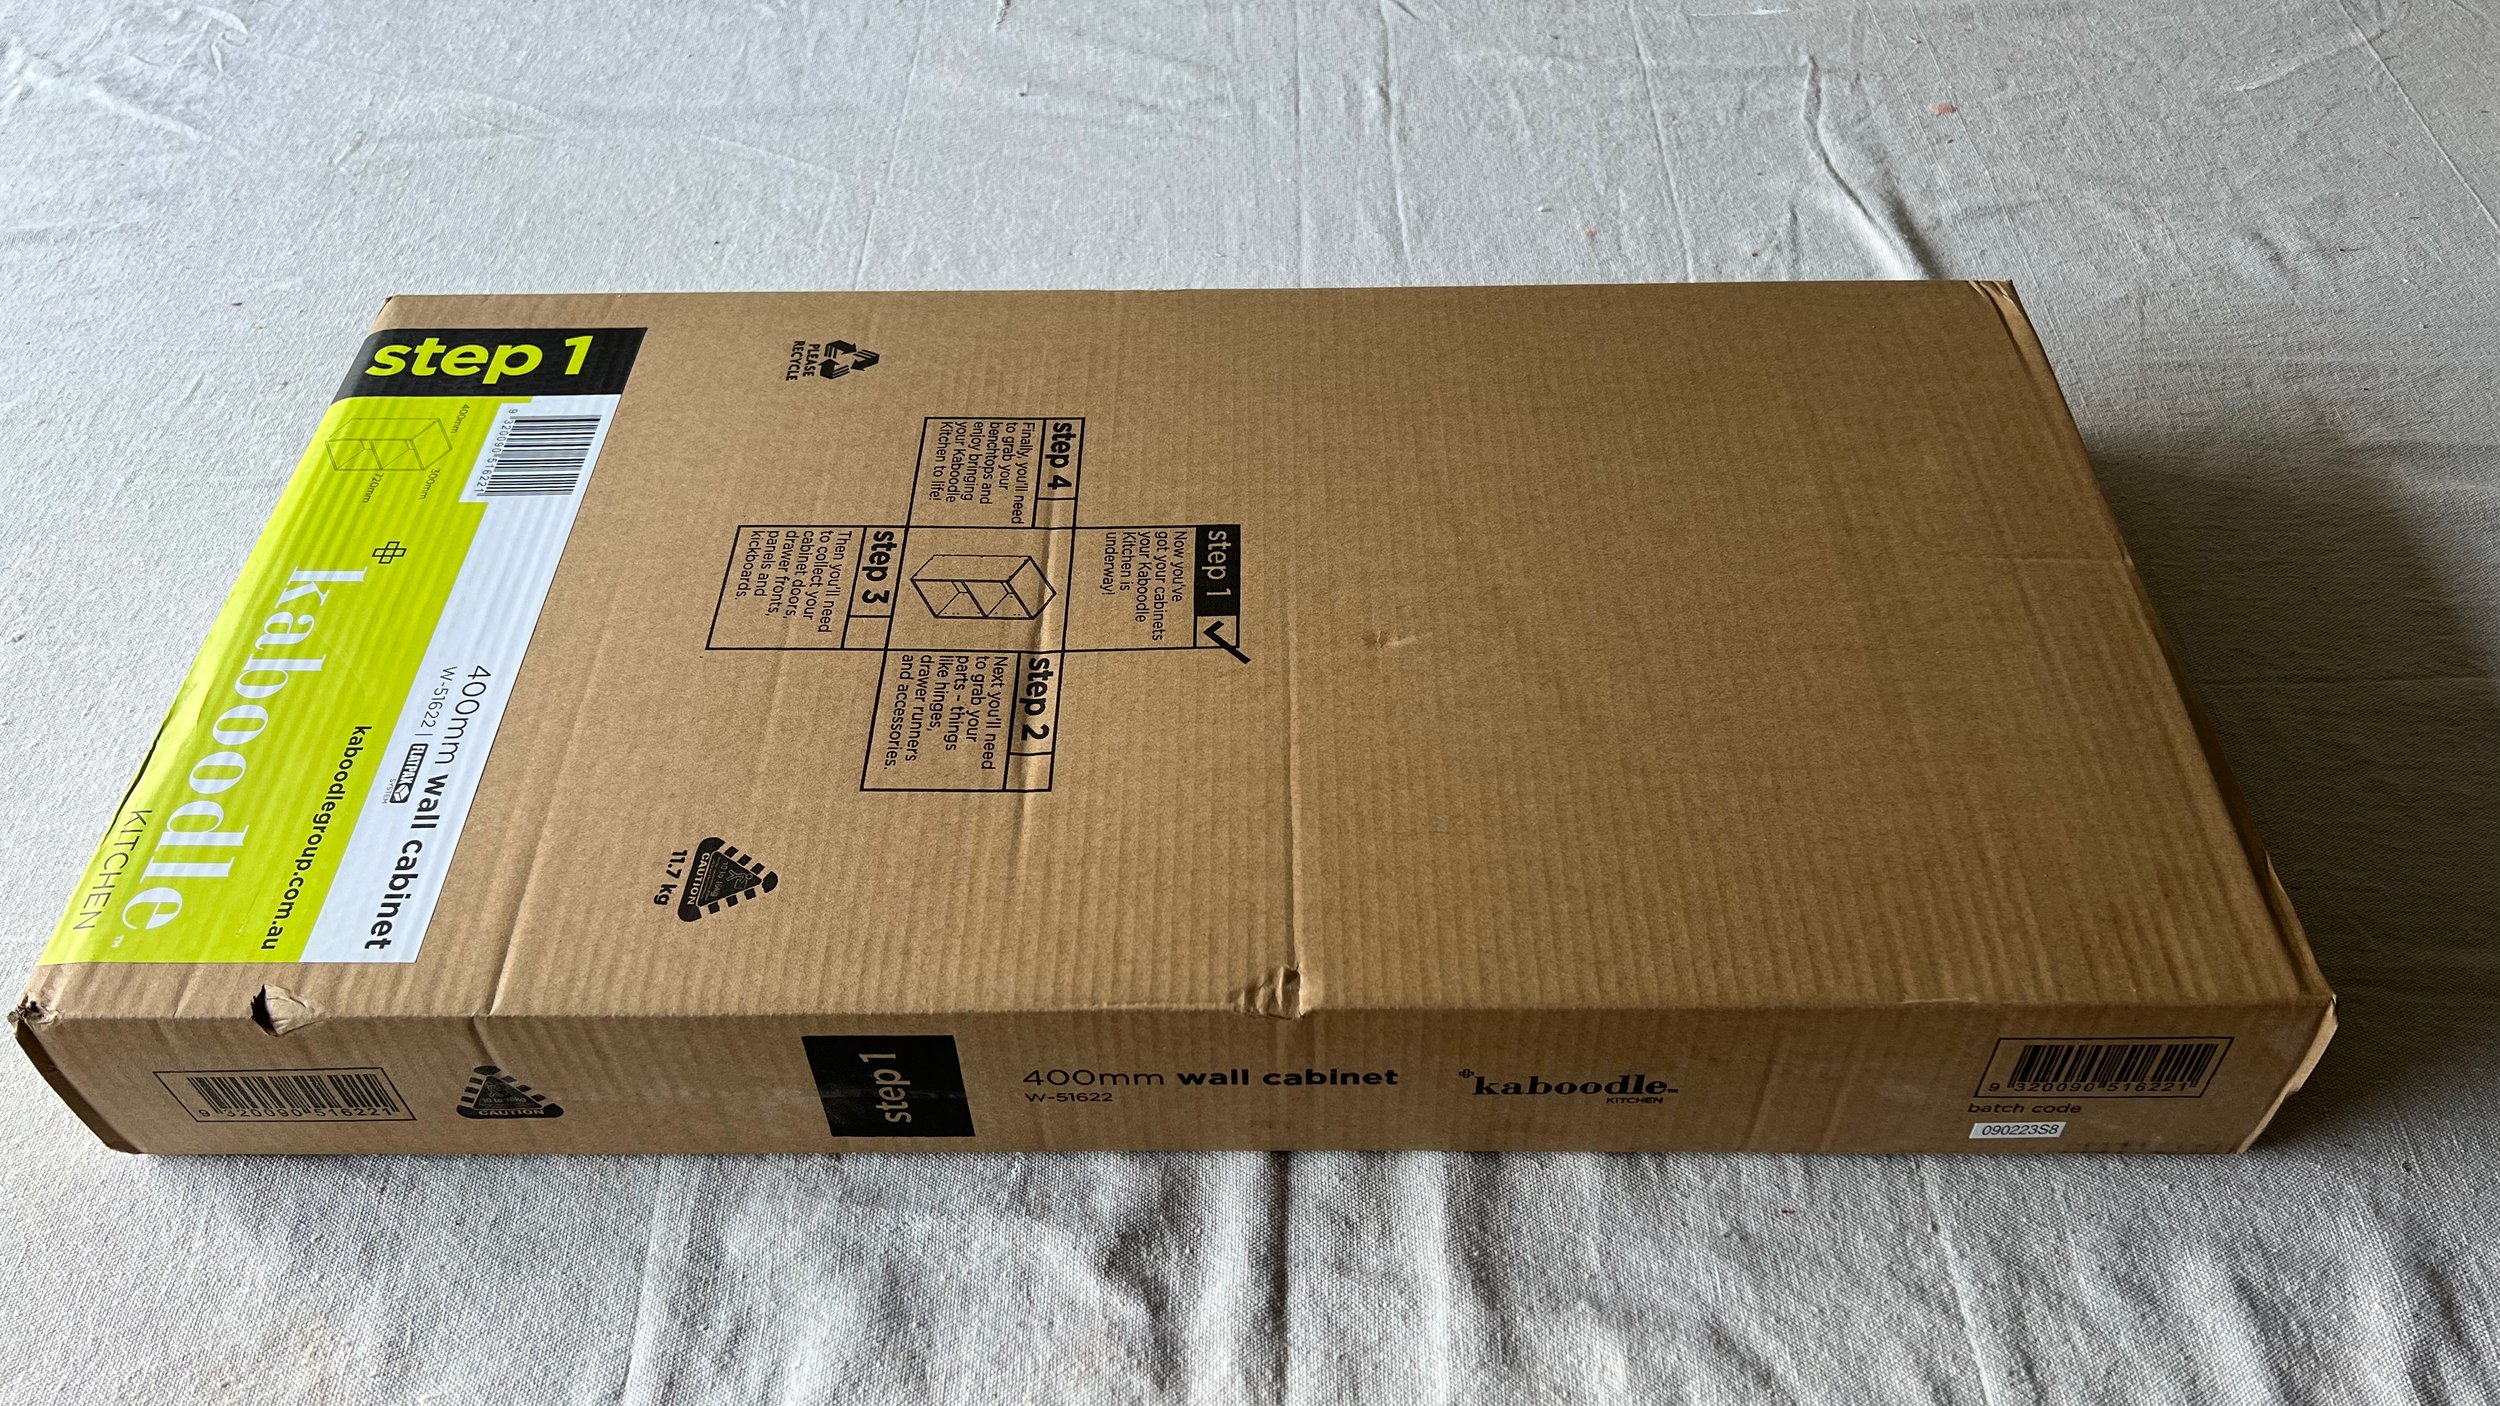
The 400mm wide x 720mm high x 300mm deep Kaboodle Kitchen wall unit is the perfect size for this project. Use a base unit to make a much deeper cabinet.
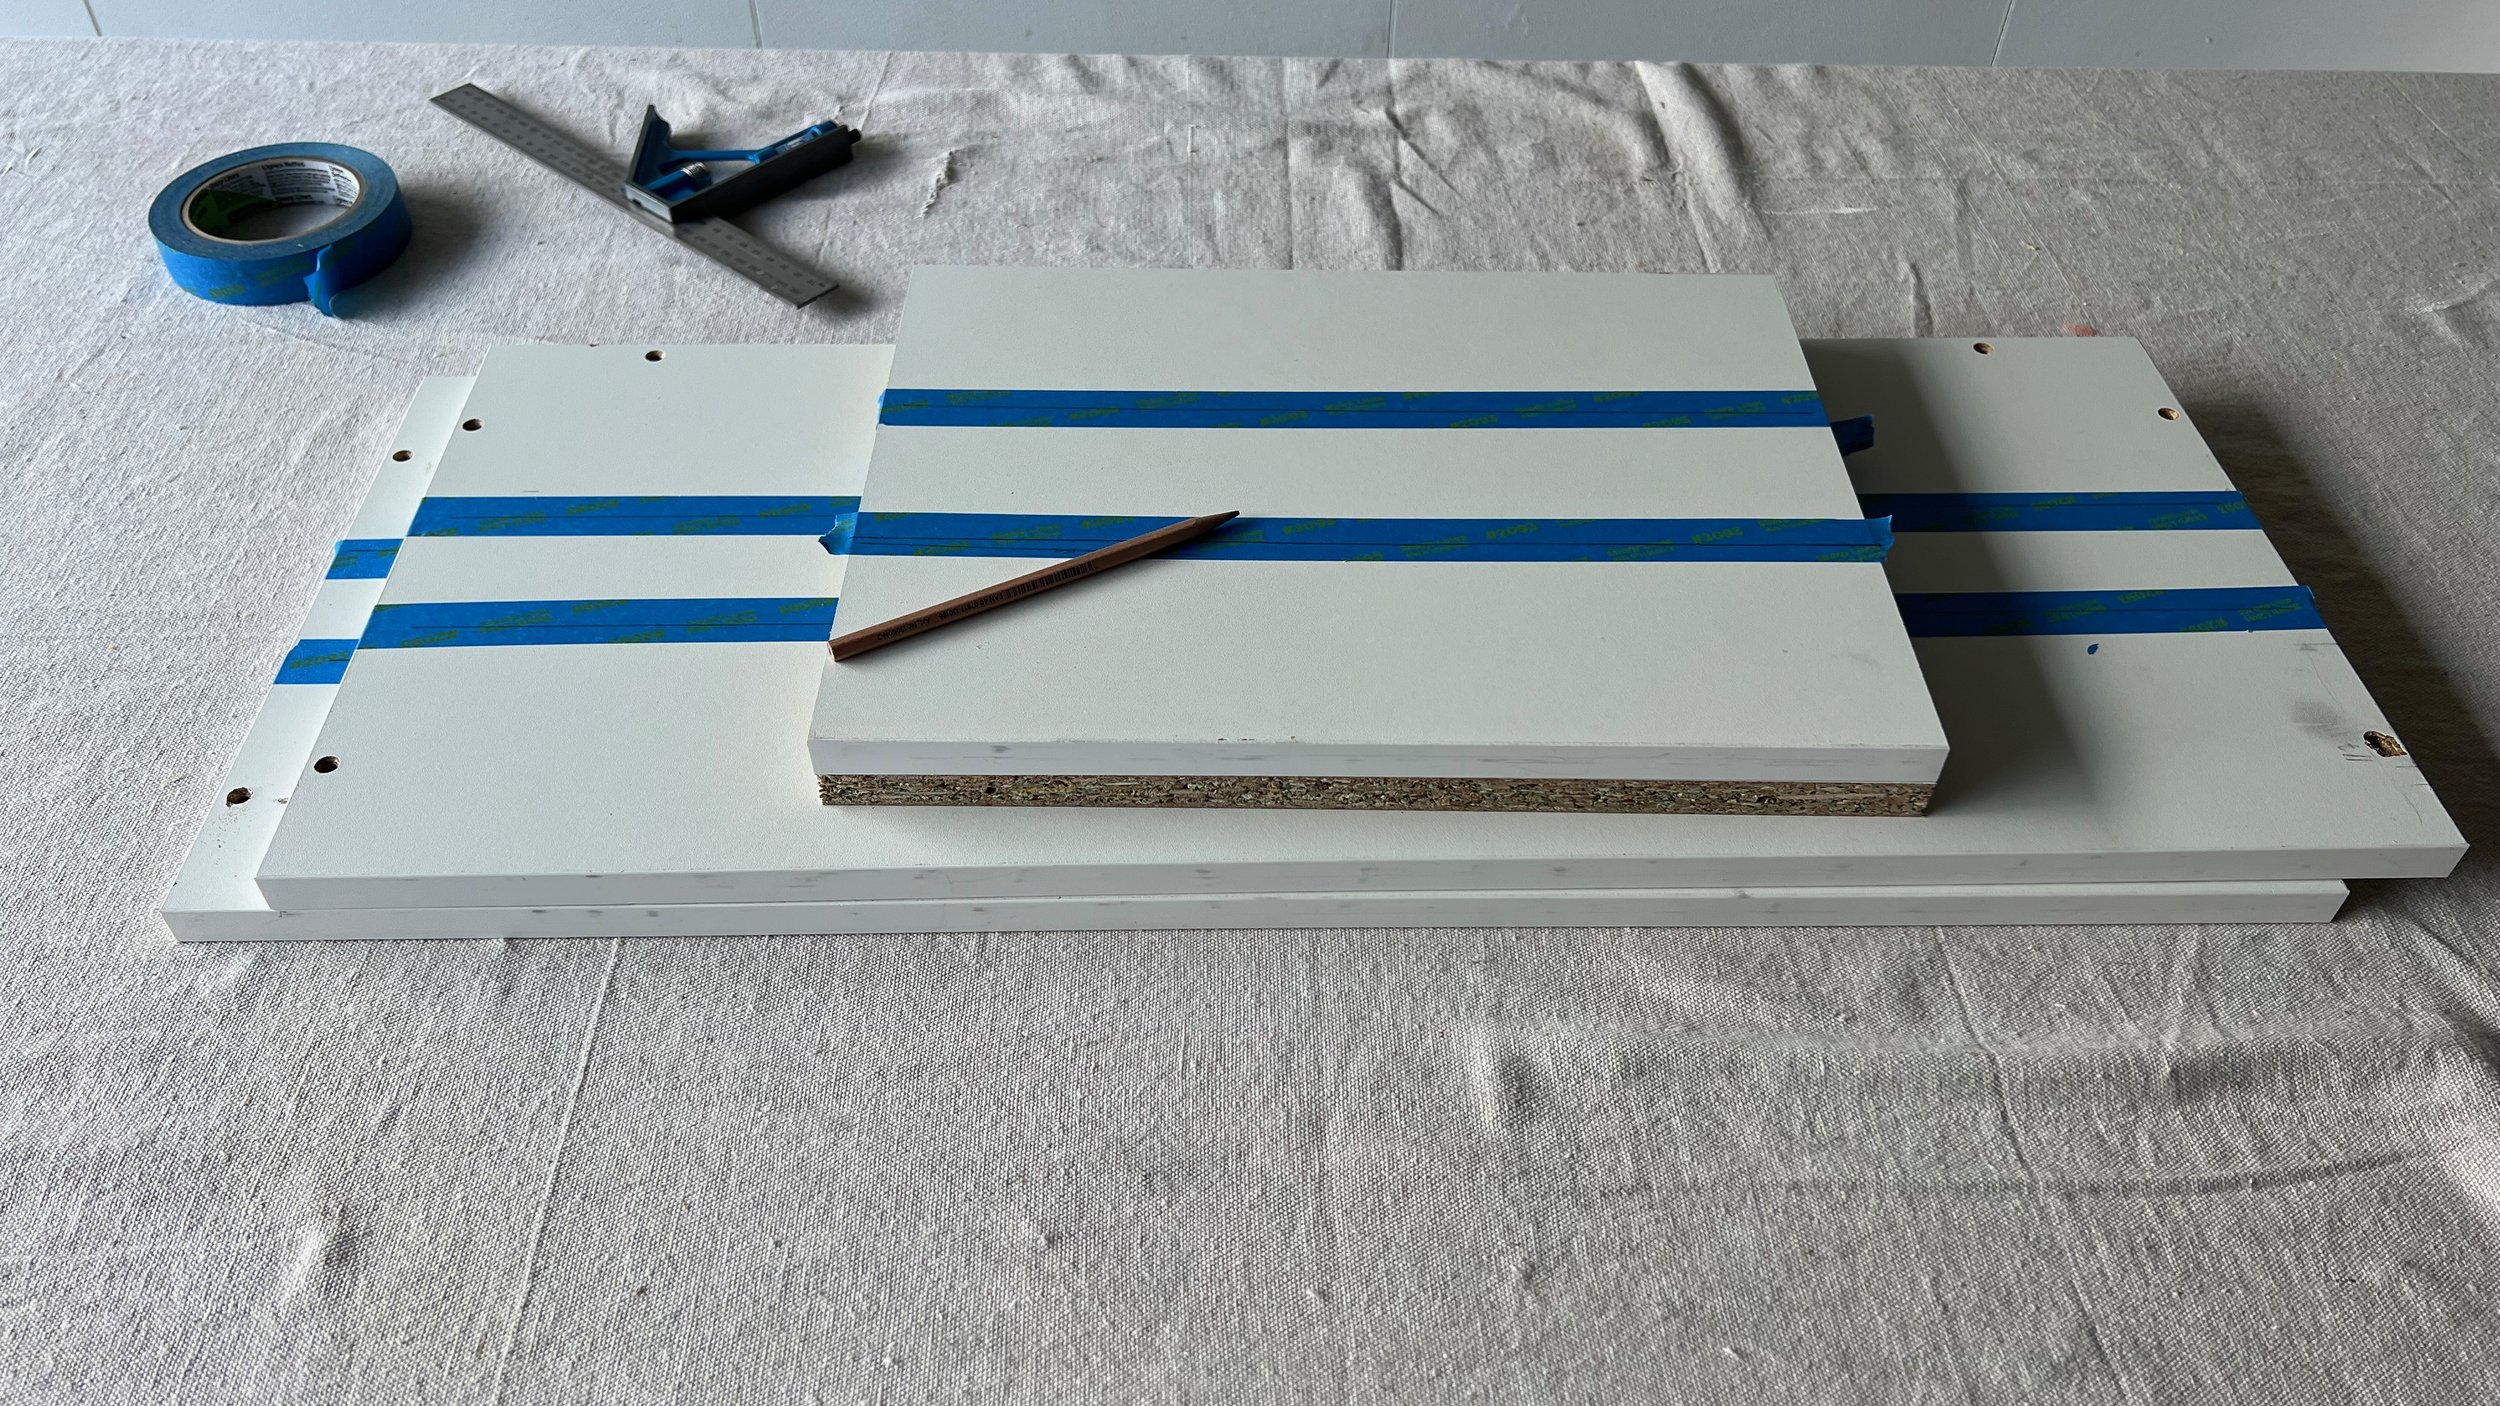
To make two units from one, I used a combination square to measure 100mm in from both edges of the side, top and base pieces. Then I taped and marked the cut lines.
TIP Cutting from the sides means the units can be assembled with the factory edges facing forward for a neater finish.


On an extra piece of melamine I also marked out a second back and some shelves.
Then I made the cuts with a circular saw, beginning with the blade set shallow and doing a couple of passes, each slightly deeper.
TIP Using tape for cutting helps prevent breakout.


After ironing melamine edging onto the front edges of the newly cut sides and shelves, I trimmed off the excess with a sharp utility knife and lightly ran 180-grit sand paper along the joins.
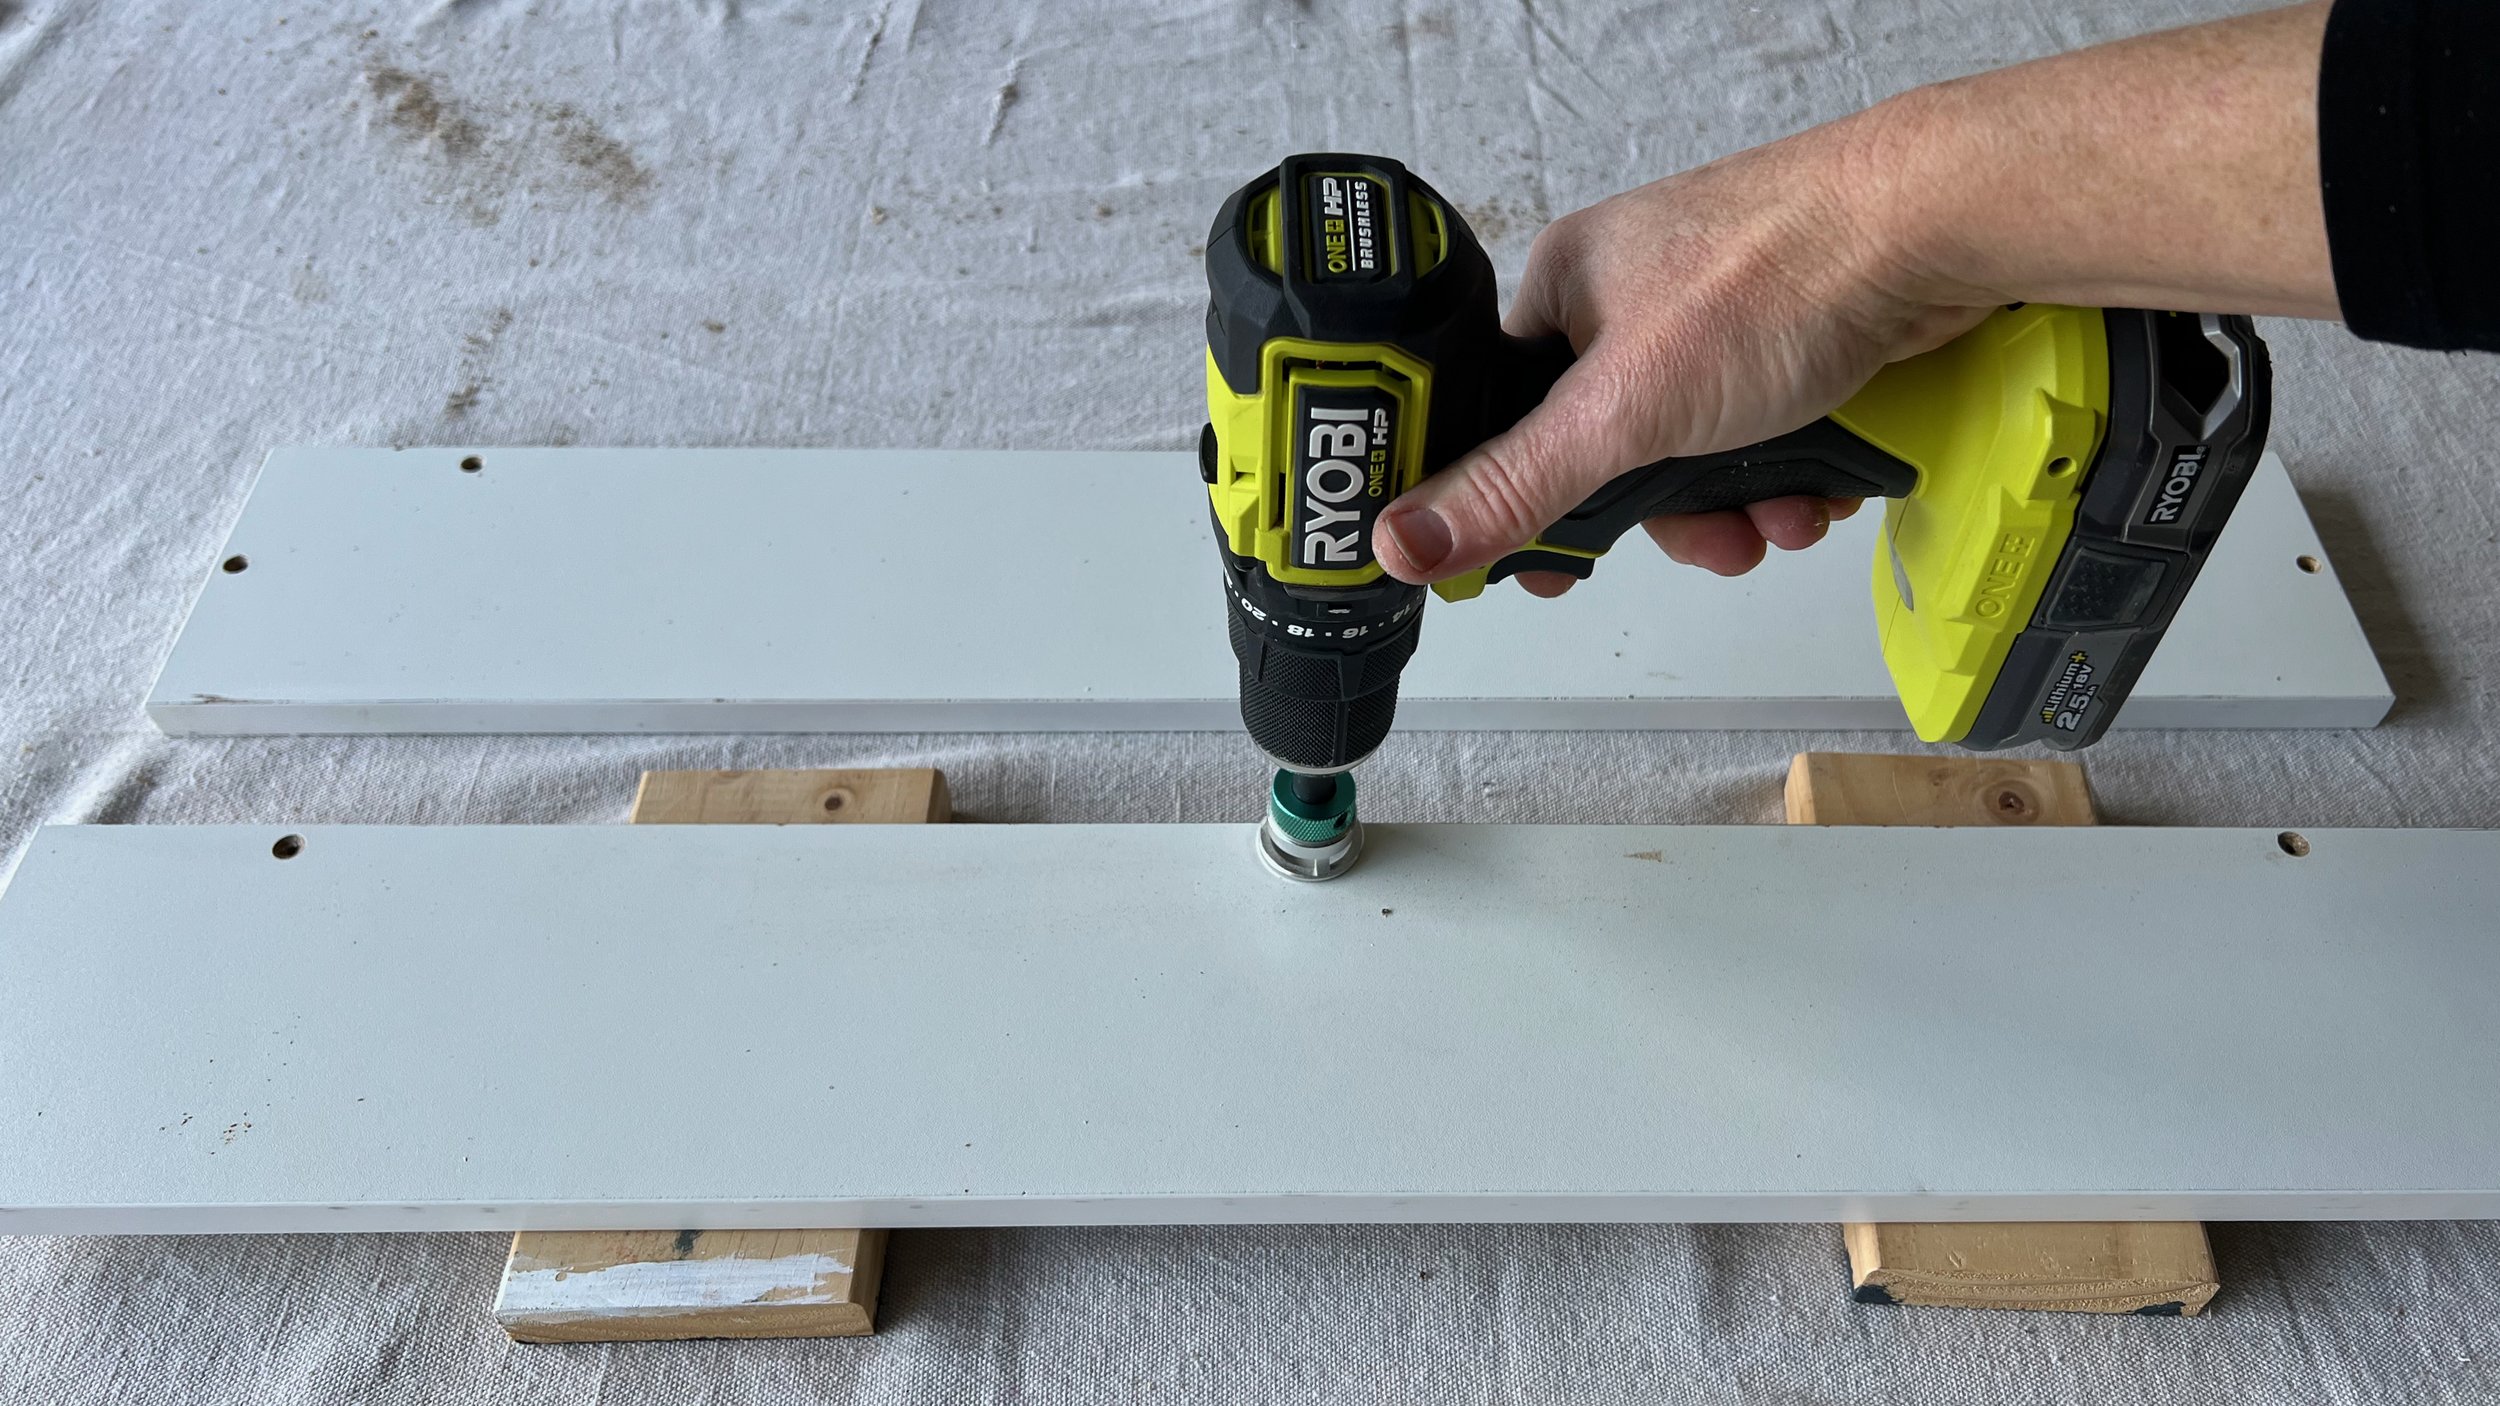
Using the original pieces as a template, I transferred the pre-drilled assembly holes with a combination countersinking bit.
TIP The original flatpack has holes with plastic lugs for hinges on both sides so a door can be hung from the left or right. After cutting my pieces, I positioned these on the hinge side of the units.
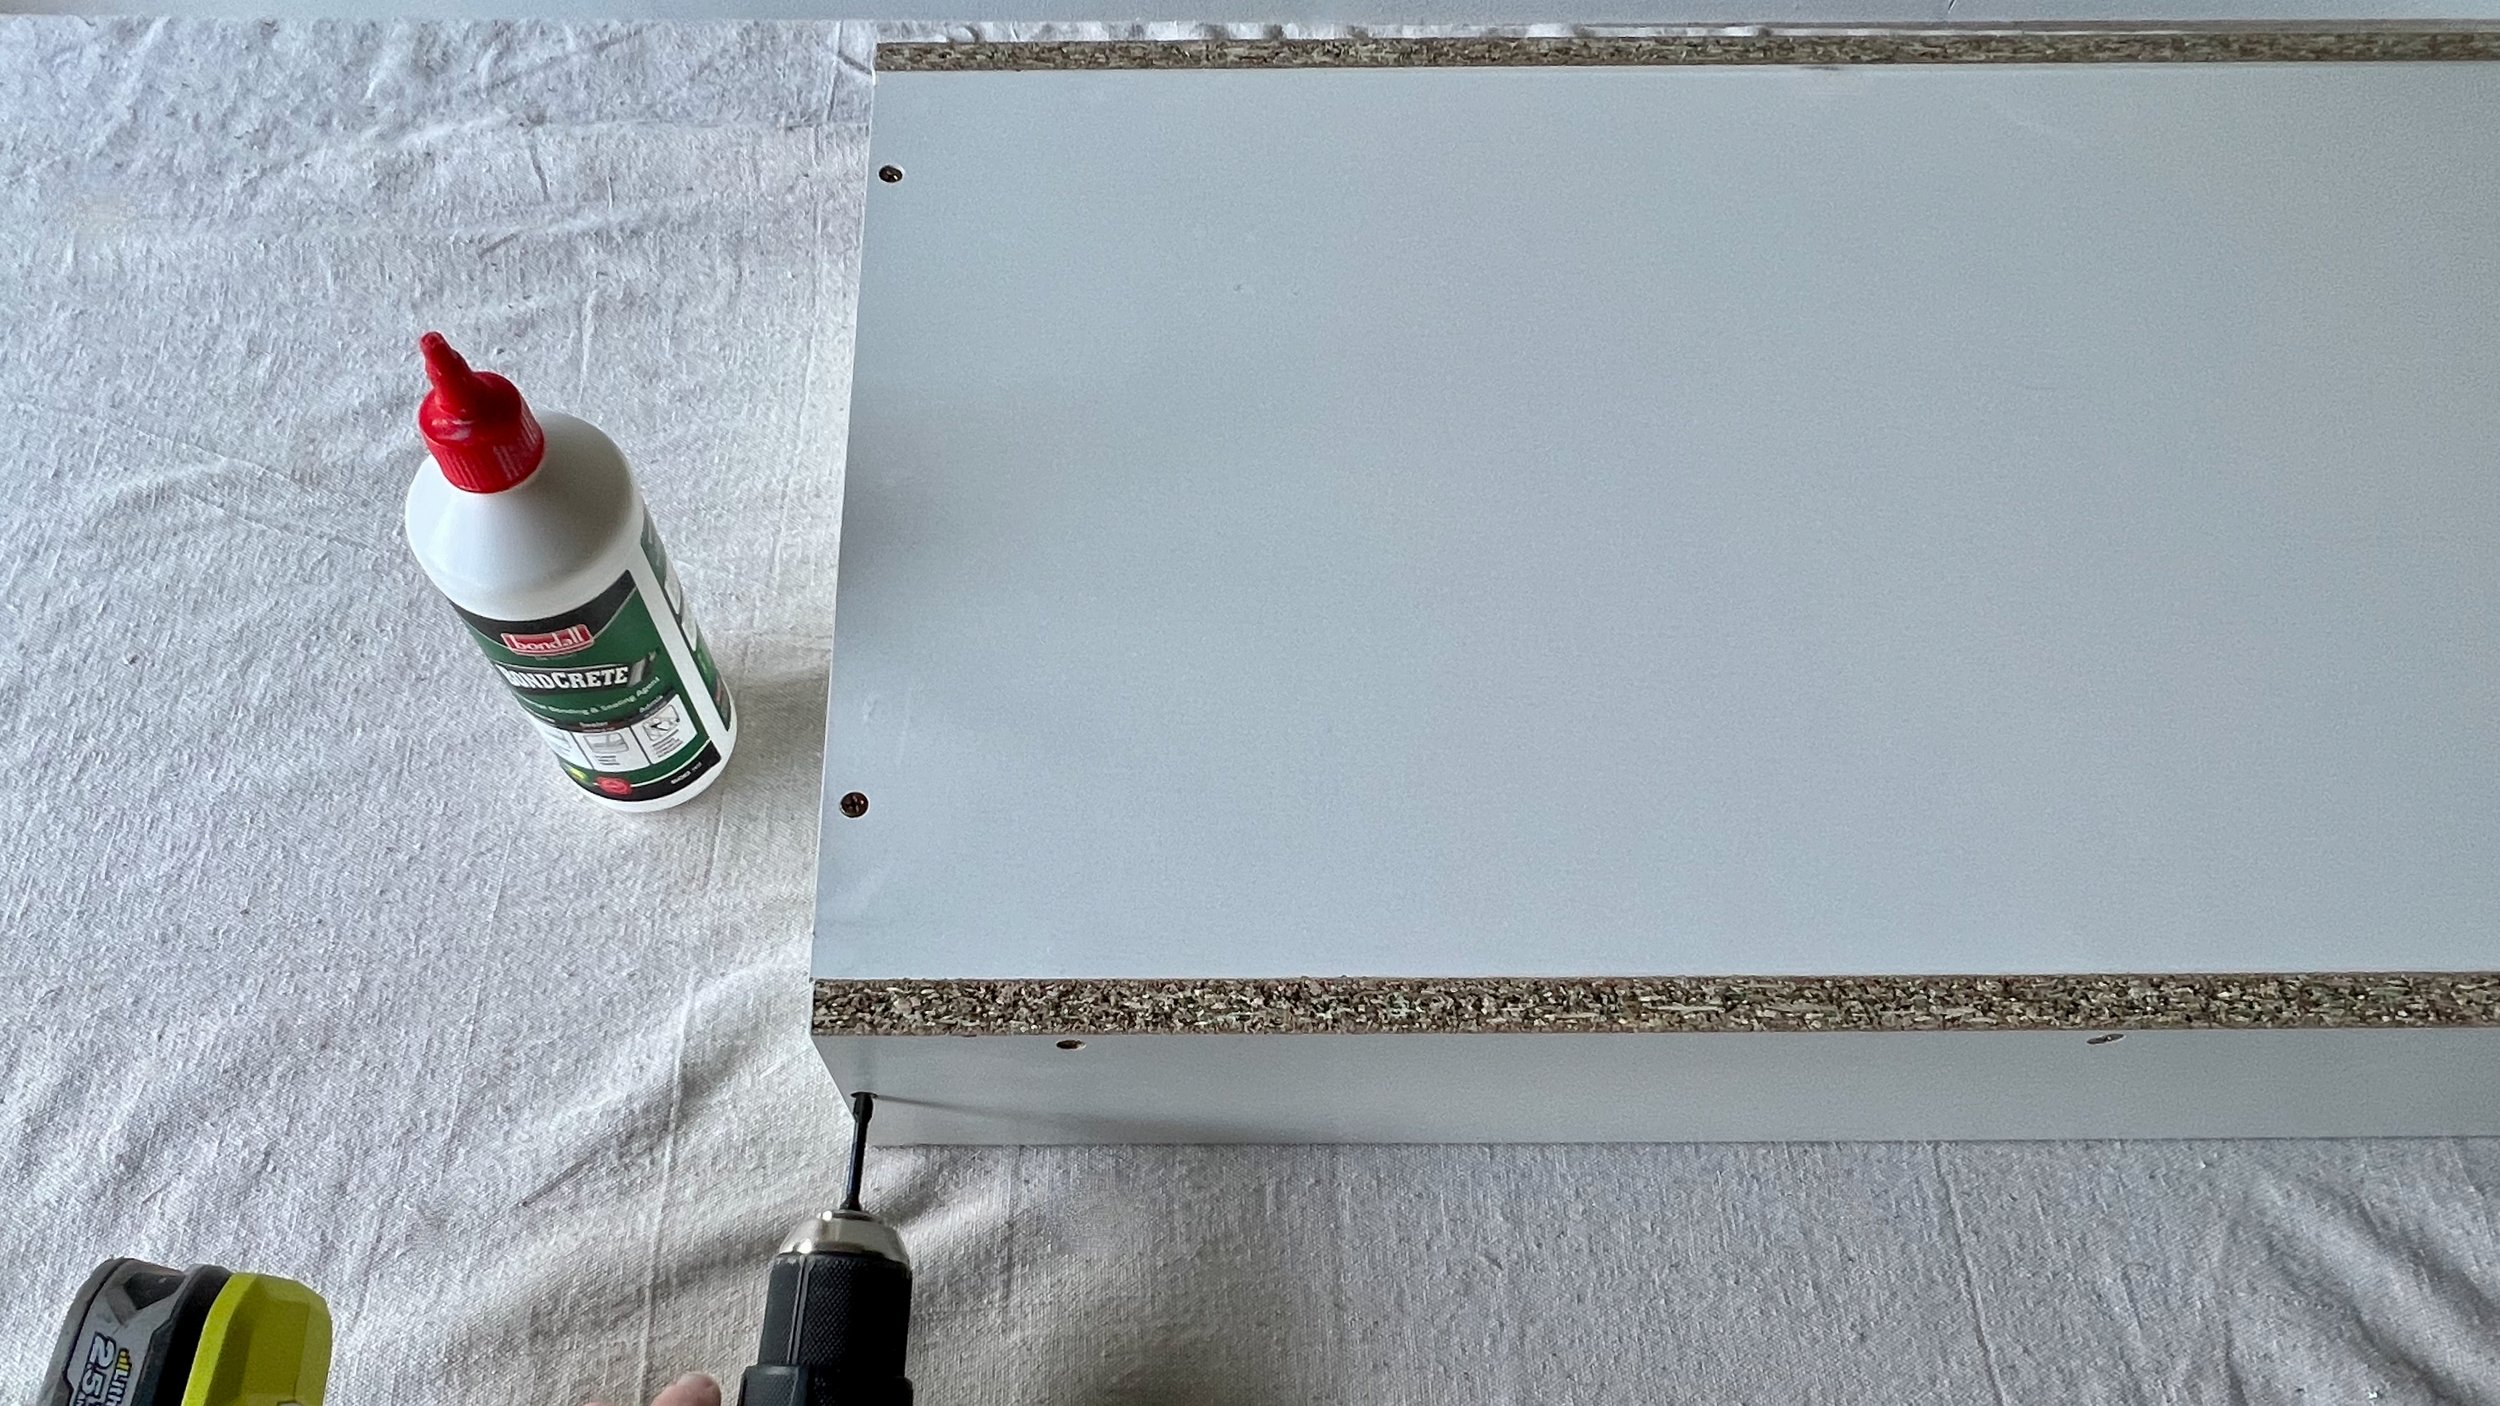
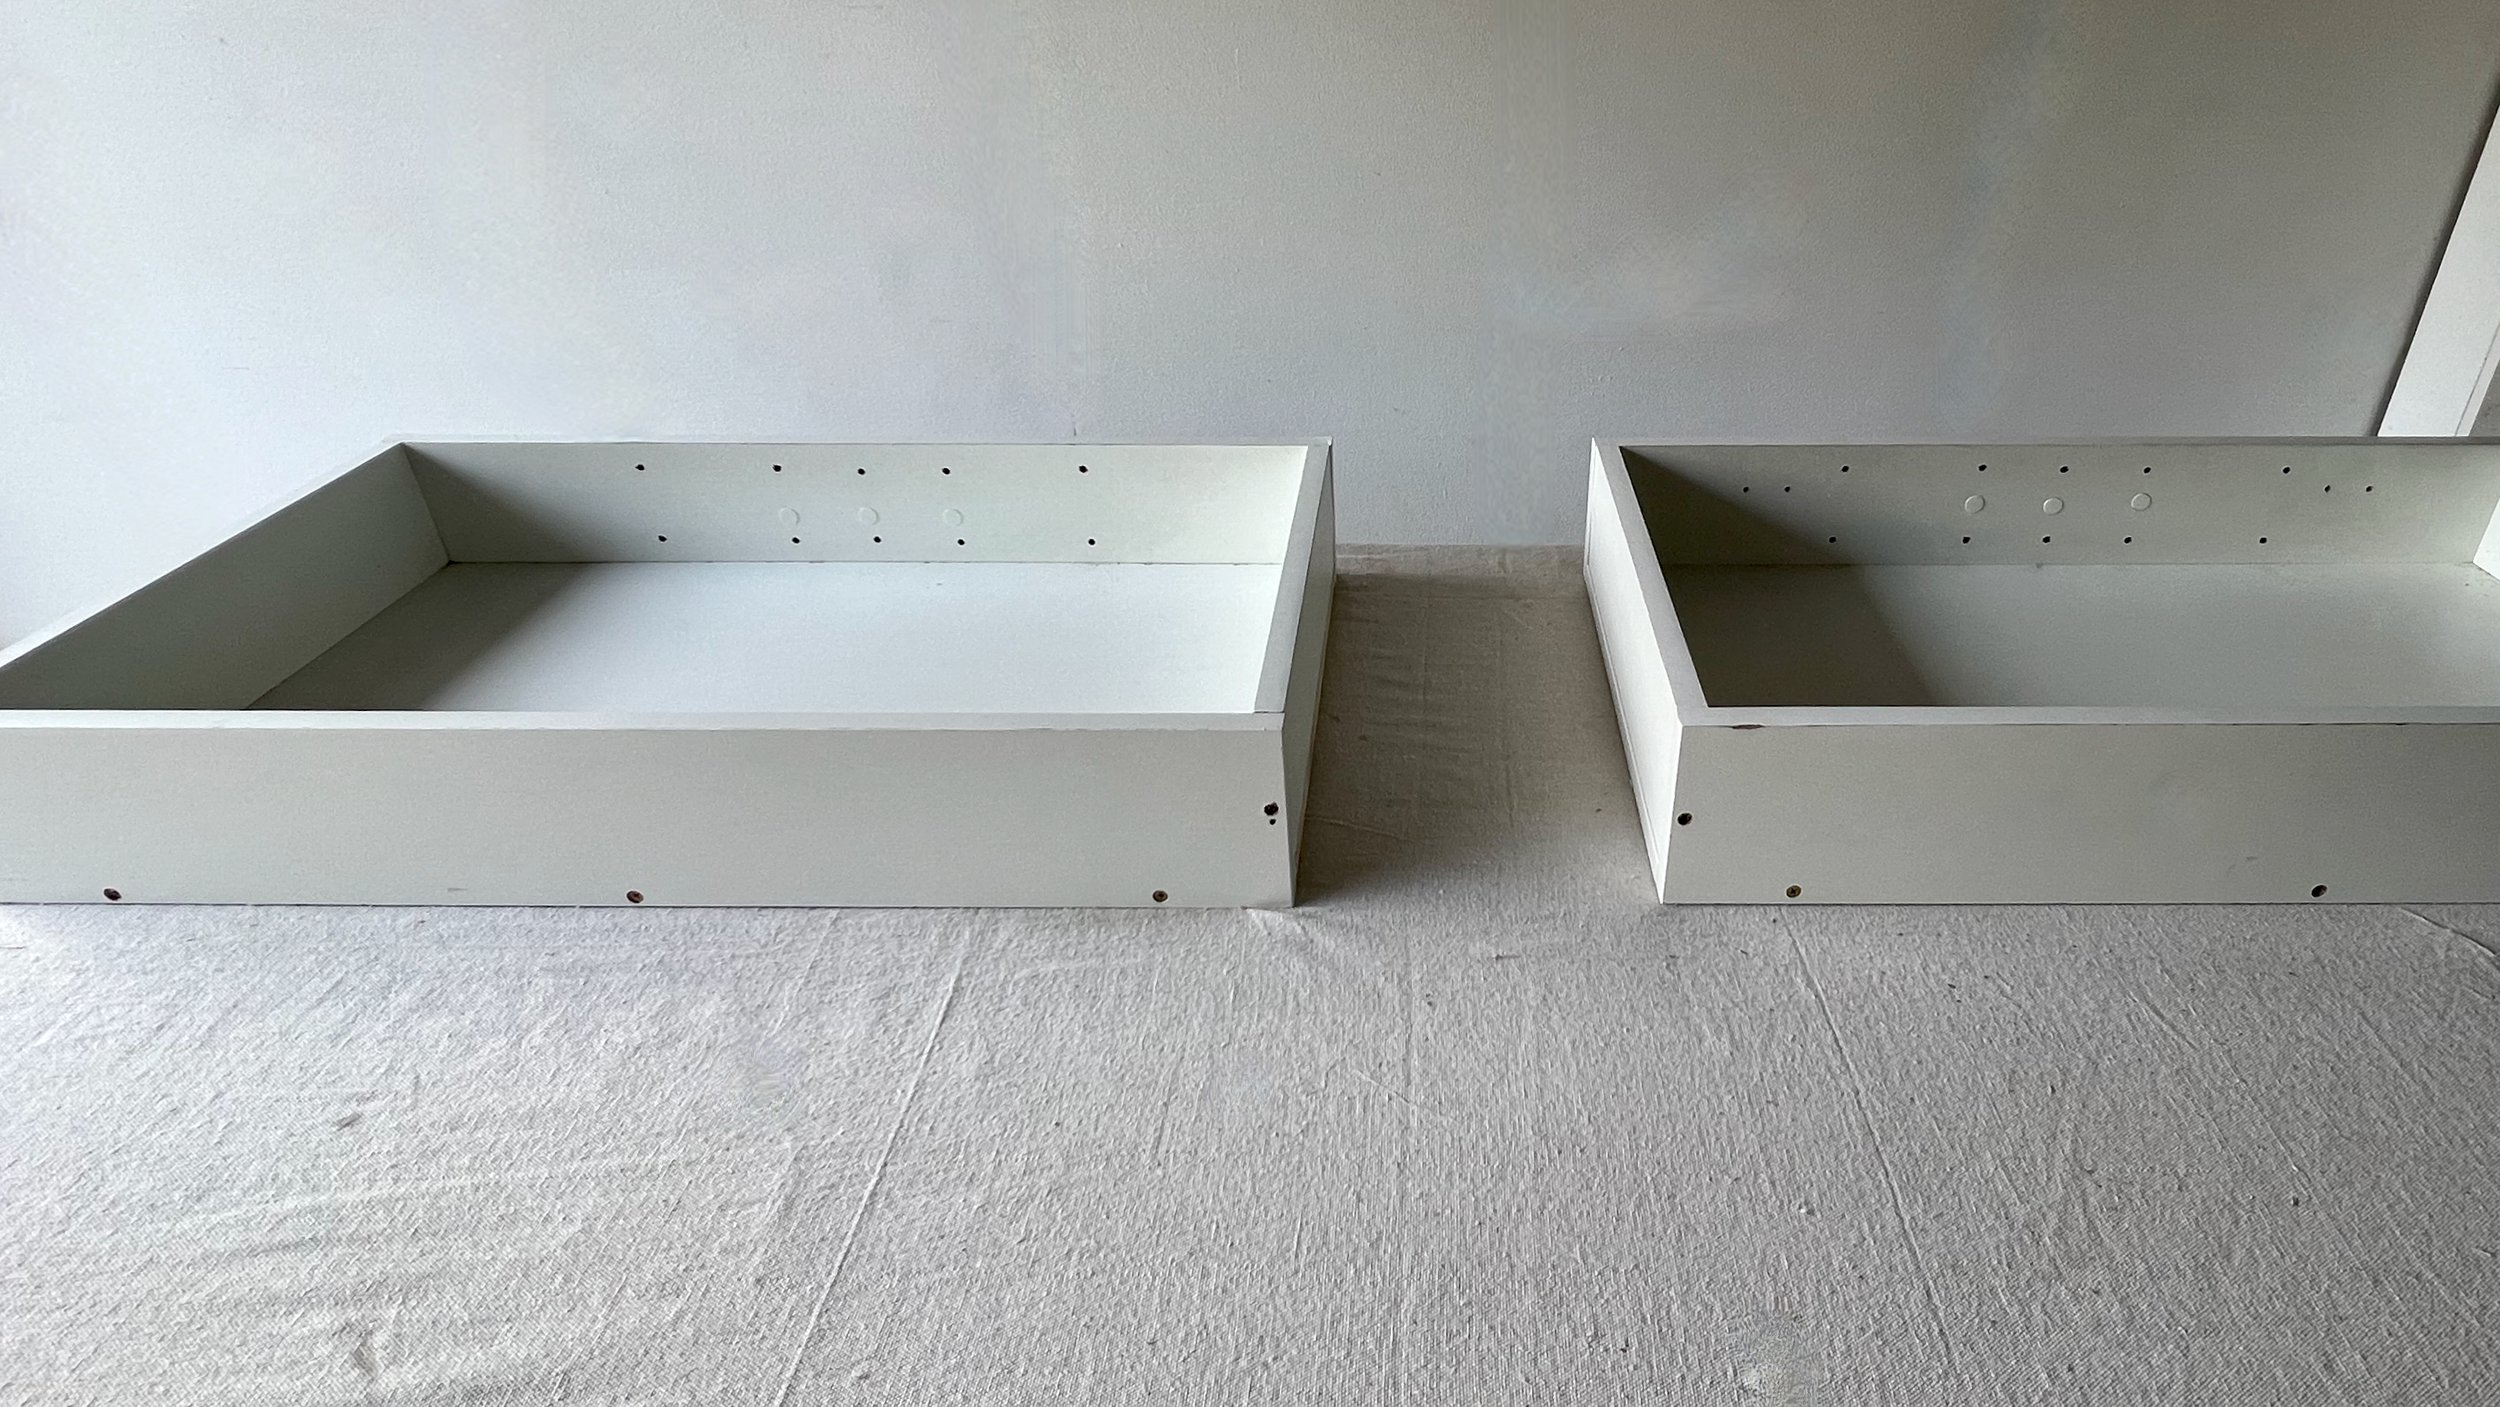
I simply assembled the units as per the original instructions using Bondcrete bonding agent as a woodworking adhesive along the raw chipboard edges for added strength.

I added extra holes for the shelf pins, using a bit of tape as a depth gauge.
TIP Pick up an extra pack of 12 metal shelf support pins for about $7.

To make the frame, I set out the units and cut standard 135mm x 19mm Tasmanian oak boards to fit around them, with a shelf at the centre that is high enough to fit a display screen.
I used offcuts of 3mm plywood as spacers between the units and timber to create a gap for wriggle room when assembling the cabinet and so the doors open smoothly.
TIP Set out the frame so the top and base butt against to the sides so the screws can’t be seen once installed.

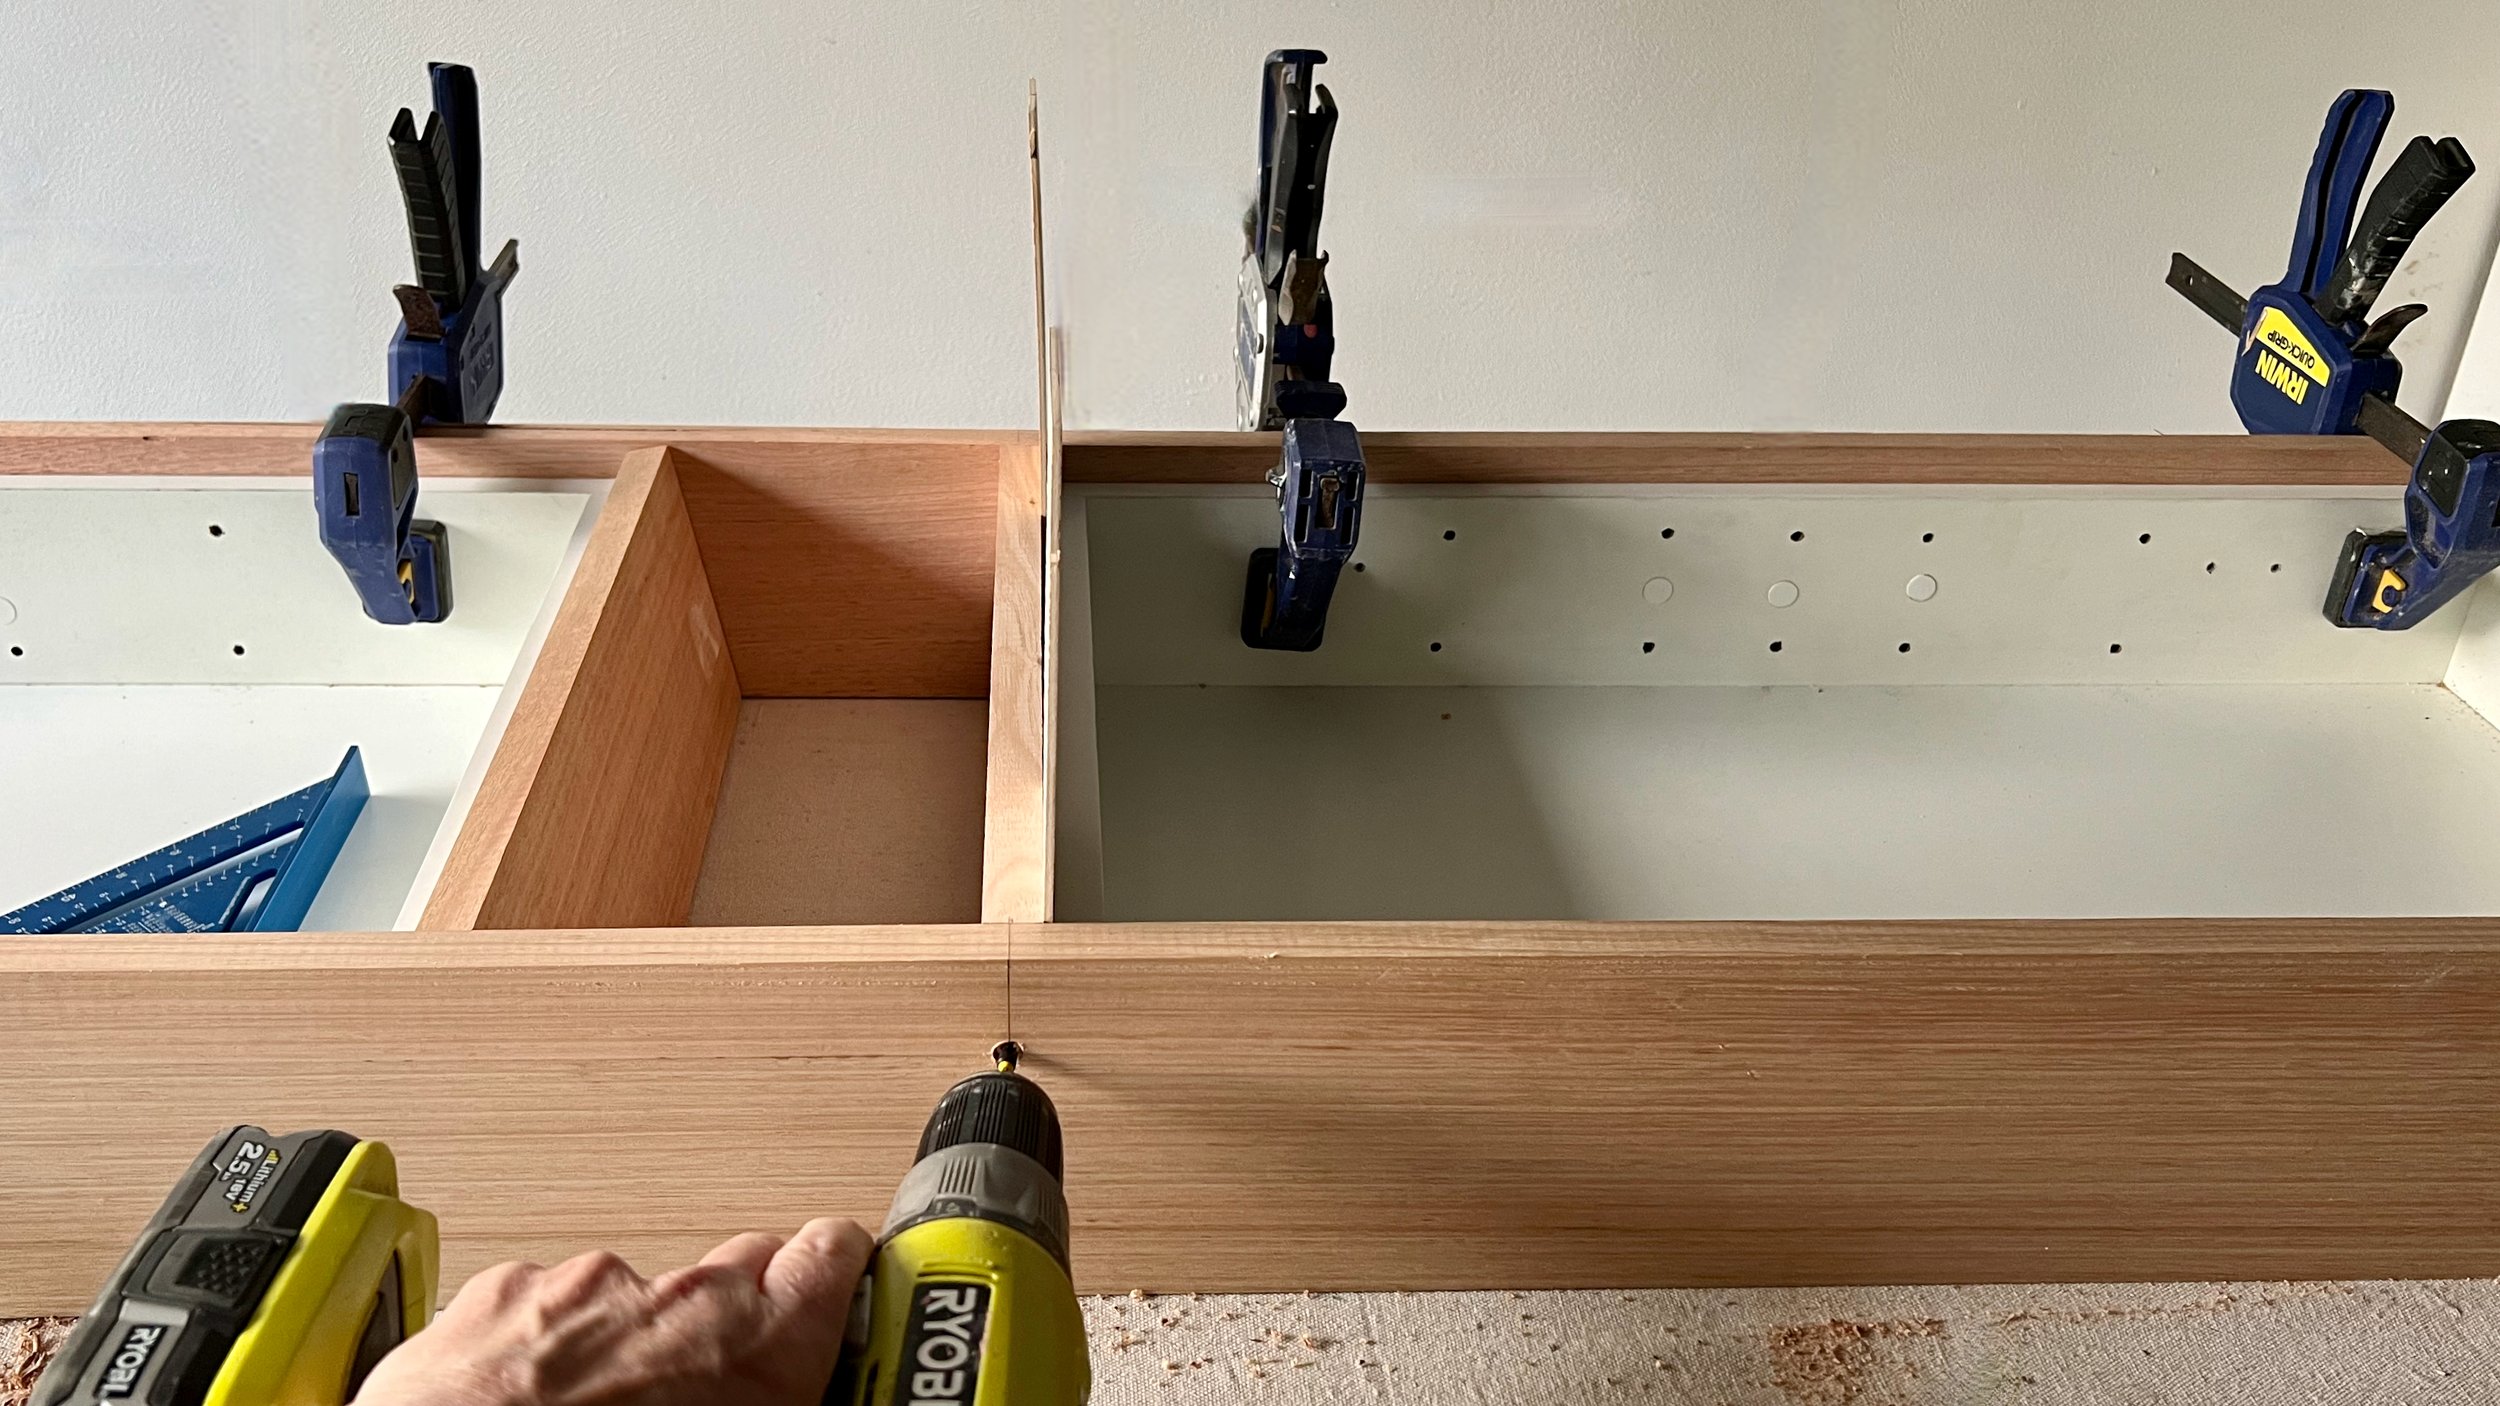
I assembled the frame by pre-drilling the joints with a combination countersinking bit bit, applying Bondcrete adhesive and securing with 40mm screws.
To install the middle shelves, I repositioned the frame around the units with 3mm spacers, pre-drilled and secured with adhesive and screws. Then I cut a backing to fit into the shelves, removing the units for access to secure it.
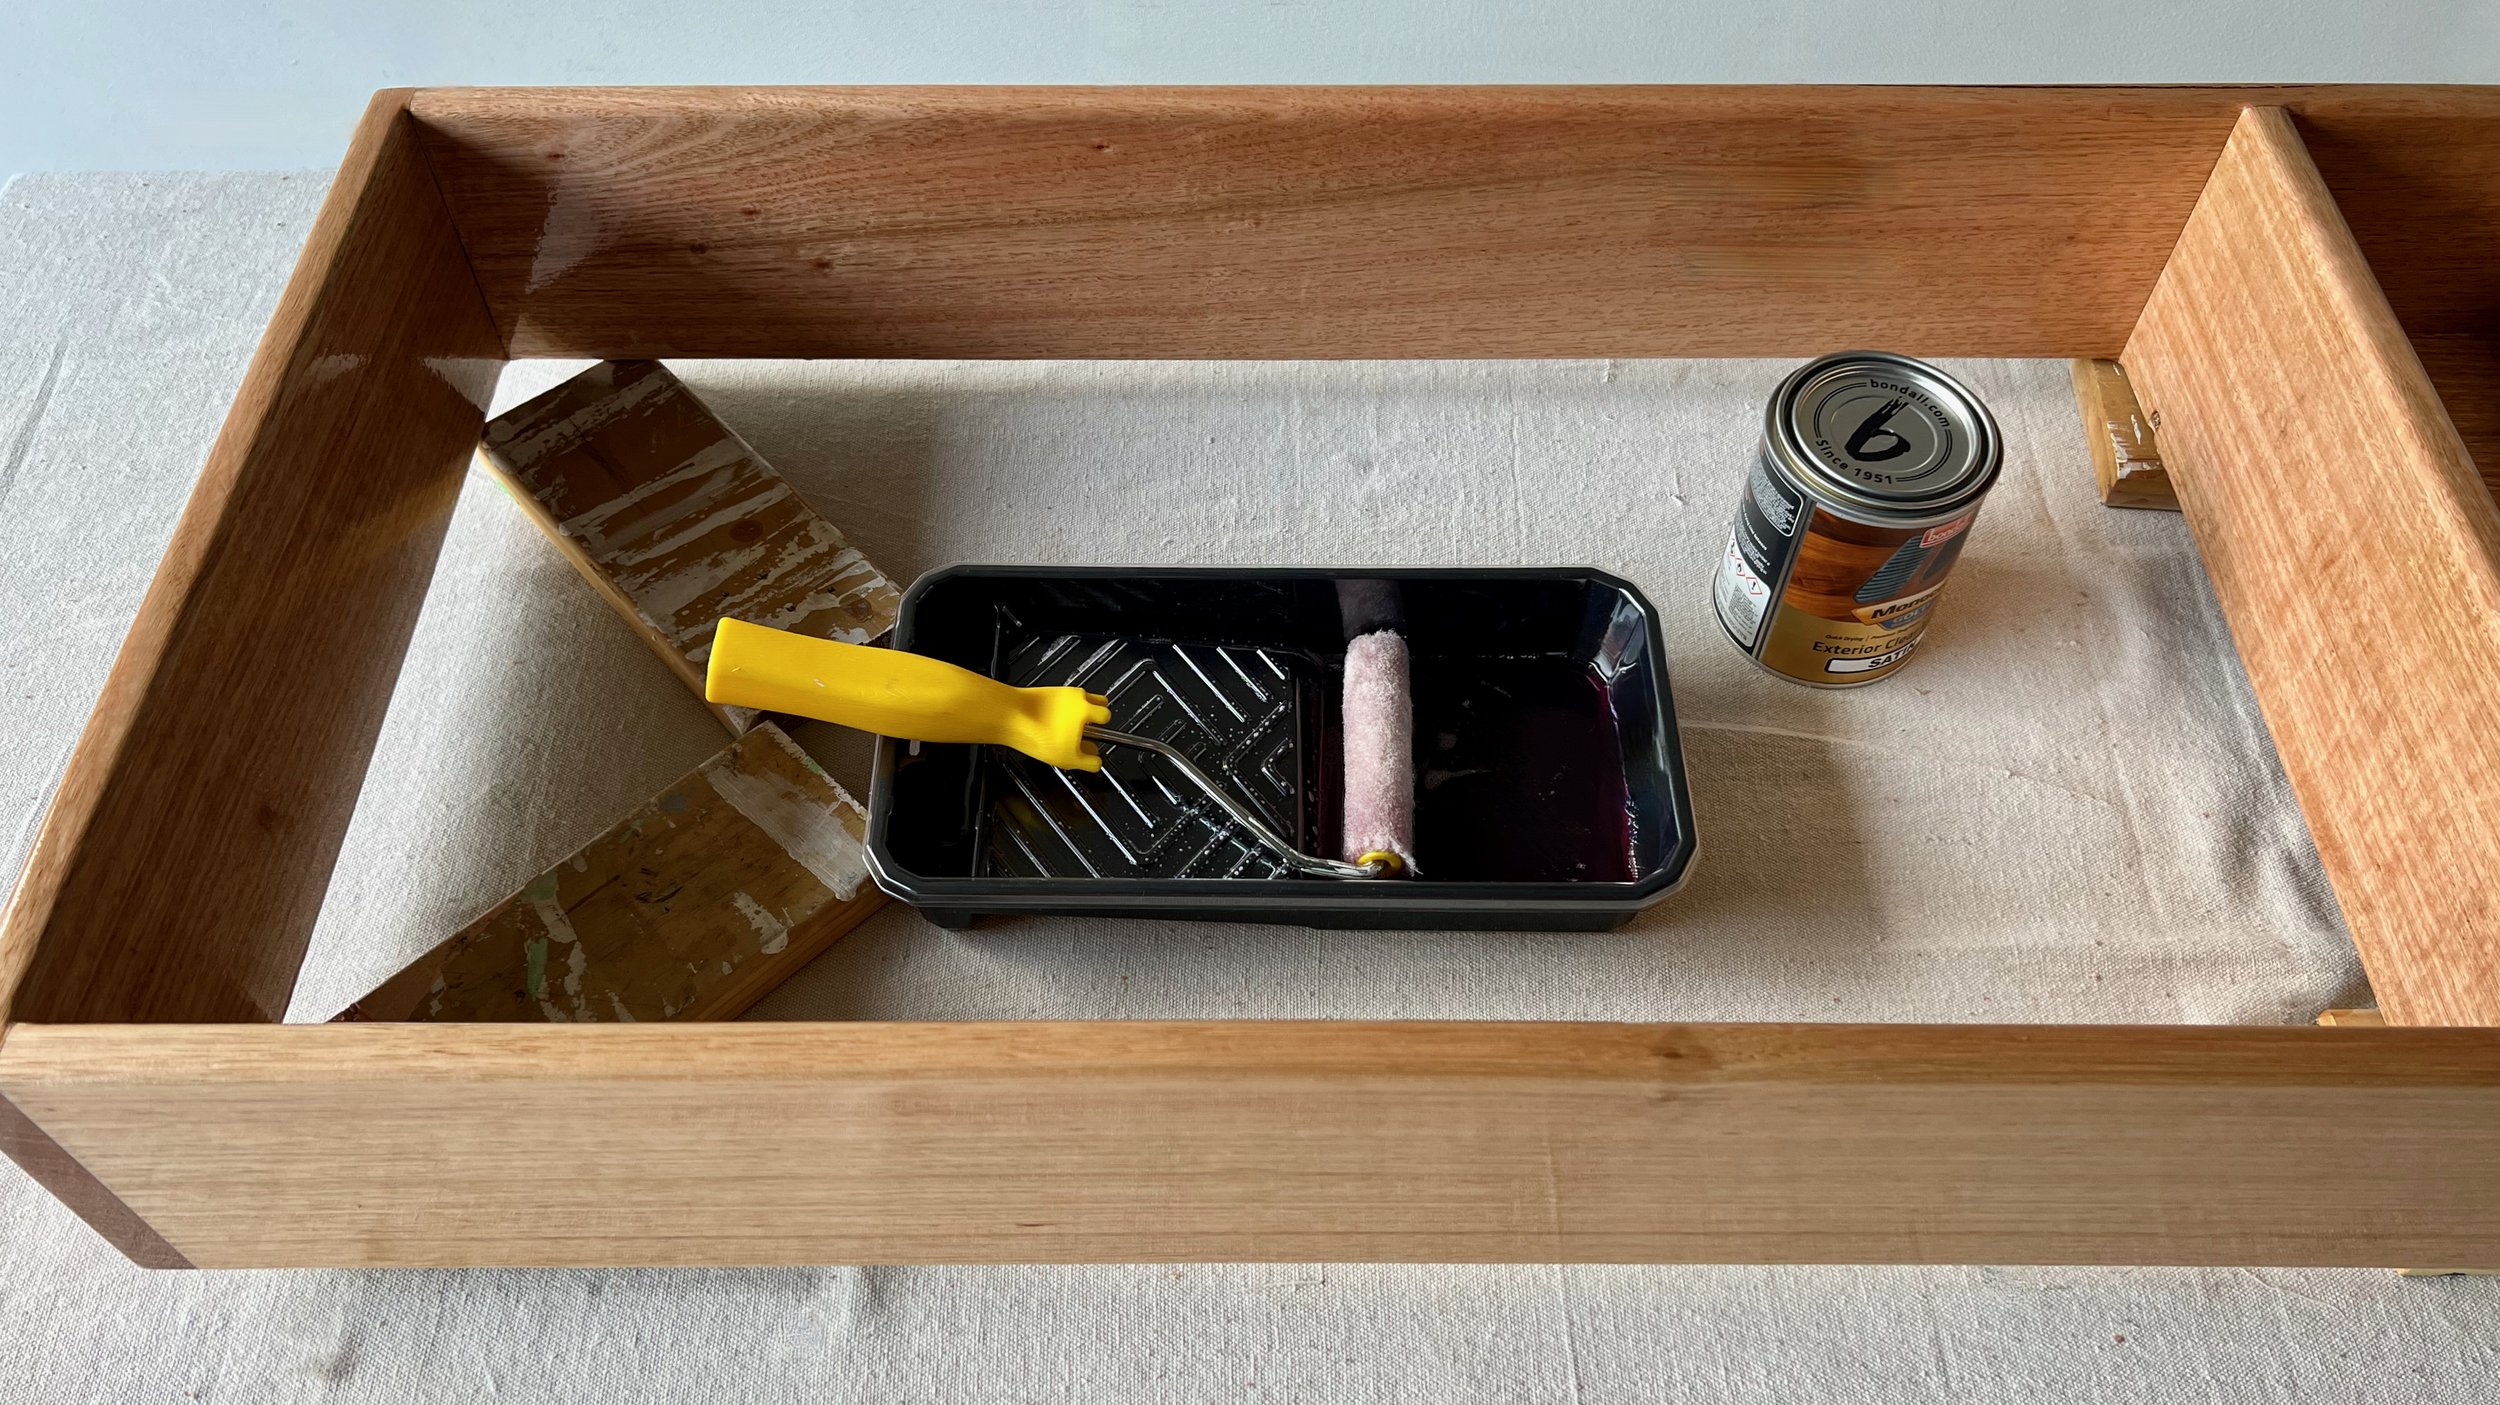
After rounding over the front edges with a trim router and sanding all over, I applied two coats of marine-grade Monocel Gold Clear Satin varnish with a mini mohair roller, leaving it to dry for a couple of hours after each.
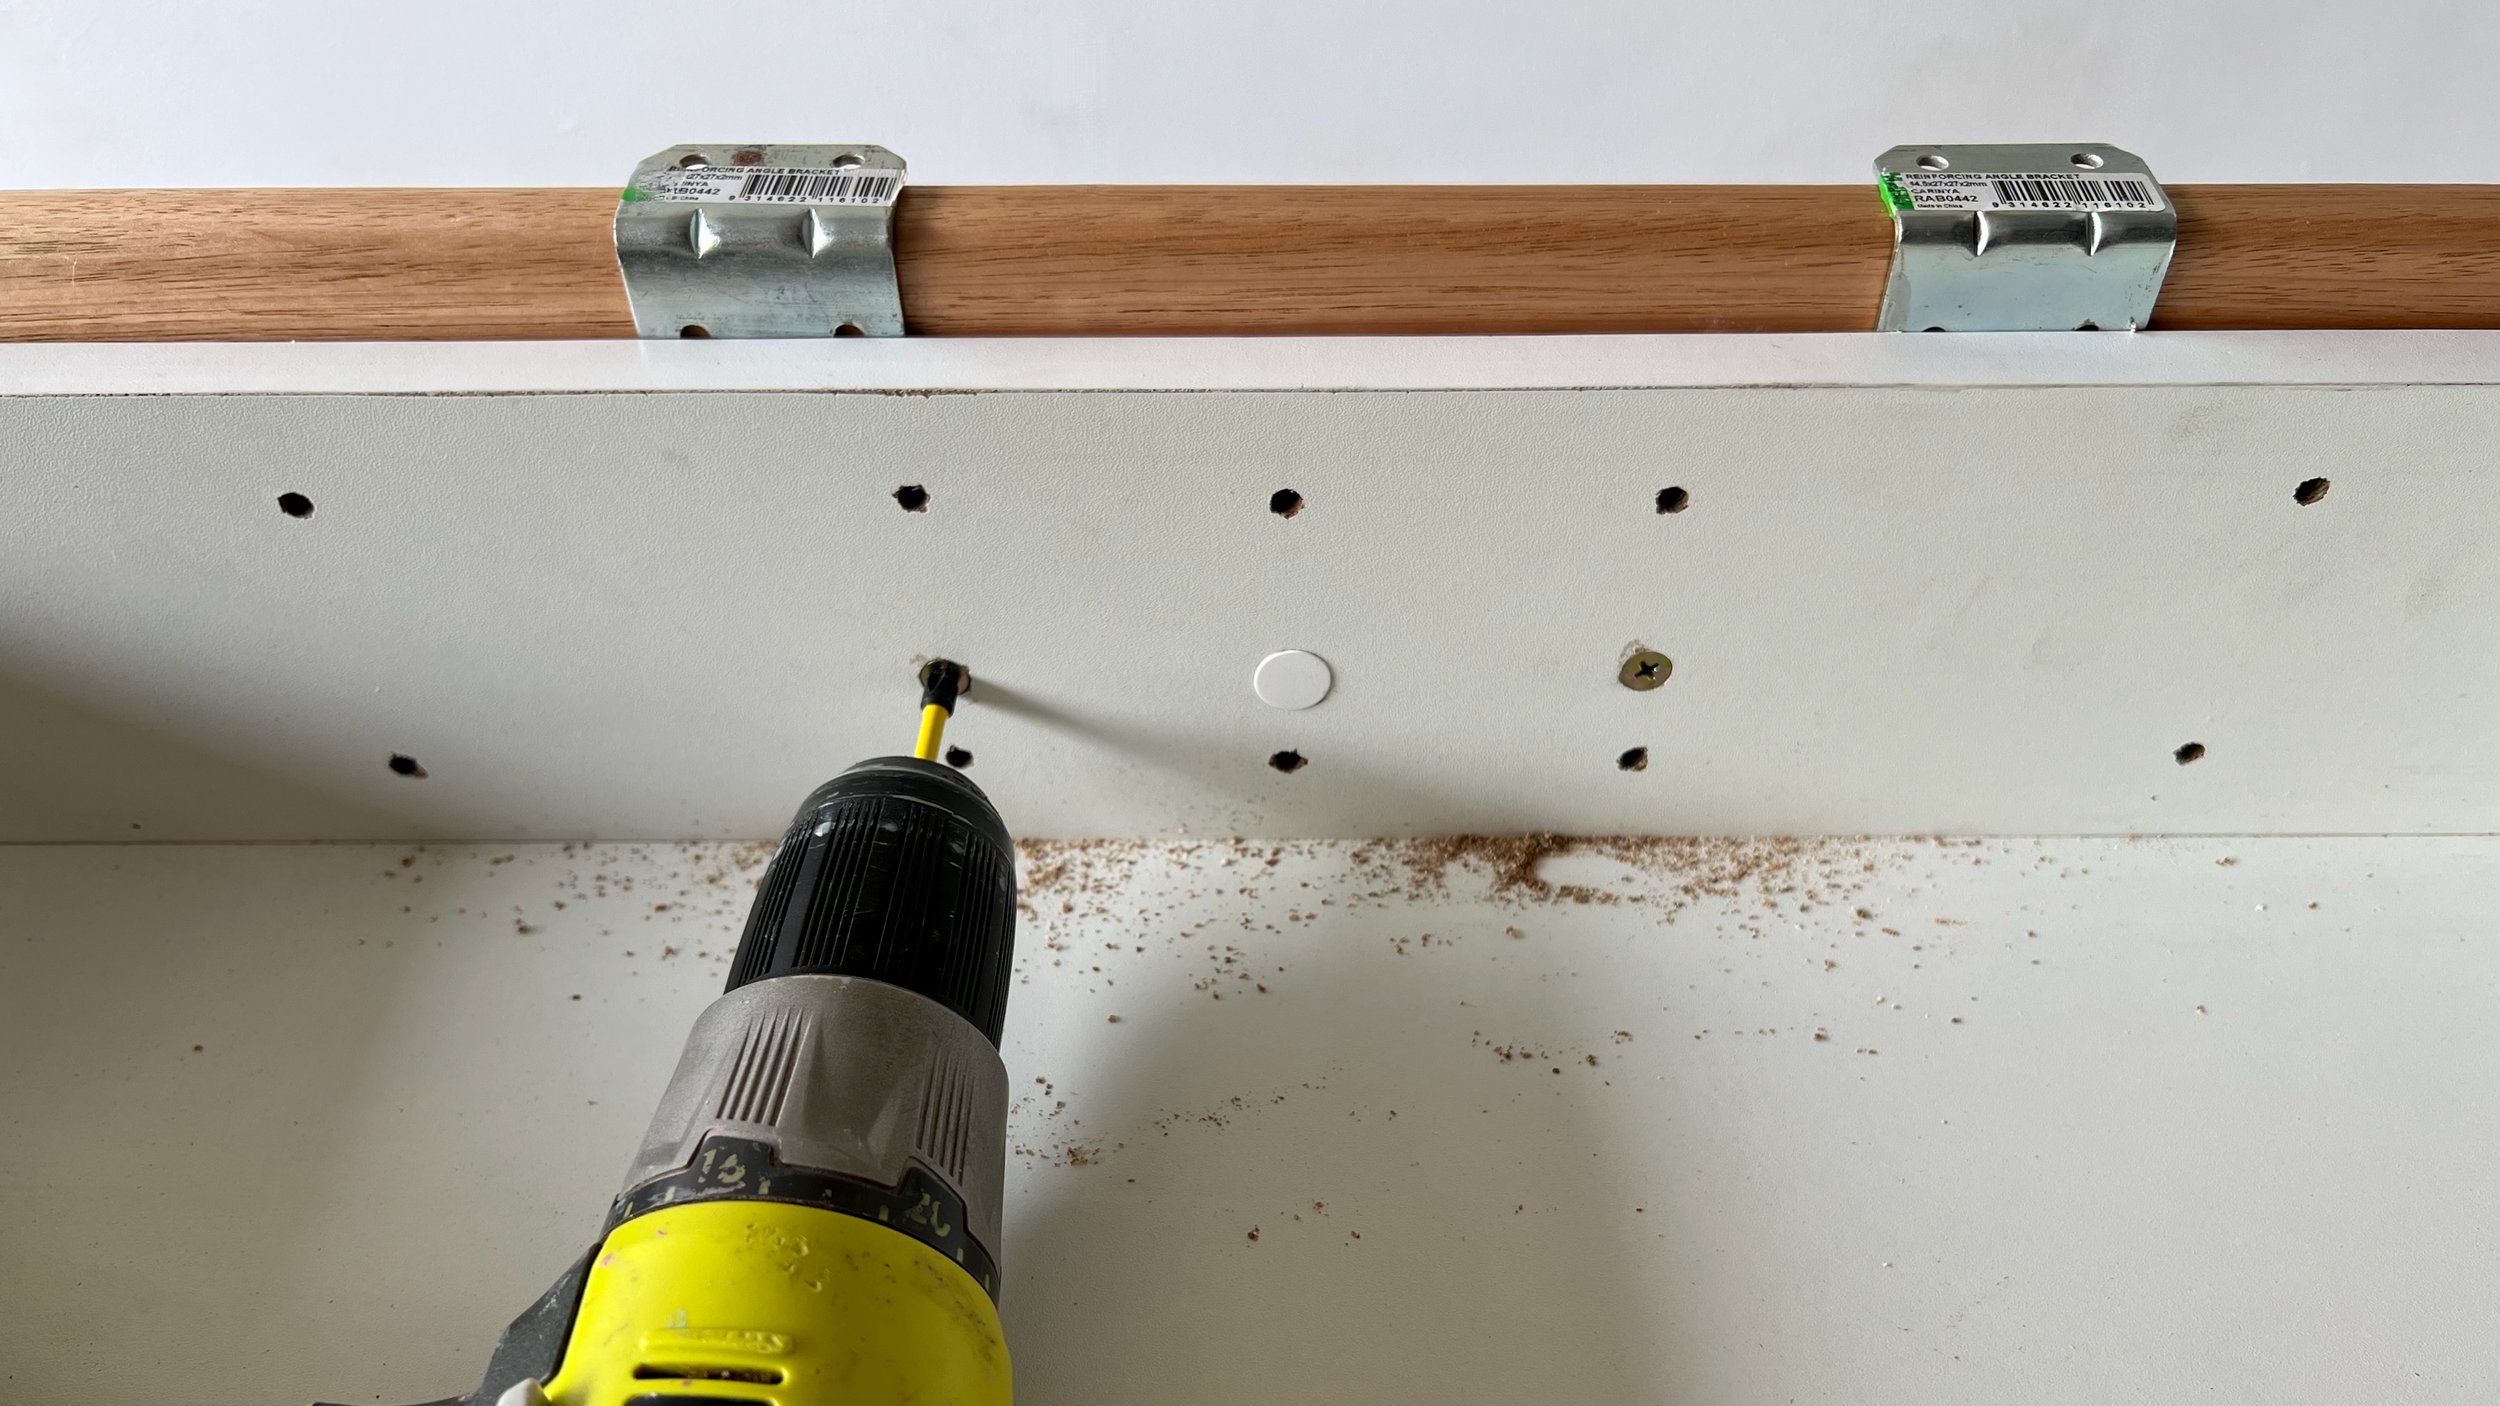
I set out the units and frame again, using spacers to maintain the 3mm gaps while joining with 30mm screws. Then added screw caps to hide the screws.


Kaboodle Kitchen raw MDF doors fit perfectly over the units, with the front ready for painting and the back laminated with pre-made holes for hinges. I painted them with Dulux Wash&Wear +PLUS Kitchen & Bathroom in Casper White Quarter, the same as the walls.
Then I installed push-to-open hinges and latches using the pre-drilled holes. The end result is a seamless finish that doesn’t require handles.


Before fitting the cabinet into the wall framing, I drilled the back of the units with a holesaw to pull the electrical wires through when I moved it into position.
I used packers and a spirit level to ensure the cabinet was straight then secured into the studs with batten screws. The electrician later installed the power points.
Are you planning to remodel a flatpack into a new piece of furniture?
Tag me on your project and follow more of my DIY journey on Instagram for tool tips, home improvement and simple building projects.