INSTALL A SLIDING POCKET DOOR
Natasha Dickins
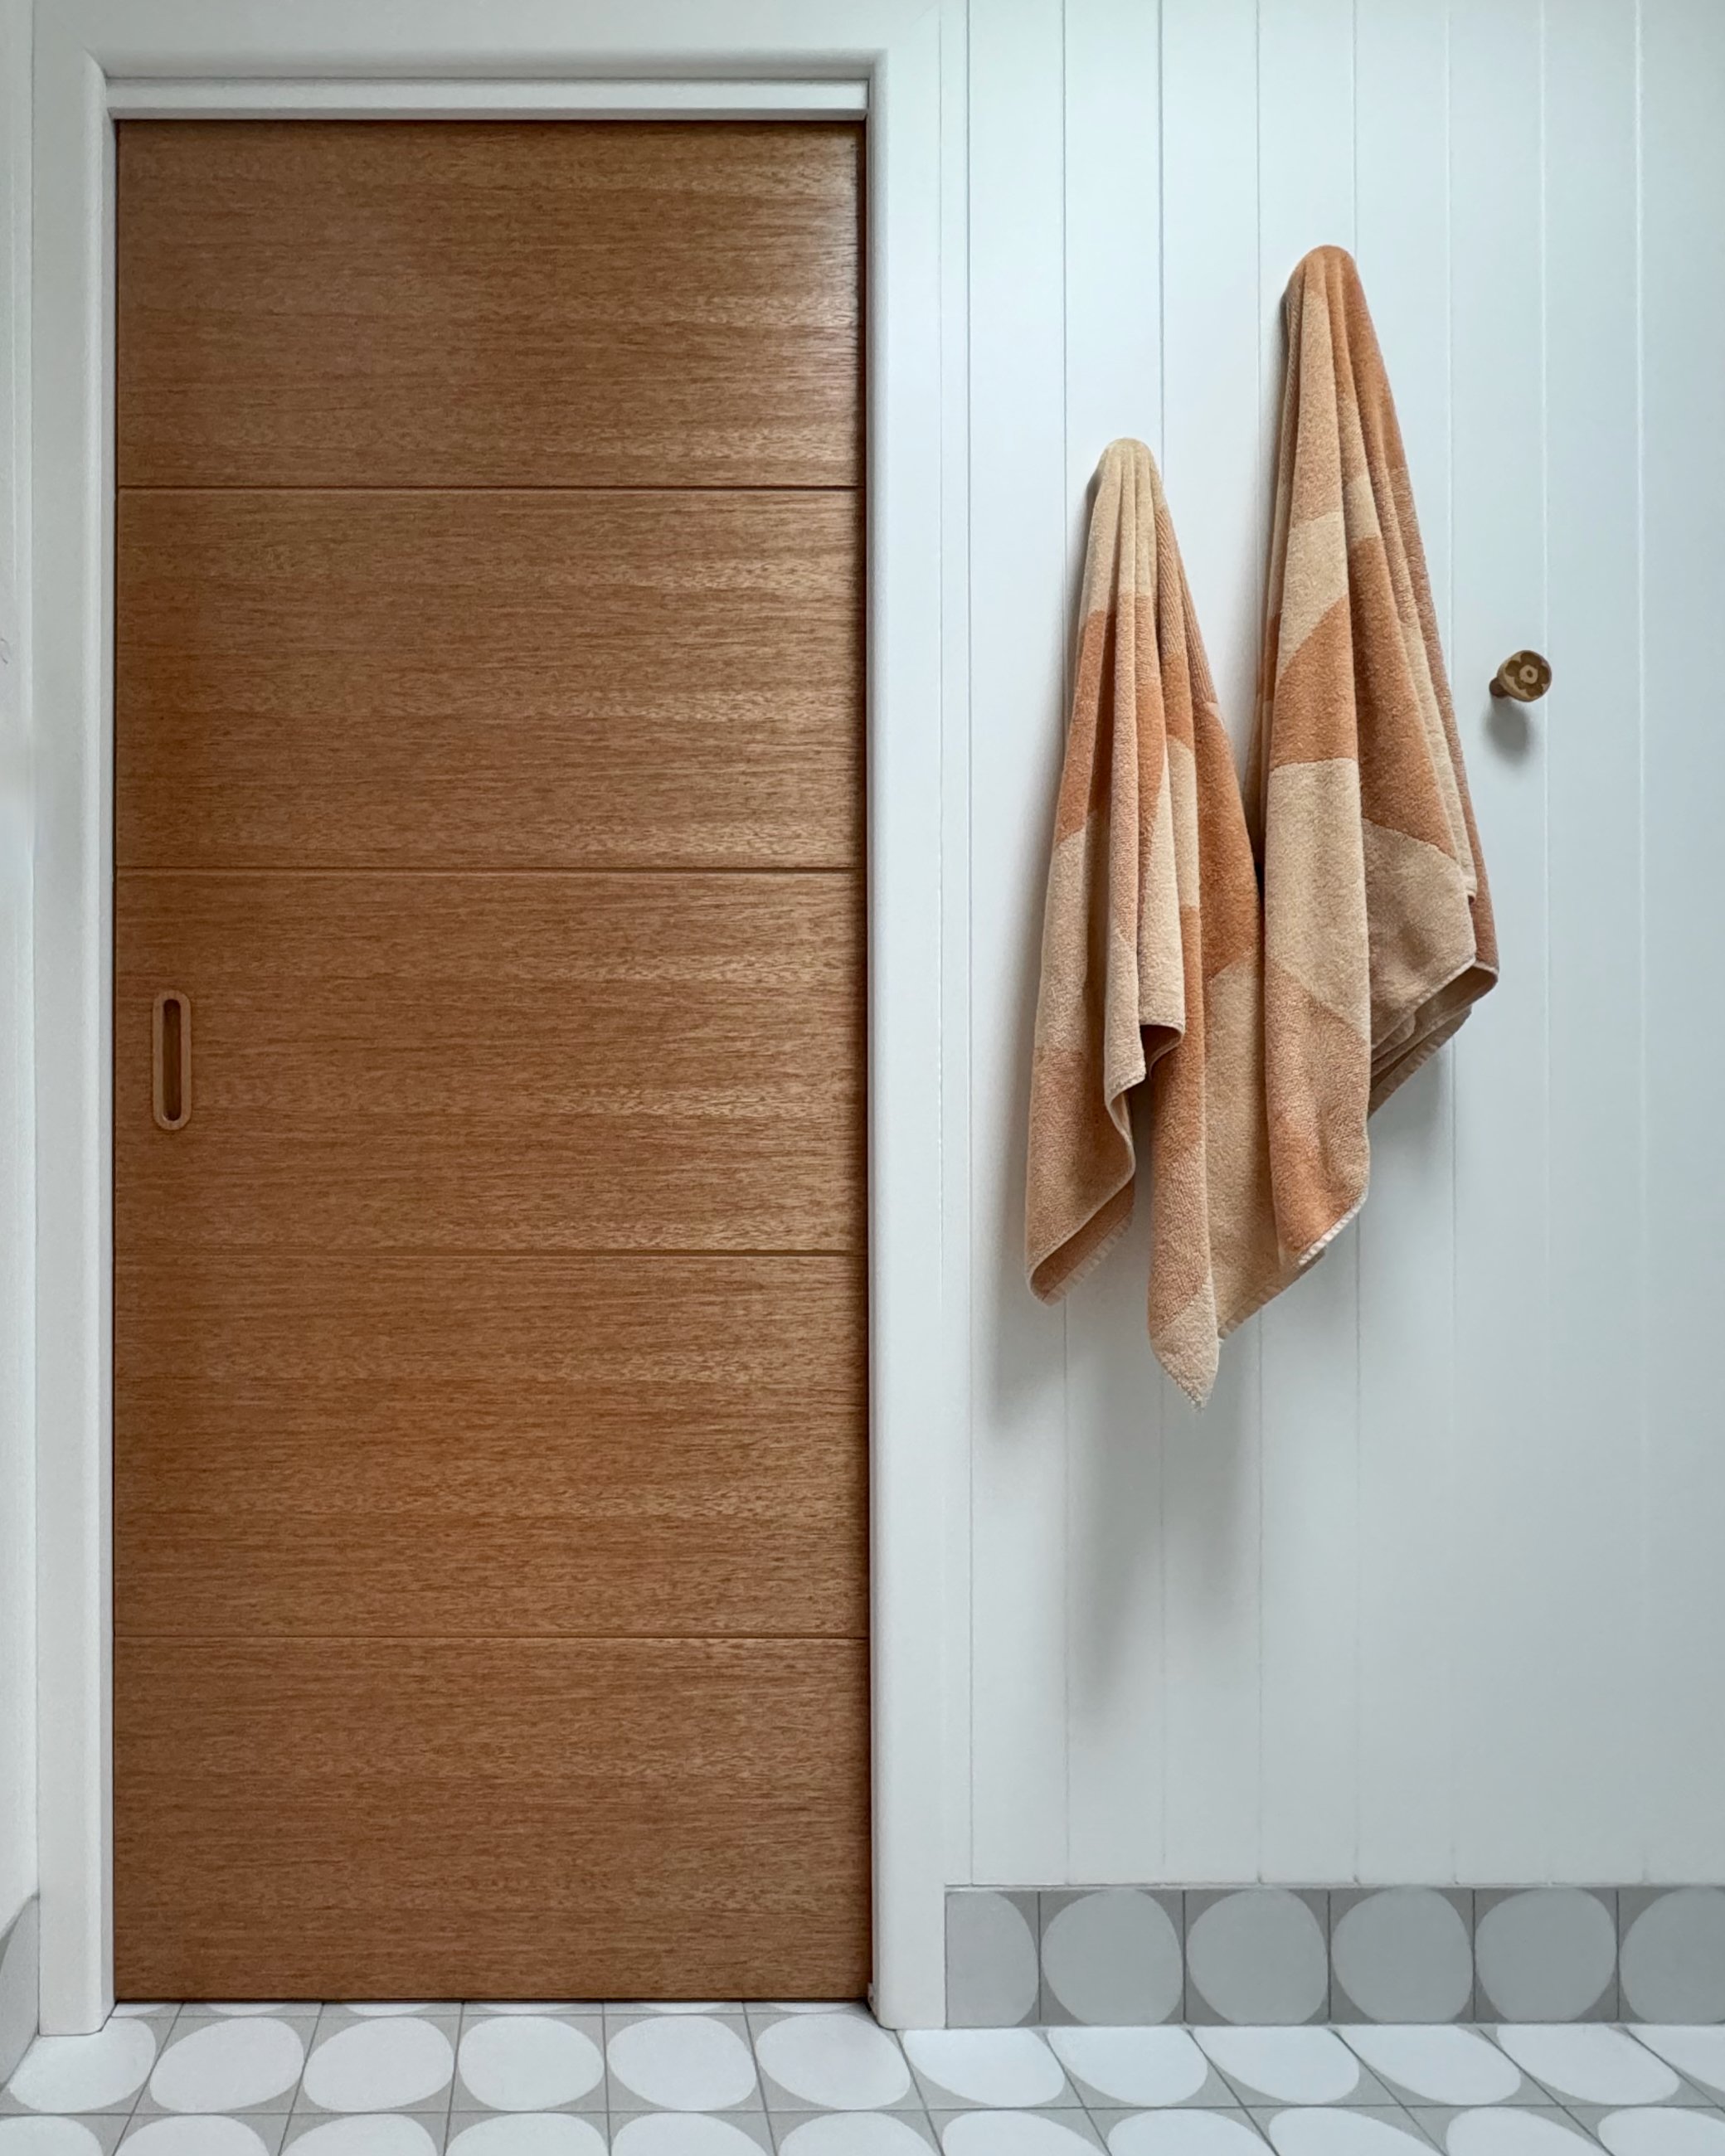
To increase the floorspace in my new bathroom, I replaced a regular hinged door with one that slides into a concealed wall cavity. This was the final piece of my renovation puzzle.
Read more about my full bathroom reno and the design choices.
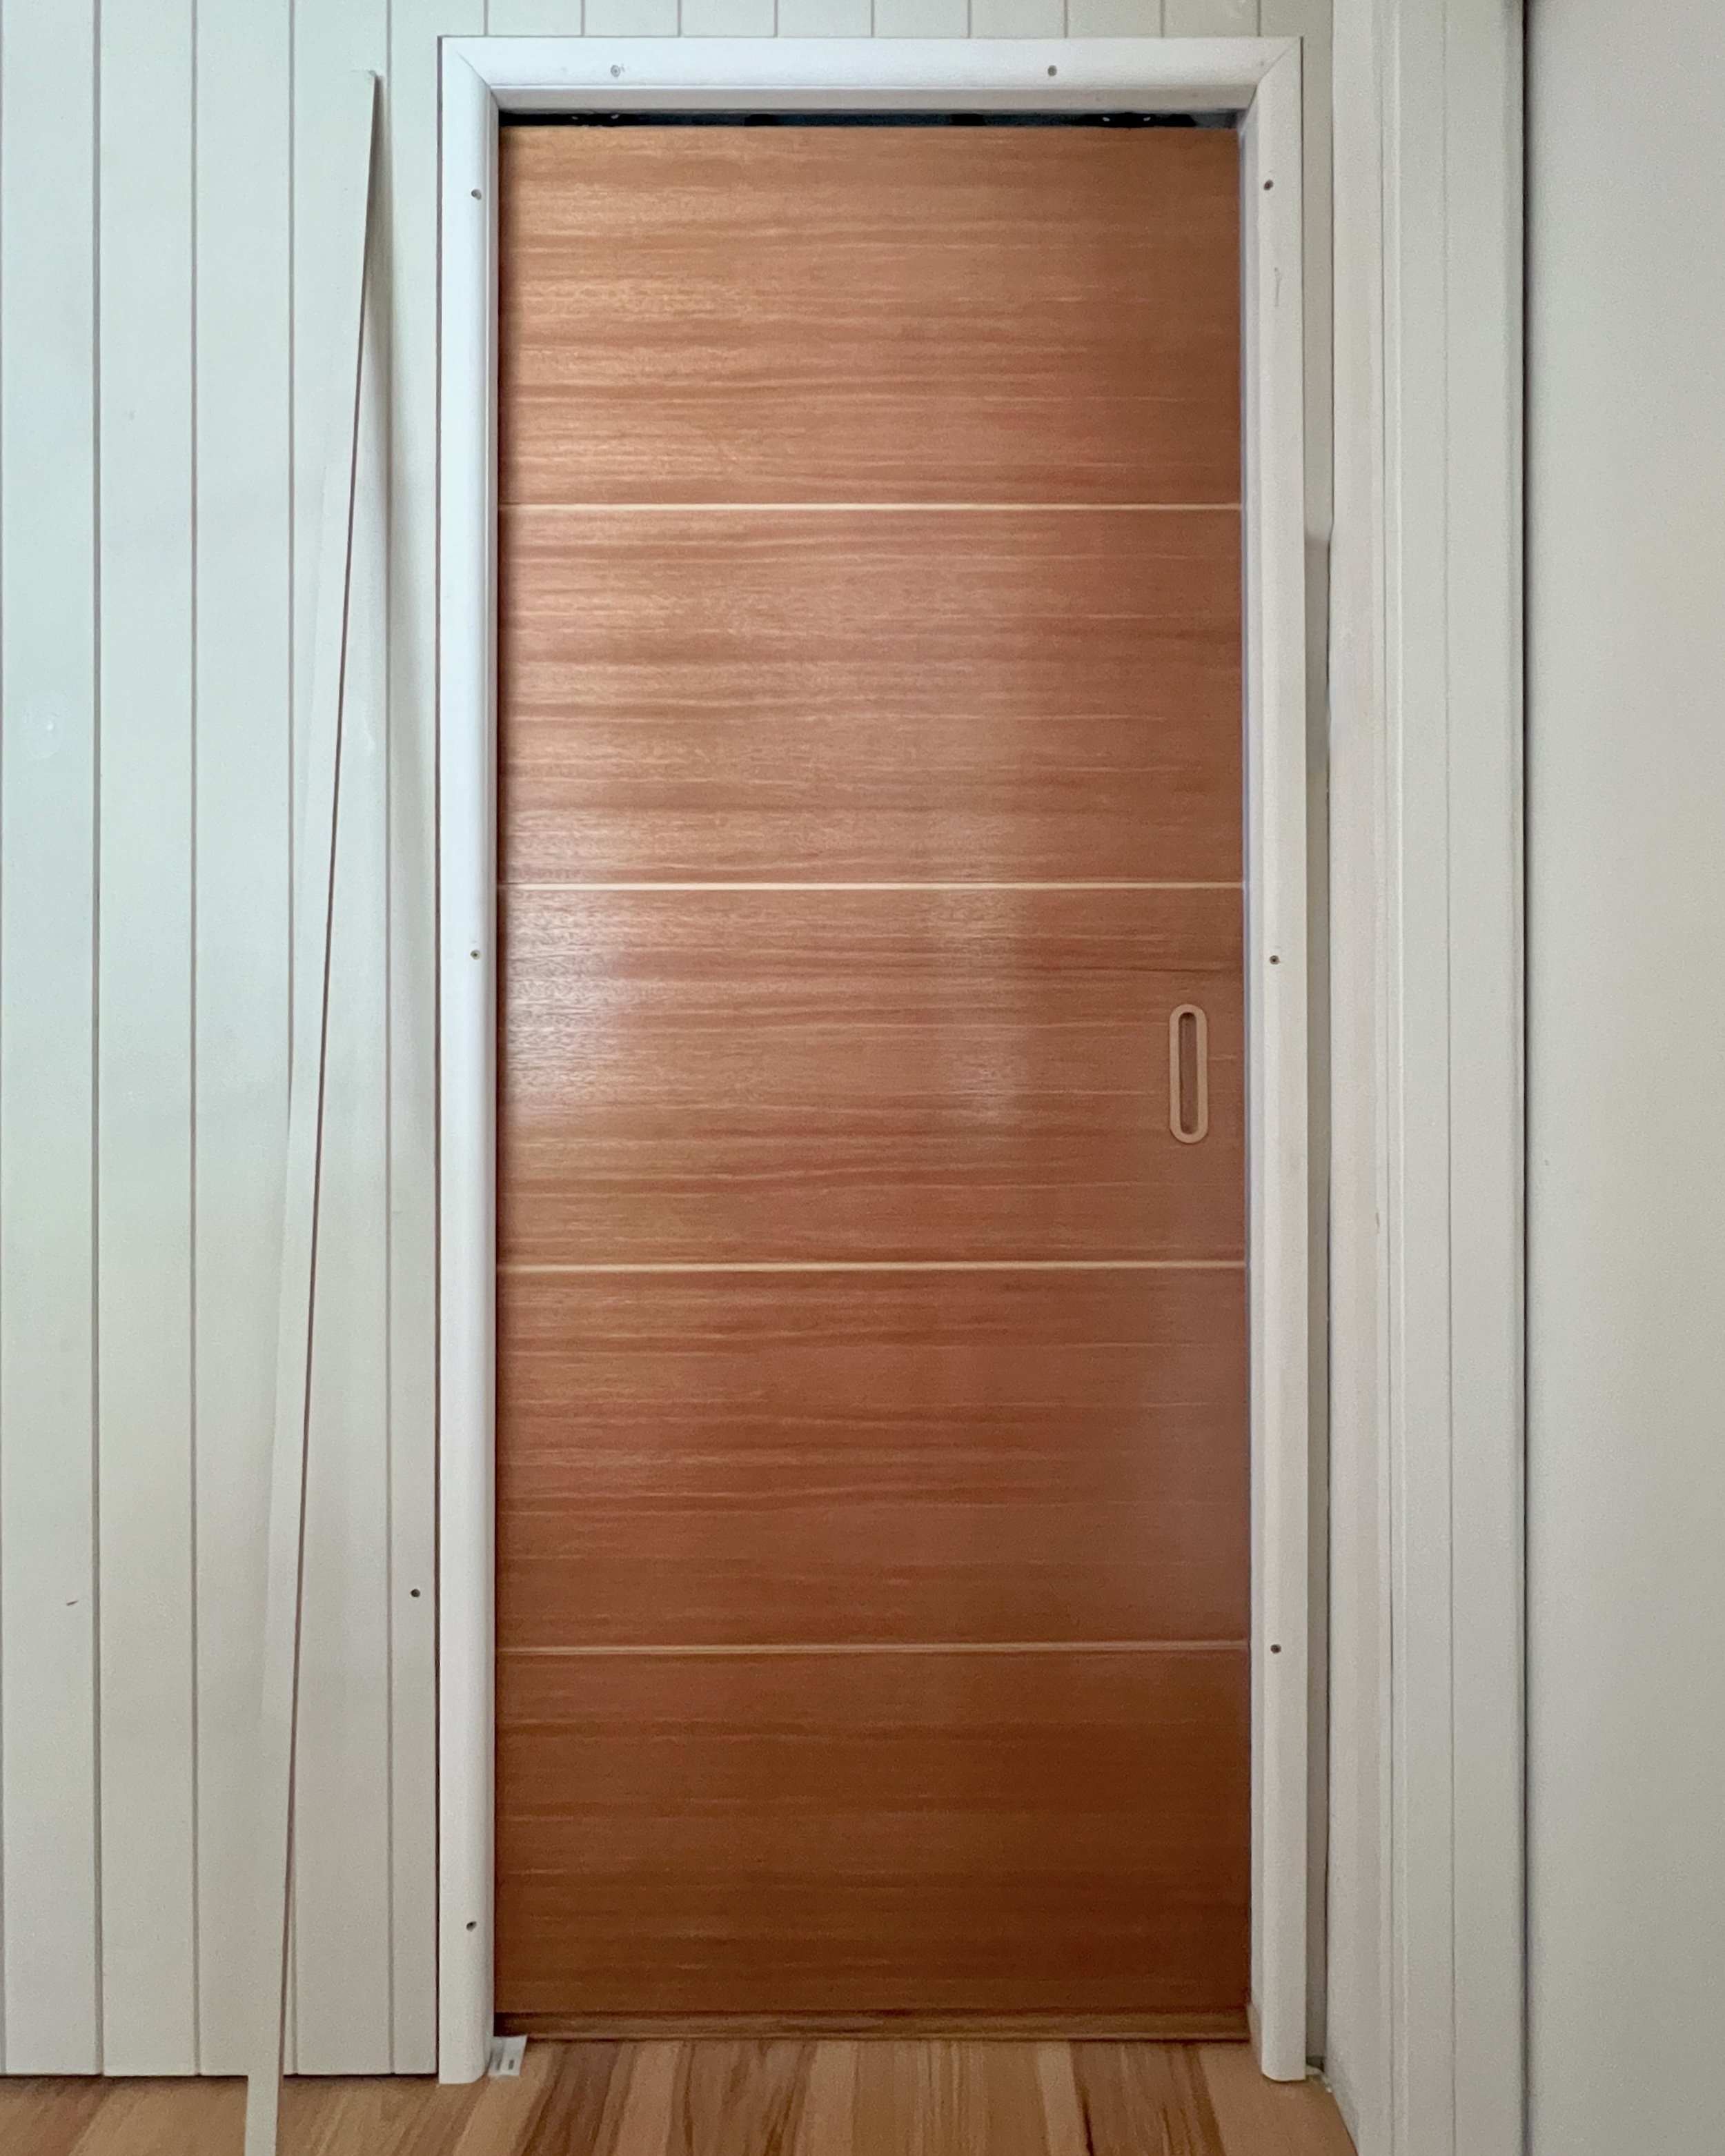
I chose a Hume Doors ‘Linear’ 820mm x 2040mm x 35mm internal door clad in SPM (sliced Pacific maple) timber veneer that can be stained or painted.
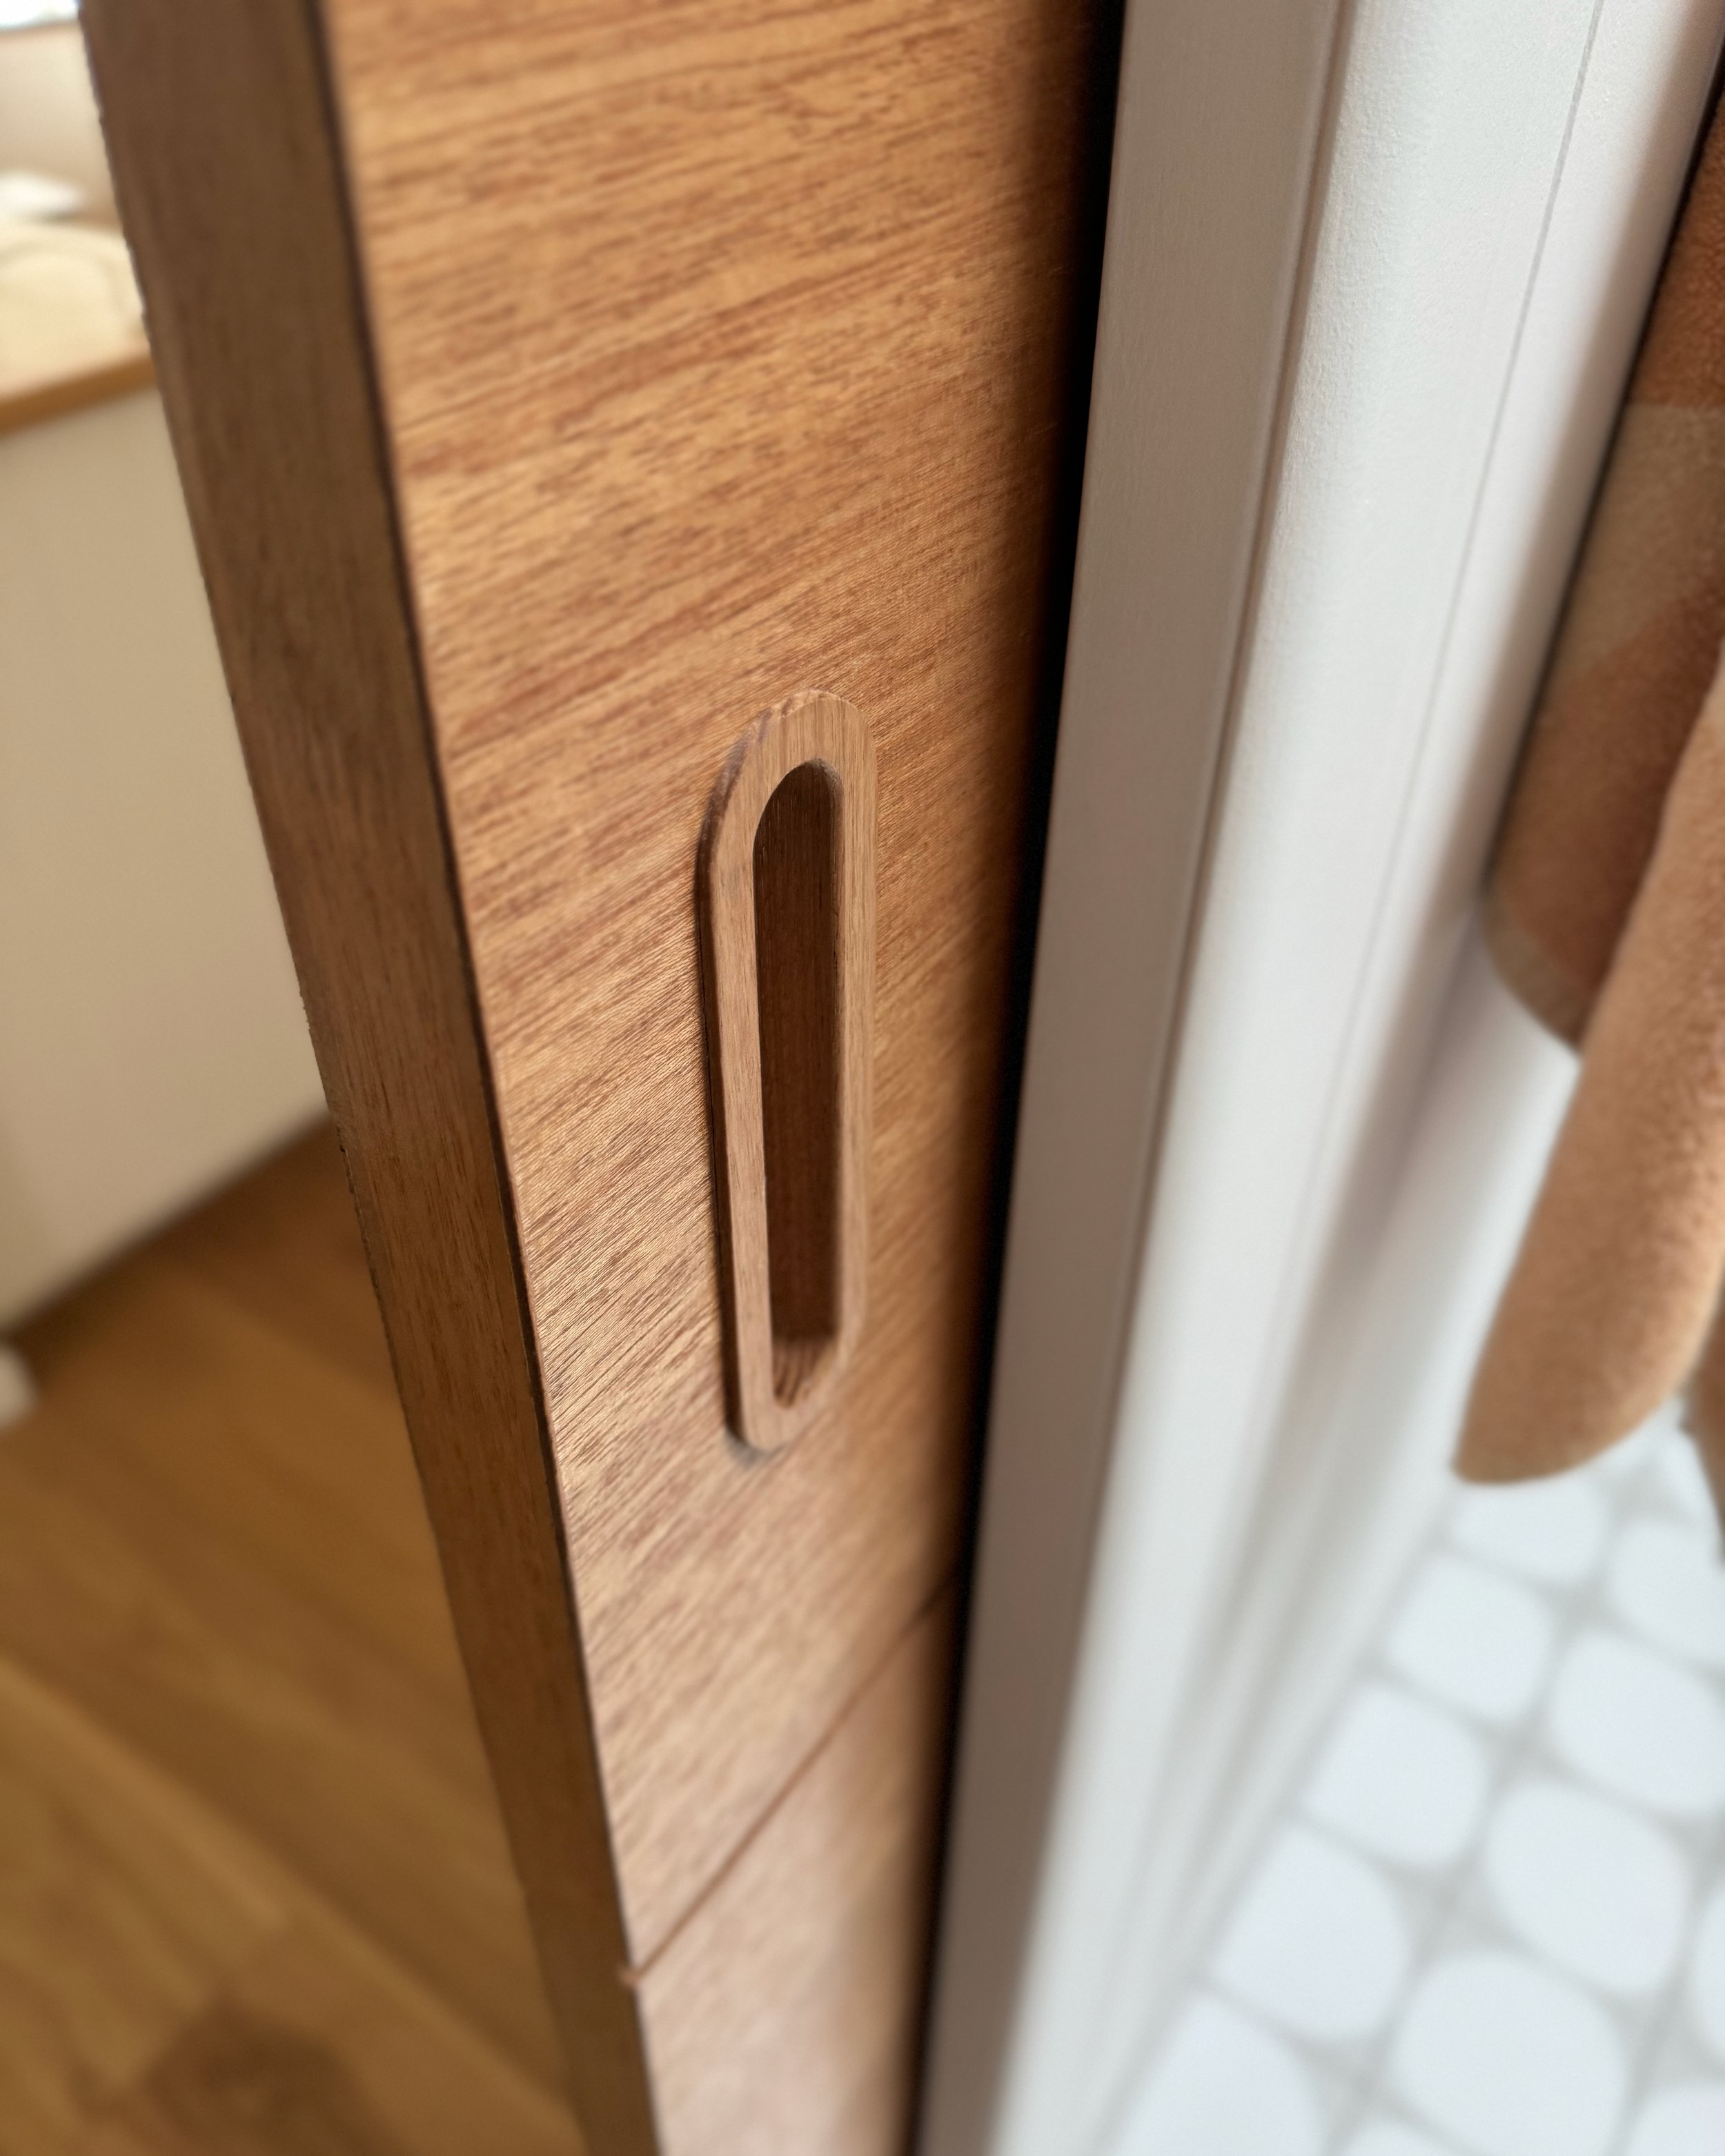
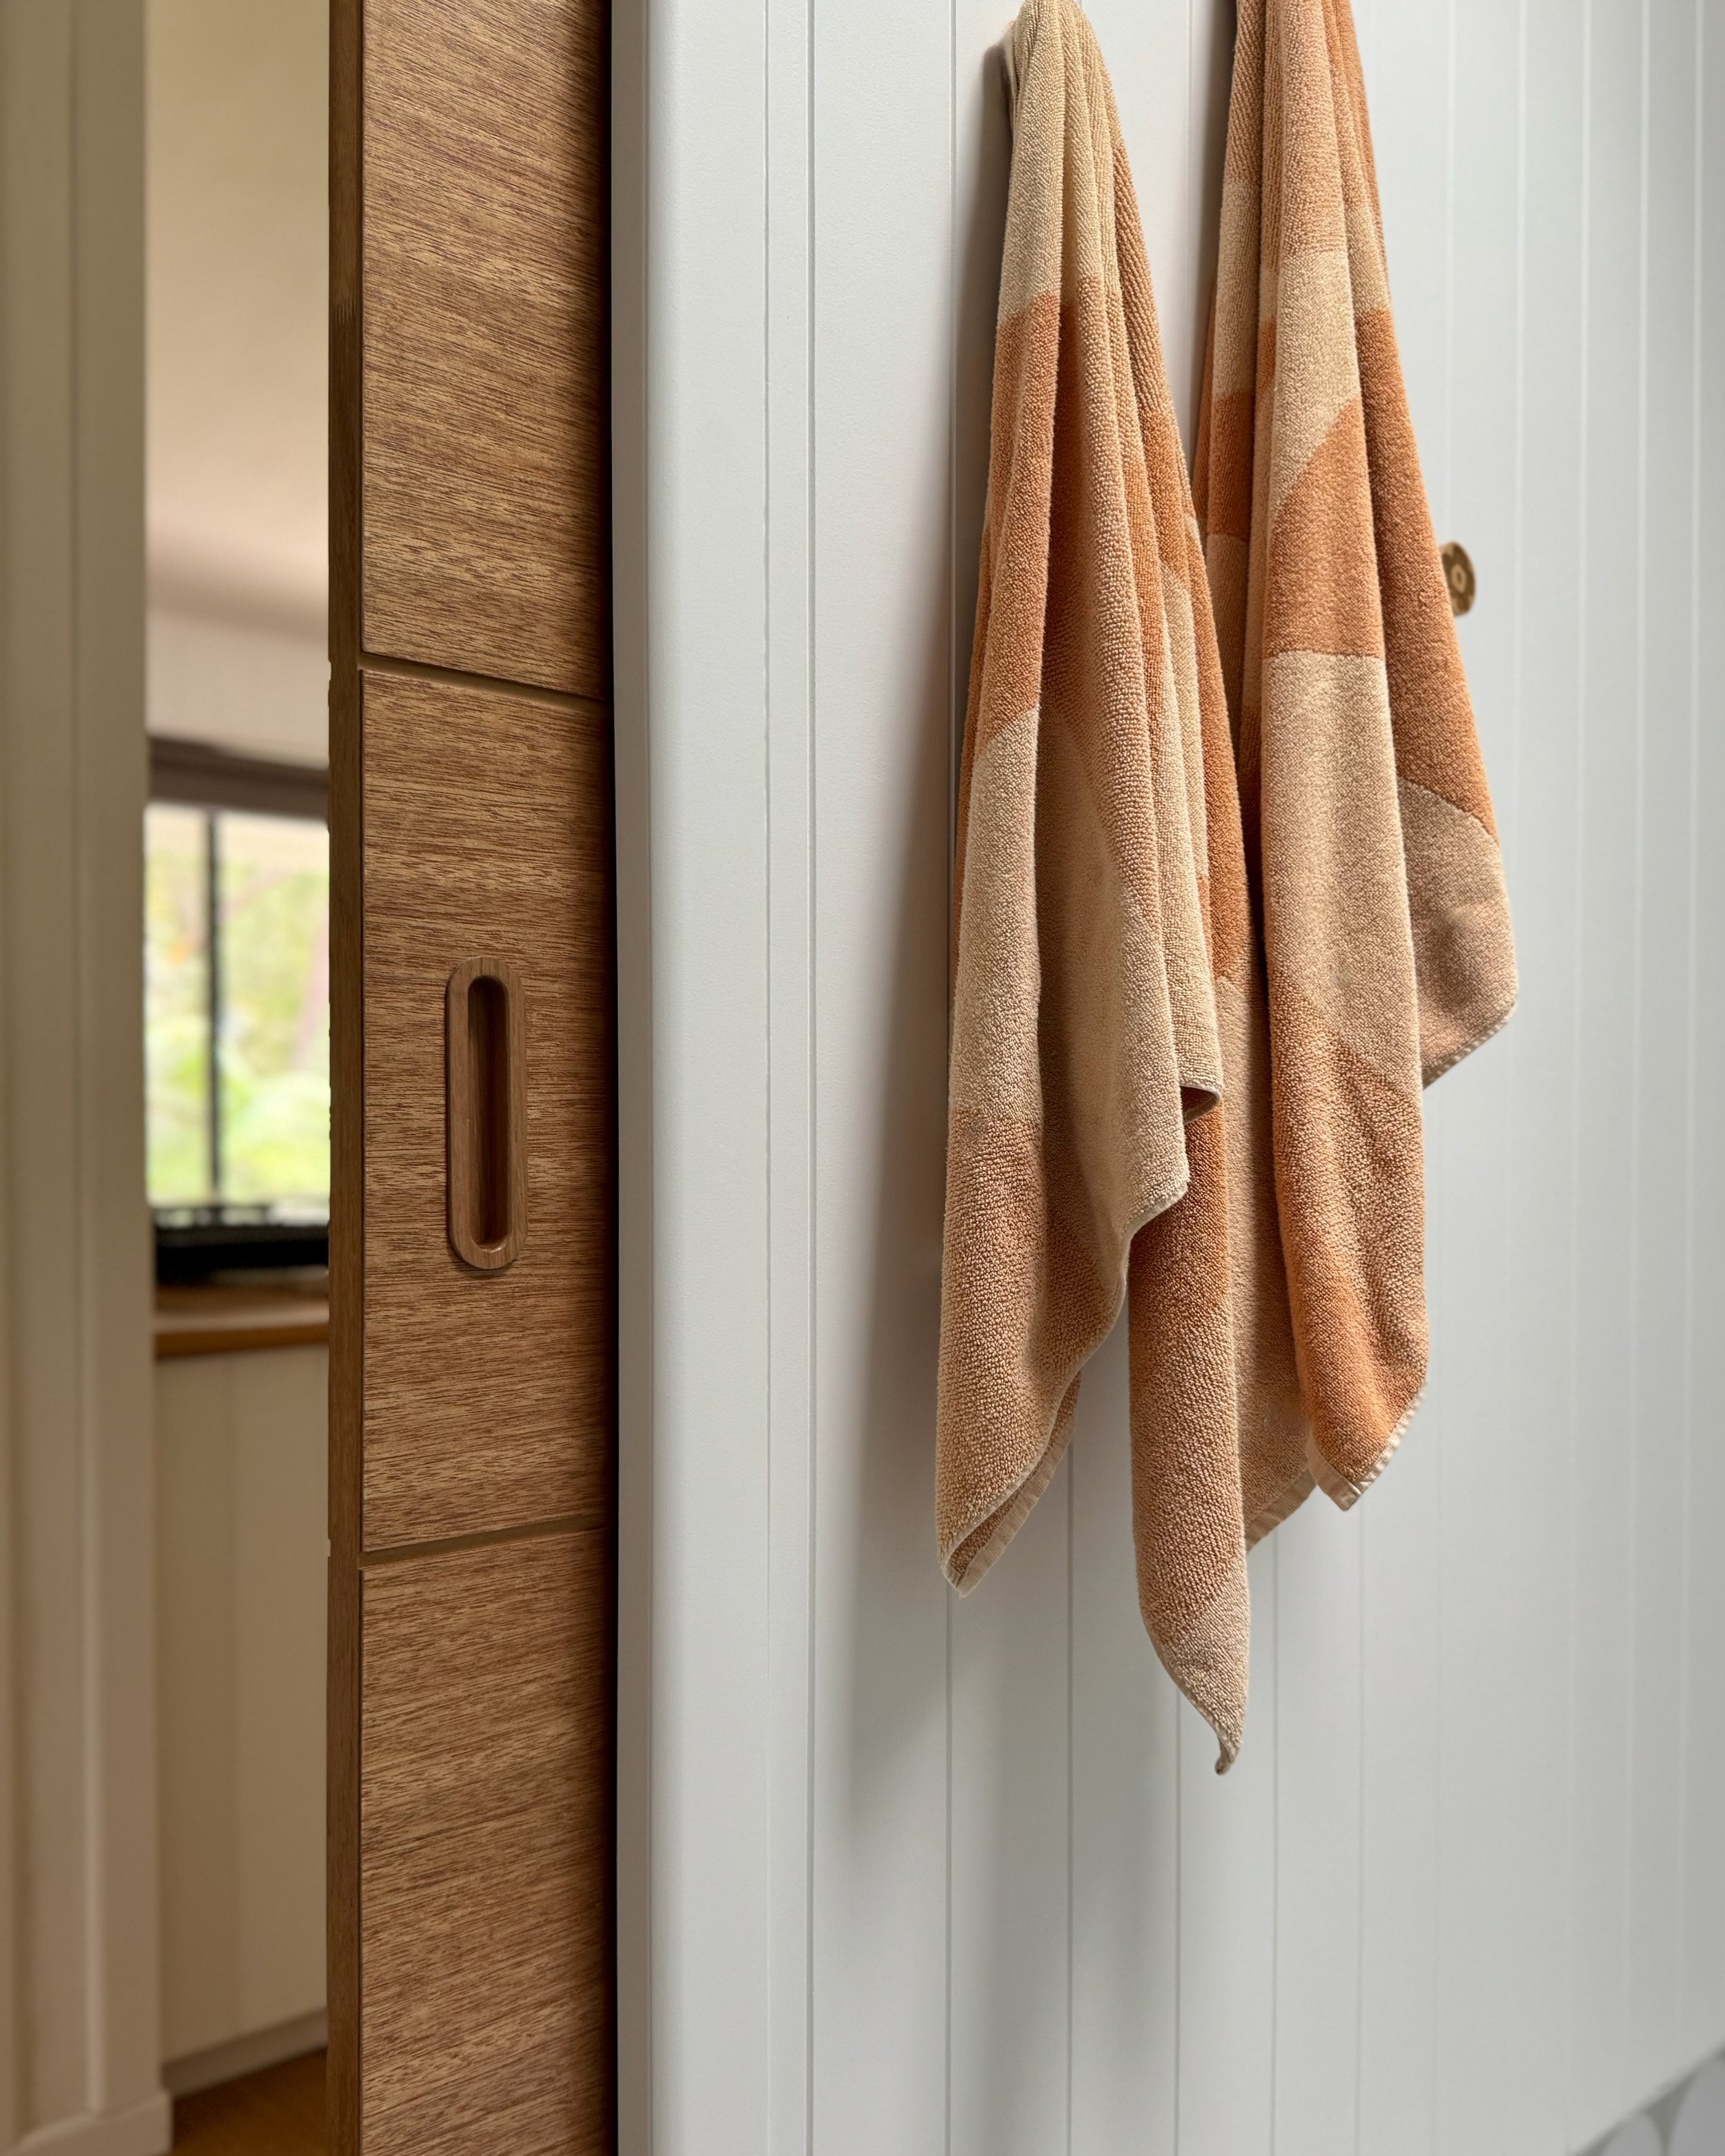
Auburn Woodturning custom-made the ‘Setto’ 150mm x 40mm long flush pull handle with rounded ends in Tasmanian oak.
“Pairing a timber-veneered door with an oak handle and sealing them in a matt waterbased varnish was a perfect match that creates a lovely tactile feature.”
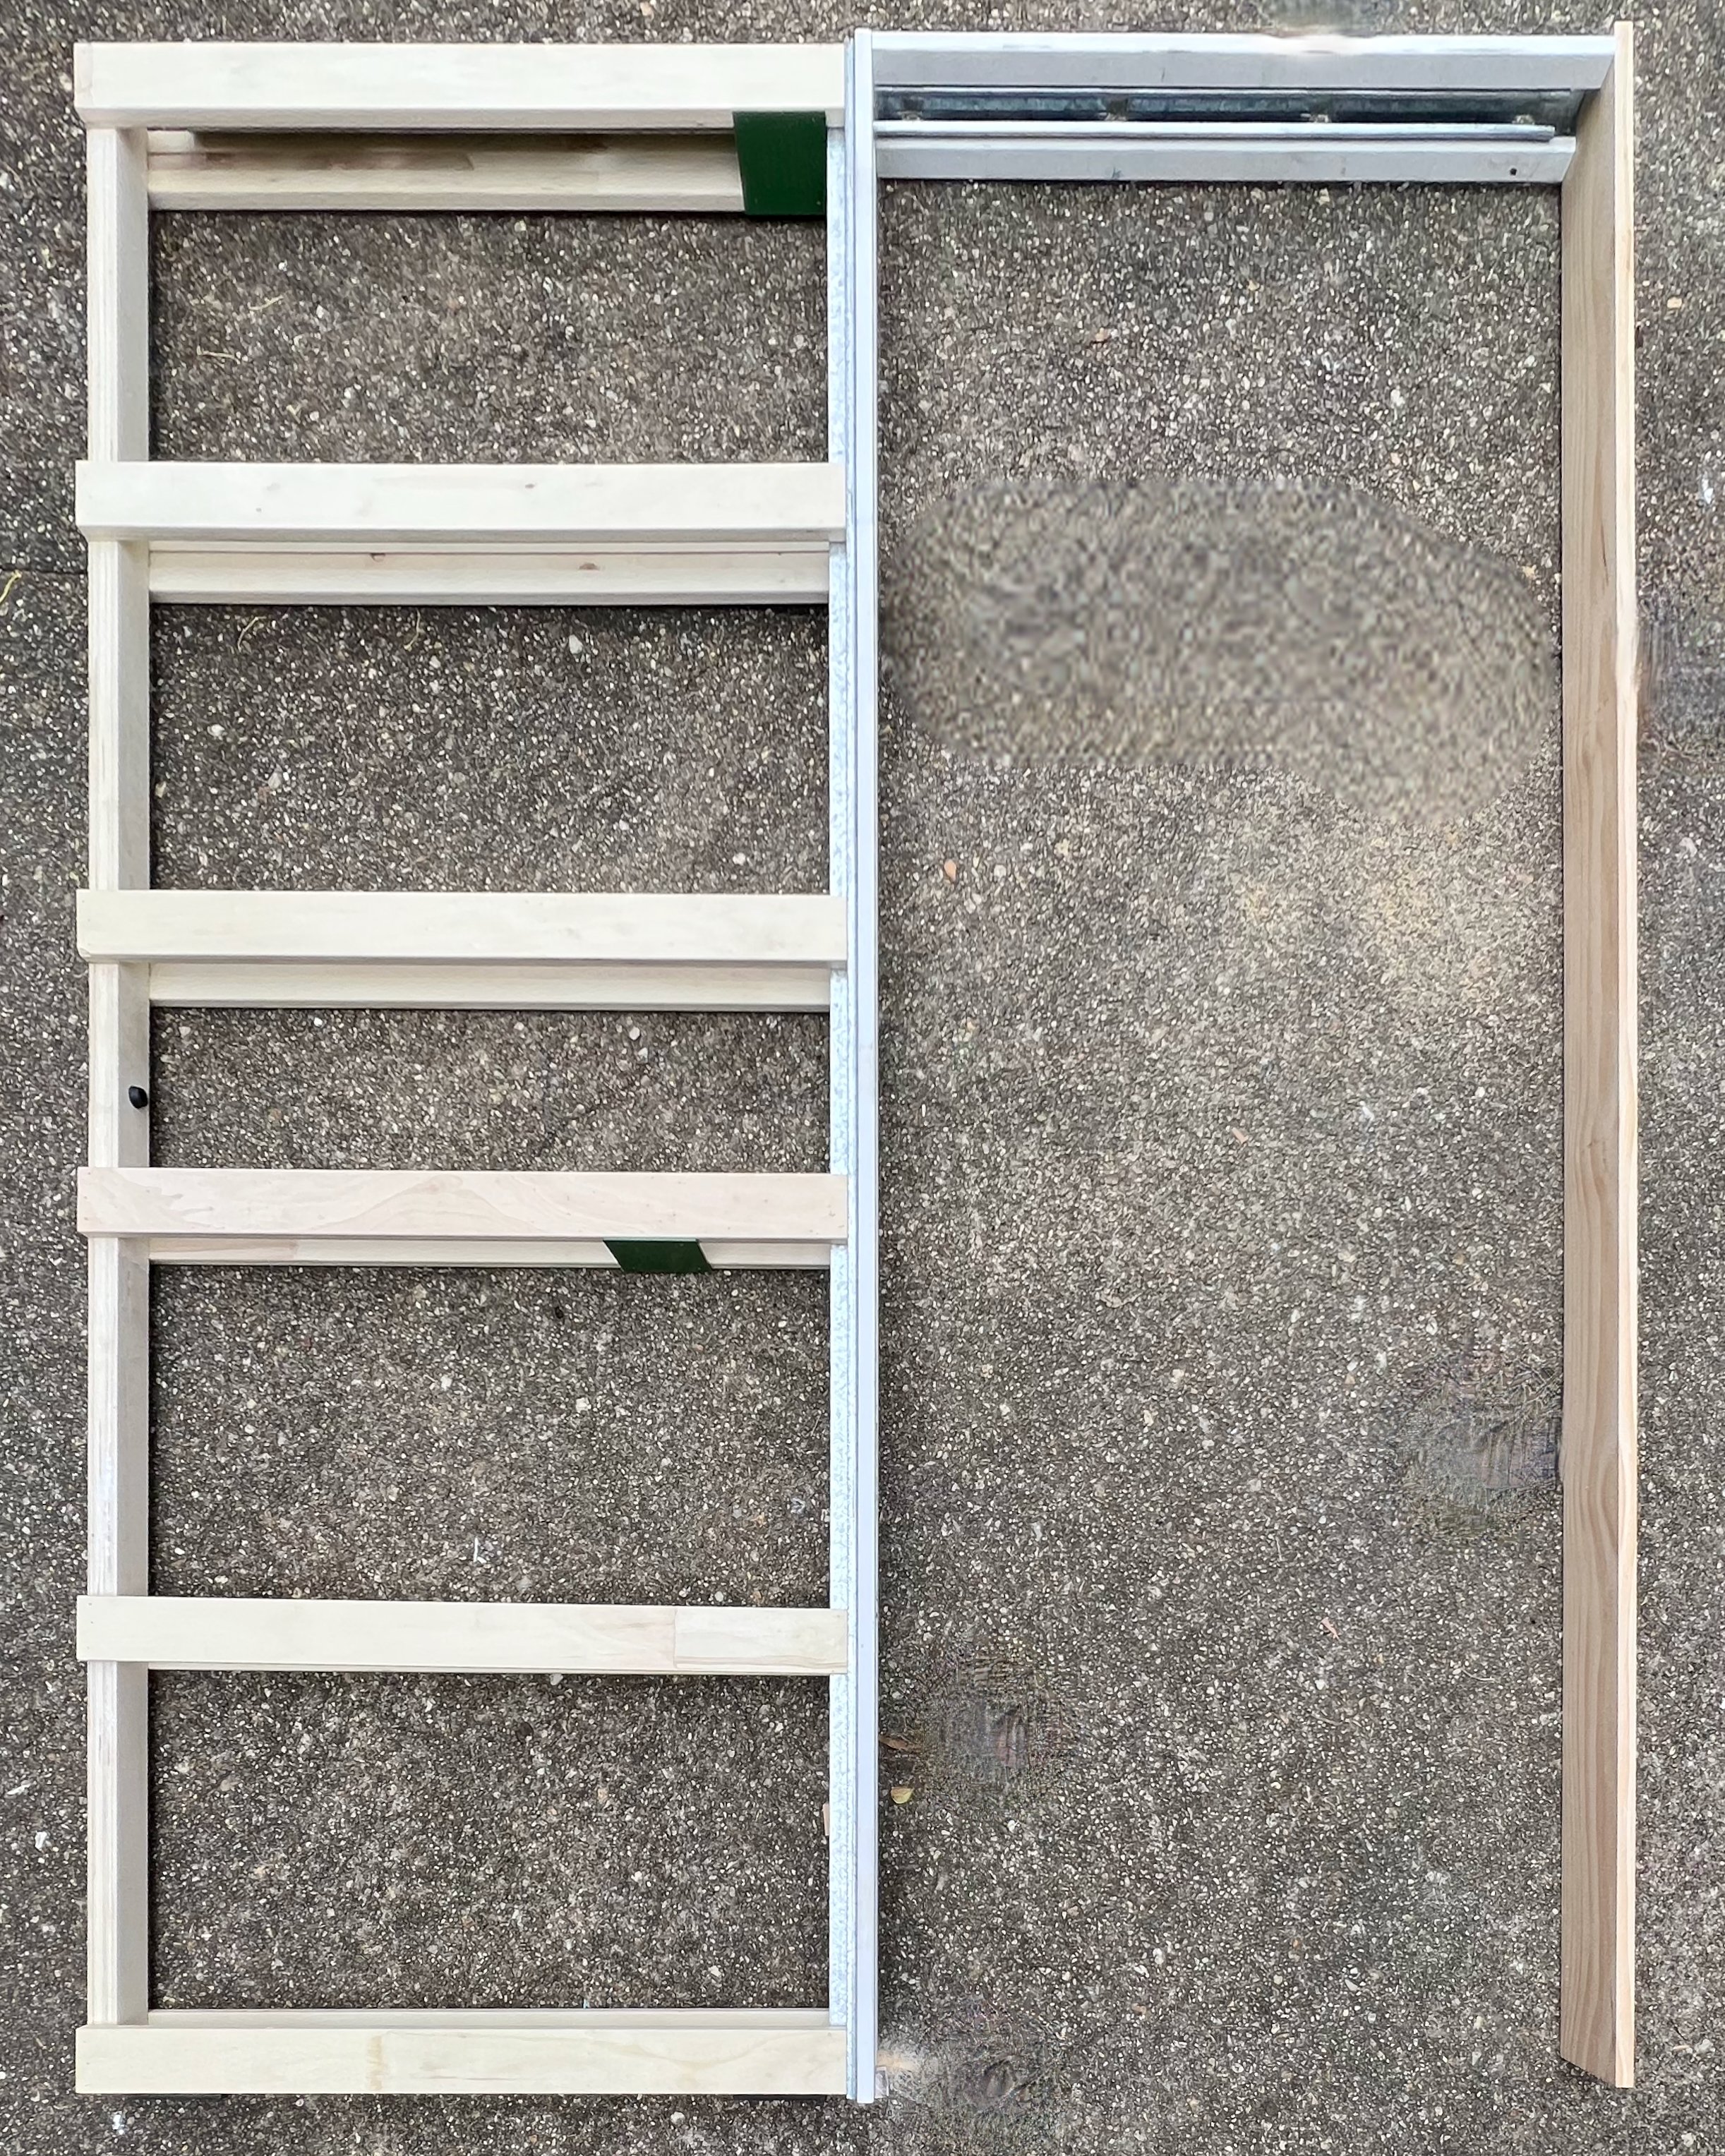
I picked up a Hume Doors 2040mm x 820mm x 90mm flush jamb door cavity kit for about $200 from a hardware store and simply followed the instructions to assemble it using a drill.
TIP The kit doesn’t include the part of the jamb that the door closes against (above right). So pick up a 2.7m length of primed 18mm DAR pine, cut it to match the height of the frame and attach with screws or nails. (Note mine isn’t primed but it saves having to do an extra coat of paint.)


The wall framing was built to fit the cavity so it could simply be moved into position and secured to the studs with screws. Then the walls were sheeted on both sides.
TIP This installation requires access to the wall framing from one side, so if you’re not building the wall from scratch, remove the lining to install the cavity framing then re-clad it and add new trim.


I marked up the 150mm x 40mm flush pull handle on both sides of the door, drilled out the ends with a 29mm holesaw and finished the cutout with a jigsaw. Then I checked the fit and sanded around the edges.

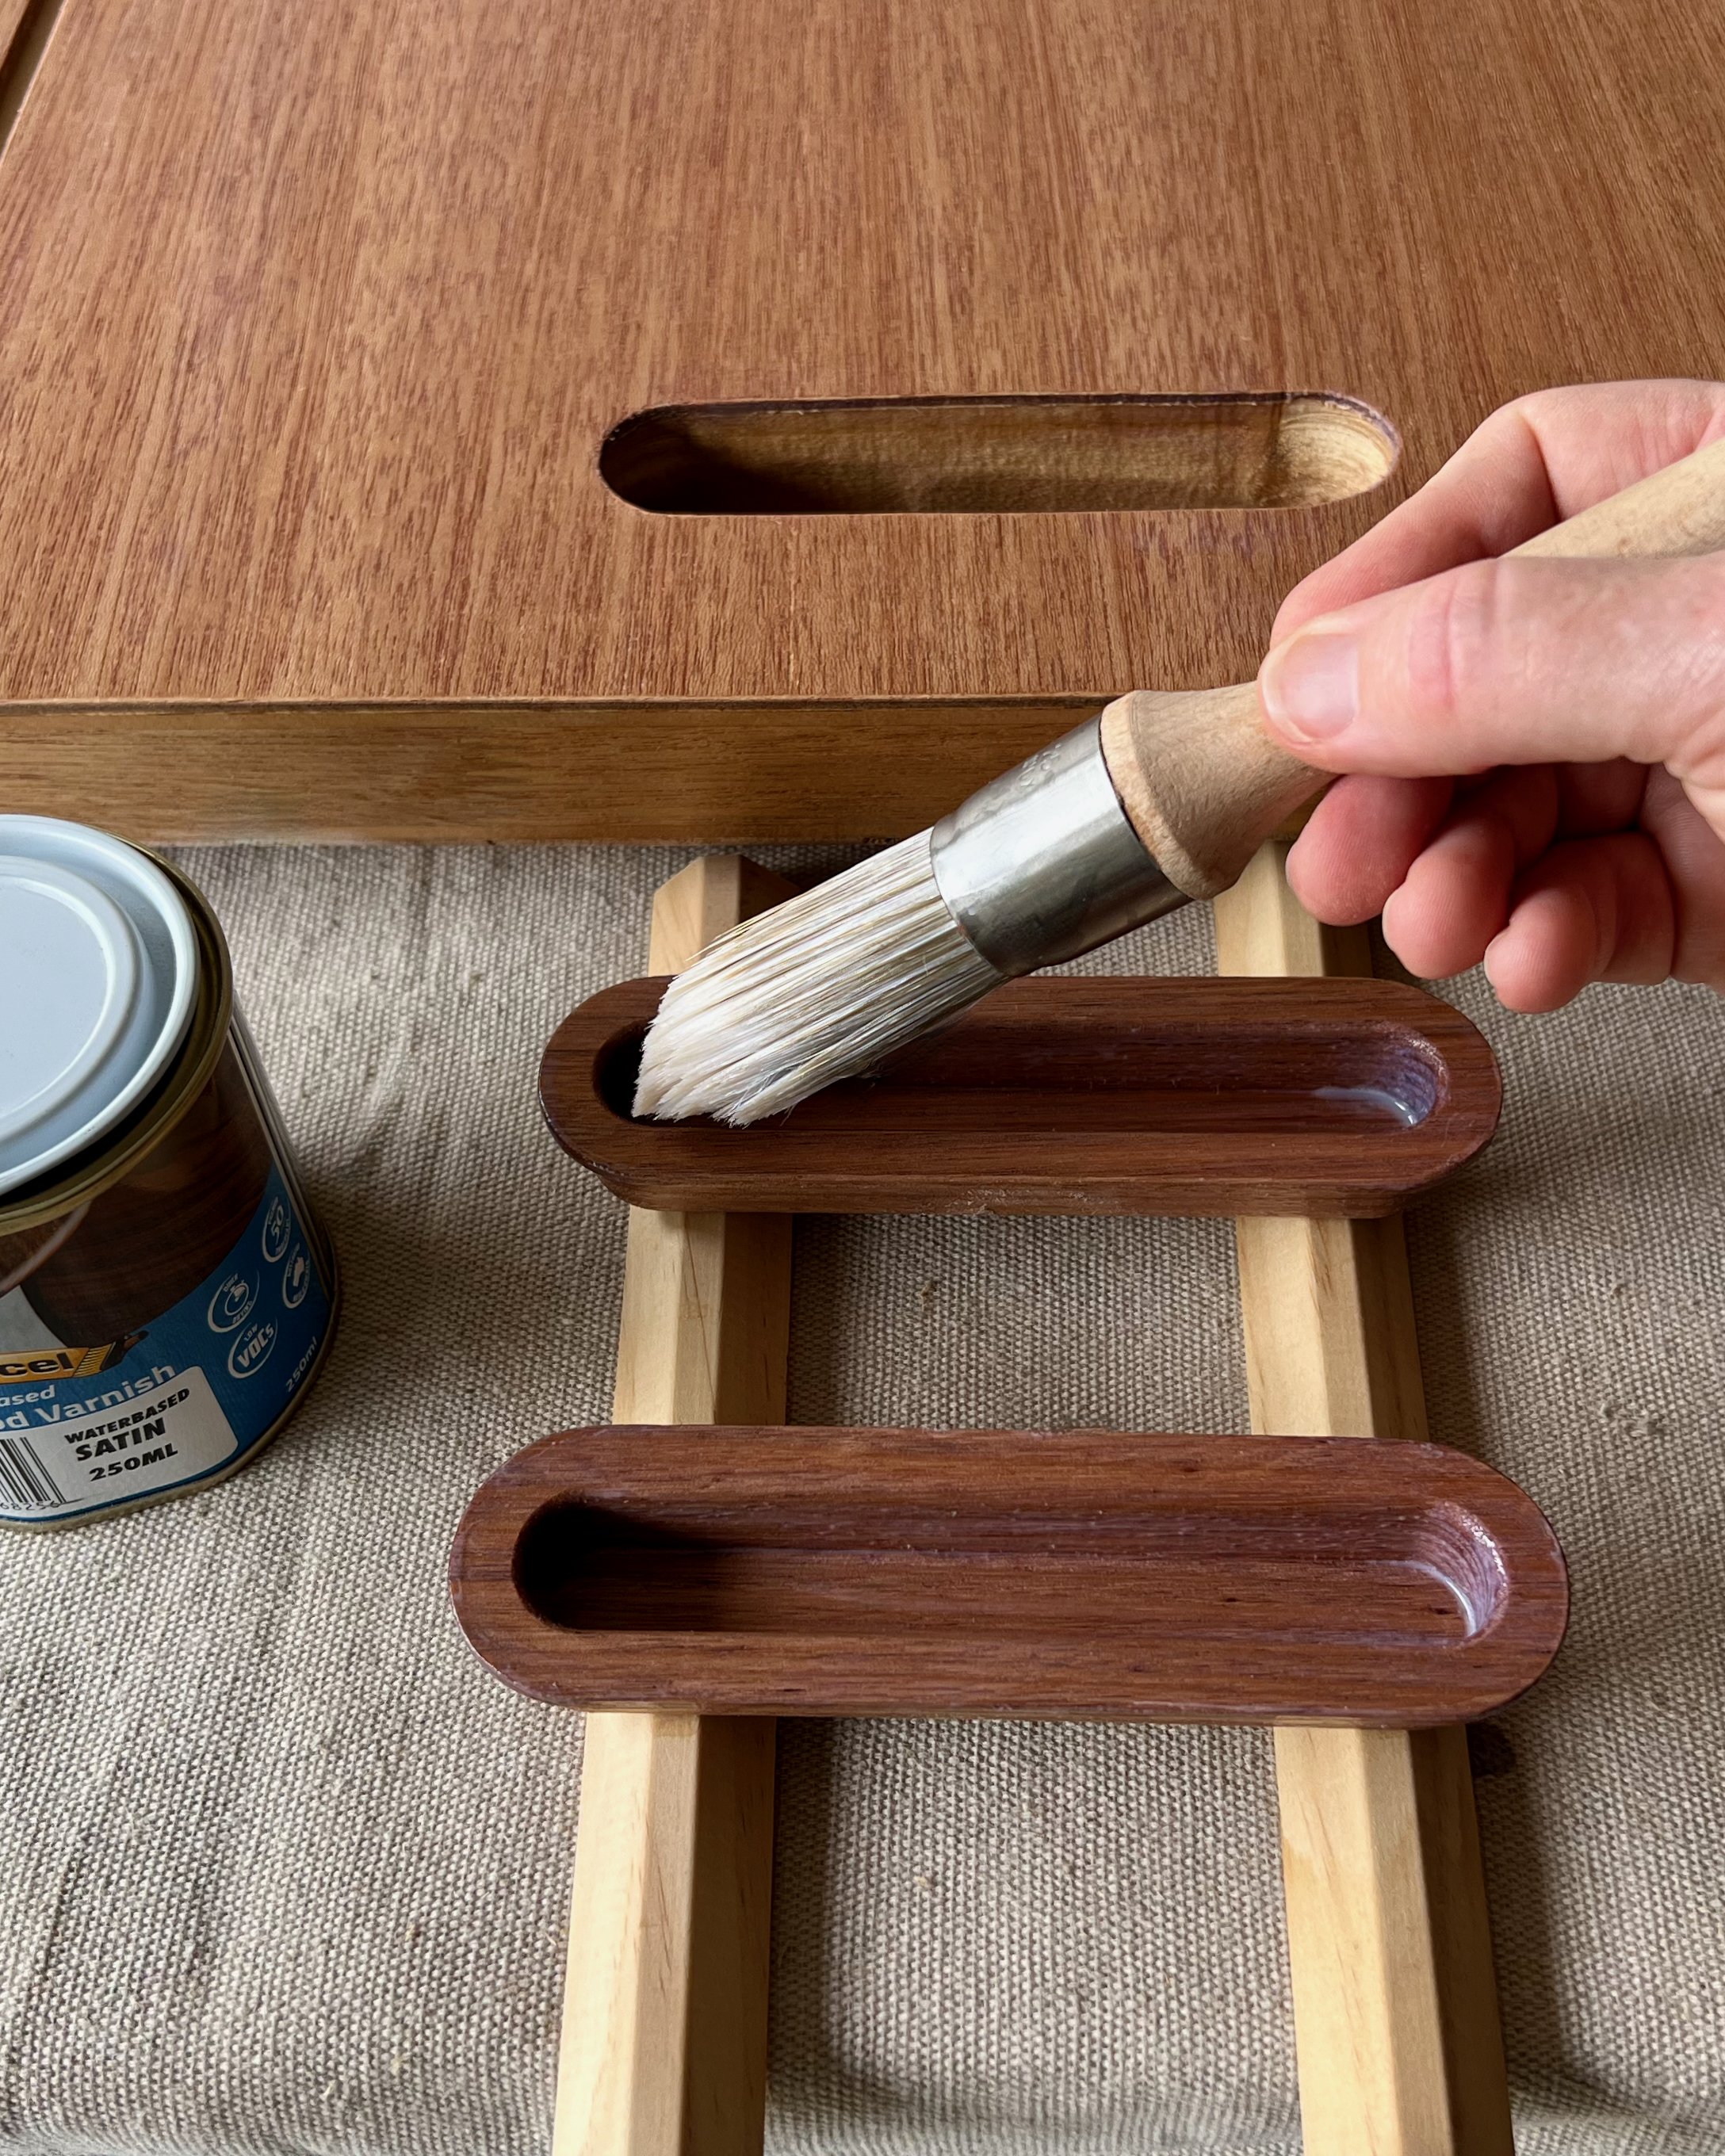
After lightly smoothing over the door and around the edges with 240-grit sandpaper, I wiped it and the handles down with a slightly damp cloth to remove any dust.
Then I sealed with two coats of Monocel Waterbased Clear Wood Varnish in Satin, applying with a mini mohair roller over the flat surfaces and a round brush for the grooves and handles. I also sealed into the cutout to prevent potential moisture damage.


I applied Bondall Bondcrete woodworking adhesive around the base of the handles, fitted them into the cutouts, clamped them flat and wiped away the excess.


I added the base plates to the top edge of the door and slipped the wheeled carriages into the cavity track (this hardware came with the kit). Then I lifted the door into place and adjusted the height with the supplied flat spanner.
For the architrave, also called casing or trim, I installed primed bullnose moulding around the door jamb and painted it the same as the walls.
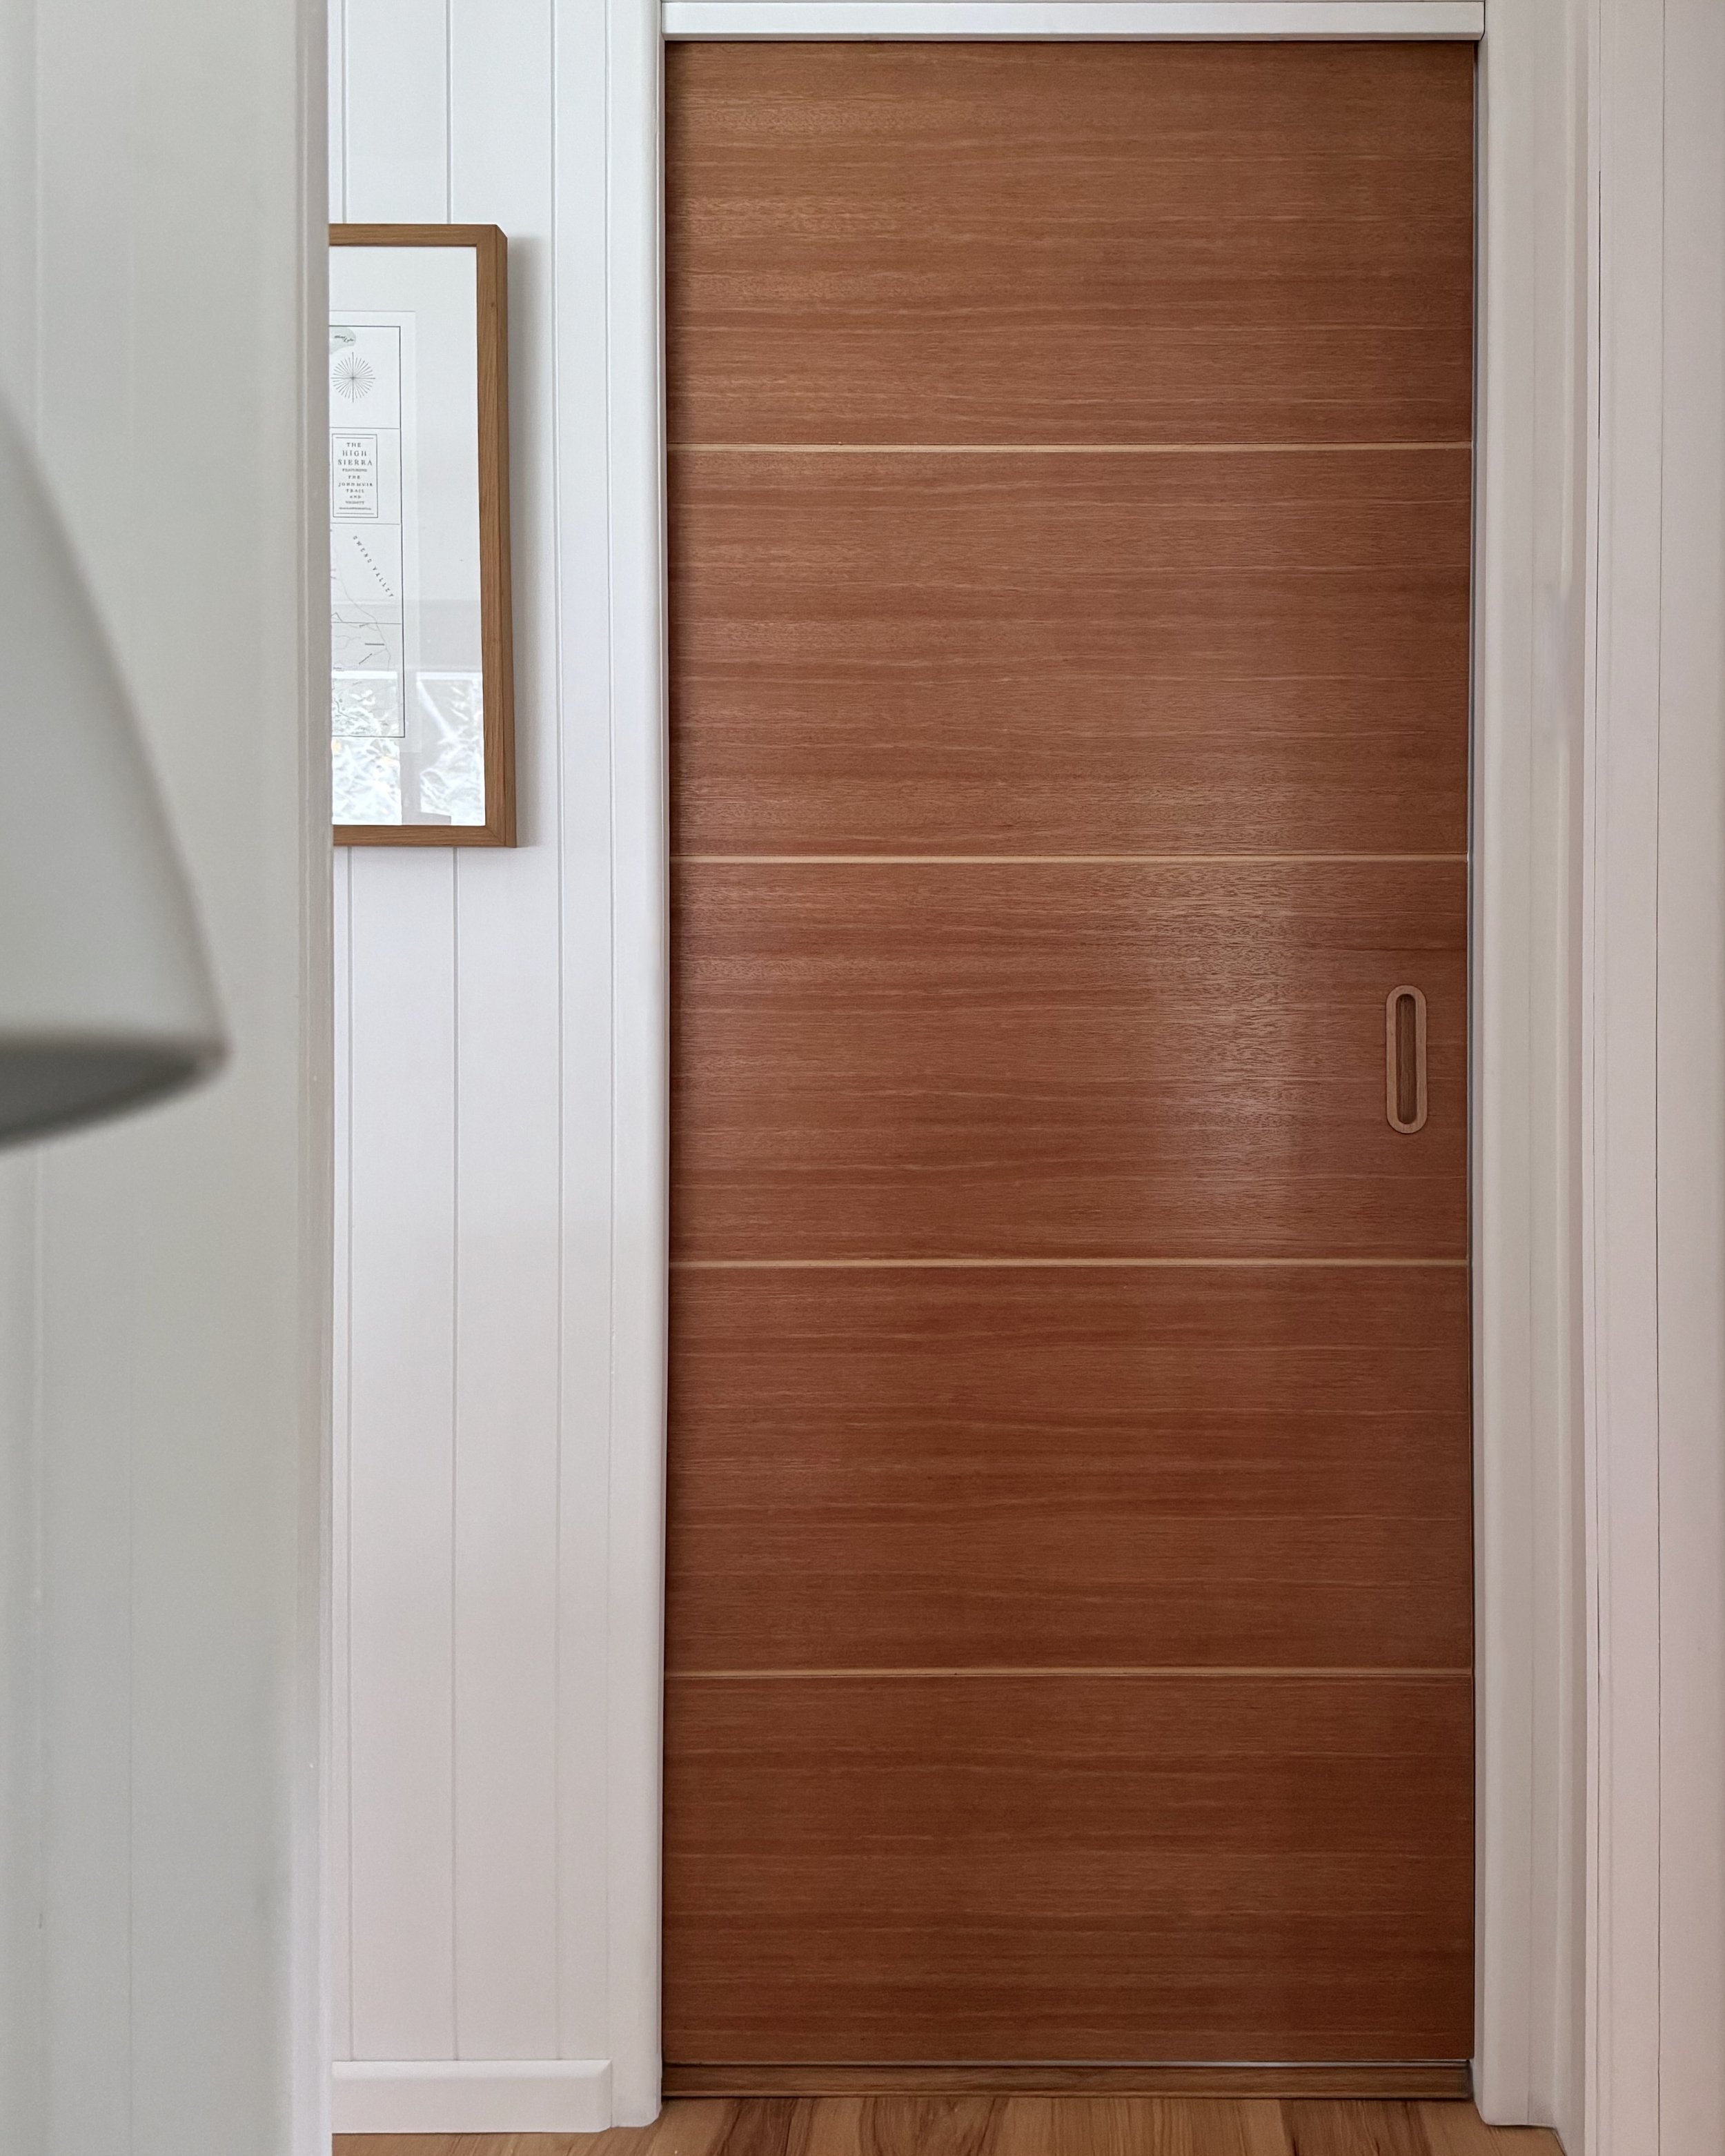
I love the tactile surface of the door. It adds a warm, welcoming feature to the bathroom while looking great from the hallway.
Are you planning to install a sliding door?
Tag me on your project and follow more of my DIY journey on Instagram for tool tips, home improvement and simple building projects.