Render a Retaining Wall
Natasha Dickins
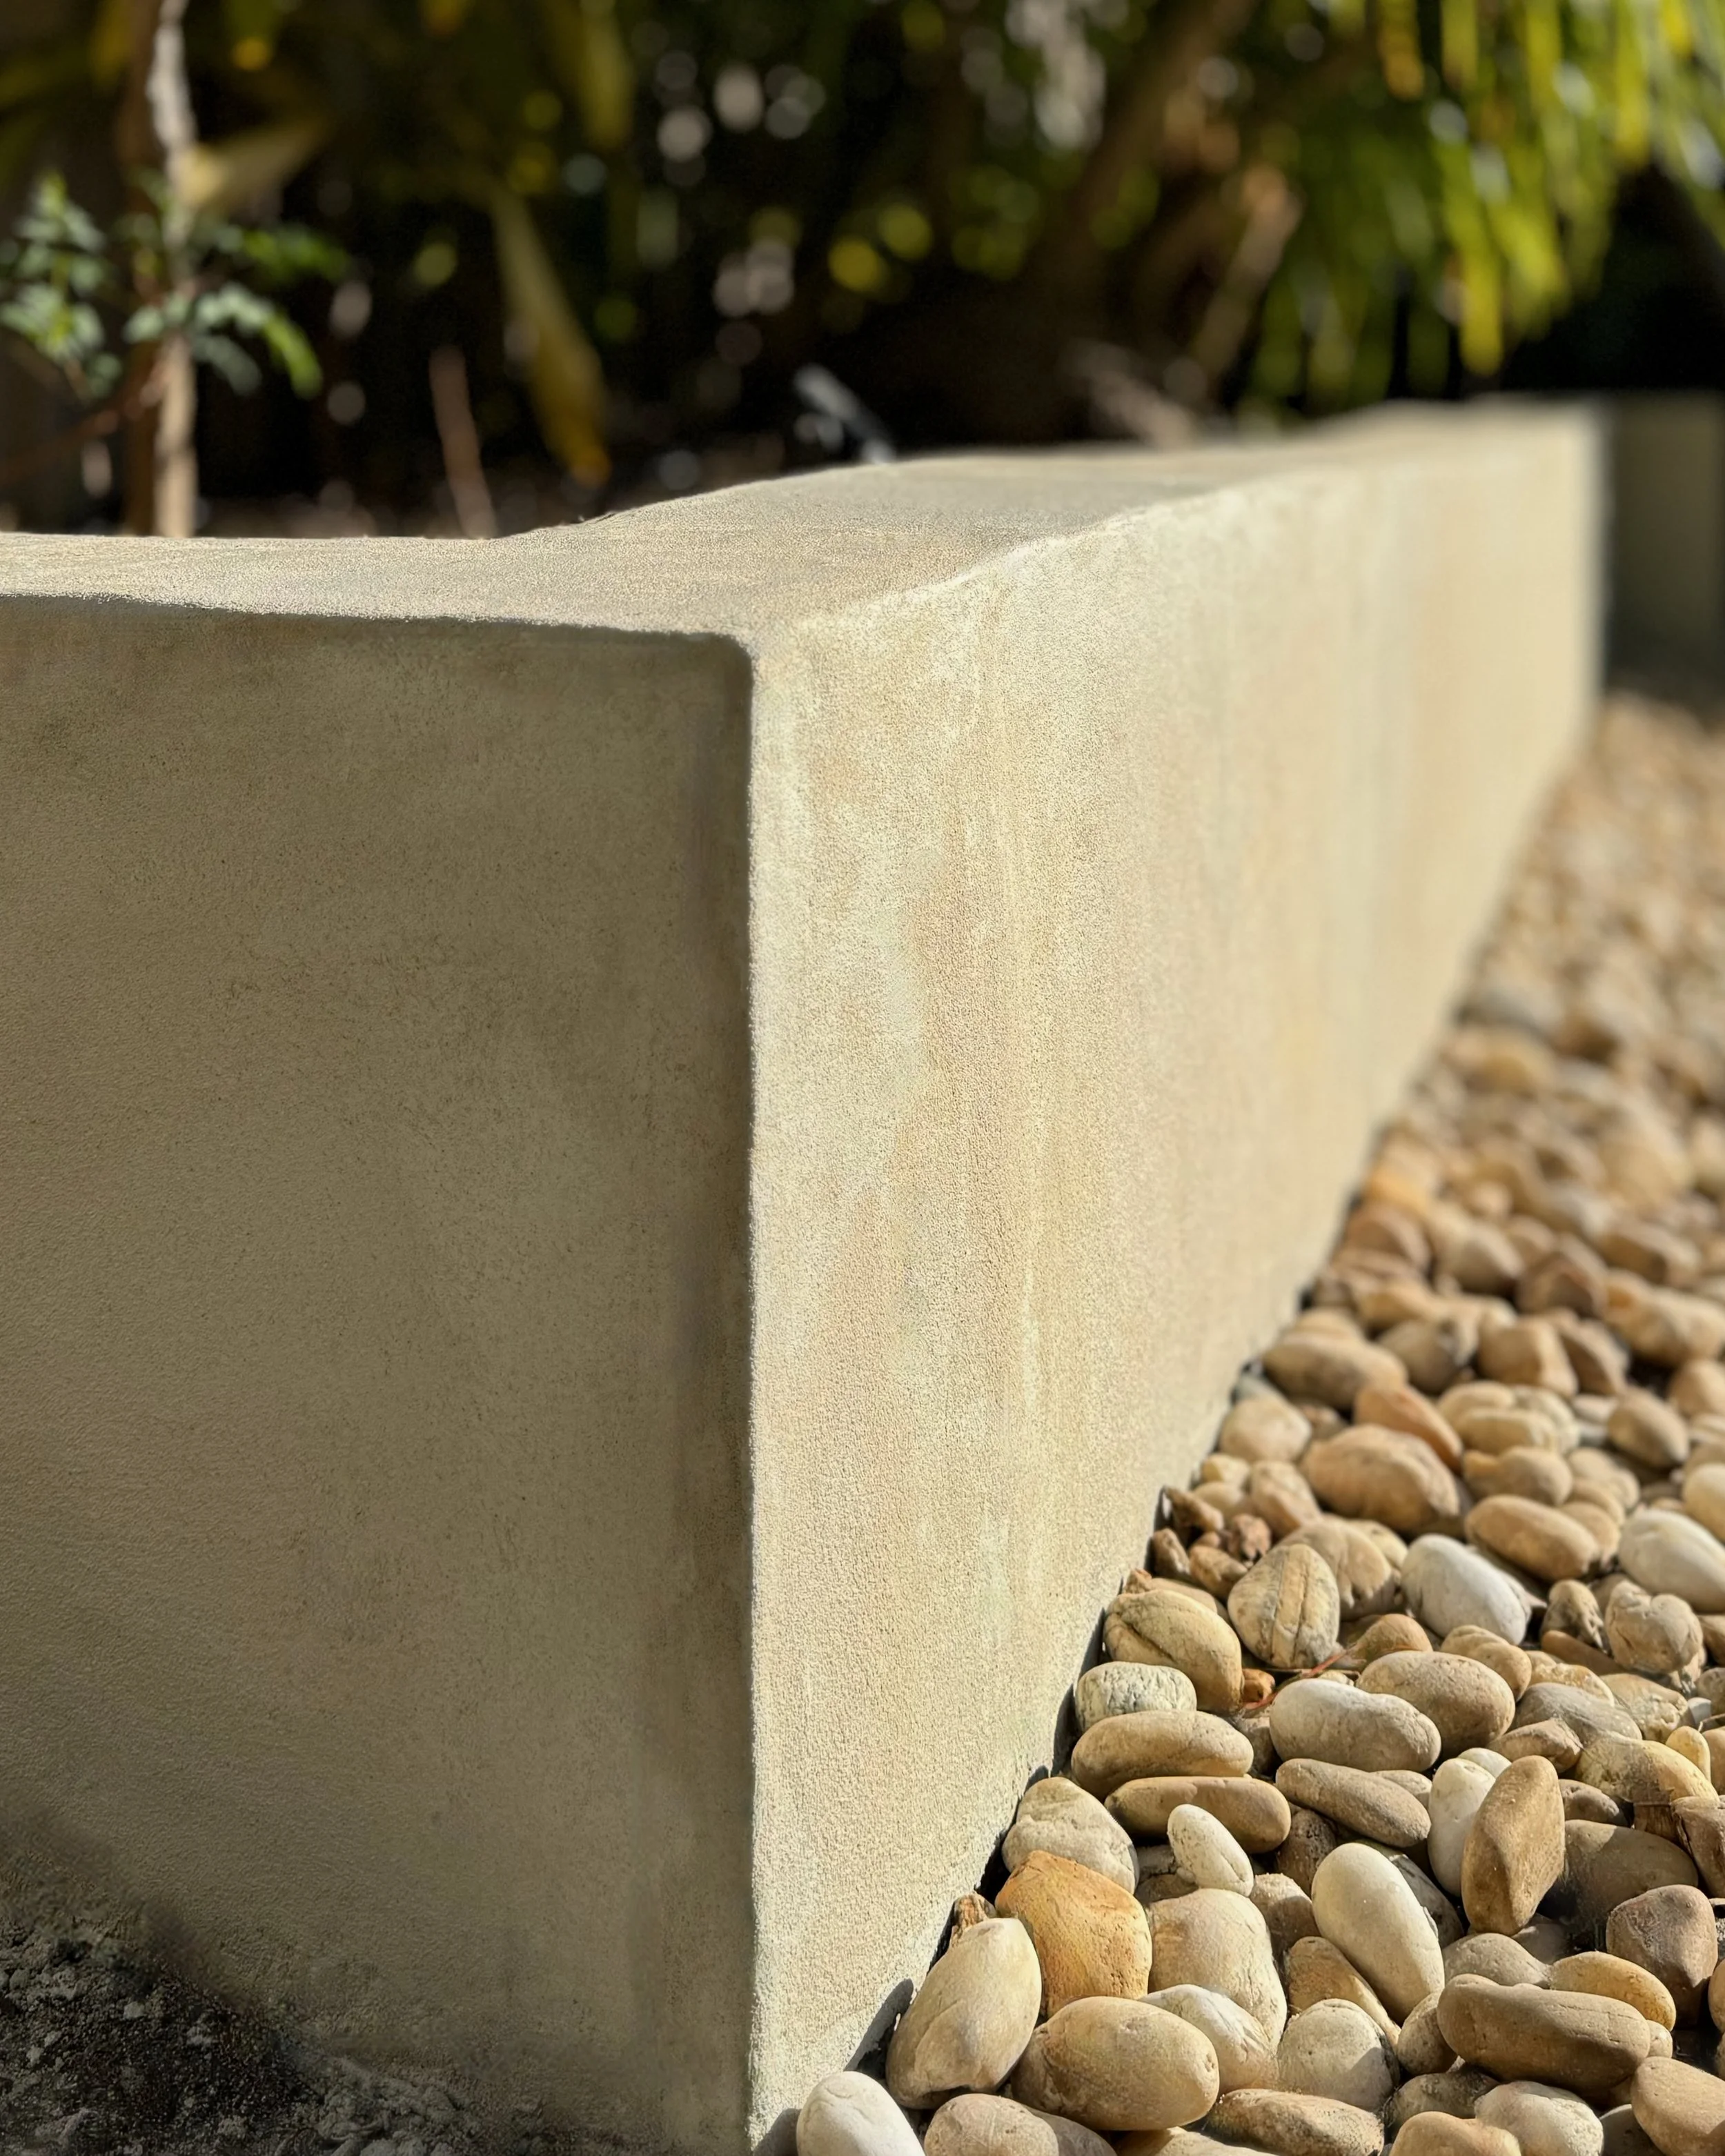
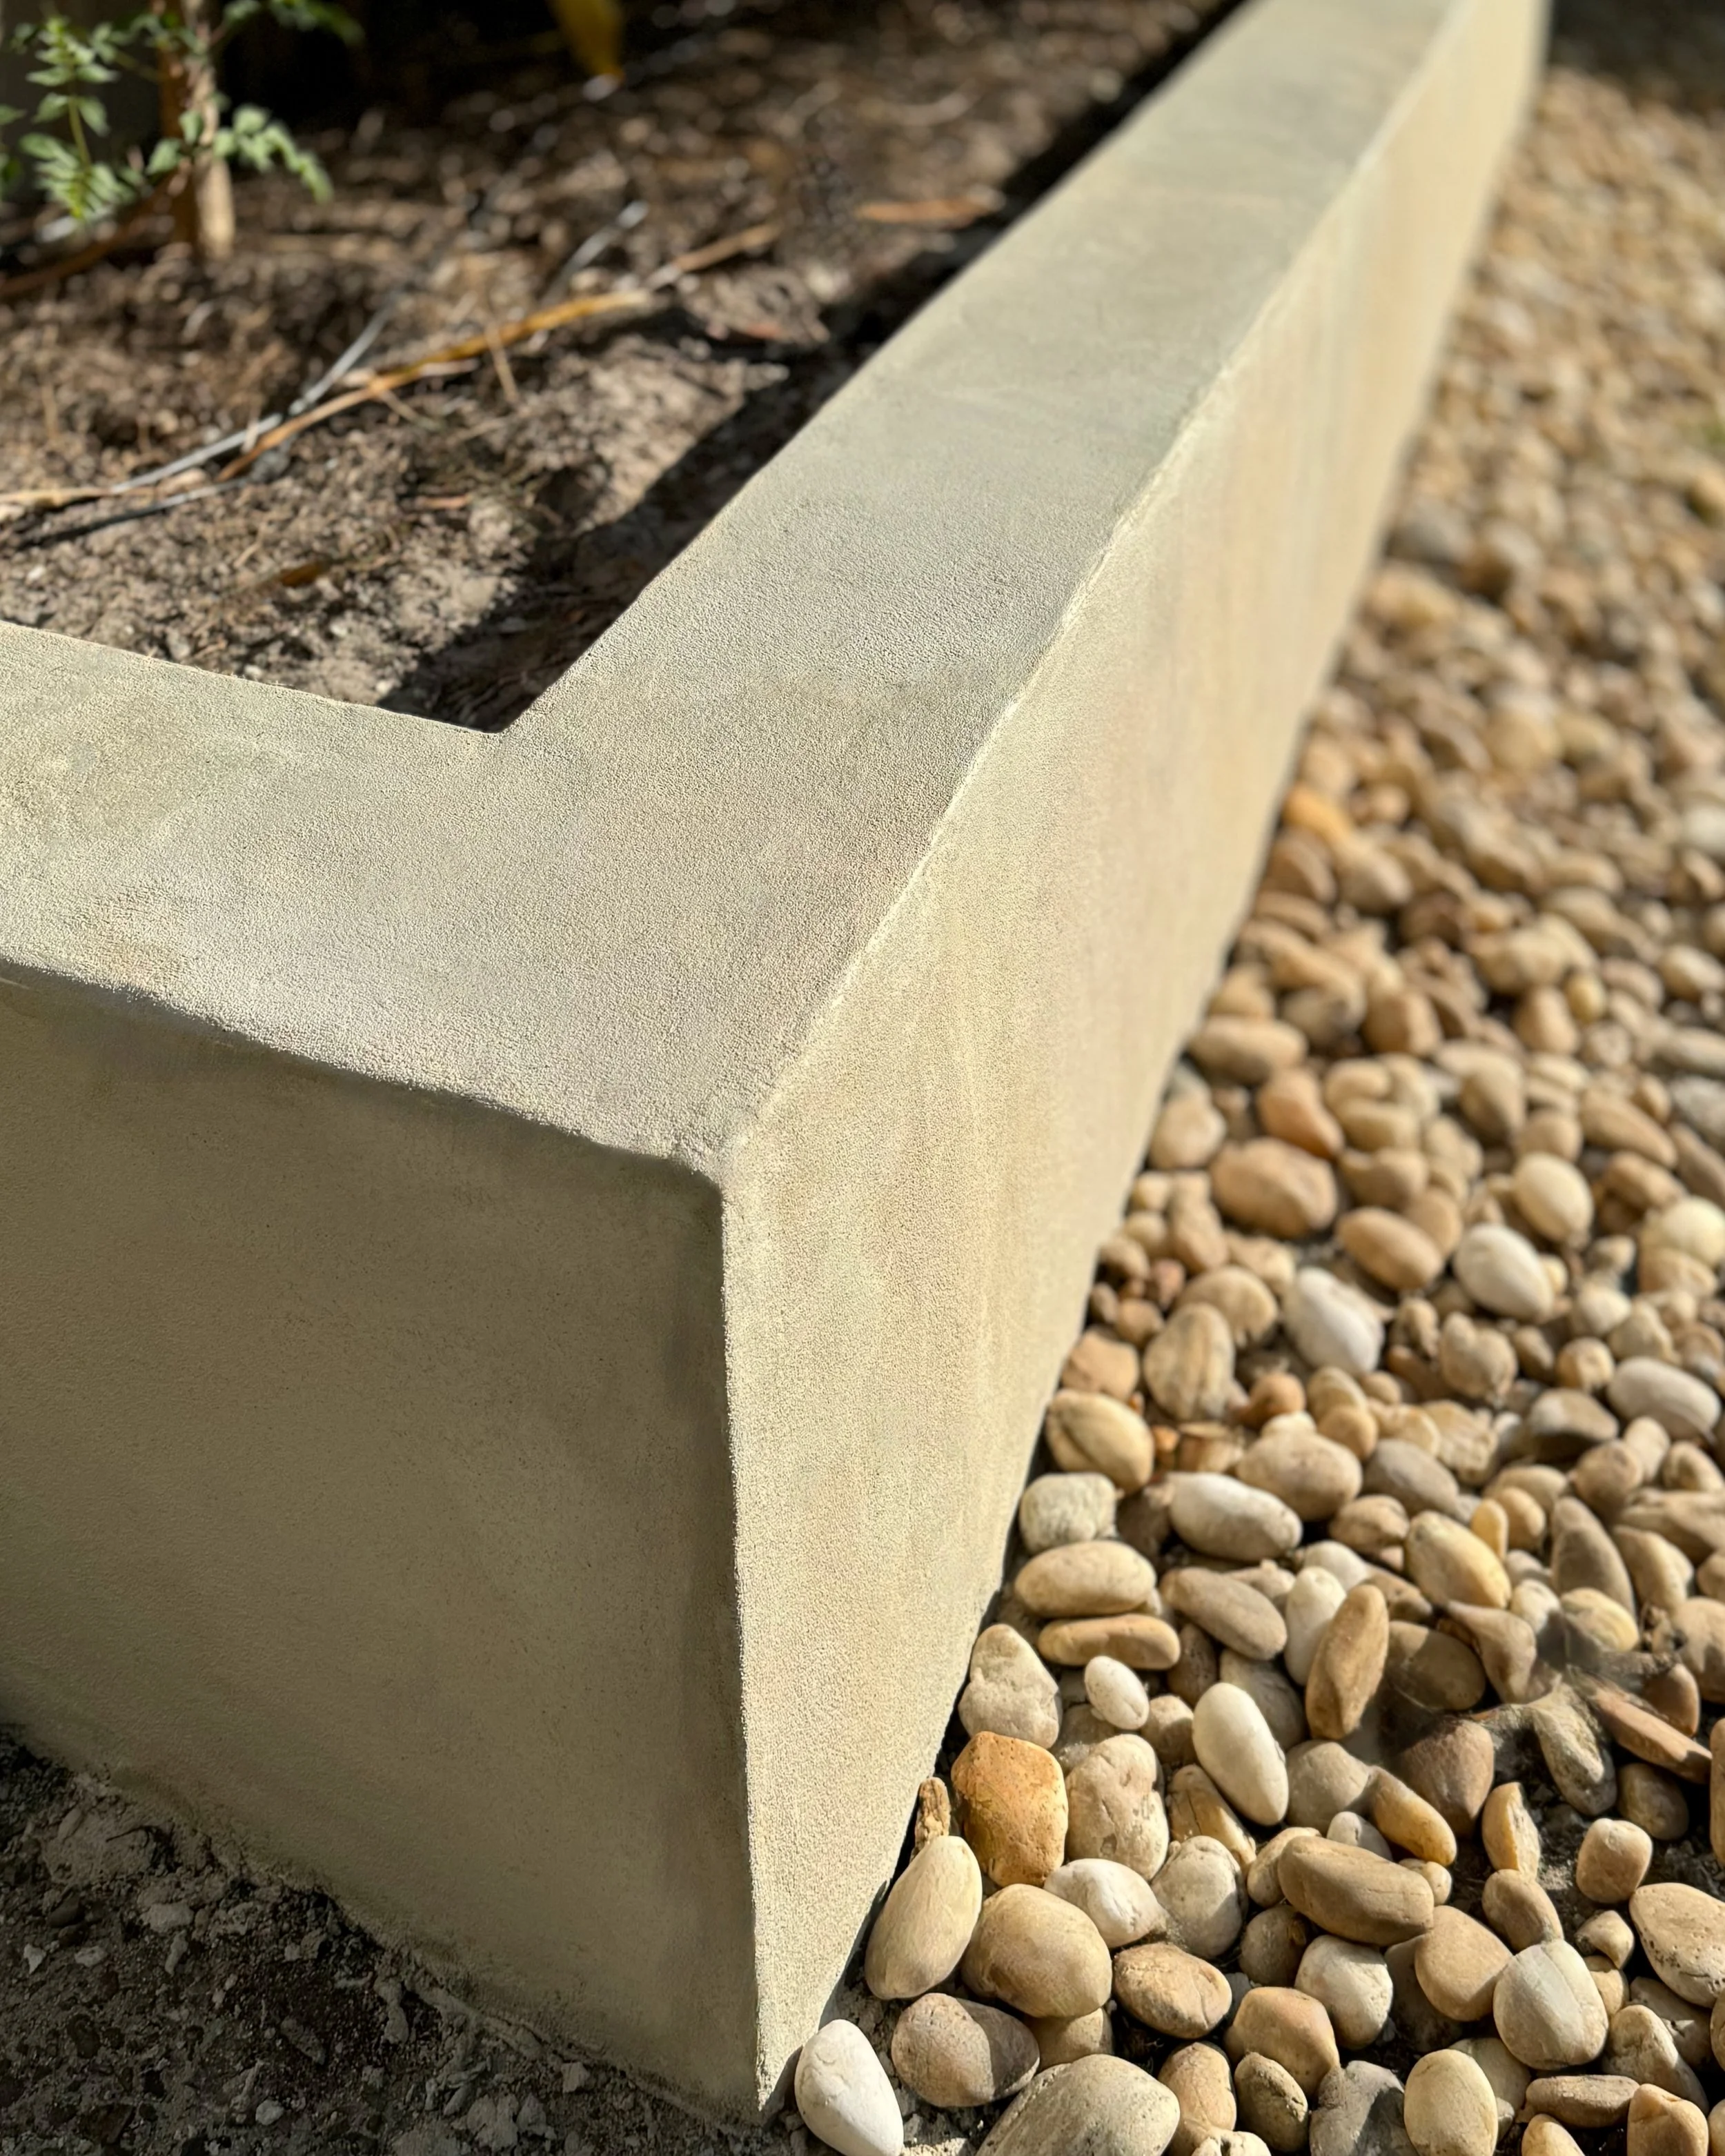
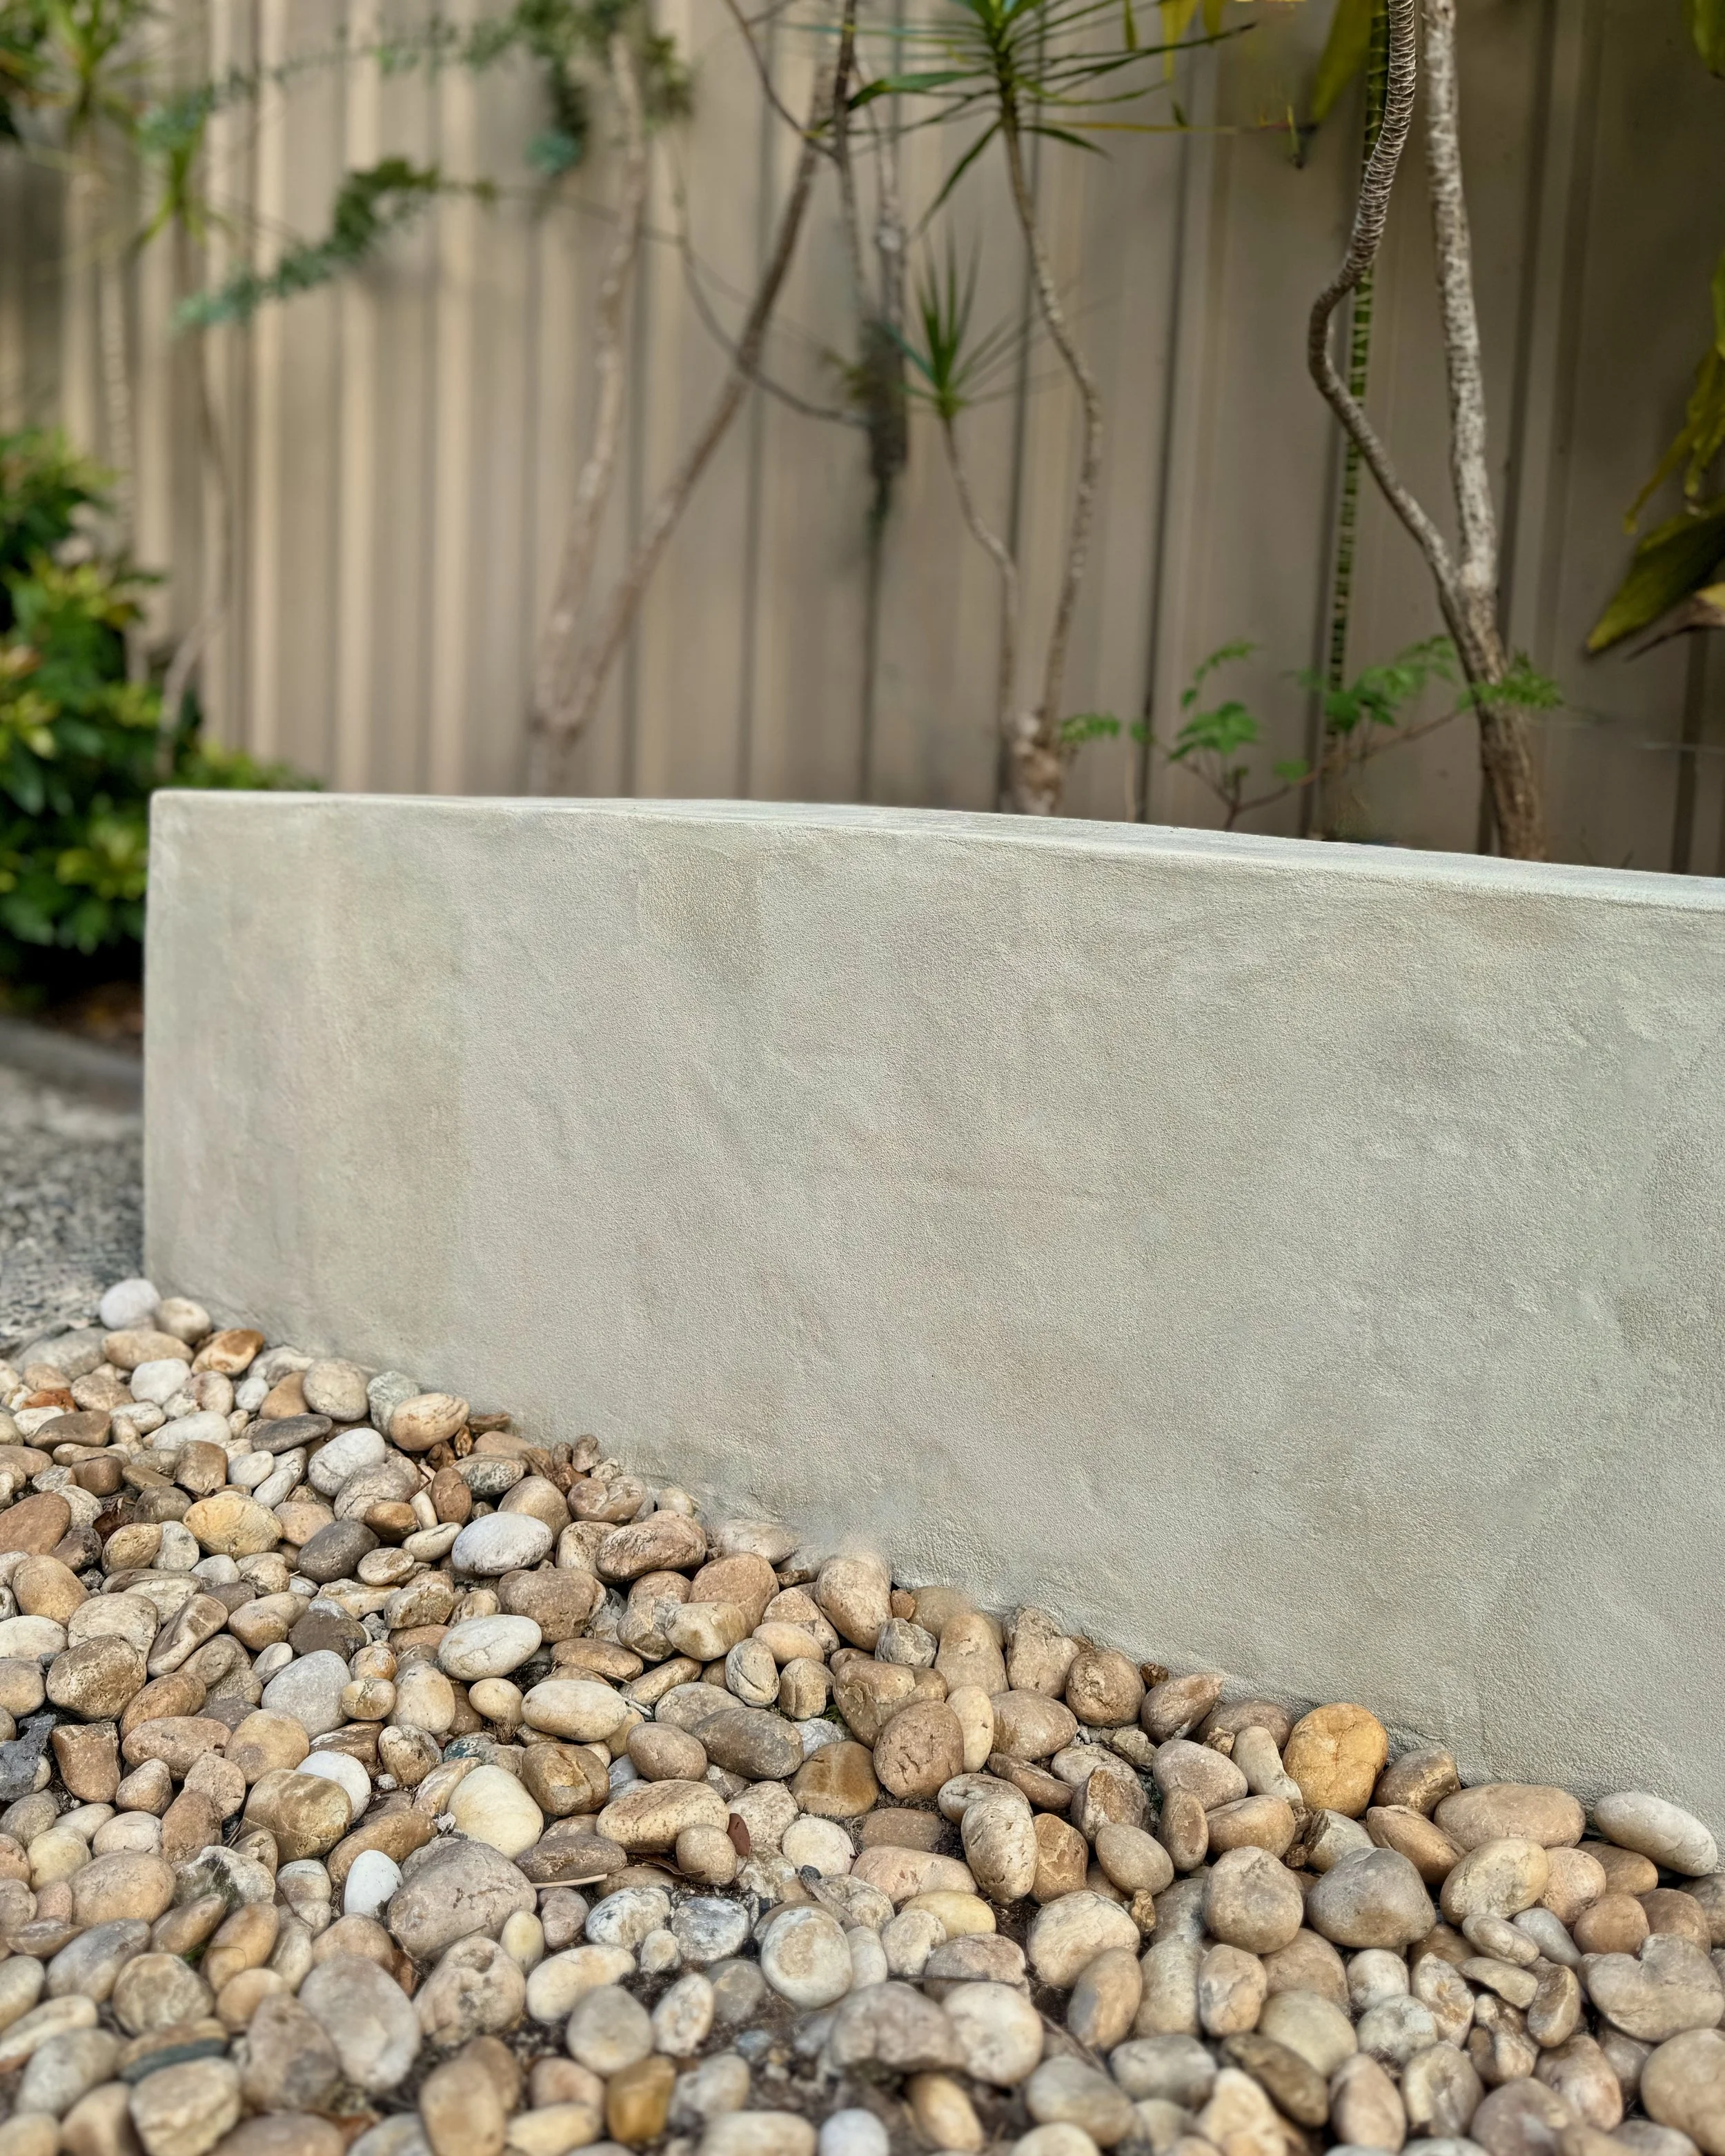
Rendering has a reputation of being tricky, but having the right products helps achieve a professional finish. This was only my second rendering project and it turned out great!
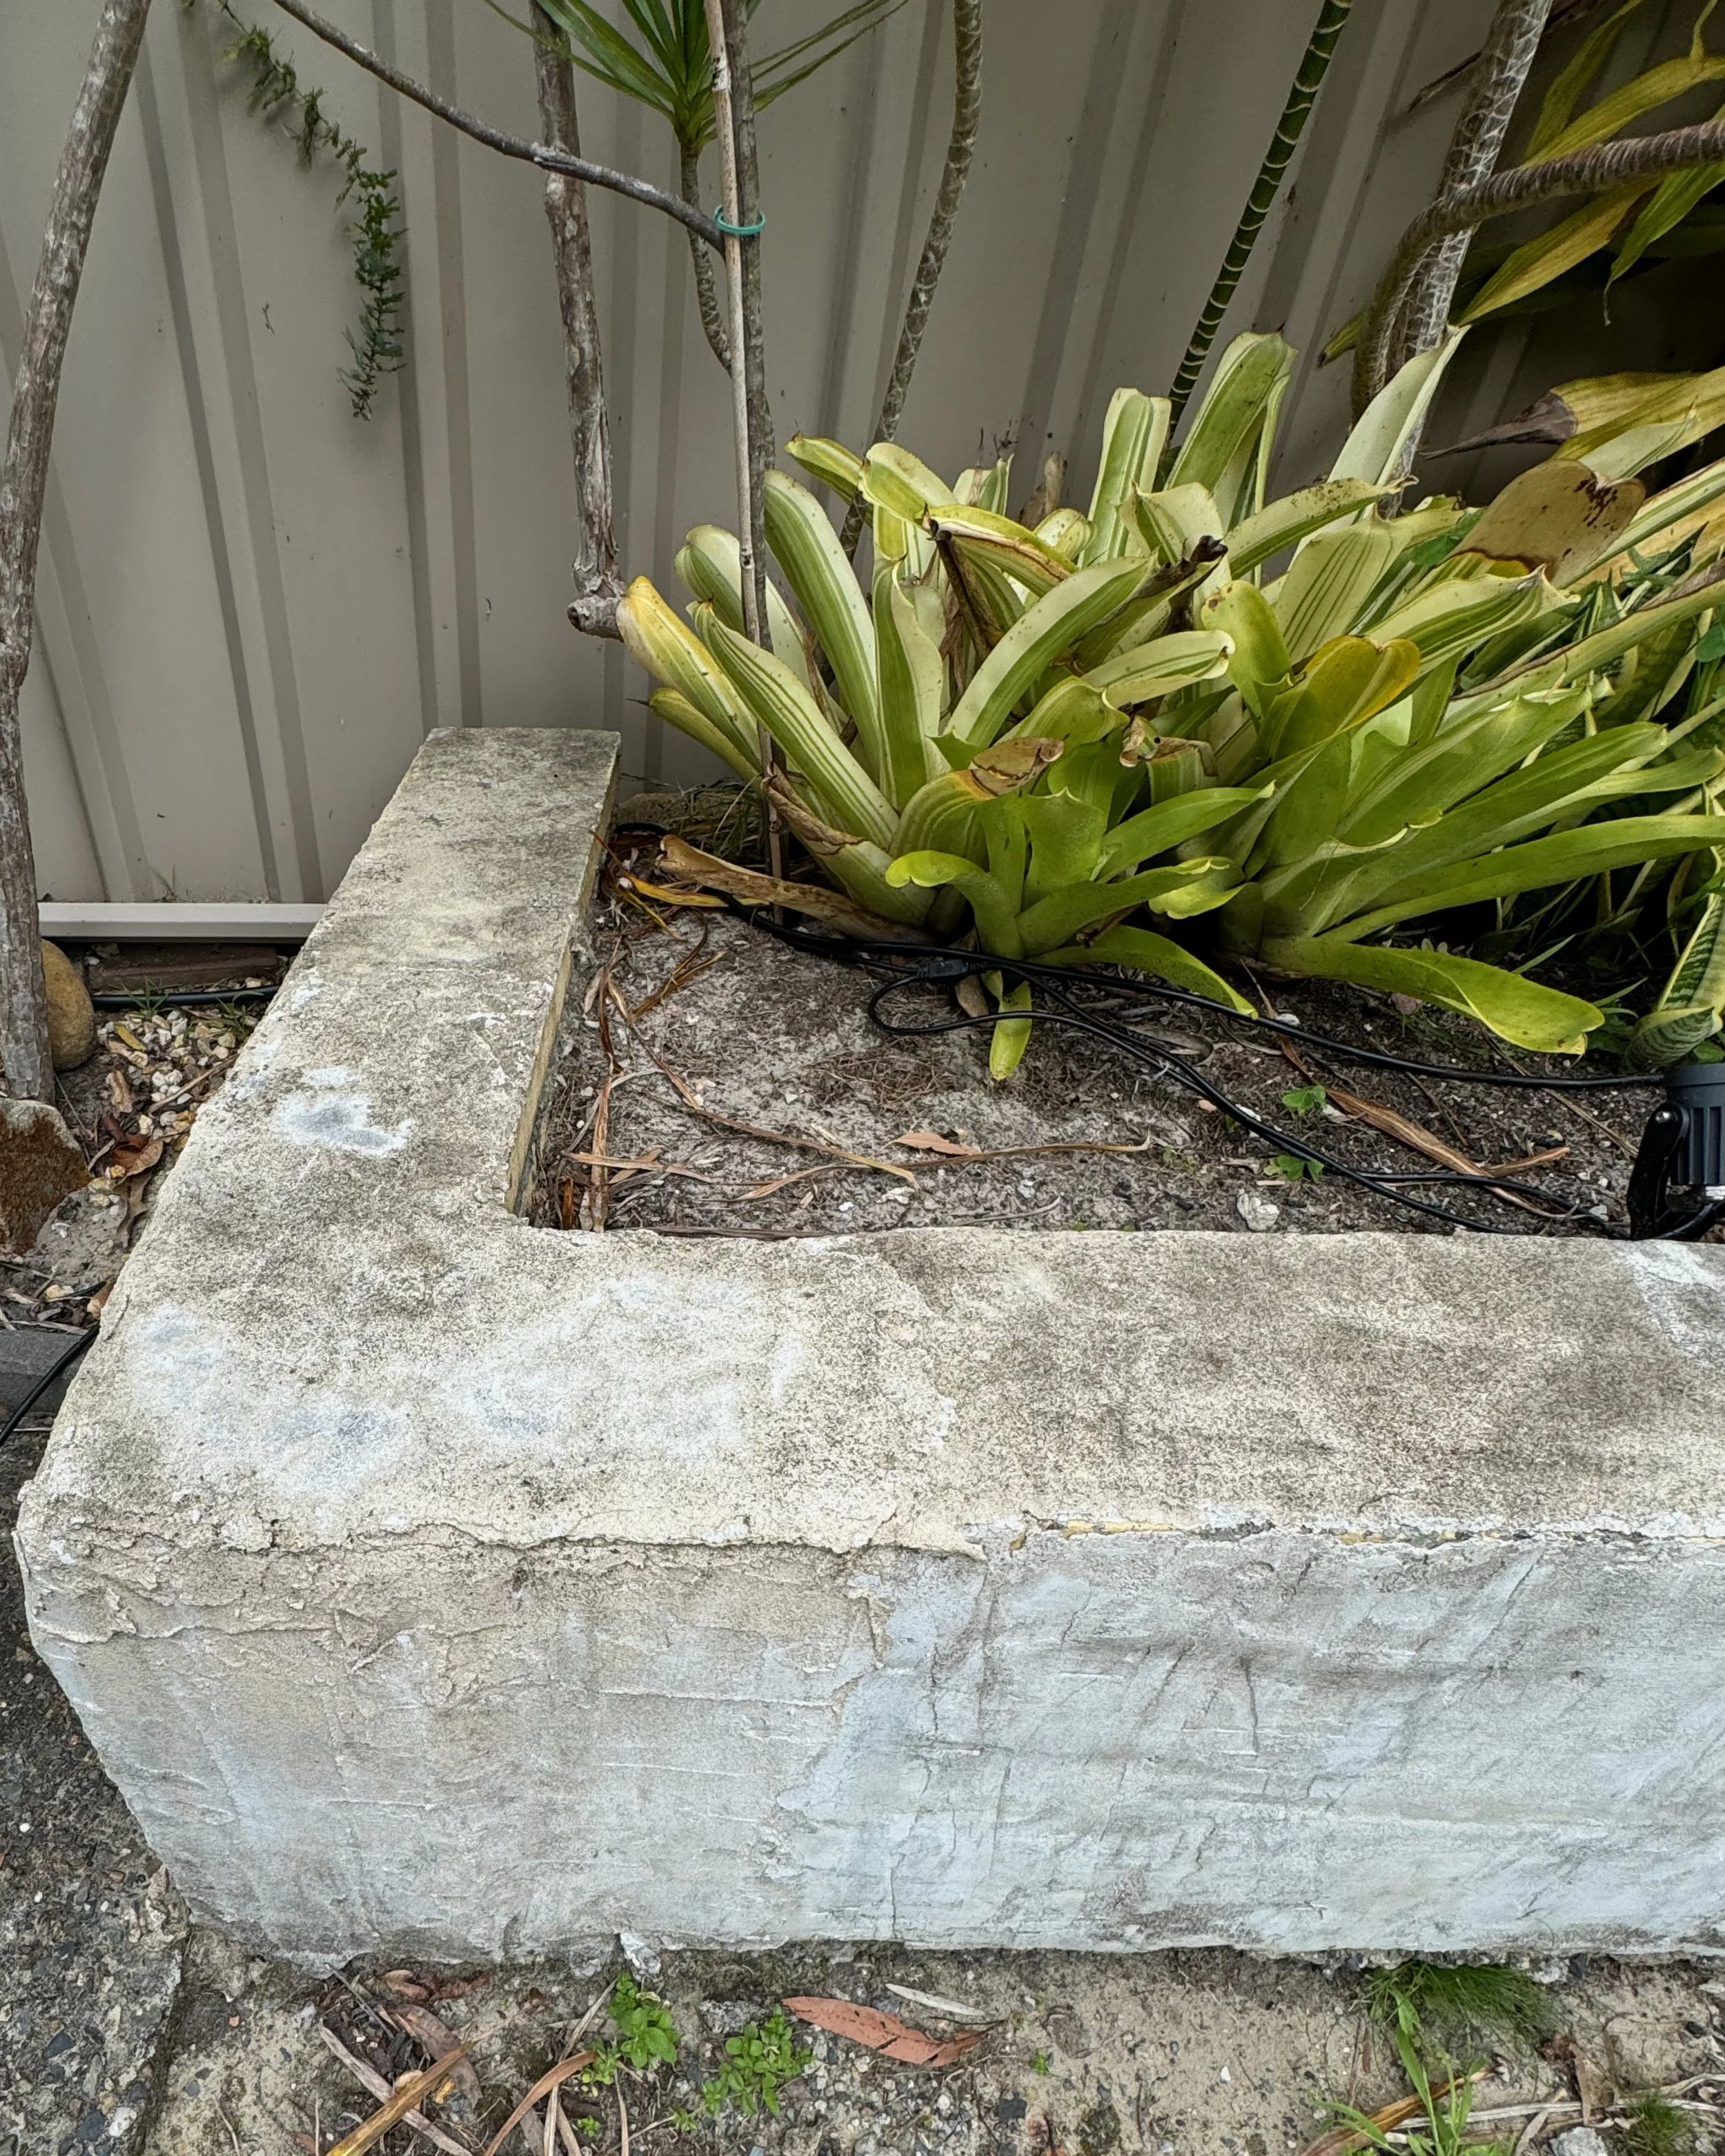
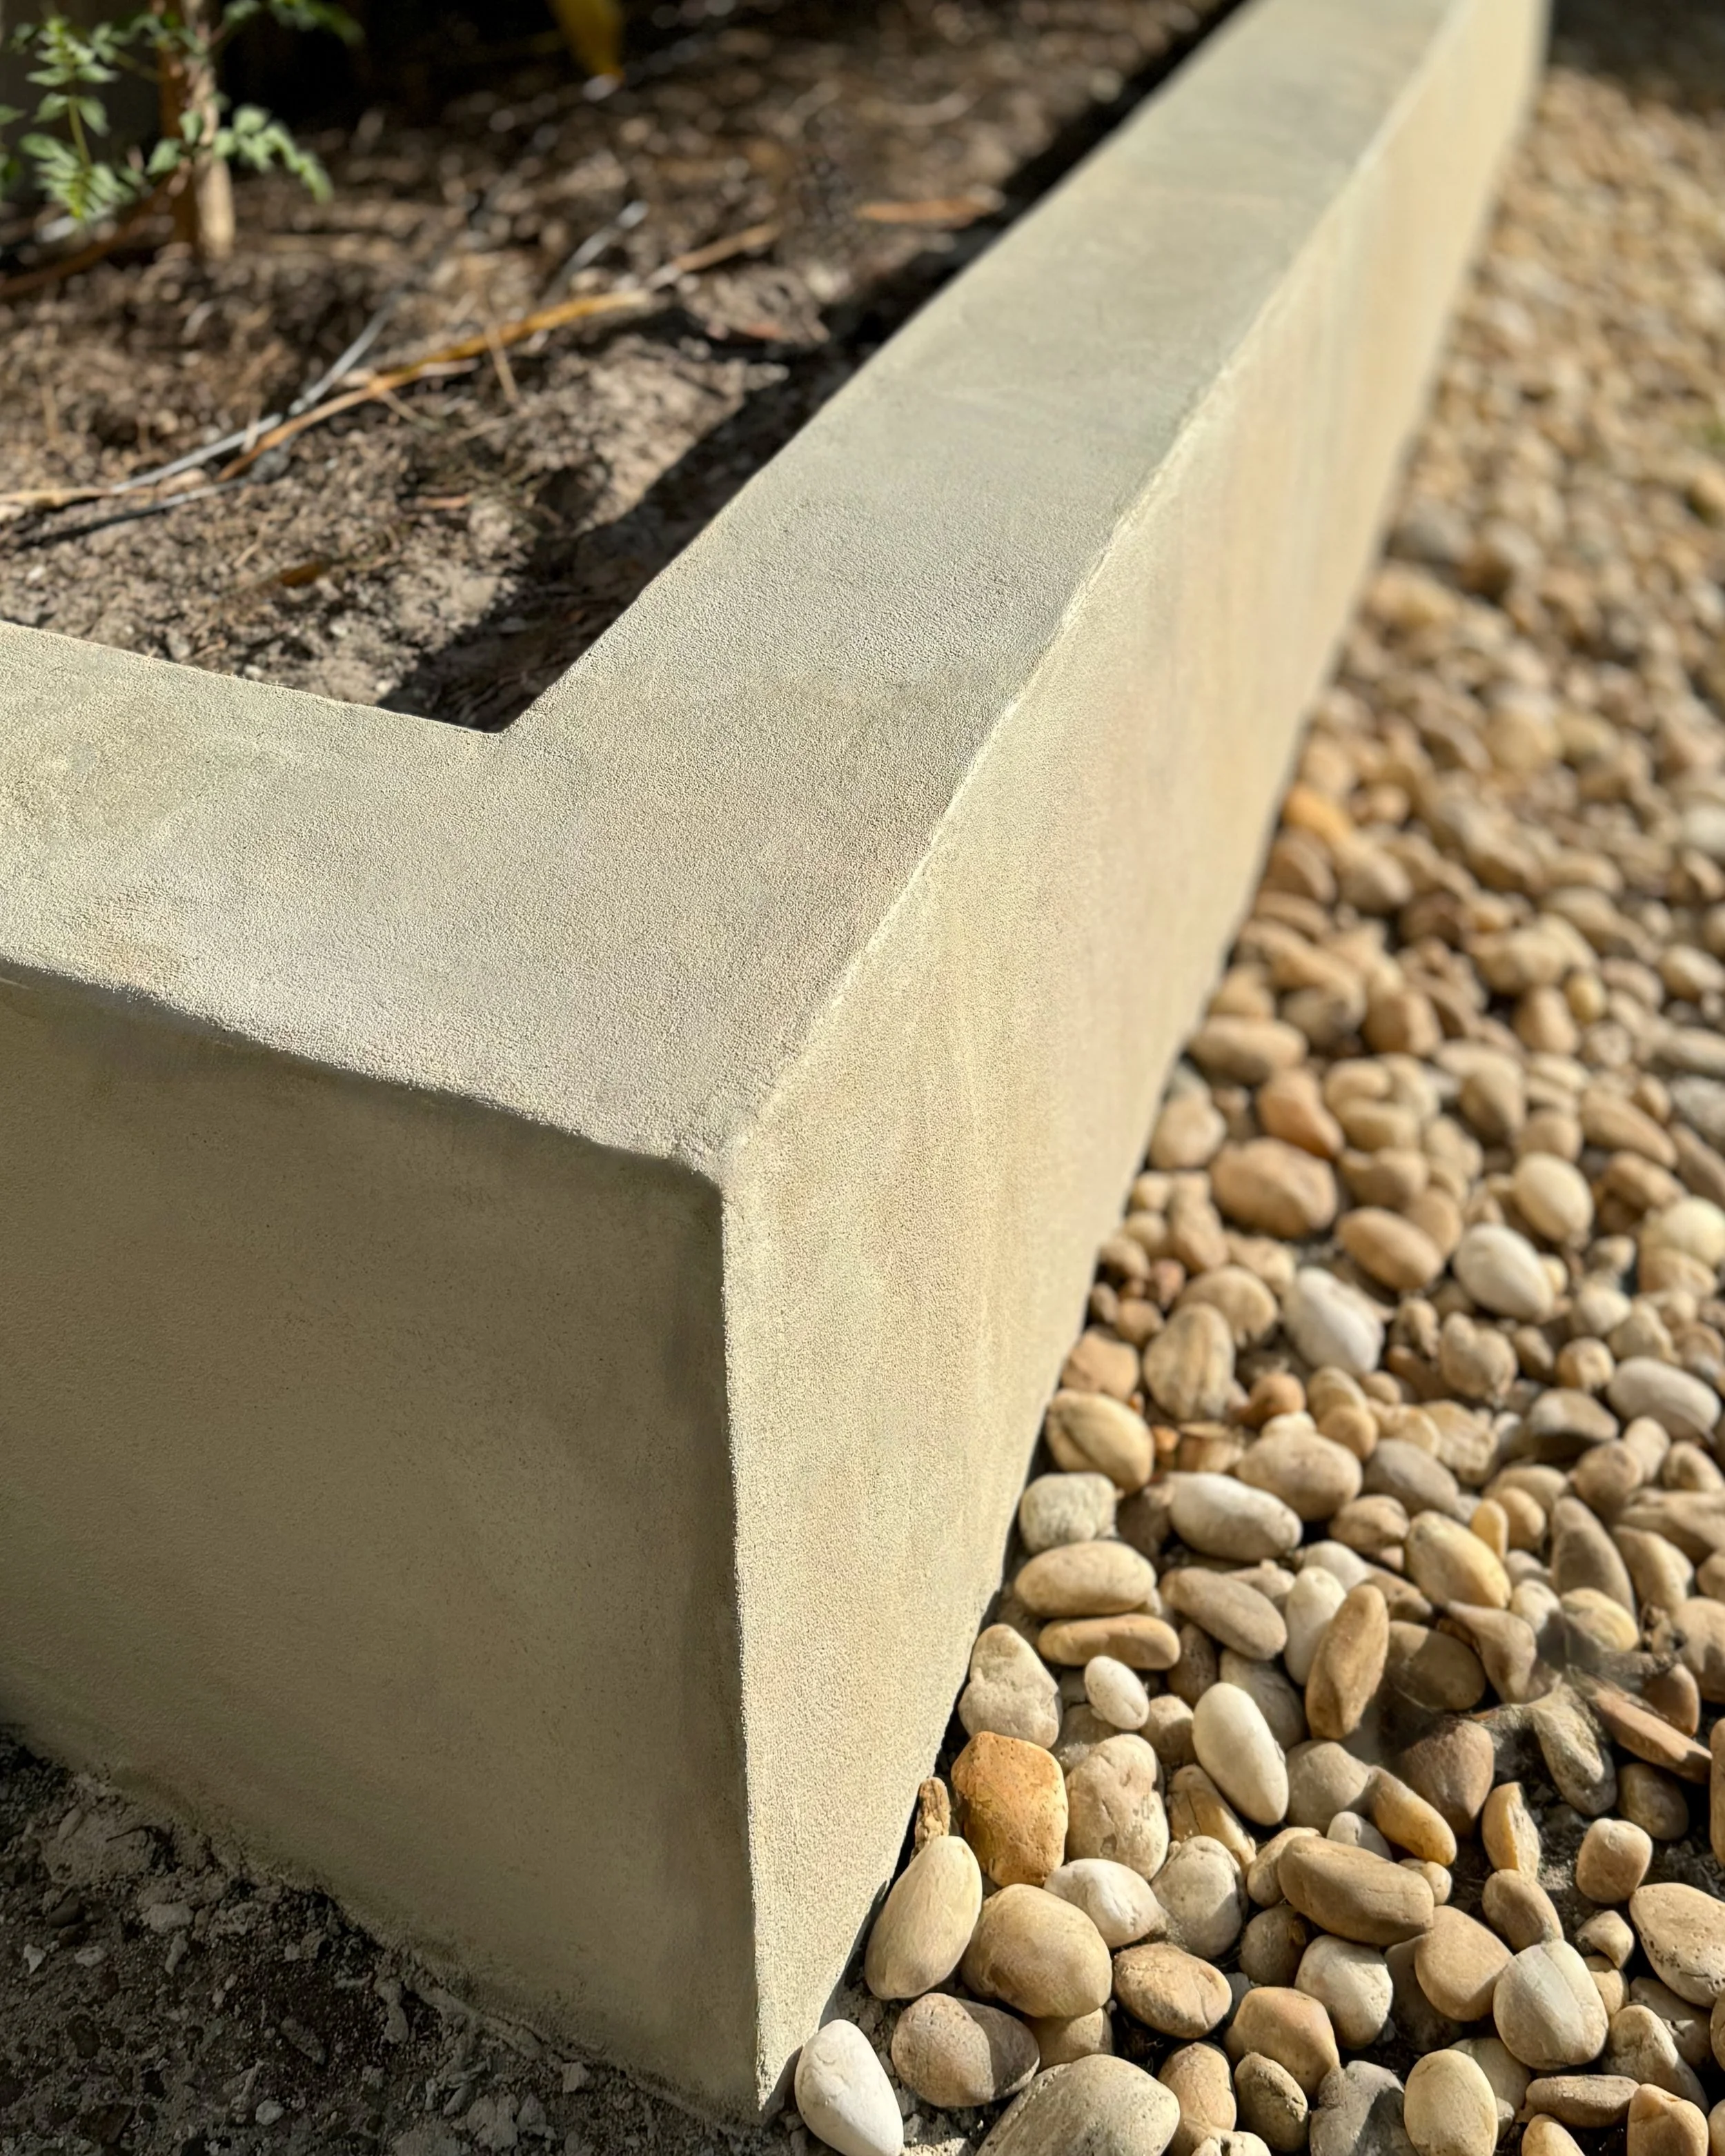
The transformation of this pre-coated Besser-block retaining wall happened in three stages – sealing, creating a bond coat then rendering.
“I was after a fast, efficient solution for resurfacing a garden wall and used one product as an additive to seal, adhere and render. The entire project materials cost about $150.”
• Pressure cleaner
• Buckets
• Measuring vessels
• Bondall Bondcrete Universal Bonding Agent 4L
• 75mm concrete and paving brush
• Fine coat render 20kg bag
• Drill with mixer
• Steel trowel
• Large scraper
• Spray bottle
• Plastic float
• Large foam sponge
• Bondall Paving & Concrete Sealer in Matt
• Mini concrete roller with tray
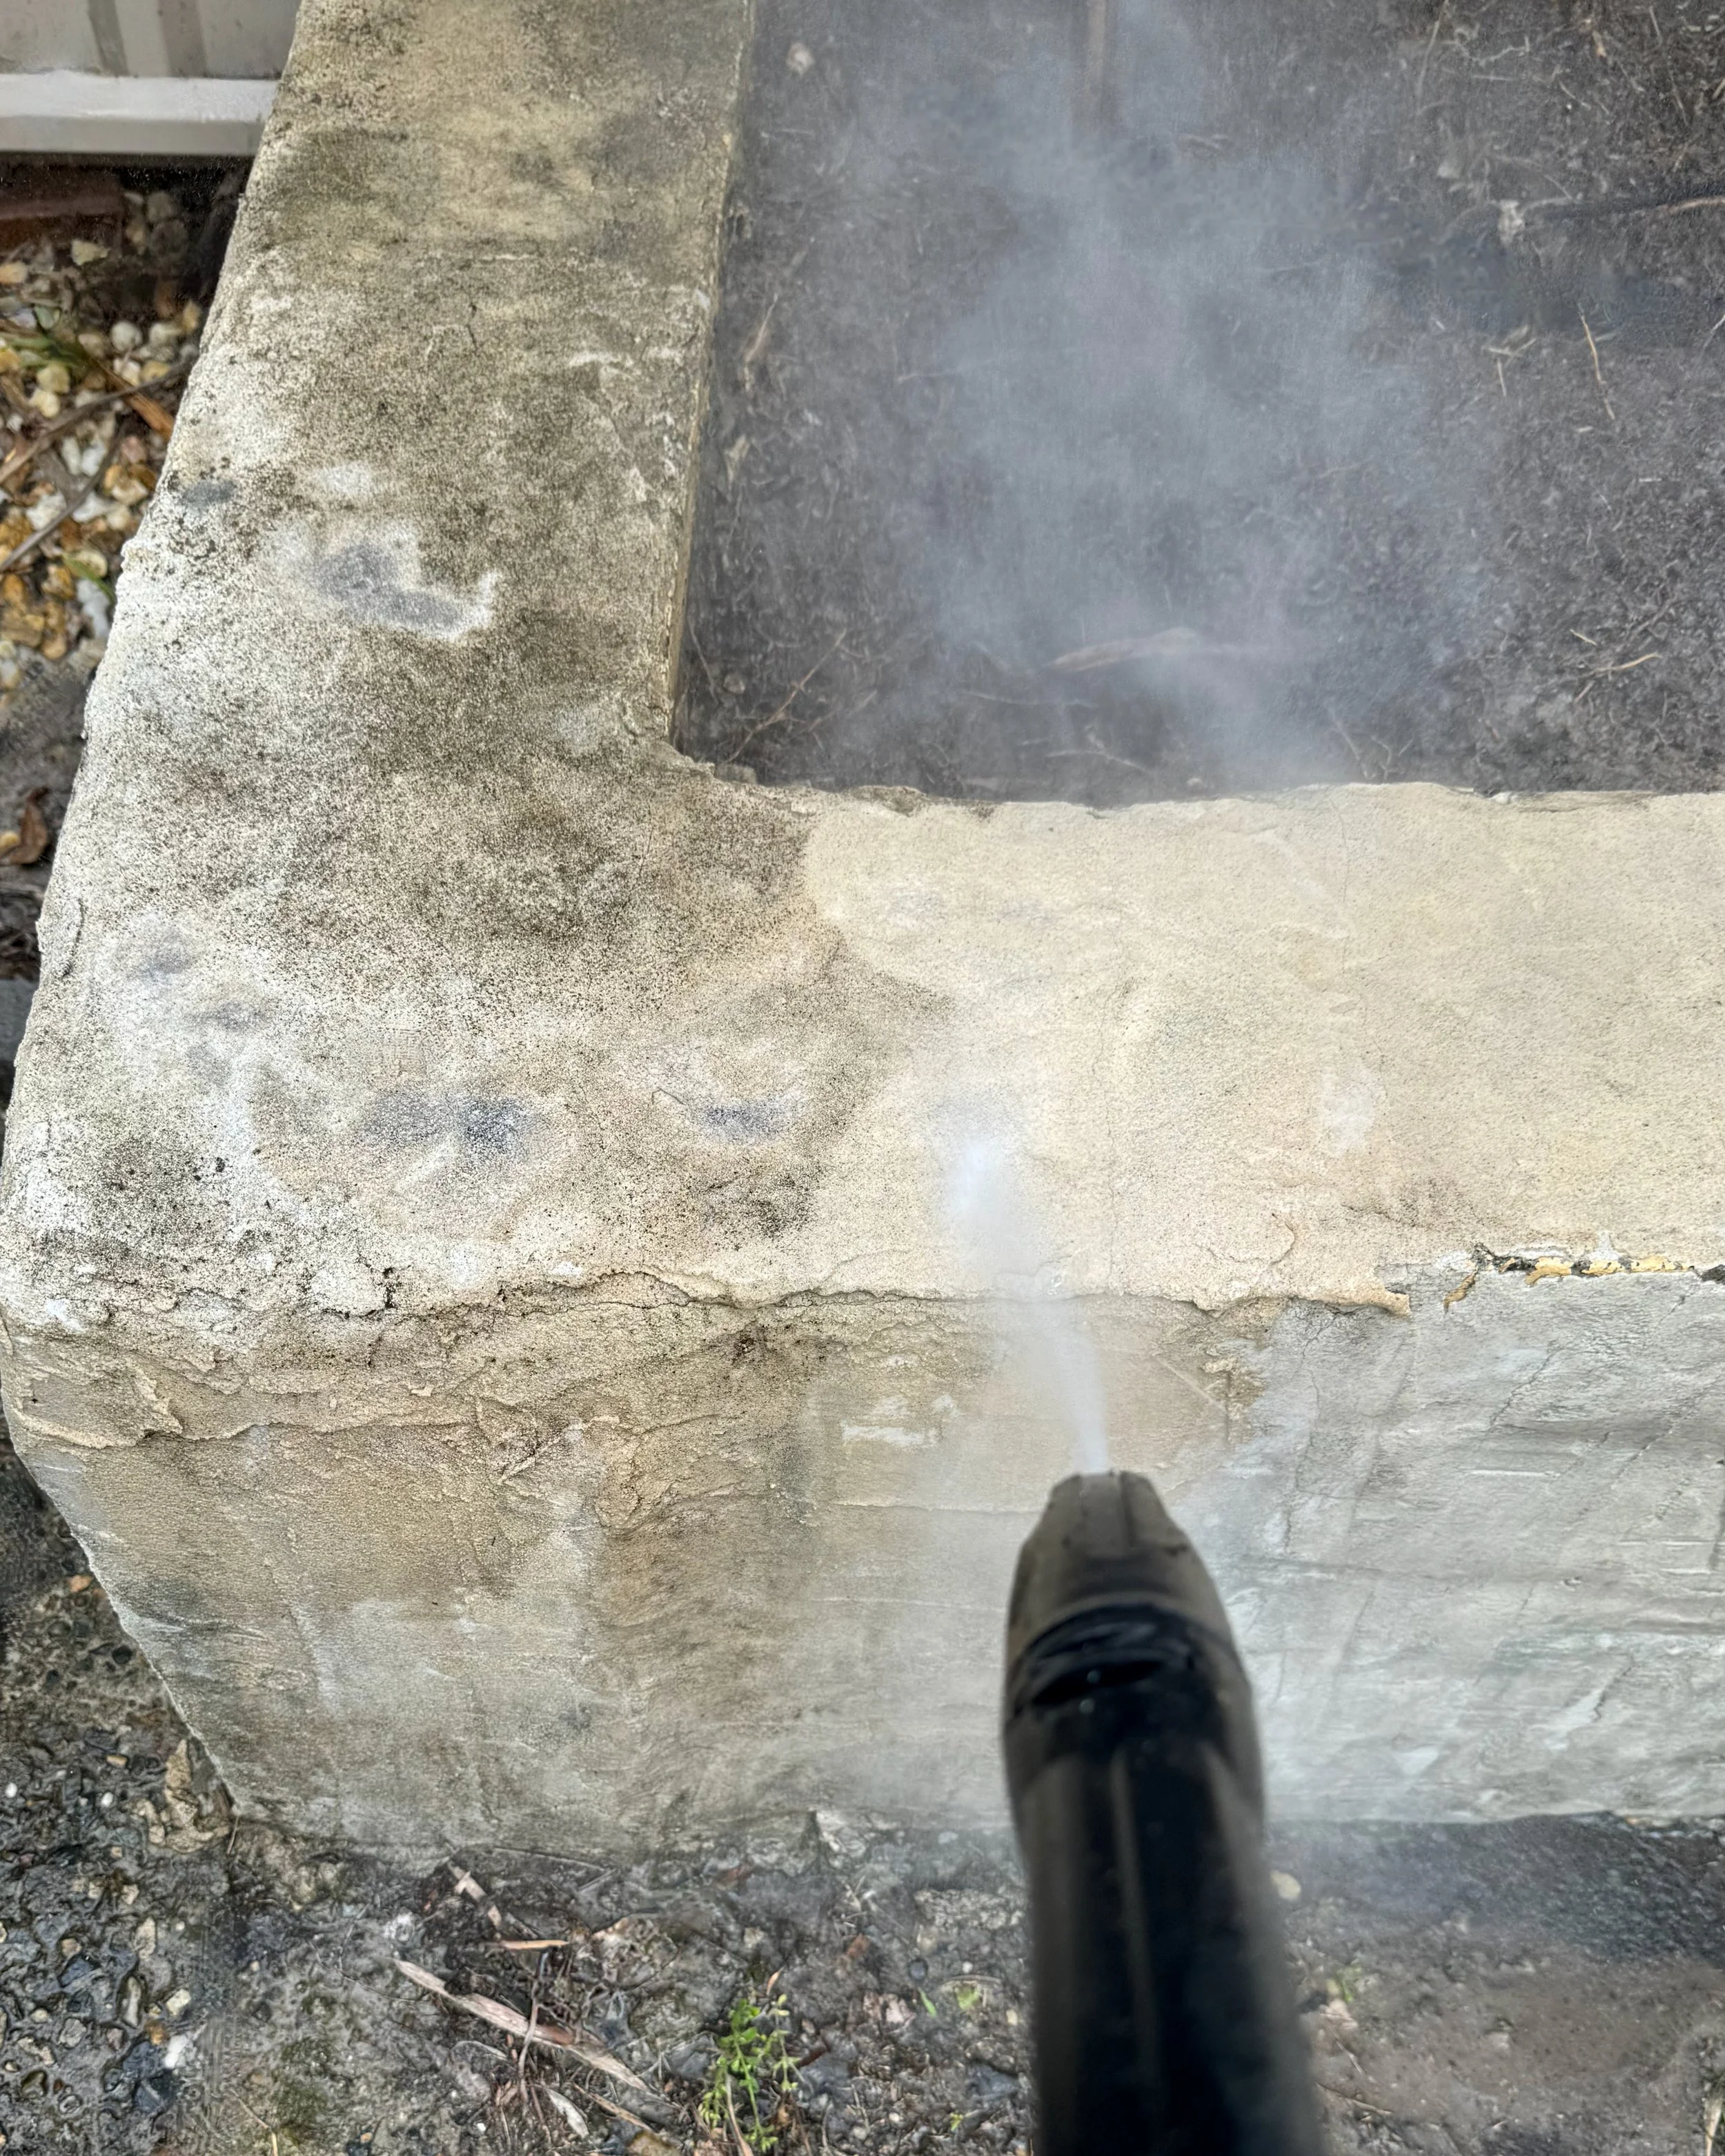
I cleaned the wall with a pressure washer to remove mould, mildew, dirt and loose debris, then left it to dry out.
STAGE 1 SEAL COAT
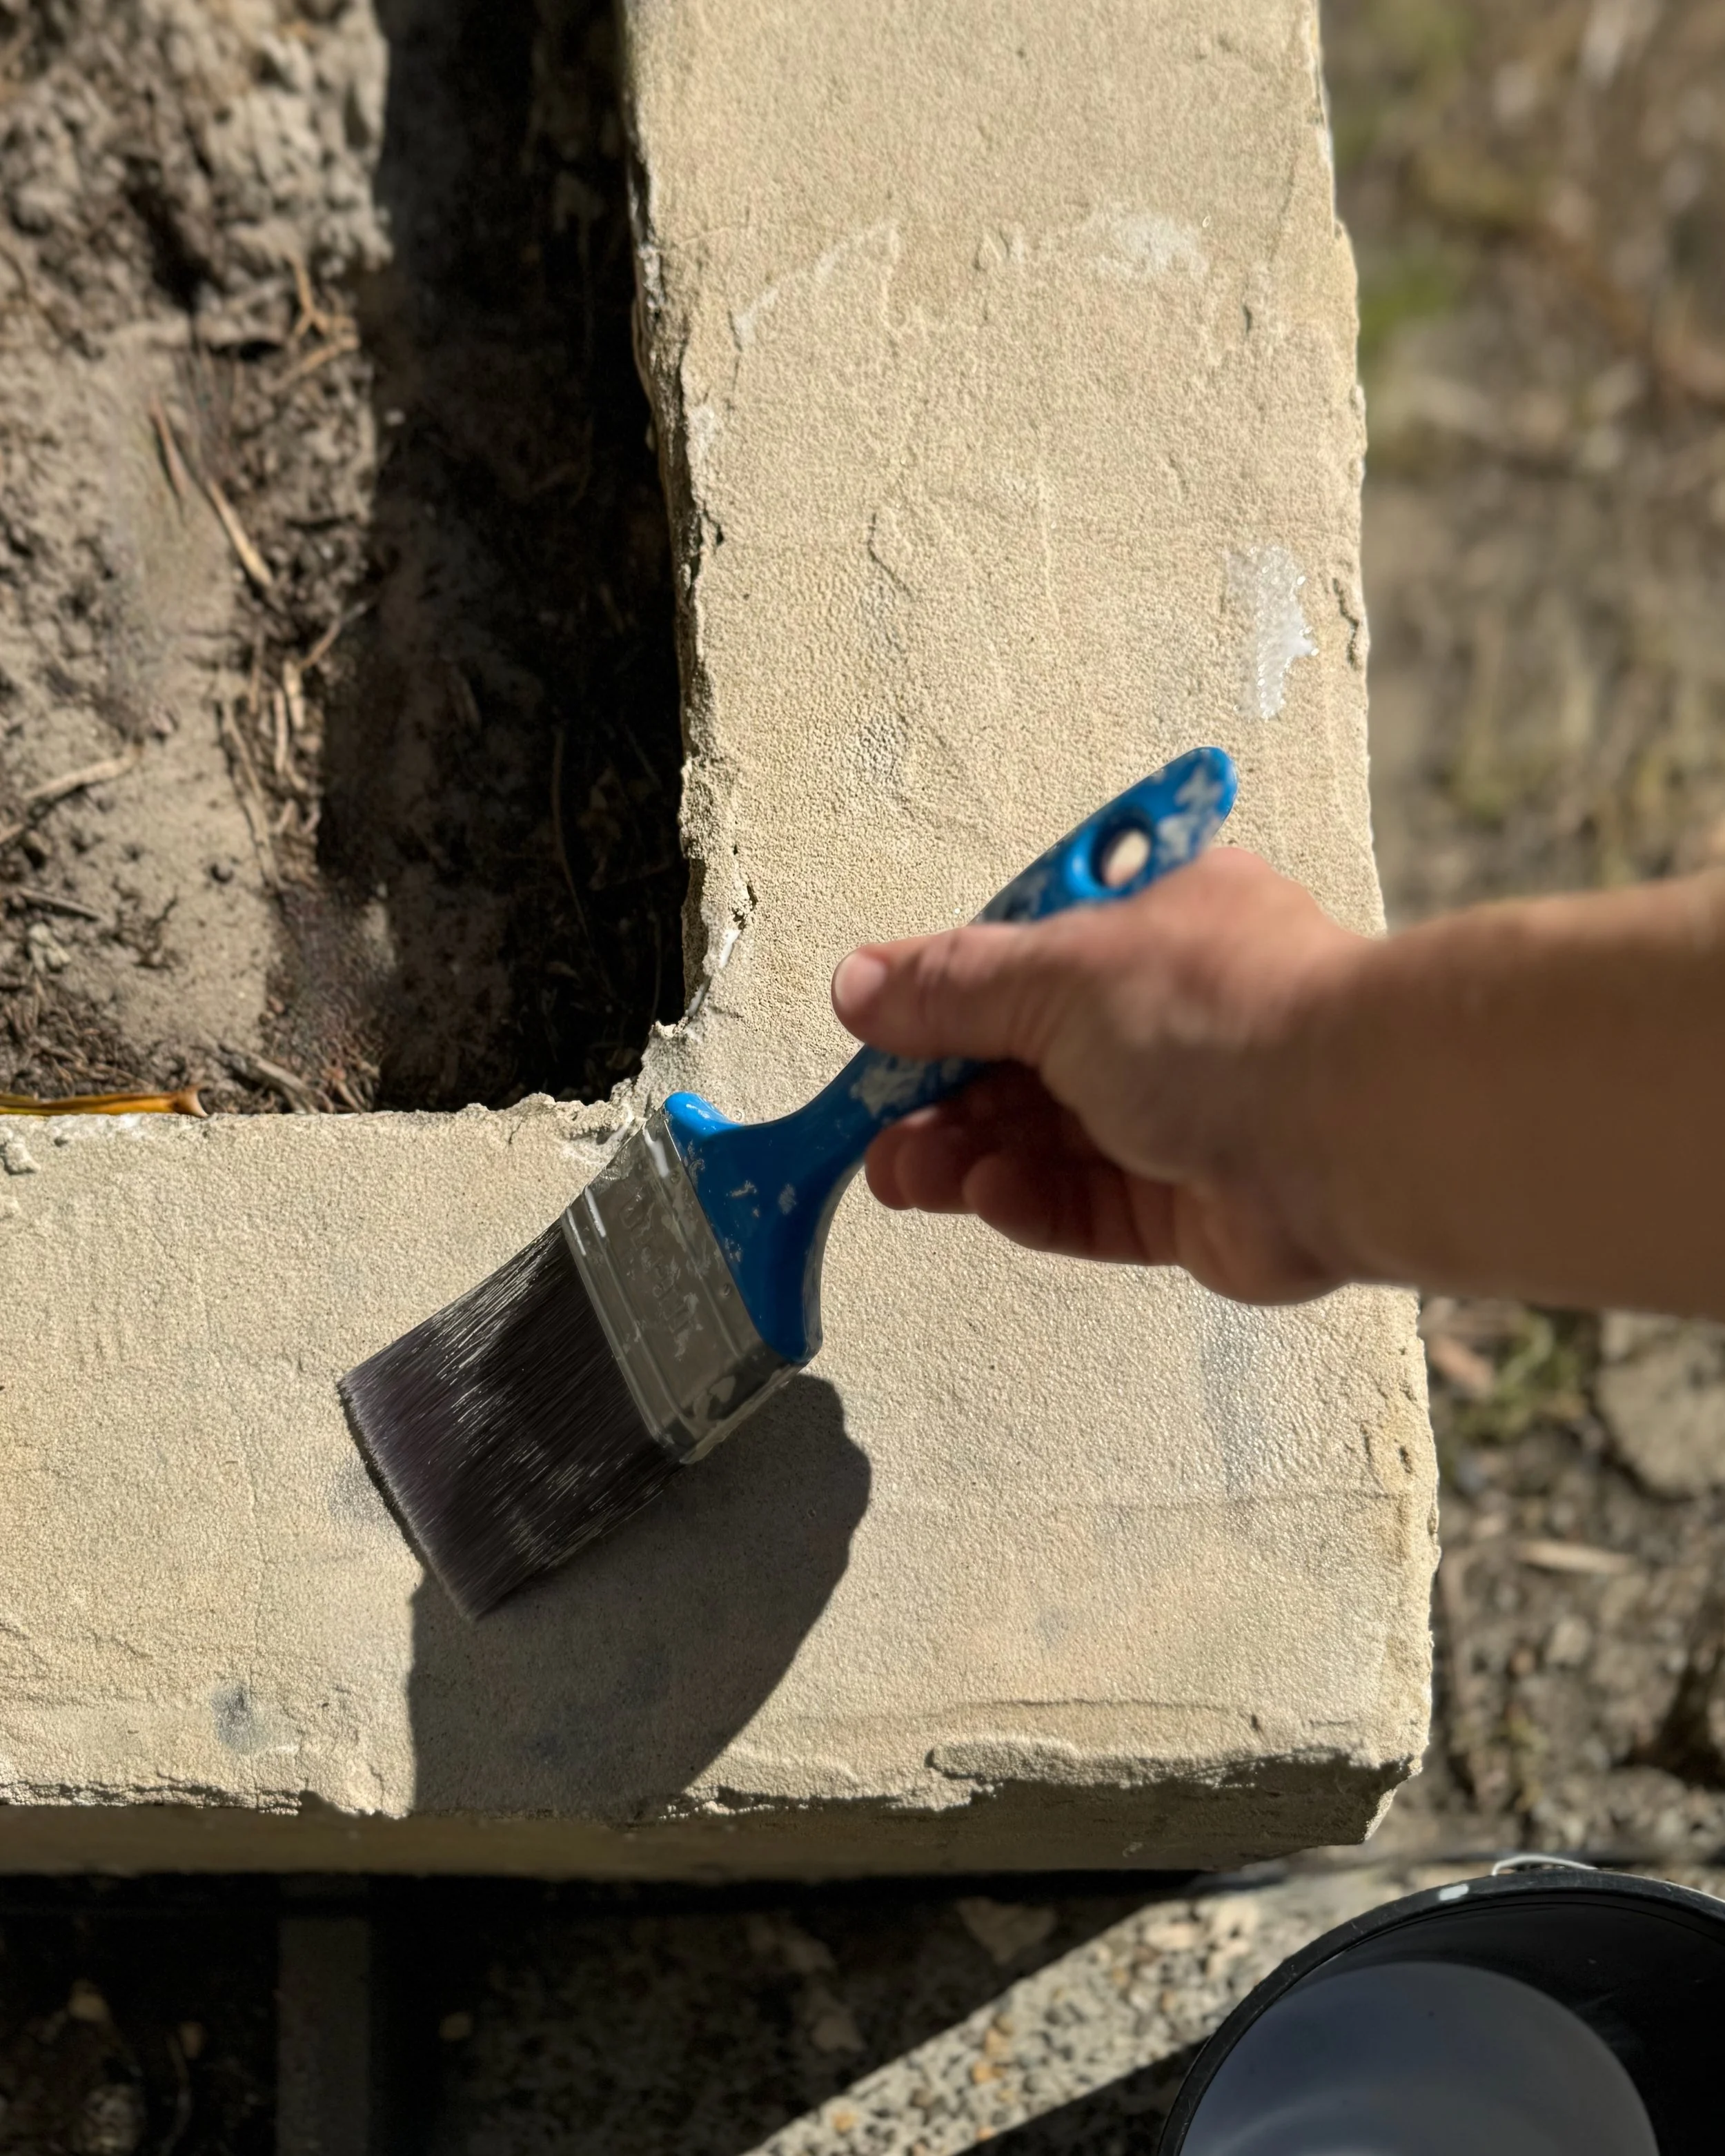
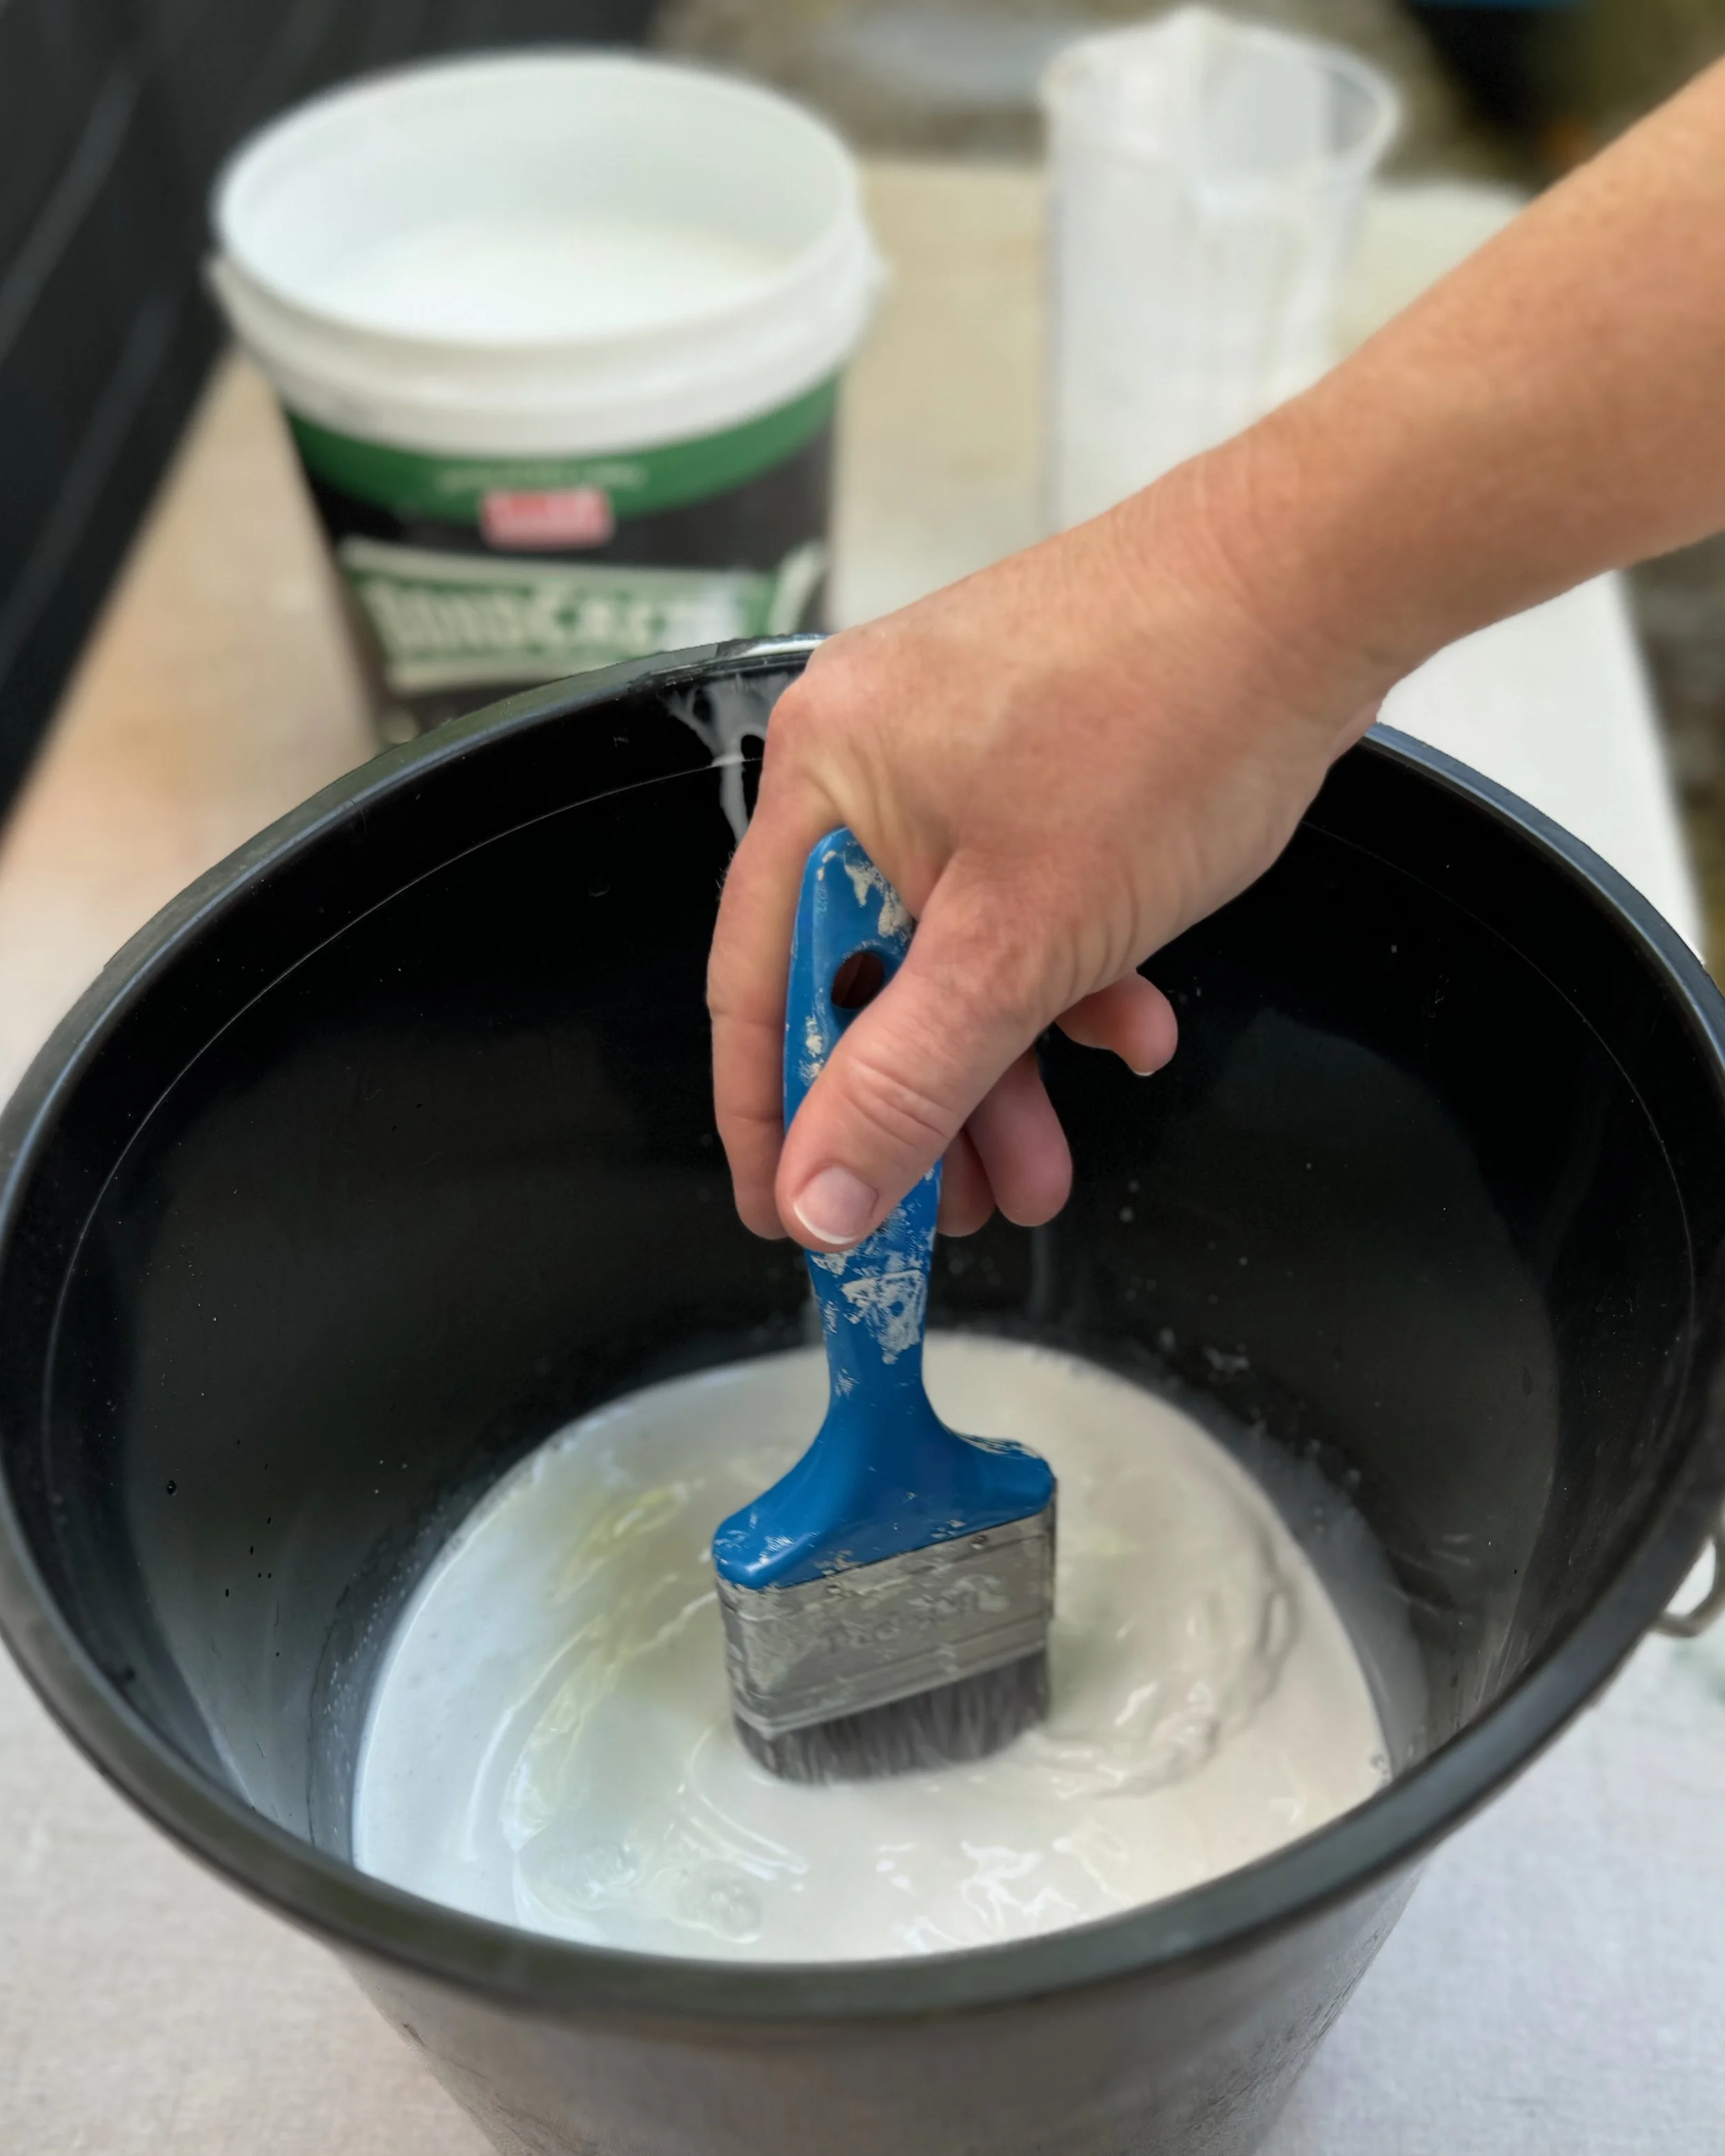
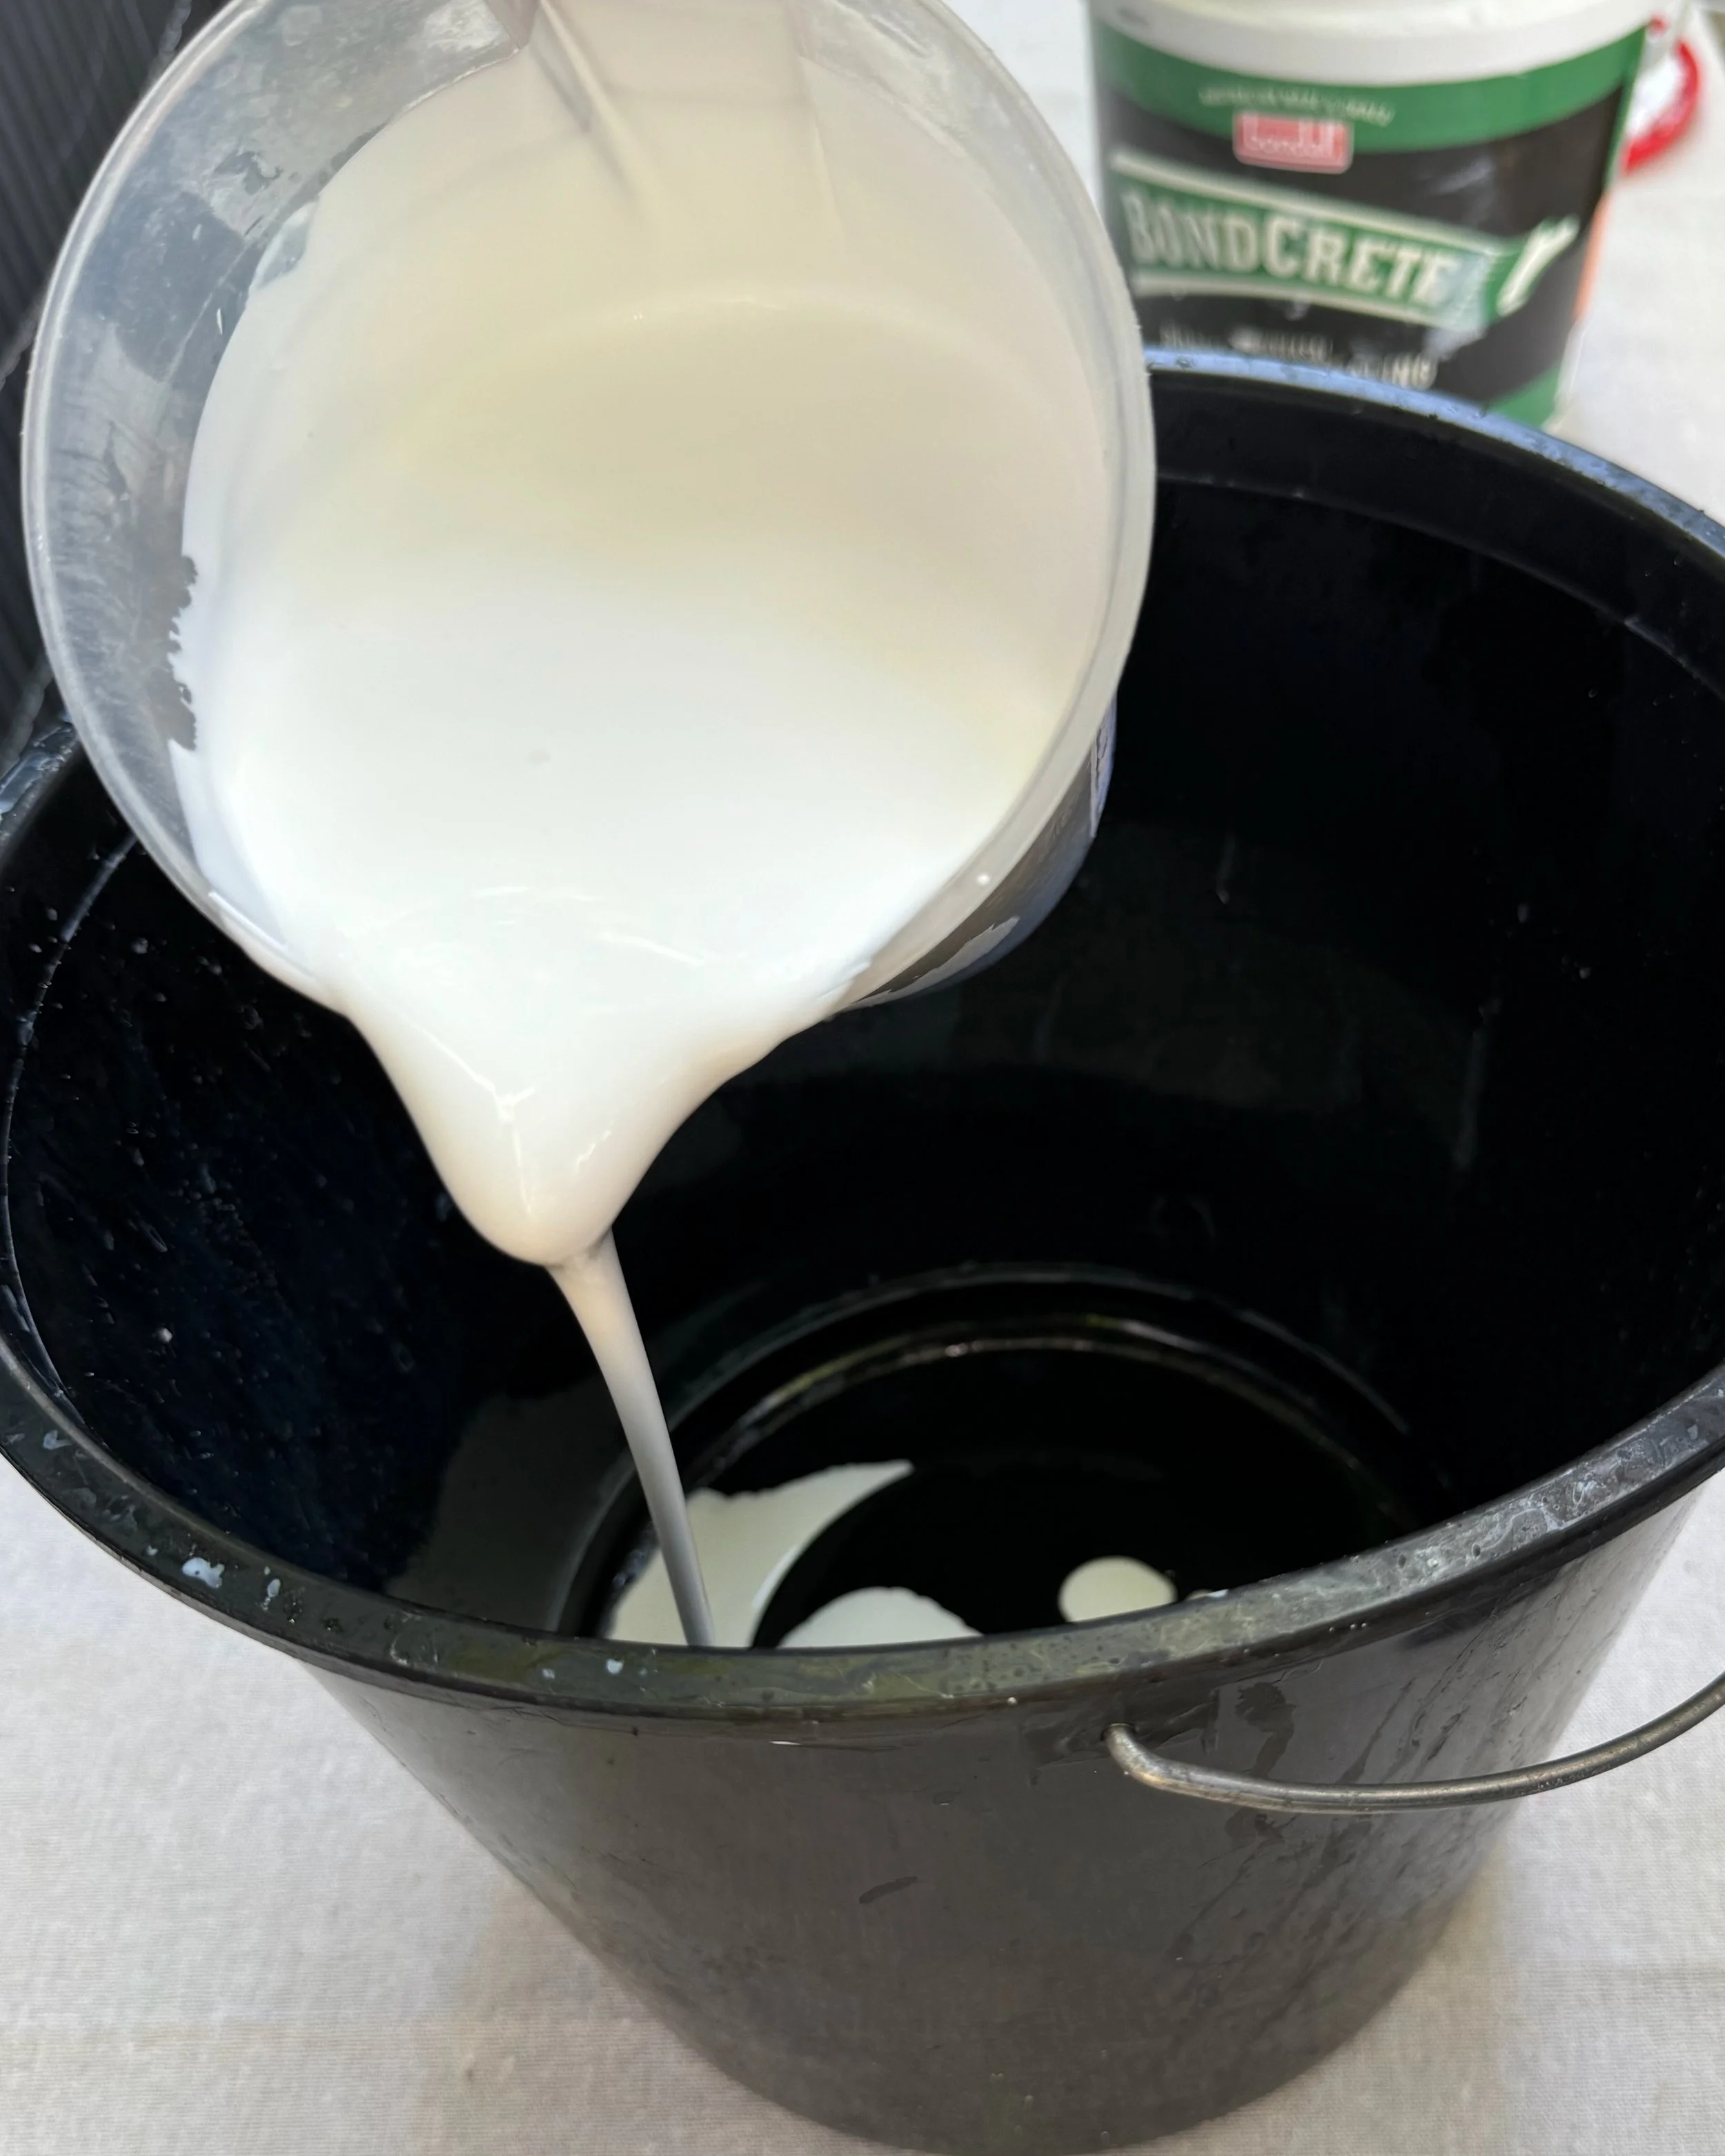
In a bucket, I mixed one part Bondcrete into four parts water (1:4). Then thoroughly coated the wall using a 75mm concrete and paving brush, working in sections down from the top, dabbing into cracks and dents. It was almost dry by the time I’d finished.
TIP I used 2L water with 0.5L Bondcrete to seal this 6m-long wall.
STAGE 2 BOND COAT
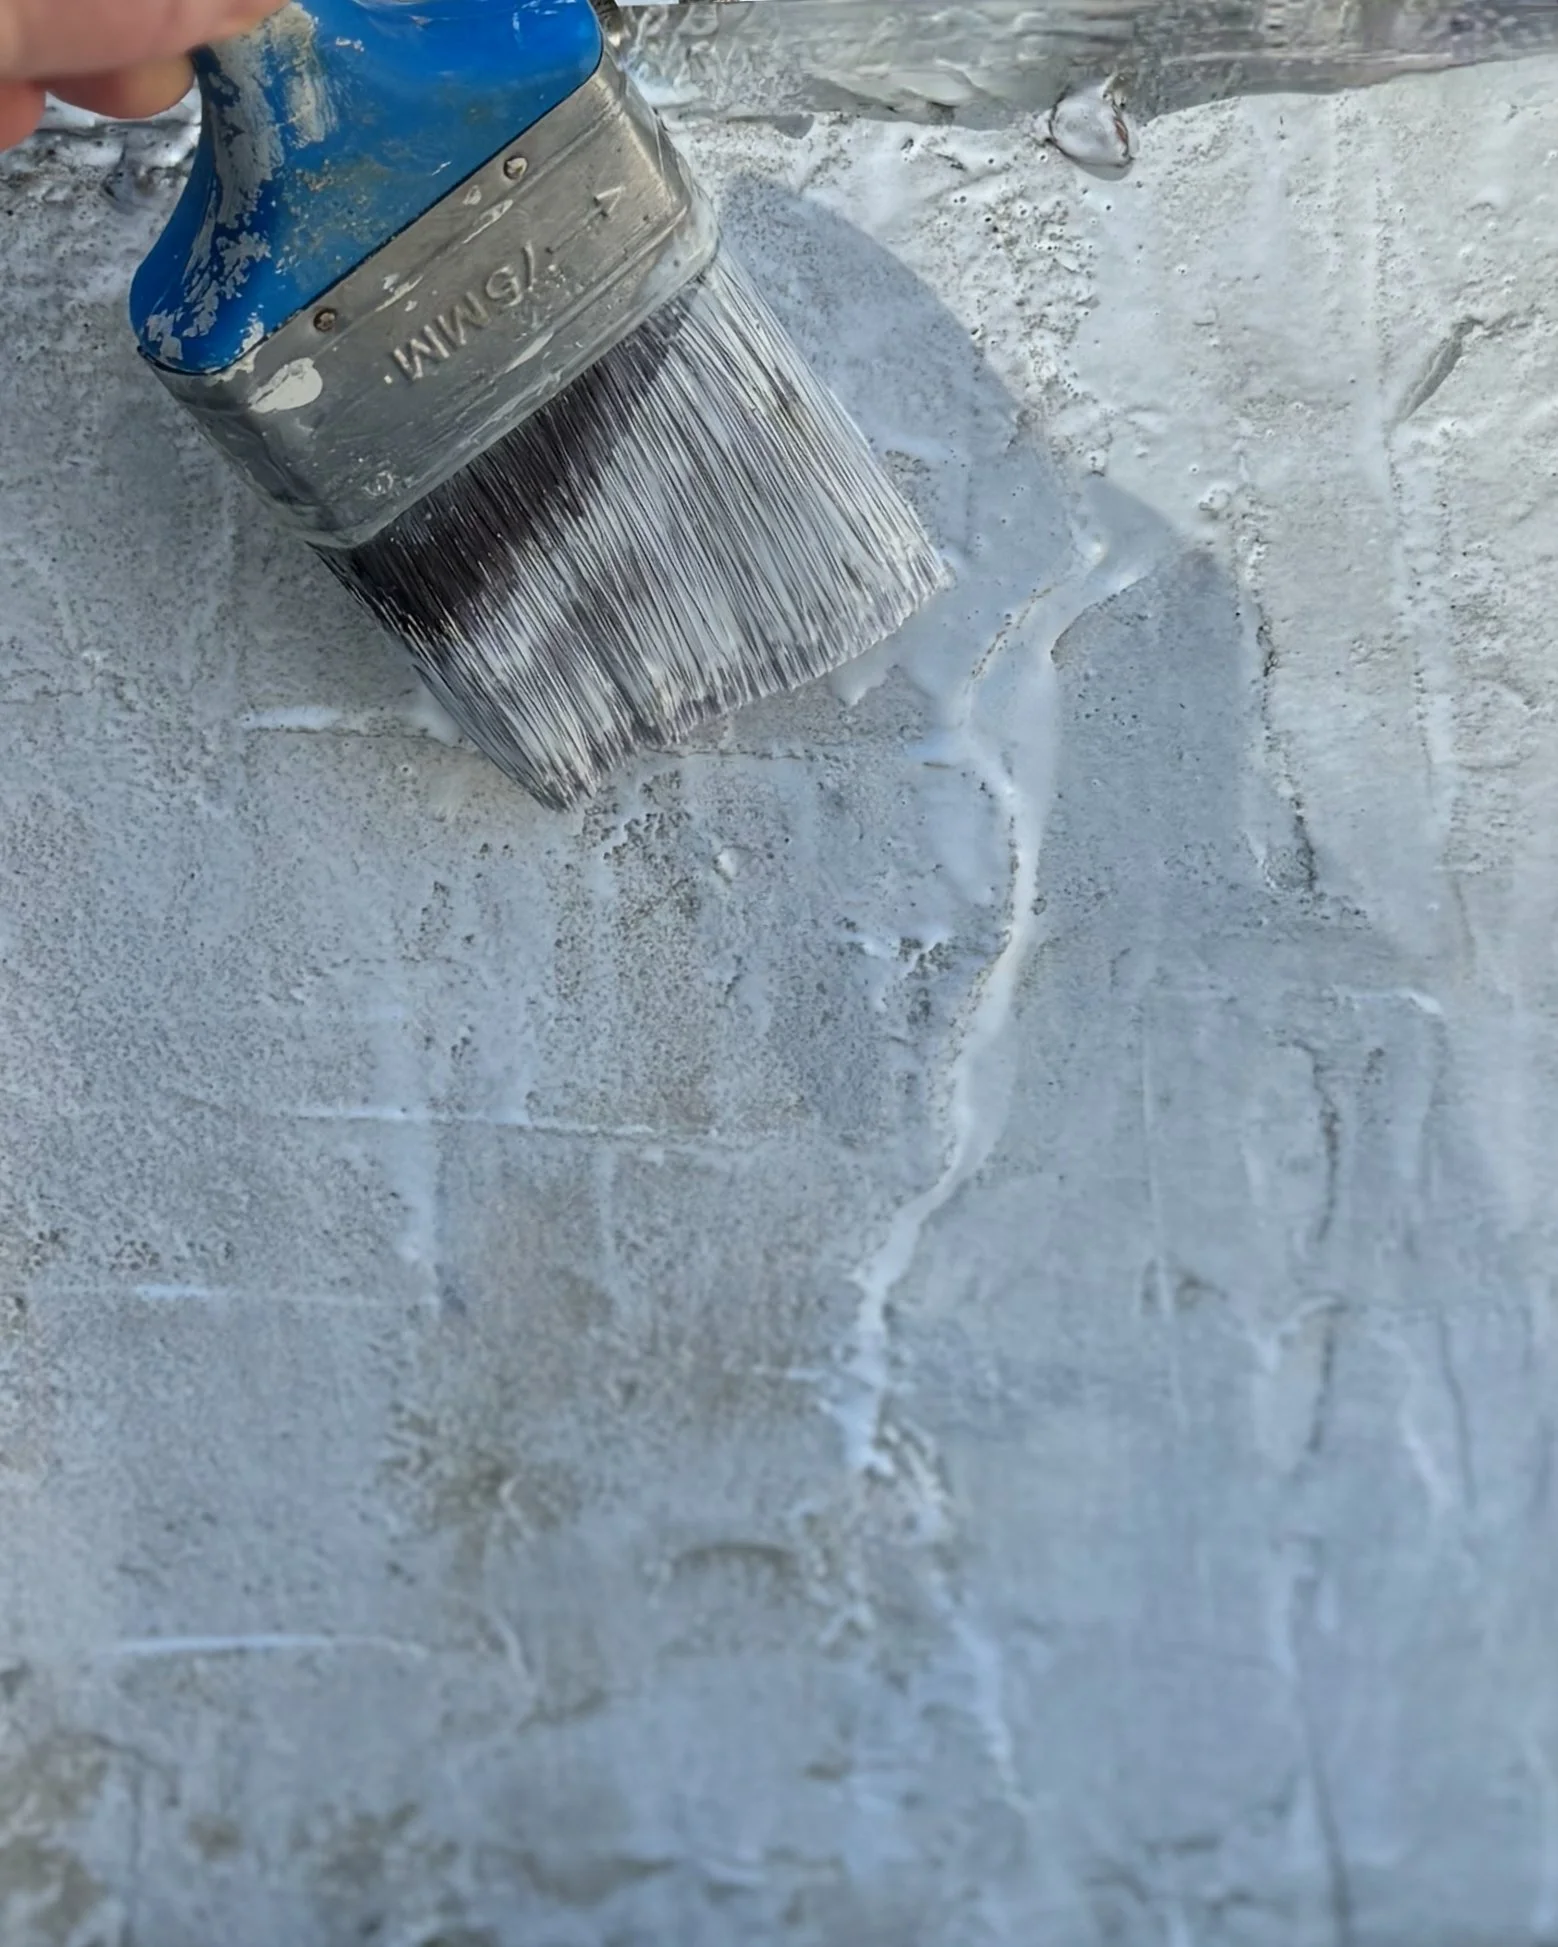
Creating a sticky surface helps the render to adhere to the wall and cover lumps and bumps. I mixed four parts Bondcrete into one part water (4:1). Then brushed it on liberally. The next stage of rendering is applied while the wall is still tacky, so keep the brush in the bucket with leftover solution to reapply if it begins to dry out.
TIP I used 2L Bondcrete with 0.5L water.
STAGE 3 RENDER MIX
In a jug, I combined one part Bondcrete into 10 parts water (1:10). Then poured half a bag of render powder (10kg) into a bucket and gradually added the Bondcrete solution while mixing into a thick, smooth paste with a drill mixer.
TIP I mixed 150ml Bondcrete into 1.5L water and had a some left over.
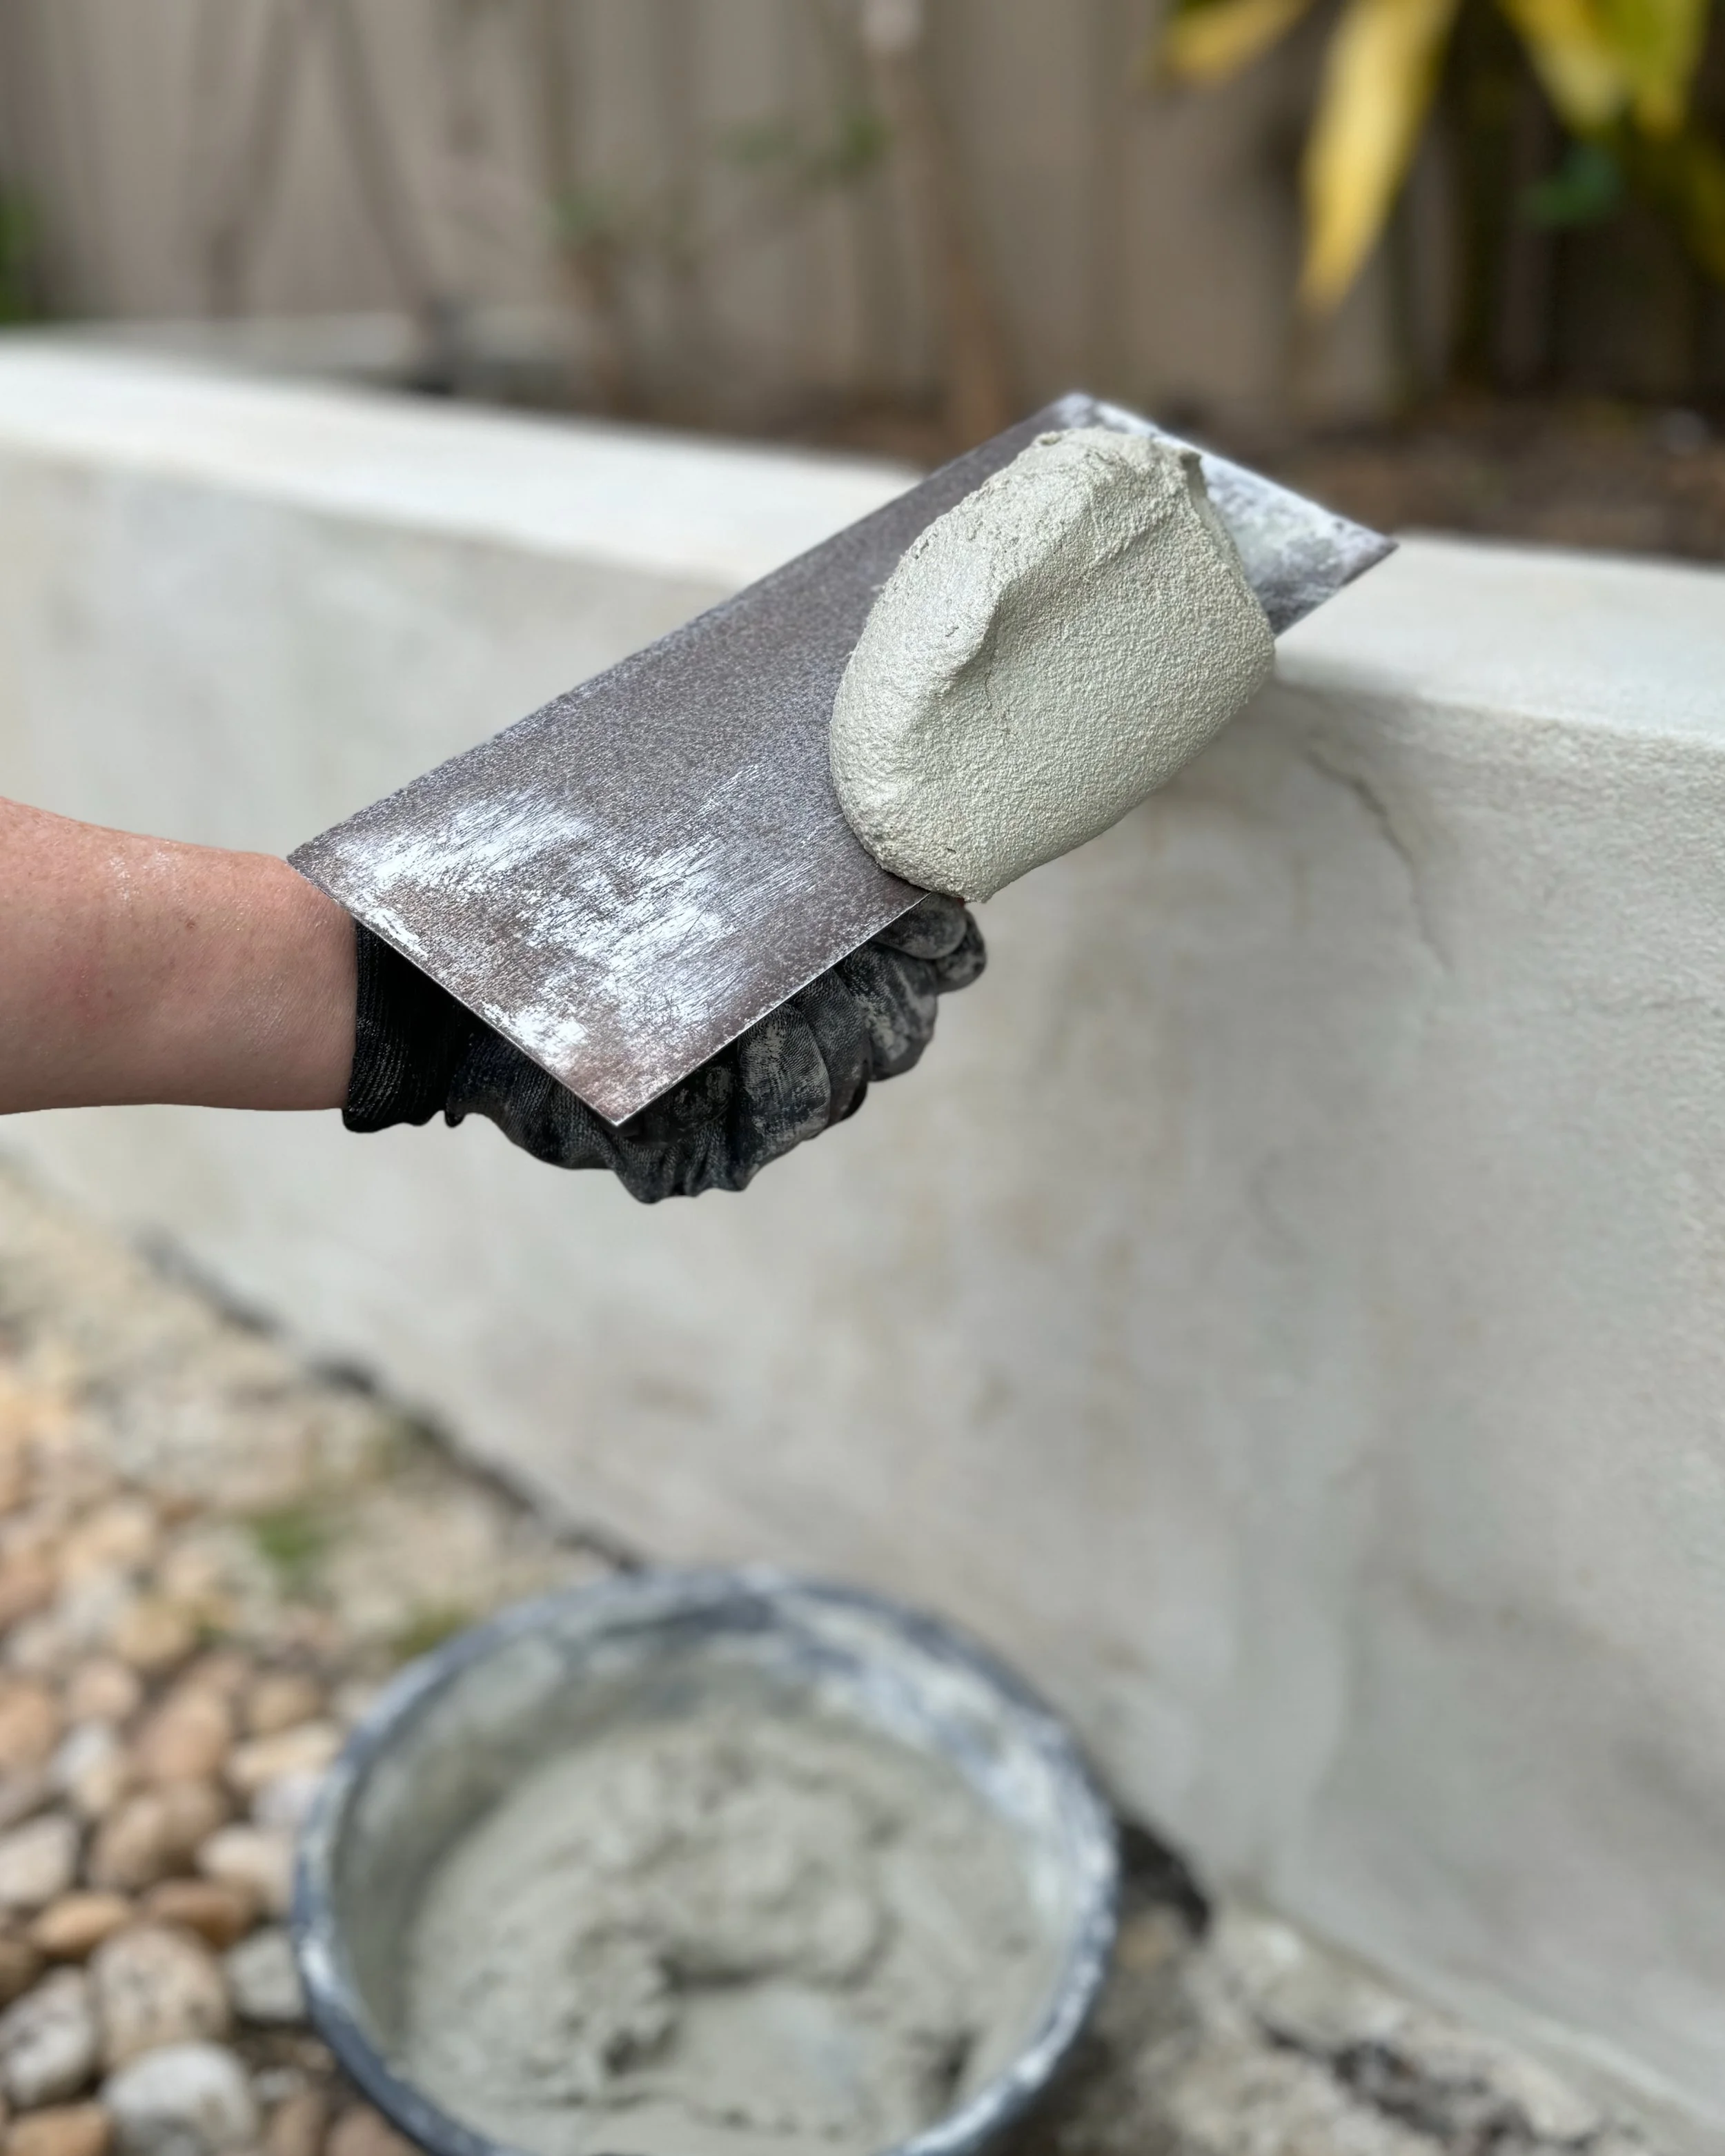
I used a large scraper to load the steel trowel then applied the render in a thick layer, thoroughly covering the wall. This technique requires a bit of practice but the finish doesn’t have to be perfect.
TIP Rendering usually uses a trowel with a renderer’s hawk tool, but I found it was too big to work with so close to the ground.
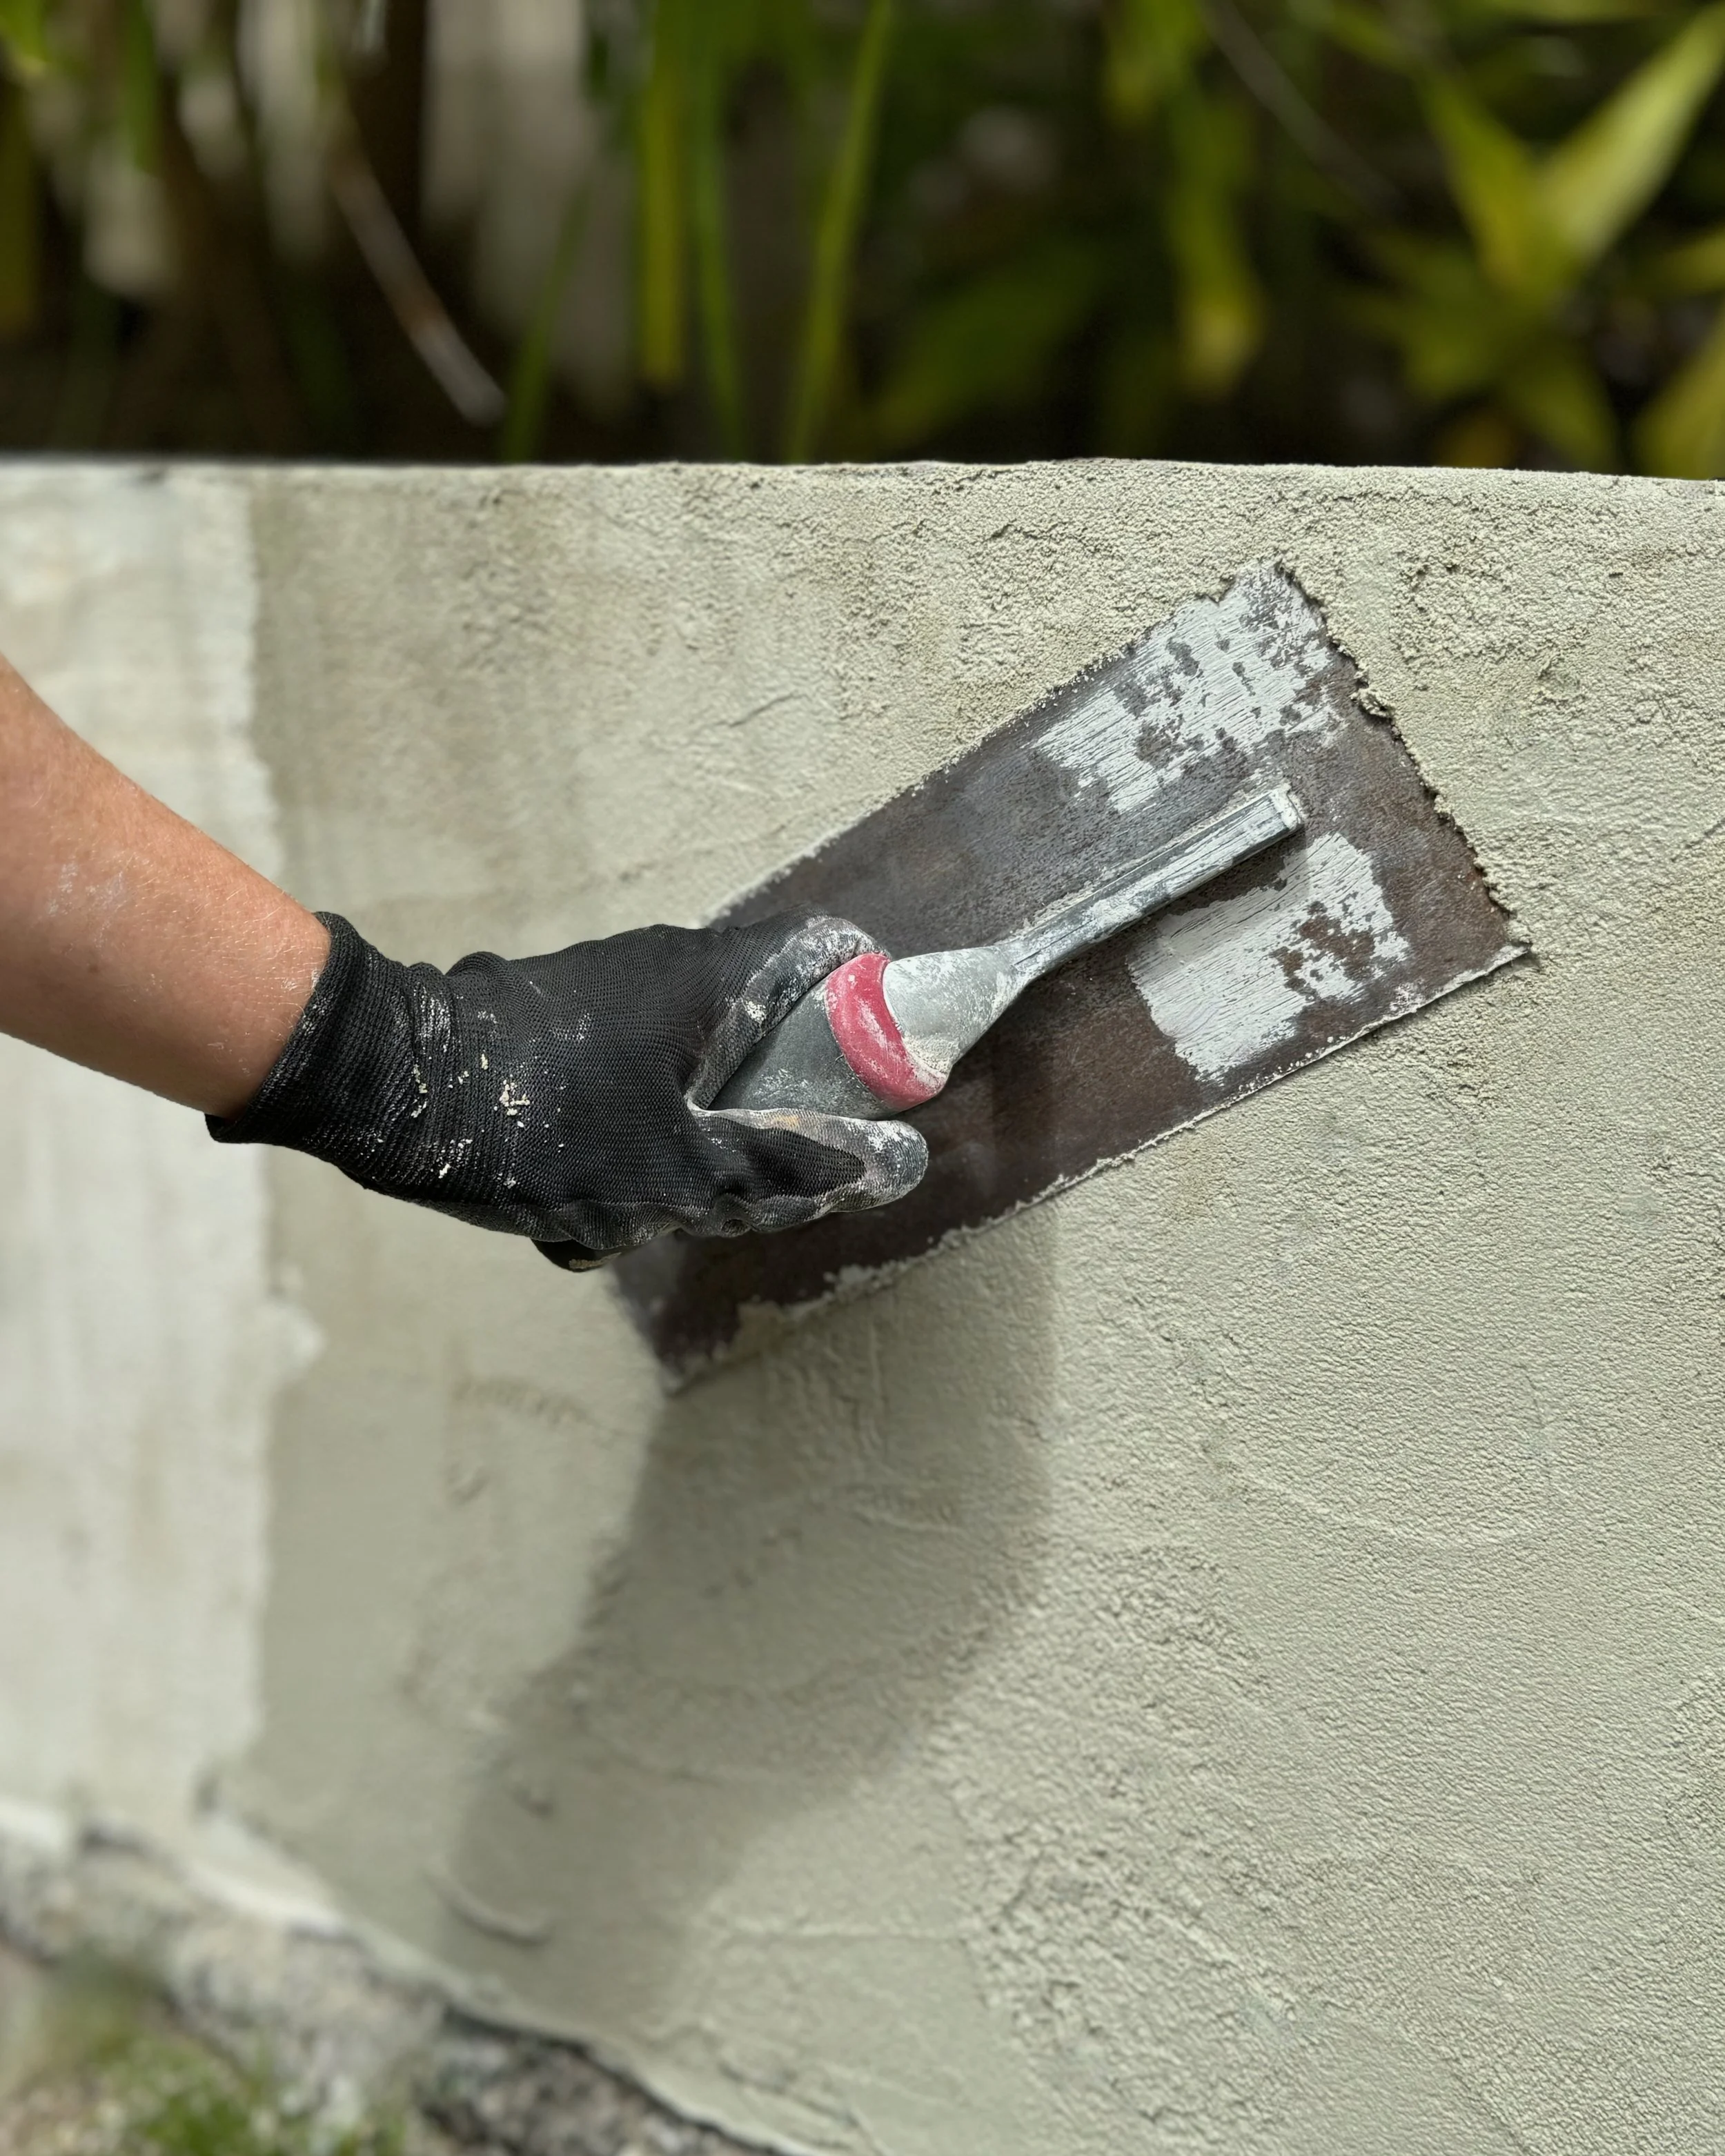
I left the render for about half an hour so that when touched, it dents slightly but doesn’t come off. Working in sections, I lightly spritz the surface with a spray bottle then used a plastic float in a scrubbing motion to knock off any raised sections.
With a slightly damp foam sponge, I worked in a light circular motion to fill in dips and polish over the flat surfaces and along the edges.
TIP Have a bucket of water to keep the sponge clean, wringing it out to be almost-dry to avoid scratching and lifting the render.
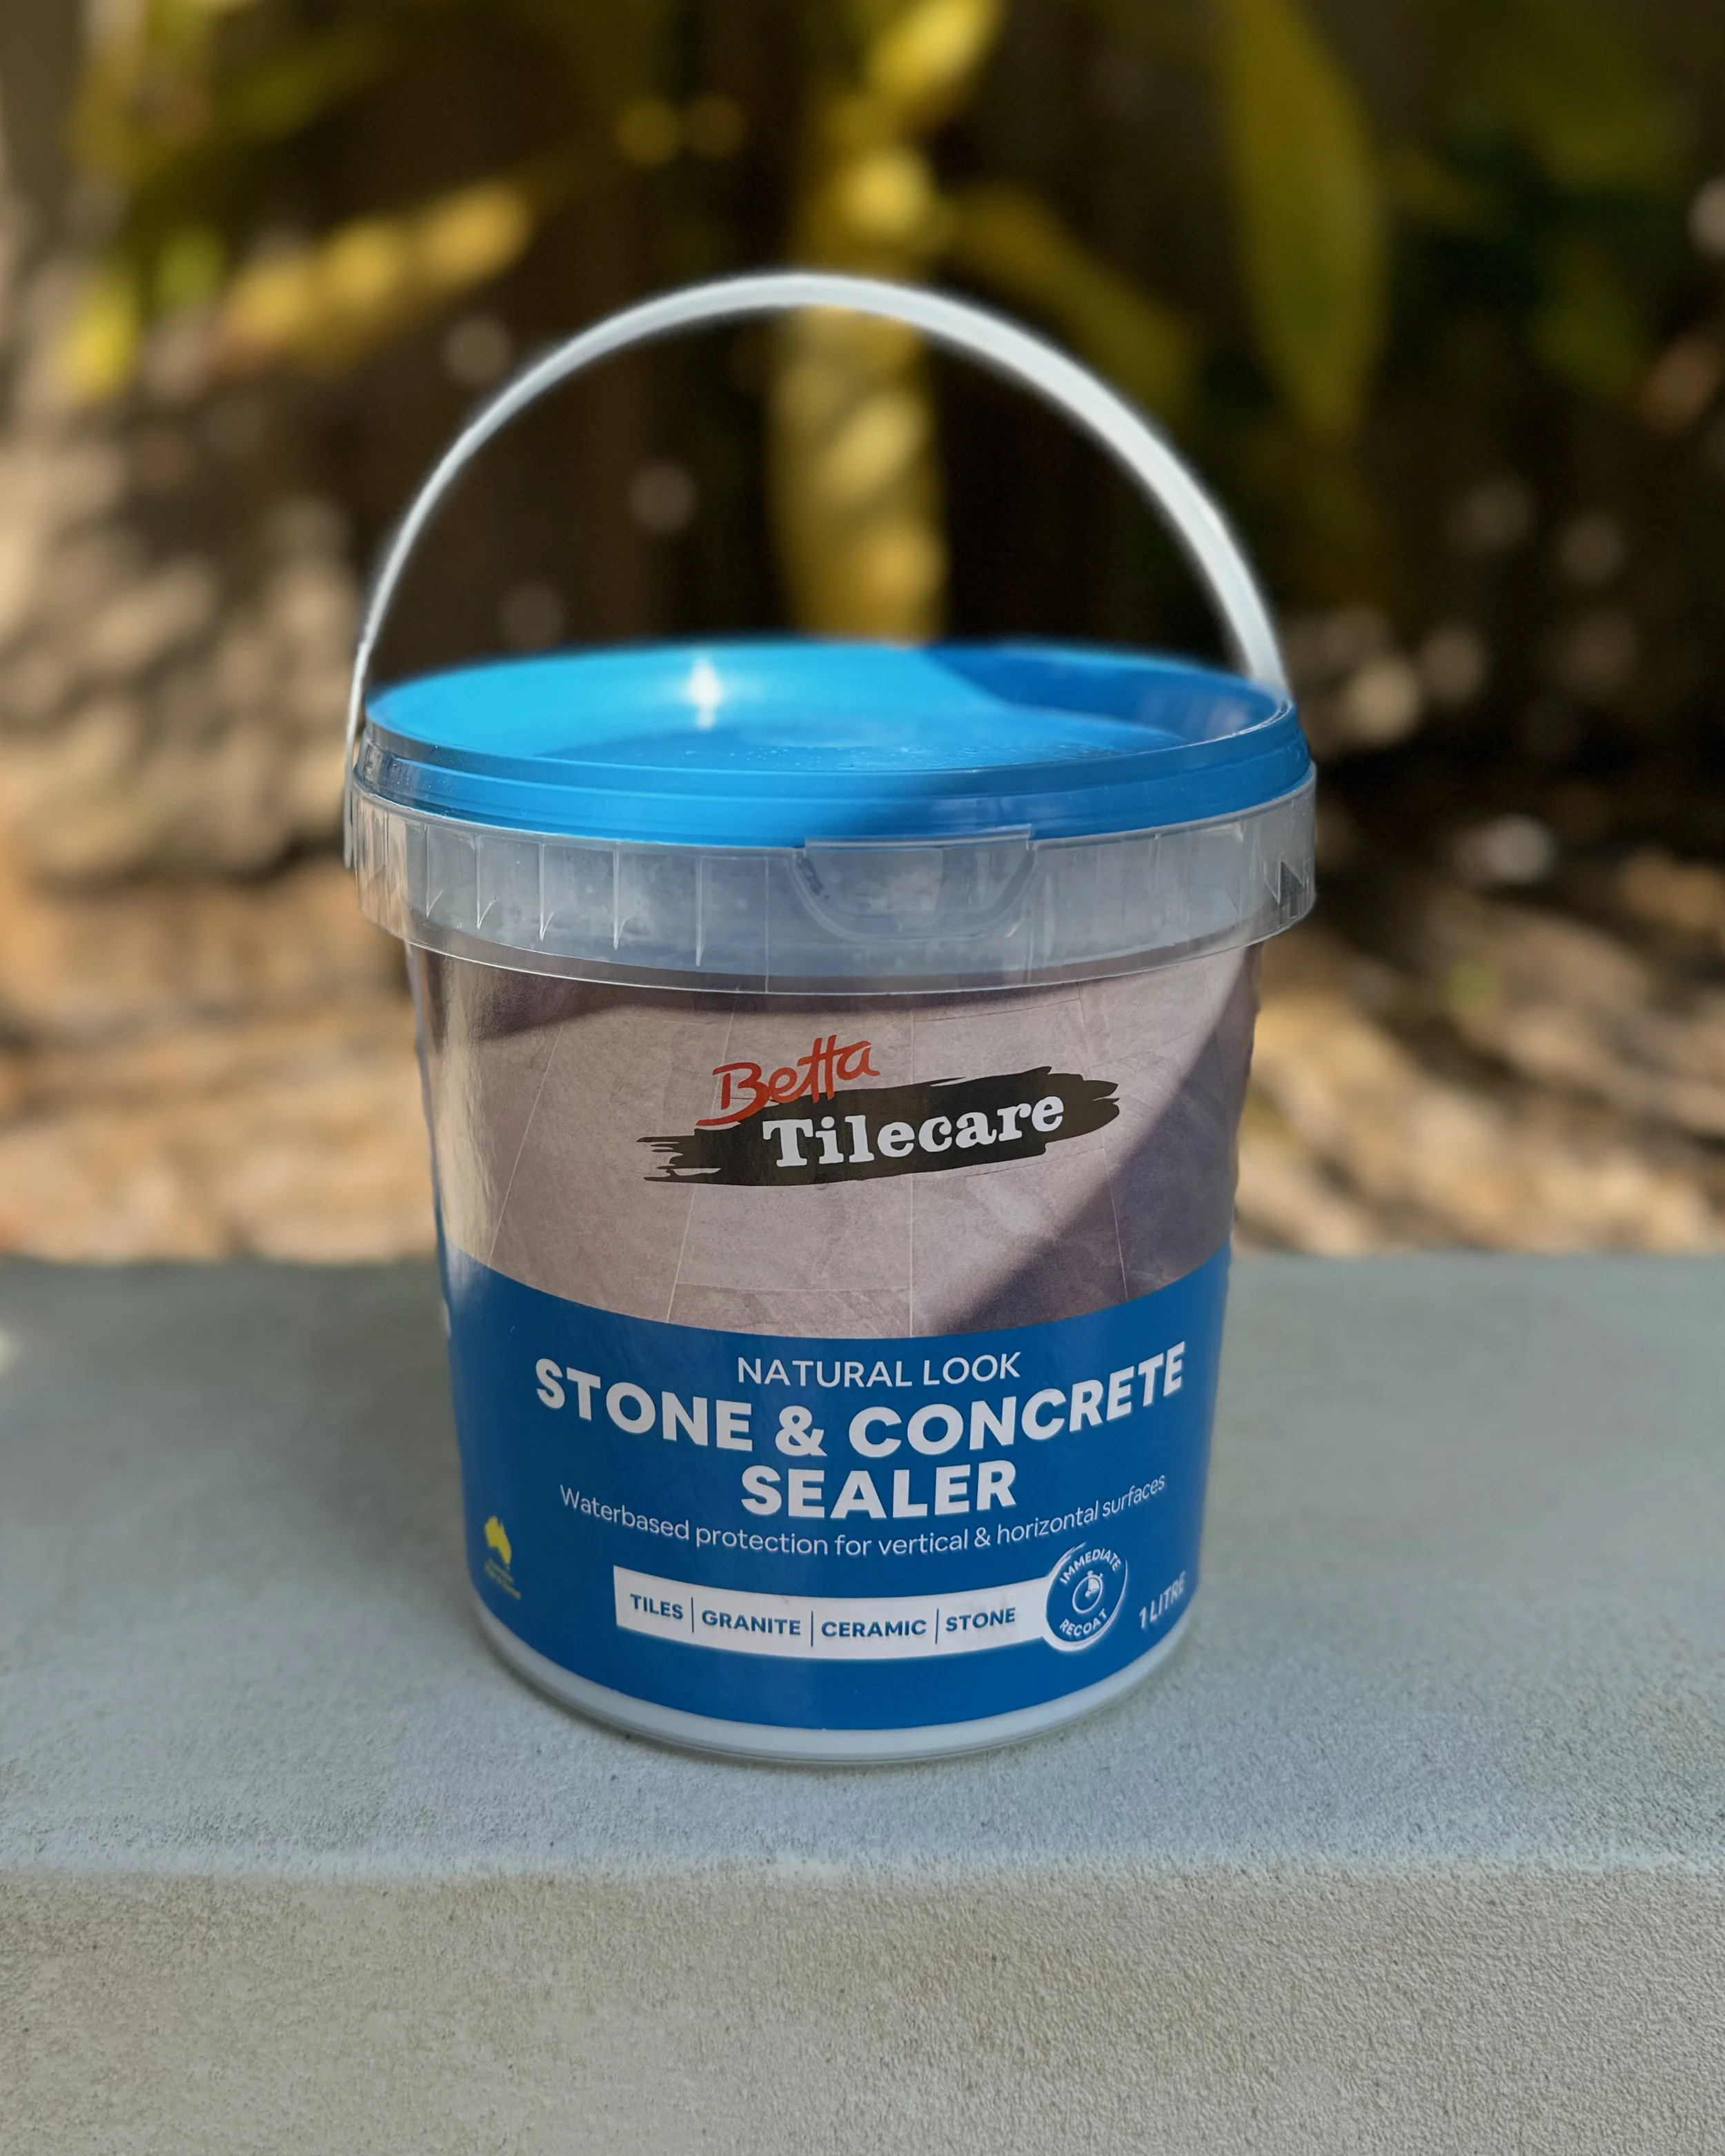
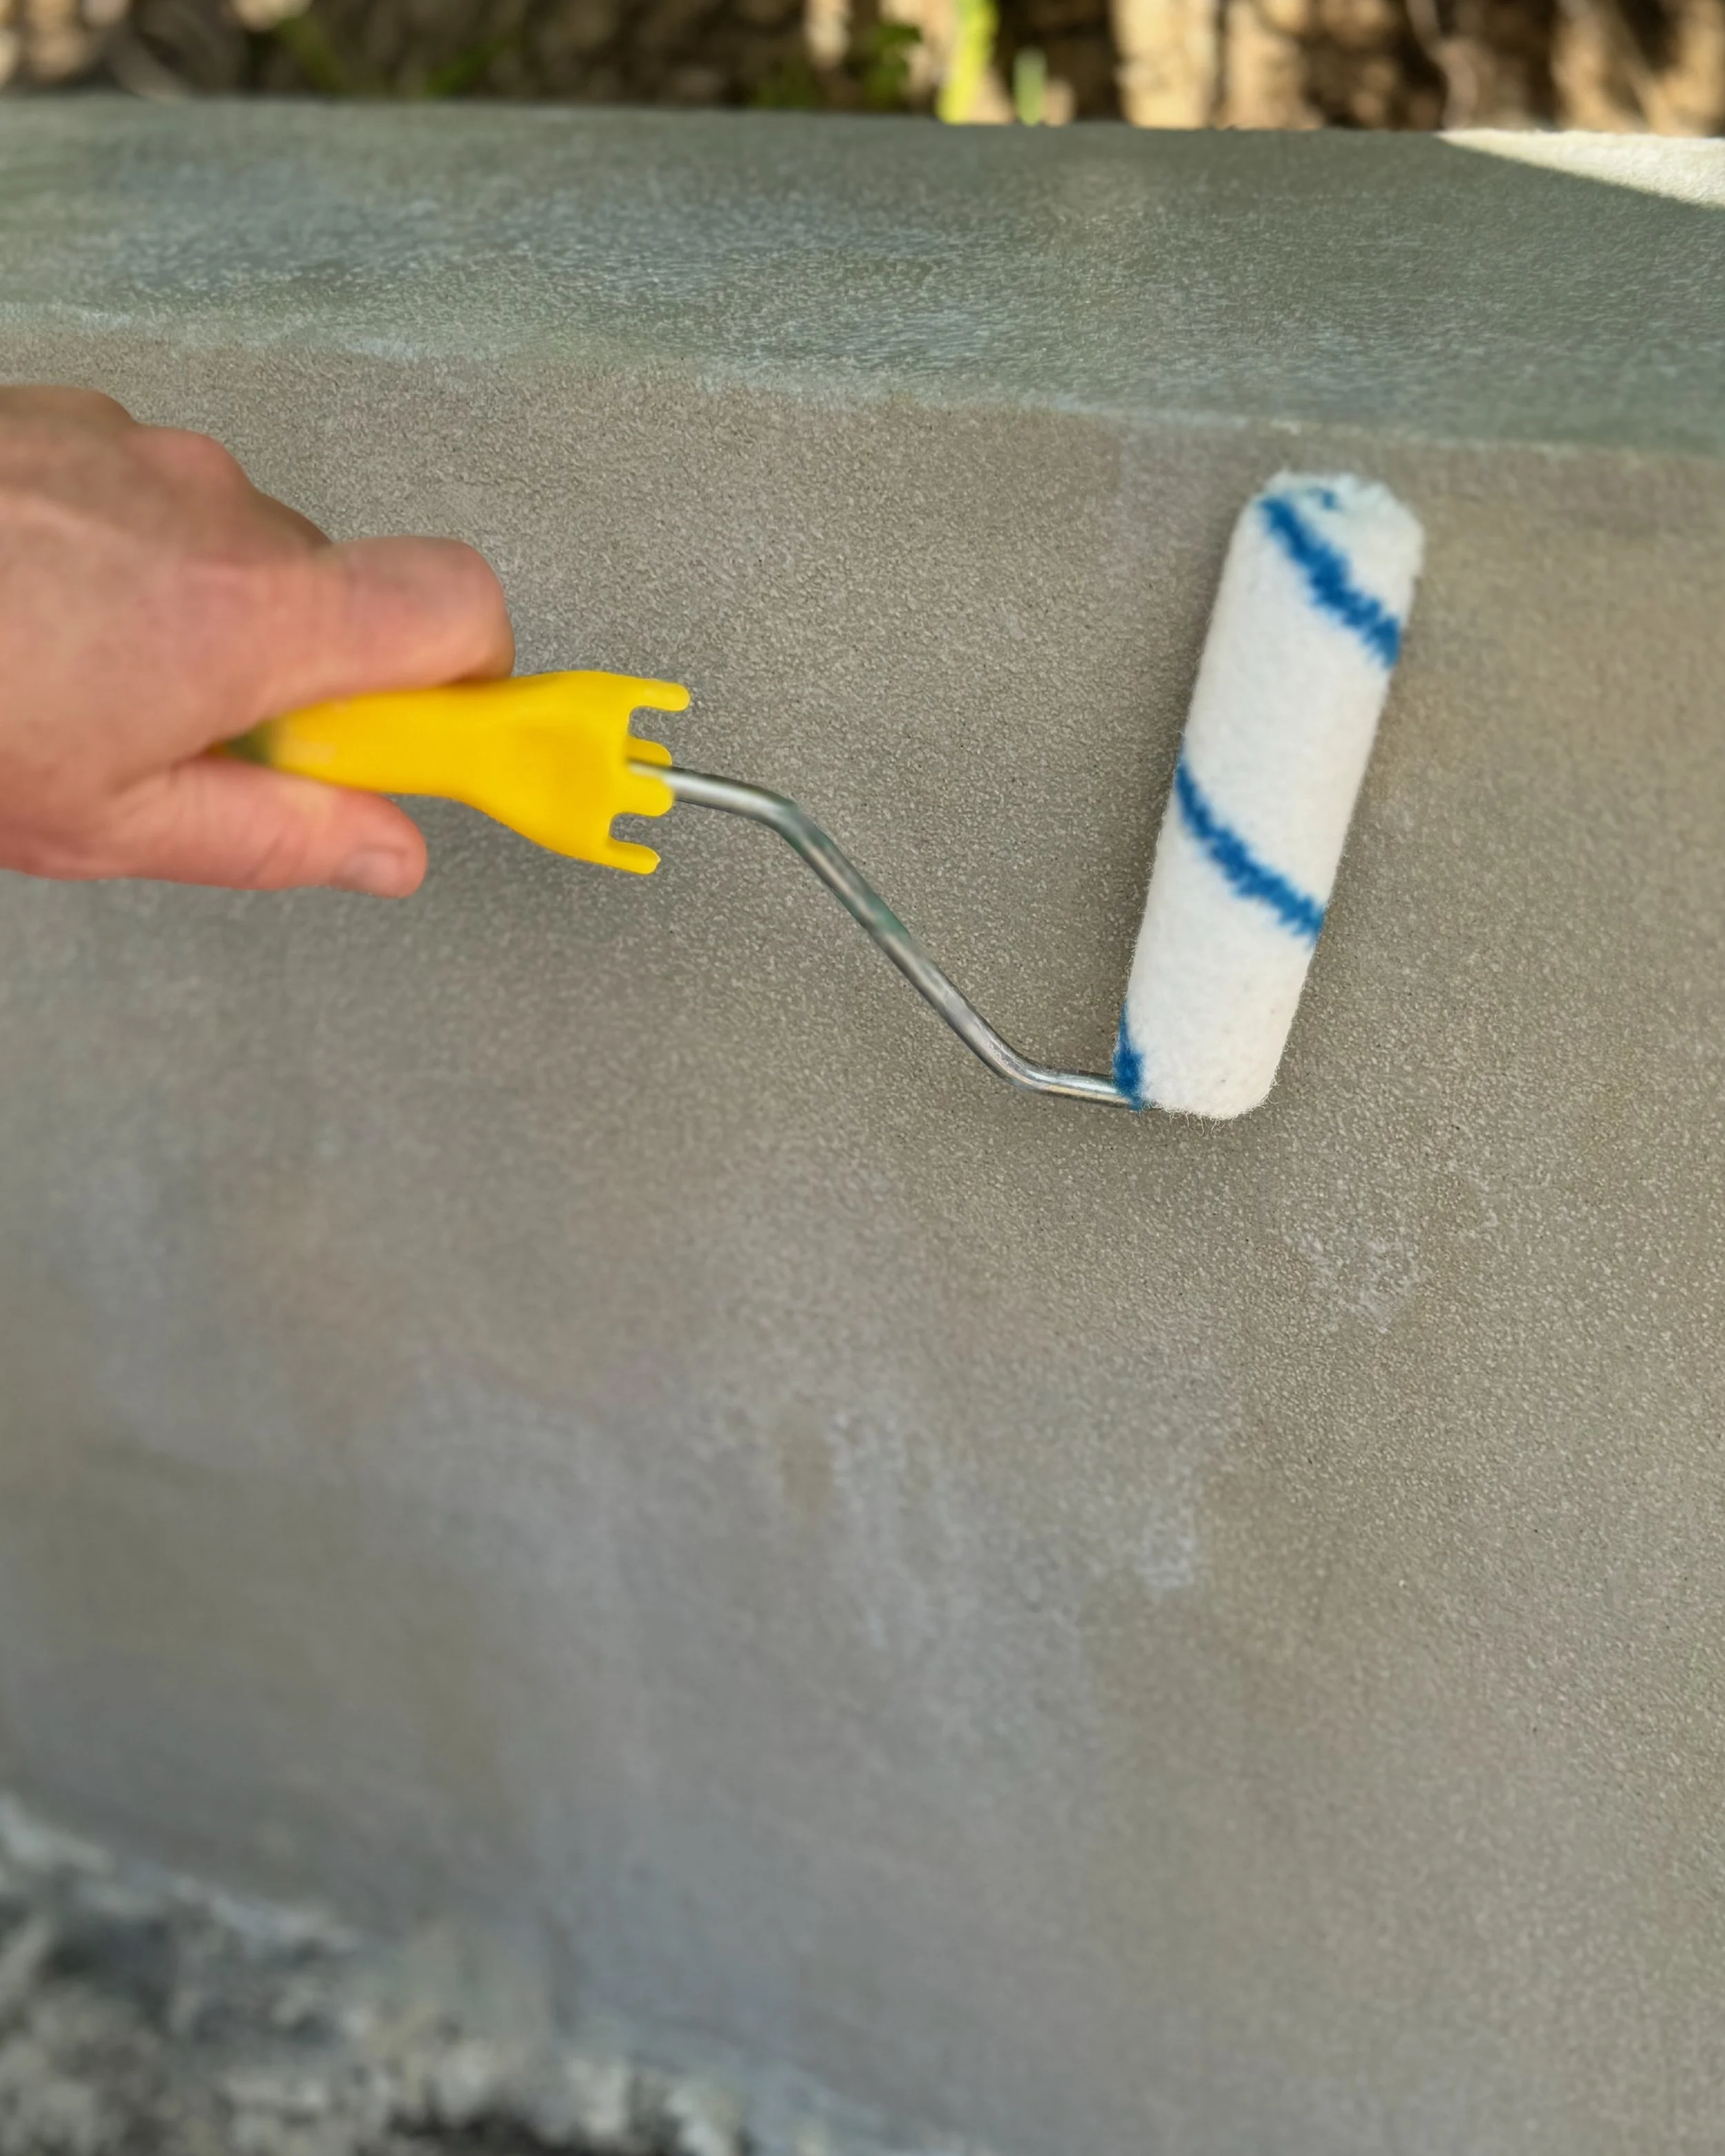
I left the render to cure overnight, then sealed the wall with Bondall Paving & Concrete Sealer in Matt, stirring the contents with a paddle and applying with a specialty concrete roller.
TIP This also dries quickly. It rained sooner after I’d finished sealing and the water simply slid off.
I added hard mulch along the base and the garden behind the retaining wall is now ready for planting.
Rendering is addictive! Here’s another simple DIY project to make an outdoor seat that can also be made into a barbecue bench.


