MY DIY LAUNDRY RENO
Natasha Dickins
Renovating the laundry has turned out to be the most efficient transformation in our home.
It’s had a few upgrades over the years and is now one of the busiest spaces. It services the deck and surrounding yard as a powder room. The hot-water outdoor shower doubles as a second bathroom and is great after a walk on the nearby beach.
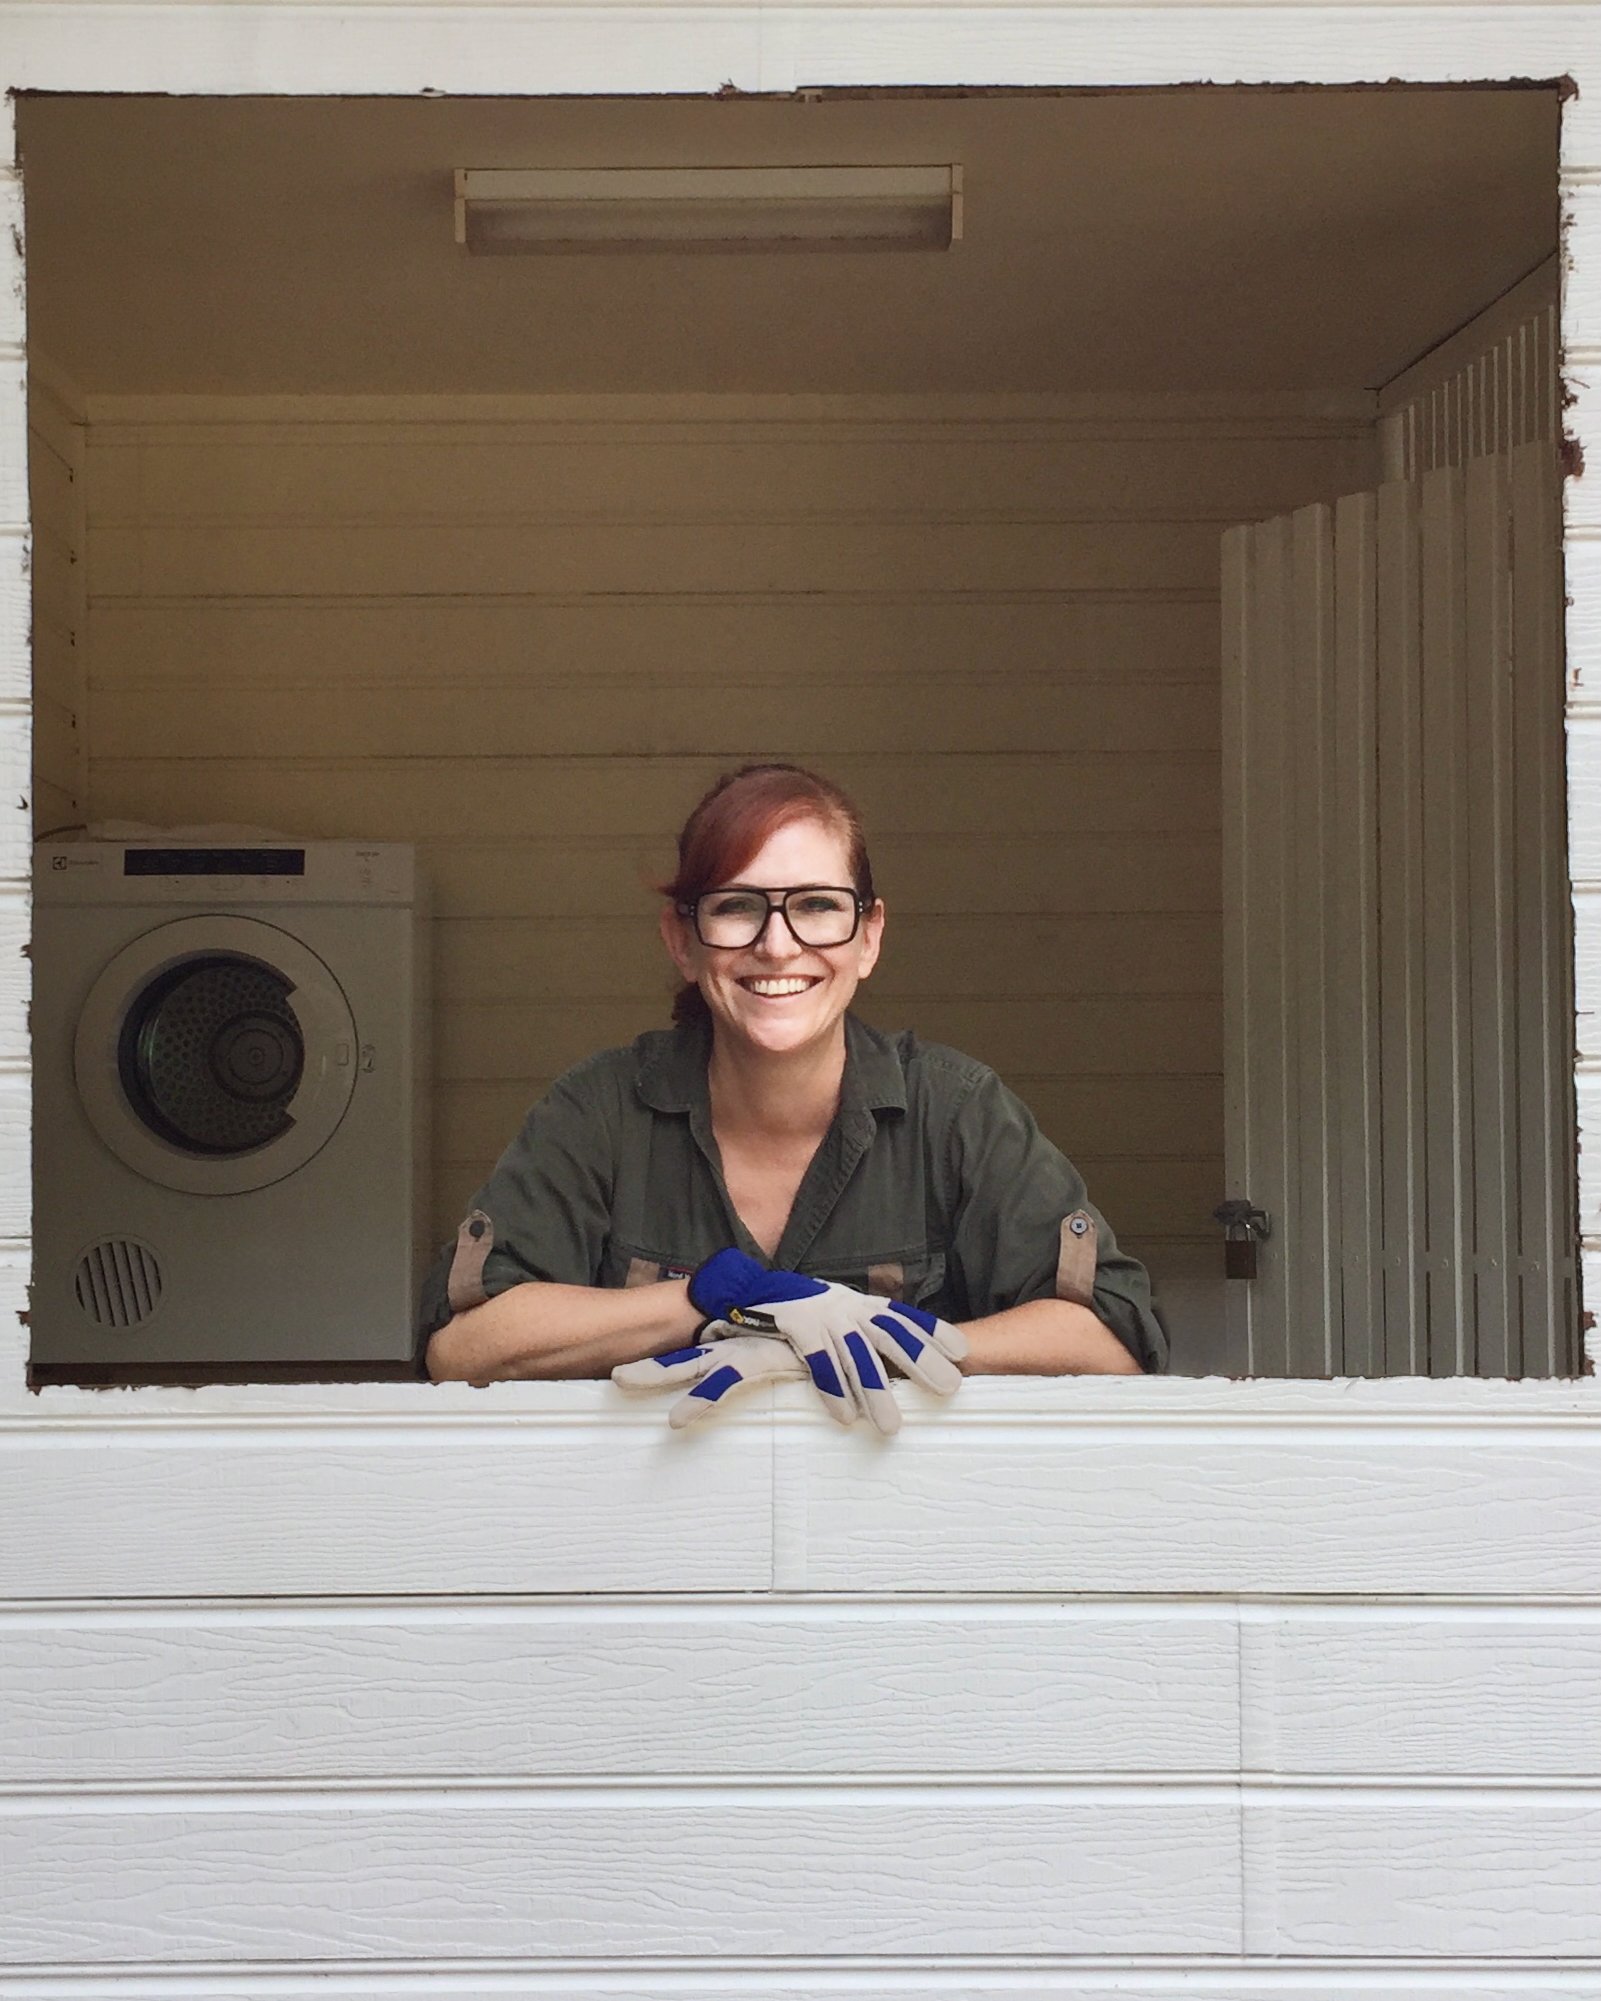
Back in 2016, the original space was open to the elements (above left), with a slatted wall and lean-to roof. There was just a sink unit and an open shelf.
BLUE BEGINNINGS
Set on a bare concrete slab, one wall consisted of open slats. Finding a snakeskin under the sink got me fast-tracking plans to convert it into a properly sealed room.
The interior was originally clad in weatherboard, making it feel like an outhouse. Even one coat of primer over the yellowy-beige made the room brighter.
I gave it a quick paint to feel cleaner while coming up with a reno plan to suit my extremely low budget and limited time.
CREATING SPACE FOR A SHOWER
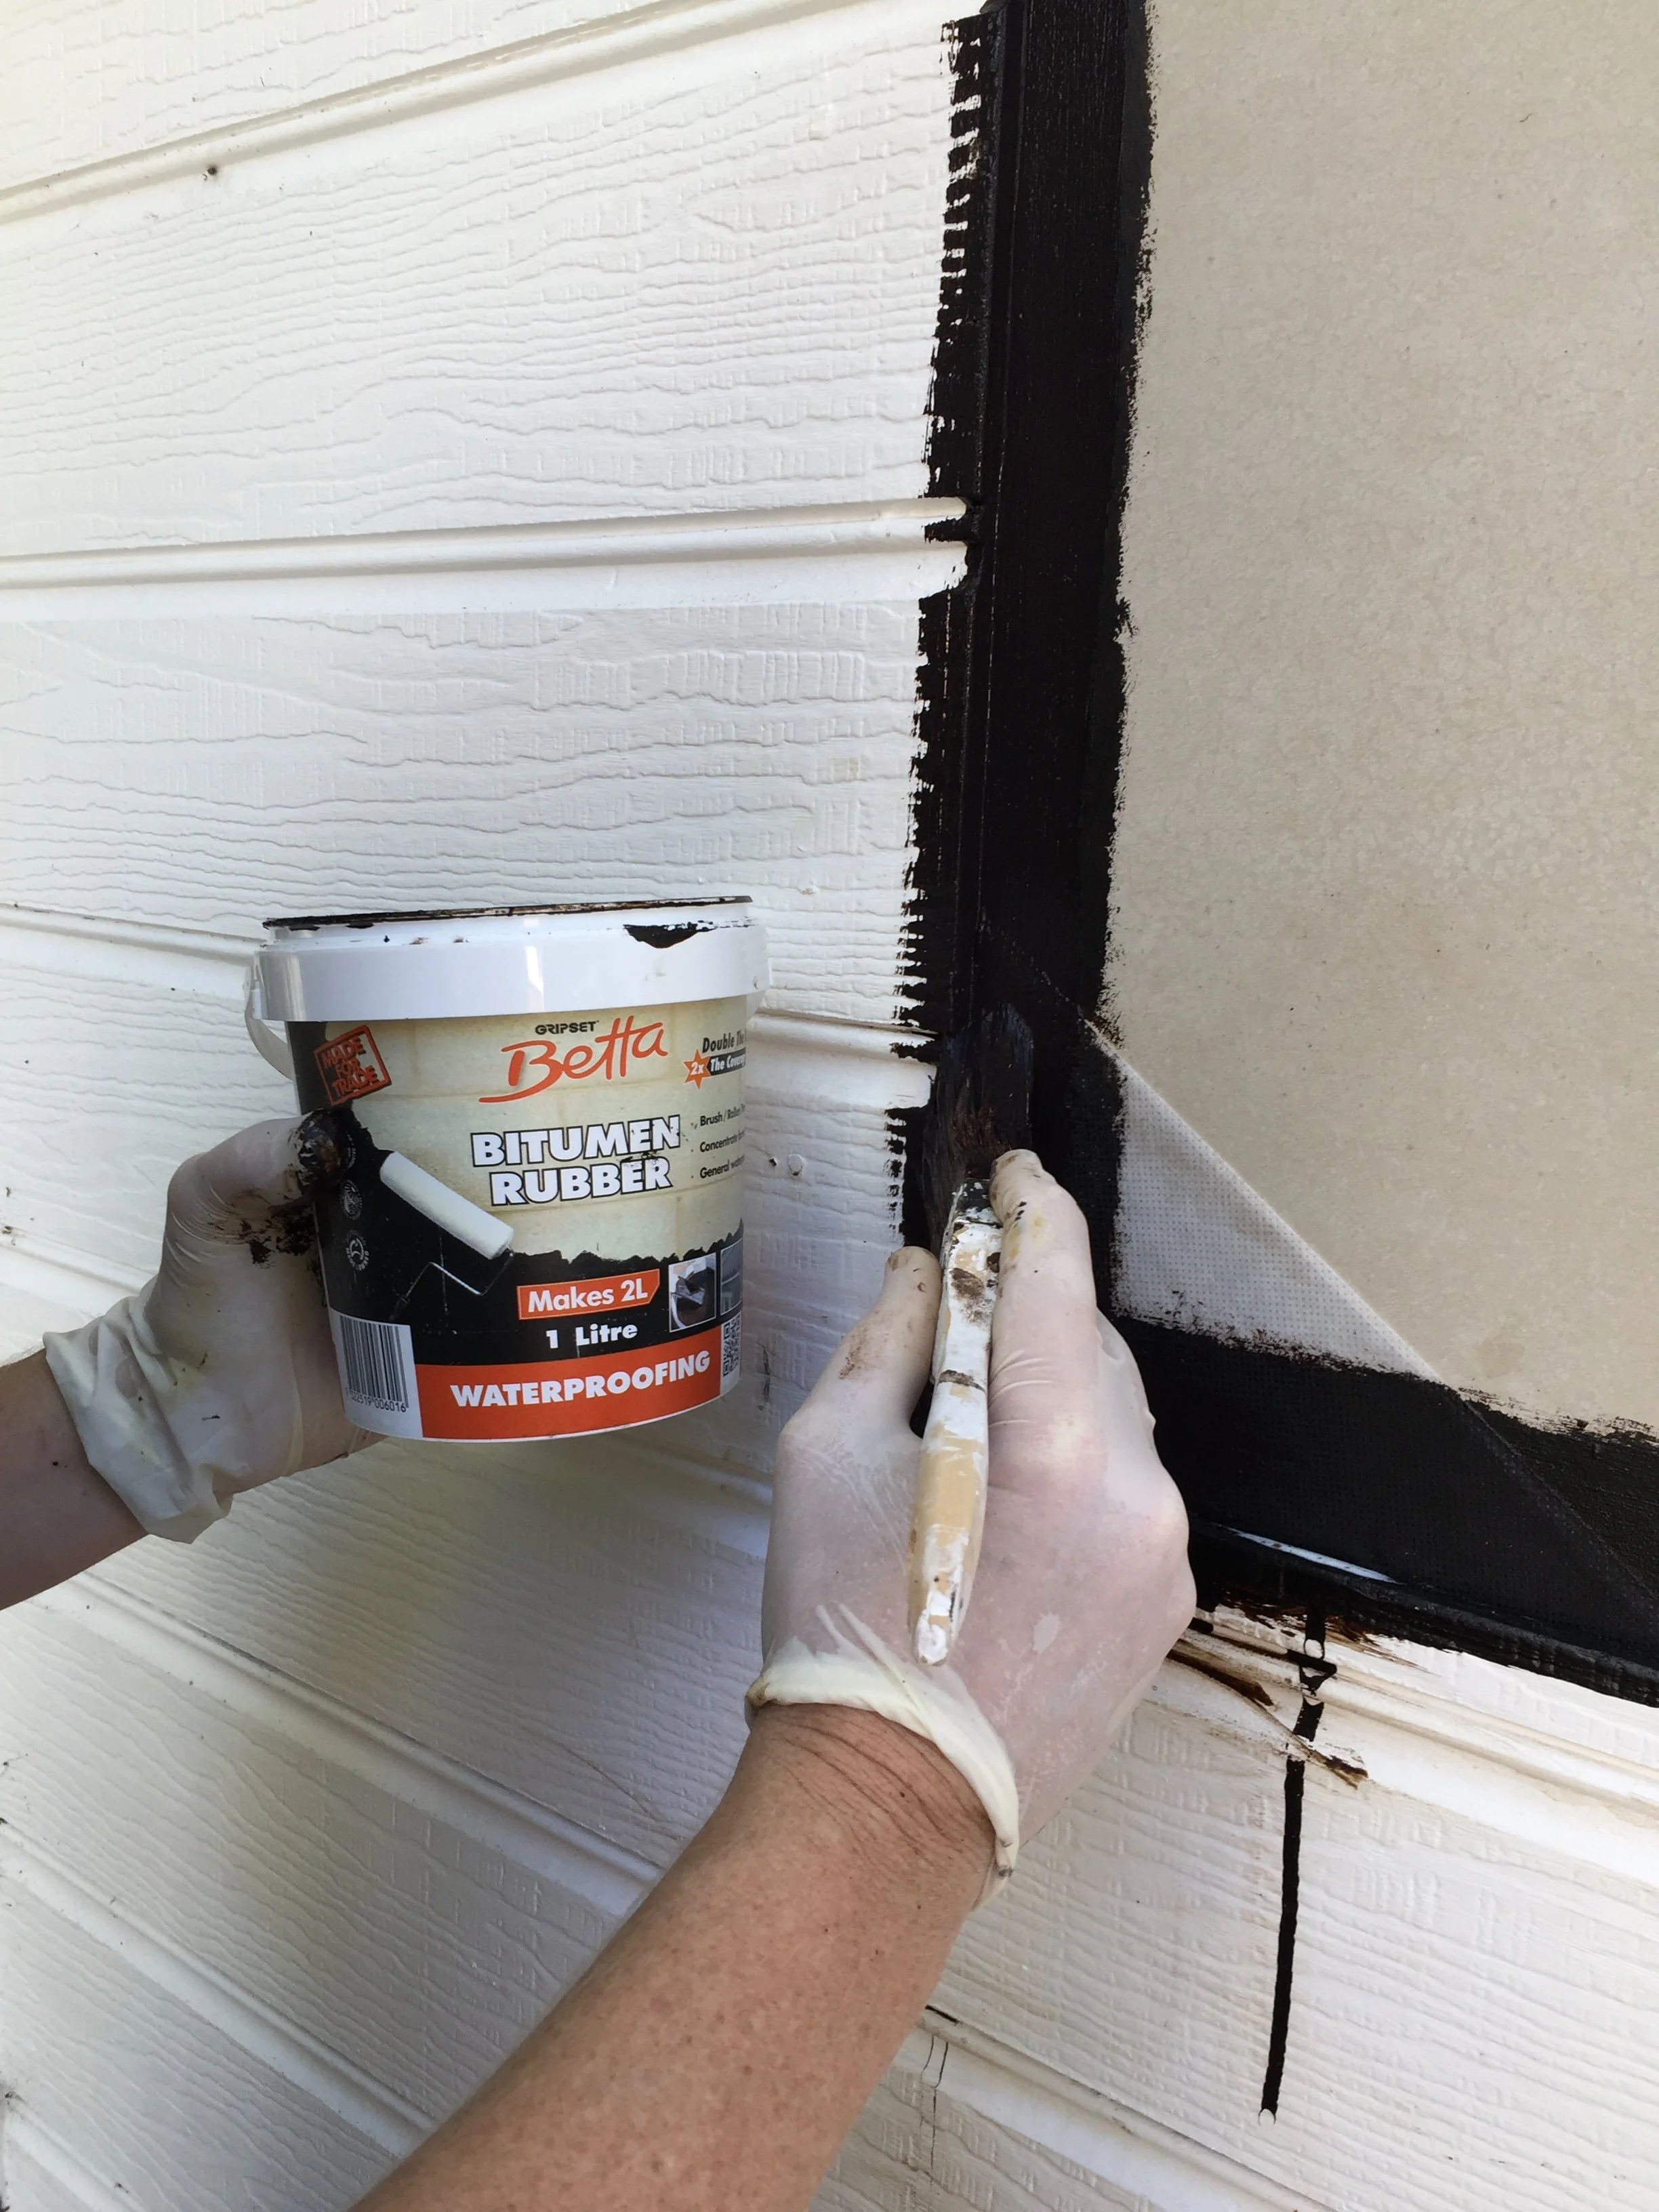
It took until 2018 to tackle the first big job where I knocked out the window, boarded it up and waterproofed the exterior wall to create a new shower area.
I built the splashback from blackbutt sourced at a local timber yard, sealing it in Monocel Gold marine-grade varnish. The pipes and tap ware were installed by a plumber on the same day I hung the boards so they had full access.
TO DIY Watch the video or follow the tutorial.
The pavers were laid on quick-set concrete and simply watered in to create a base that drains directly onto the surrounding sand.
I later installed a privacy screen with the step-by-step project featuring in Bunnings magazine.
TO DIY Follow my tutorial on easy DIY paving.
RELOCATING THE WINDOW
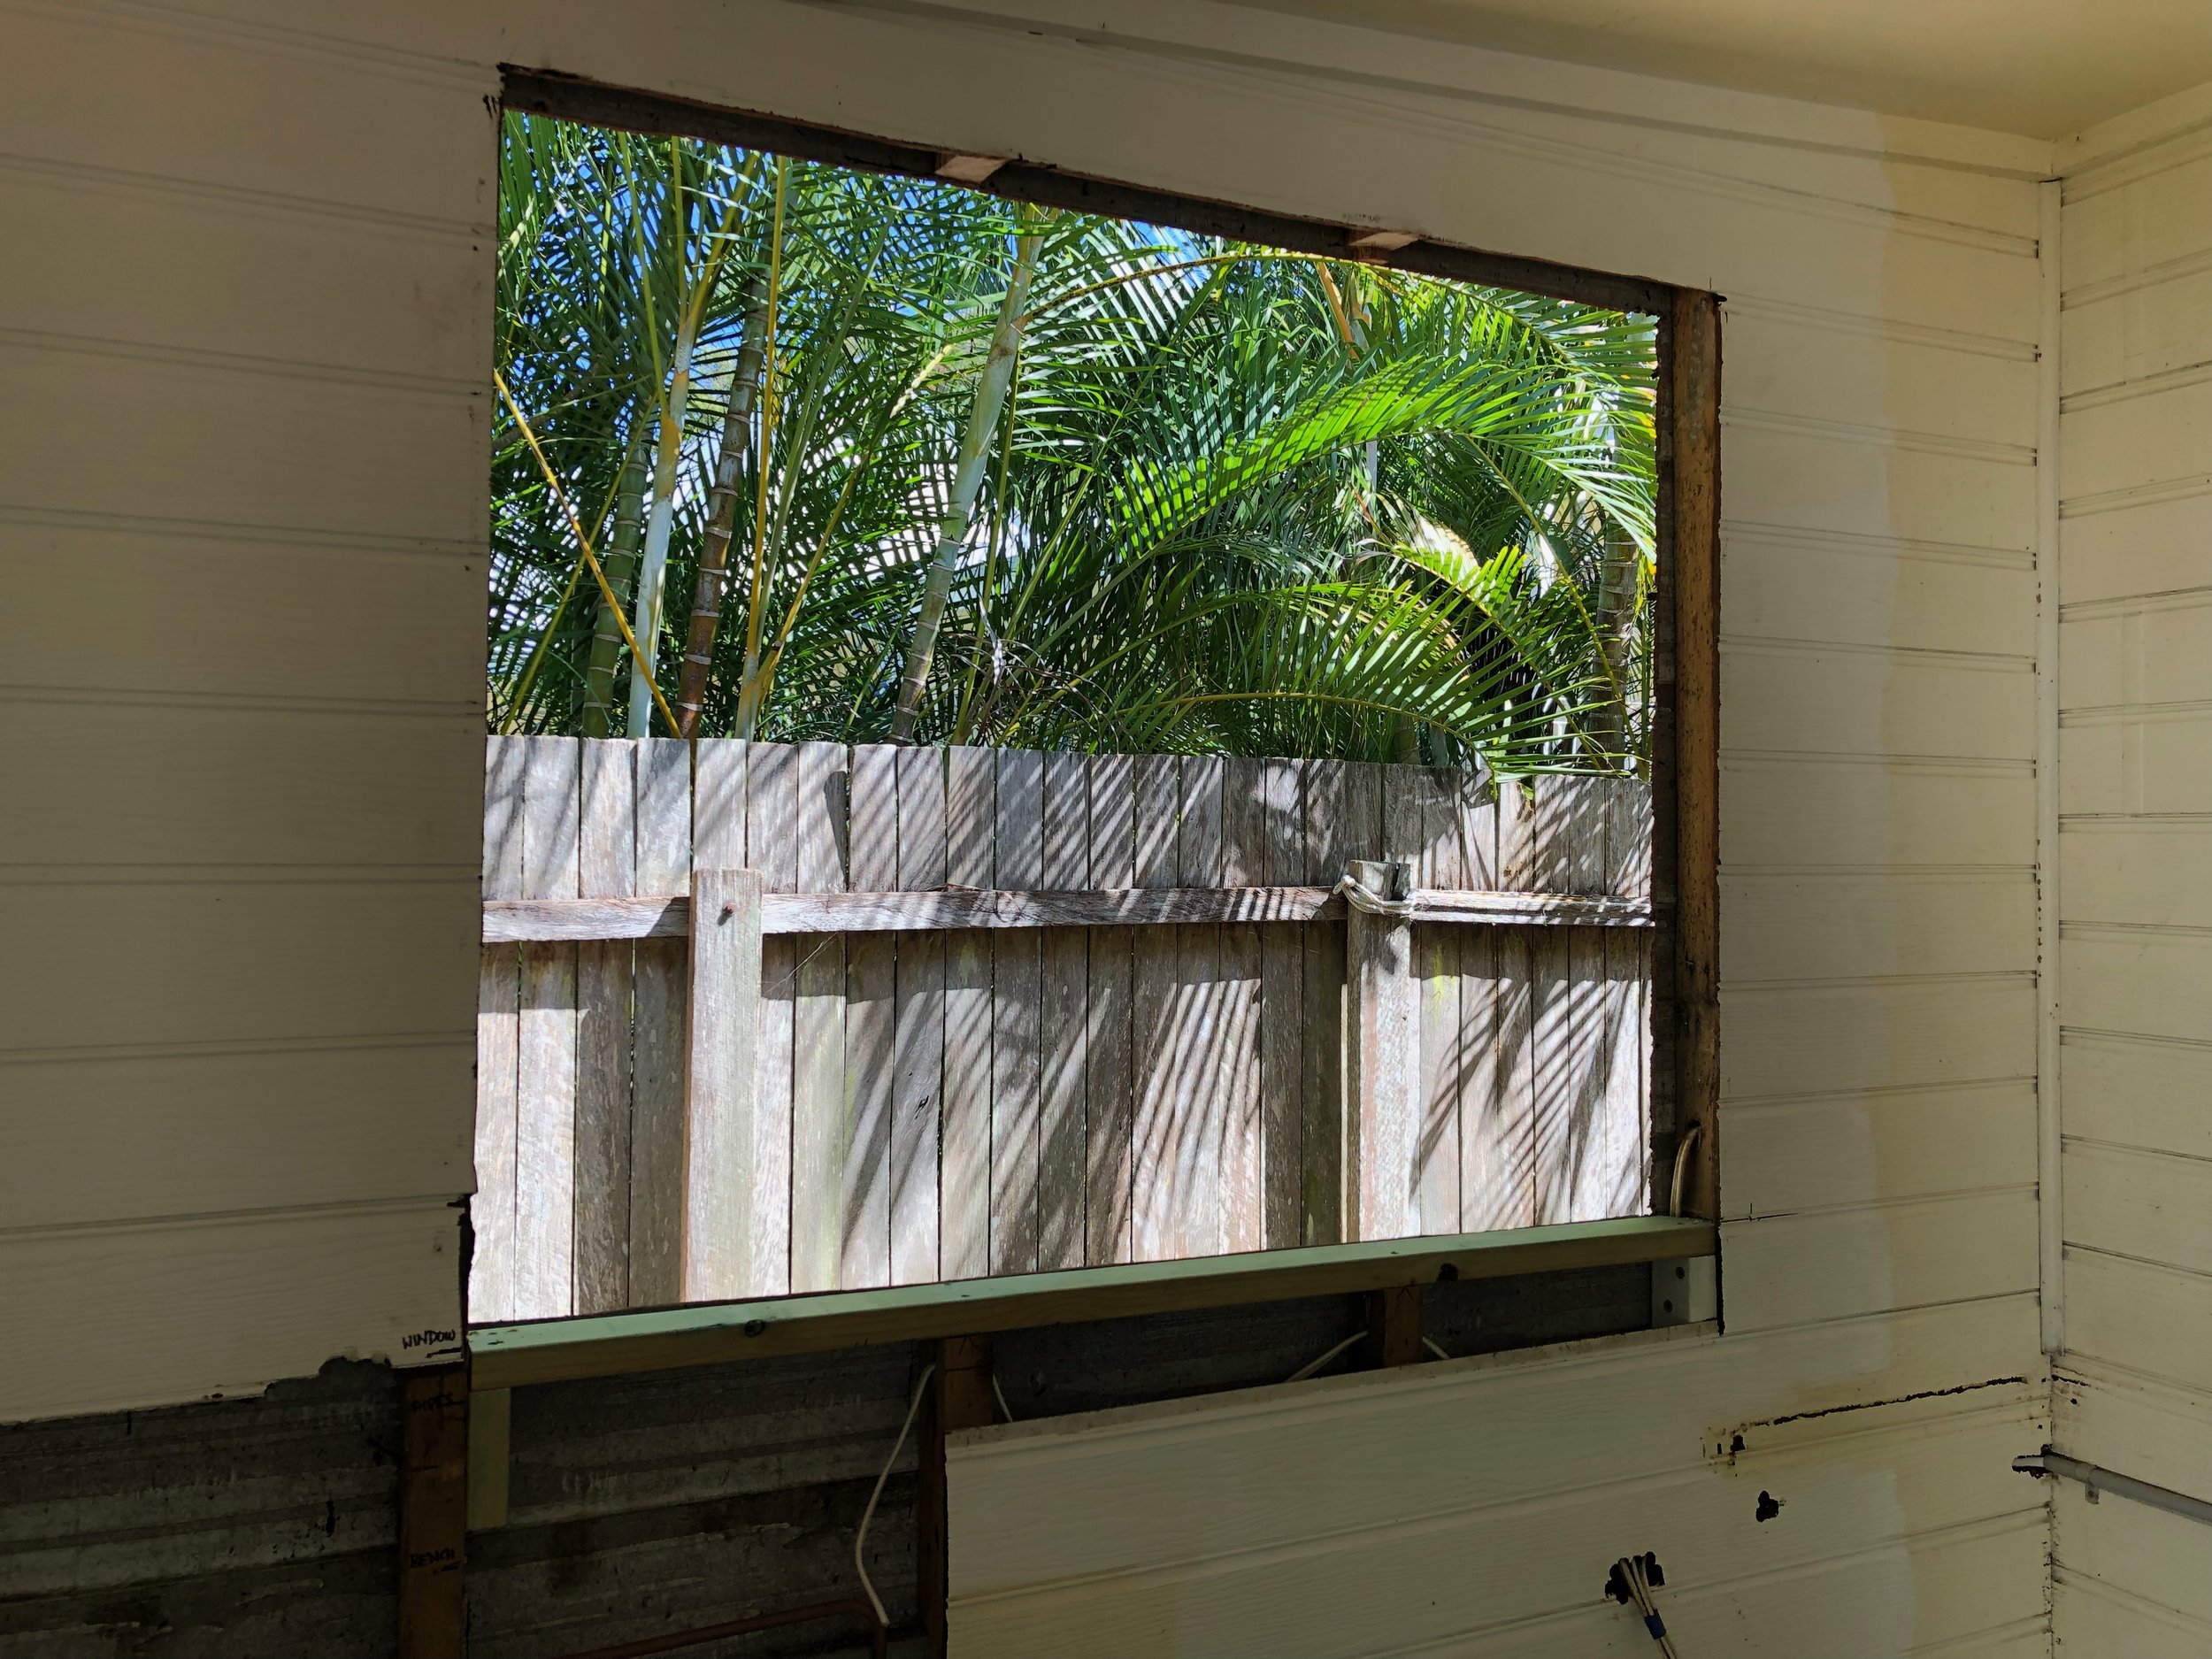
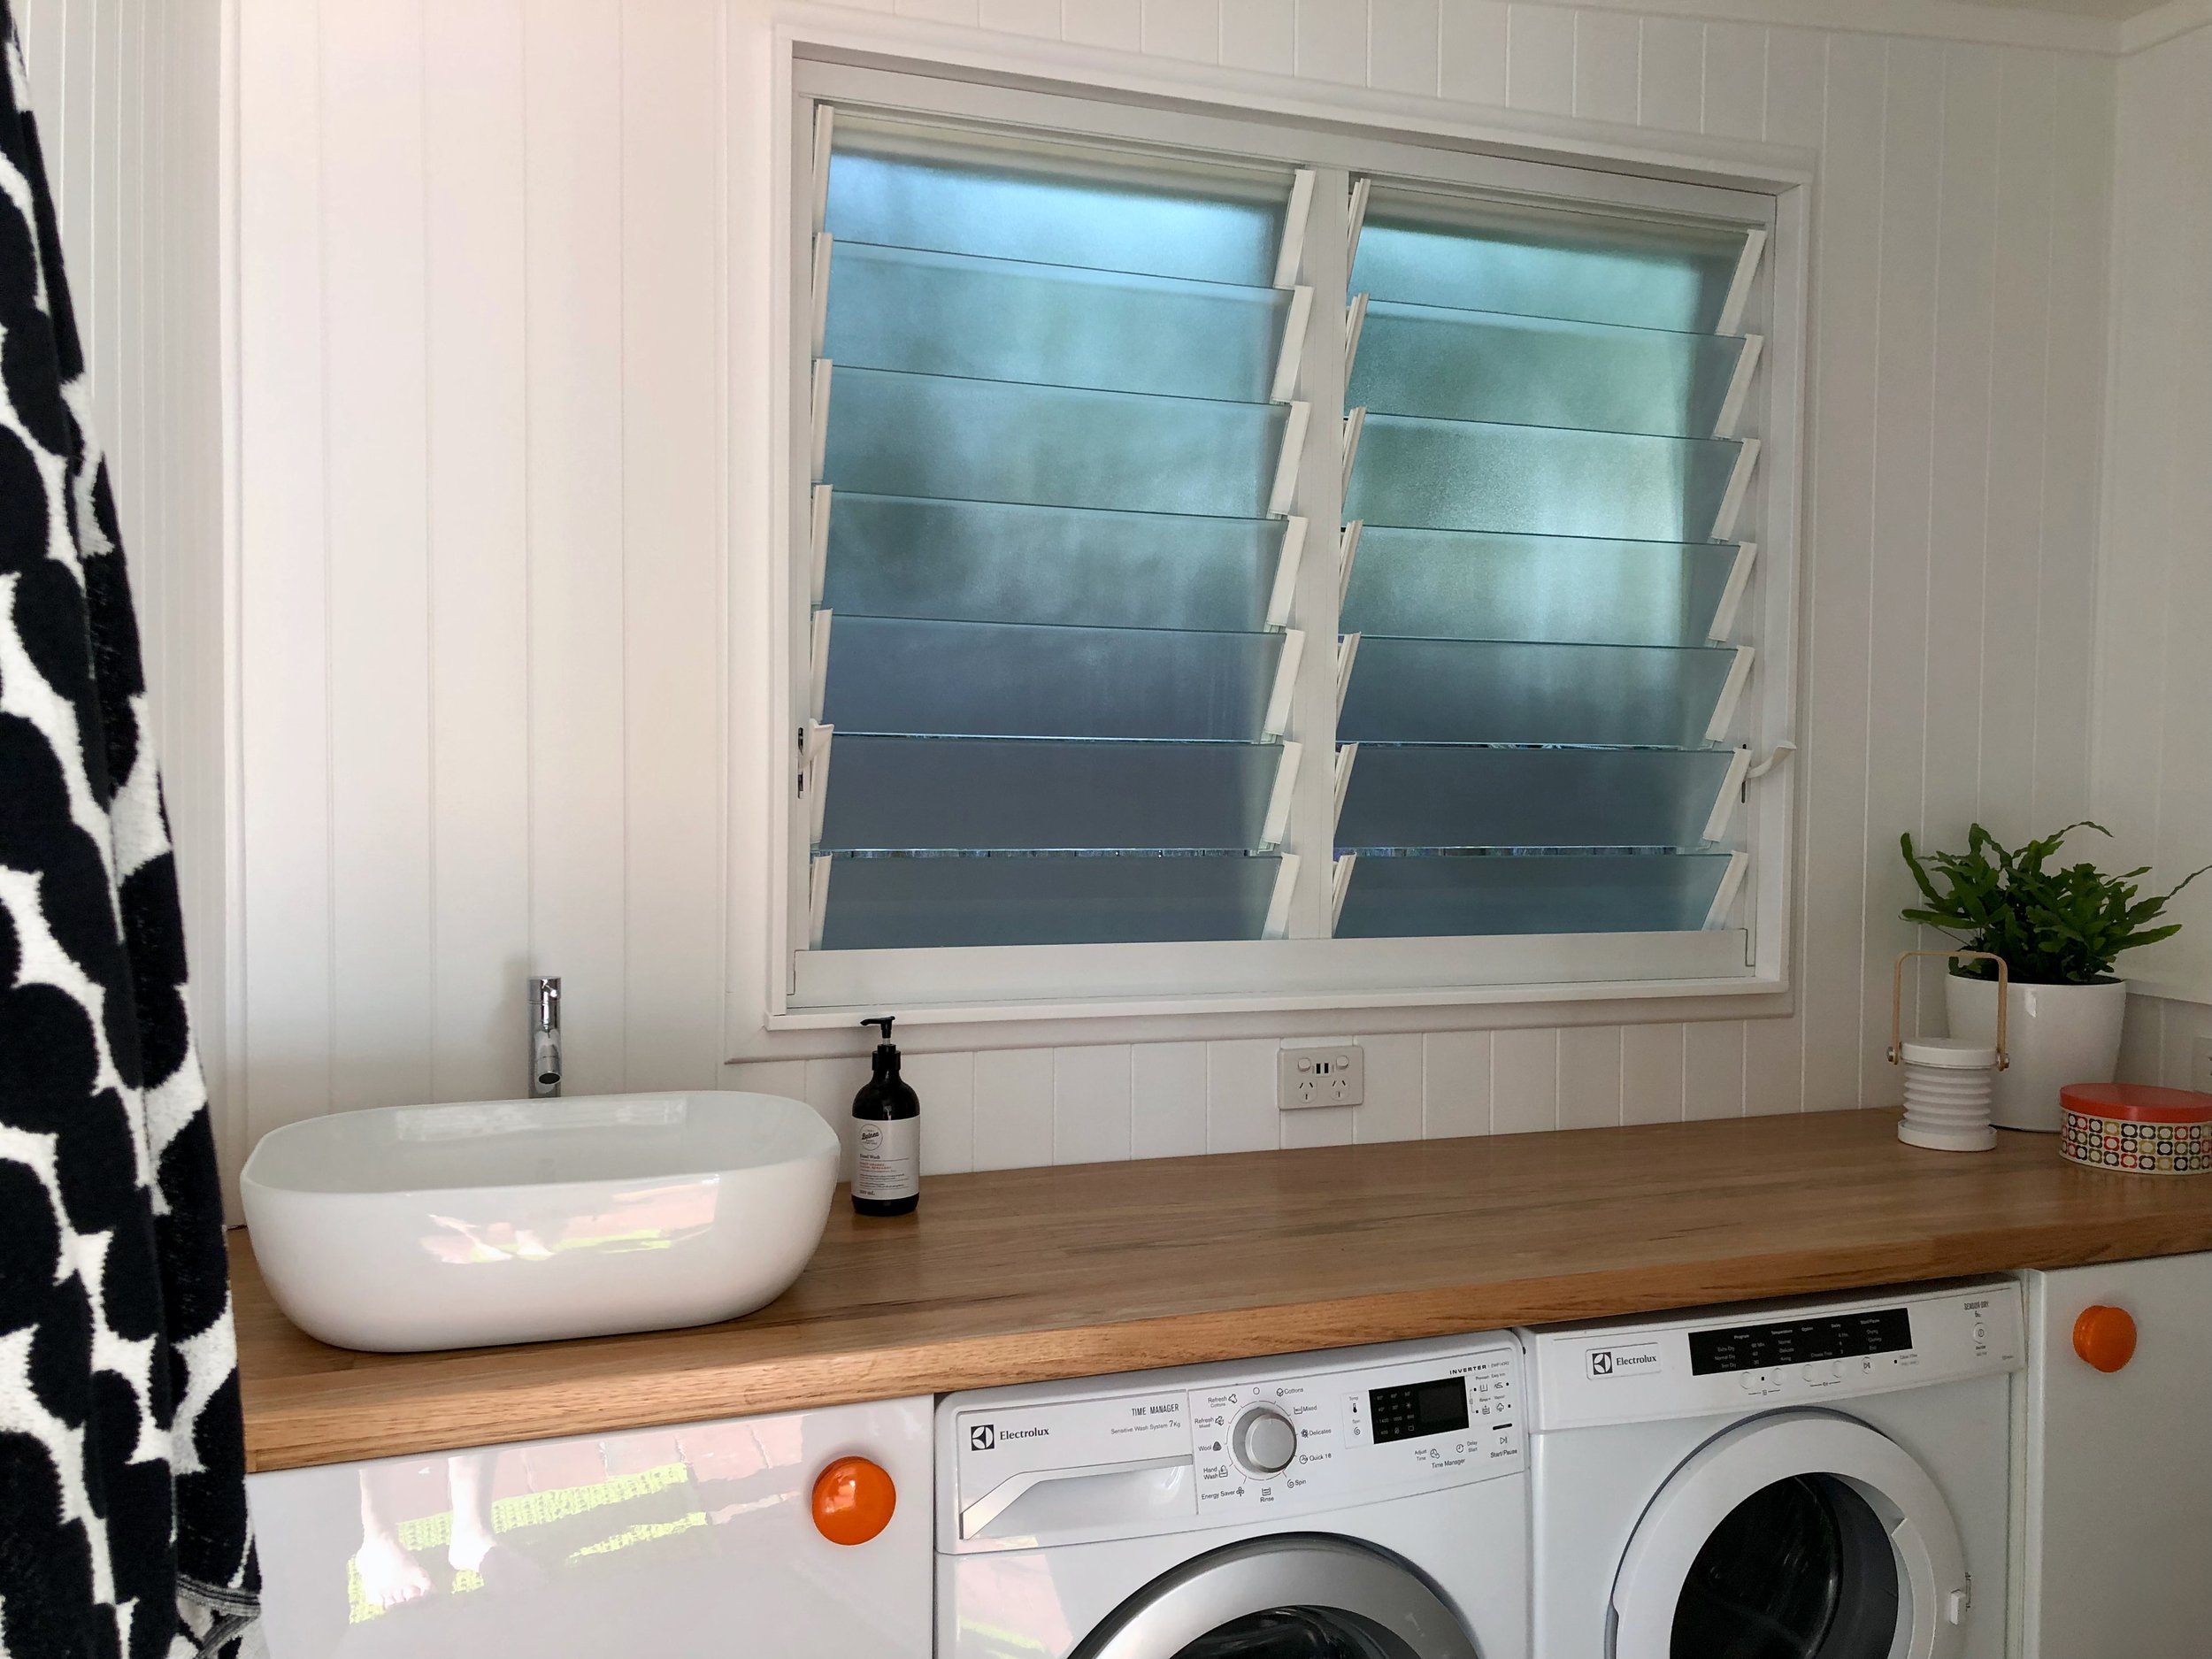
A year later, I finally had time and budget to do a some real upgrades, installing a new Breezway two-bay louvred window for light and ventilation.
I had an electrician fix off the room and locate the wiring so I could safely cut through the non load-bearing wall. I cut the inside wall and studs first, then the exterior wall. I had some help installing the frame then assemble with the glass louvres and added trim.
BUILDING A NEW WALL
After pulling down the old screening, I built a new wall that integrated the door jamb.
I framed up a nib wall behind the toilet to hide wires and plumbing while creating a shelf to span the wall. I also filled in the old window cavity with framing.
DIY TIP It’s best practice to space stud centres 450mm horizontally, and 600mm vertically between noggins.
HANGING THE WALL SHEETS
After filling in the old window cavity with framing I hung Easycraft VJ panels on all four walls, cutting each sheet to fit up into the existing cornice and making cutouts for wiring and plumbing.
DIY TIP I chose the MDF VJ panels instead of plasterboard to avoid having to master the art of plastering. Hanging them directly onto the existing weatherboard walls saved me having to start again.
LOTS OF PAINT
Once the plumber had returned to install the toilet, and the sparkie put in the light, switches and power points I could get on with finishing the room.
First I primed, then painted the ceiling and walls in Dulux Vivid White to keep the room as bright as possible. Then I cut skirting and window trim to size and painted them with water-based enamel.
DIY TIP I can't go past painting grooved wall panels with mini rollers. They're lightweight and only need a small tray, making them easier to use up a ladder. I load the roller then run the tip down the grooves instead of using a brush to cut in. It's faster, with less cleaning up.
THE PLUMBING SETOUT
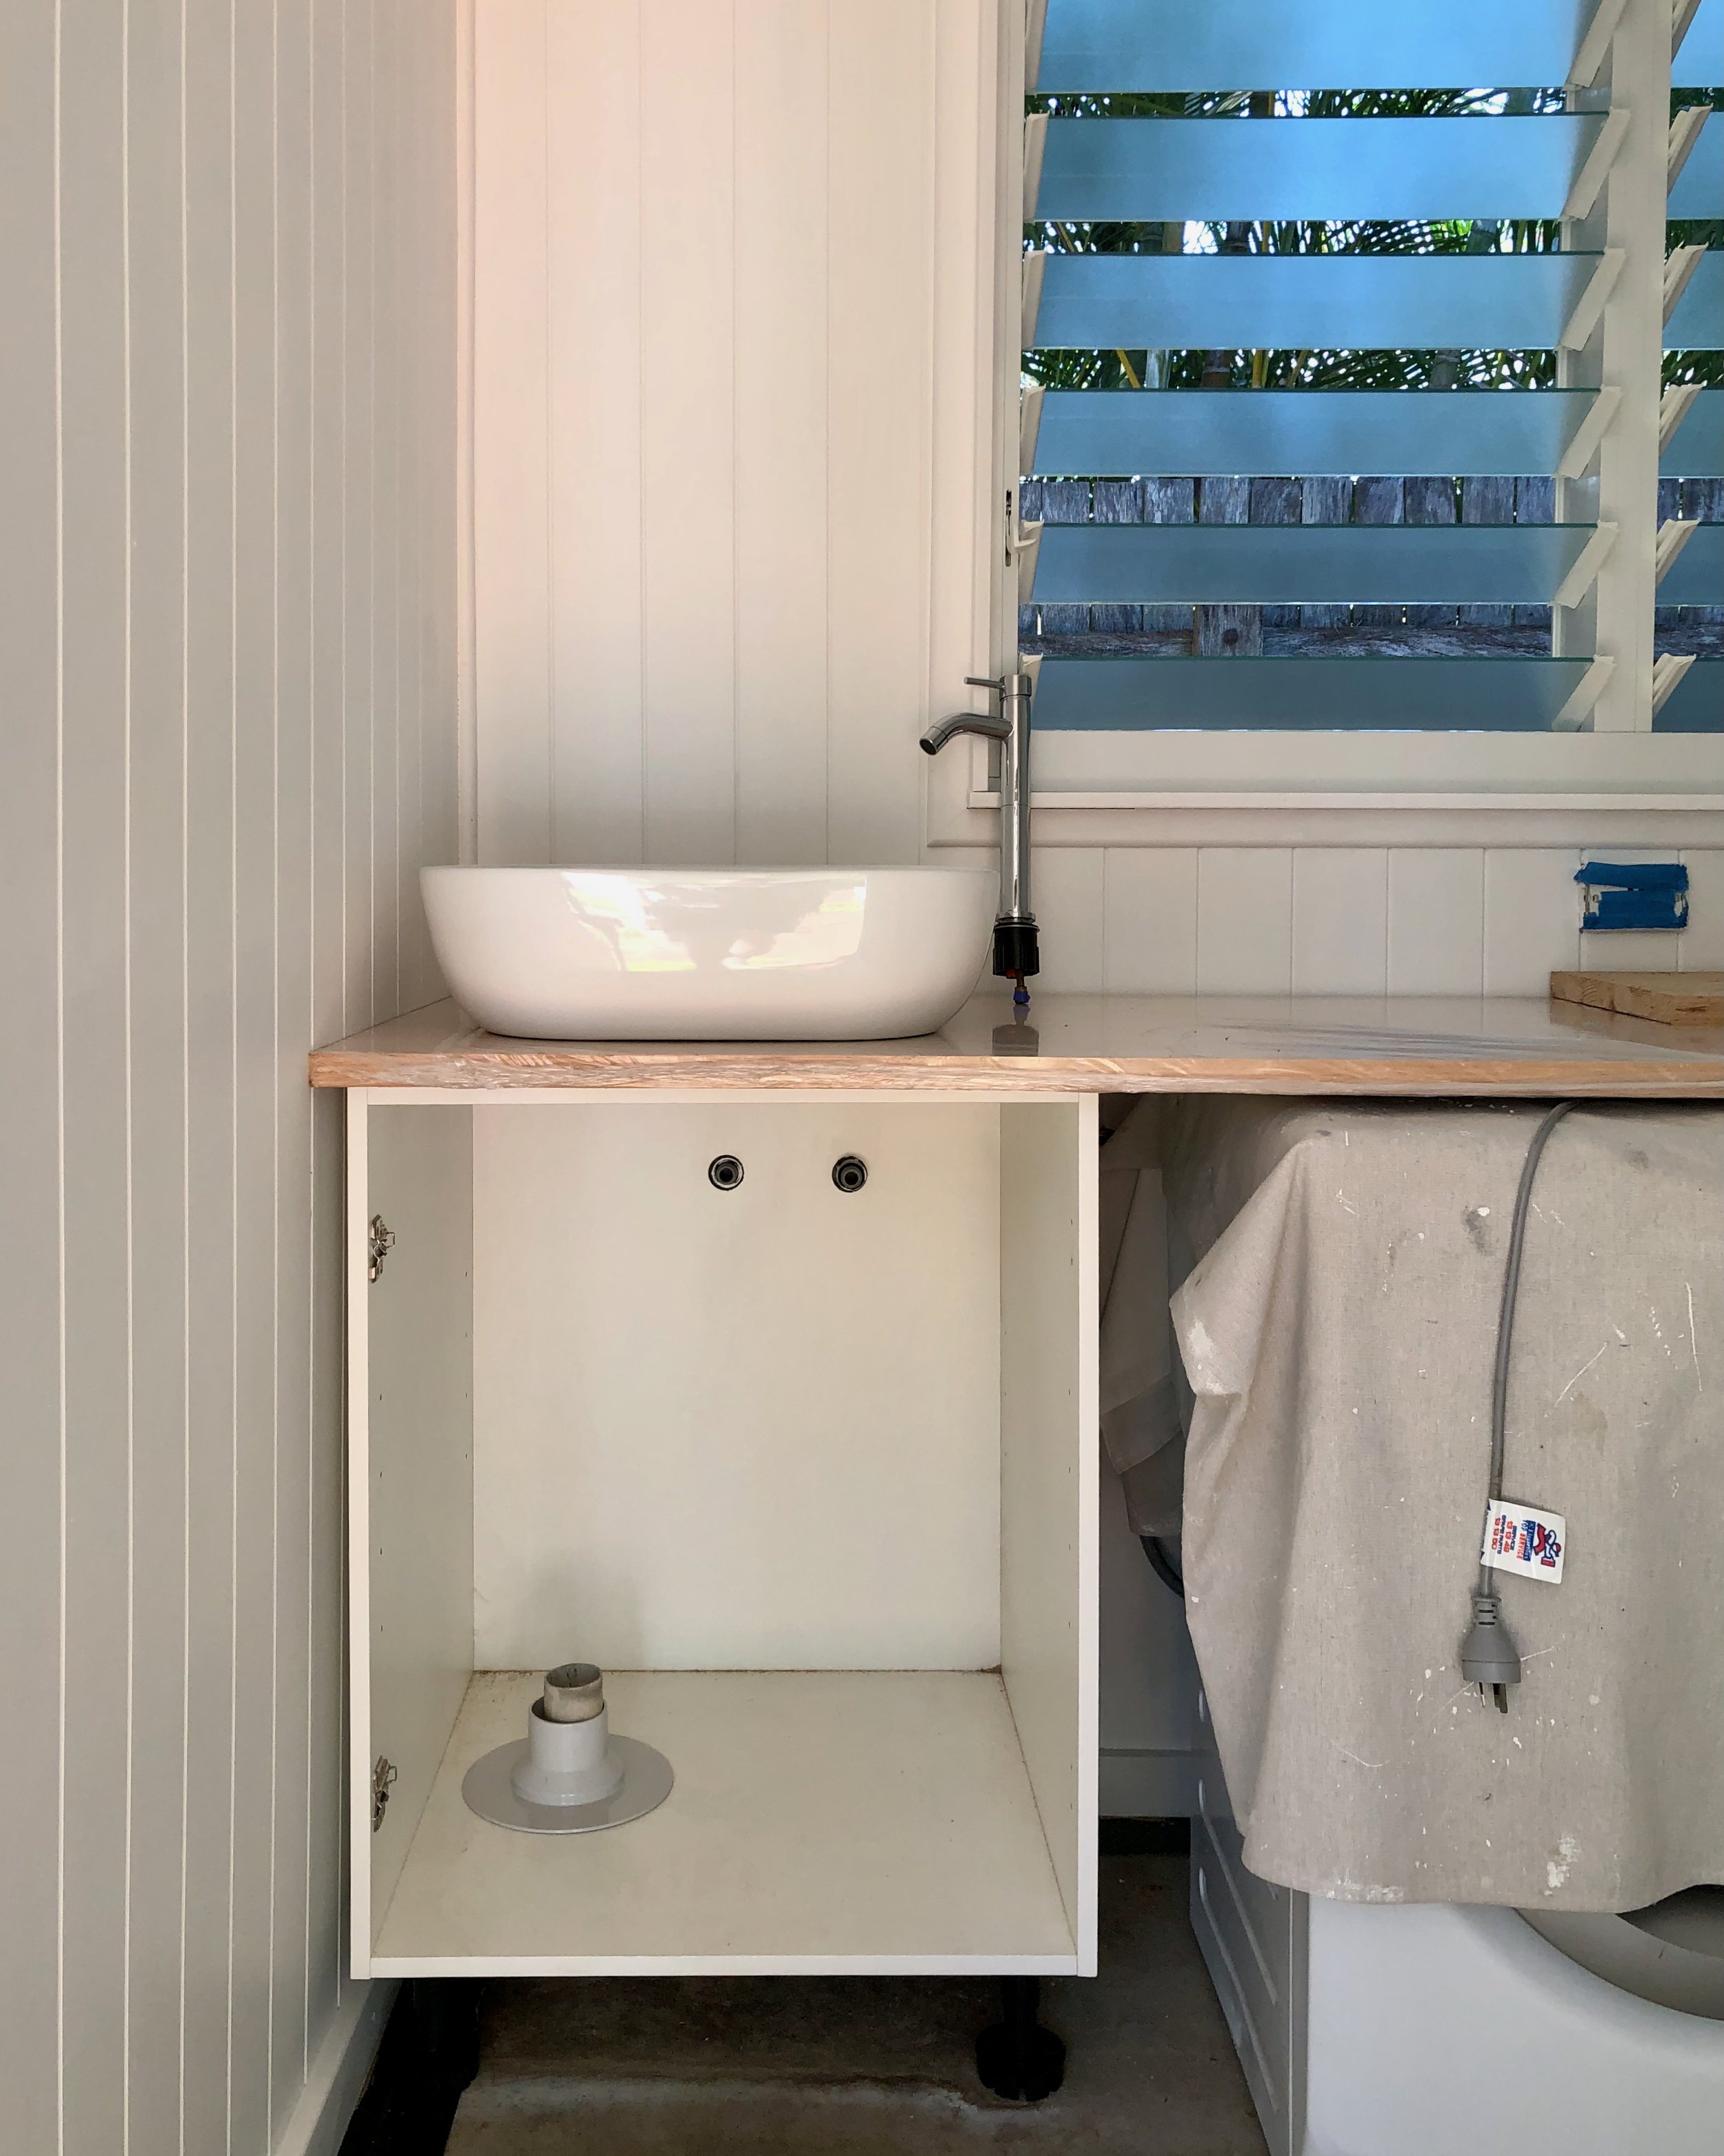
To avoid moving the sink waste that was plumbed through the concrete slab, I designed the room to keep the sink and washing machine plumbing in the same spot. The toilet was installed via new pipes from underneath the house.
INSTALLING JOINERY
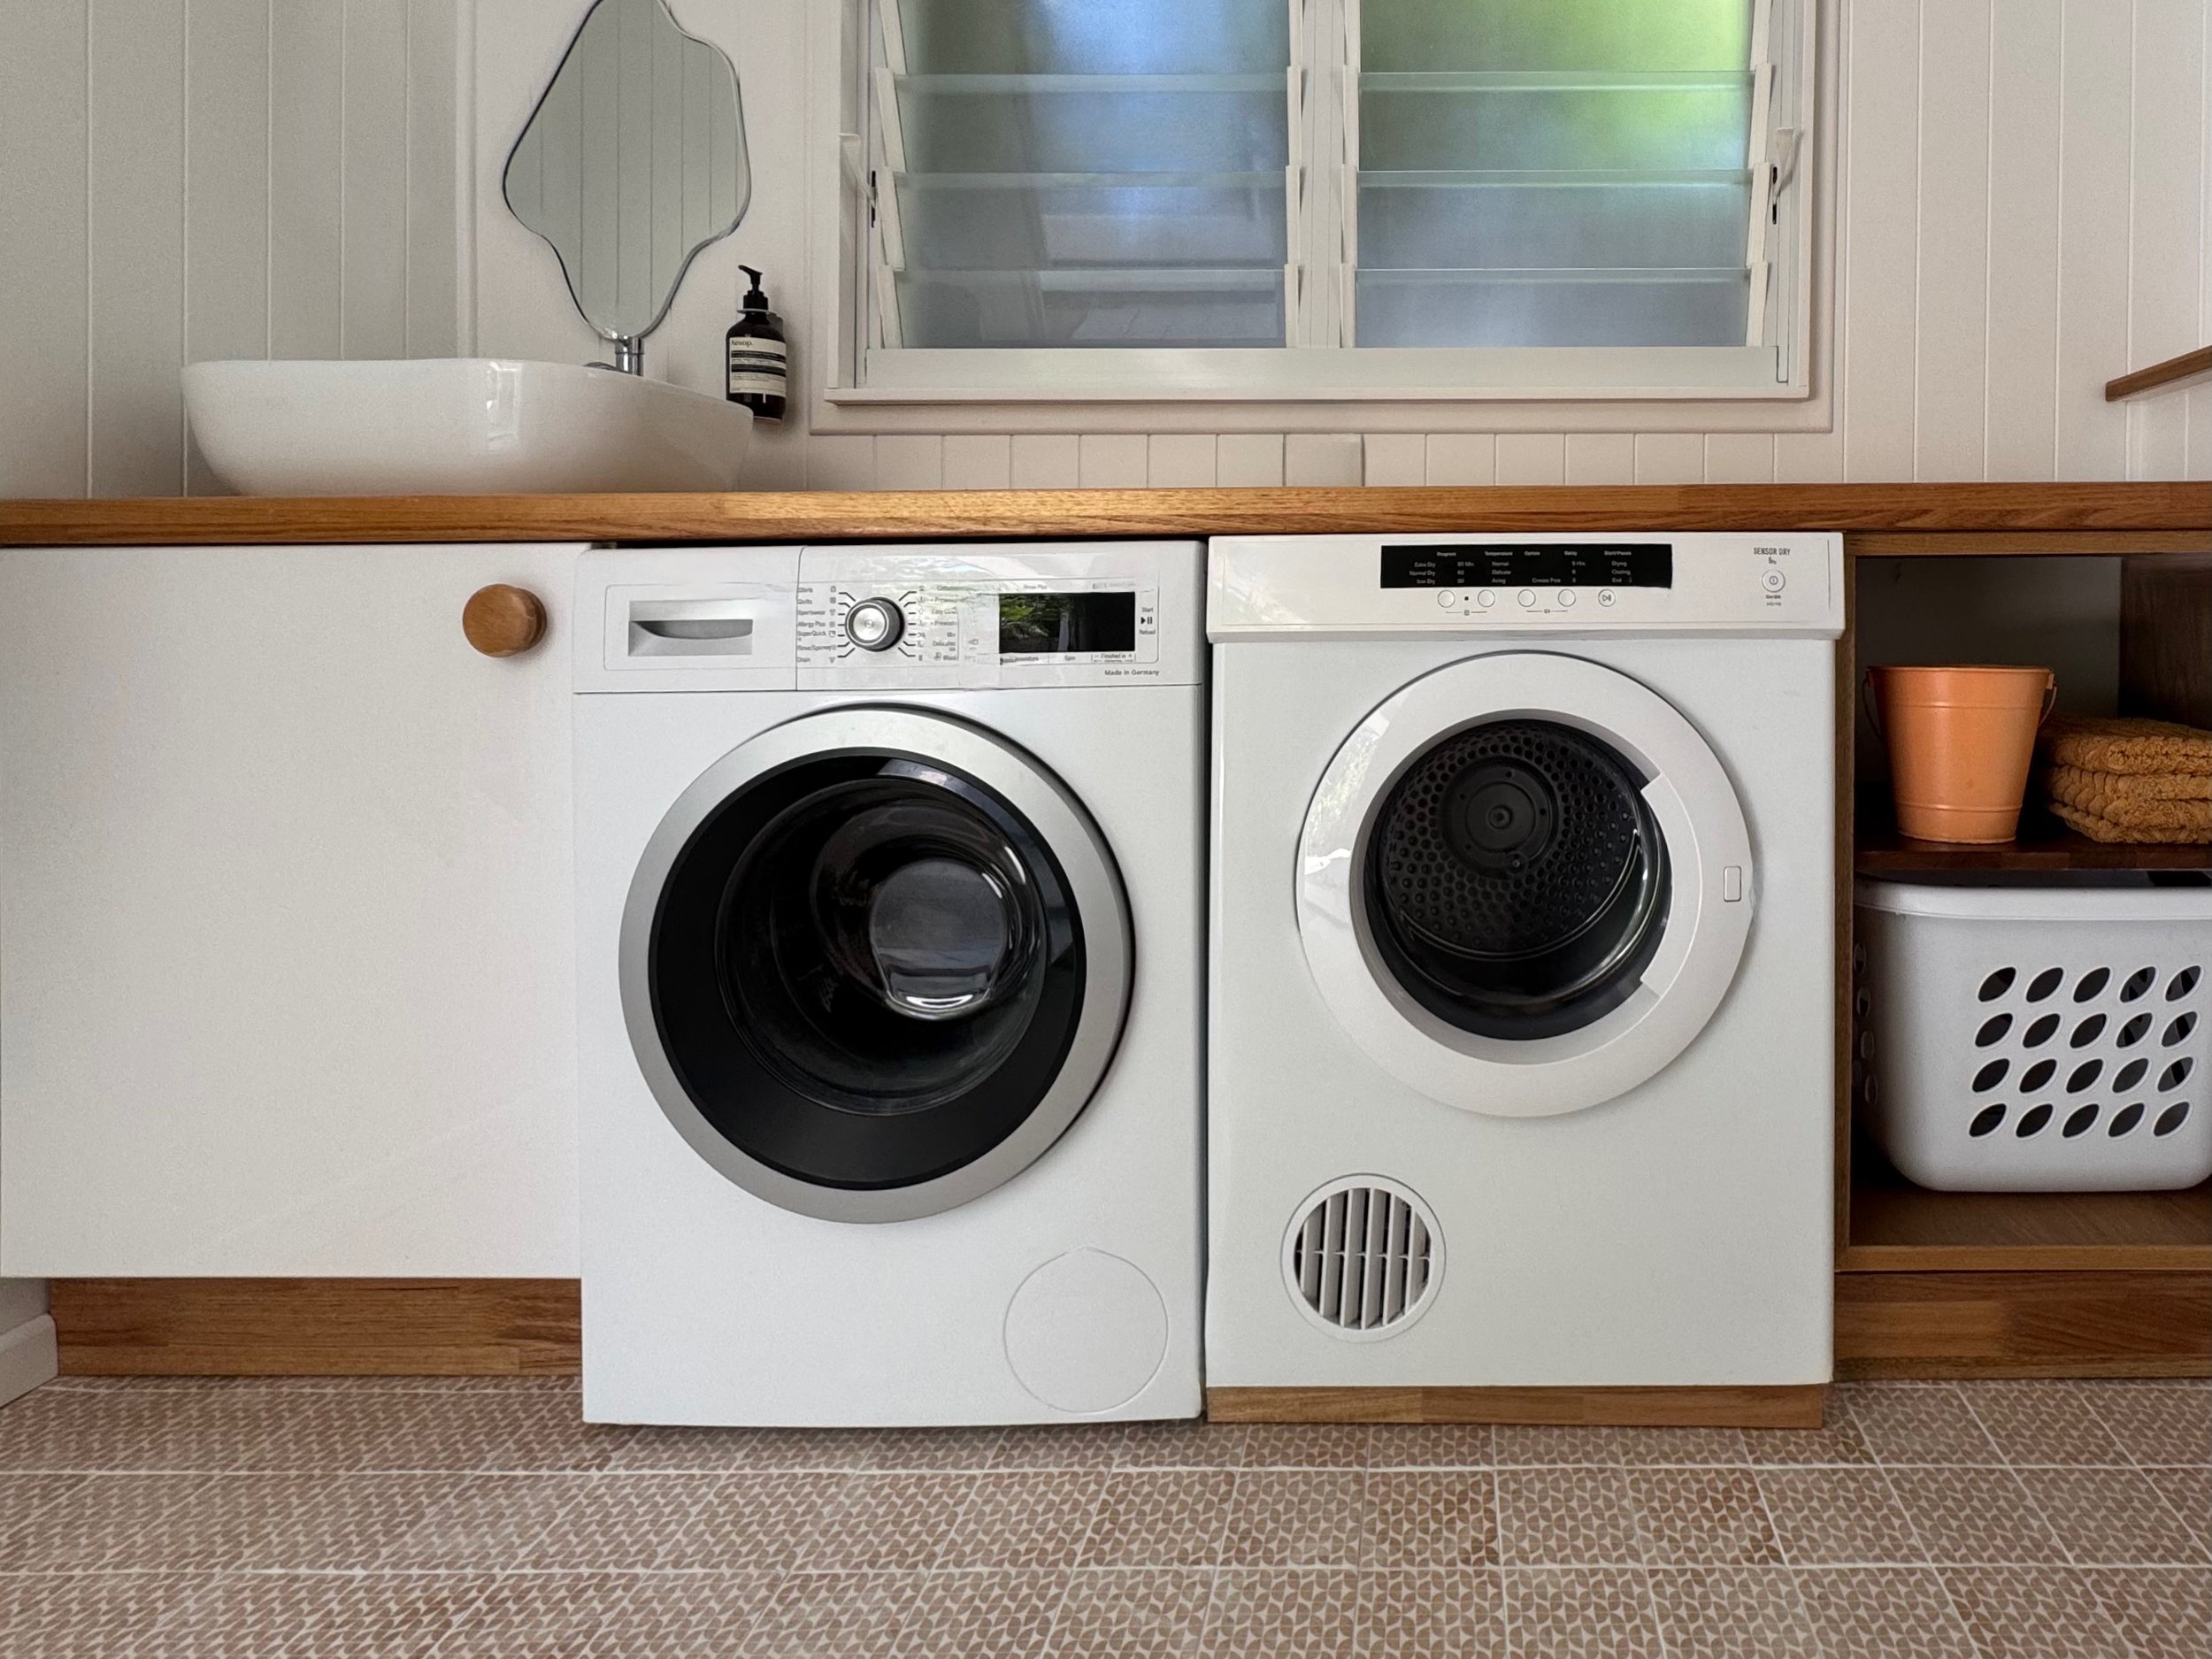
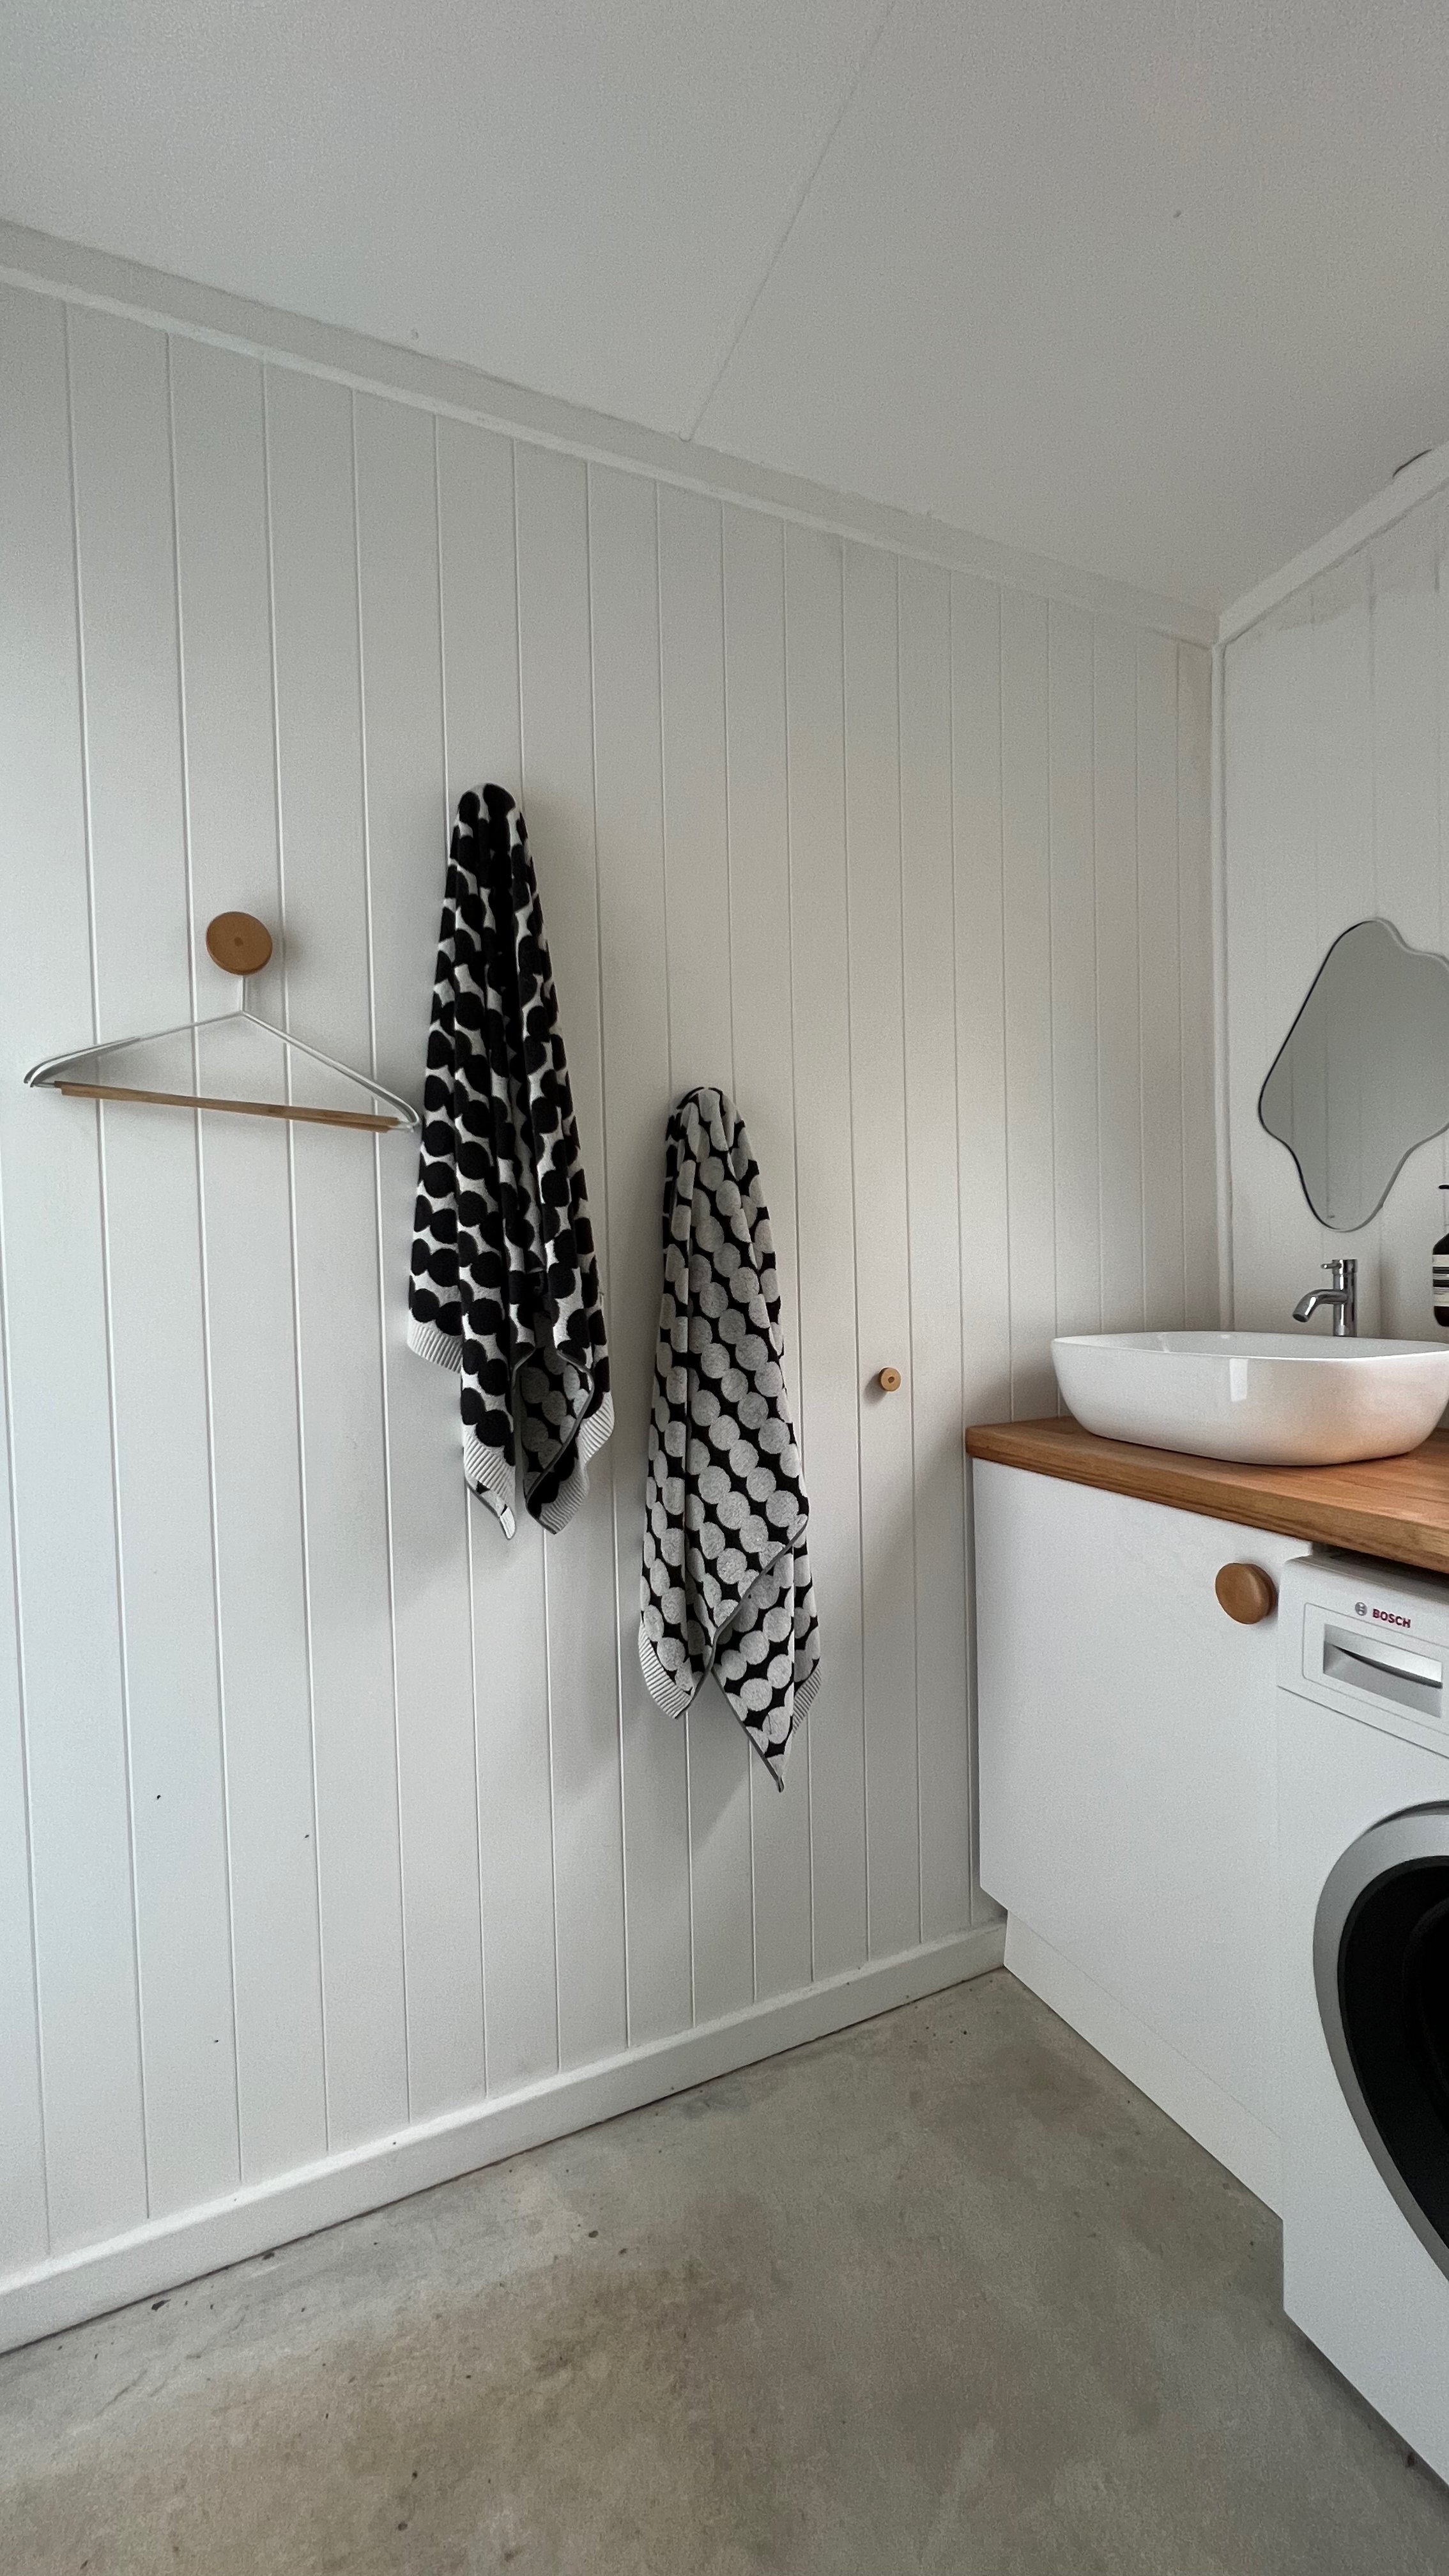
The bench spans from wall to nib wall, with 600mm Kaboodle Kitchen base cabinets either end to leave space for the appliances to slide in. To make the drier the same height as the washing machine I made a plinth painted the same as the kickboards. The gloss white doors went on last so they wouldn’t get knocked.
DIY TIP Raise the adjustable feet high as possible to allow for appliances. The result is slightly higher than a standard kitchen bench.
HANDCRAFTED BENCHTOP
I made the countertop by joining two 1800mm x 600mm x 18mm timber panels lengthways and cut them to the length of the bench. The offcuts were used around the edge underneath to make it look double the thickness and feel more substantial.
I sealed the bench top with three coats of Monocel marine-grade varnish and had the plumber help me lift it into place when they came to install the sink and mixer.
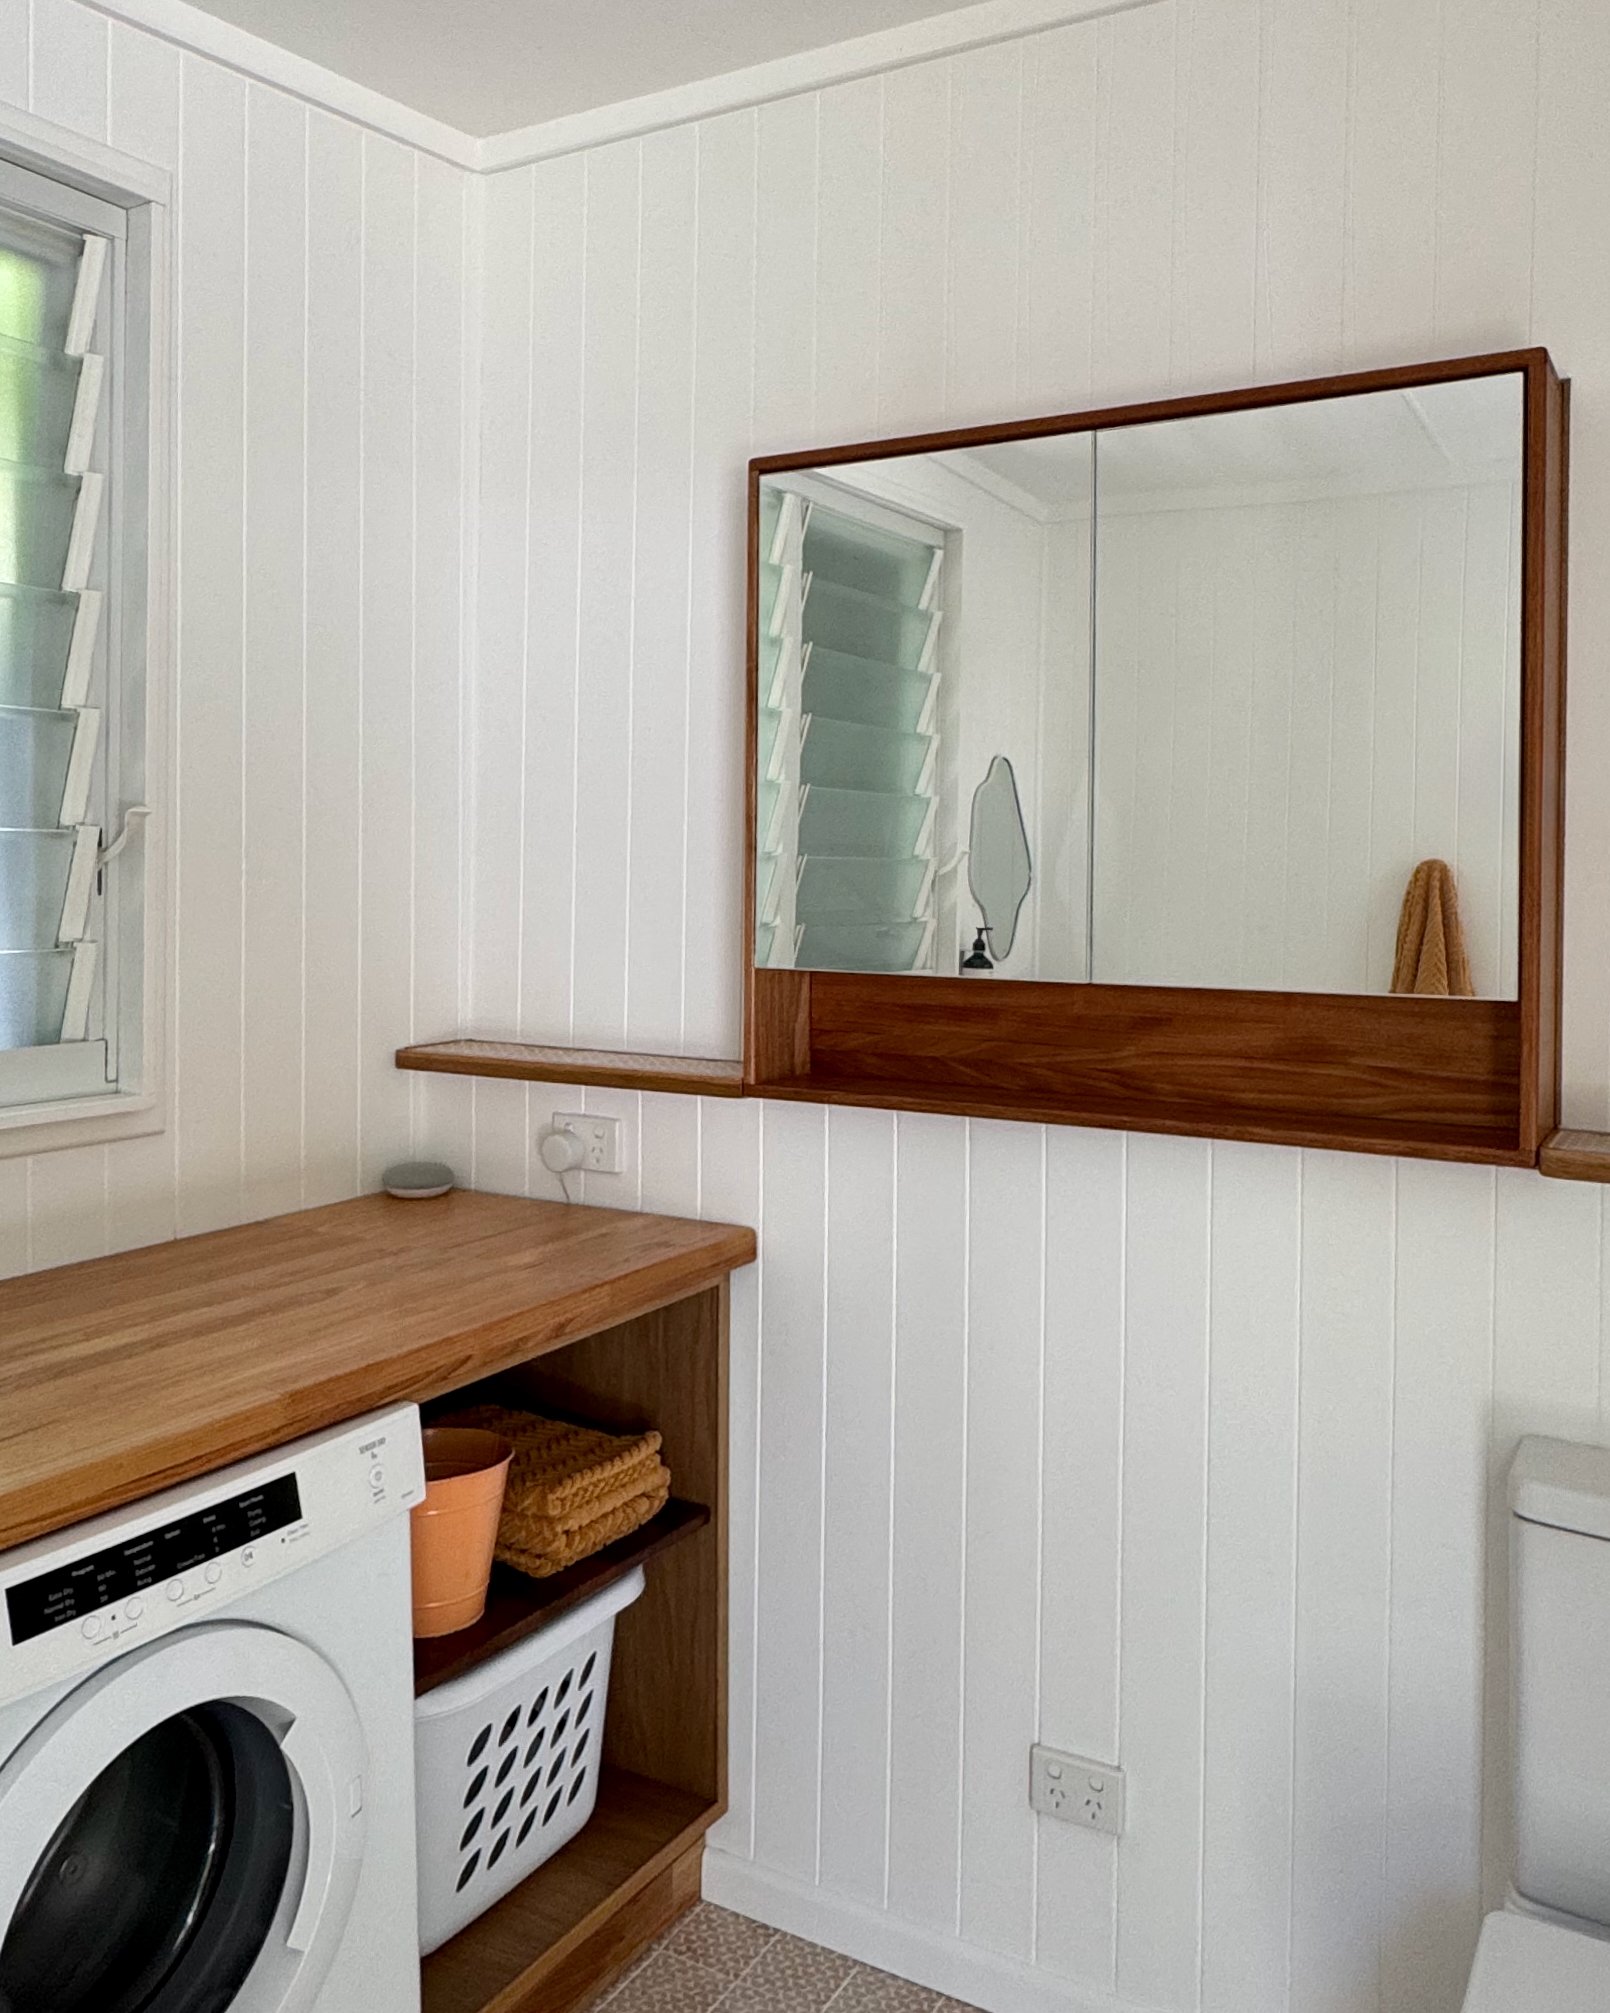
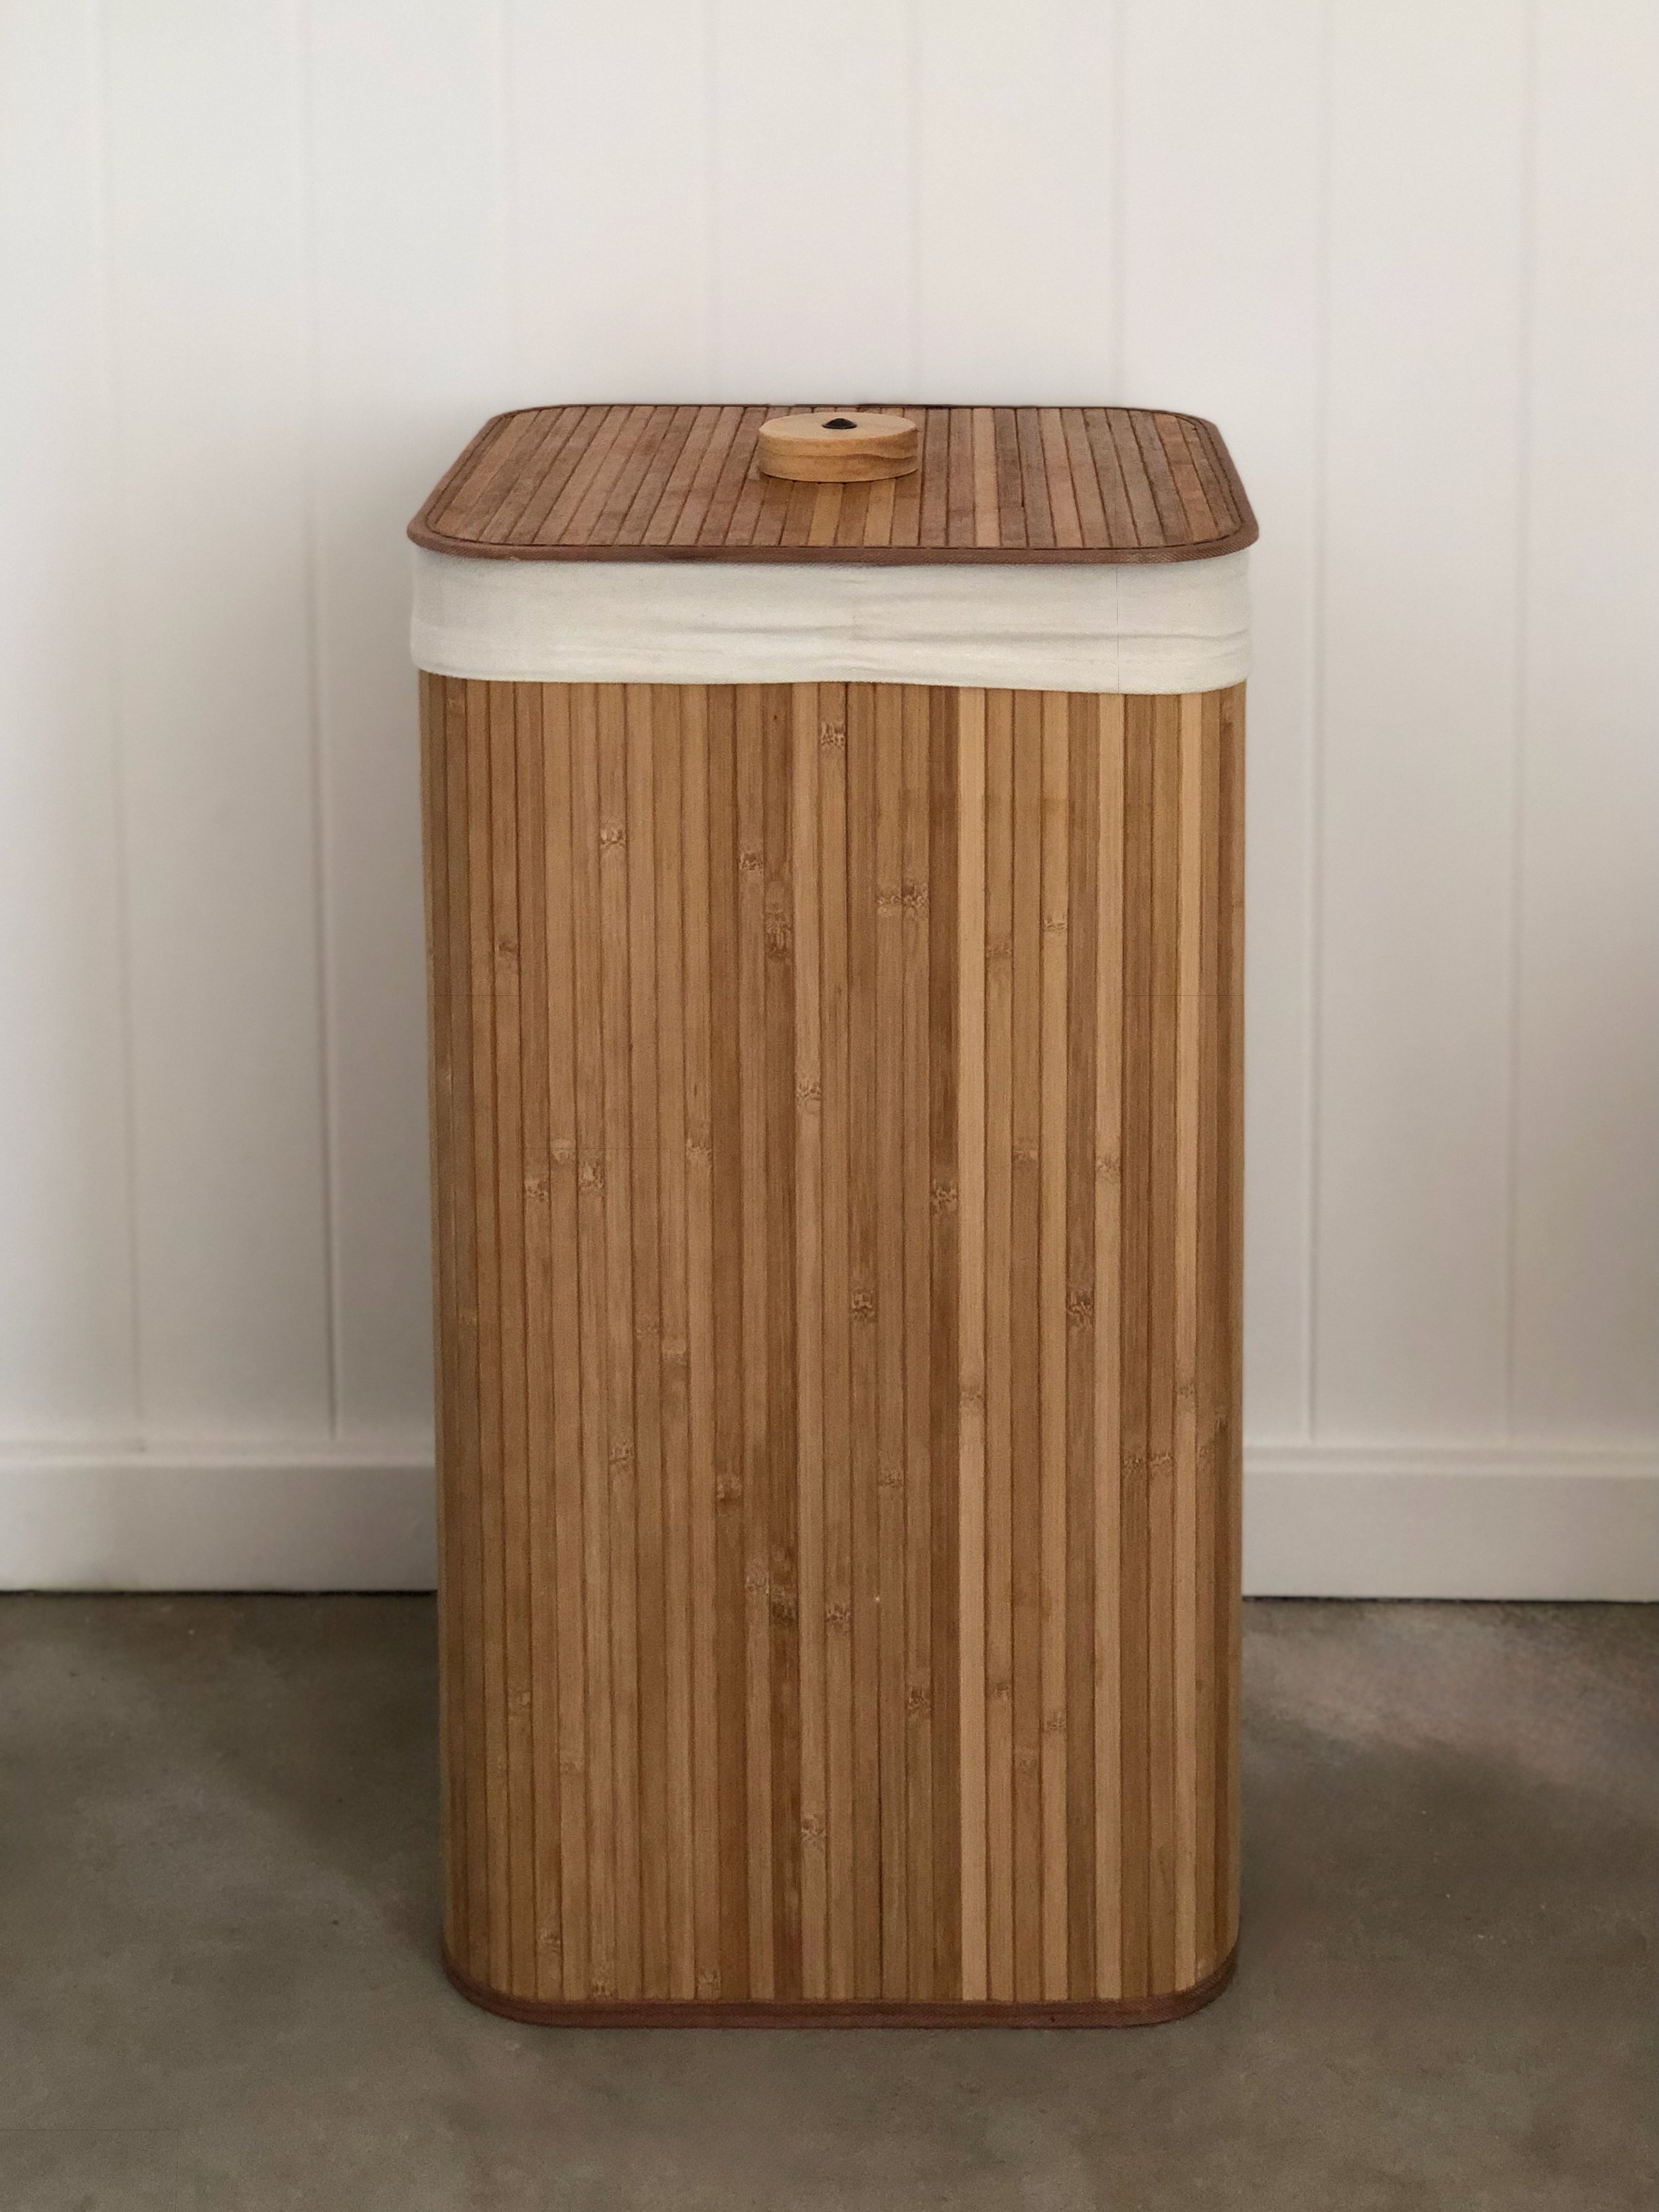
I recently changed the end cabinet (above right) by removing the door, lining the inside with plywood. Then I varnished and added a shelf to create space for the laundry basket. After tiling the floor I also changed the kickboards to timber to help the bench feel more built in.
SHAVING CABINET HACK
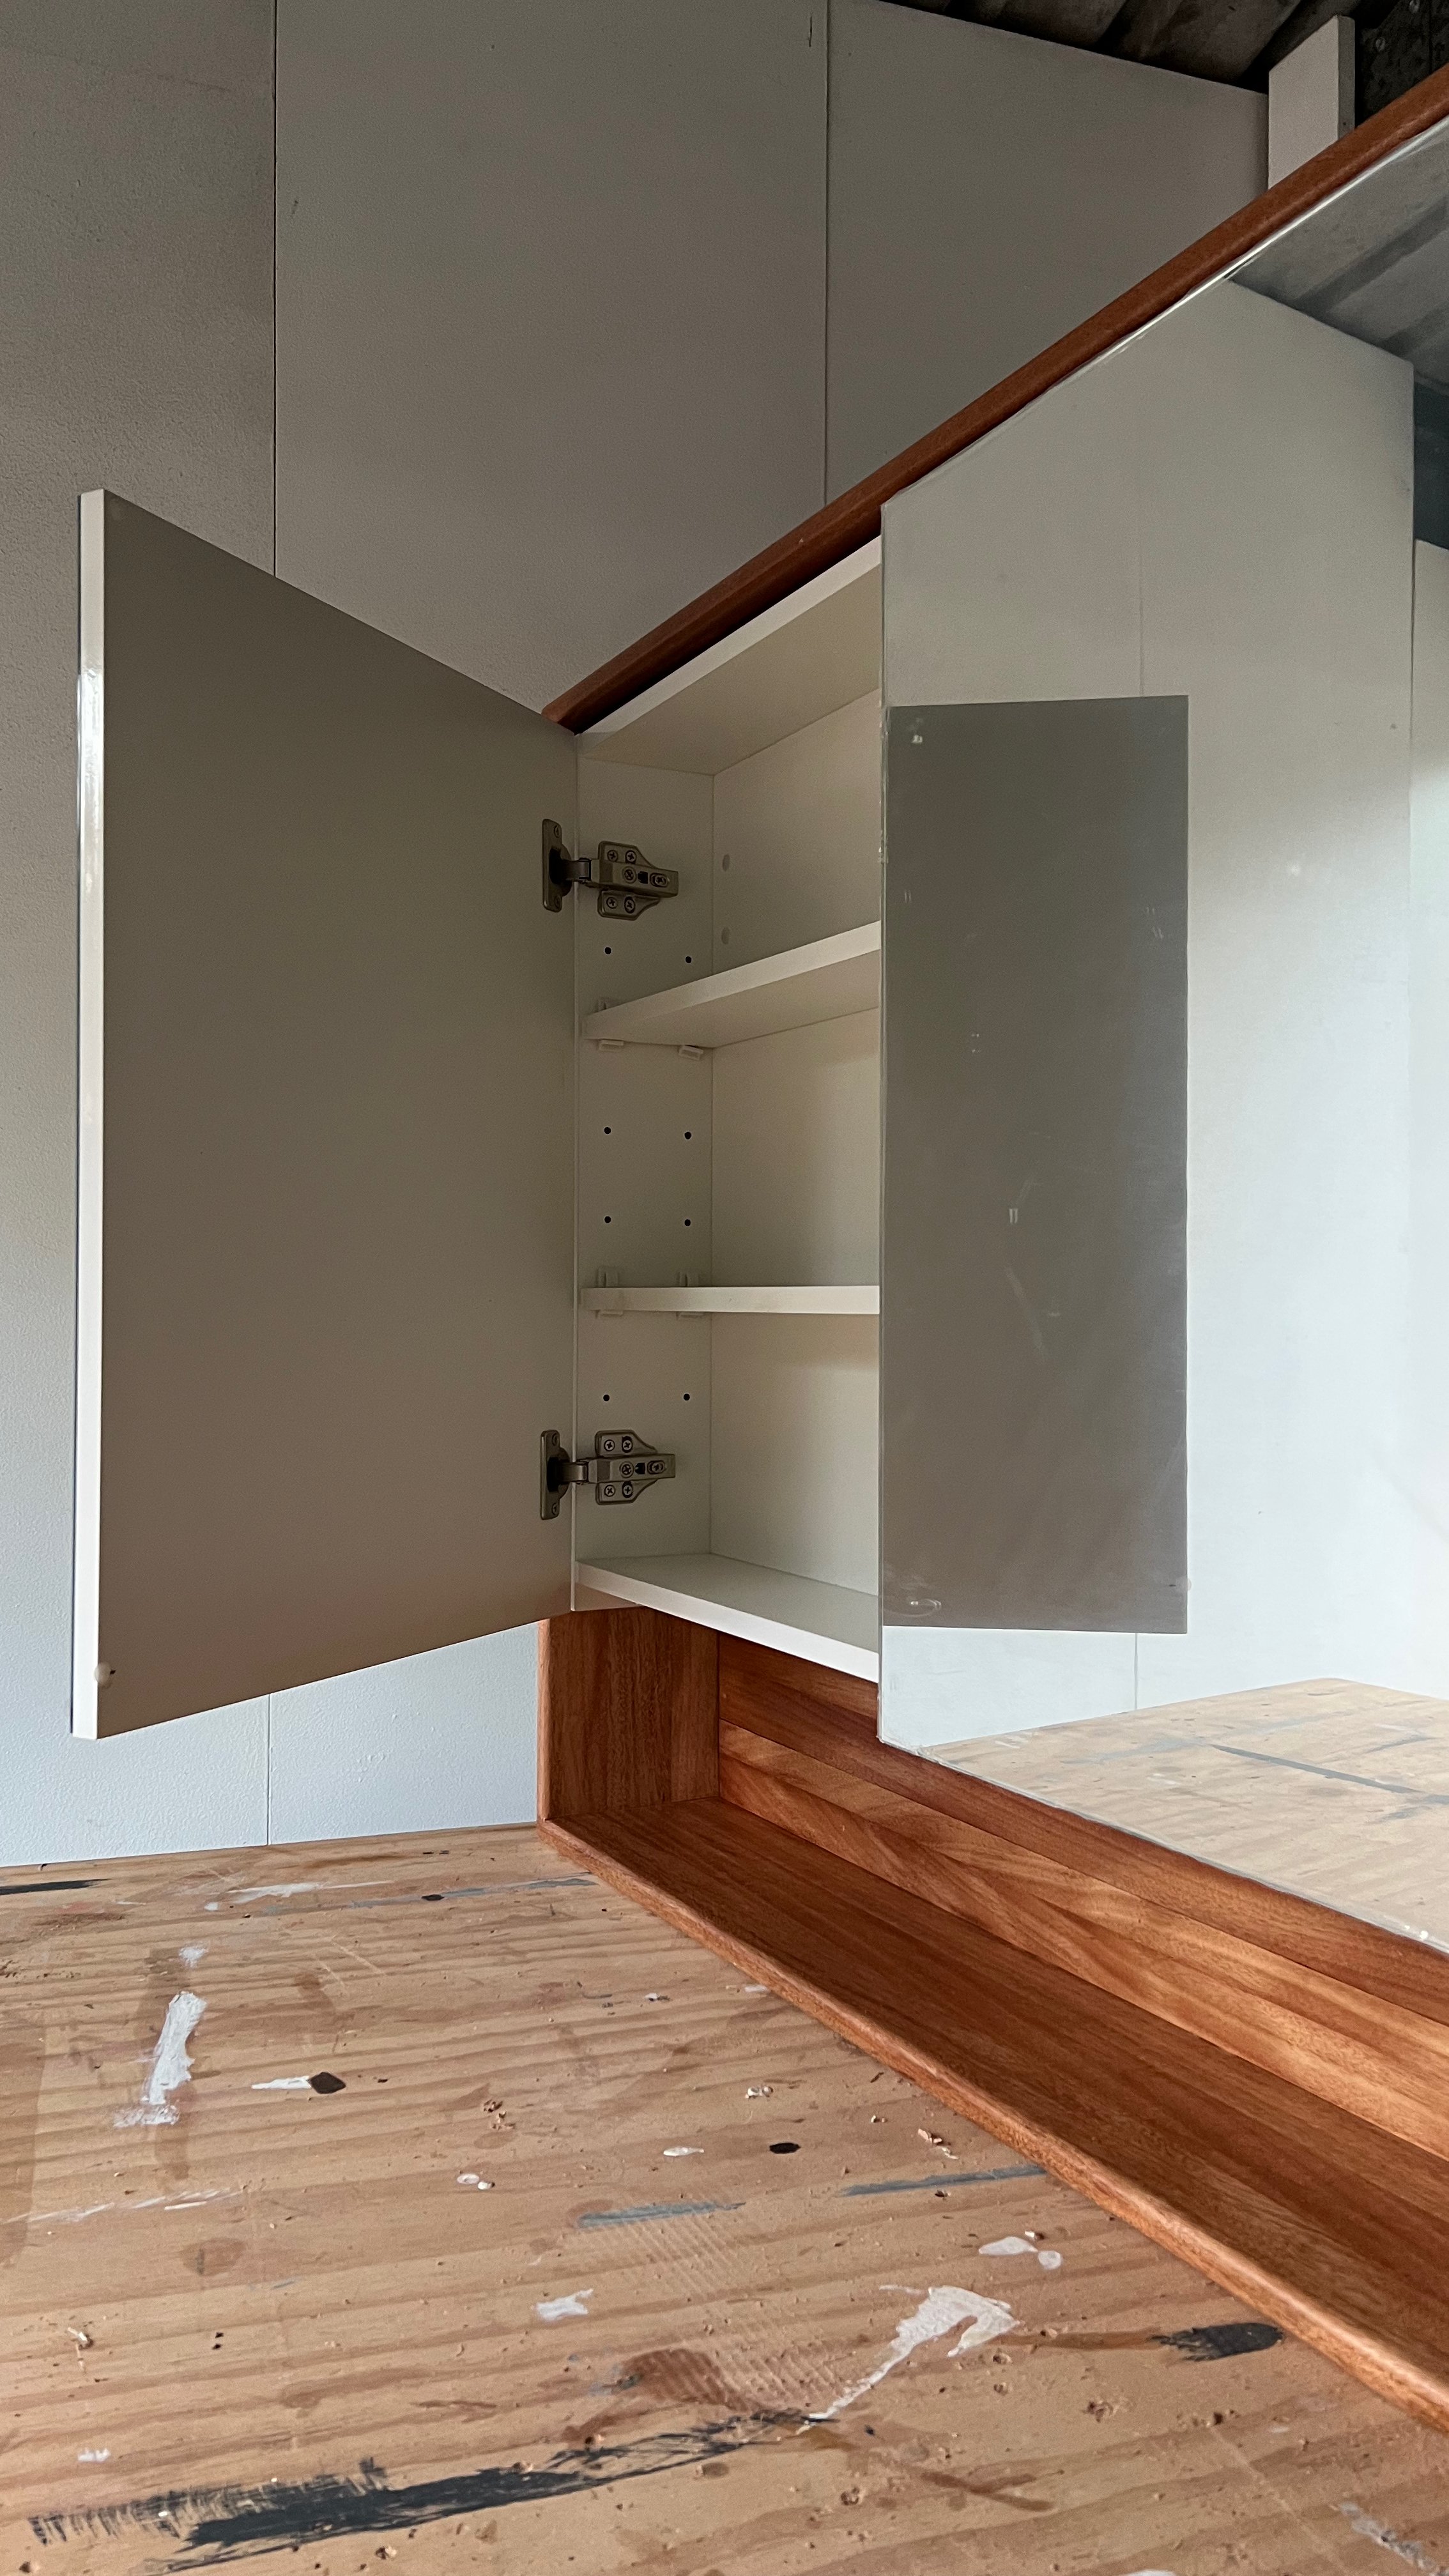
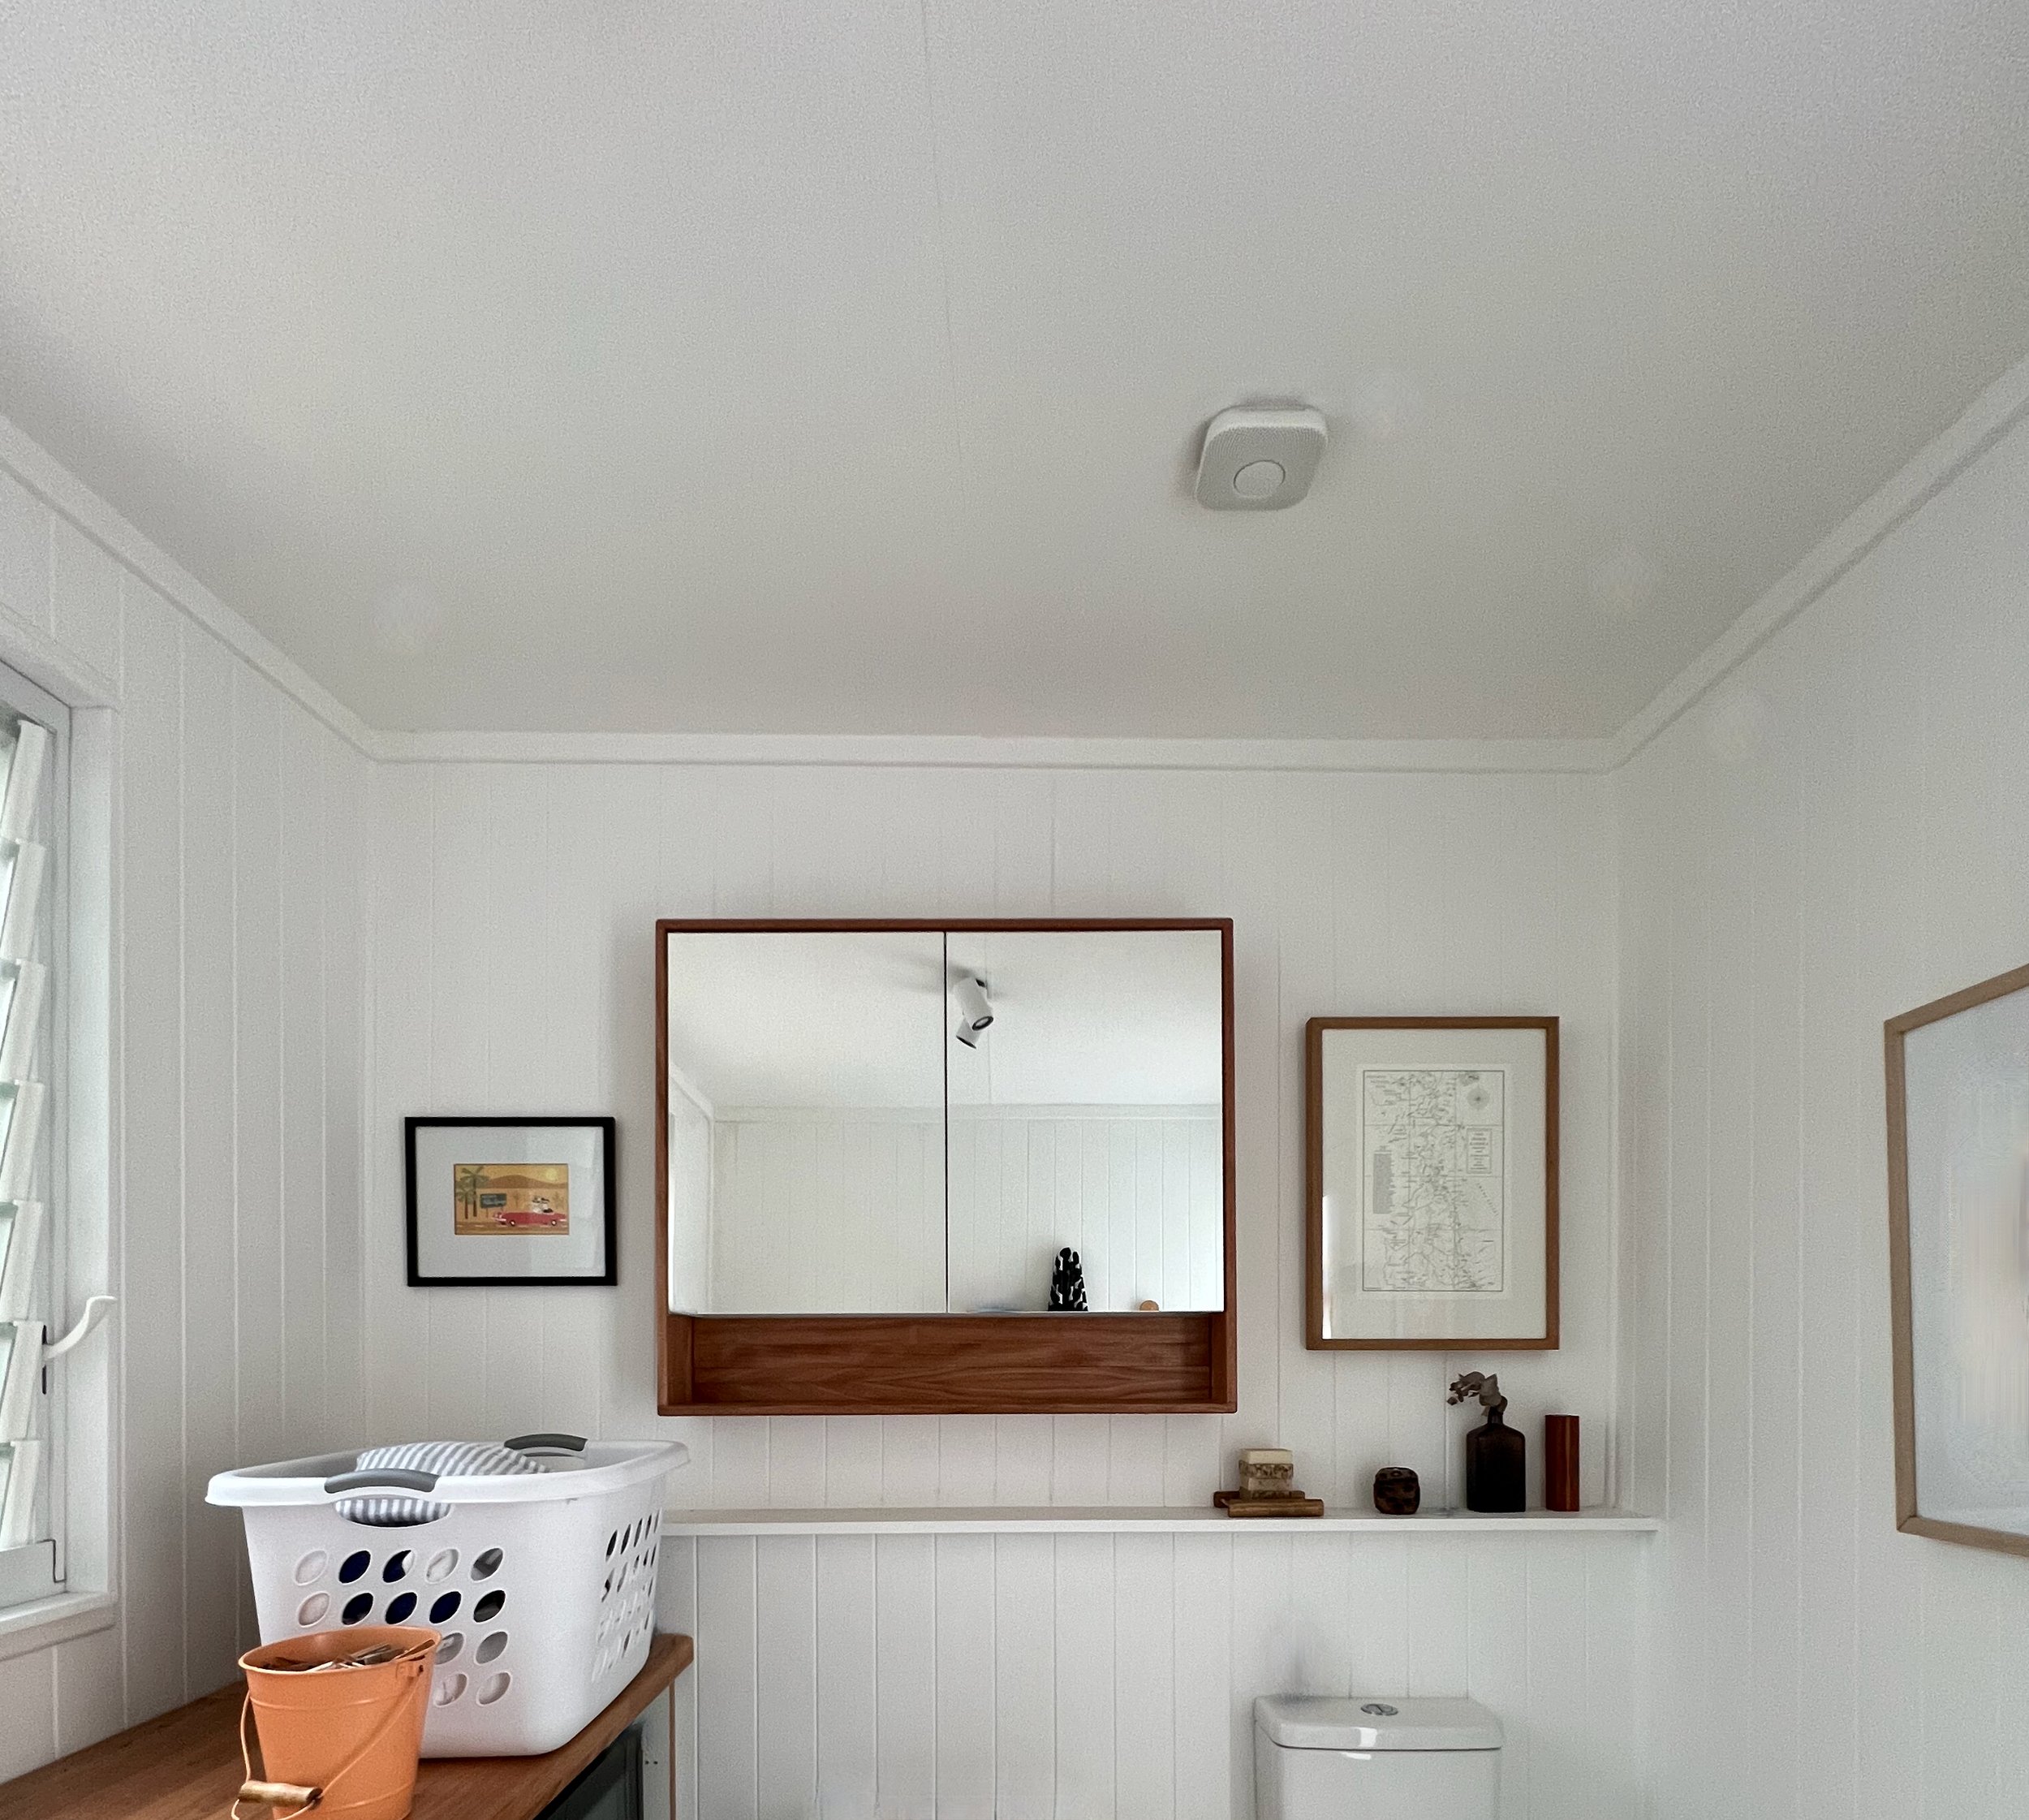
I clad around an inexpensive 900mm, two-door mirrored shaving cabinet to create a designer finish and add an extra shelf. Then I hung it on the wall with the supplied fixings. It holds outdoor essentials like sunscreen and bug spray.
I realised the cabinet was too high on the wall as I couldn’t reach the top shelf and could only just see my head in the mirror. I later moved it down and changed the shelves. Stay tuned for more on this.
ADDING TIMBER FEATURES
To add unique accents, add a little warmth and a handcrafted finish, I made towel hooks and a toilet roll holder from dowel. I changed the handle on the store-bought basket to match and finished all the woodwork in Monocel marine-grade varnish to withstand moisture and high traffic.
DESIGN TIP Choosing a Clipsal switch plate with timber edging continues my wood-on-white theme.
To stay on budget, I bought an inexpensive round mirror and made a frame to fit, mixing up the perfect green to match my little Marimekko vase.
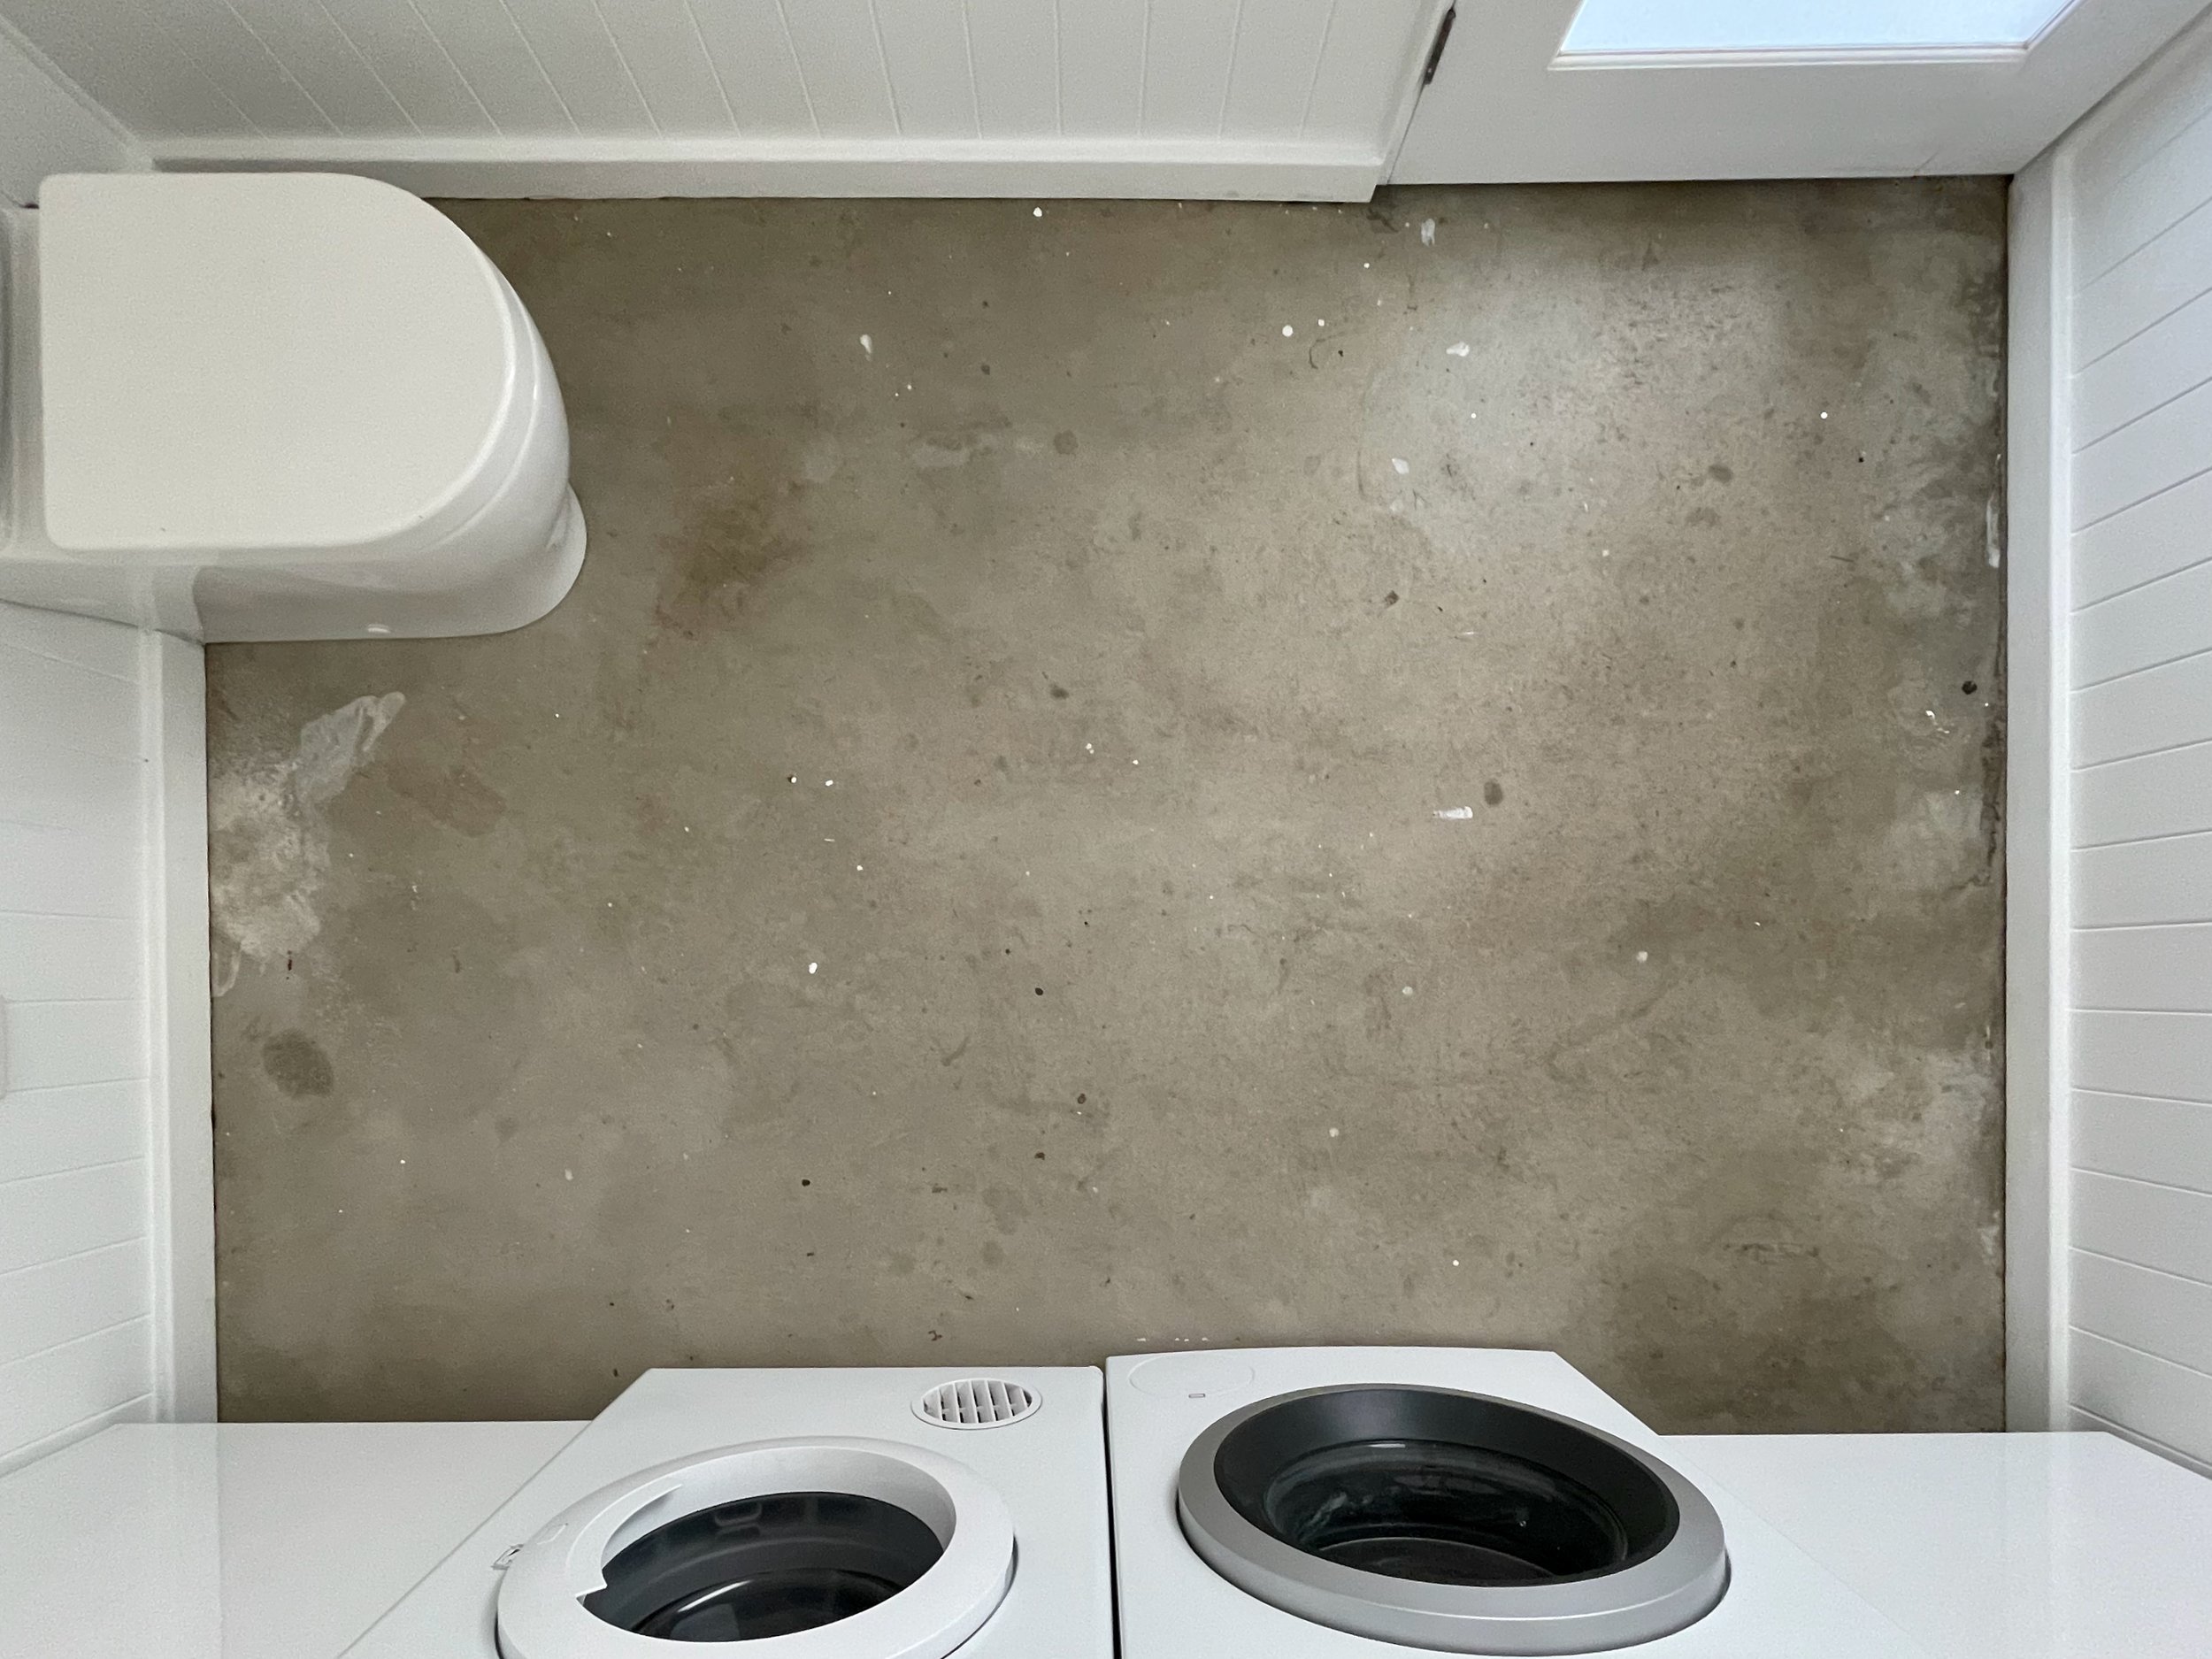

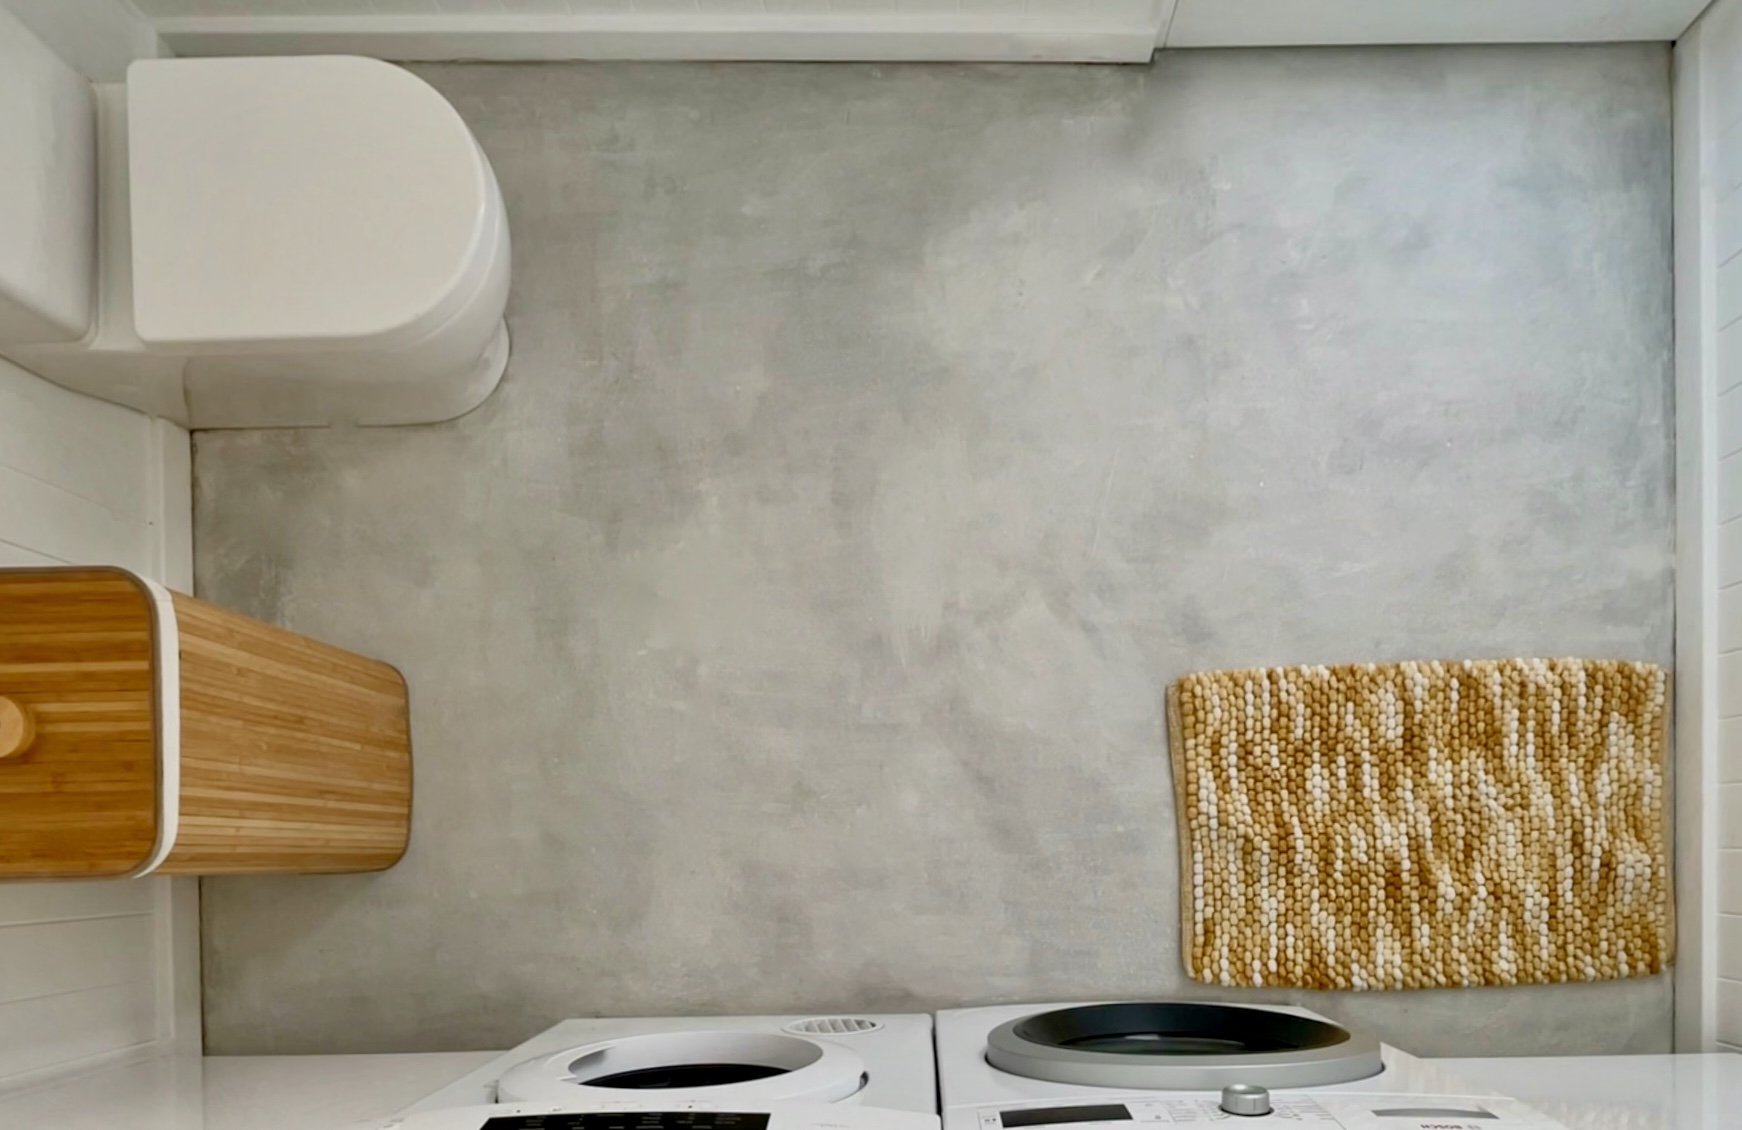
BRIGHTENING THE FLOOR
To finish the floor, I cleaned and lime-washed, which instantly made the room brighter.
I found this was a very economical solution and it’s been one of my most popular DIY projects. (Click through to see how it’s done.)
HANGING THE DOOR
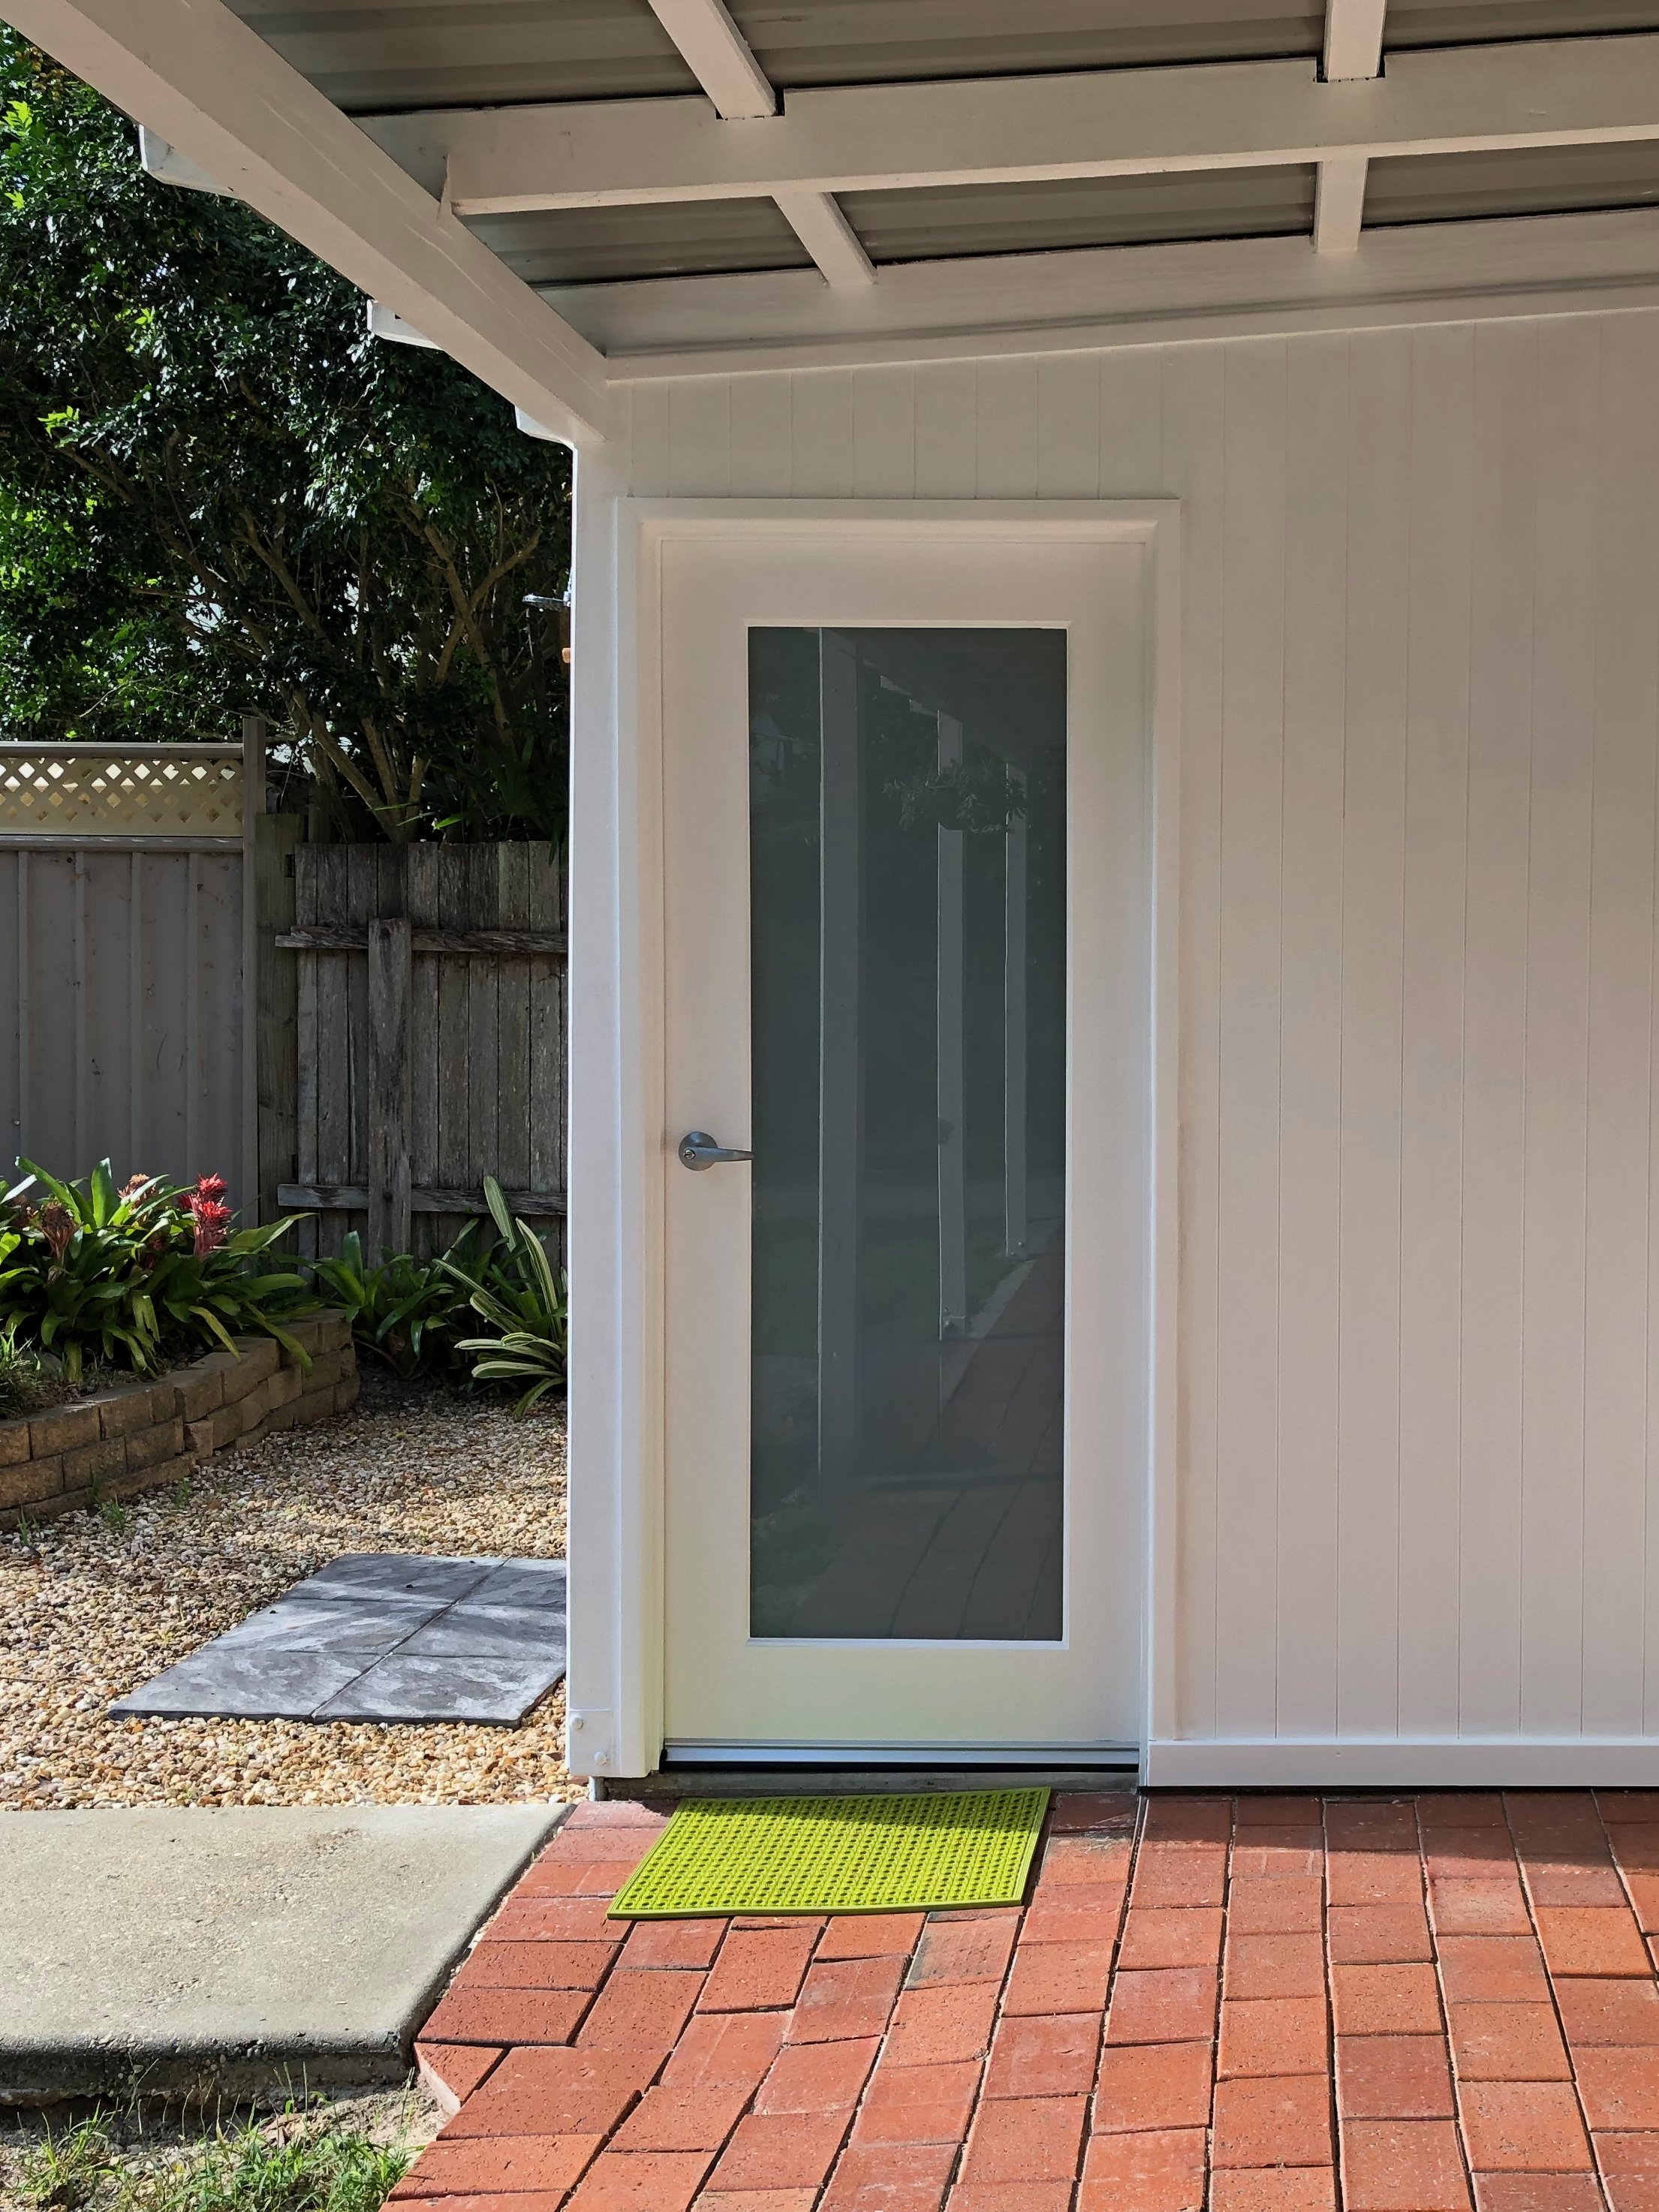
I chose a Hume Doors frosted-glass door for infused light with privacy.
To hang it, I chiselled recesses for the hinges and strike plate, painted and hung the door, then installed a Lane Hardware lockable handle. Adding trim around the jamb and painting the surrounding wall.
PROGRESS NOTE After building a deck that steps down onto the pavers in front of the laundry entry, I changed the orientation of the door to swing outwards on hidden hinges. This makes the room feel bigger but also meant I could tile the floor, adding about 10mm to the height, without affecting the smooth action of opening.
I’ve since added screening to the boundary fence and a privacy screen for the shower area, which gets lots of use after walks from the beach.
A new roof and a deck make this a truly functional living area, with the laundry serving as a powder room. The white VJ wall with frosted glass door remains one of my favourite features.
But while it looks good and has worn well, it’s been a few years. Time for another upgrade!
Stay tuned for Part Two and see how one simple change allowed me to resurface the floor, change the cabinetry and redo shelves to elevate this hardworking room to the next level.
