Transform concrete with a chequerboard pattern
Natasha Dickins

It took just three days to makeover my unused carport into a lovely alfresco dining area with the transformative power of paint.
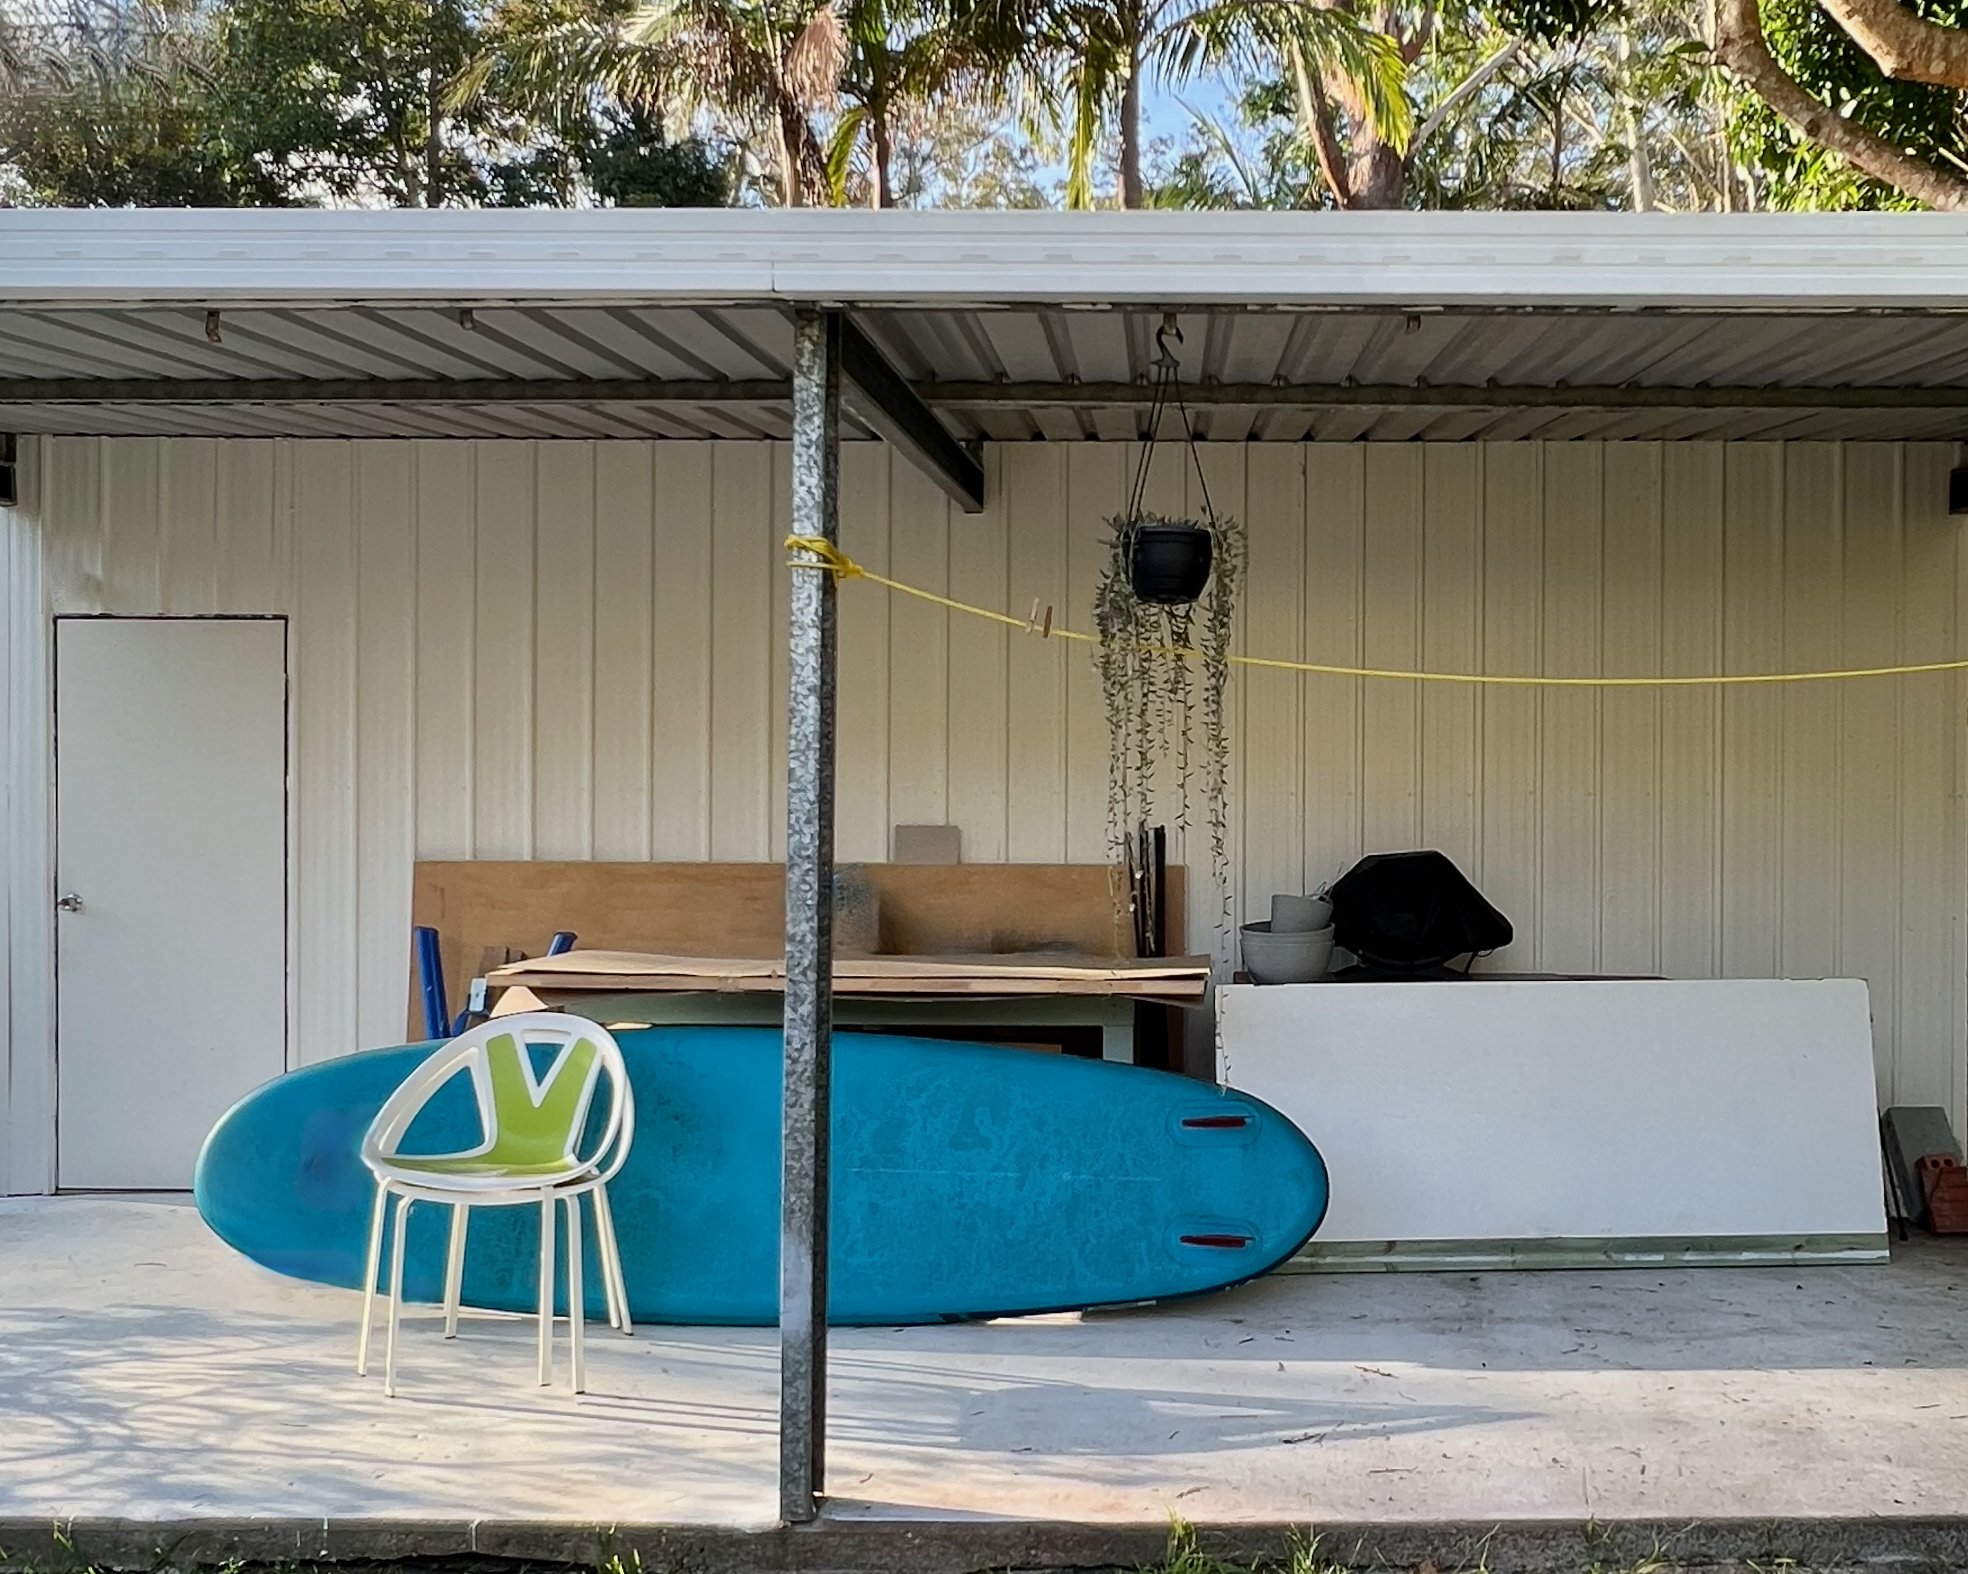
BEFORE As with many Aussie homes, my carport is a concrete slab against a shed wall. It was grubby from use as a workshop area and had become a dumping ground.
There’s also a built-in barbecue bench hidden behind all the stuff. Time for a makeover!

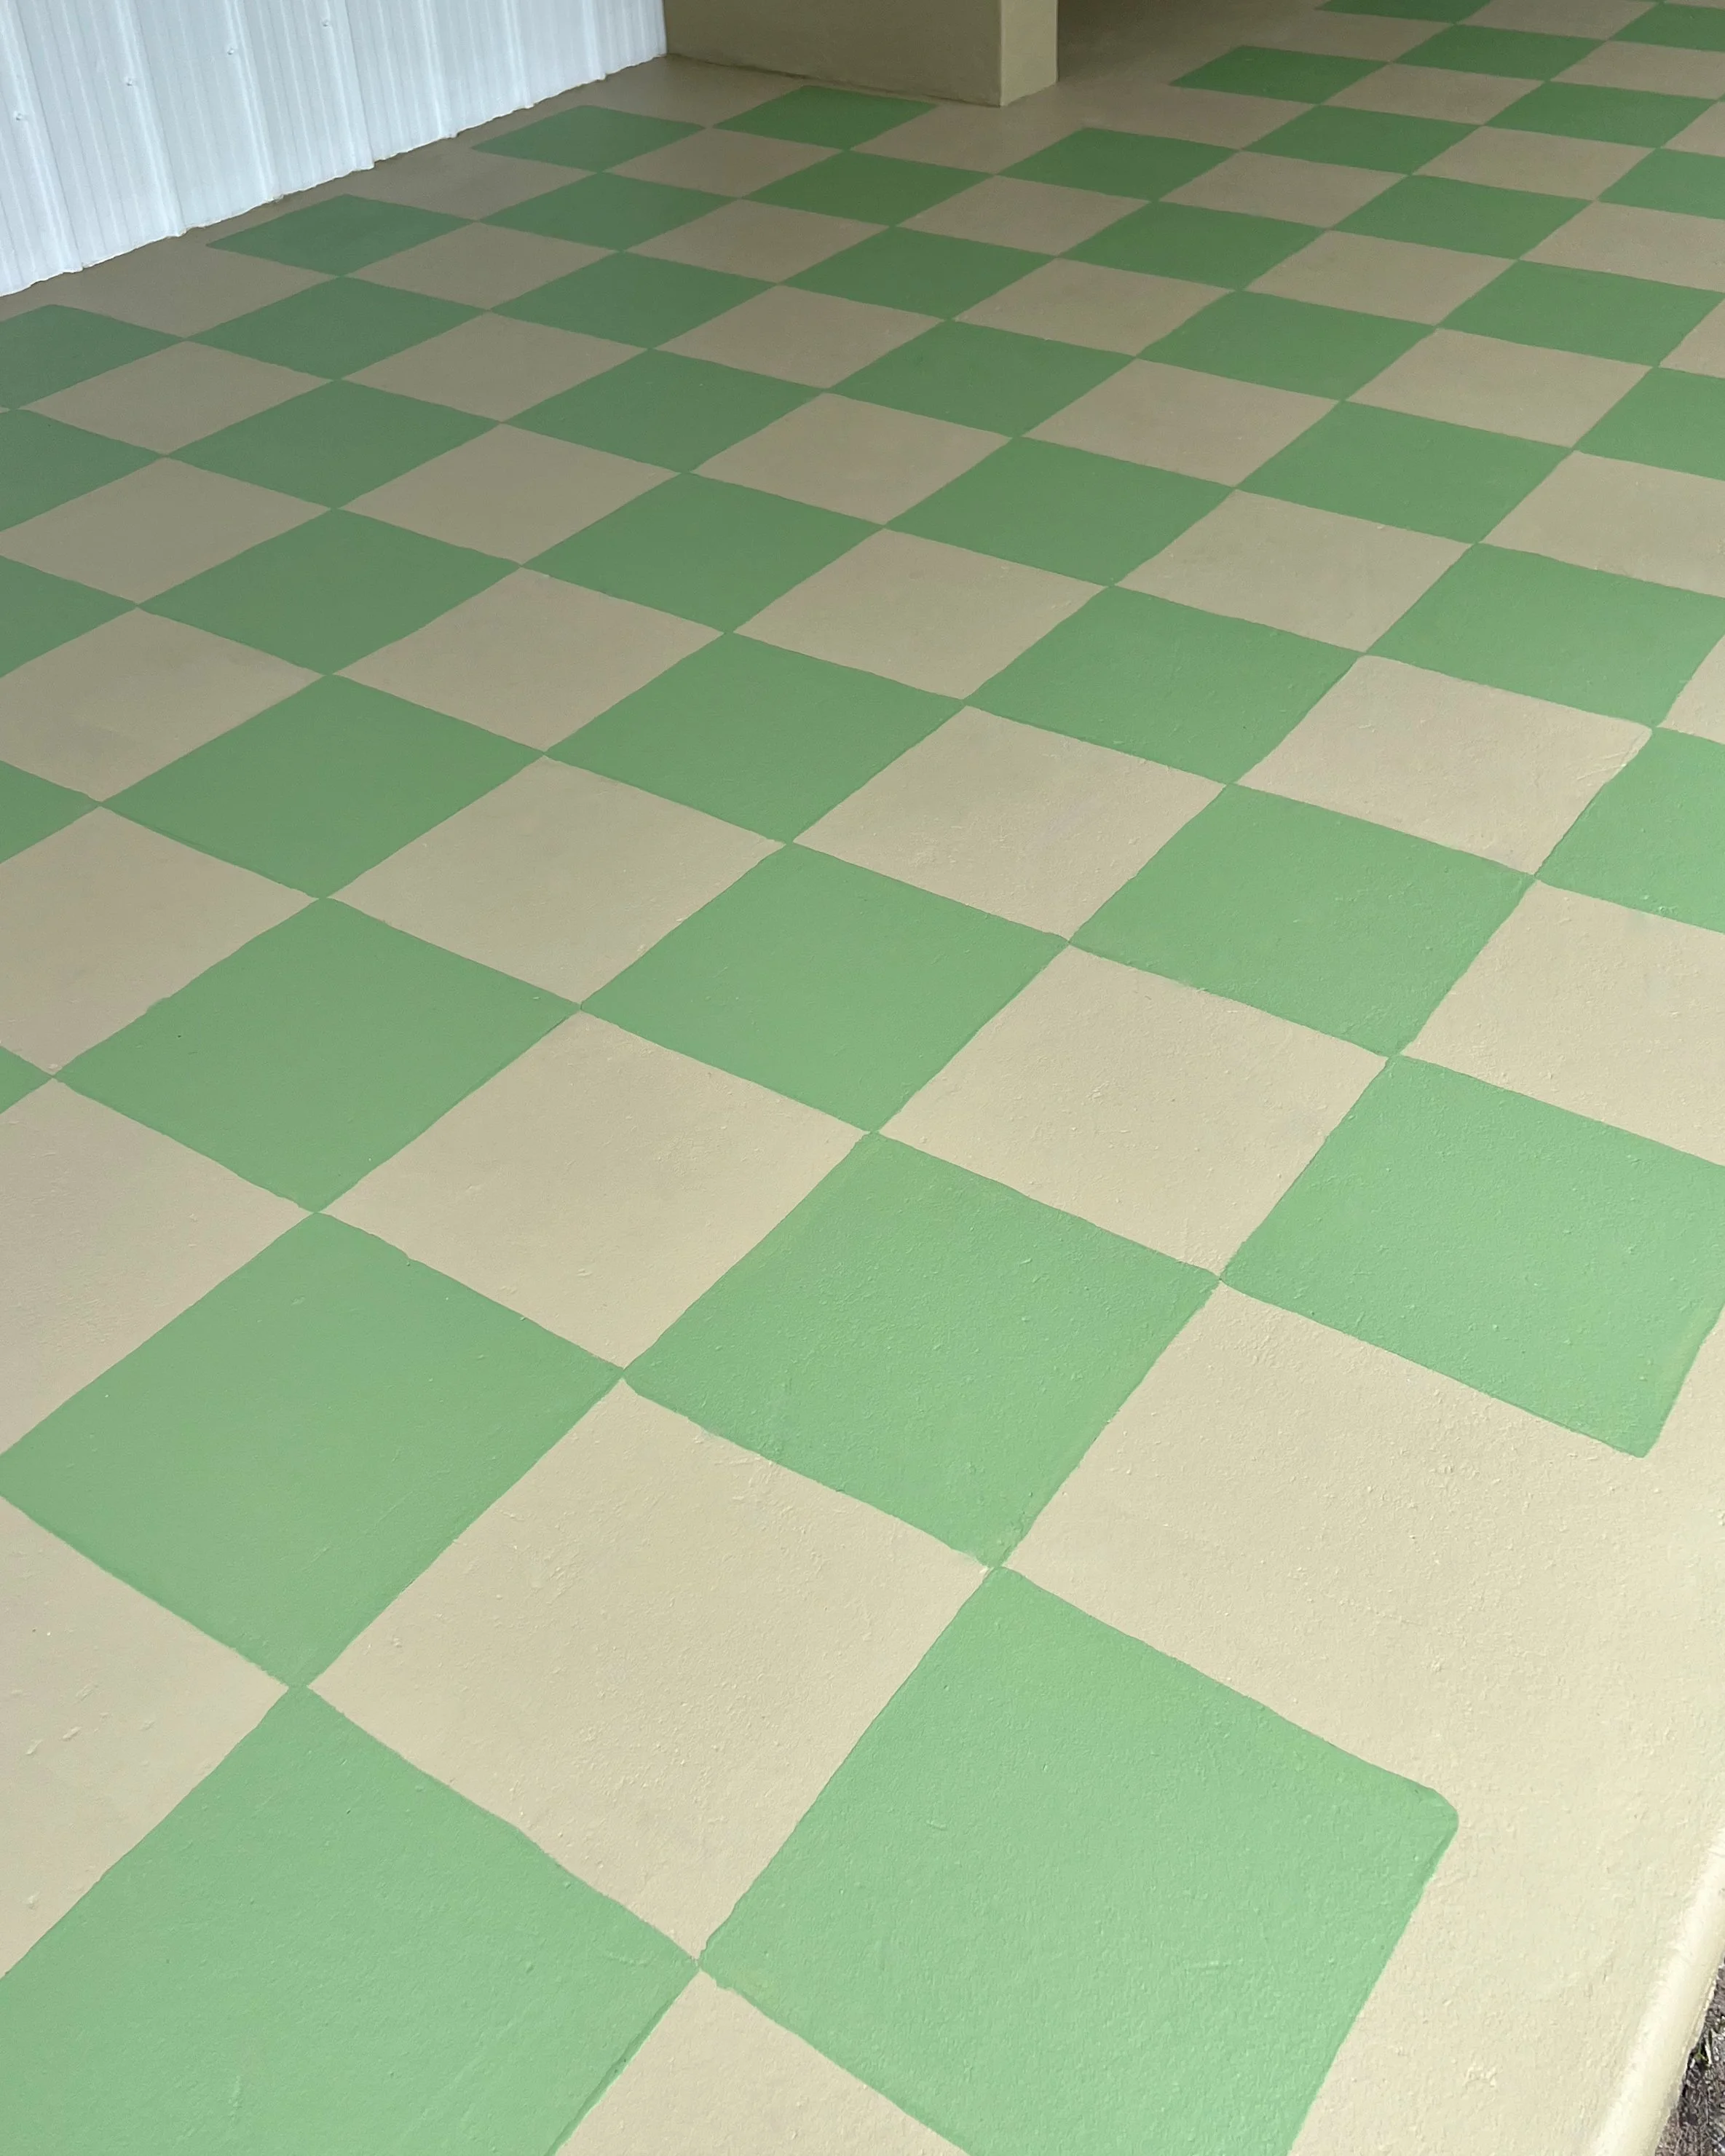
AFTER I spruced up with Dulux Weathershield in Vivid White on the walls and posts, then created a floor feature with the Dulux Concrete & Paving range, finishing with Dulux Tuft as the base colour and contrasting with Dulux Equatorial Forest in a chequered pattern.
“Goodbye dumping ground, hello entirely new outdoor area! I love how the chequered floor injects energy to this fresh and inviting space.”

Inspo for the Dulux colour combo comes from the olive green Click outdoor chairs from SLH, which I bought before even deciding how to do the floor makeover!

WHAT YOU NEED TO DIY
• Safety eye and foot protection
• Pressure cleaner
• Gloves
• Bucket
• Dulux Concrete & Paving Sealed Surface Cleaner 2L
• Stiff bristle brush
• Dulux Precision All Metal Primer 1L
• Dulux Weathershield Low Sheen in Vivid White 4
• Mini roller with tray and spare covers
• Dulux Concrete & Paving Sealed Surface Primer 2L
• Paint can opener and stirrer
• Painter’s tape
• Dulux Professional 22mm nap roller covers
• Extension pole, roller and tray
• Dulux Concrete & Paving Coloured Sealer Matt tinted in Dulux Tuft 10L
• Dulux Professional 50mm sash cutter brush
• Spirit level
• Pencil
• Builder’s square
• Length of skirting board
• Two 300mm-square vinyl templates
• Dulux Concrete & Paving Coloured Sealer Matt Medium tinted in Dulux Equatorial Forest 4L
• Paint pad
DAY 1 SPRUCE UP THE SURROUNDS
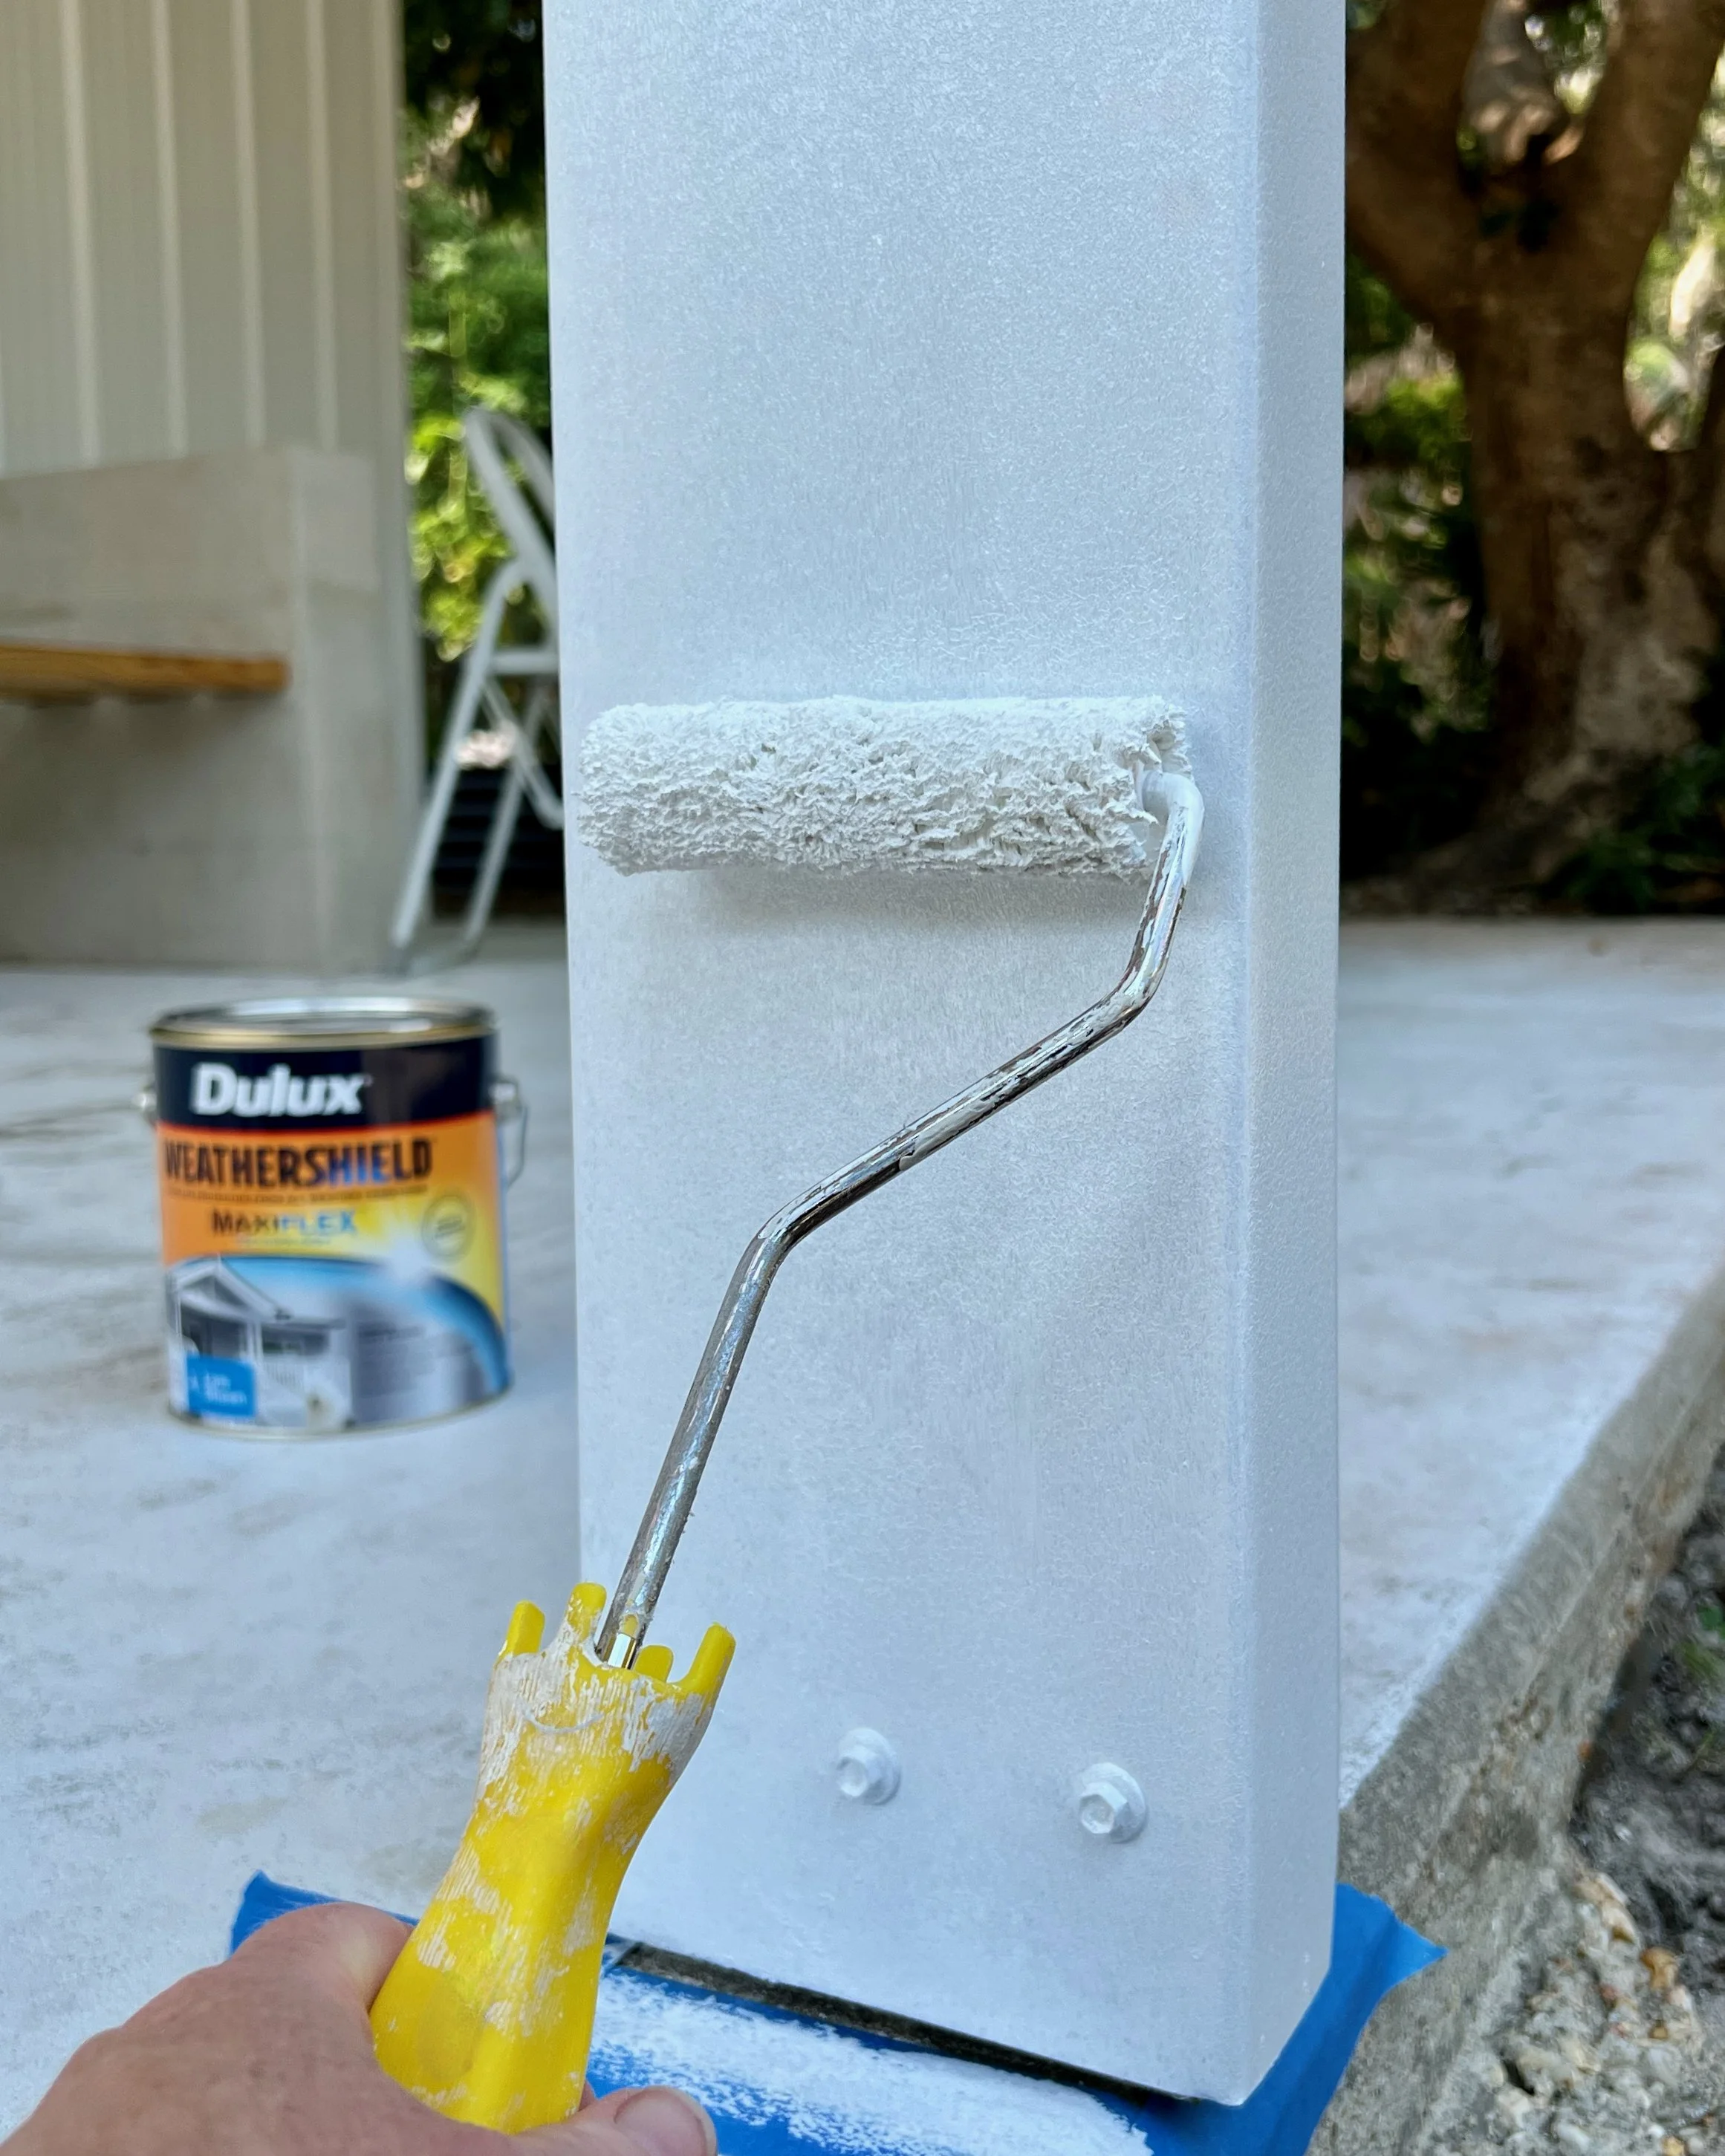
On the first day, I primed the metal posts in Dulux Precision All Metal Primer, finishing with Dulux Weathershield in Vivid White, which I also used to refresh the previously painted shed walls. It dries super fast so there’s no waiting around between coats.
TIP A mini roller is the perfect size for painting posts and the metal profiled walls. Have spare covers for primer and a couple coats of paint.

Wearing safety gear, I used a pressure cleaner to wash the barbecue bench and floor.

I mixed one part Dulux Concrete & Paving Sealed Surface Cleaner with five parts water (1:5) and scrubbed it over the barbecue bench and heavily stained floor with a stiff-bristle brush. I waited 15 minutes, pressure washed again then left it to dry overnight.
TIP Before purchasing products check if your concrete is bare or sealed by pouring on 30ml of water, wait 30 seconds then dab the excess with a cloth. It’s bare if it has soaked in, otherwise it is sealed. My floor and bench had previously been sealed.

DAY 2 CREATE A BLANK CANVAS
Next day, I swept the floor then mixed up Dulux Concrete & Paving Sealed Surface Primer with the supplied additive.

For the barbecue bench, I masked around the timber then used a mini roller to apply primer.
For the floor, I used a larger 22mm nap roller with an extension pole to get the job done faster, working in overlapped sections and leaving to dry for an hour.

After stirring the Dulux Concrete & Paving Coloured Sealer to distribute the slip-resistant particles, I cut in around the posts with a brush then used a long-nap roller to apply it evenly over the floor. It dried quickly, so I applied a second coat then left it to cure overnight.
TIP I tinted the Matt sealer in a shade called Dulux Tuft, which matches the surrounding concrete surfaces.

DAY 3 CONTRAST WITH COLOUR
I used a spirit level to mark a straight line next to the wall with a pencil, then a builder’s square to mark the starting corner from the barbecue bench.
From there, I marked grid lines with a skirting board spaced evenly using two 300mm-square templates.
TIP Cut templates from vinyl or cardboard to save having to use a measuring tape. Begin by marking out squares from the centre or a solid structure, such as the side of a bench.

I marked the non-paint squares with tape then applied Dulux Concrete & Paving Coloured Sealer in Dulux Equatorial Forest by dragging a paint pad around the inside edges of the squares then filling them in with a mini roller.
TIP The aim was to avoid masking all the non-paint squares to save time and prevent any damage to the new paintwork. I found using a pad edger applicator resulted in straighter lines than freehand brushing, and finishing with a mini roller evens out the finish.
Walking on the unpainted squares, I removed any noticeable pencil lines while applying a quick touch-up second coat with the mini roller and left it to dry overnight.

The fun Dulux chequerboard floor is a great backdrop for my Click outdoor dining chairs from SLH in Olive and DIY dining table.
The revived area is bright and inviting, and has created an entirely new living space for cooking, dining and entertaining.

Are you planning to makeover a carport with paint?
Tag me on your project and follow more of my DIY journey on Instagram for tool tips, home improvement and simple building projects.