Tile & Timber Benchtop
Natasha Dickins
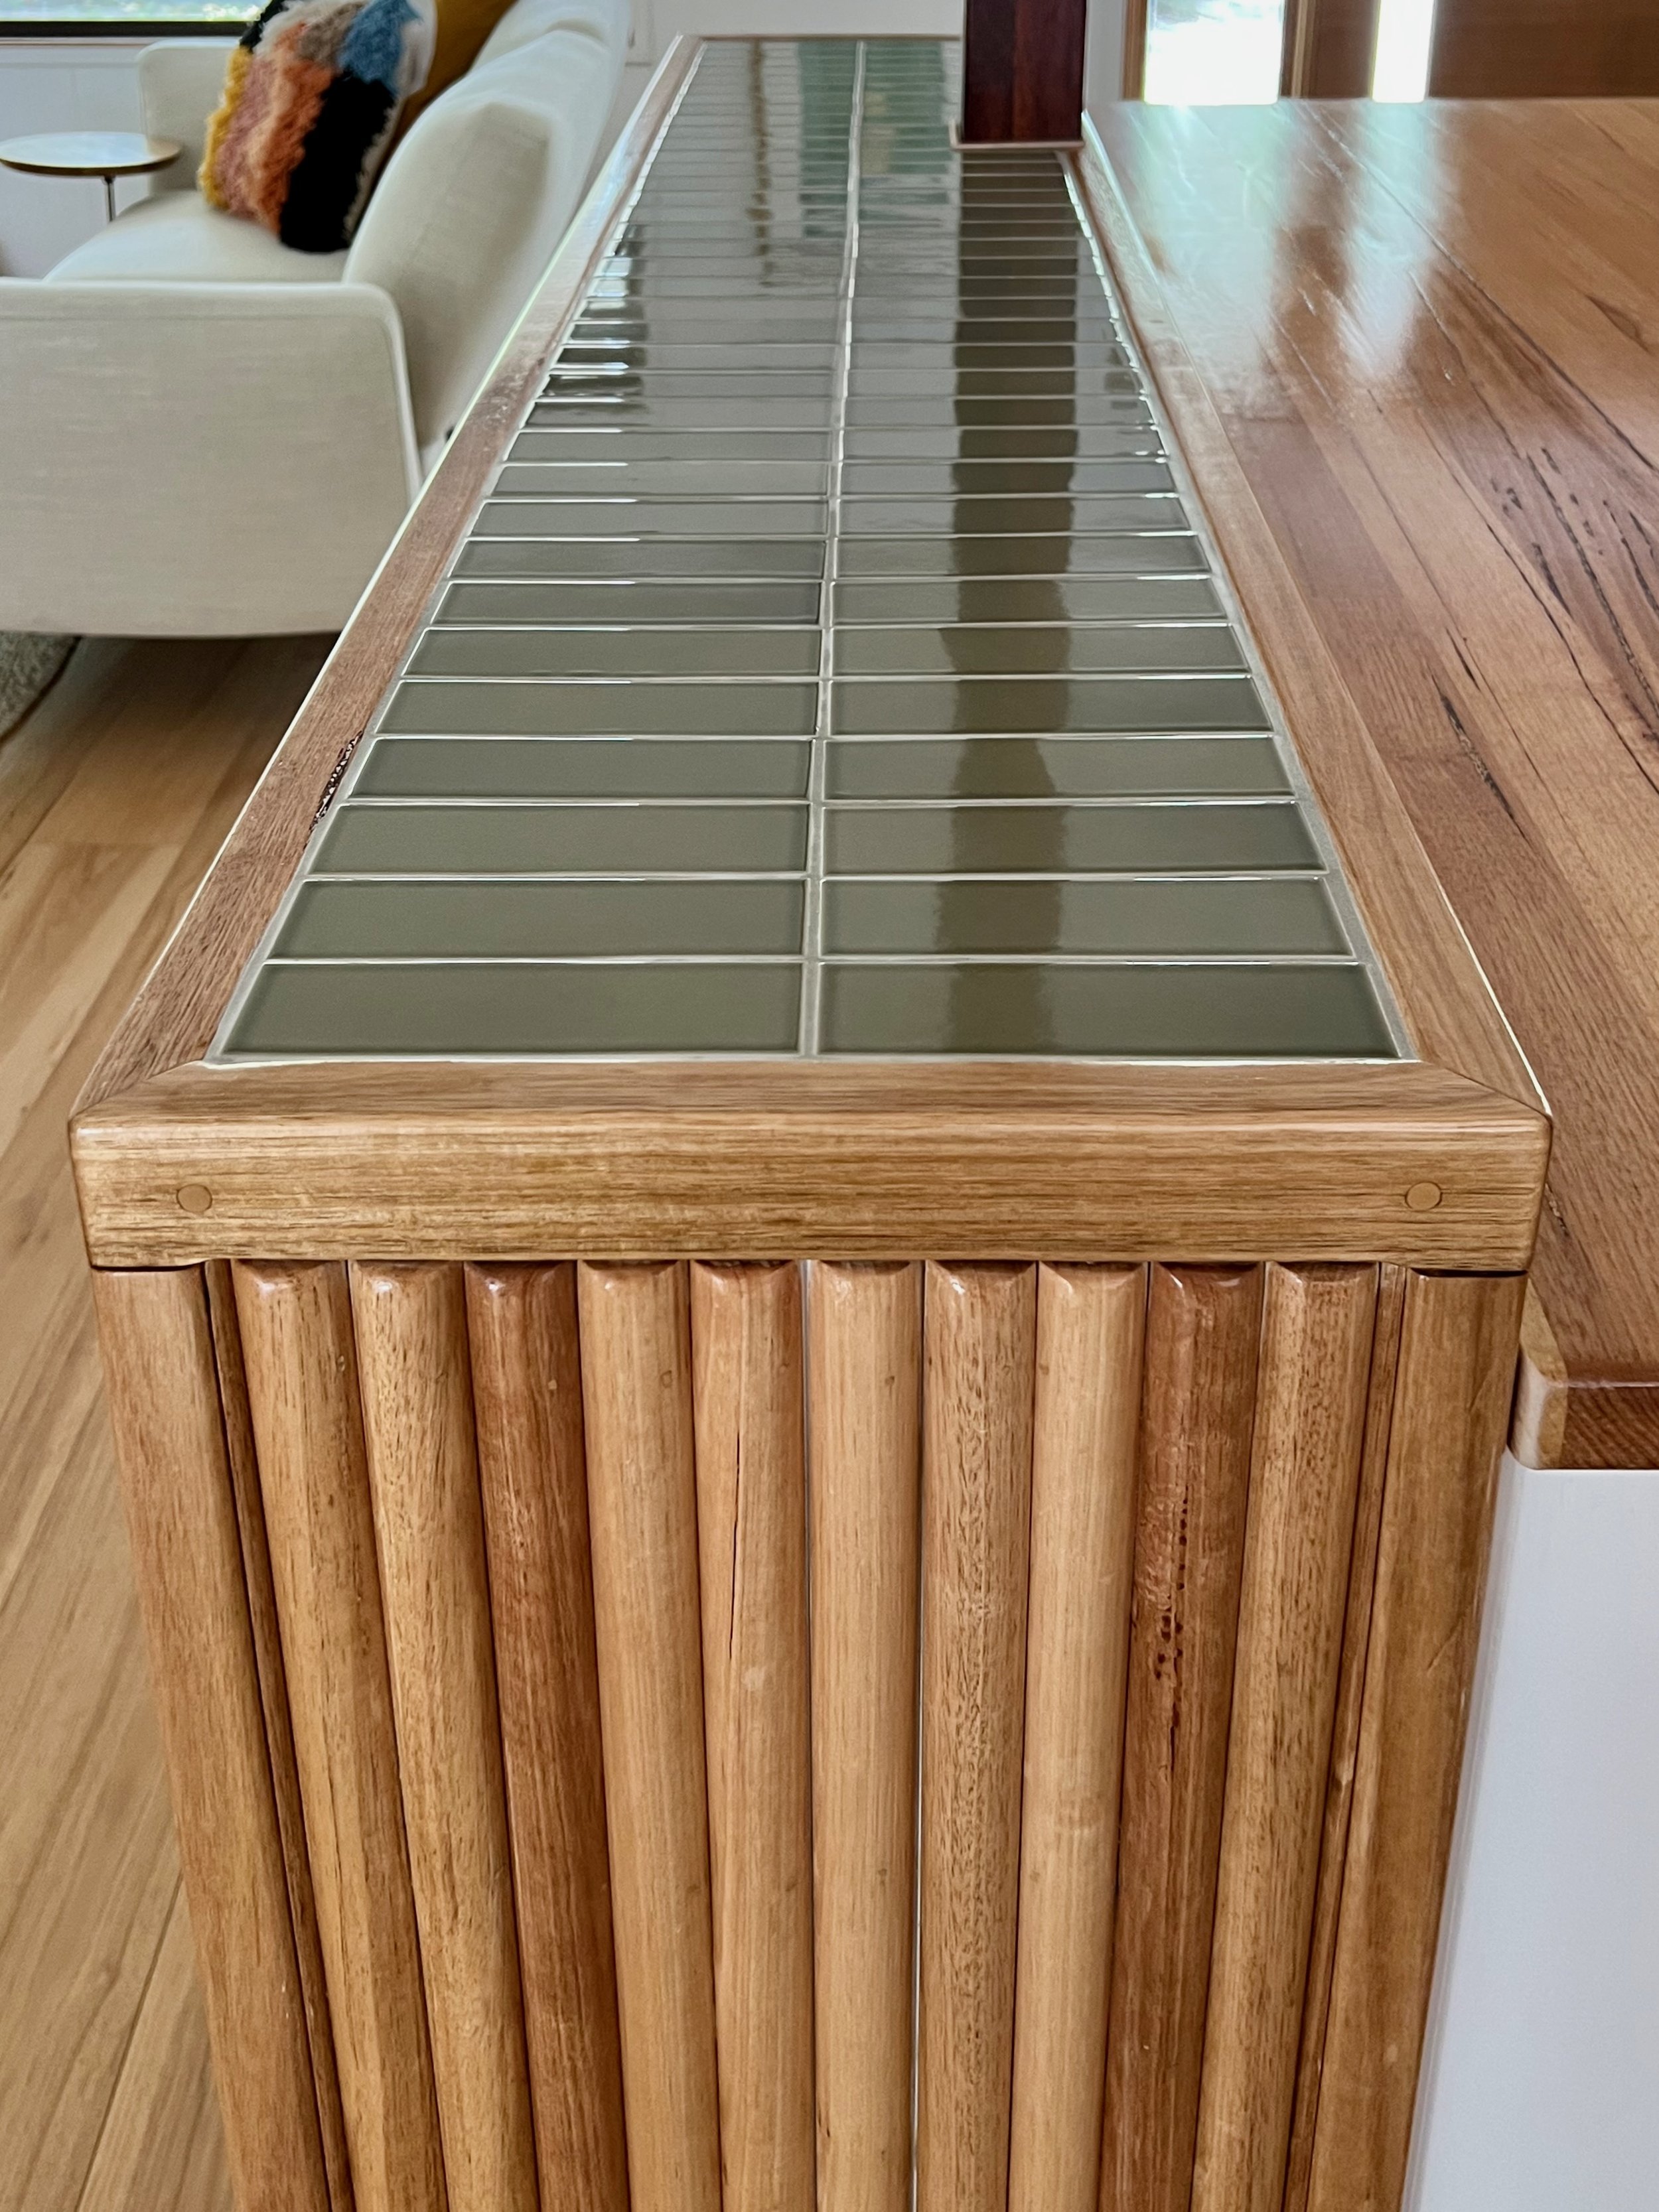
This bench is made using leftover building materials. It began with a solid hardwood door cut down to make a base framed with timber moulding then tiled. The result is a cool countertop nicknamed The Ramen Bar because we love to slurp Asian soups here.
“The bench was made off-site, moved into position then tiled because of the eventual weight. It attaches to the kitchen island underneath with hidden brackets, is solid and easy to clean.”

The bench fits snuggly against the kitchen island so I used the exisiting dimensions and worked out the width to include two rows of tiles with 3mm grout gaps plus 30mm framing along the sides. One end is tiled, the other has fluted timber detail.
TIP To adapt this technique for a bar, coffee or dining table, even a bench seat, do a dry-fit set out with your tiles, tile spacers and frame moulding before locking in the measurements and cutting the base.

I used a track saw to cut down a solid hardwood door then butt-jointed the top of the bench against the sides, securing with Bondall Bondcrete Woodworking Adhesive and countersunk 14g x 75mm batten screws.
TIP Alternatively, use a 2400mm x 900mm x 33mm hardwood panel or laminate two sheets of 17mm structural plywood together. Make a number of passes for each cut, beginning with a shallow blade and gradually going deeper.
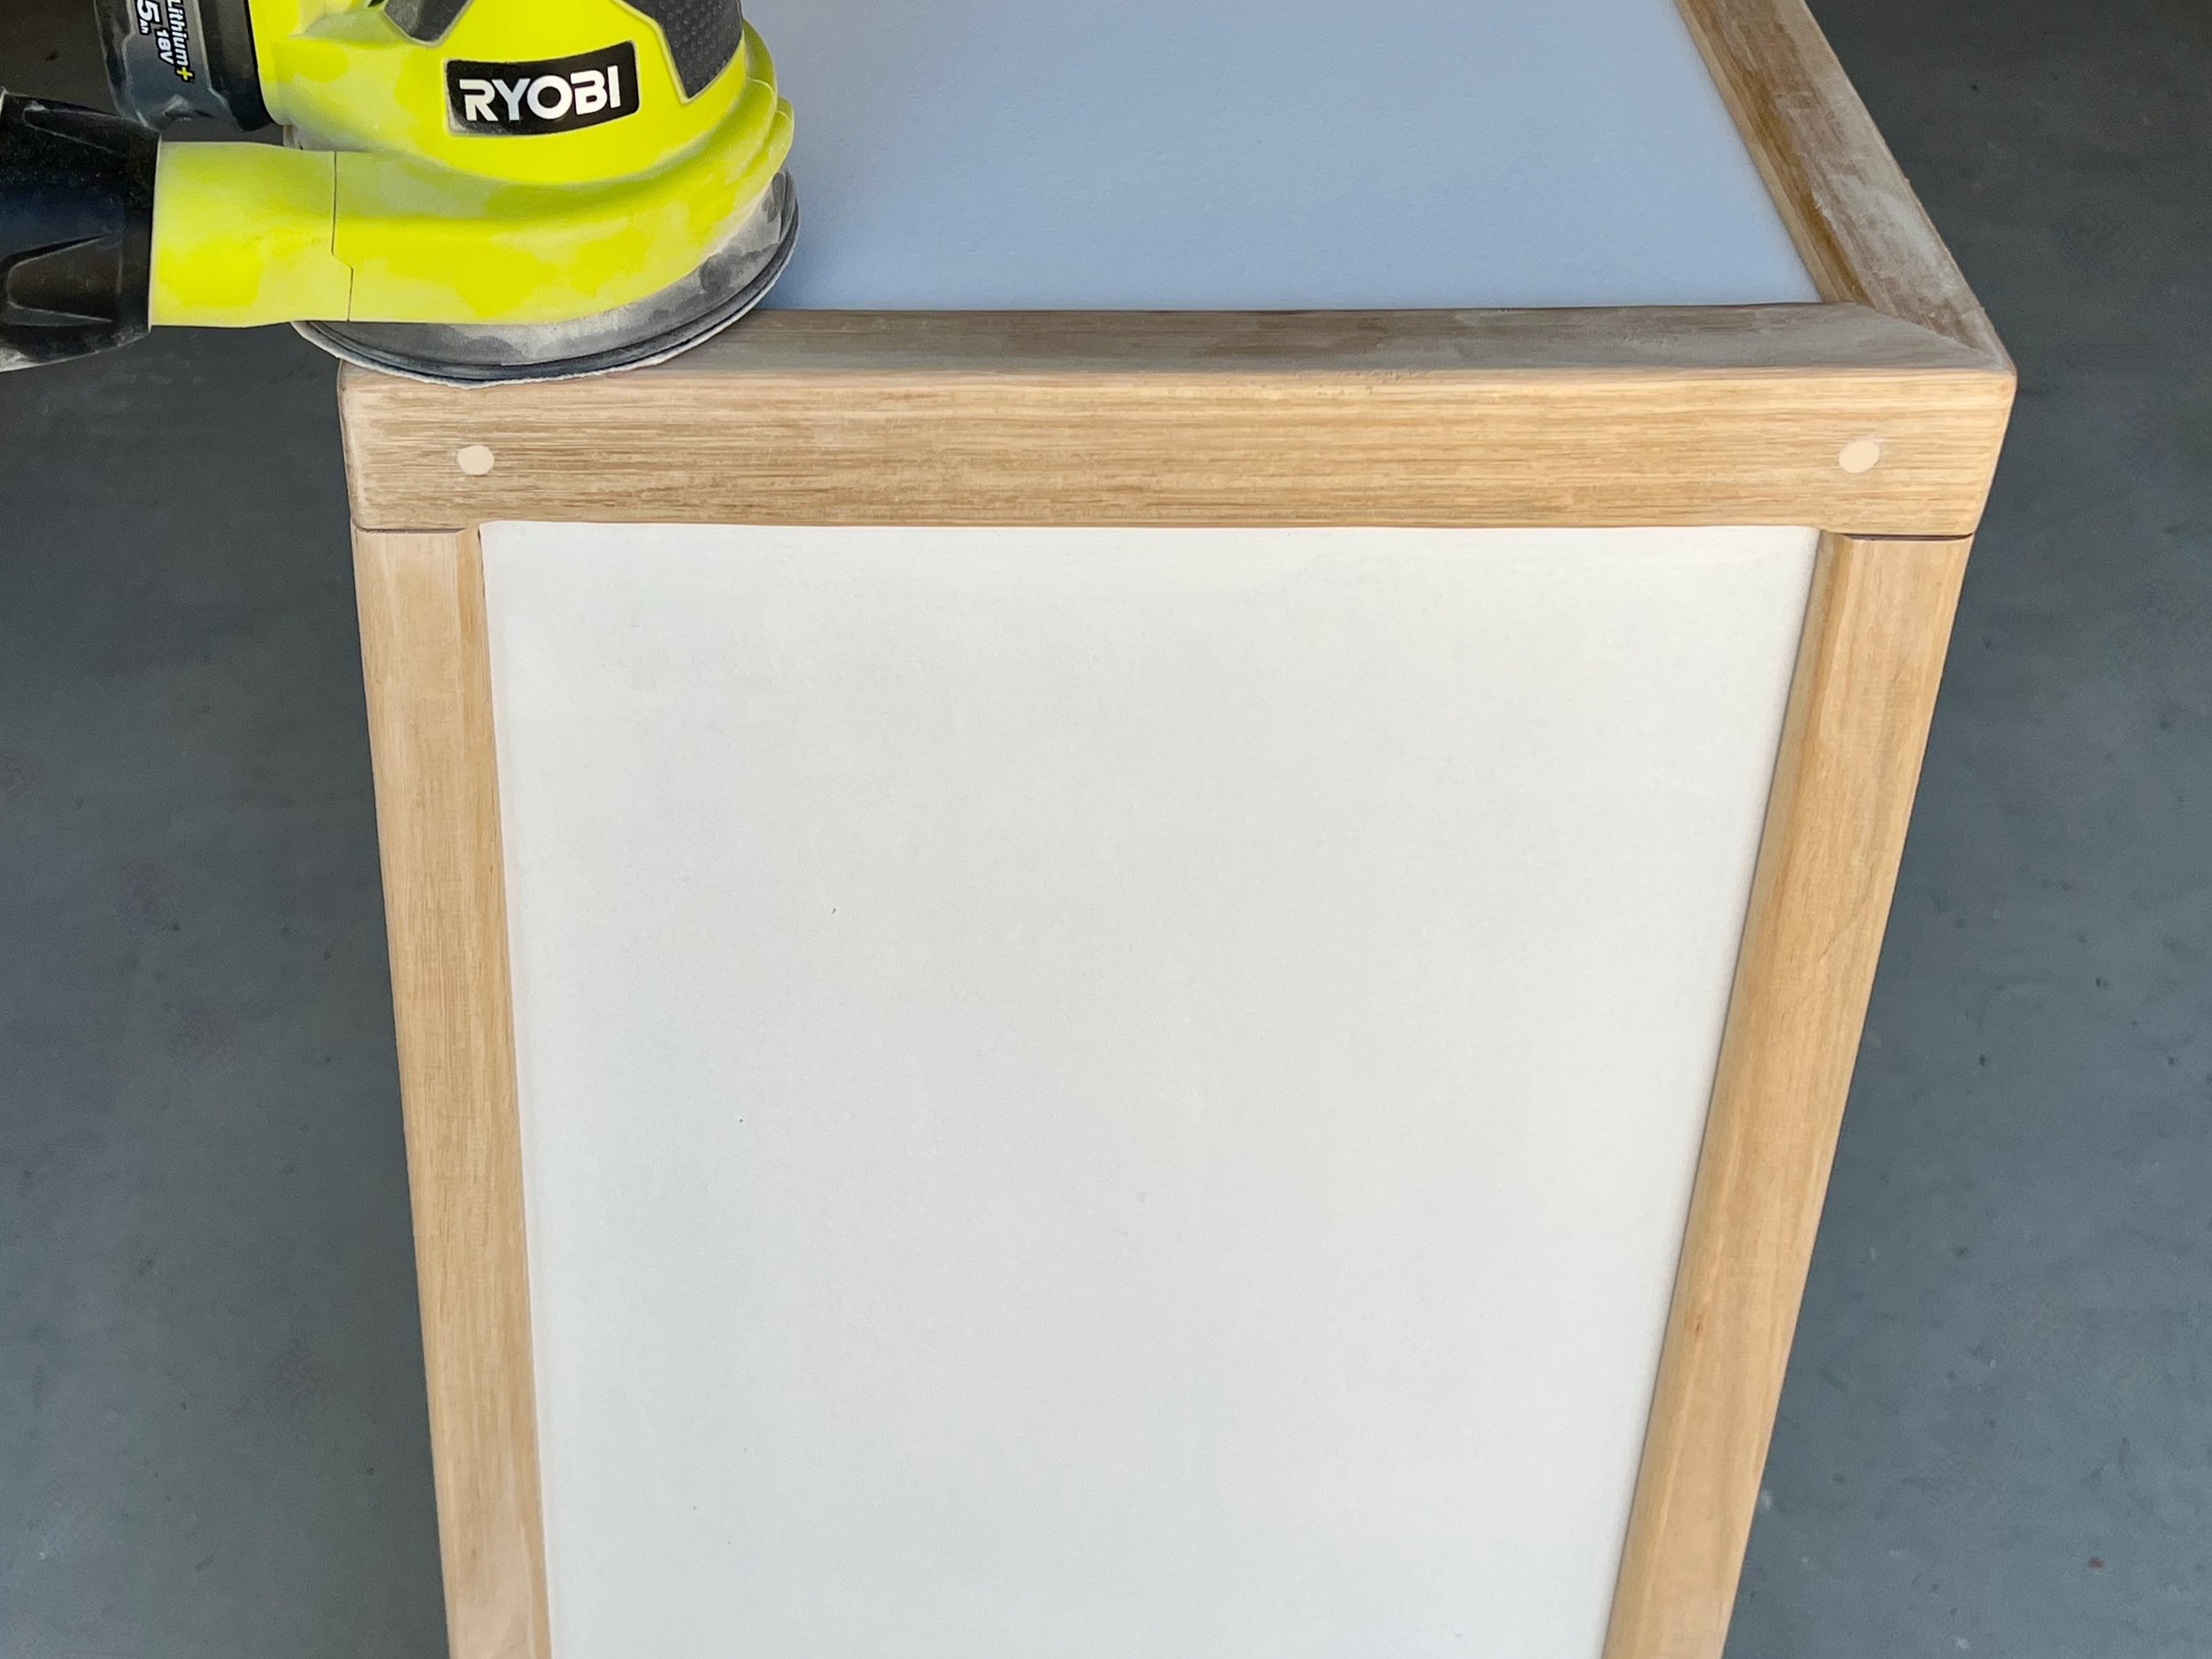
I cut 45mm x 30mm Tasmanian oak picture frame moulding to fit around the top with mitred corners and down the sides, securing with adhesive and countersunk 8g x 40mm screws. I filled the holes, rounded over the edges and corners with a trim router, then sanded all over with 180-grit abrasive paper.
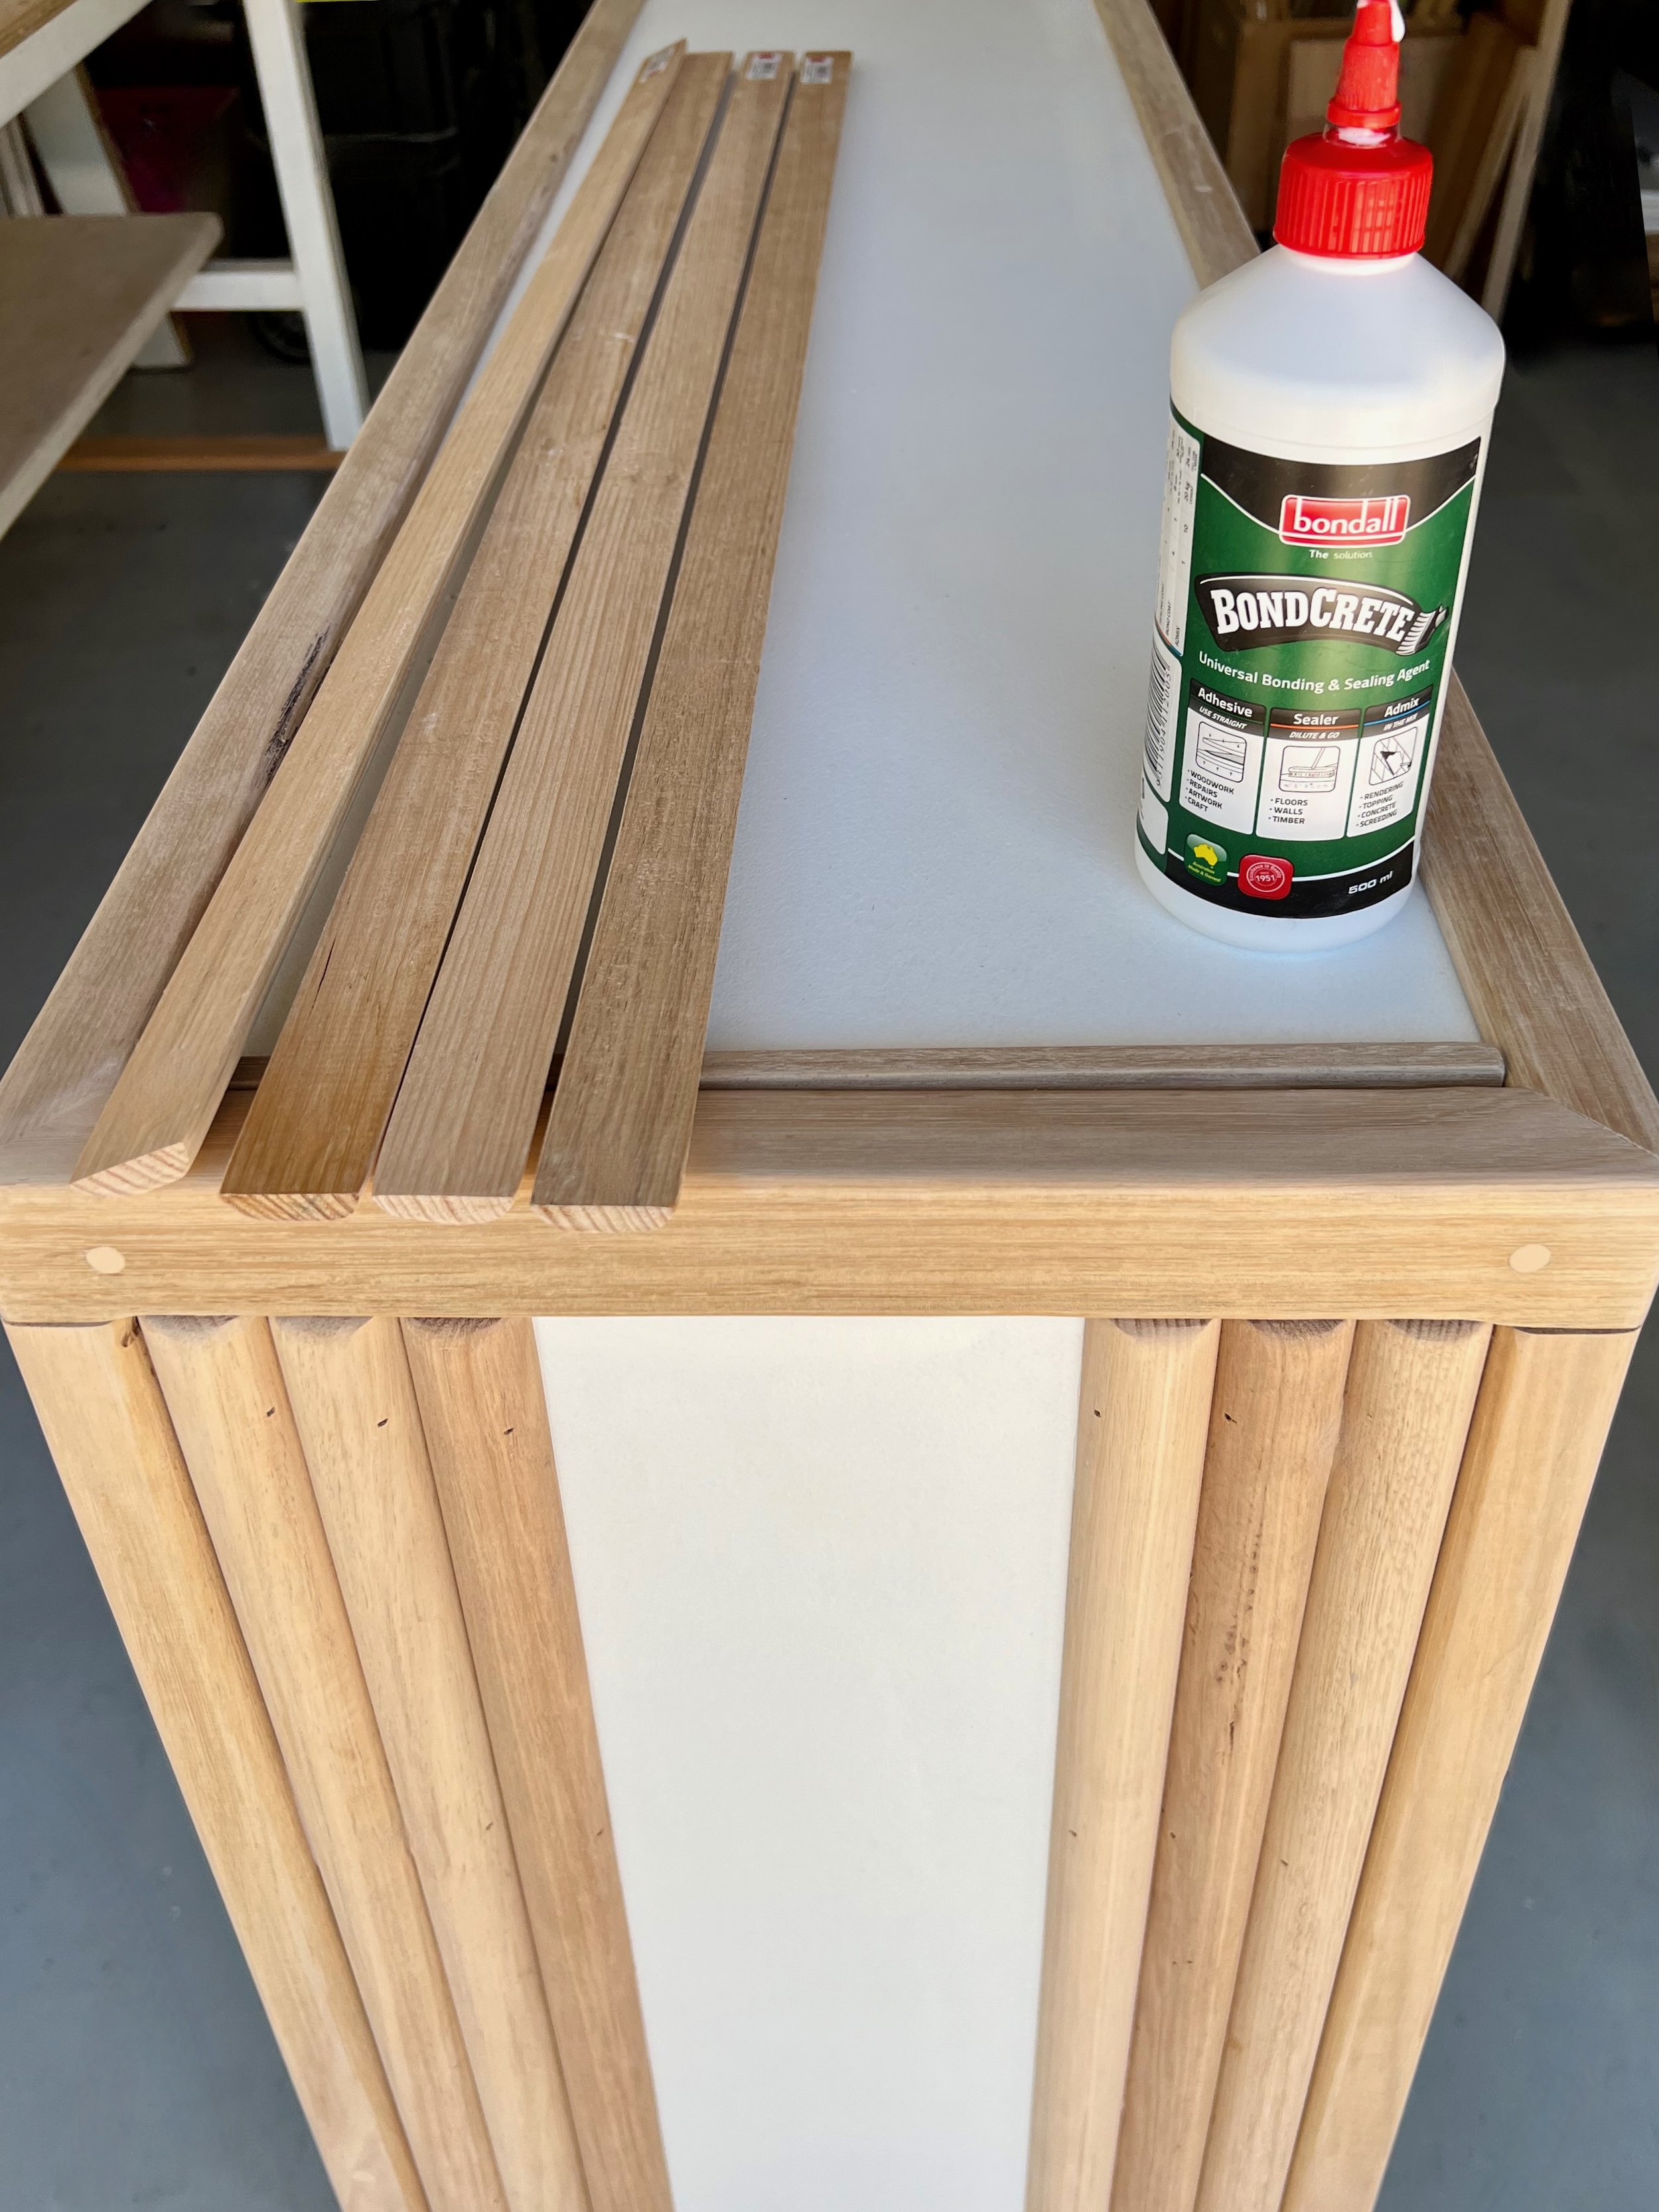
To create the fluted effect I cut lengths of 30mm half-round dowel to fit, securing with adhesive and small brads.
TIP I created this detail at one end of the bench because of limited tiles, but it also matches the nearby built-in banquette.
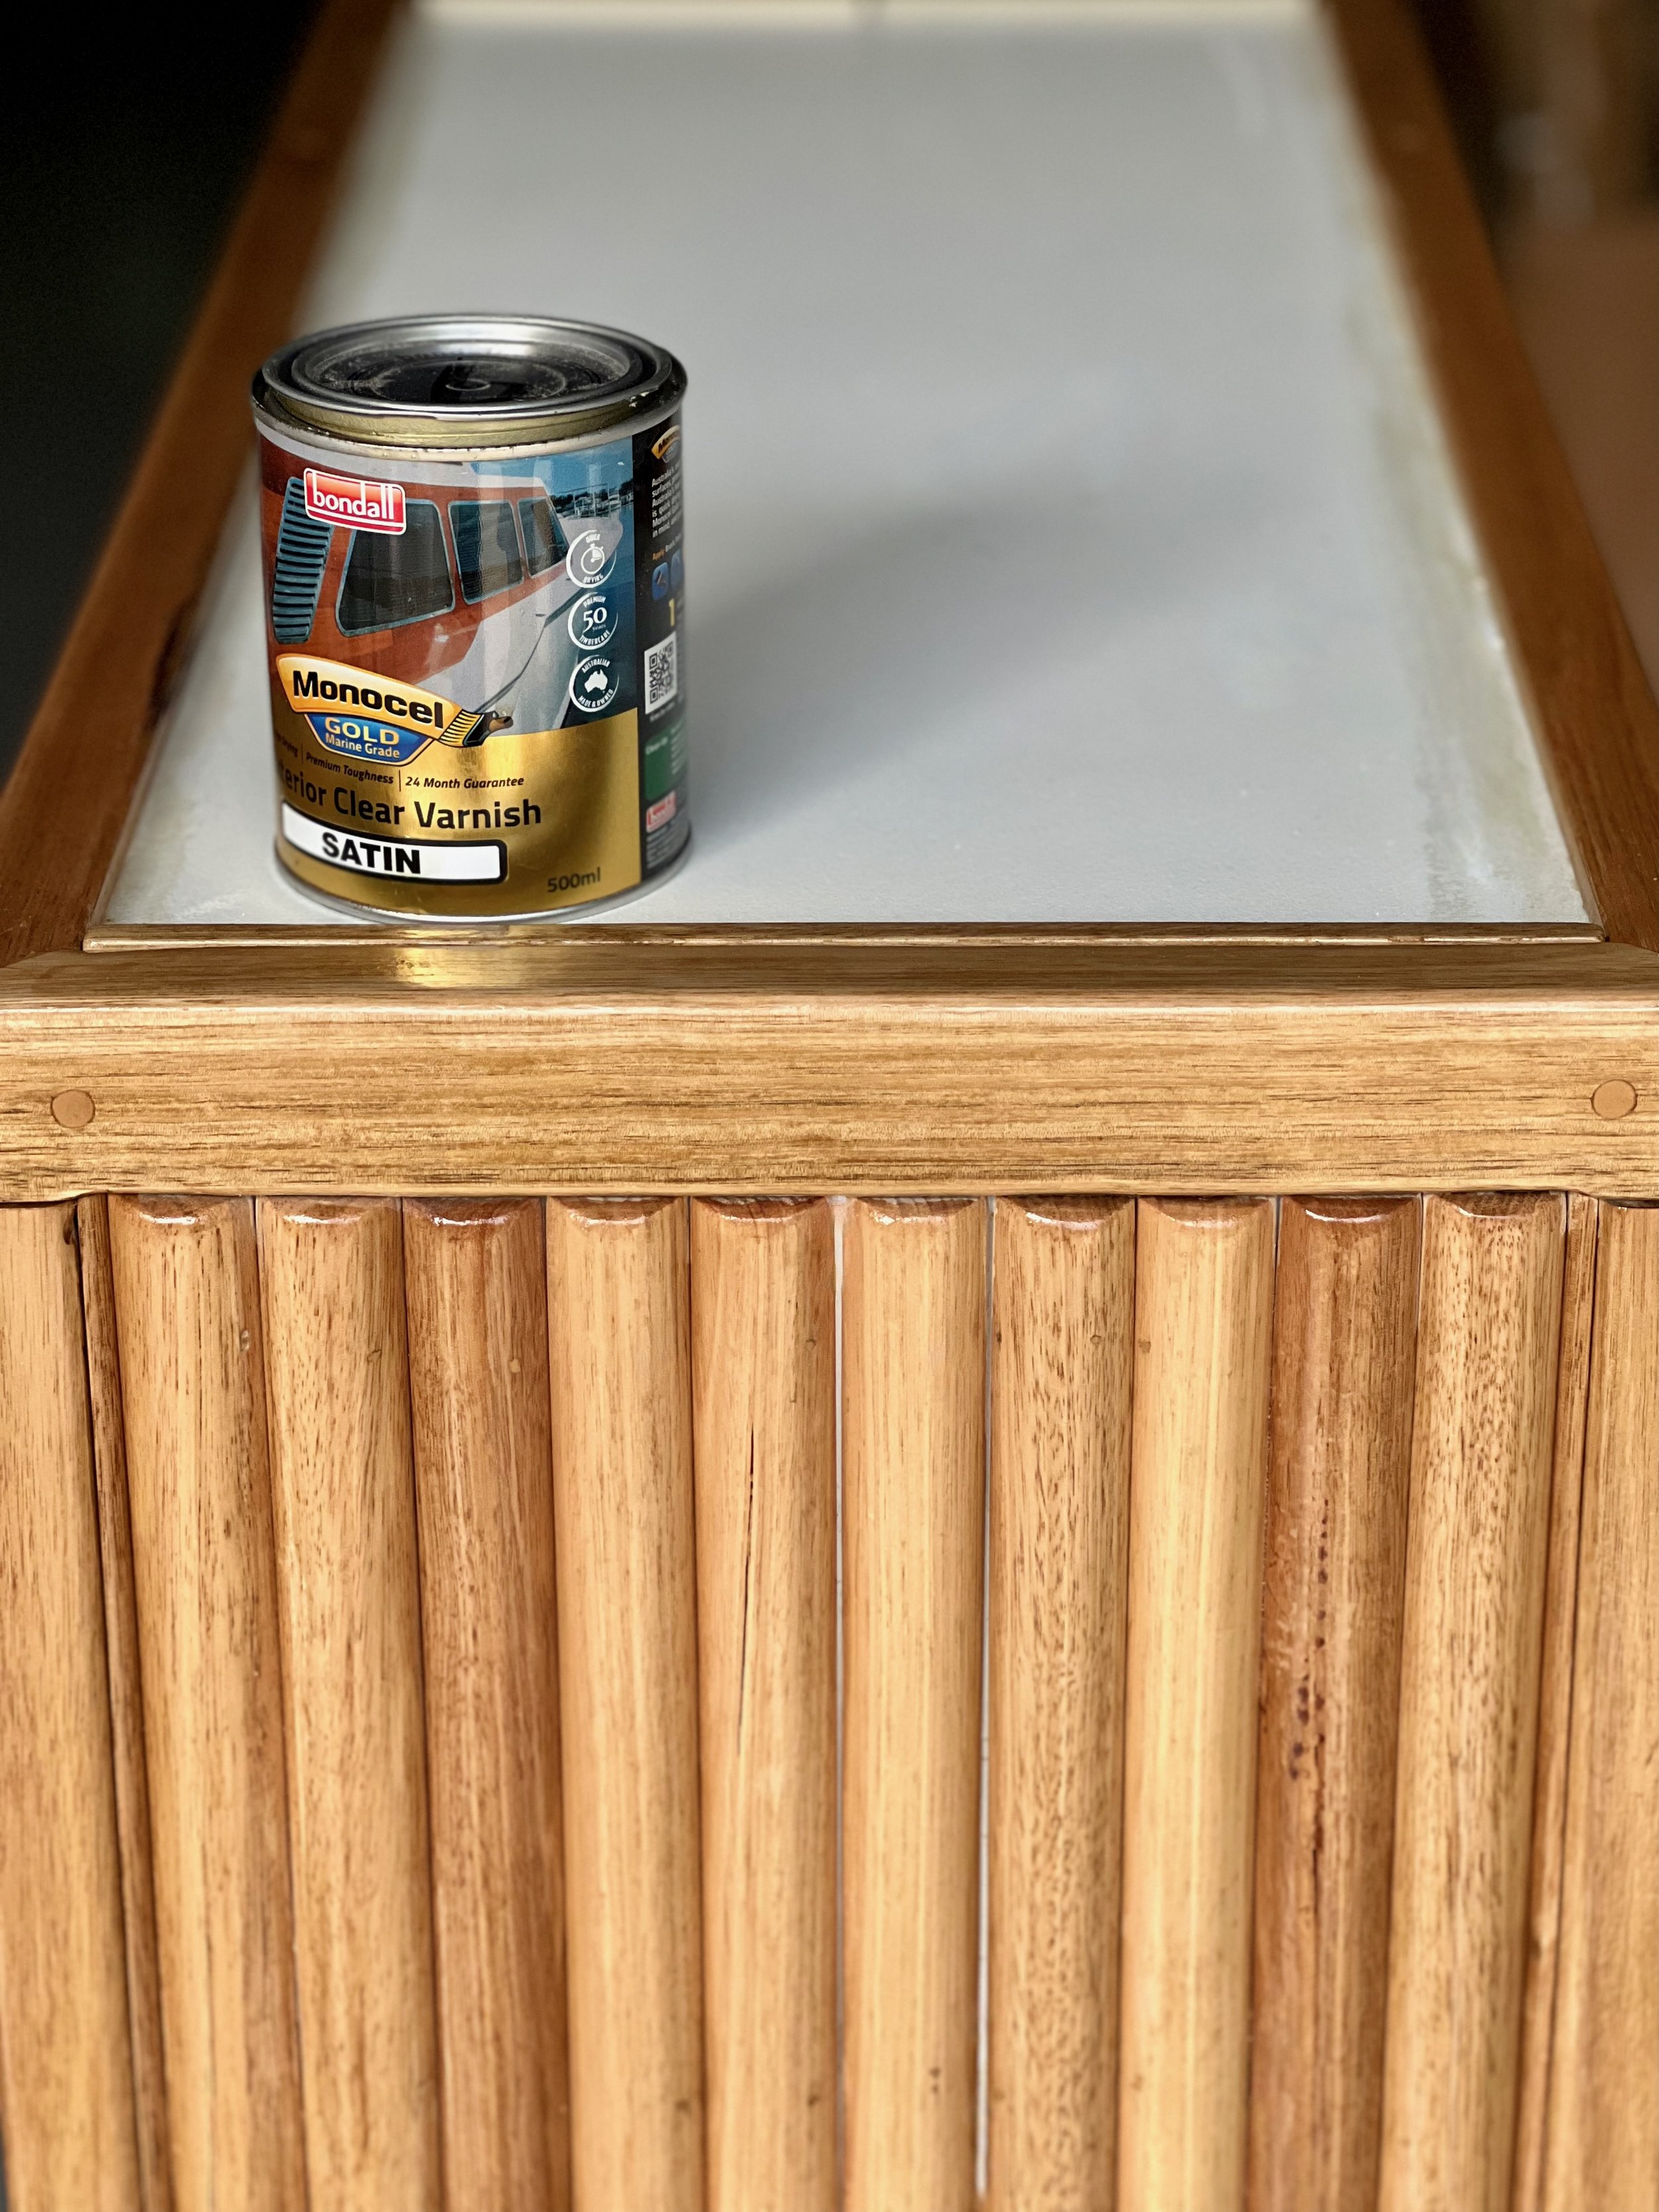
Before sealing the timber I sanded with 240-grit and cleaned away the dust with a damp cloth. To apply marine-grade Monocel Gold Exterior Wood Varnish in Clear I used a mini mohair roller, manoeuvring the tip to seal between the dowel. I left it to dry overnight, sanded and wiped again then applied two more coats, leaving to dry after each.
TIP I did the woodworking outside to avoid dust in the house, then enlisted a second pair of hands move the bench into position for tiling, after which it would be too heavy to move.
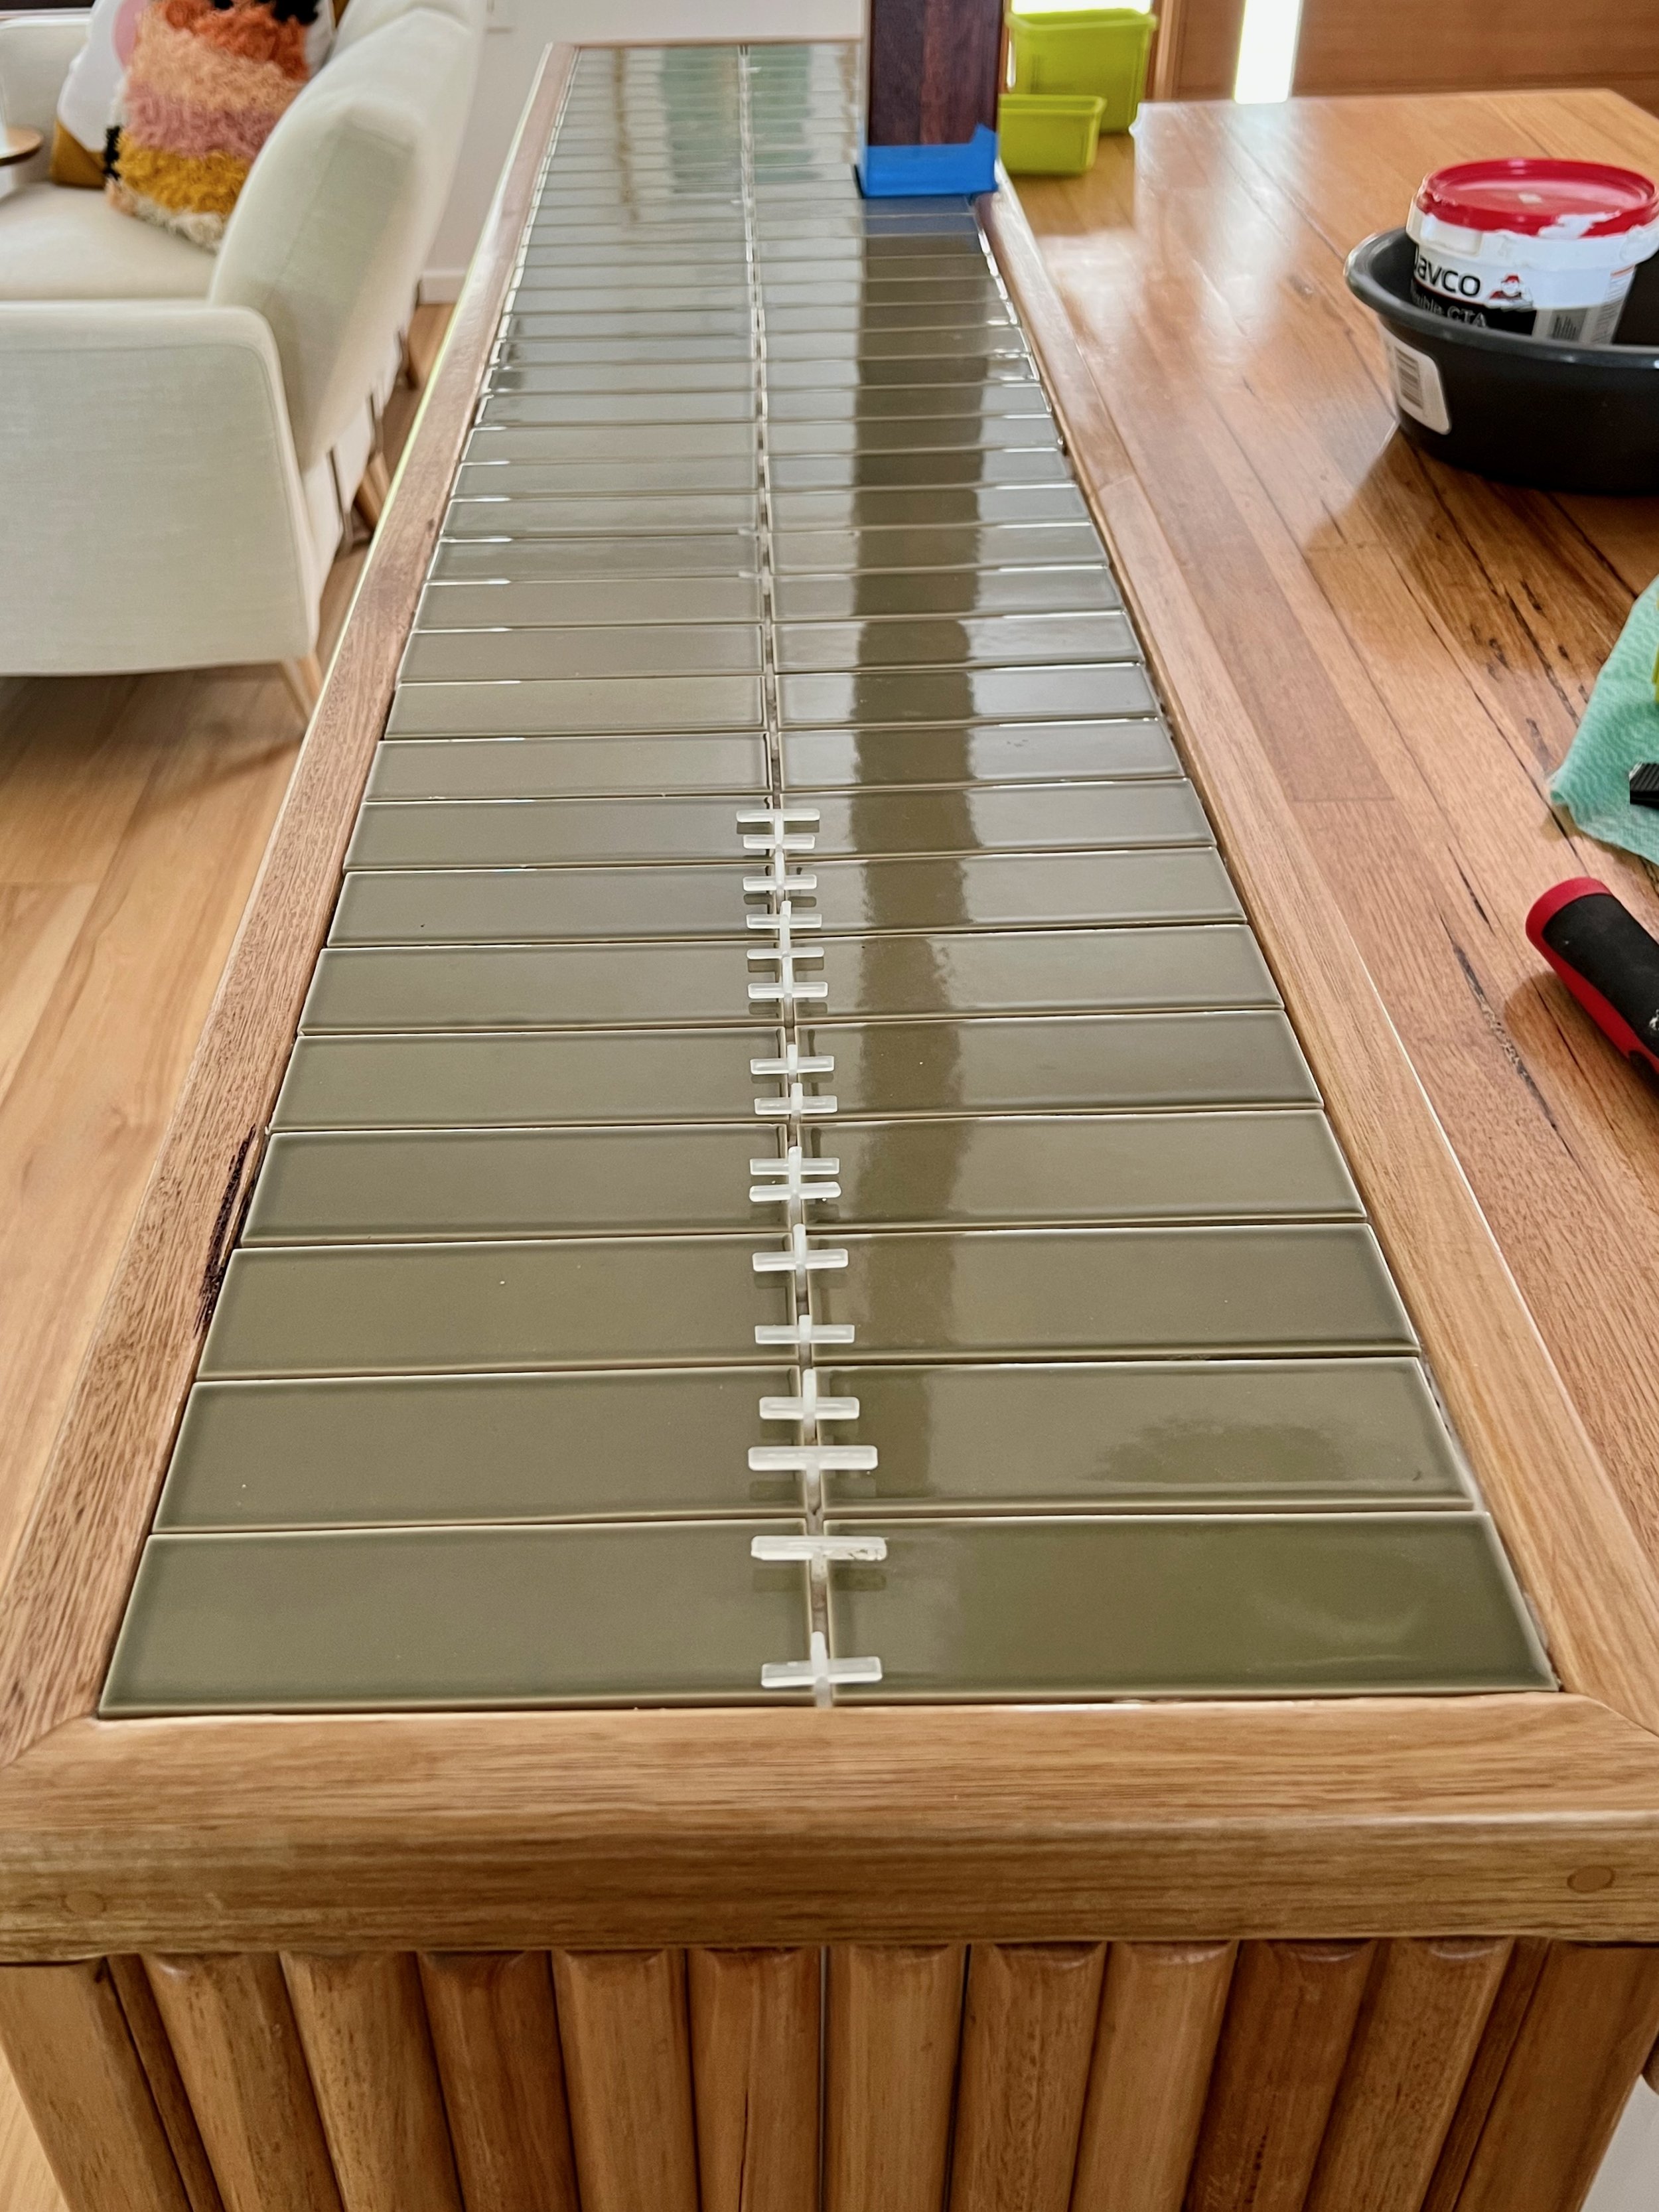
After masking the frame with painter’s tape, I worked in sections to lay the tiles, applying a premixed adhesive and using spacers for even gaps. I pulled a rubber squeegee over the surface to push them in evenly, wiped away excess adhesive and left it to cure overnight.

To fill the gaps between the tiles I applied a ready-to-go grout with the squeegee, wiped away the excess with a sponge then removed the tape and left it to dry.
TIP The grout forms a haze as it dries. Continue to wipe and rinse the sponge in clean water every 15 minutes until there’s no residue on the tiles.
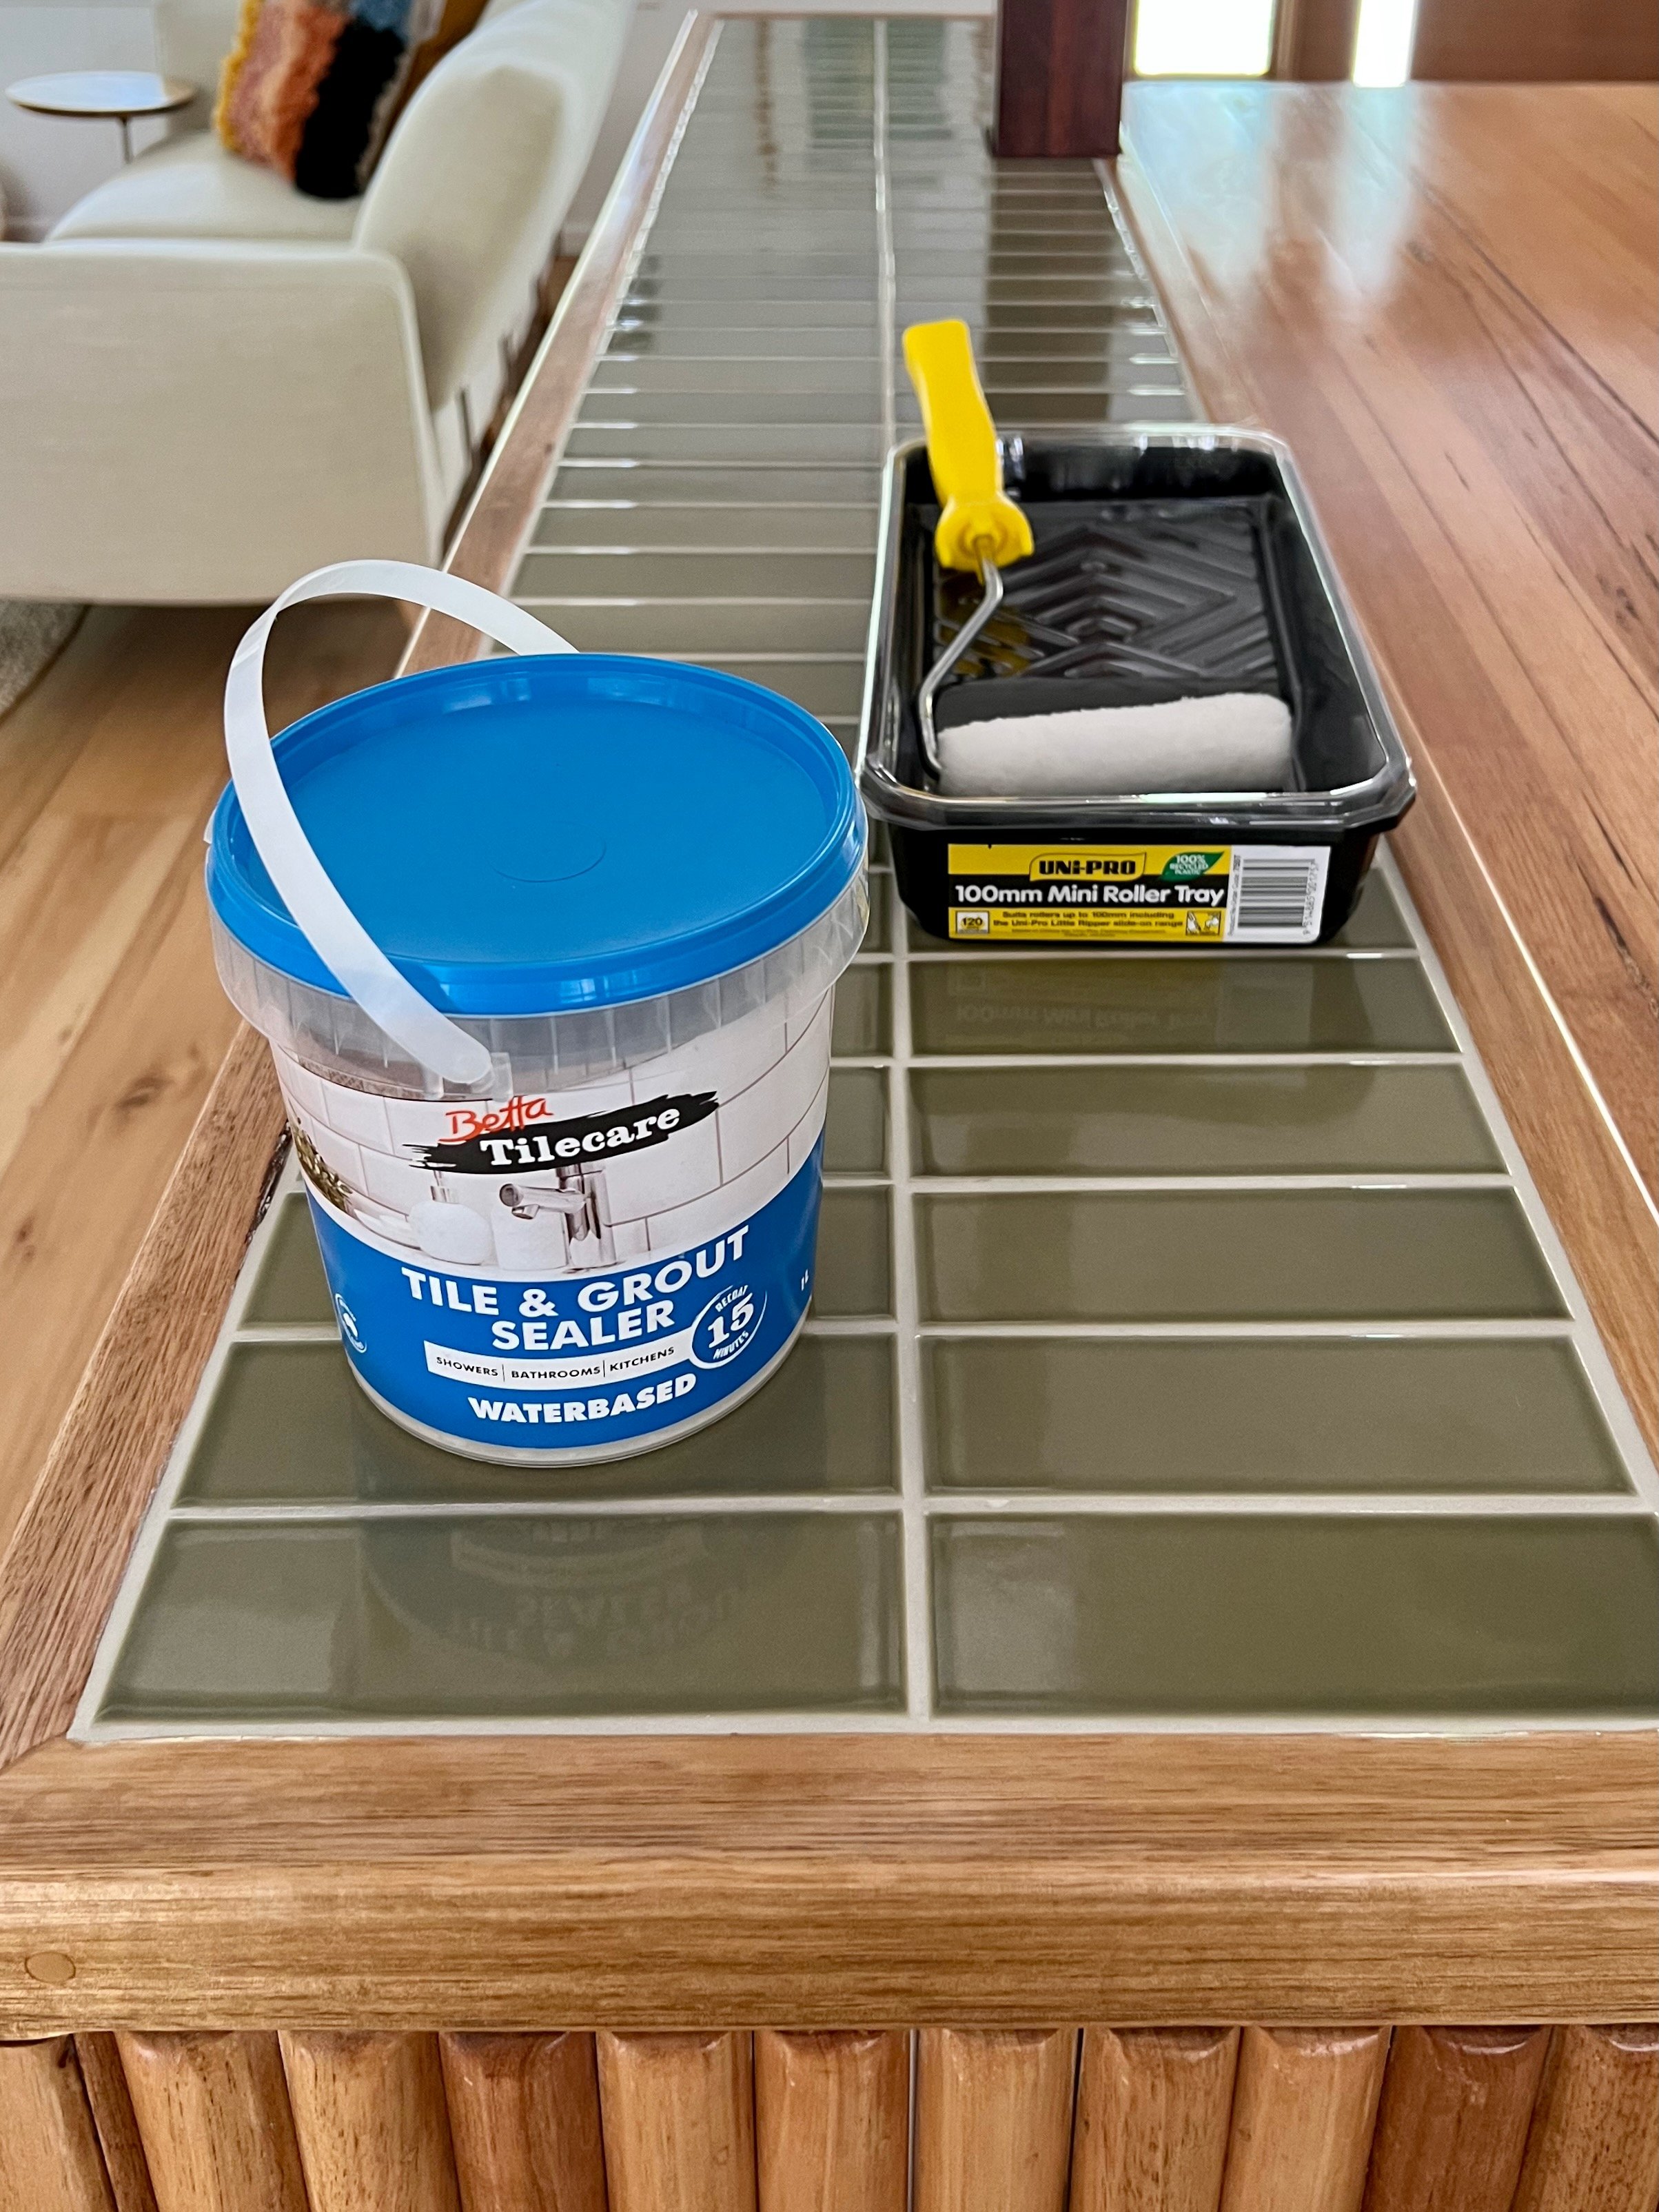
For the finish I applied Betta Tilecare Tile & Grout Sealer with a mini microfibre roller and repeated with a second coat before the first had dried.
TIP Wipe around the frame with clean, damp cloth to remove any sealer, which will dry clear but may later flake off the timber.
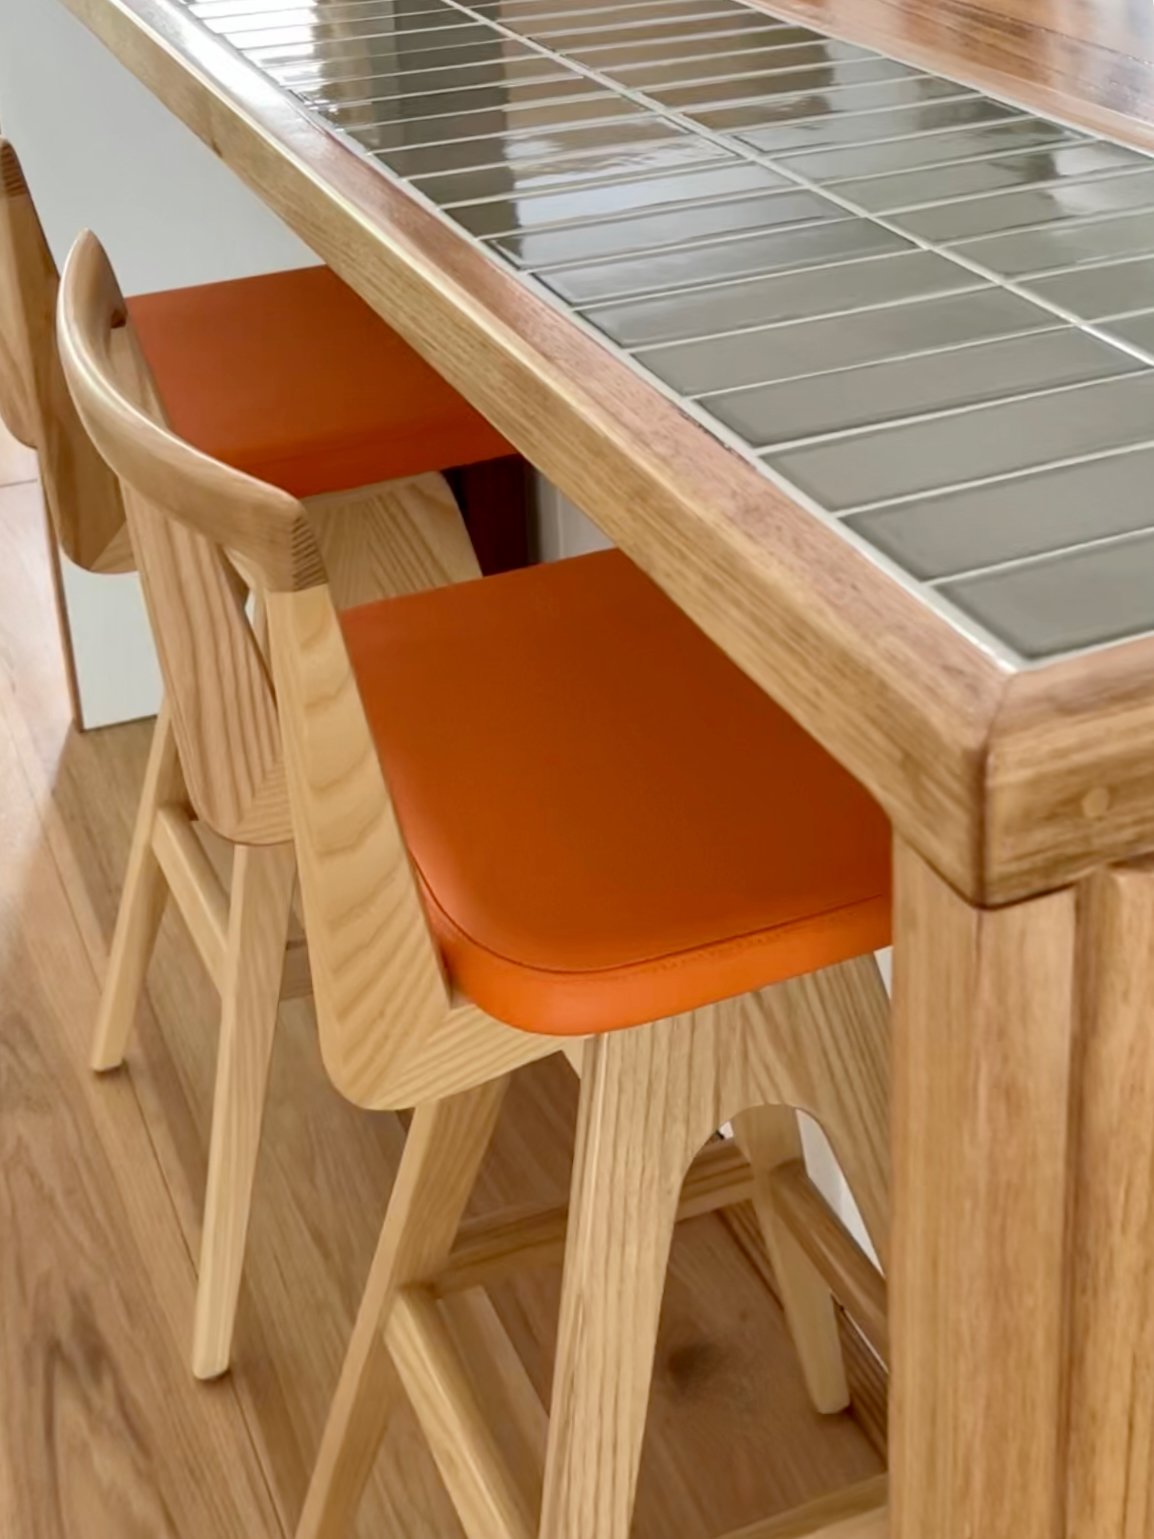
My finished counter is 365mm x 965mm, slightly higher than the kitchen island to accomodate bar stools underneath. The sides are secured to the island with screws and brackets hidden underneath. I also painted underneath with a quality wipe-down white paint.

Are you planning to build a similar bench with tiles and timber?
Tag me on your project and follow more of my DIY journey on Instagram for tool tips, home improvement and simple building projects.