Home-office Laptop Desk
Alun Machin
This little DIY desk solution for working from home is cute, but it’s not just for kids. I’ve designed it to tuck into a small space in a kitchen or hallway.
The hairpins are a standard height, making the desk suited to anyone in the family. Buy them at a hardware store or invest in handcrafted legs from Modcraft Australia that have a sturdy fixing plate and are powder-coated.
The desk top is 800mm x 400mm, perfect for a laptop and notepad, with rails to prevent stuff from falling off.
Set it up near a power point to run cables and charging cords through the duct hidden towards the back. When building it, be sure to position the hole to suit your system – this setup suits my Mac, which plugs in on the left.
“To make a bigger desk, cut the timber panel to size and adjust the length of the rails to suit. To maintain stable support of the legs, avoid going bigger than about 1500 wide and 600mm deep.”
DIY MATERIALS
1800mm x 405mm x 18mm timber panel
1.8m length 64mm x 19mm DAR pine
40mm bugle-head screws
60mm cable duct in grey
Four hairpin legs, about 700mm tall
20mm button-head screws
DIY TOOLS
Measuring tape
Circular saw with a straightedge
Sliding compound mitre saw
60mm holesaw with arbor
Drill driver with bits
8g countersinking bit
Random orbital sander with 180-grit sanding discs
Mini mohair roller with tray
STEP 1
I marked up the timber panel to be 800mm long and cut it to length using a circular saw with a straightedge.
STEP 2
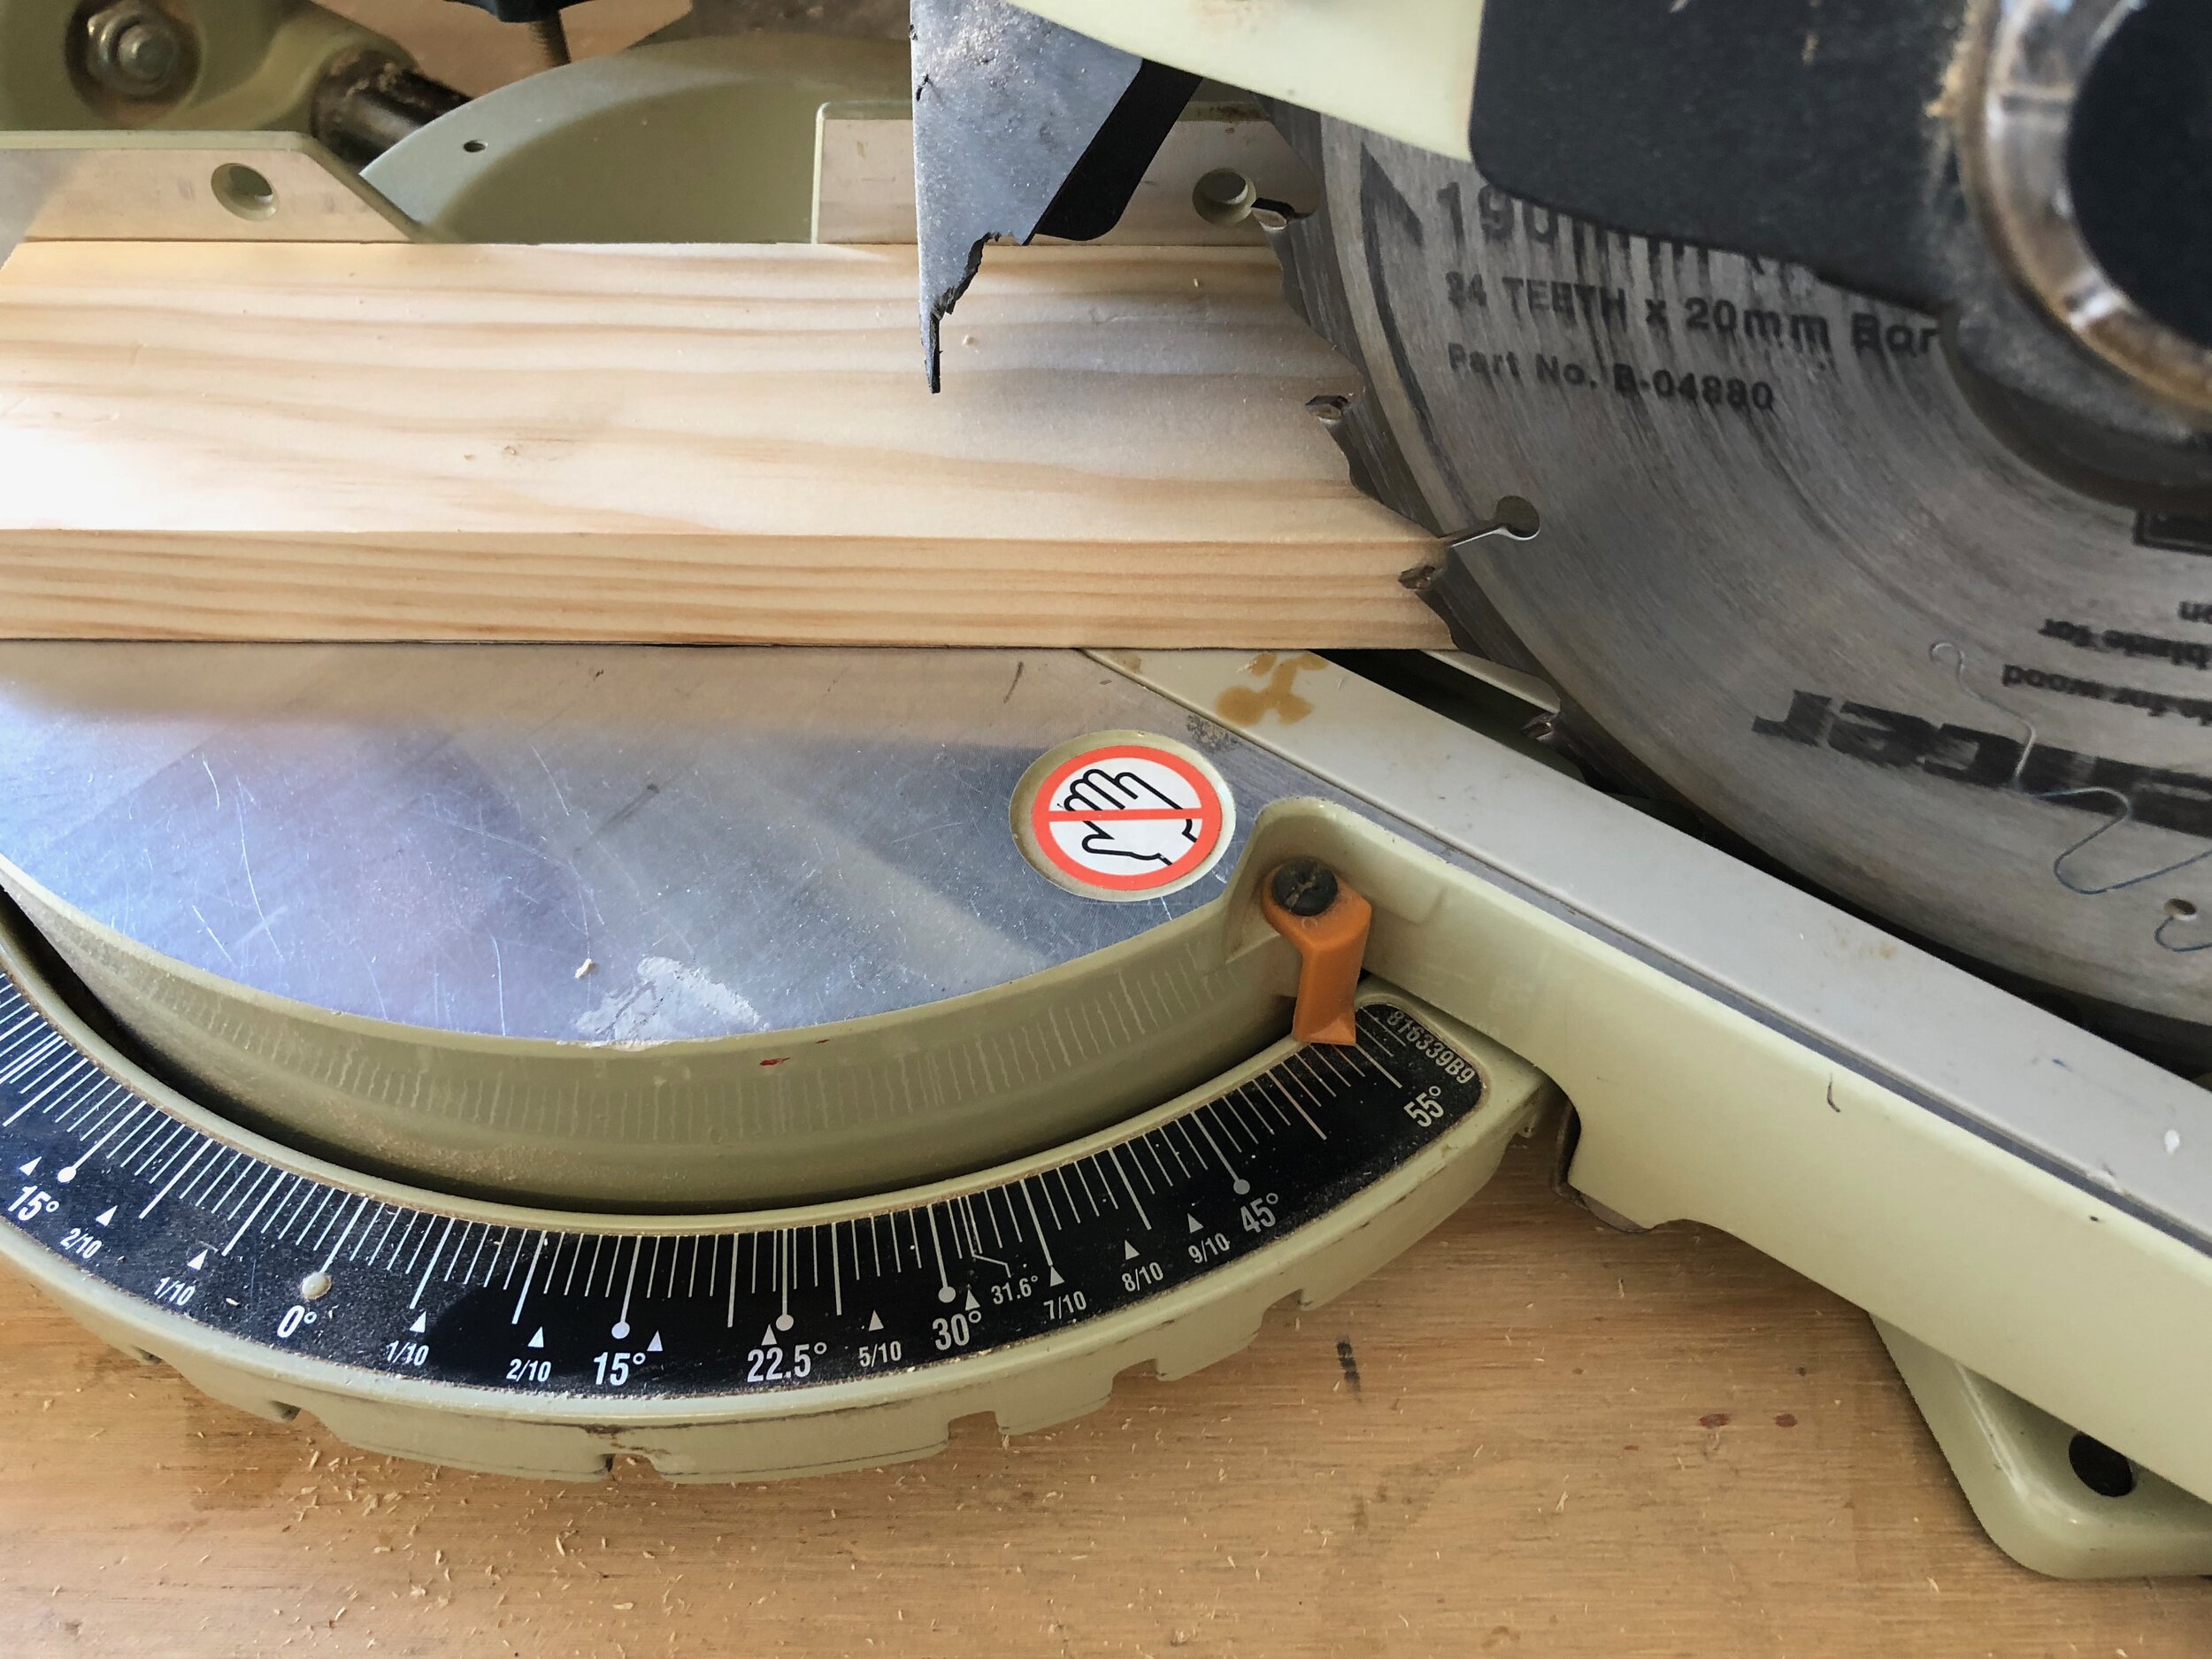
Using a sliding compound mitre saw, I cut the DAR pine to length, cutting the back rail 800mm long. Then I cut two side rails to about 410mm long and one end of each side rail at 45 degrees, trimming the pieces to 386mm long.
STEP 3
To make the cable duct hole, on the timber panel, I measured 72mm from the back and left-hand side to centre the 60mm holesaw, drilling halfway though the top then flipping to complete drilling from underneath.
TIP Before drilling, check the leg plates allow for the cable duct hole. If not, move the hole further from the left-hand side.
STEP 4
To attach the rails, I set them upside-down with the timber panel positioned flush with the sides and ends, then used a drill with the countersinking bit to make holes 10mm in from the sides. I removed the timber panel to apply adhesive along the rails then repositioned it.
STEP 5
I used a drill to secure the rails with 40mm bugle-head screws and wiped away excess adhesive with a damp cloth.
STEP 6
For a smooth finish, I sanded the desk all over with a random orbital sander and 180-grit abrasive disc, then removed dust by wiping all over with a clean damp cloth.
TIP The trick is to round over the edges slightly, working over the top corners of the rails to soften the angles.
STEP 7
To apply the grey varnish, I used a mini mohair roller, saturating the end and pulling it along the inside joints for an even application, and leaving to dry thoroughly. Then I repeated to apply two more coats, leaving to dry between each.
TIP Between coats, pour remaining varnish from the tray back into the tin and seal the roller with plastic wrap to prevent it drying out.
STEP 8
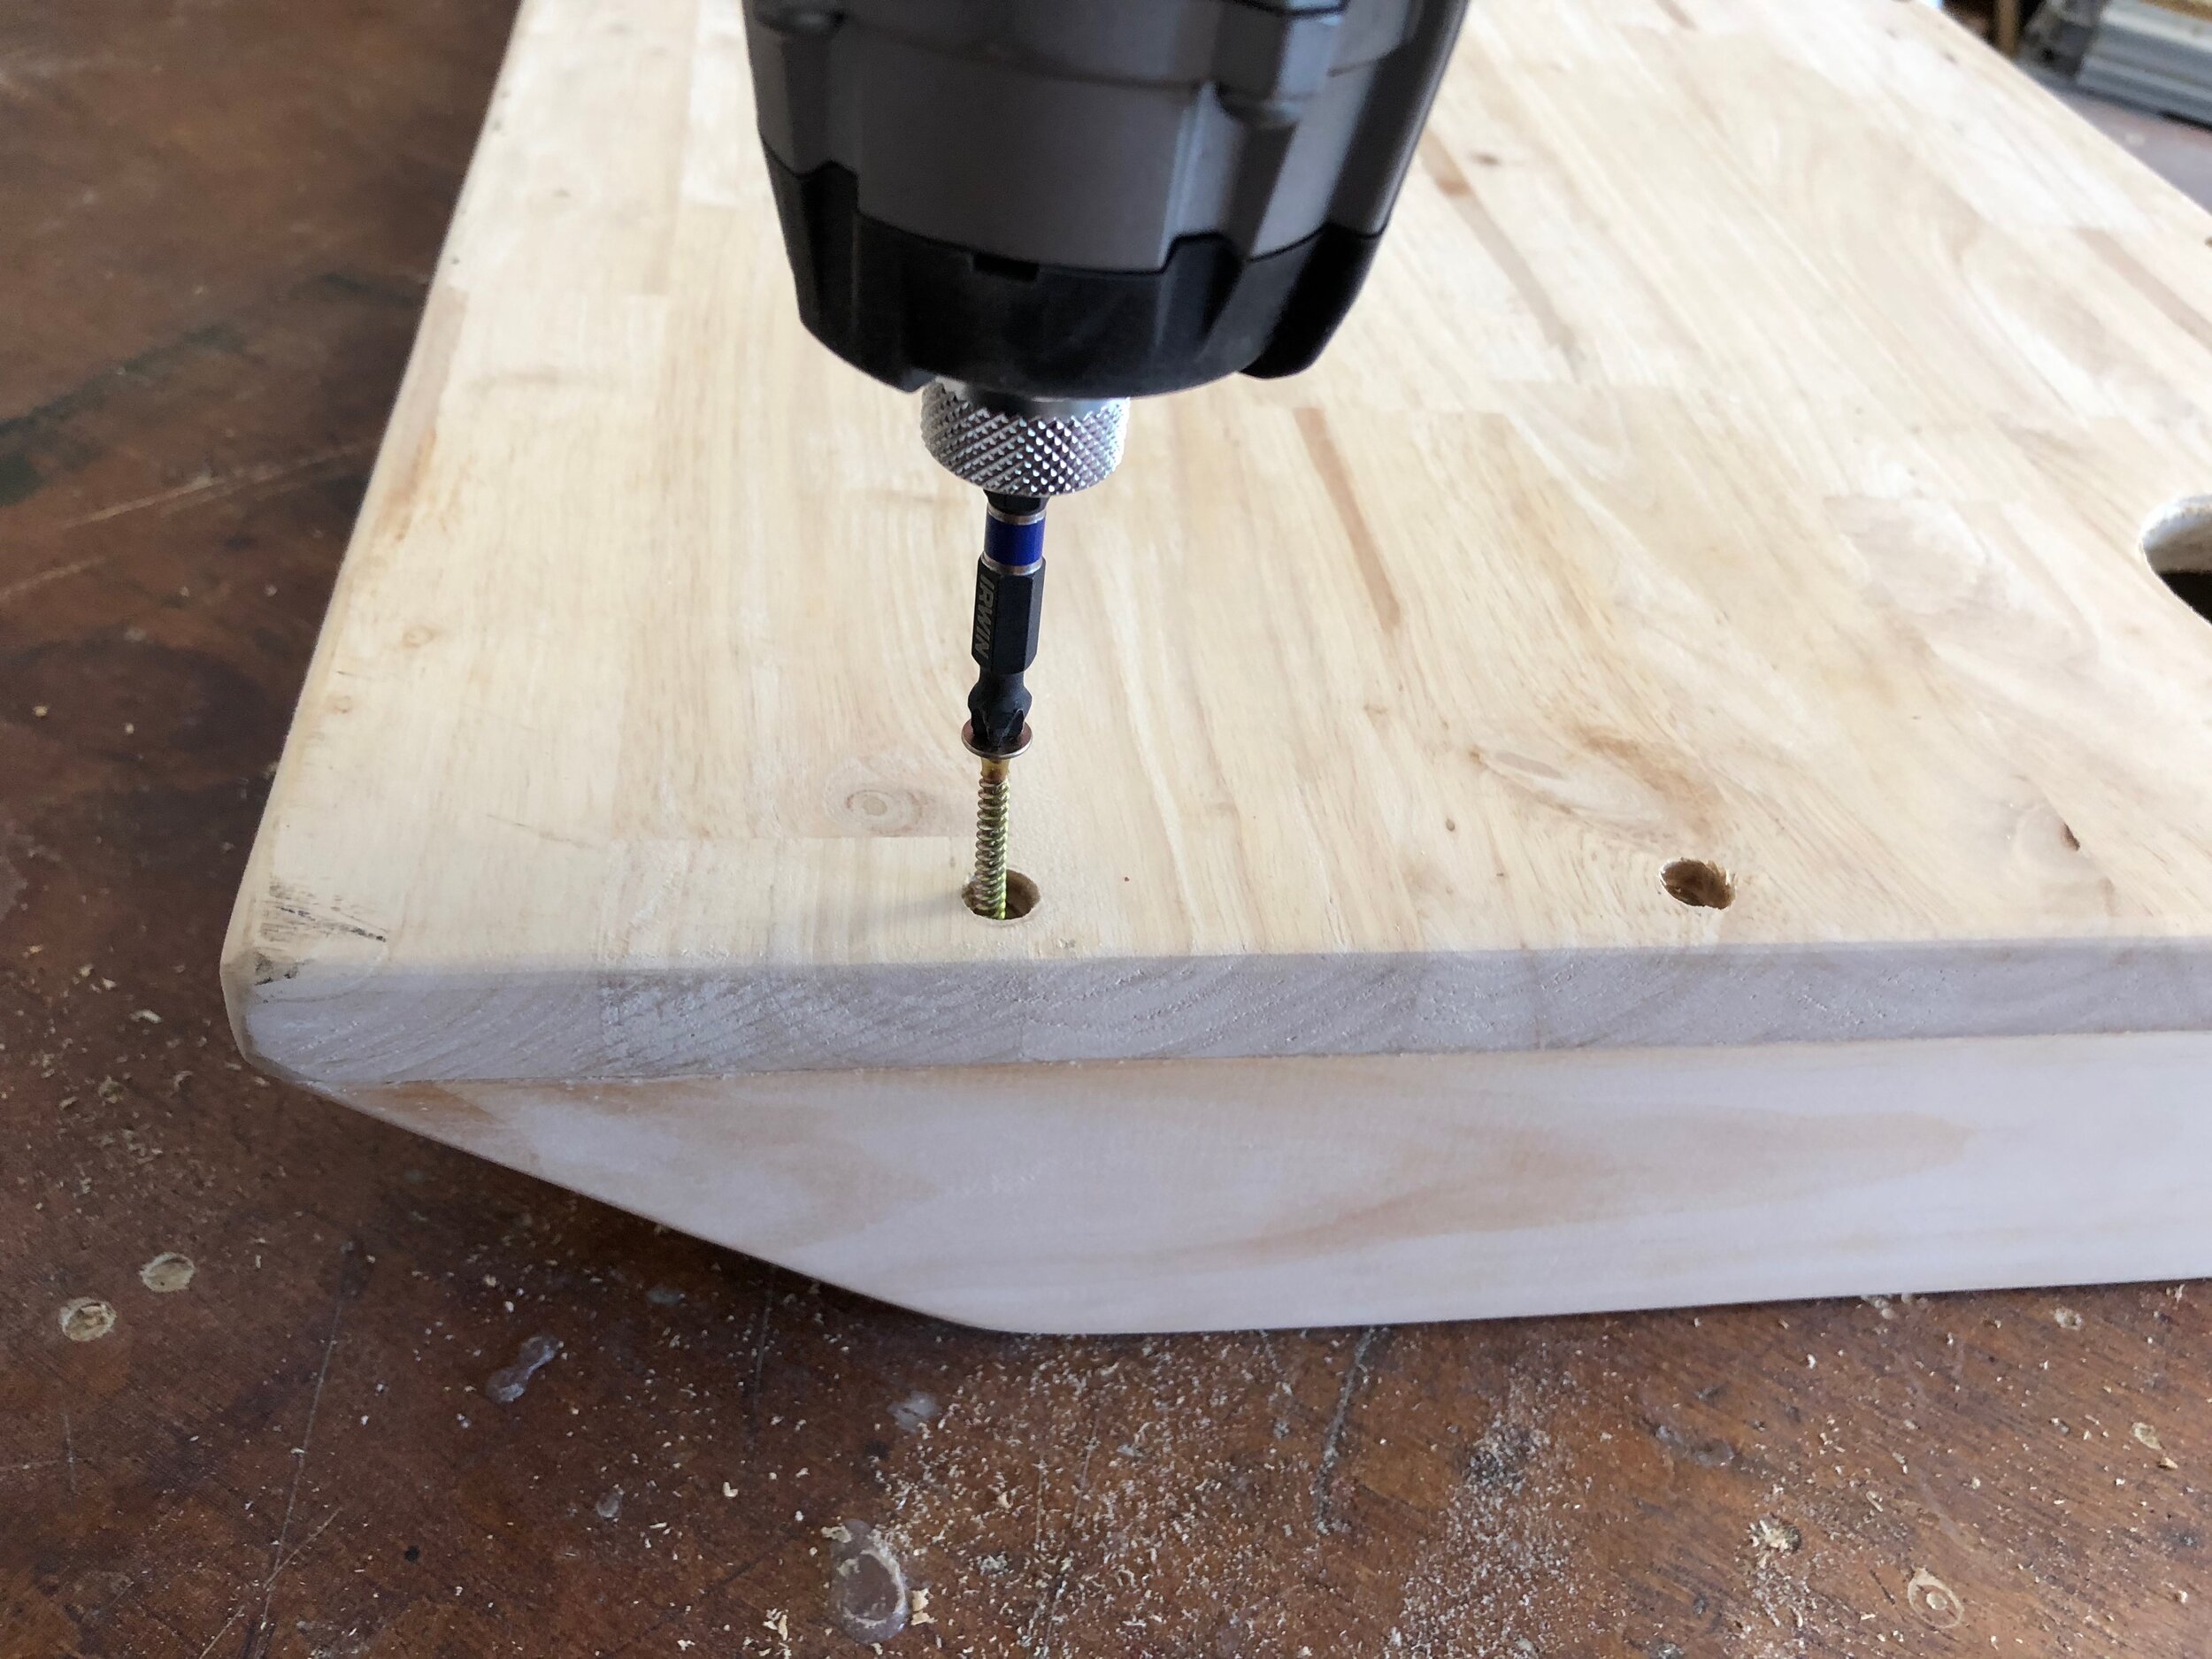
I flipped the top over to attach the hairpins, positioning them flush with the edges to allow for the cable duct opening, using 20mm button-head screws to secure.
STEP 9
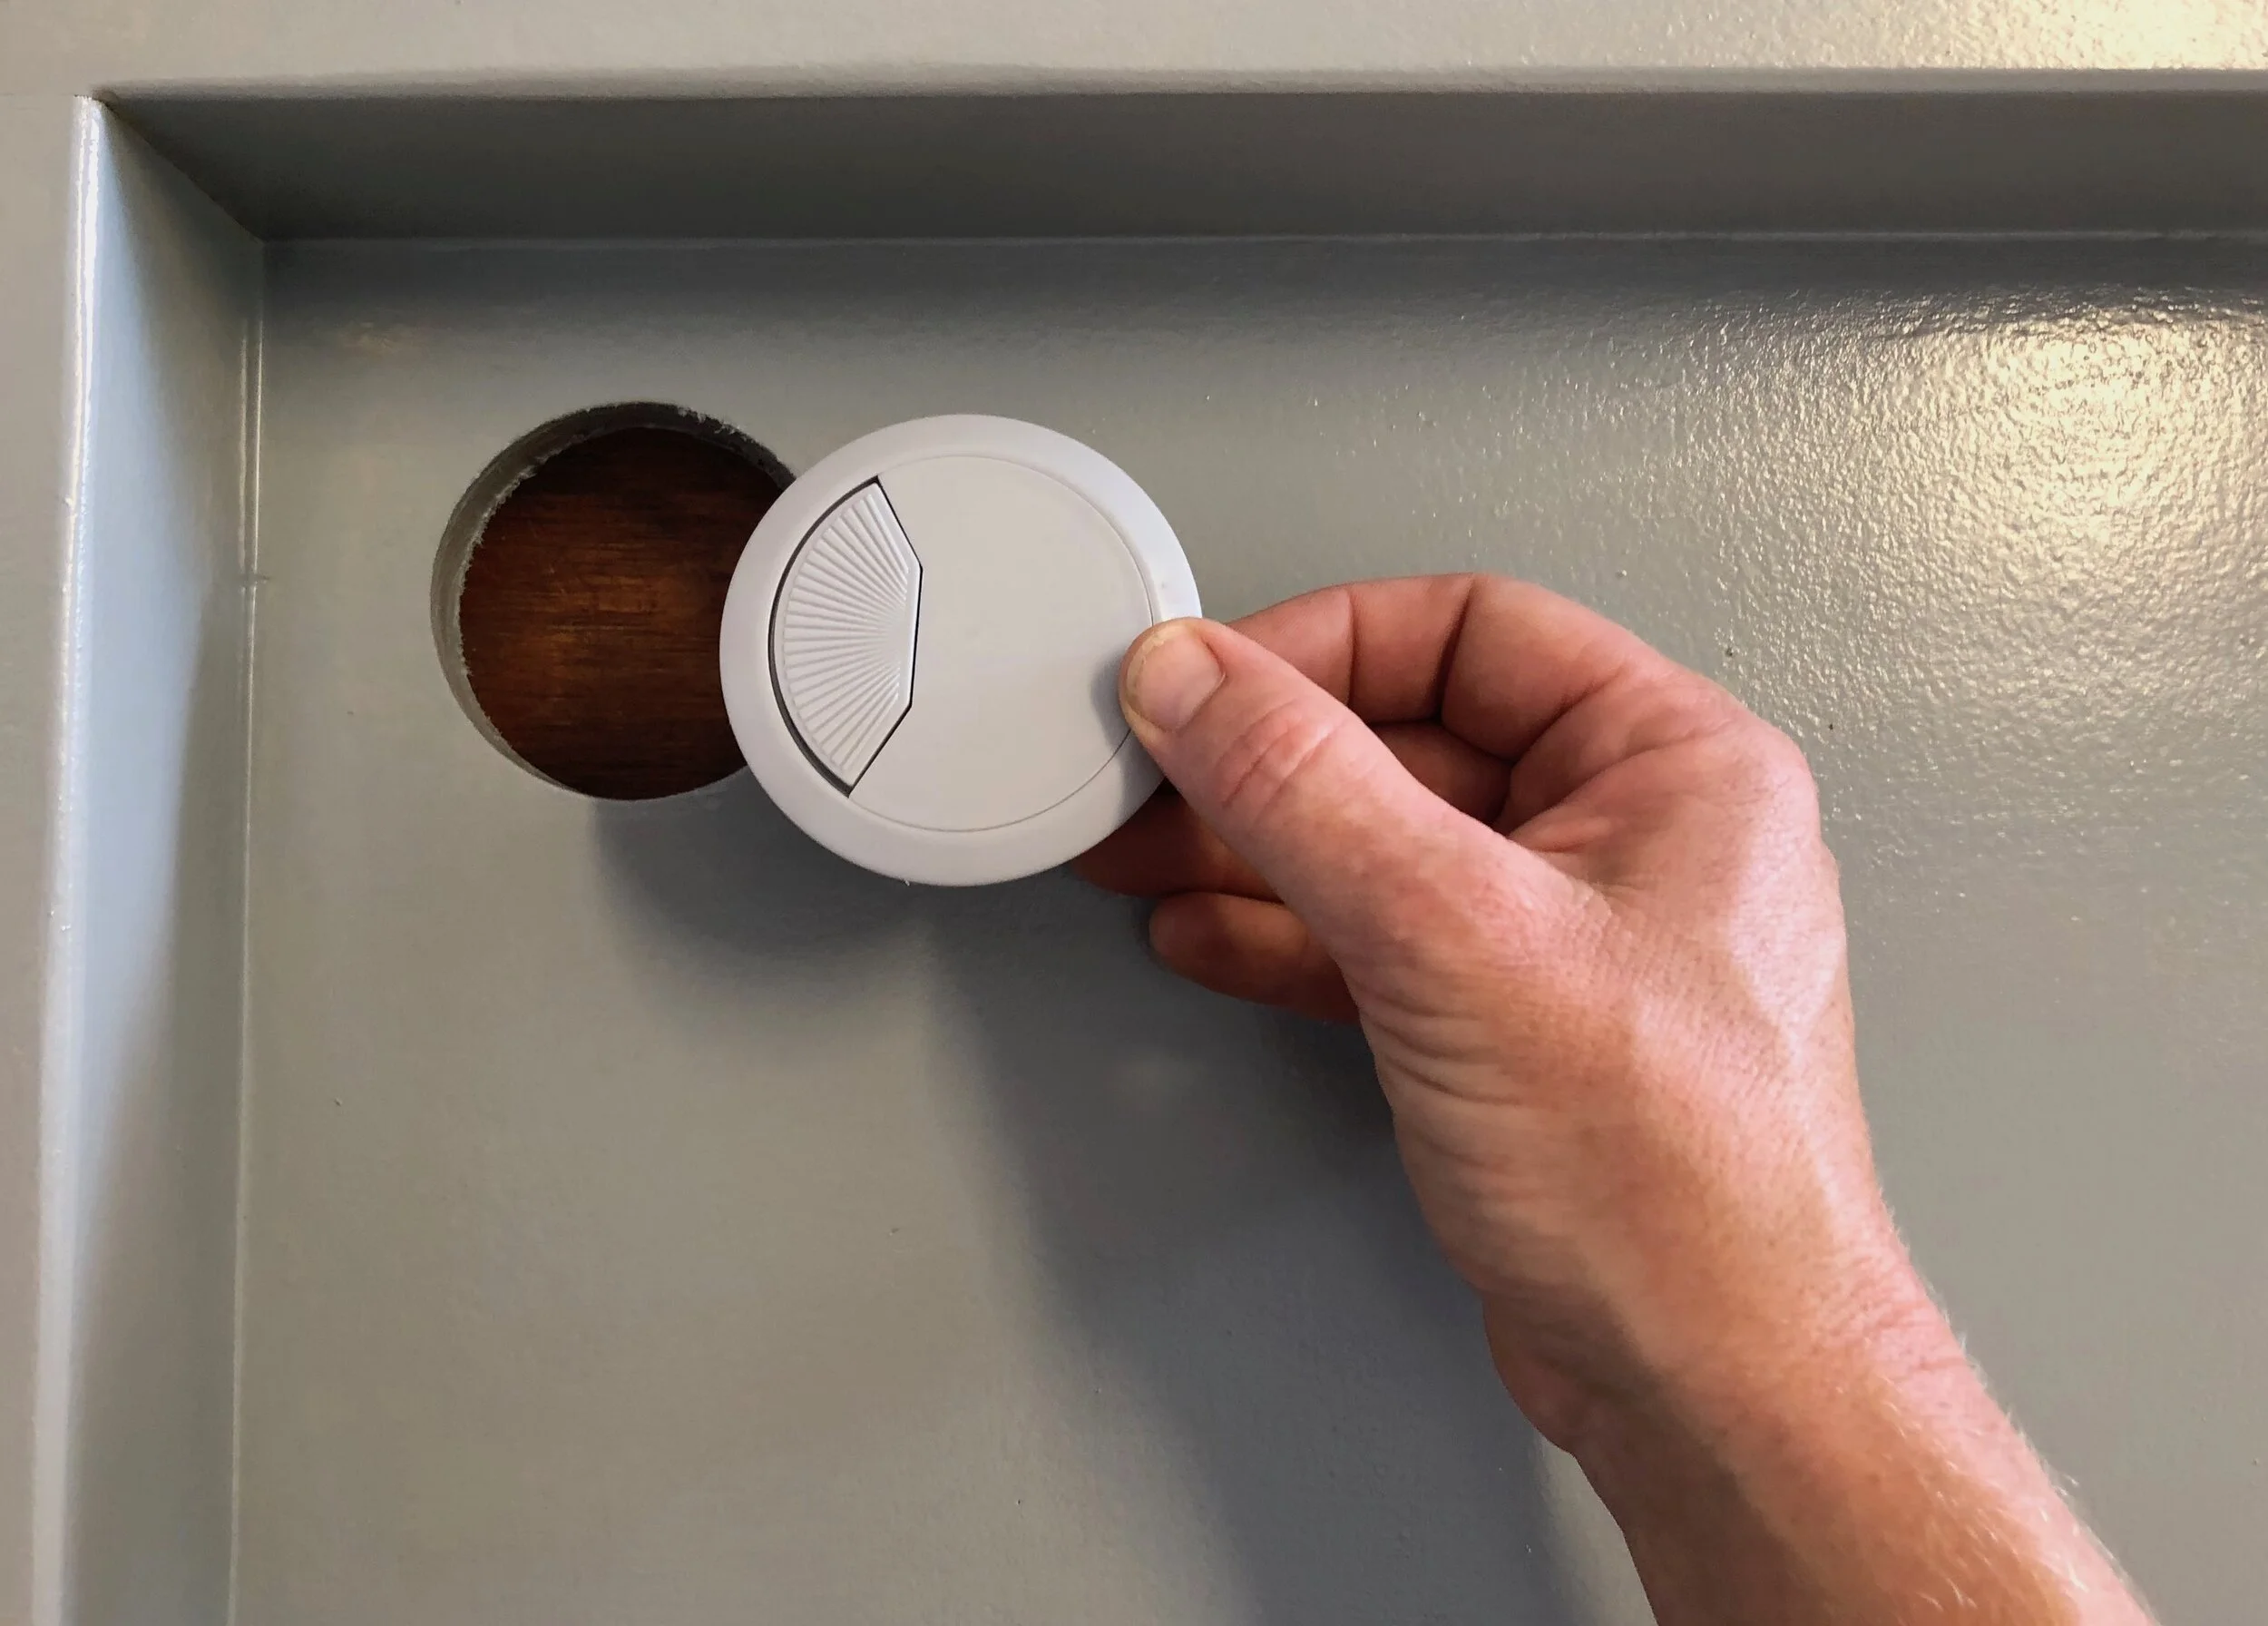
Then I pressed the cable duct into the hole and set up my laptop!
To build a simple work-from -home desk that can be packed away on the weekend, check out the how-to plans for my demountable Trestle Table.
Follow my daily DIY journey on Instagram for more renovating and home improvement, tool tips and simple building projects.


