Lay a floating laminate floor
Alun Machin
Installing this floating laminate floor requires the simplest lay-and-click technique. It can be done in a day and the results are instant! Here’s how to do it…
I’ve found that revamping the largest surface in a room tends to have the biggest impact. The trick is to keep the makeover simple by choosing one material that uses a technique that suits your DIY skill levels.
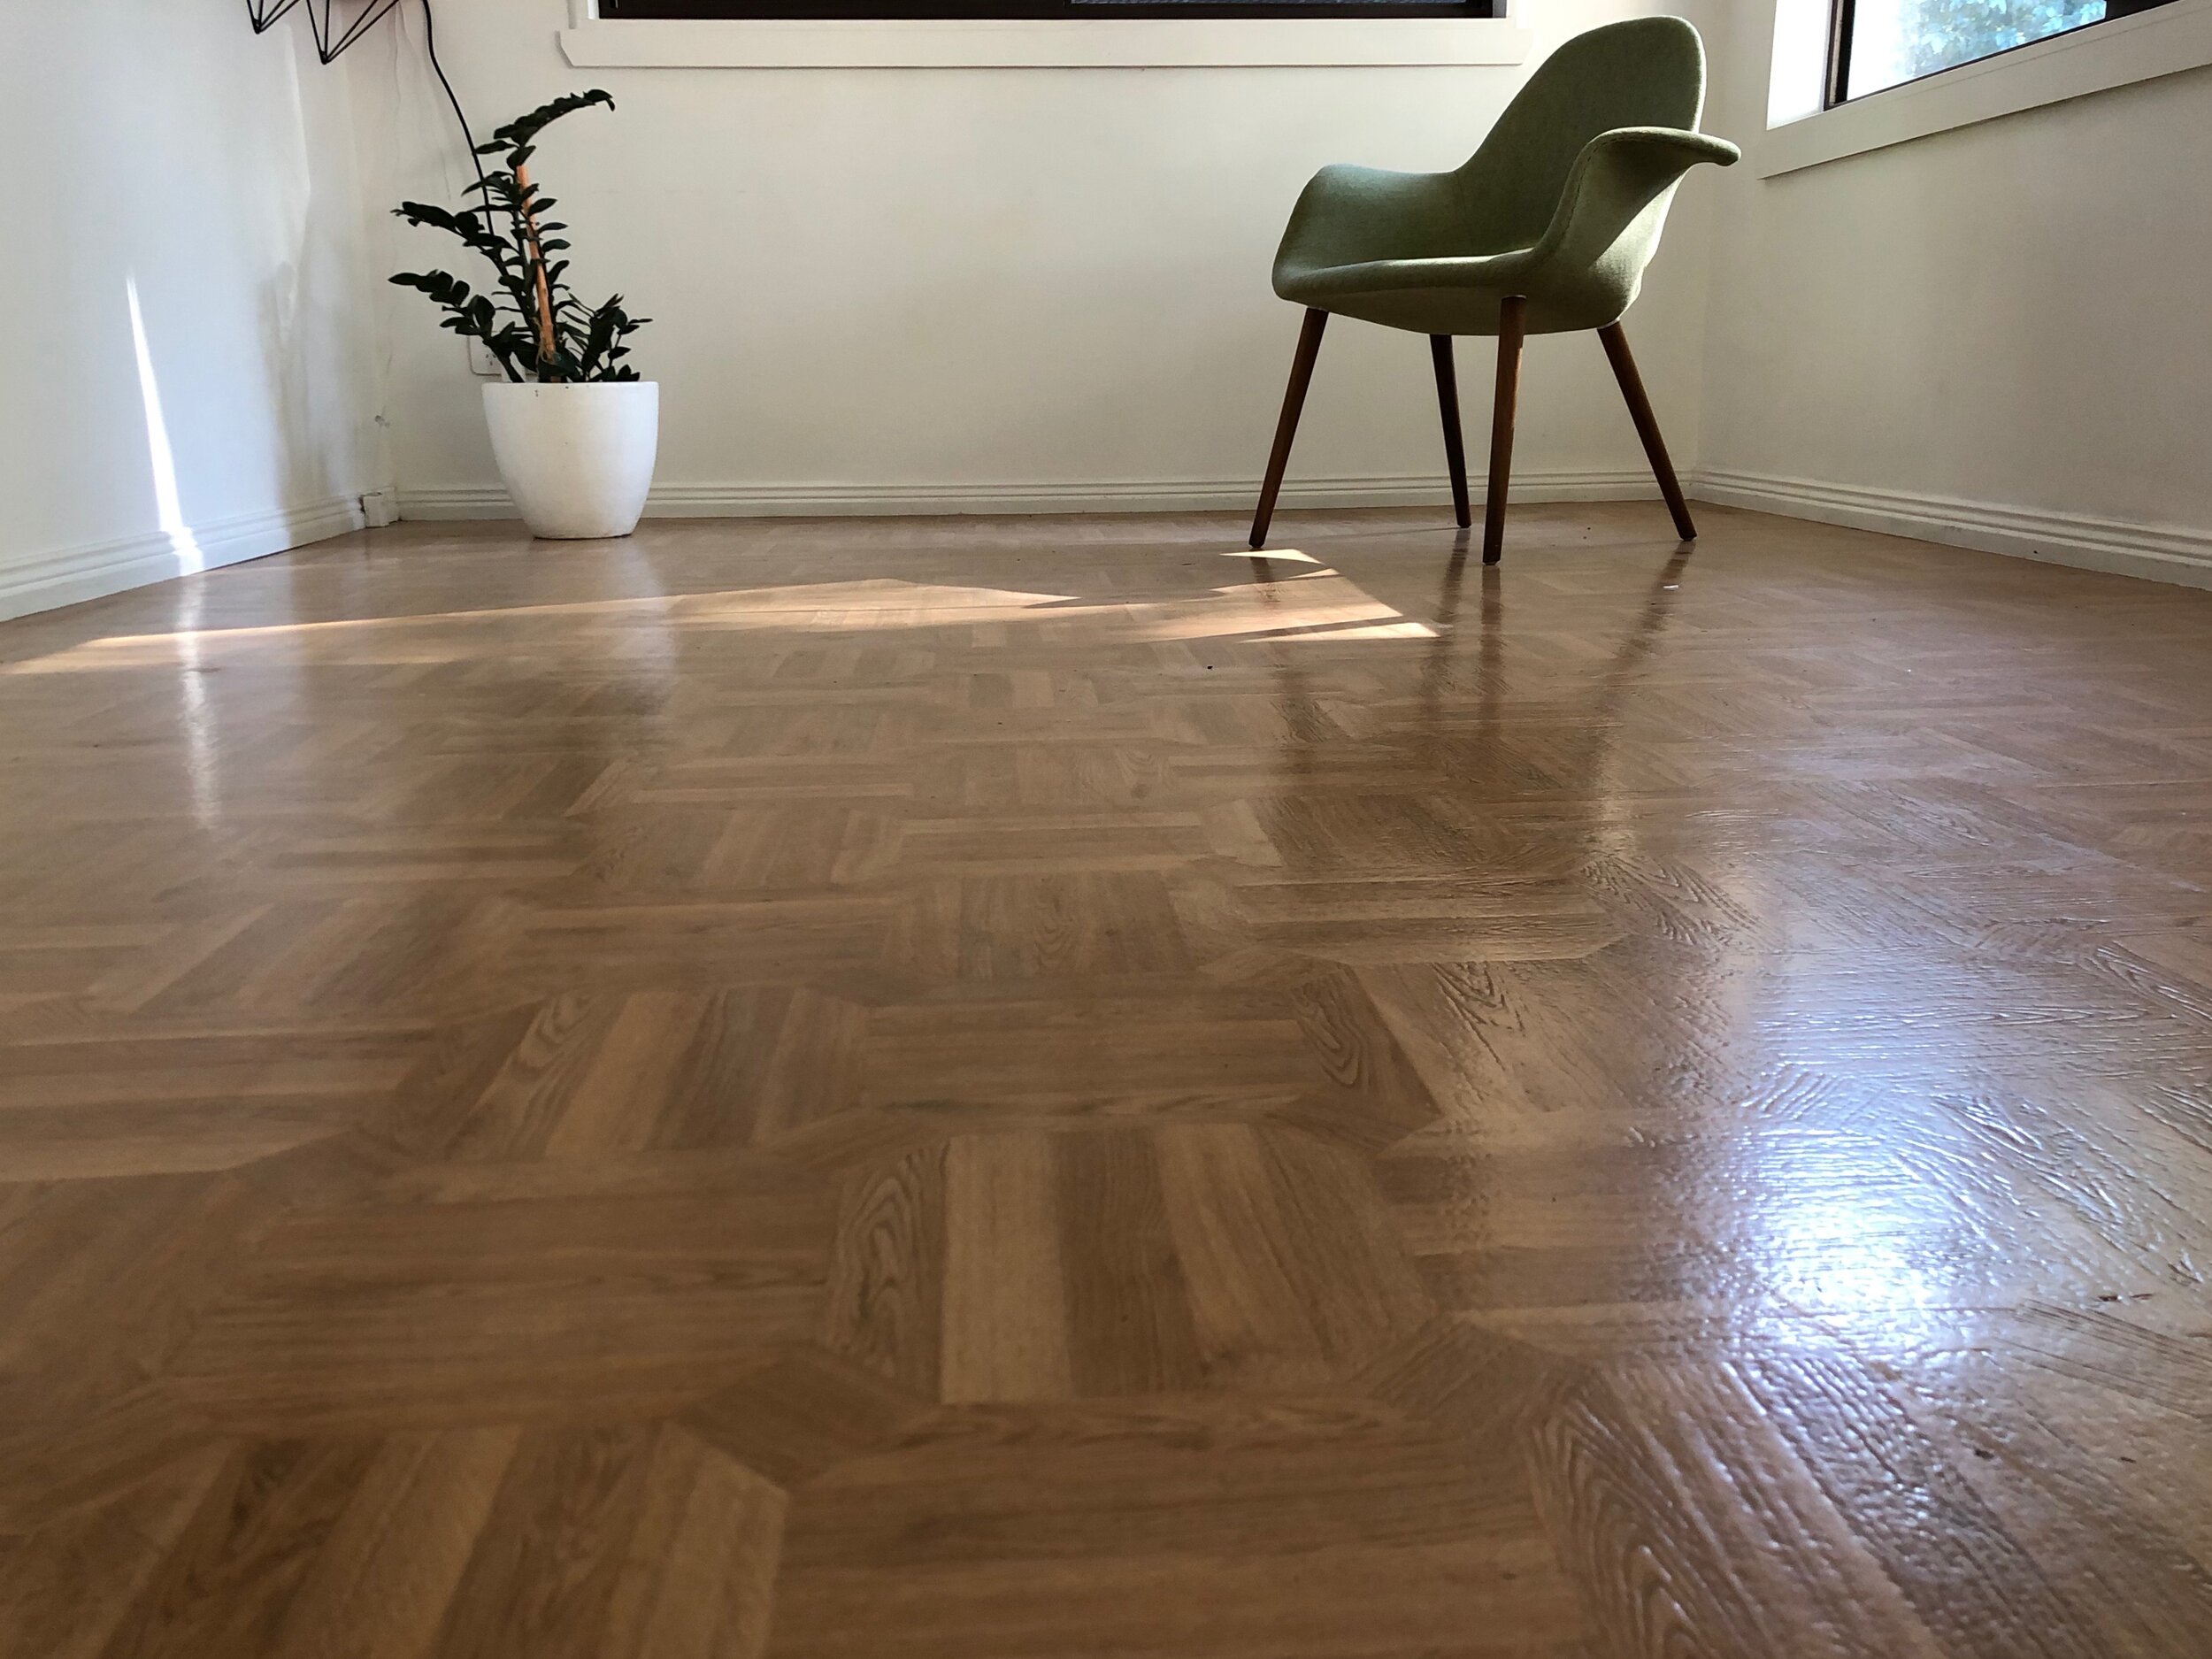
I’m so chuffed with how a new floor has completely transformed this room.
BEFORE The original linoleum was installed in the early 1980s. It has suffered wear over the years and I can never get it to feel clean. Laid directly onto the subfloor without insulation, it’s chilly to walk on in winter and the room gets very hot in summer. Replacing the yellow-toned lino ticks all the boxes to refresh the area.
“The fast-install flooring system has an insulating underlay that makes it ideal for coastal homes, keeping rooms cooler in summer. The tough abrasion-resistant surface avoids sand scratches and dents from dining chairs.”
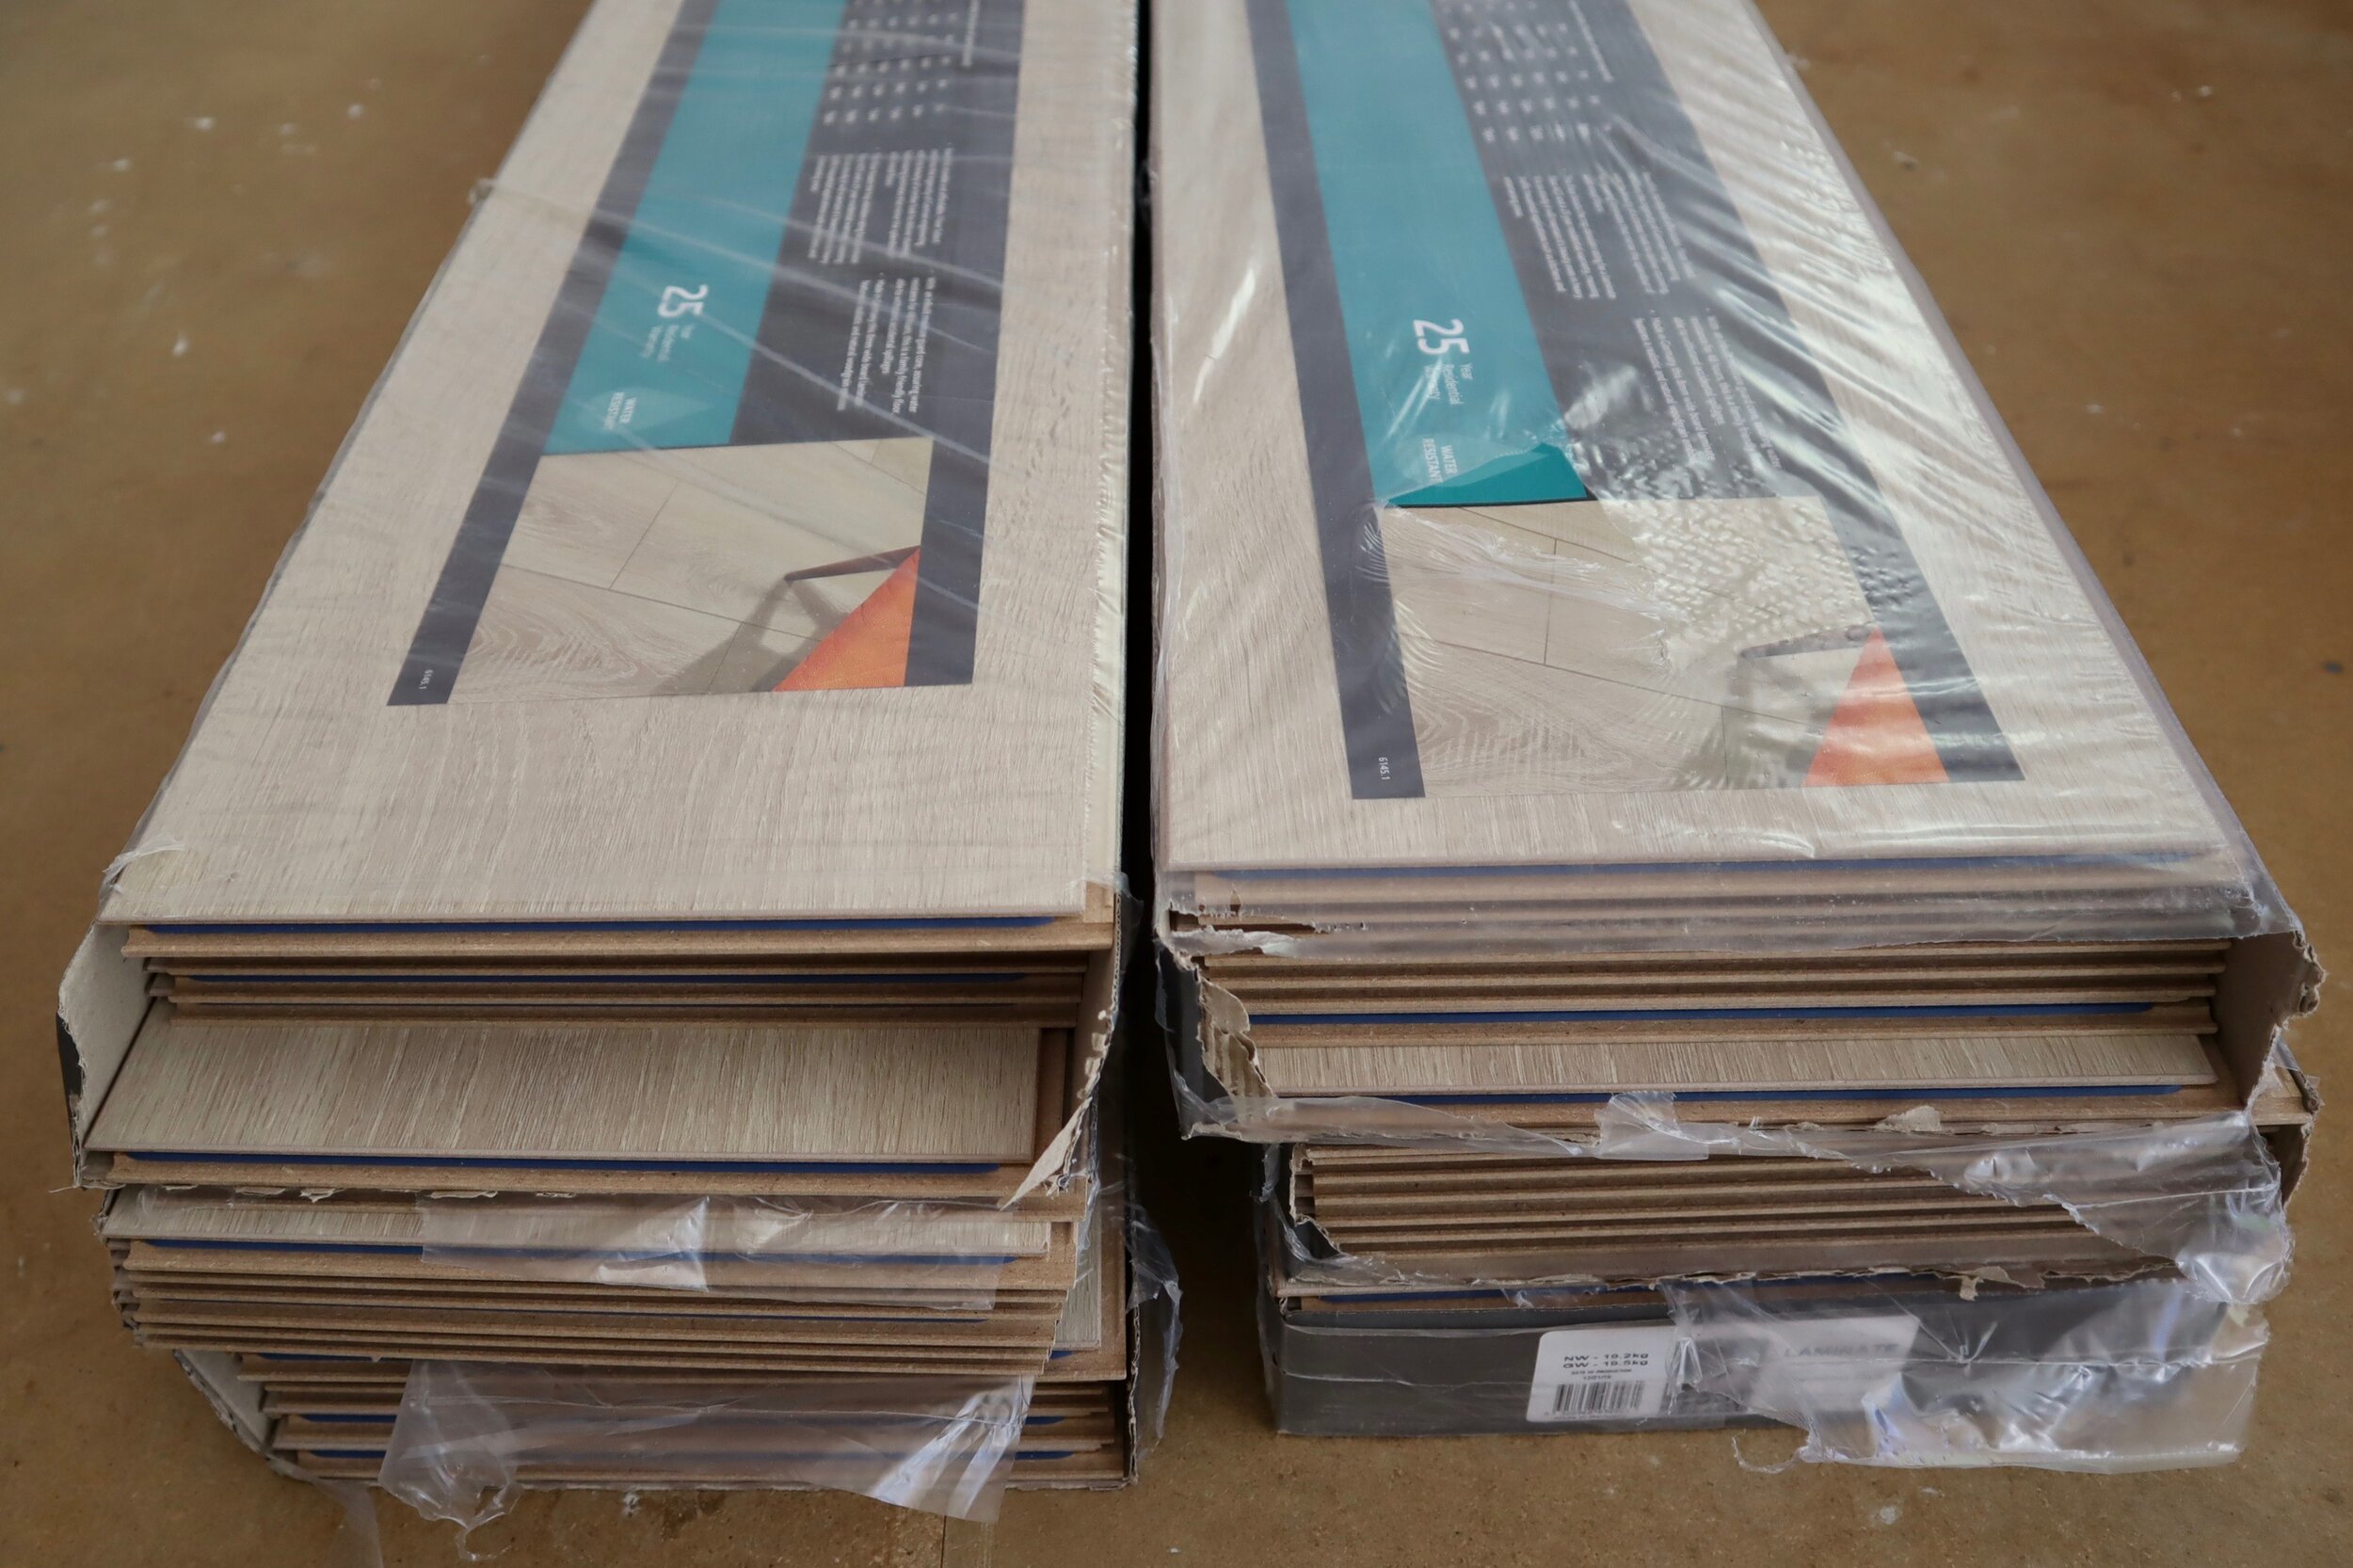
First step was to choose the flooring. I went with Floor Select’s water-resistant laminated flooring in Palamino Oak (pictured in the centre). The warm blonde tones are modern yet welcoming and it compliments timber features in the house, such as the kitchen benches and shelving.
These Floor Select boards are 8mm thick, a lovey 244mm wide, and the 1380mm length keeps them easy to install. Positioned widthways across the room, they create an optical illusion of making the long, narrow area appear wider. For my almost-2.8m-wide by 6.9m-long room, I used eight boxes, with a couple of boards left over.
TIP There are eight boards per box, covering 2.69sqm. Add up how many boxes you need by checking the width and length of the room, then round up the measurements to allow for wastage.
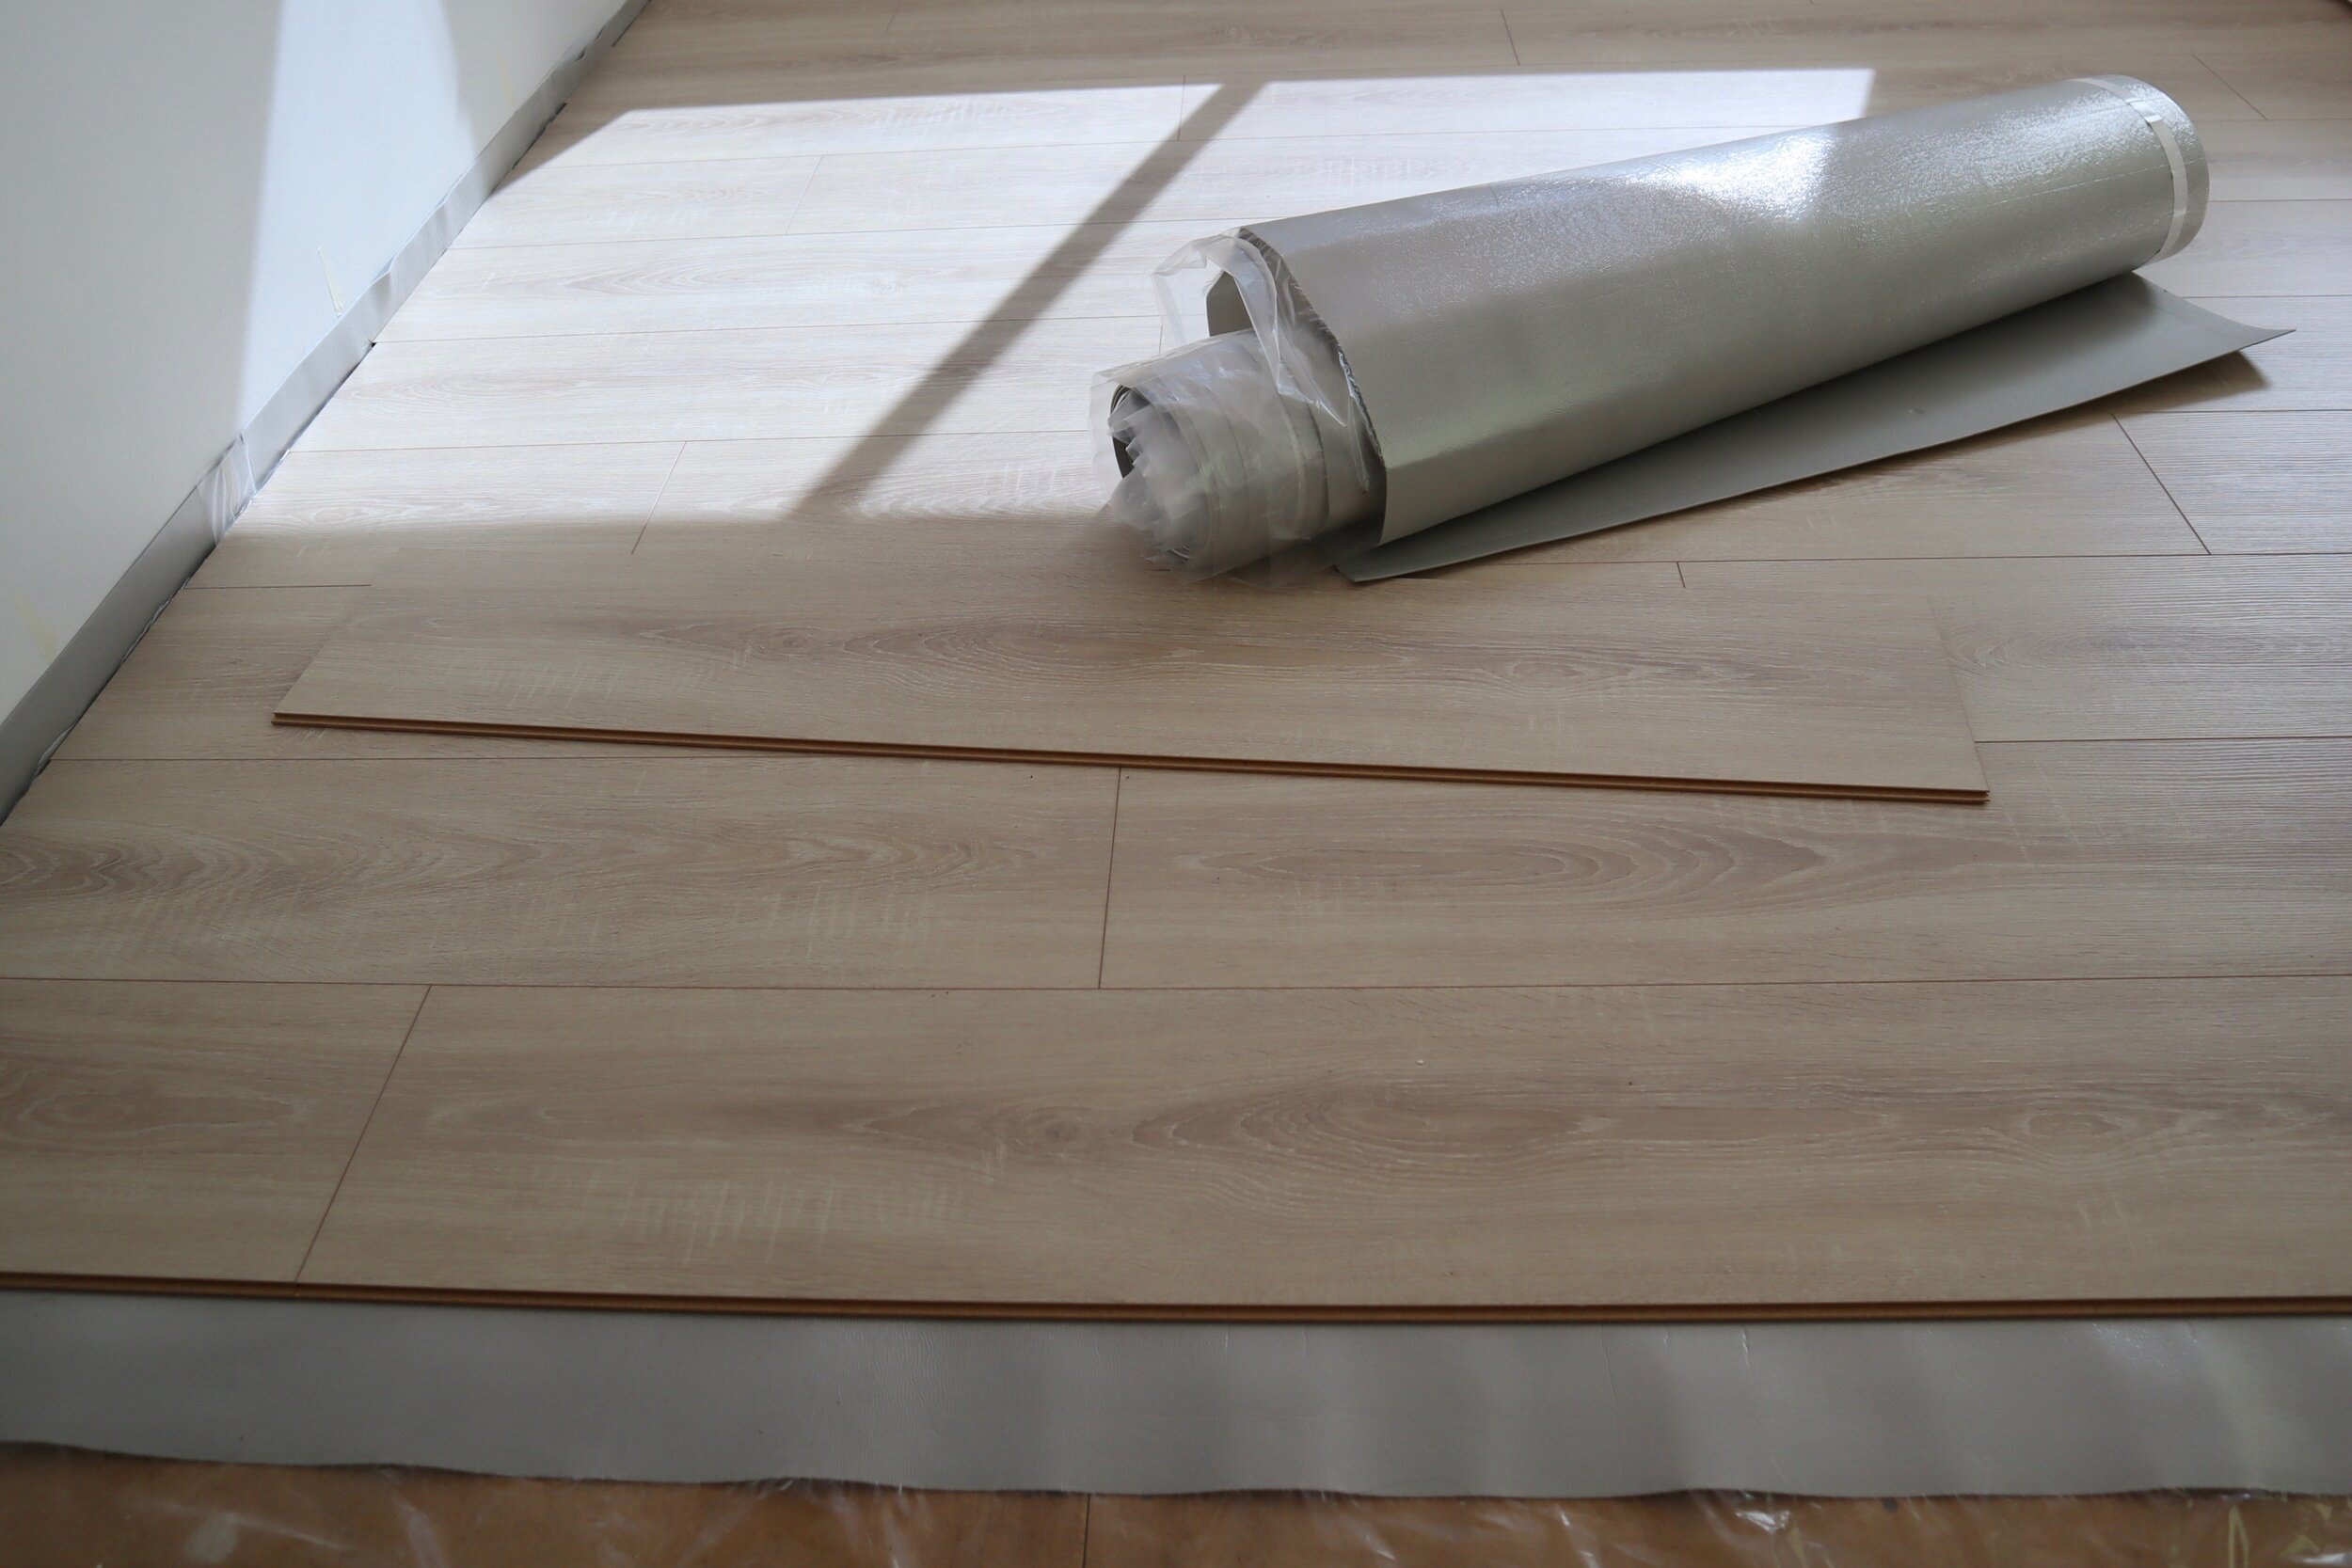
Don’t forget the underlay when ordering the flooring. It’s worth investing in a quality product with moisture- and sound-proofing properties. This 2mm-thick QEP silver laminate floating floor underlay is mould and mildew resistant. The adhesive strip makes it super easy to lay while avoiding any overlap of the foam, which can leave a bump under the flooring.
The other product I picked up was a length of scotia, also called wall trim, to run along the sliding-door frame. I used QEP Roberts wall trim in Light, which matches the Palomino Oak perfectly.
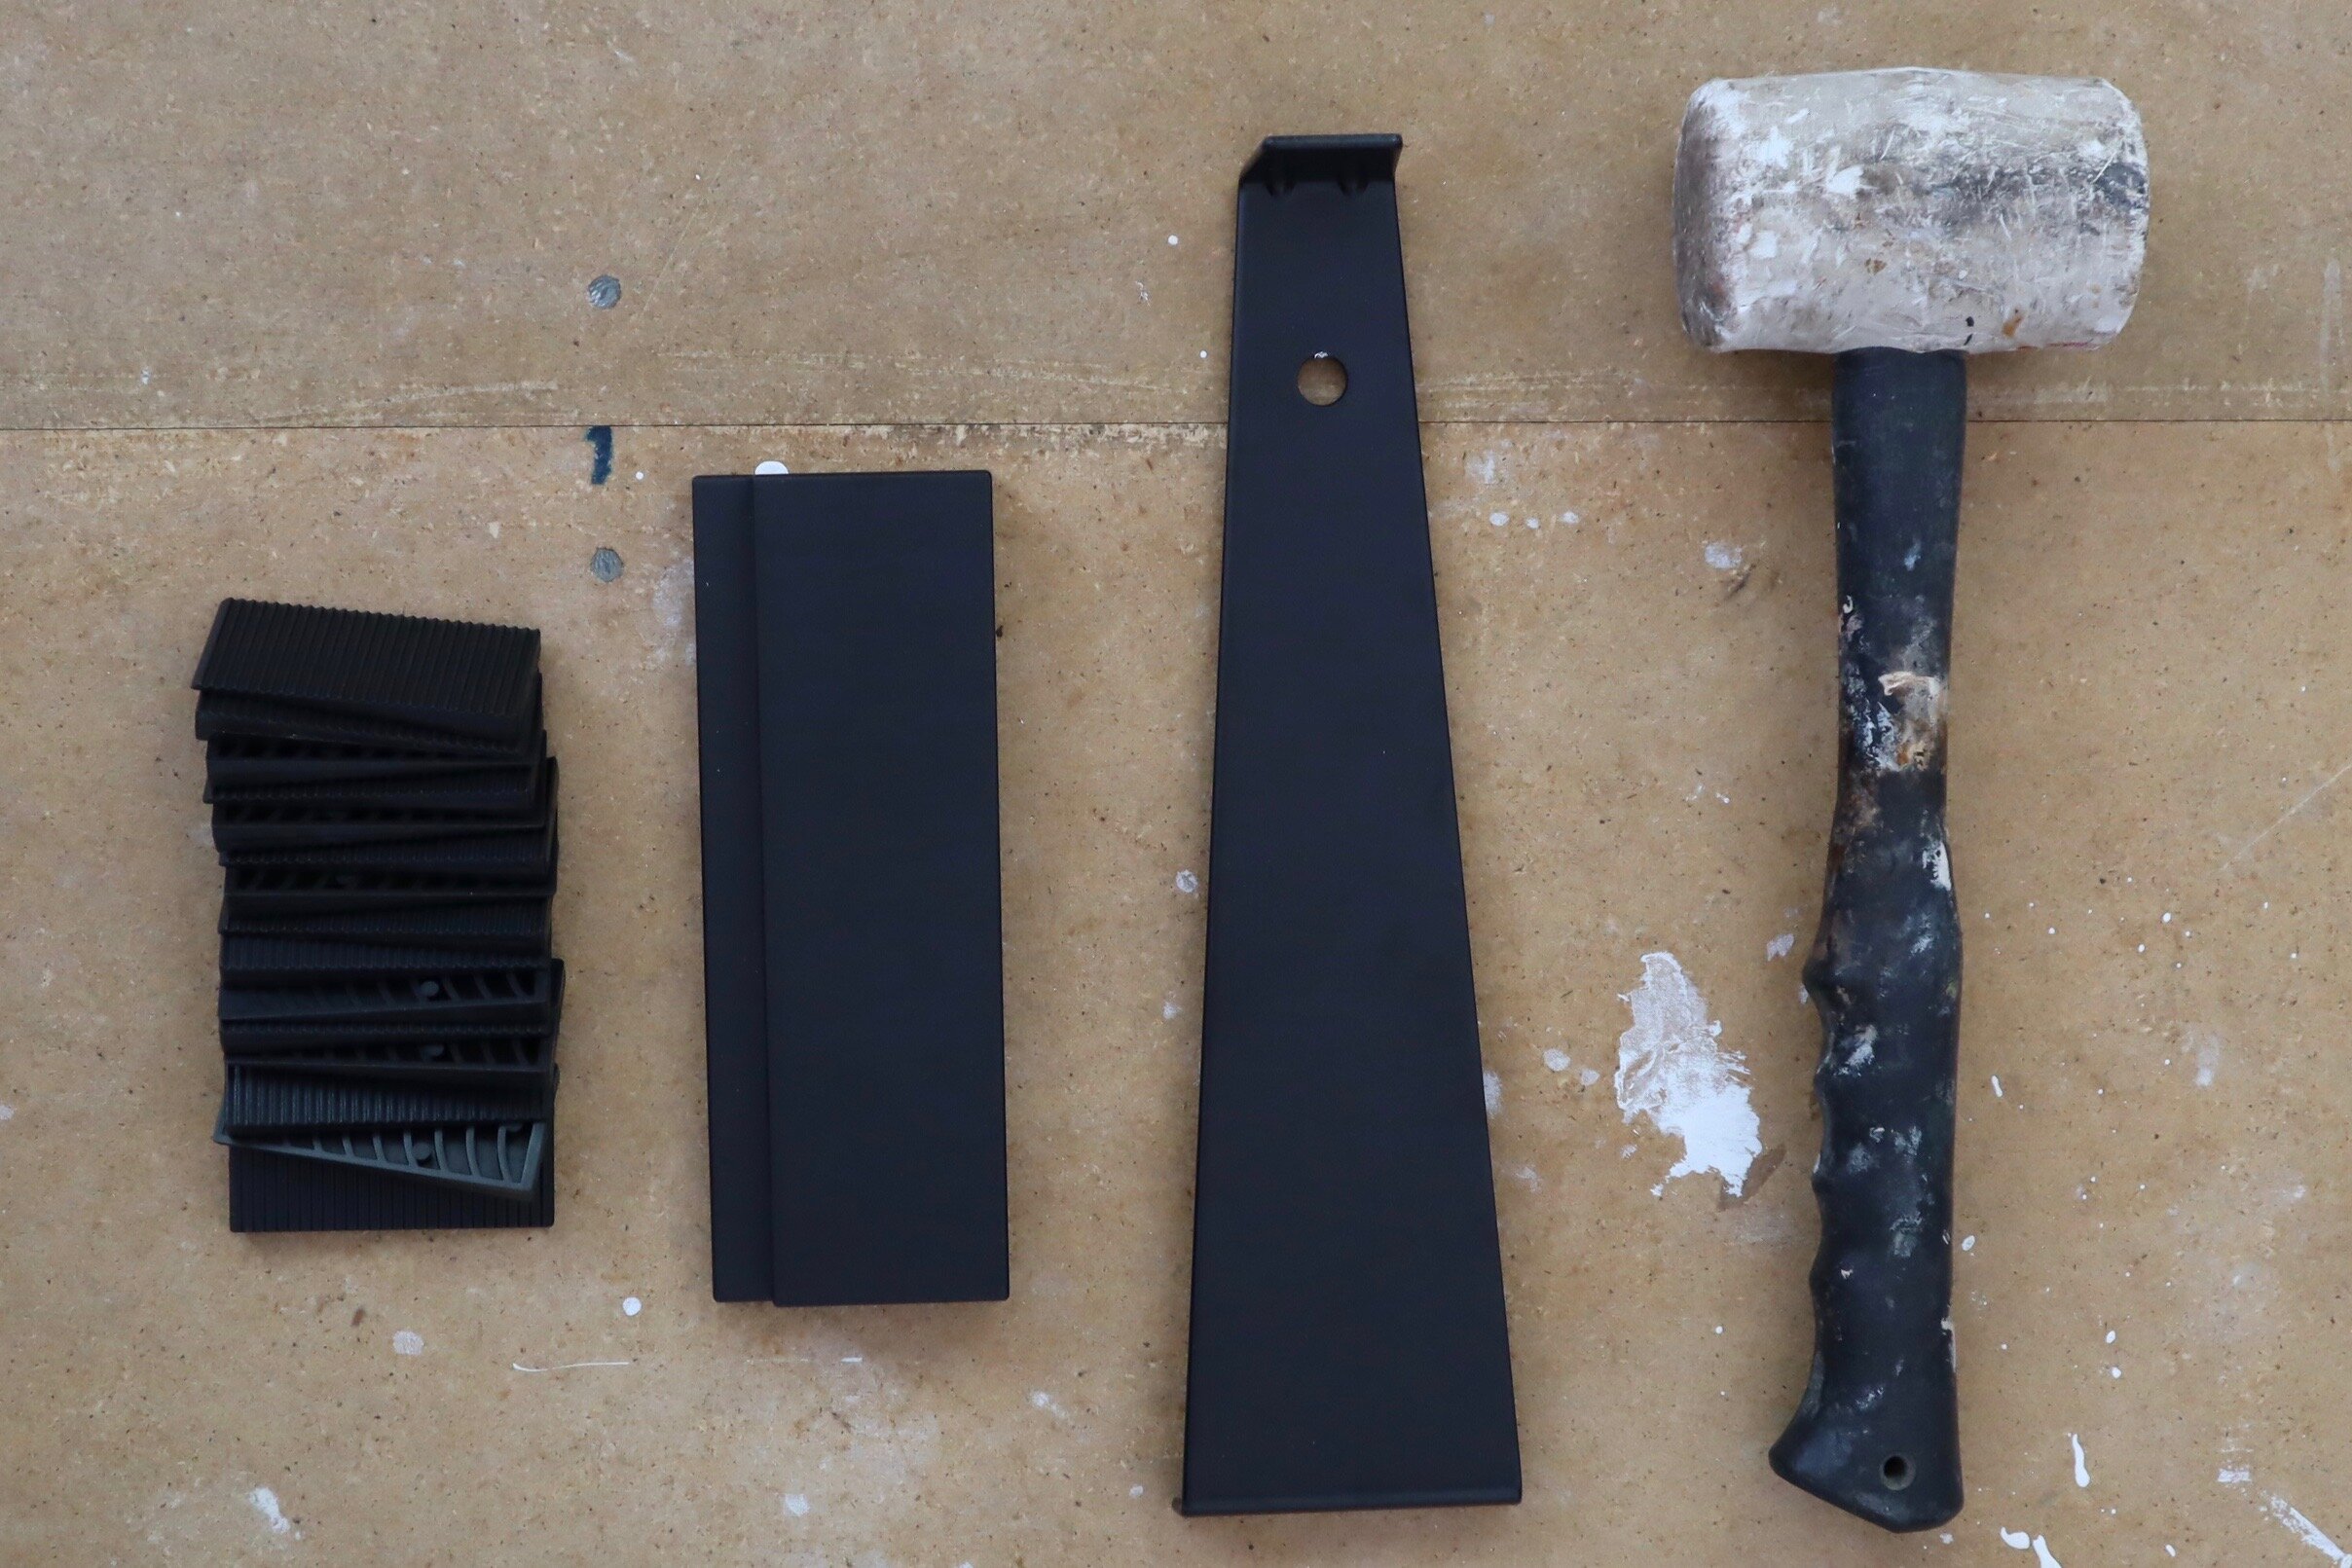
I also recommend buying a DIY laminate floor laying kit that includes a tapping block, pull bar and spacers, which are helpful for keeping the boards 10mm from the walls to maintain the required expansion gap.
Other essential tools include a rubber mallet, utility knife and a circular saw or jigsaw for cutting the boards.
TIP The end joins are staggered throughout and positioned at least 400mm apart. The key to this is working with boards of various lengths. To make the cuts, I set up my Ryobi battery-operated circular saw with sawhorses outside to minimise dust on the job.
TO PREPARE THE ROOM
Before removing the skirting I sliced along the top with a utility knife to separate the trim from the wall paint and avoid tearing it.
TIP Get some quality knee pads! I recommend they go at the top of your tools and materials list for any flooring project.
Then I used a pry bar with a rubber mallet to remove the skirting, keeping the originals as templates for cutting new ones with a more modern profile.
To use a pry bar, tap the flat point down behind the skirting then pull the opposite end forward (rather than pushing) so the point pushes off the wall to apply pressure on the skirting, nudging it forward and away from the wall.
TIP The skirting frames the floor and hides the expansion gaps. Alternatively you could leave it, lay the floor and install matching scotia around the edges to cover the gaps.
To remove nails, I used a piece of hardwood timber as a packer to prevent denting the wall with the claw of the hammer. If you do make a dent, smooth over with a Selleys SpakFilla, which dries fast, then lightly sand and touch up with wall paint.
TIP I love discovering great hand tools and use this Irwin 20oz steel hammer for everything as it’s lightweight, has a magnetic nail setter and an anti-vibration handle.
After slicing the original lino into manageable sections, I simply rolled it up, then vacuumed to remove any debris.
TIP Check your local council regulations before disposing of old linoleum. A friendly truck courier offered to take mine to cover the floor of his trailer.
While the base of the walls are unobstructed, it may be obvious where the framing studs are. I put masking tape on the wall as an indicator so I could nail into them later when reinstalling the skirting.
TIP The subfloor may have builder’s markings to indicate where the studs are but, in this case, the plasterboard nails were an easy giveaway.
The boxes of laminate flooring were brought in and stacked at the end of the room so the boards could acclimatise for a couple of days. While the room is otherwise empty, I used this time to freshen up the ceiling and walls with a coat of paint.
TIP Open the packaging at the ends, avoid stacking more than three boxes high and leave for at least 48 hours.
TO LAY THE FLOOR
To install the underlay, I rolled it out across the room to run the same direction as the flooring, and cut with a utility knife. To install, I positioned it with the adhesive strip side against the wall.
TIP Use a strip of double-sided tape to hold the first piece in place.
I set out the first row with a full board, then a board cut to fit the rest of the width, allowing 10mm for expansion gap at either end. I set spacers around the wall and pushed the boards against them, pressing the ends of the boards together and temporarily holding the join with masking tape.
TIP Always work from right to left, with the end and side tongues facing the walls. The groove side faces into the room and the grooved end is on the left.
To lay the second row, I slid a short, cut board along and into the groove of the flooring, pushing it against the spacer and the wall, manoeuvring it flat. To lay a second full board, I slid it against the groove of the flooring, pushing it against the end of first board so the tongue fits snuggly, then pushed it down to engage the lock hidden in the groove and tapped with a rubber mallet. I added another cut board to finish the row.
TIP There is a satisfying click as the ends lock in together.
When a section of underlay was almost covered, I cut and positioned another piece, then continued laying boards.
TIP Work over sections of underlay, cutting and laying the pieces as you go to allow for any inconsistencies in the squareness of the walls.
I was methodical about staggering the ends so I could cut a few boards at a time. This is how I worked out my pattern to make sure the joins are more than 400mm apart in my 2770mm-wide room (allowing for expansion)…
First row: full board, 1370mm board
Second row: 460mm board, full board, 910mm board
Third row: 920mm board, full board, 450mm board
Fourth row: repeat the pattern above
TIP Take boards from a couple of different boxes to mix up the woodgrain pattern and shade variation.
Each board must join another, so the cuts are positioned at either end of the rows. To get started, I set out a couple of rows, marked the lengths with a pencil then took the boards outside to cut with a battery-operated circular saw. Once I got into a rhythm it was easy to prepare a few rows at a time.
TIP Cutting creates dust and is quite noisy, so have the saw set up in a well-ventilated area, wear a mask plus ear and eye protection.
It’s easier to undercut a door jamb rather than making a cutout to match the moulding profile, so I used underlay and board offcuts to mimic the height of the finished floor and marked around the jamb with a pencil.
TIP It’s best practice to use a pencil for marking up as pen tends to bleed into paint and doesn’t rub off easily.
To cut the jamb, you could use a handsaw or reciprocating saw, but I prefer the fast option of a battery-operated multitool. Then I vacuumed again to pick up any debris.
TIP Cutting the jamb just above the mark ensures the board fits smoothly underneath, but allow for expansion behind the board, against the wall.
To cut around corners, measure from the side and the top, marking with a pencil then cutting with a circular or handsaw.
TIP I used a circular saw for cutting the ends of the boards and a handsaw for this small cutout, but a jigsaw is a handy alternative for both.
The pull bar from the laminate floor-laying kit is useful in tricky spots and I used it to position the first boards for the rows that butted against the sliding door frame.
TIP To use the pull par, slot the wide hook over the end of the board, hold it down with one hand and tap the smaller hook with a mallet.
I cut a piece of scotia with a handsaw and positioned it across the base of the sliding door to hide the expansion gap, running construction adhesive along the door frame to keep it in place.
TIP Nailing scotia into flooring can affect the movement so it’s best to nail into the wall. I used Selleys Ezi Press Liquid Nails along the aluminium frame instead. You may also need scotia along floor-to-ceiling windows.
To finish, I installed new skirtings, using the originals as templates to cut with a drop saw. I used an air compressor with nail gun and 32mm-long brads, securing into the wall studs, which I’d marked out with masking tape earlier.
TIP If you don’t have a nail gun, simply use a hammer with bullethead nails instead.
The floor is easy to clean with a vacuum and the occasional mop. I keep mats at the doorways to pick up most of the sand that may be walked in.
TIP Avoid installing heavy cabinetry such as a kitchen island or wardrobe on a floating floor as the weight can affect the way the boards expand and contract.
THE END RESULT…
Did I mention these Floor Select boards resist moisture damage and scratches from dining chairs? I also appreciate that they are burn resistant, a major plus for positioning around the hearth of a wood-burning fireplace at the other end of the room.
Follow my daily DIY journey on Instagram for more renovating and home improvement, tool tips and simple building projects.

