MY ORIGINAL Bathroom MAKEOVER
Natasha Dickins
I’ve just finished a new bathroom renovation that’s completely changed the way we live.
But the story began back in 2017 when I gave this small space a quick, low-cost facelift with simple cosmetic upgrades…
I had a budget of $1,000 (AUD) with a couple of days to do a temporary spruce up and make the bathroom more usable for a couple of years.
TIP When doing a bathroom makeover, even a small one, it’s helpful to plan for an alternate arrangement. Before tackling this, I did a full laundry reno that has a loo and outdoor shower with hot water. It also served as a stand-in when I renovated the kitchen.

Technology has come a long way since I shot this makeover so excuse the grainy images of this story!
Ten years ago this was not a well designed space.
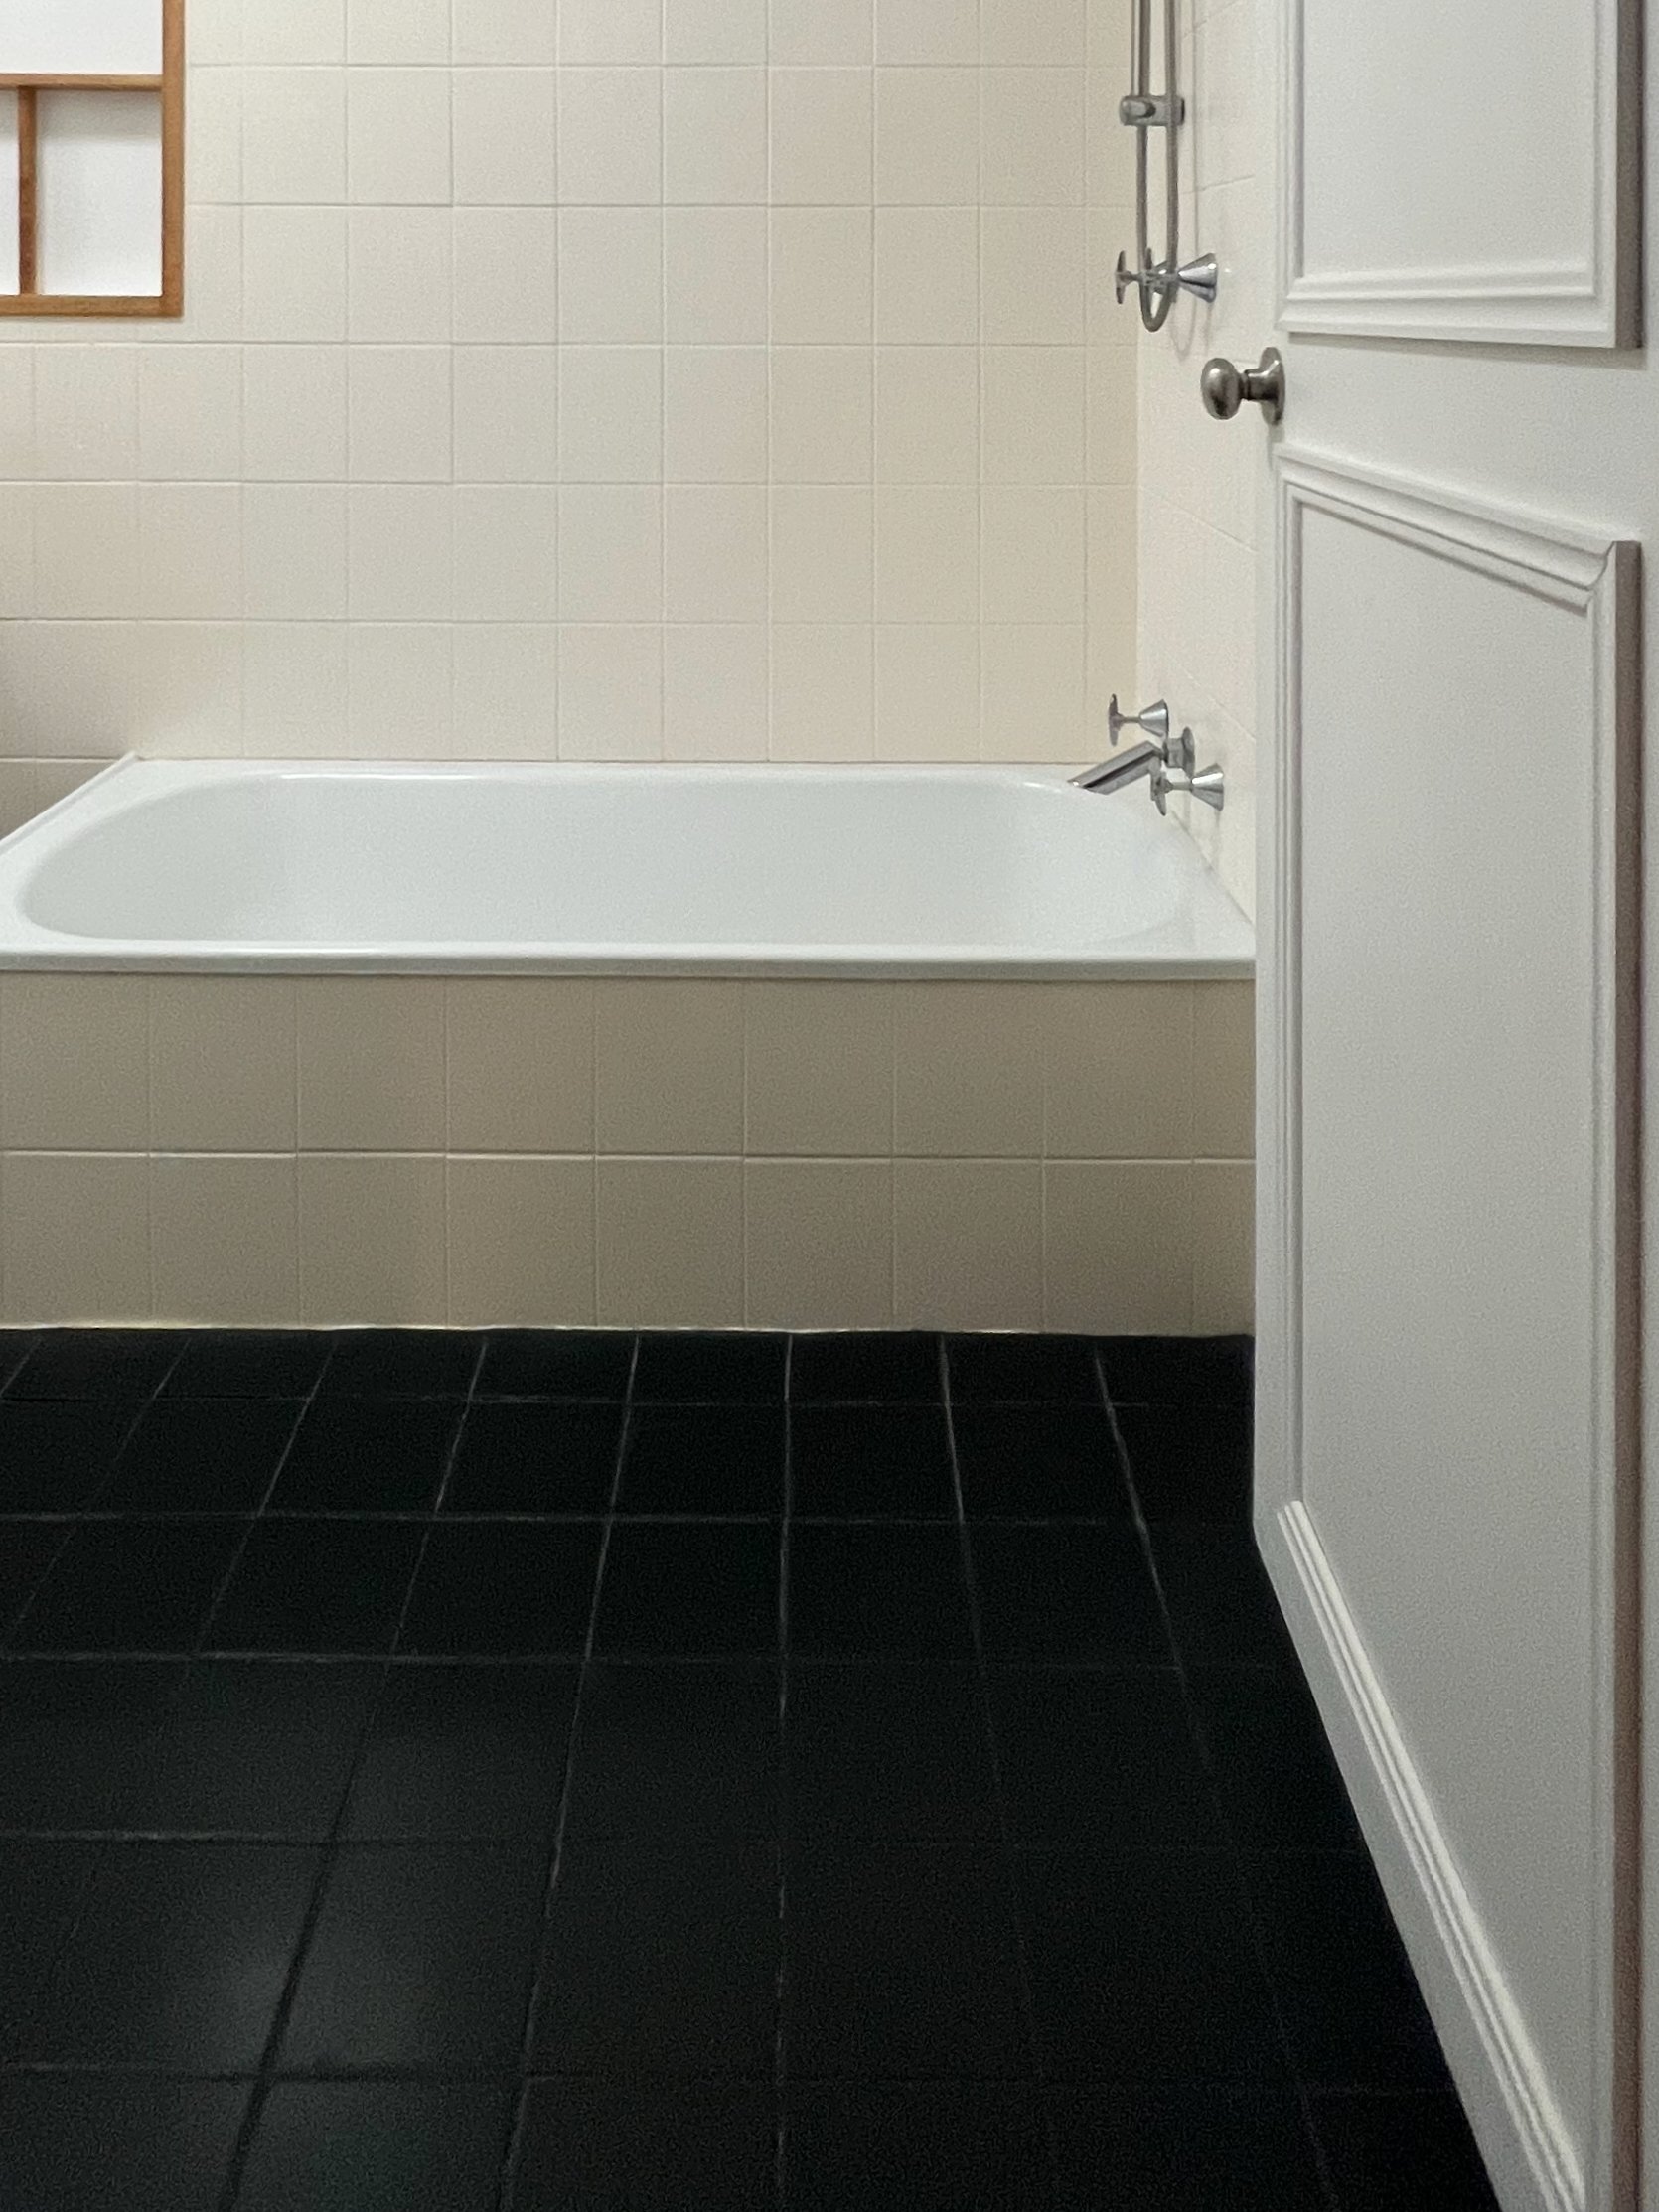
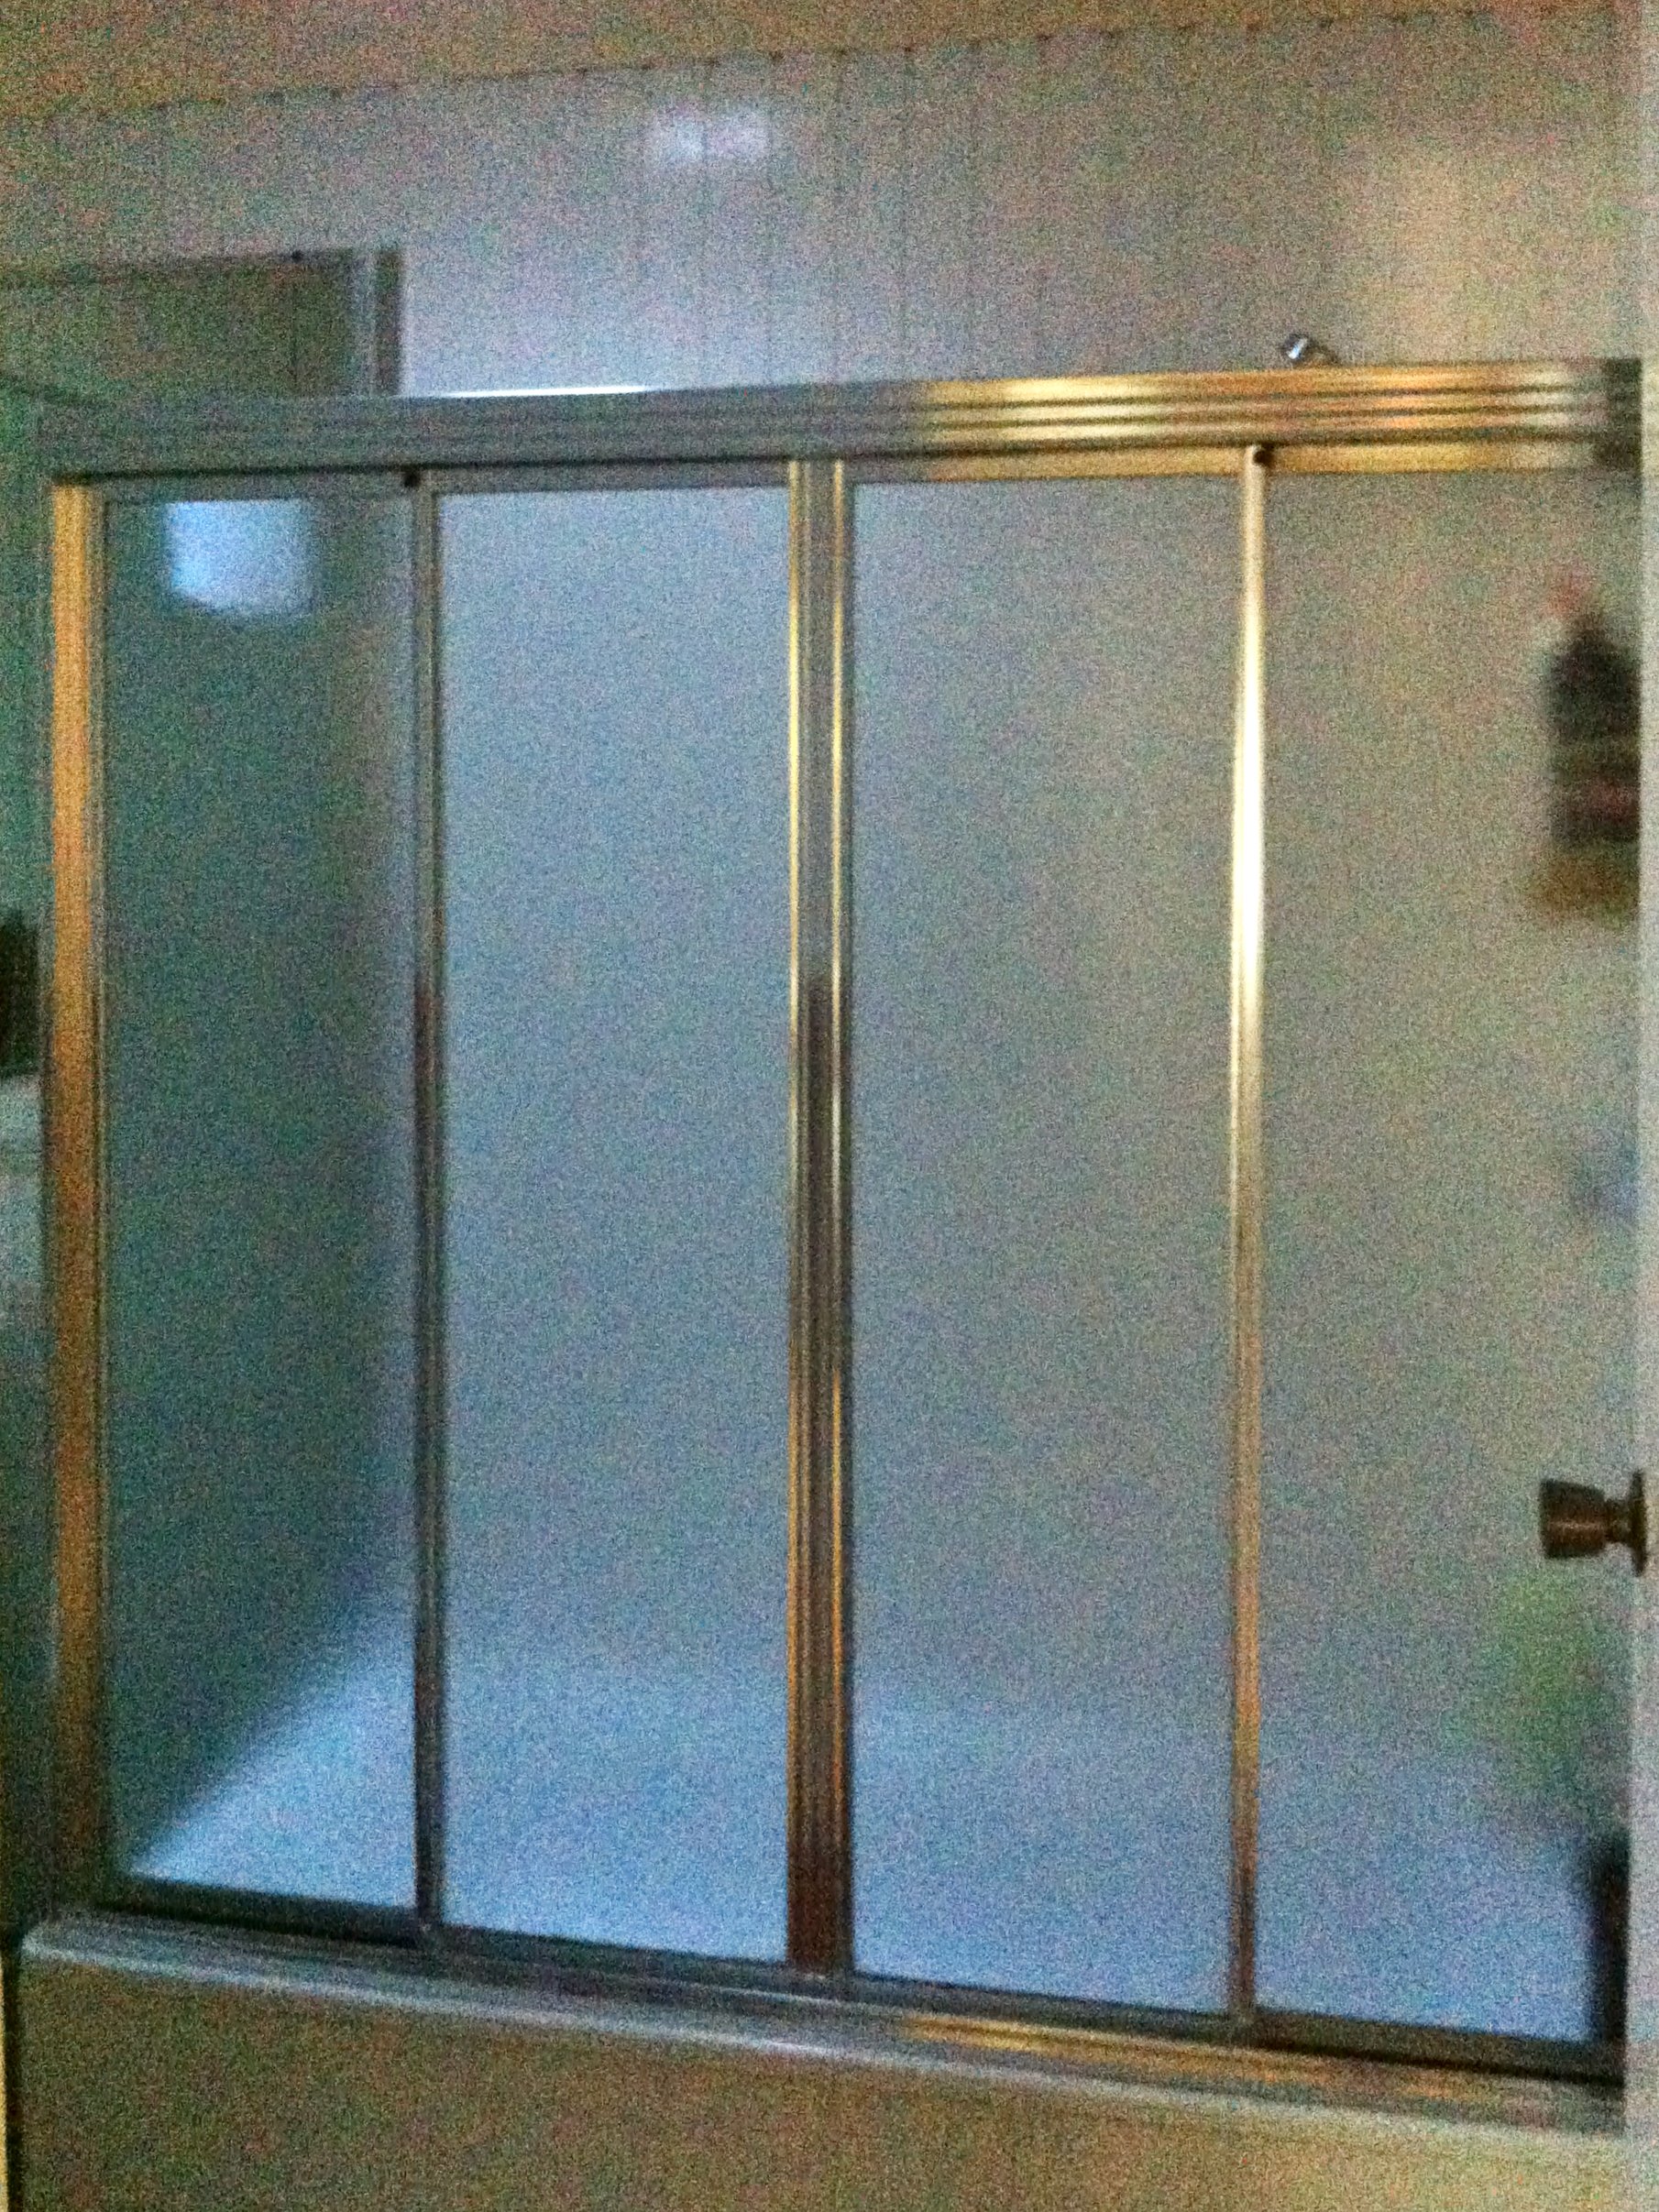
The door swung into the room and banged onto the wall-mounted towel rails. Directly in front was the clunky shower screen with sliding door over a built-in bath with shower.
There wasn’t much room around the toilet. Next to it was a dilapidated vanity with peeling vinyl.
I decided to invest in replacing the vanity and resurface the rest of the room with paint, keeping the bath, shower, lighting and switches but removing the shower screen.
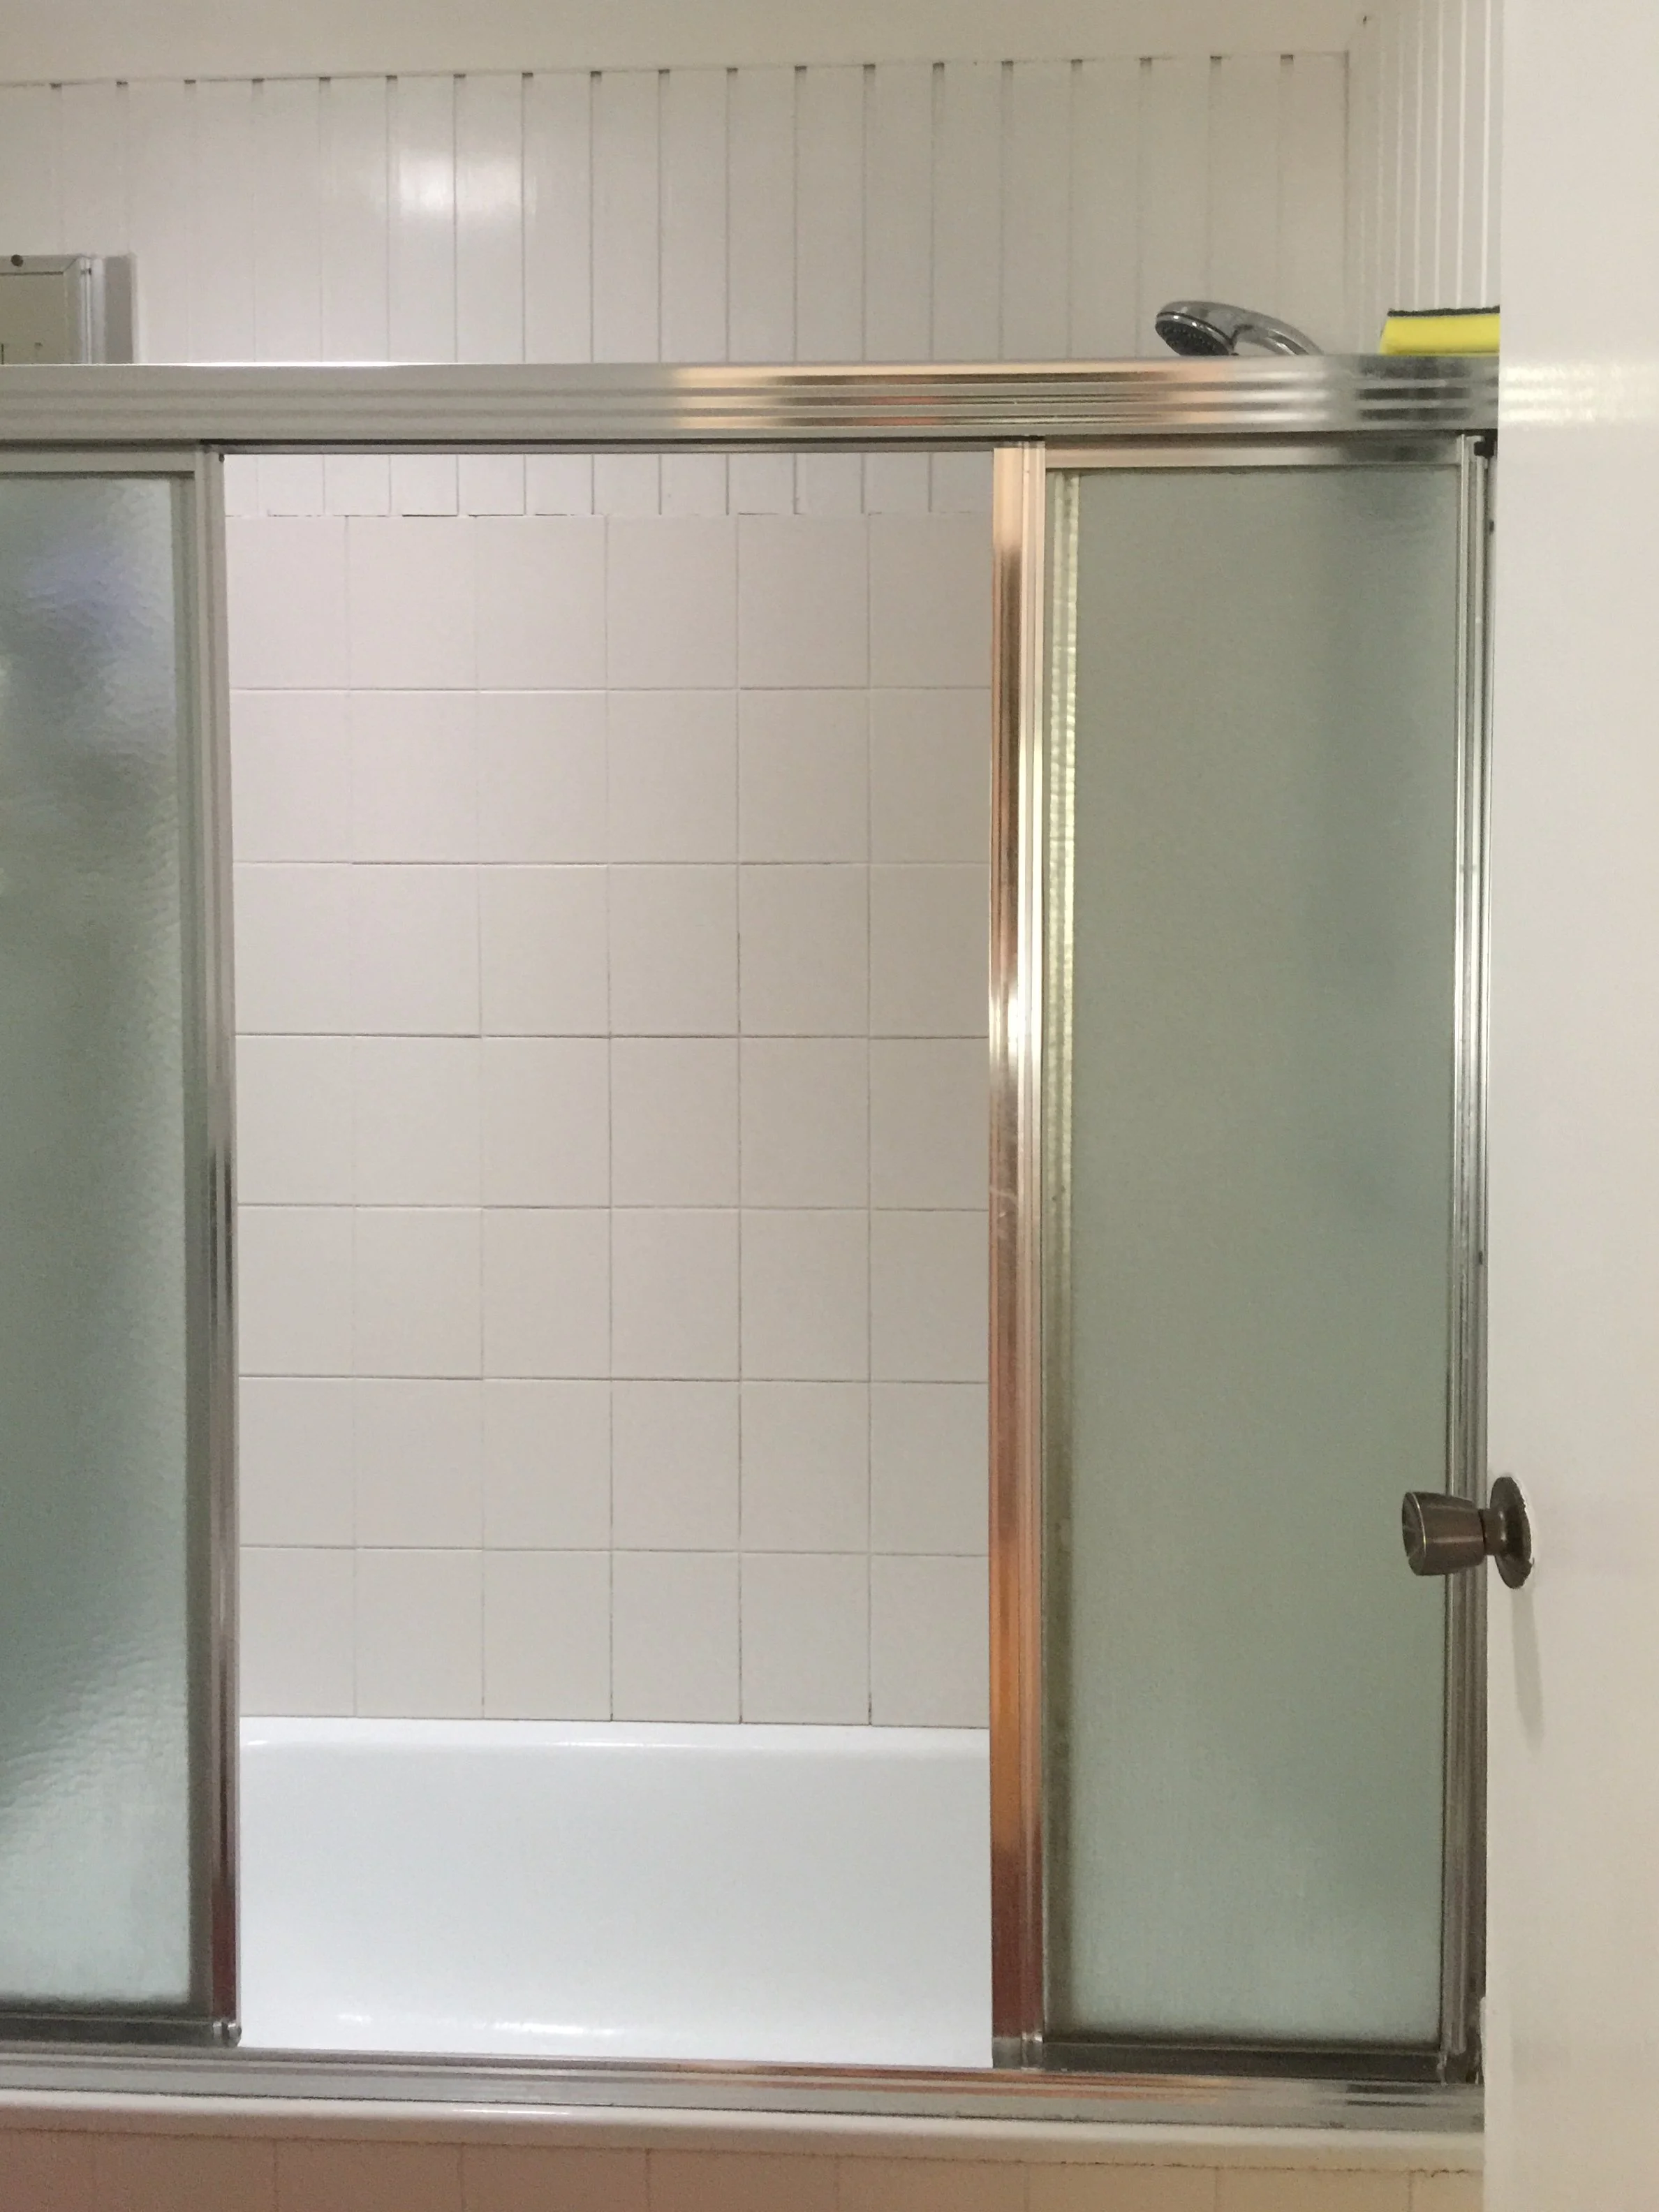
My first job was to pull out the clunky shower screen to open up the space and give me room to move. It instantly made the room feel bigger and cleaner so I decided not to replace it with a new one.
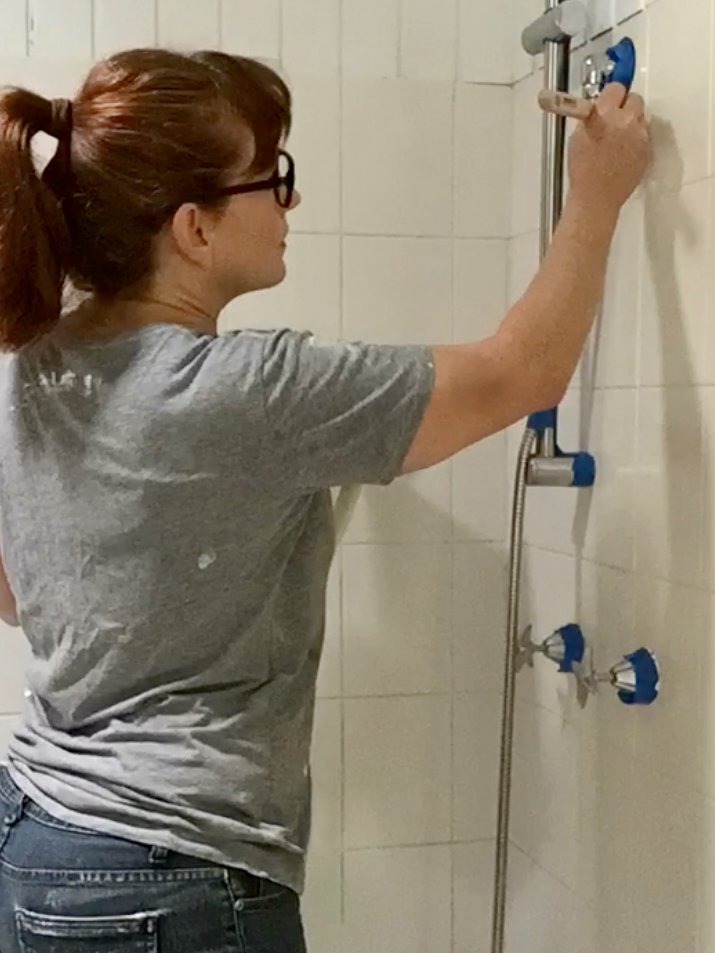
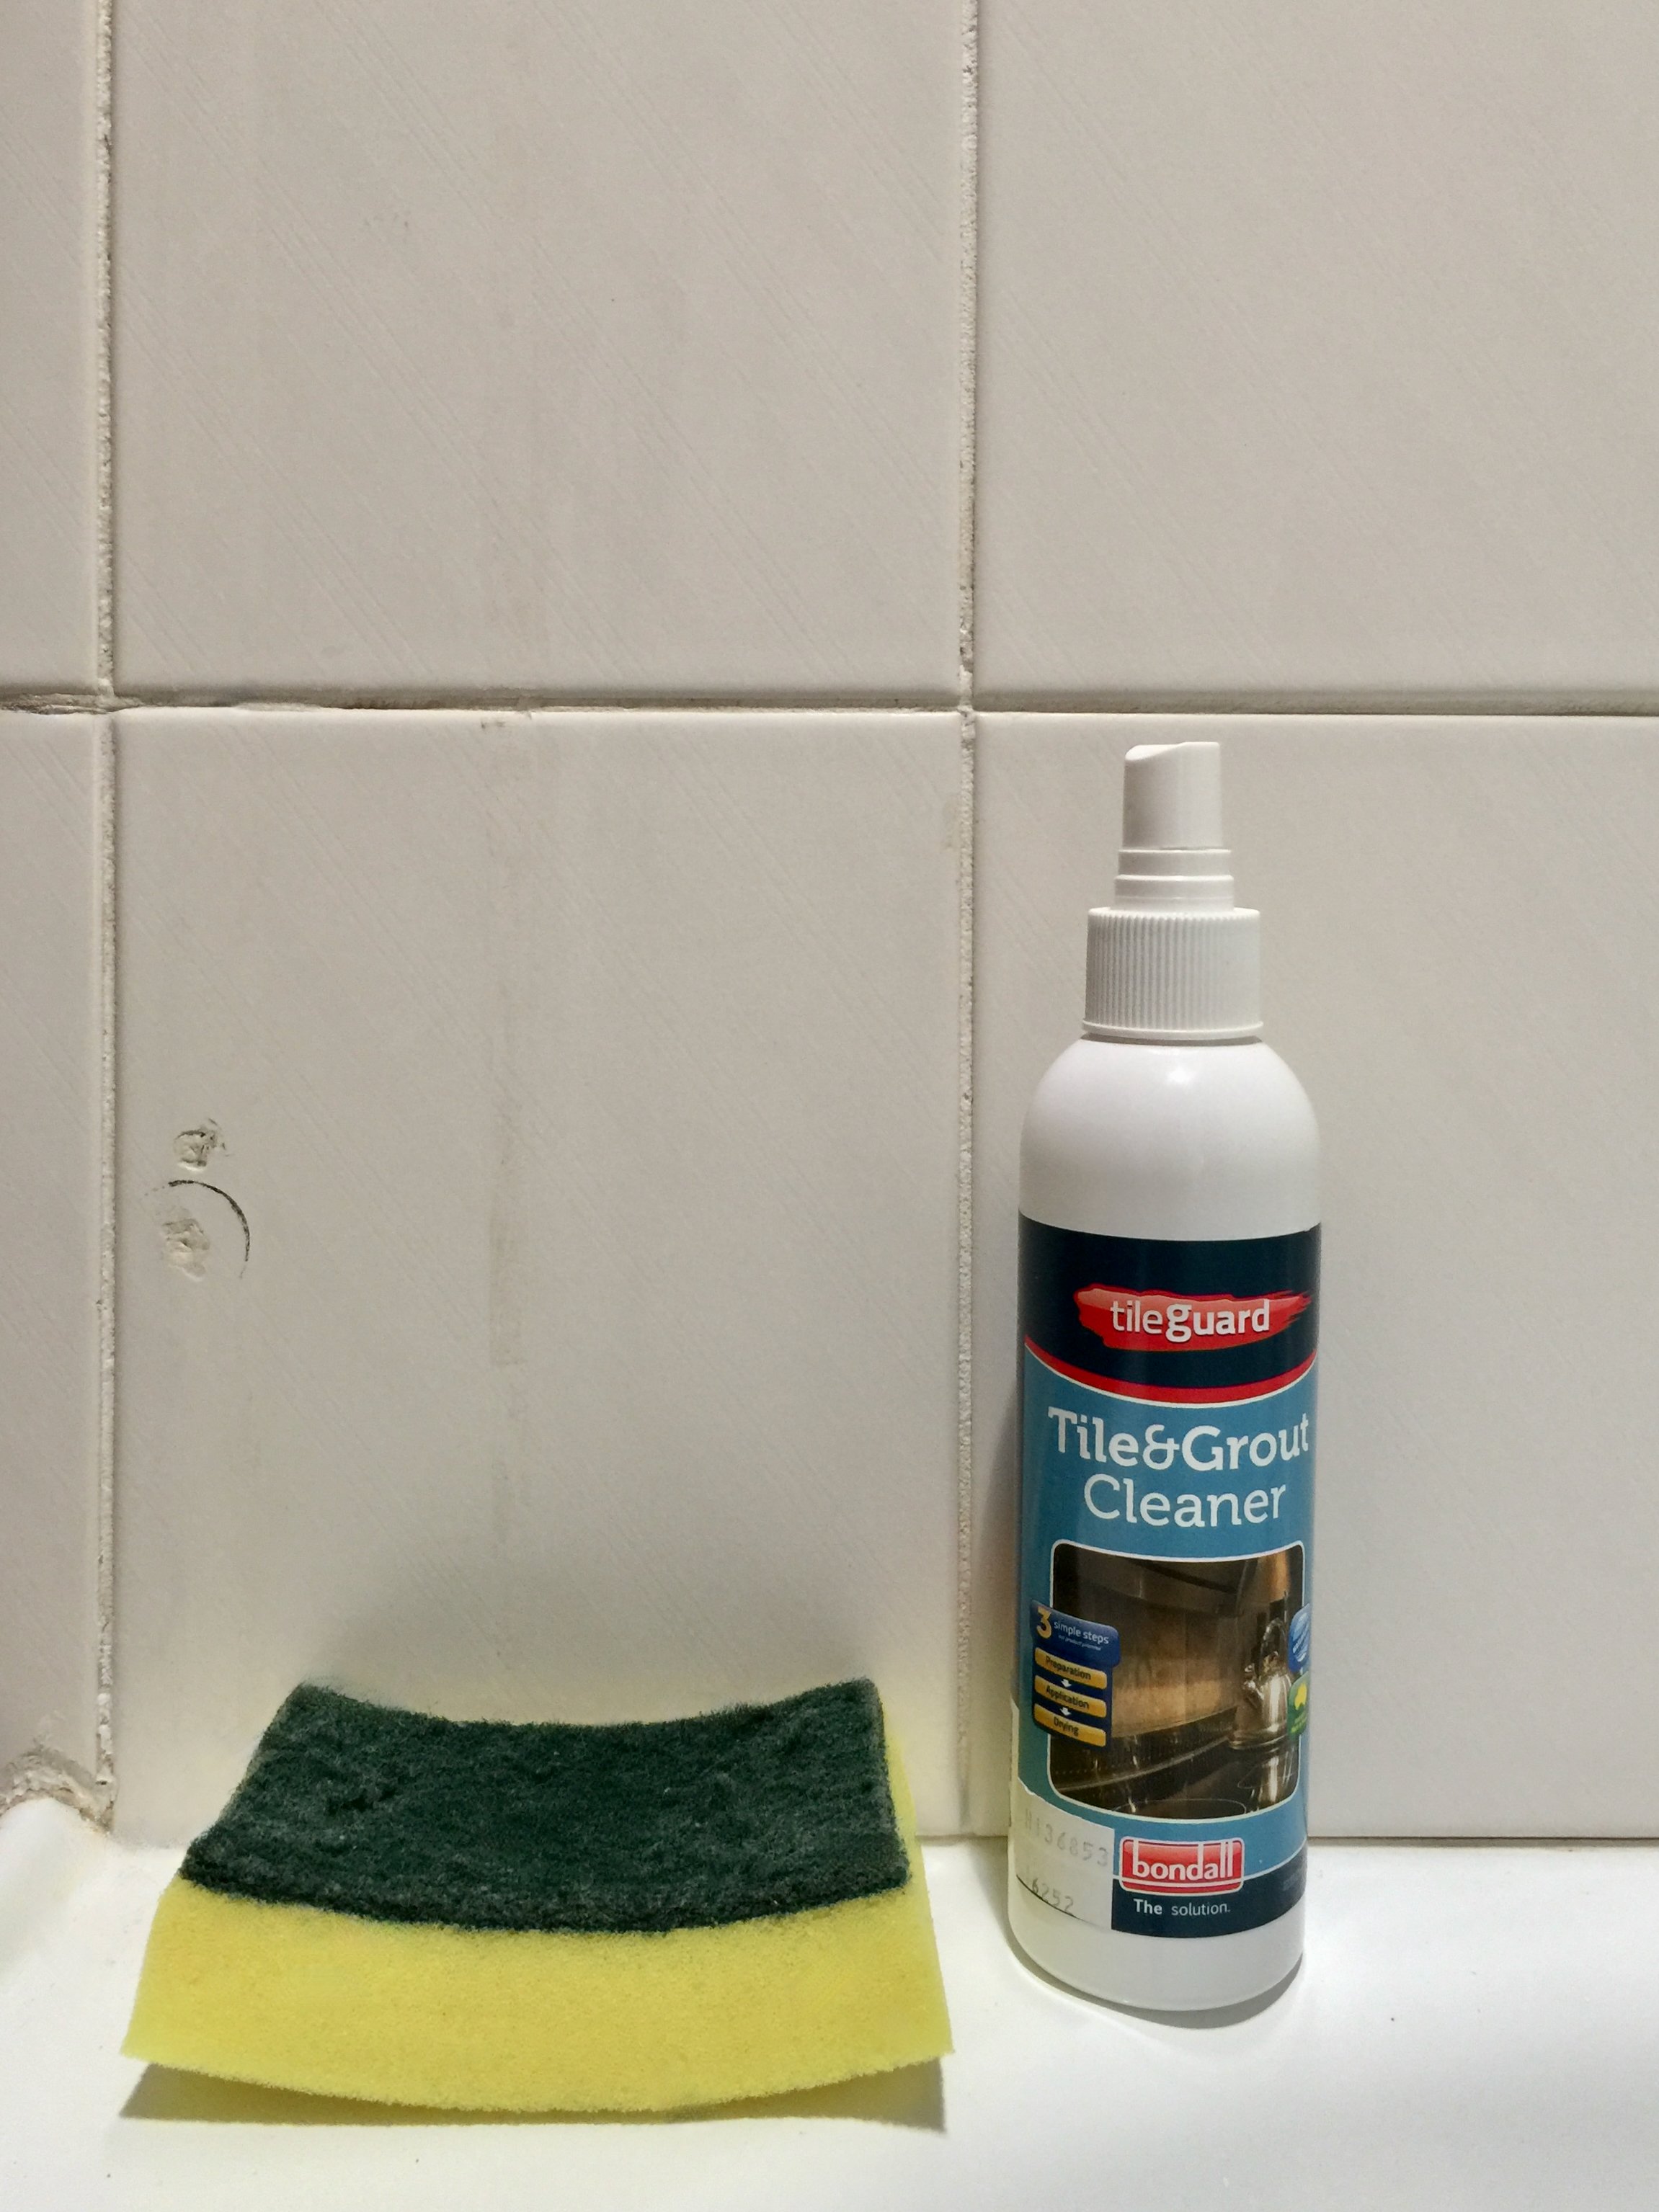
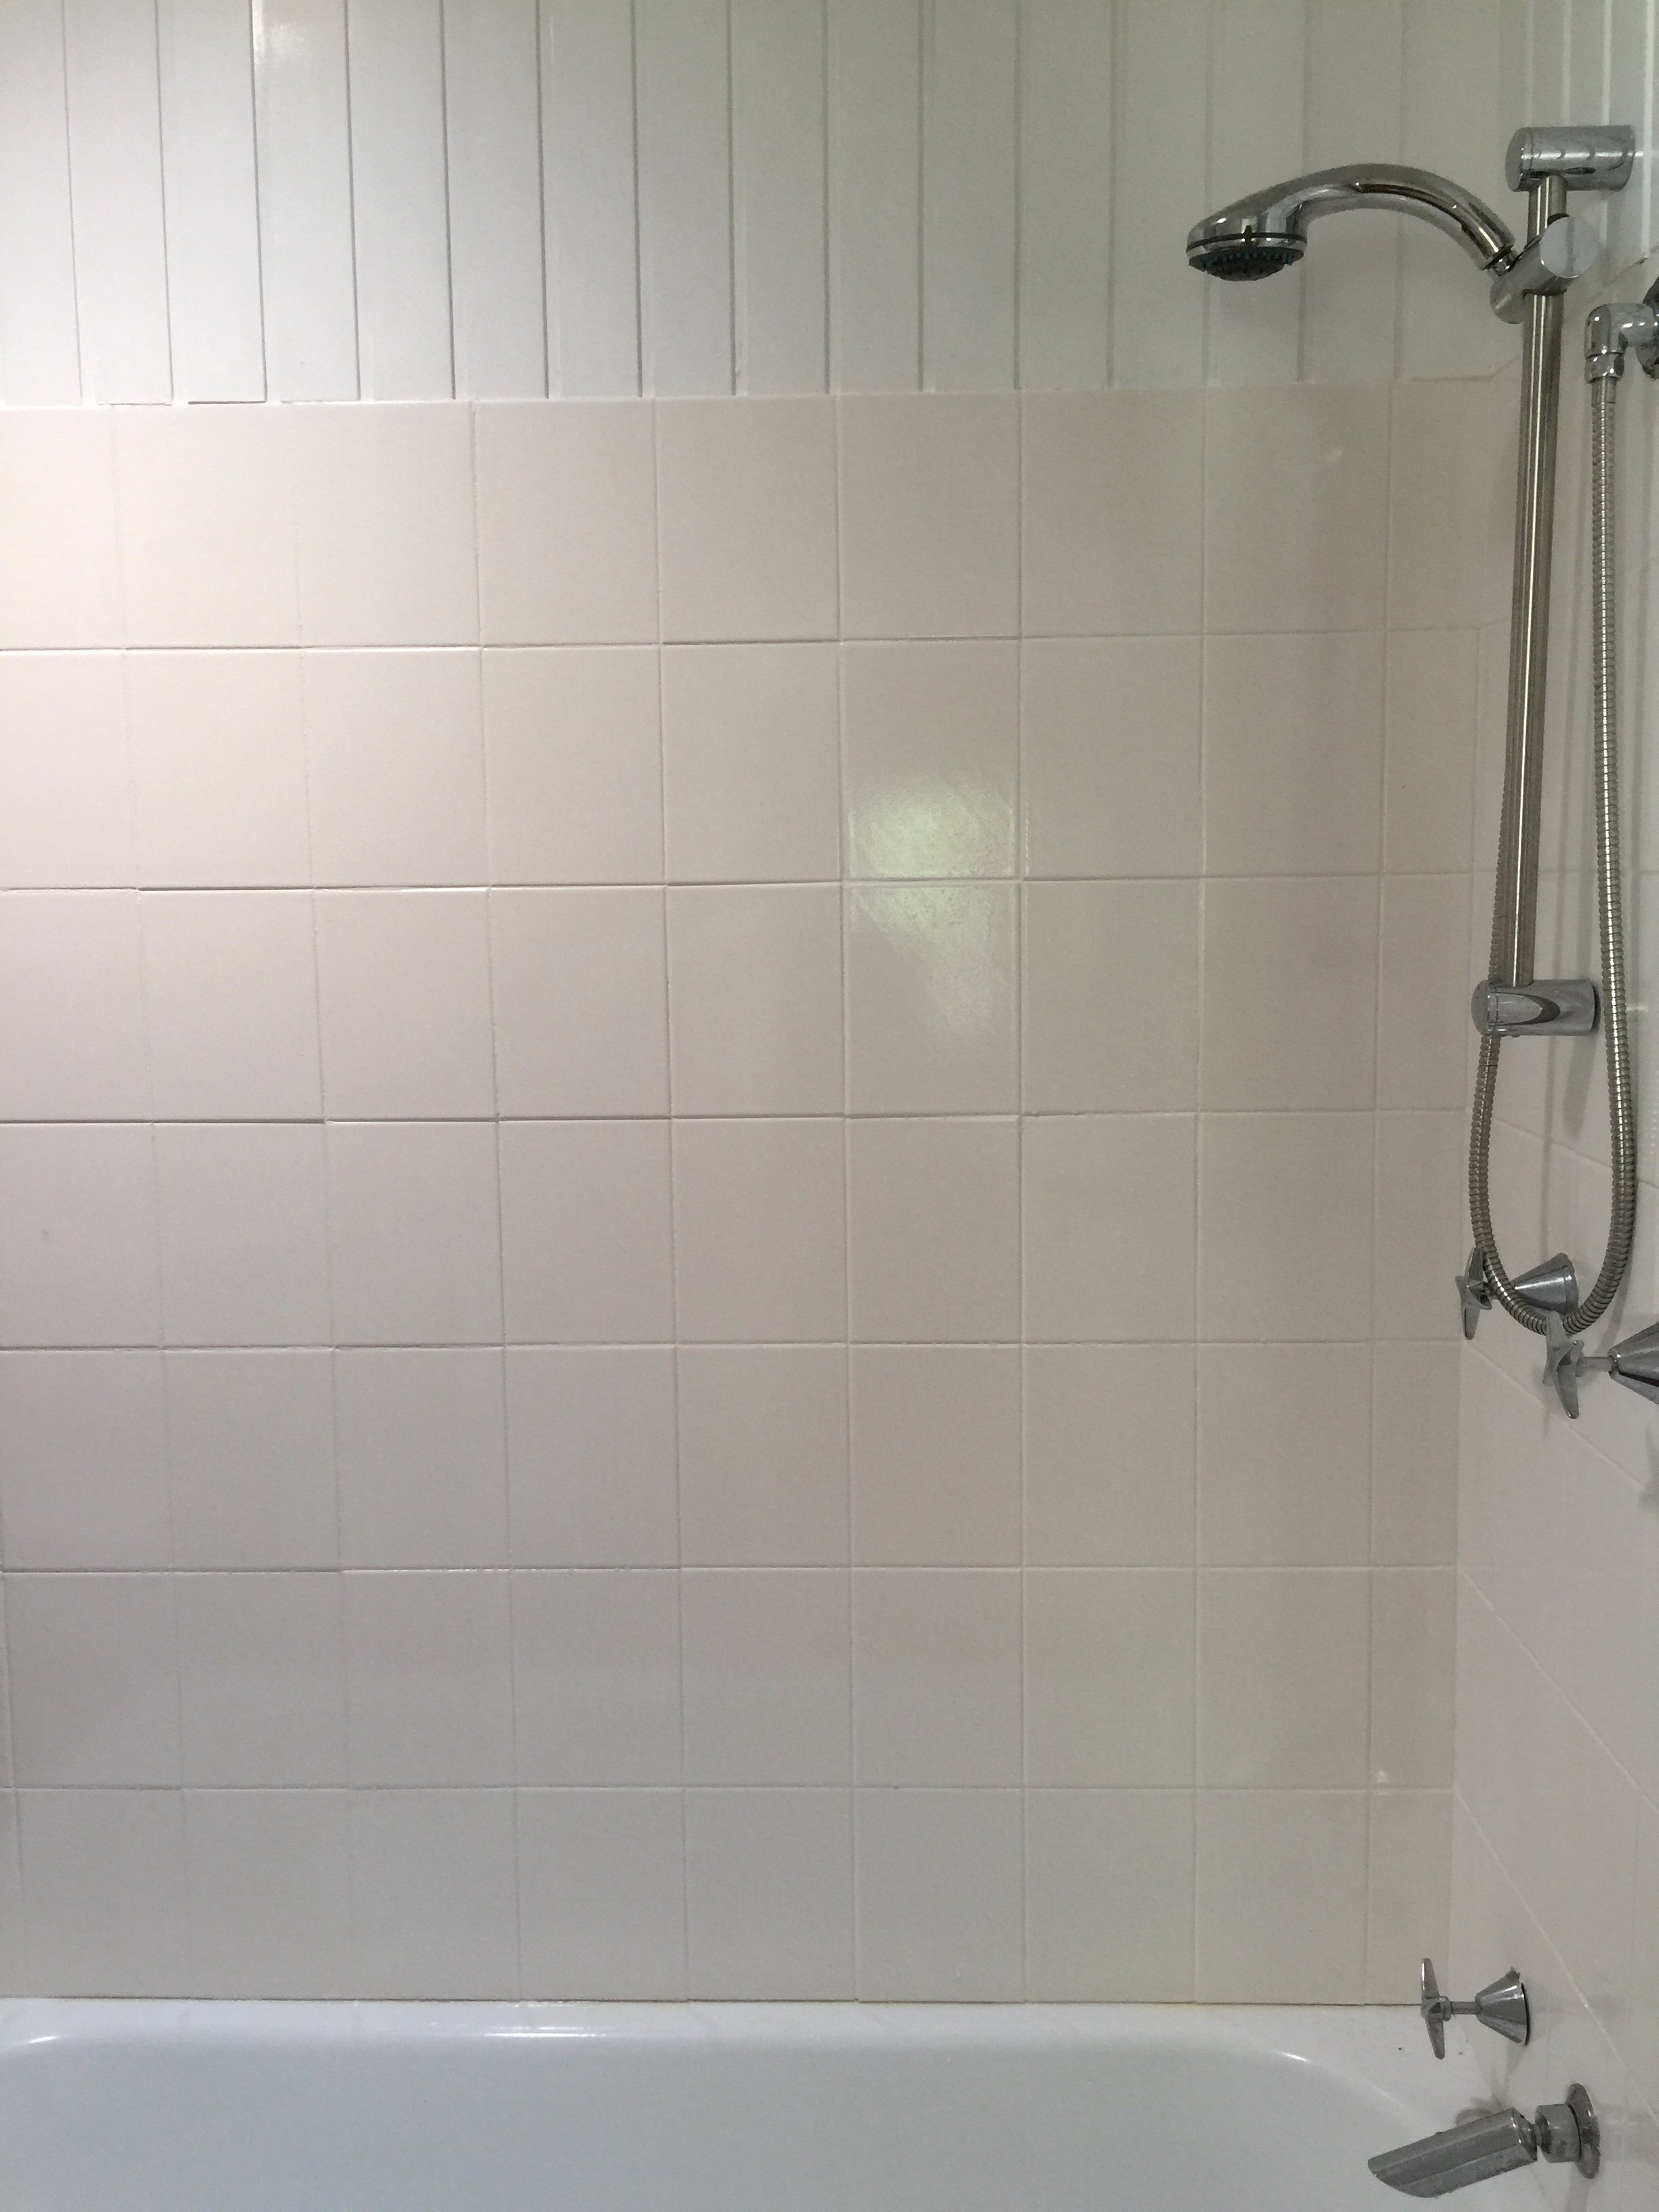
No amount of scrubbing would make the dated tiles feel clean so I resealed them with a tile paint system, with white on the walls and a dark blue on the floor.
TIP The key to a great finish is to use a specialised cleaning solution to scrub them down and leave the grout to dry thoroughly. Then choose a good mini microfibre roller that won’t shed to apply the primer and paint.
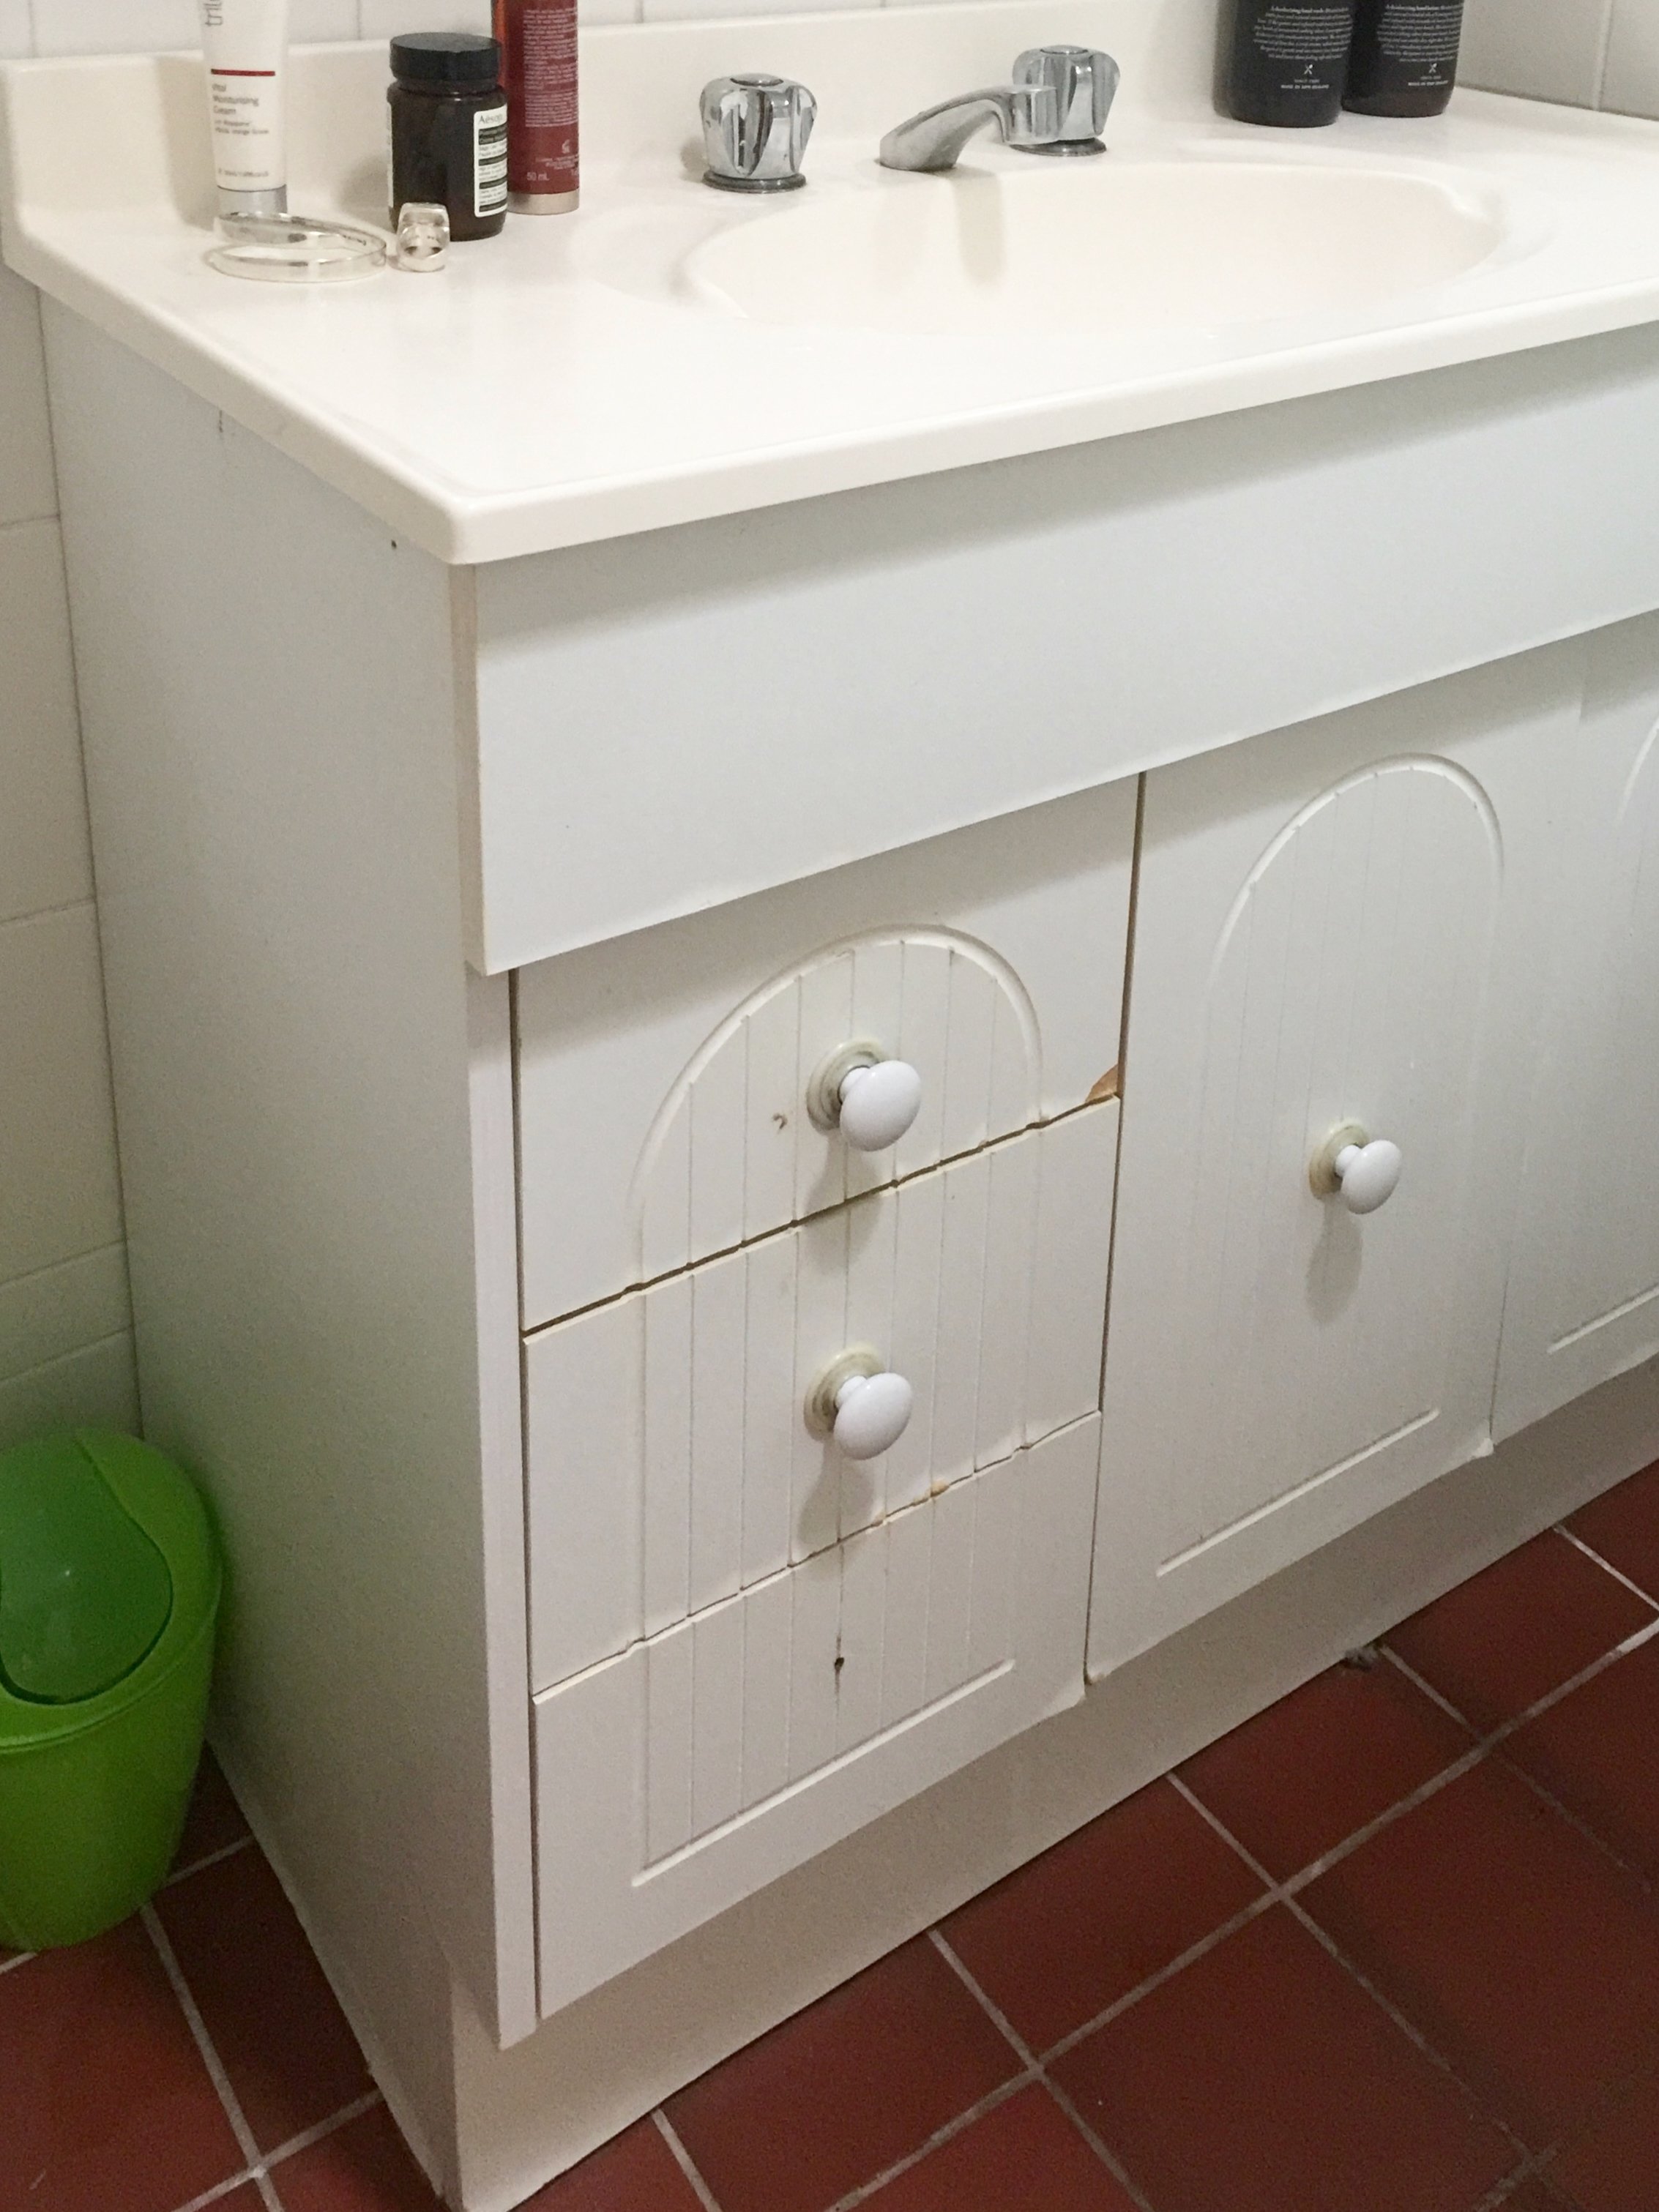

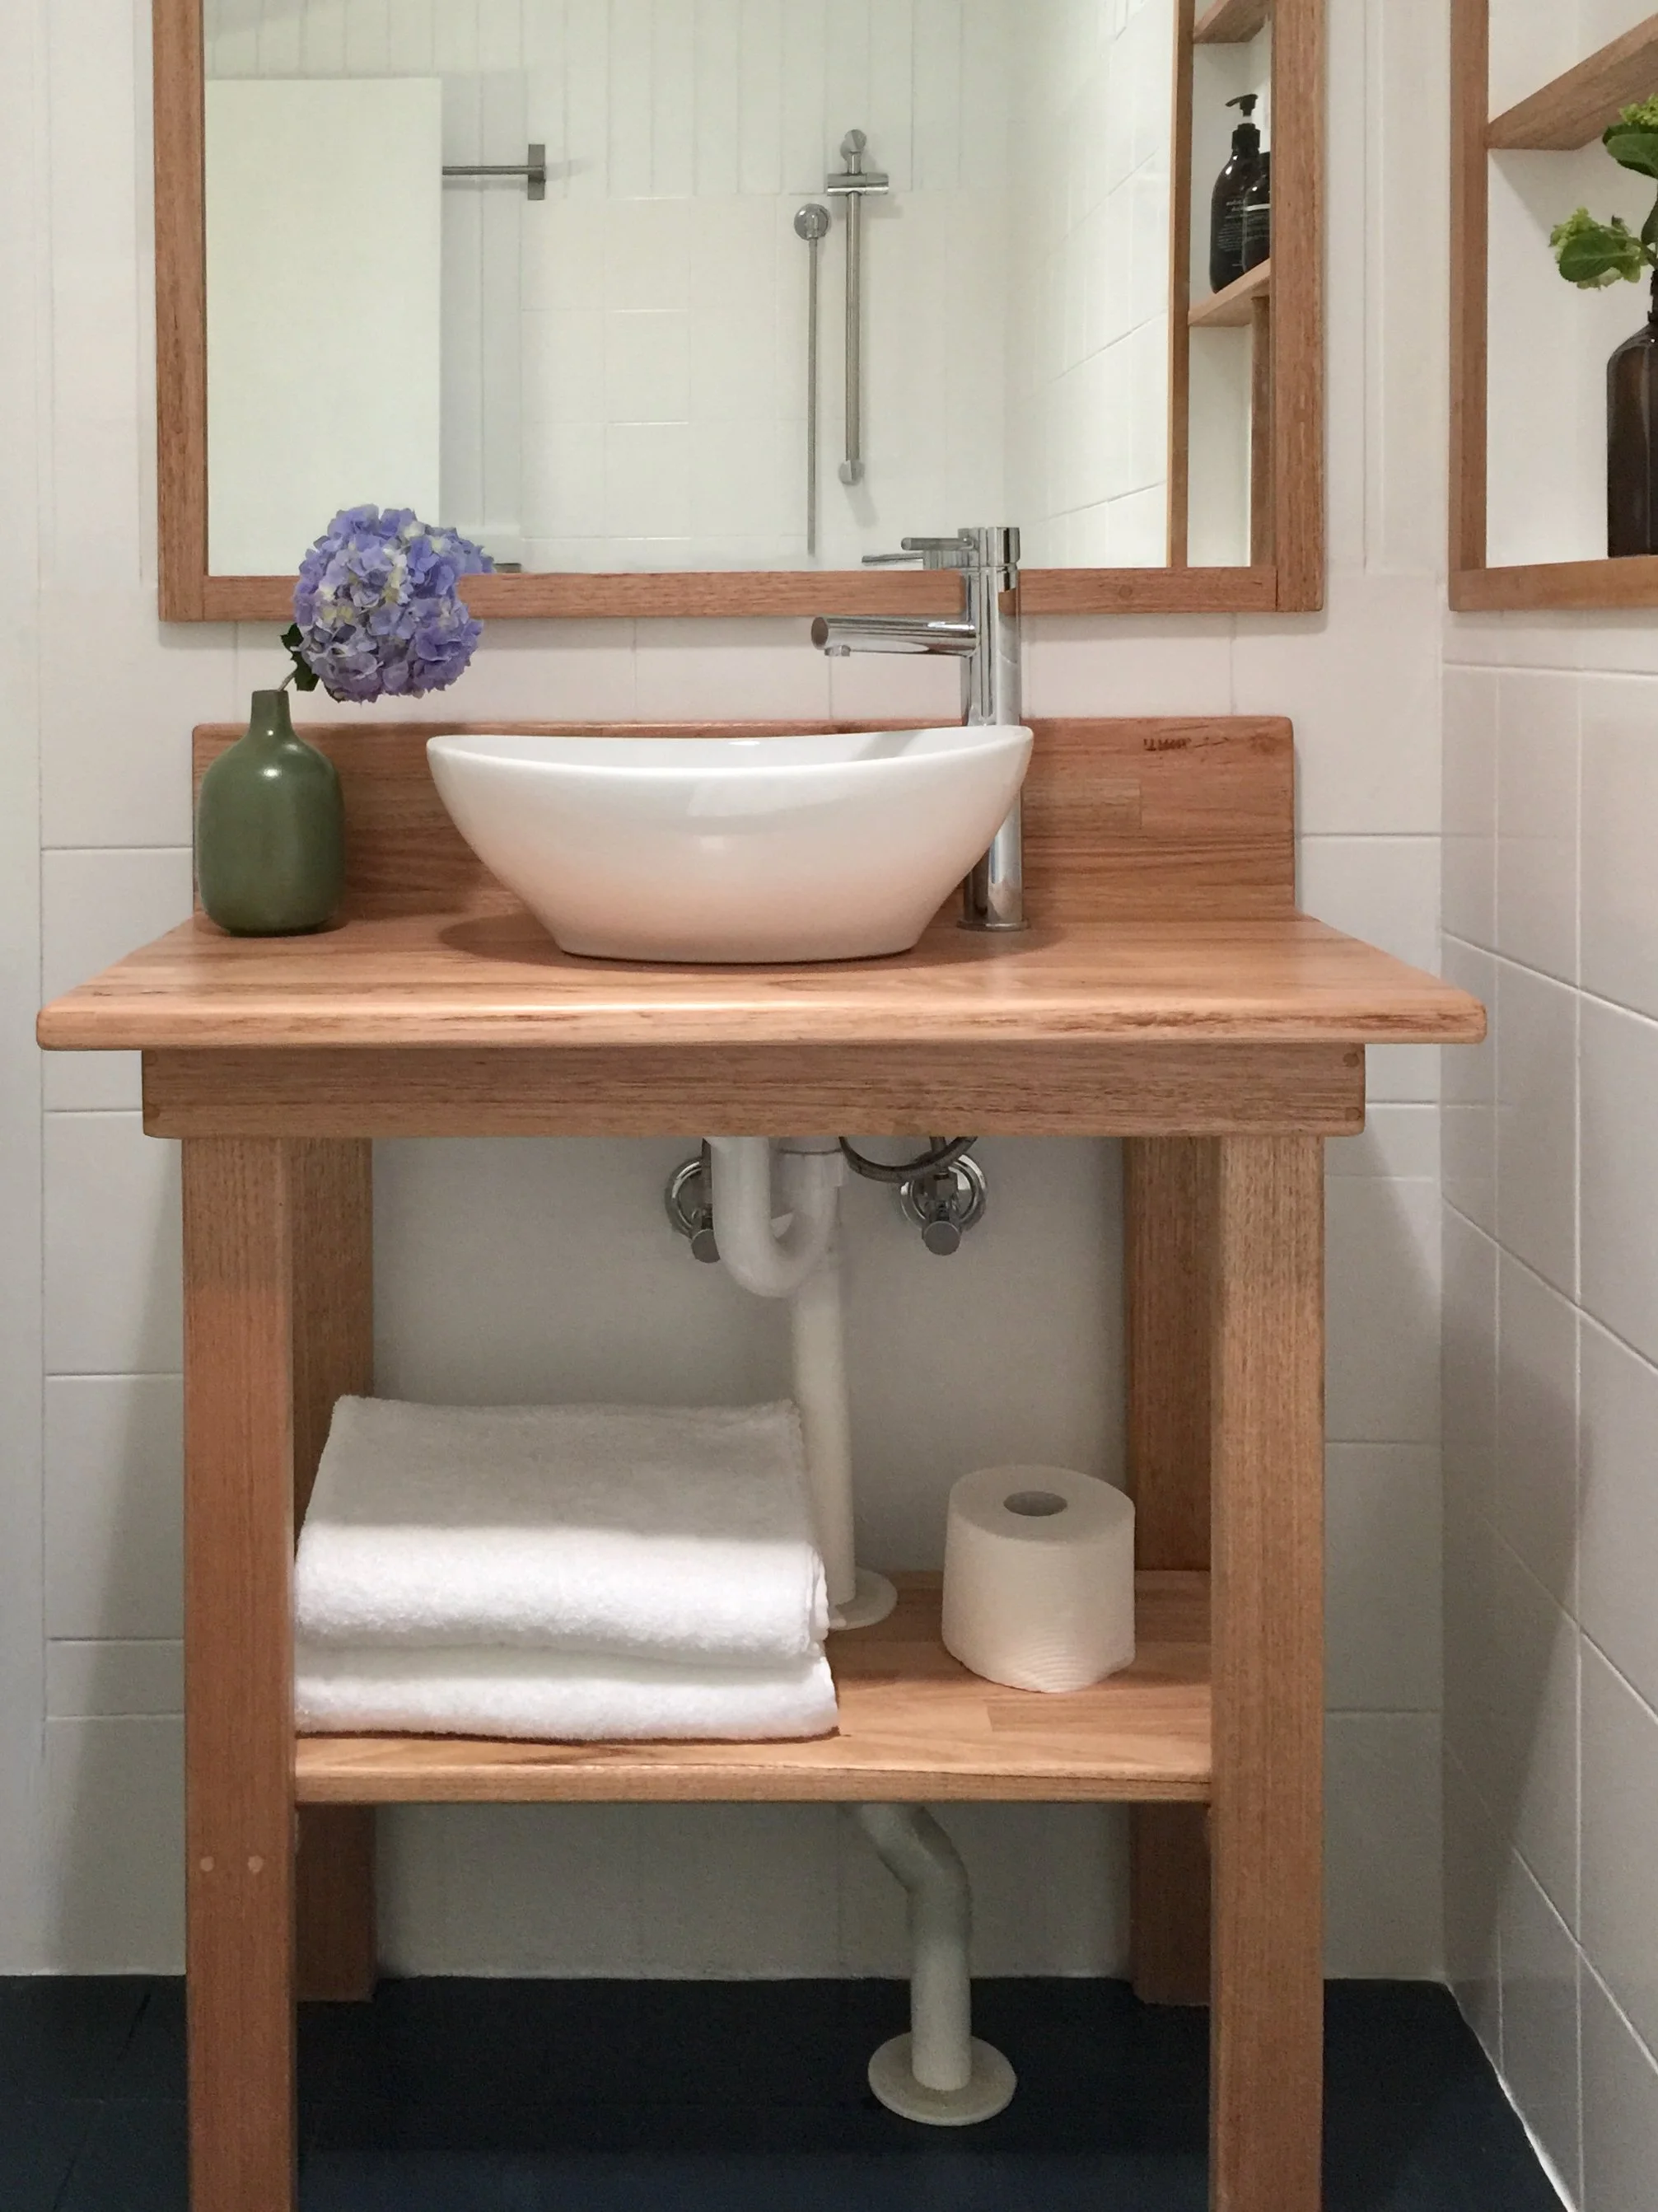
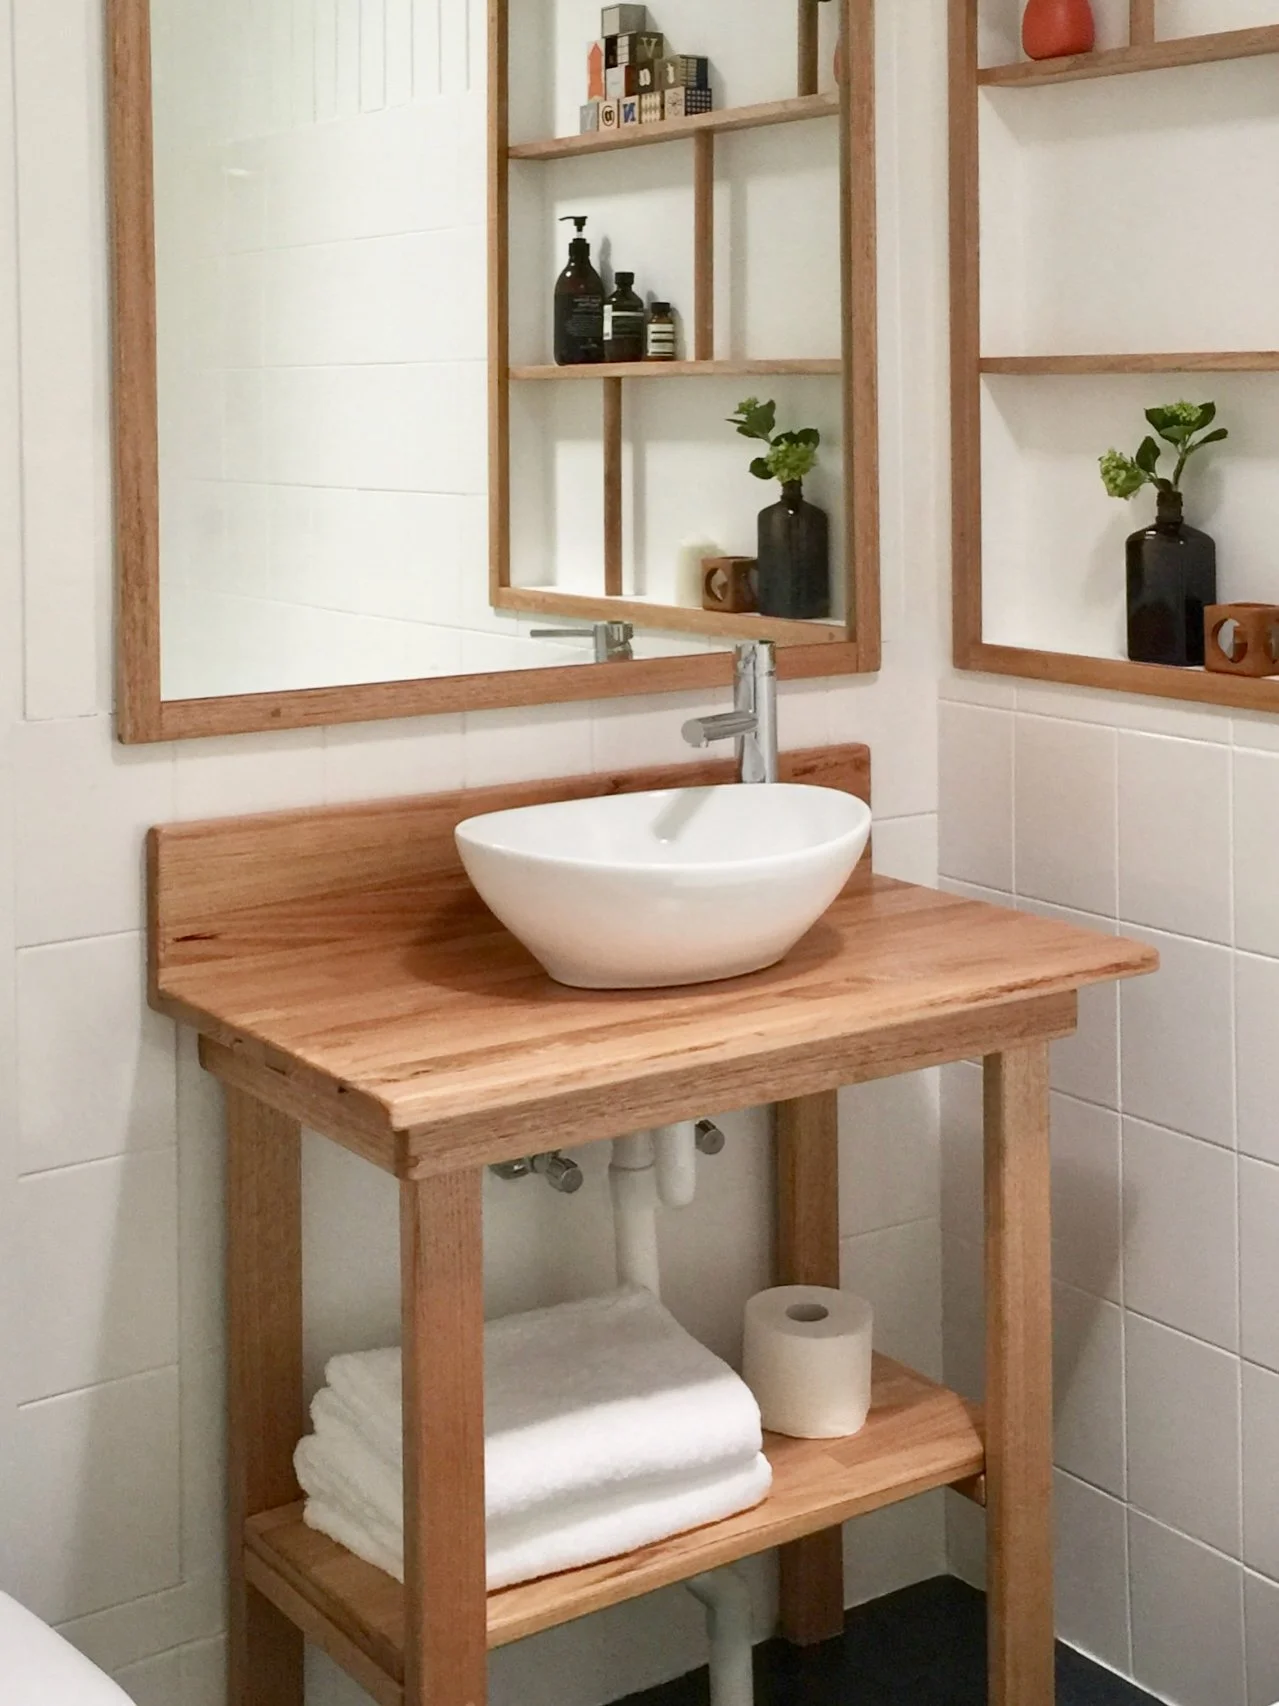
The shabby, too-big vanity was replaced with a smaller, more elegant table and new sink with mixer, making it feel modern again.
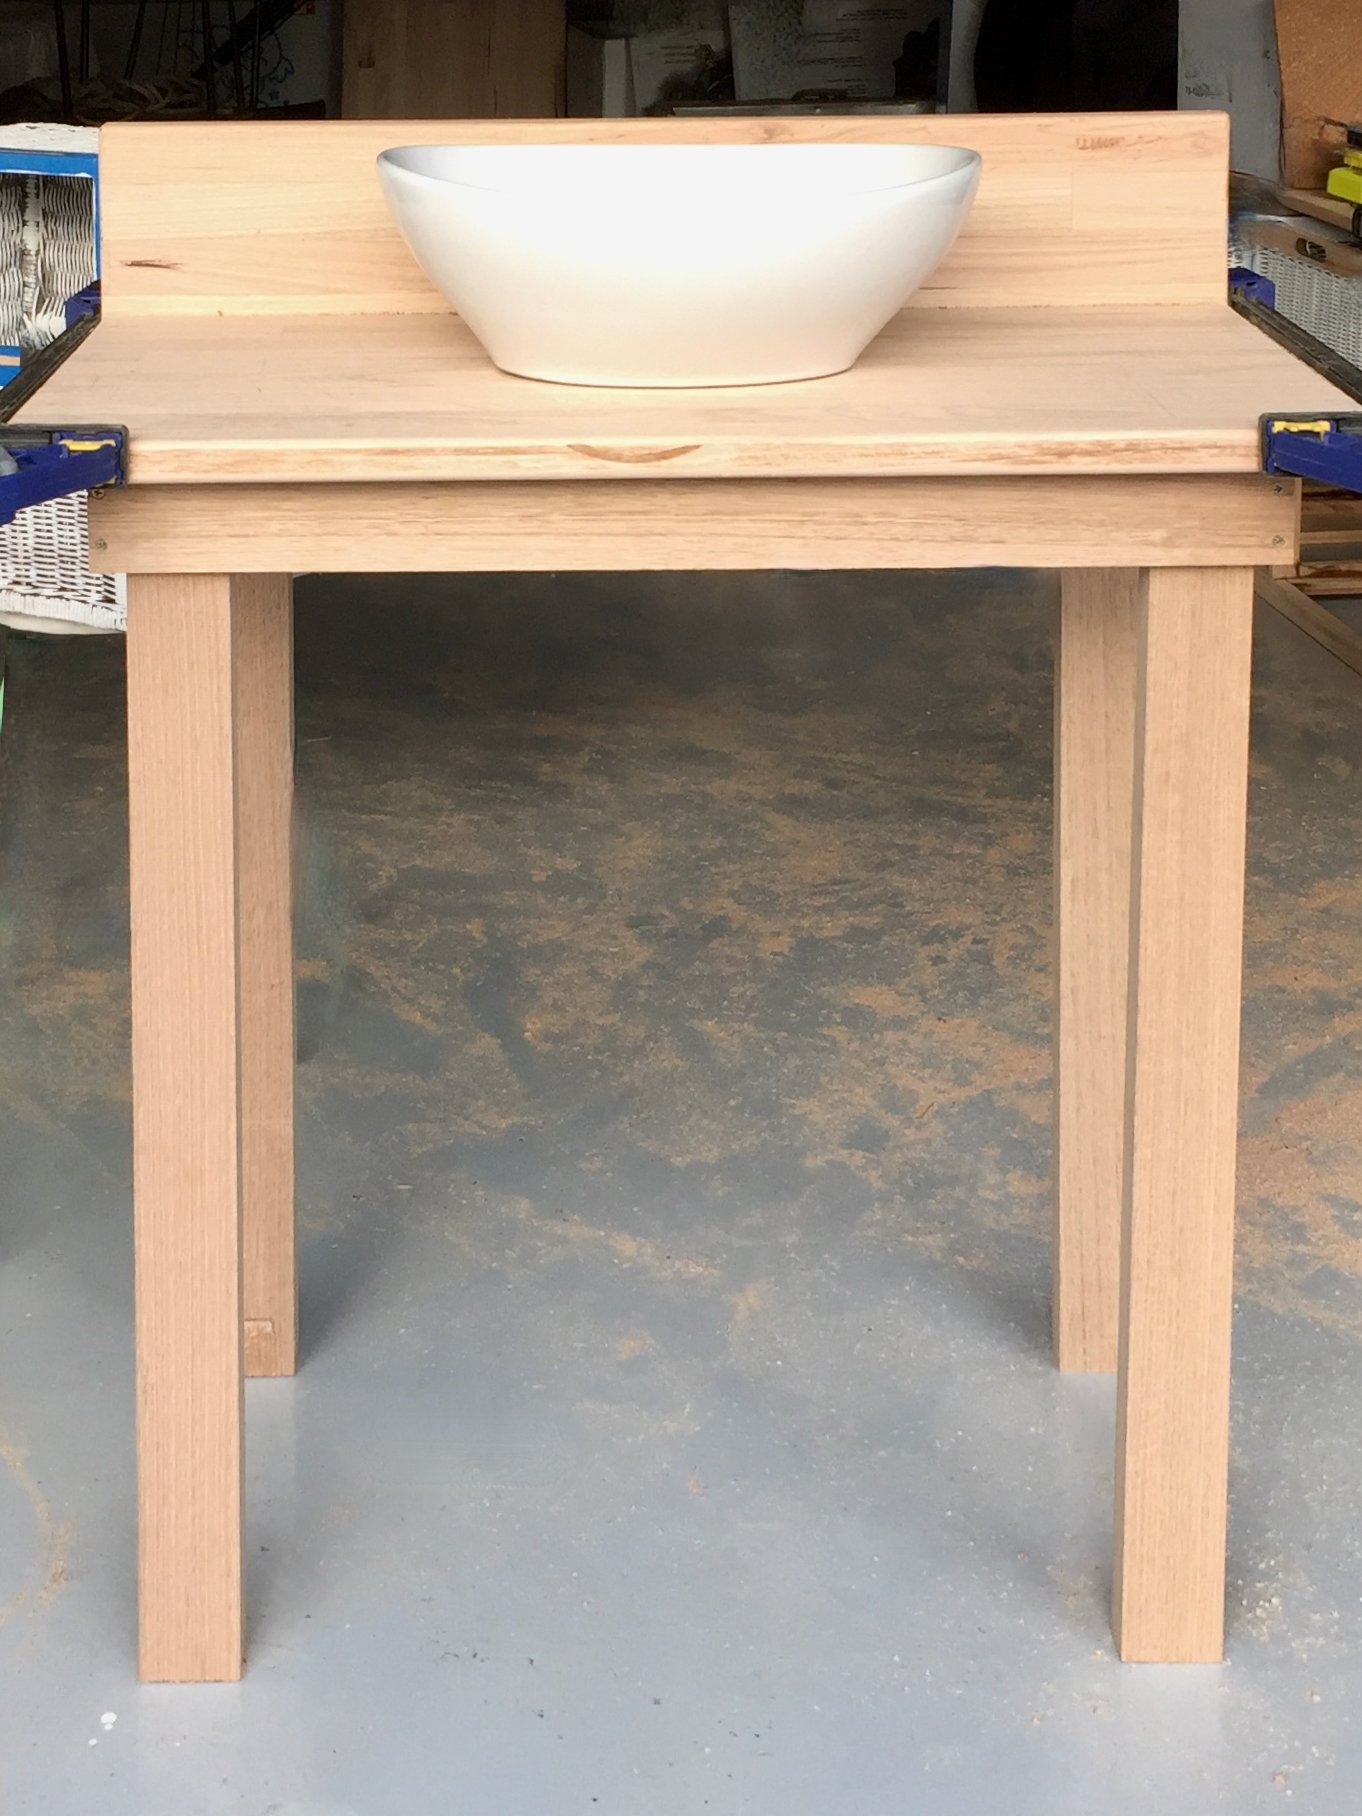
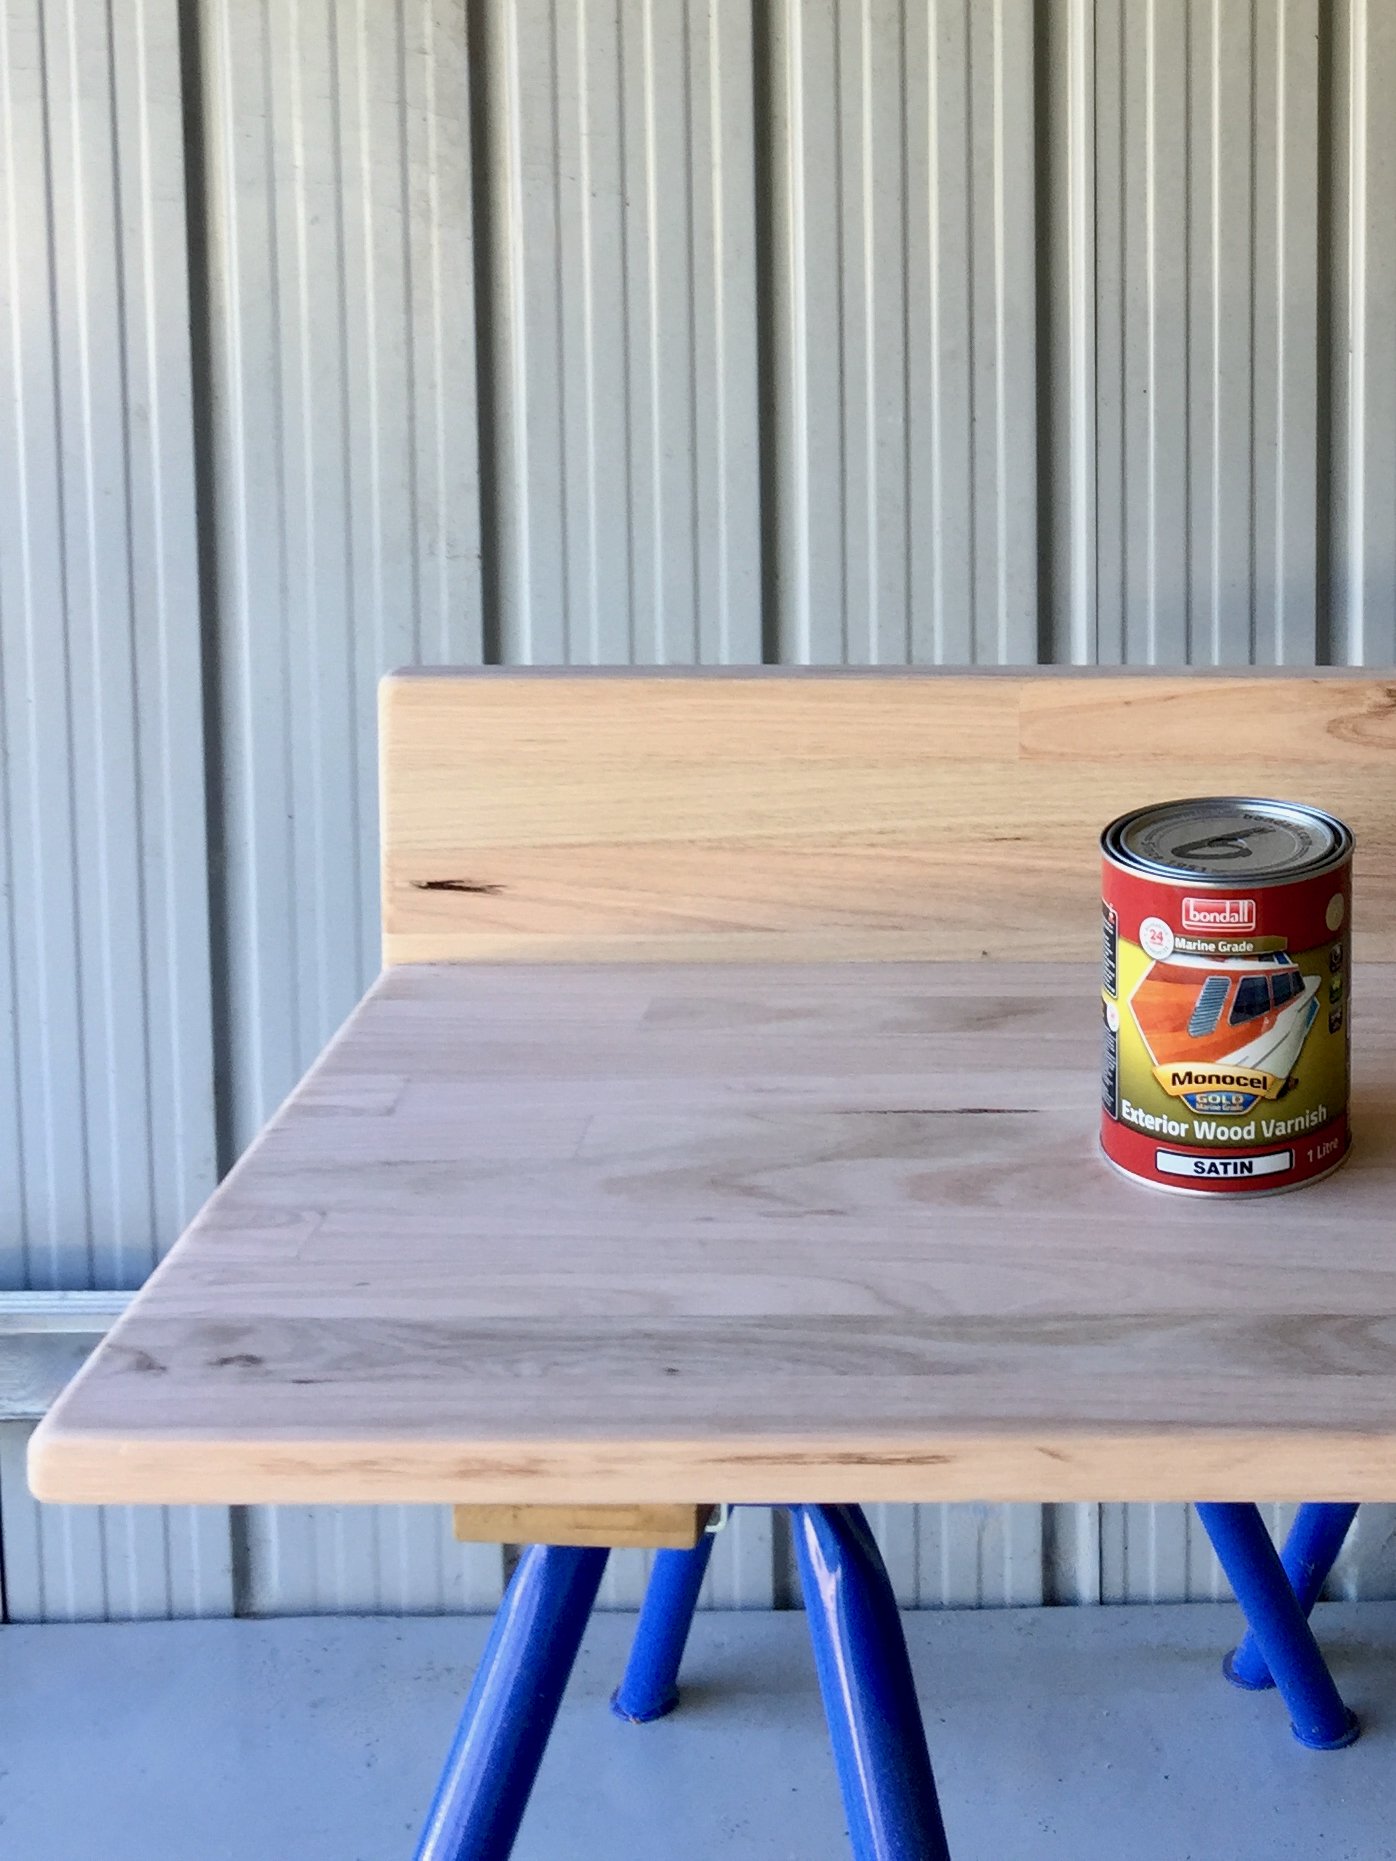
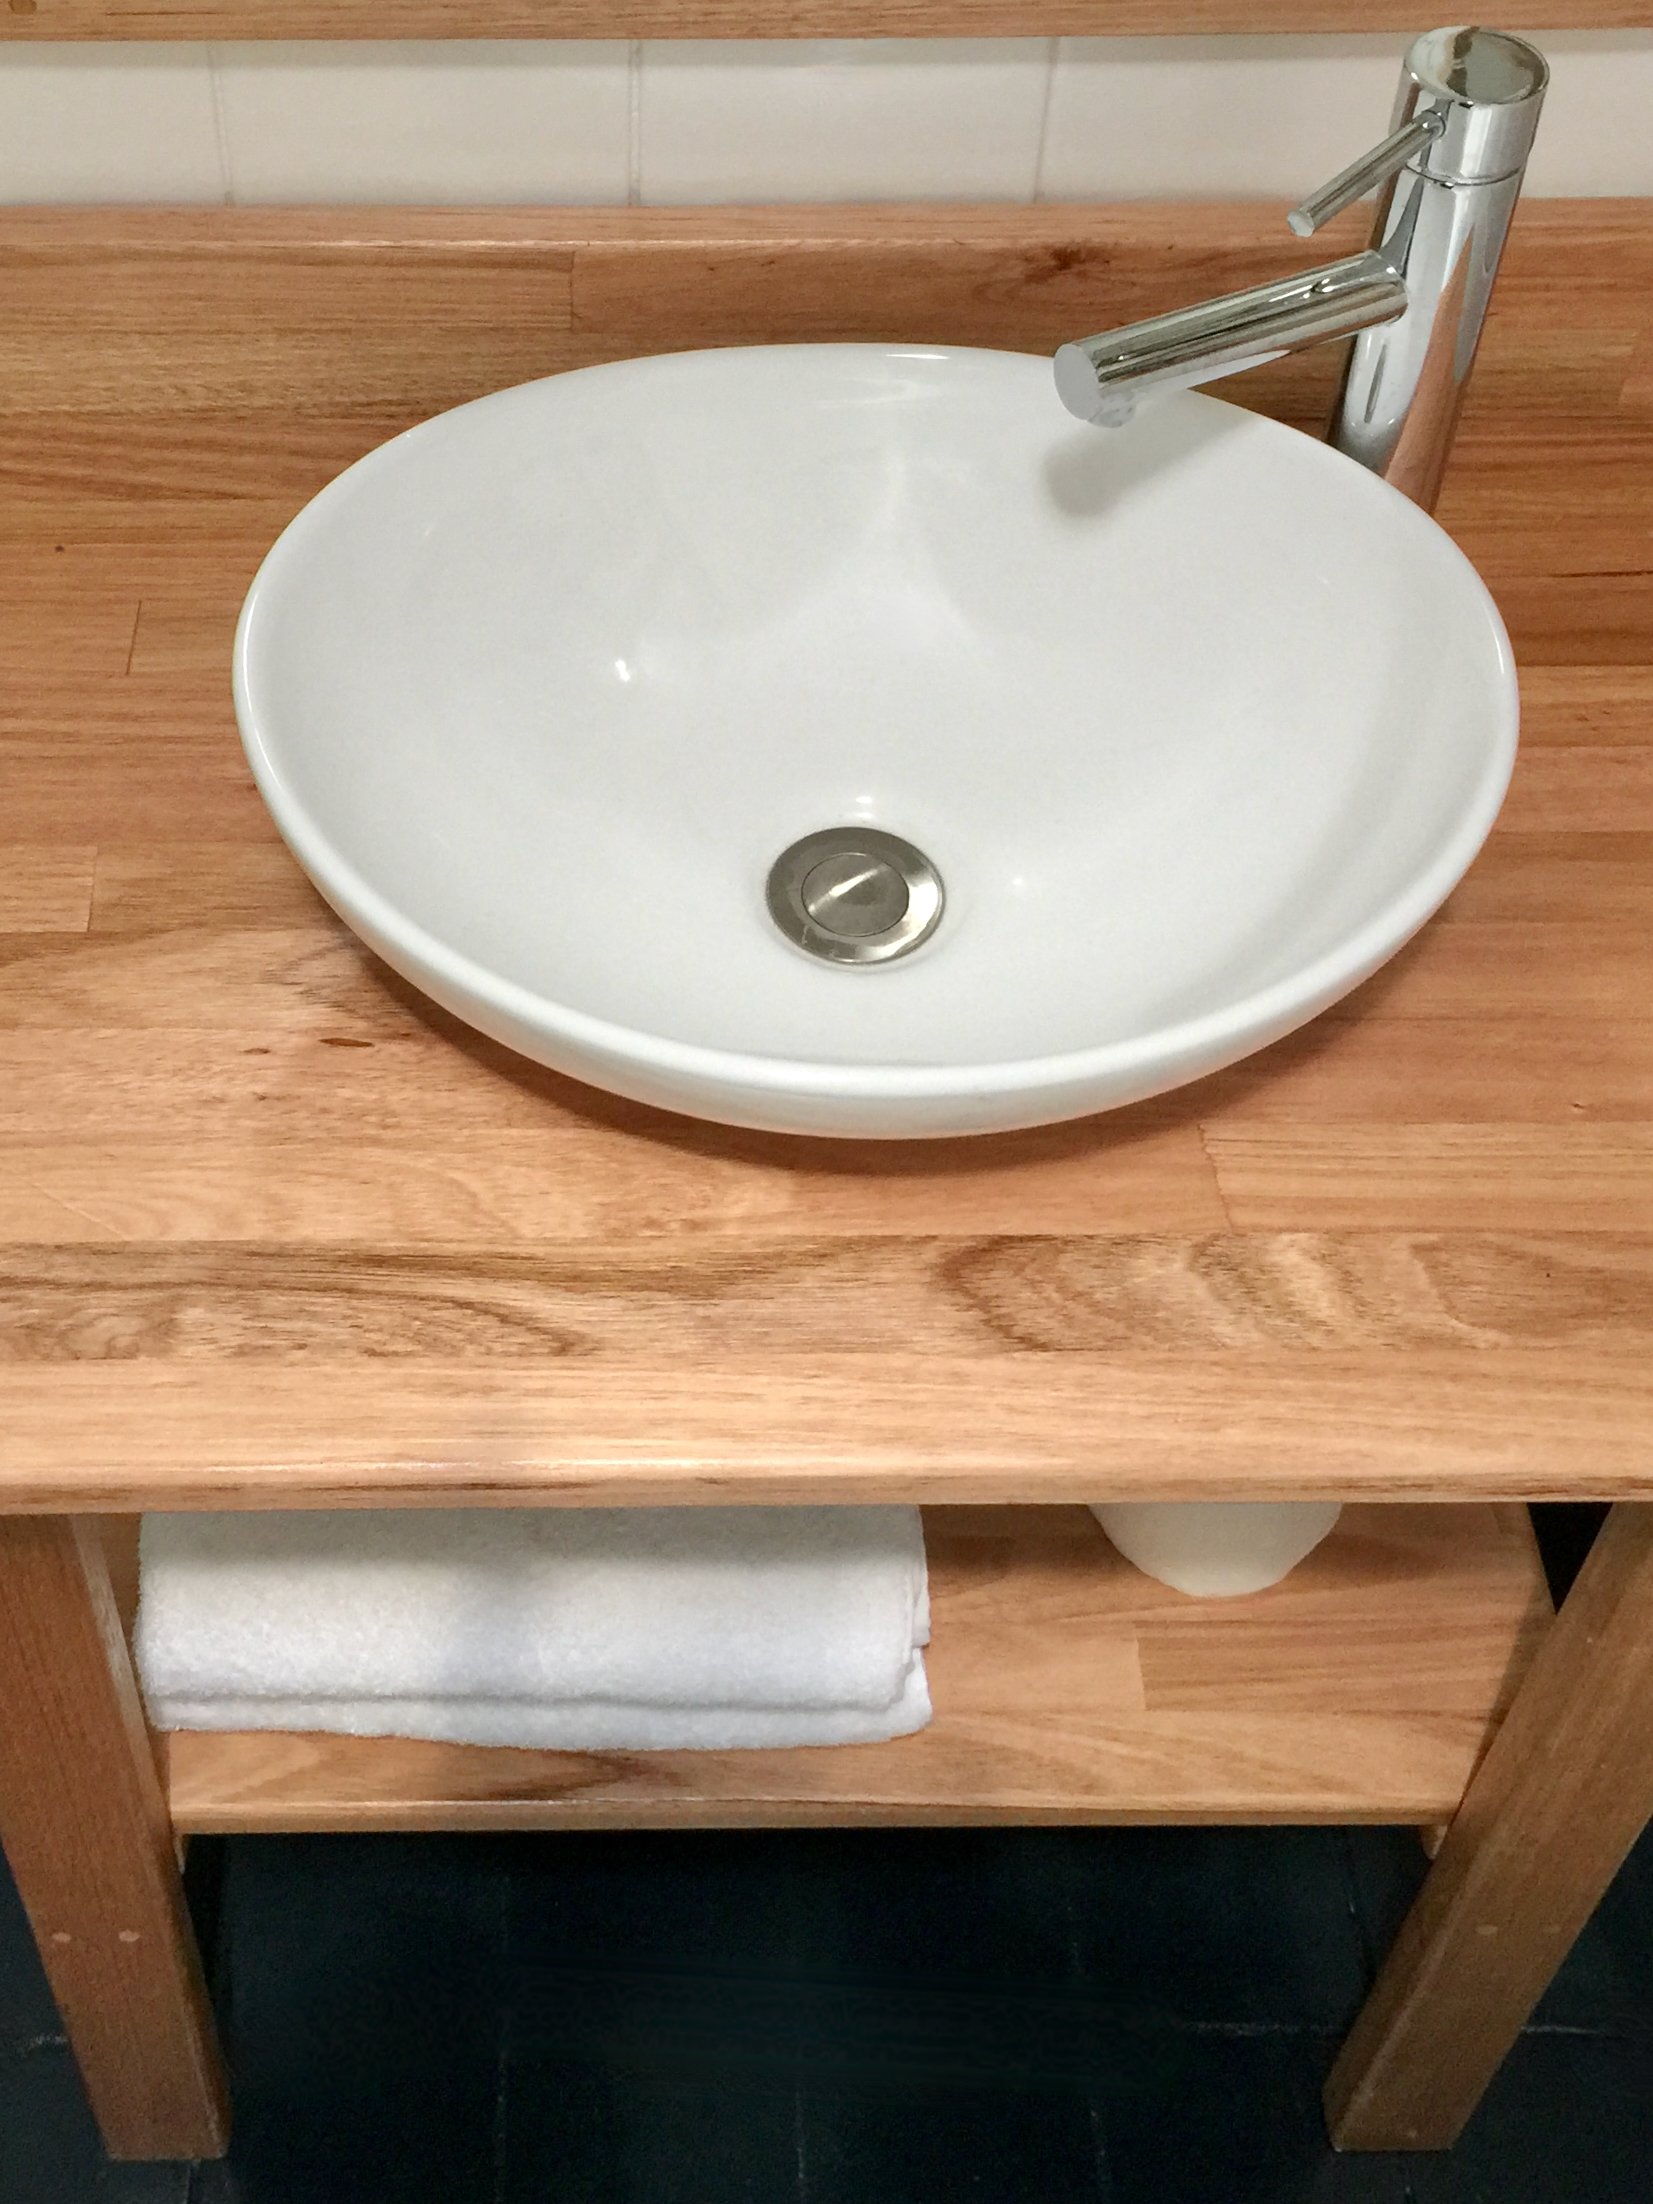
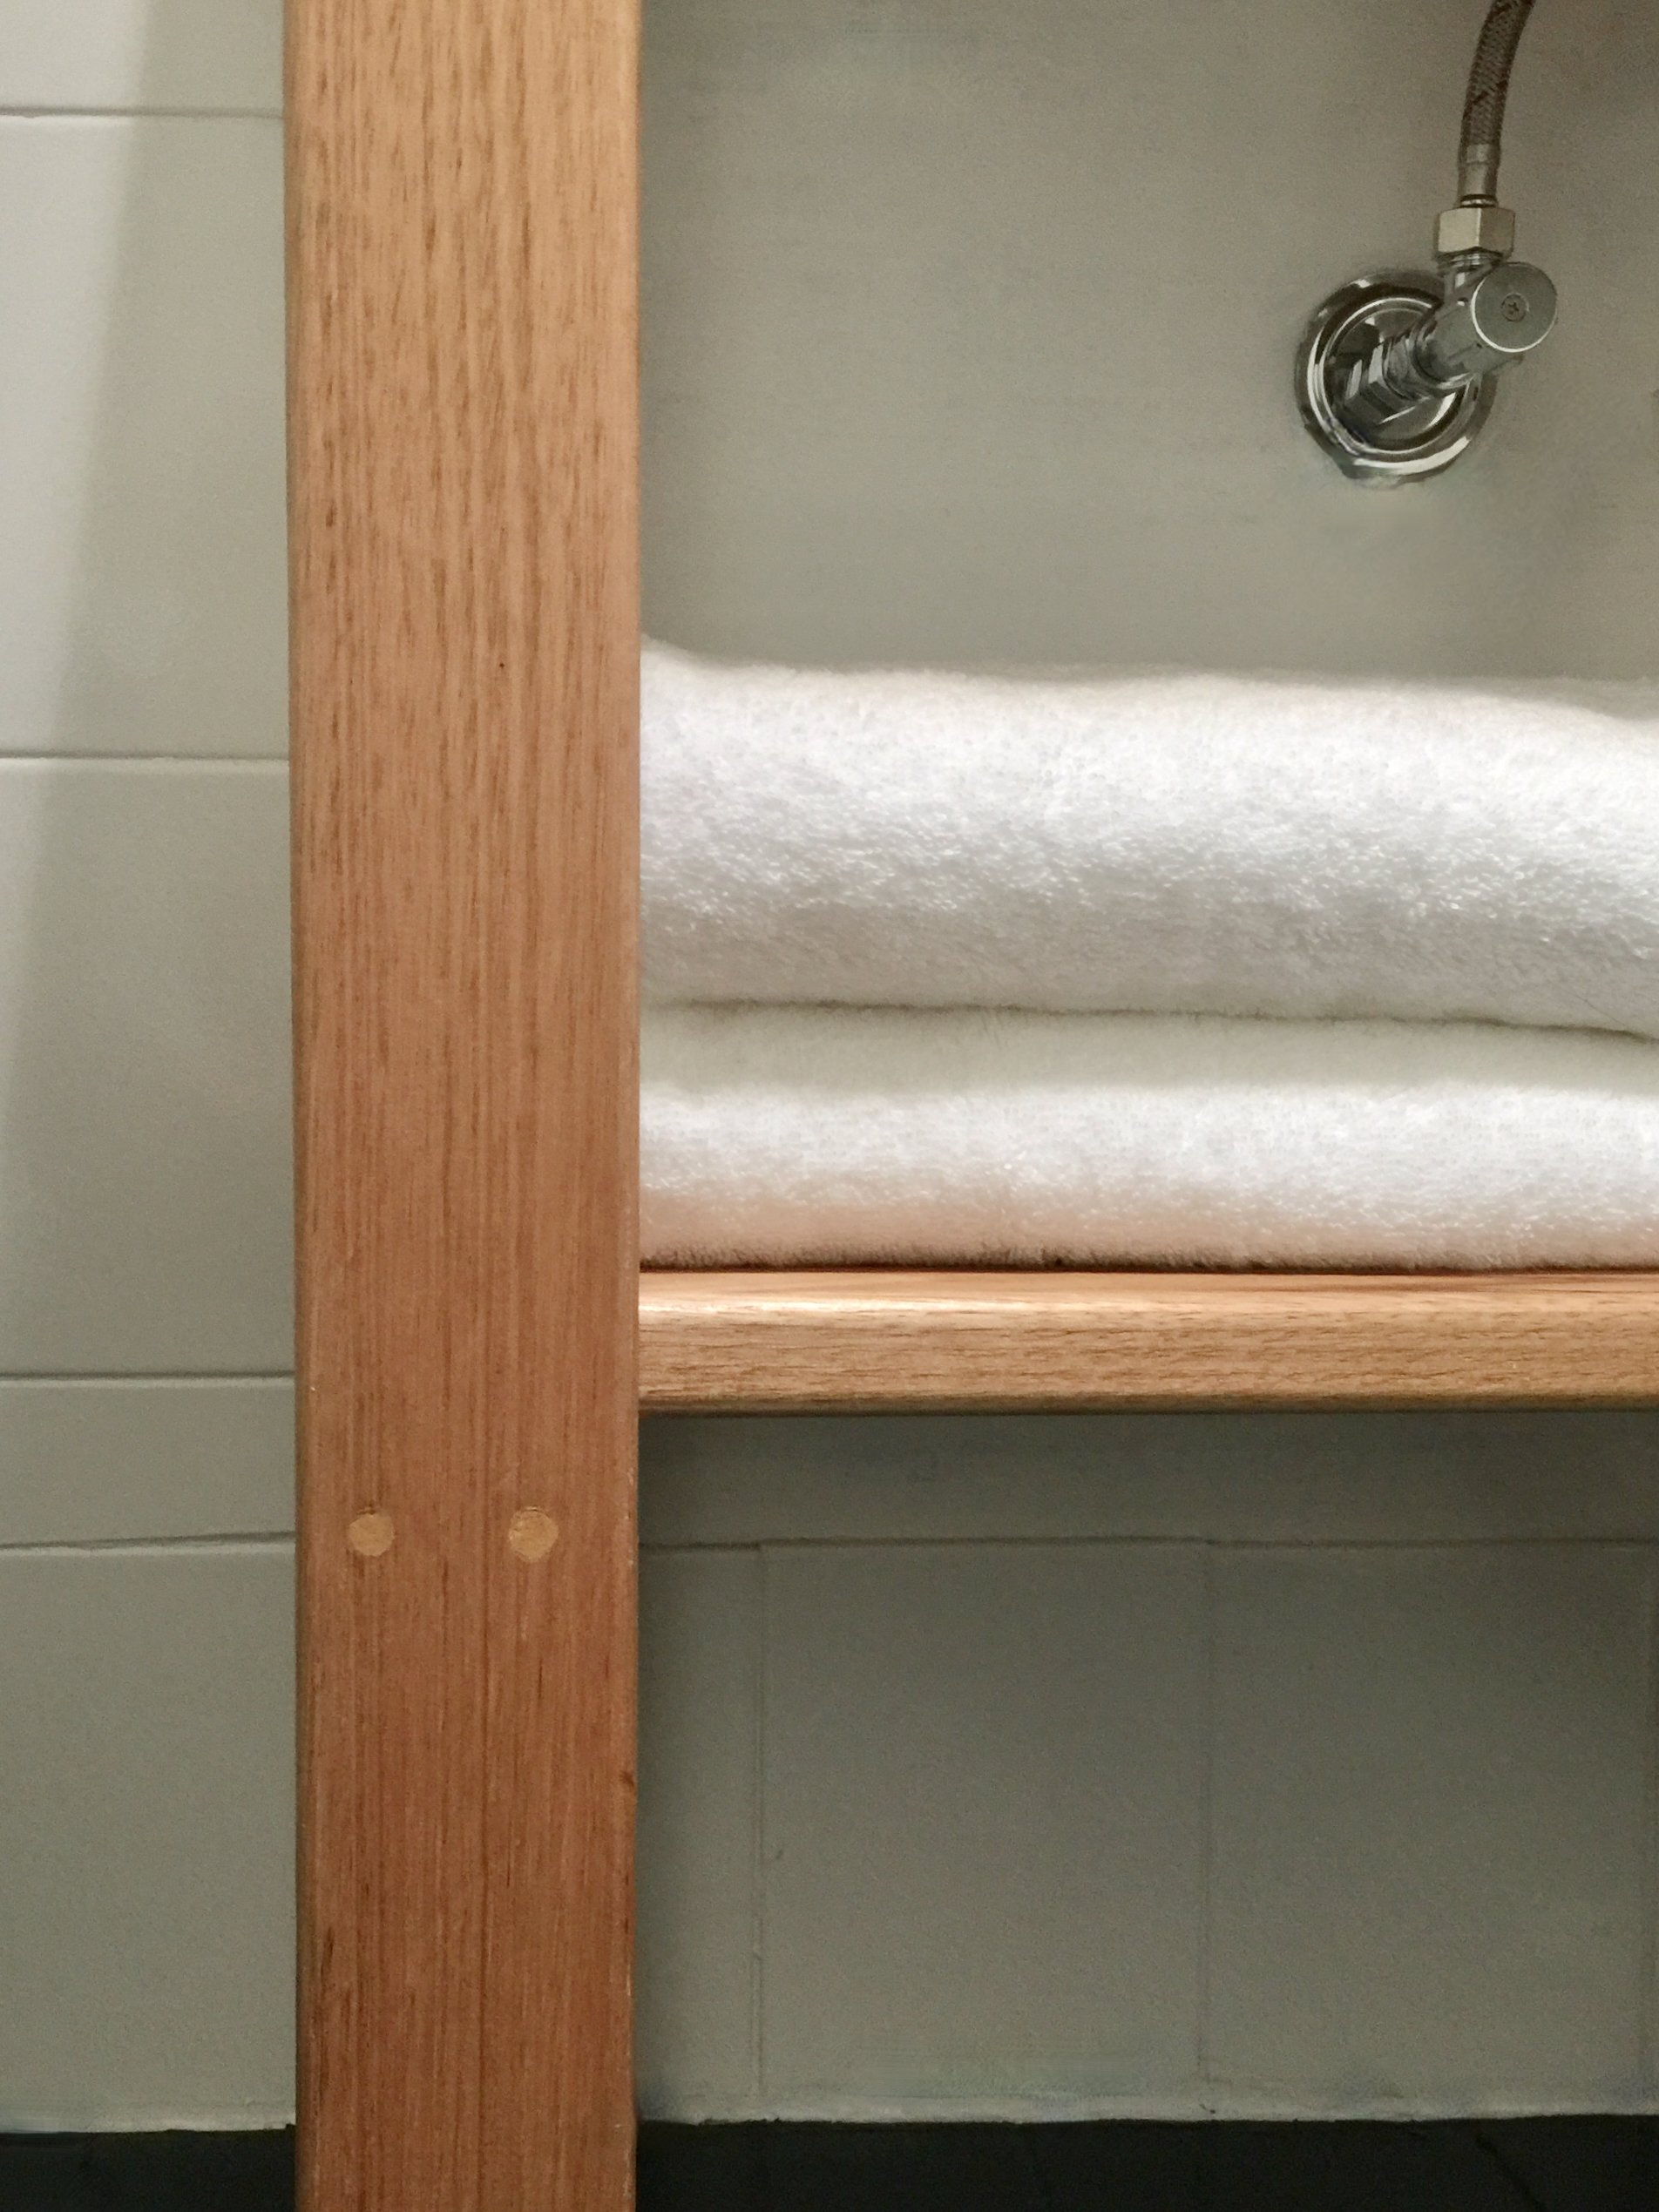
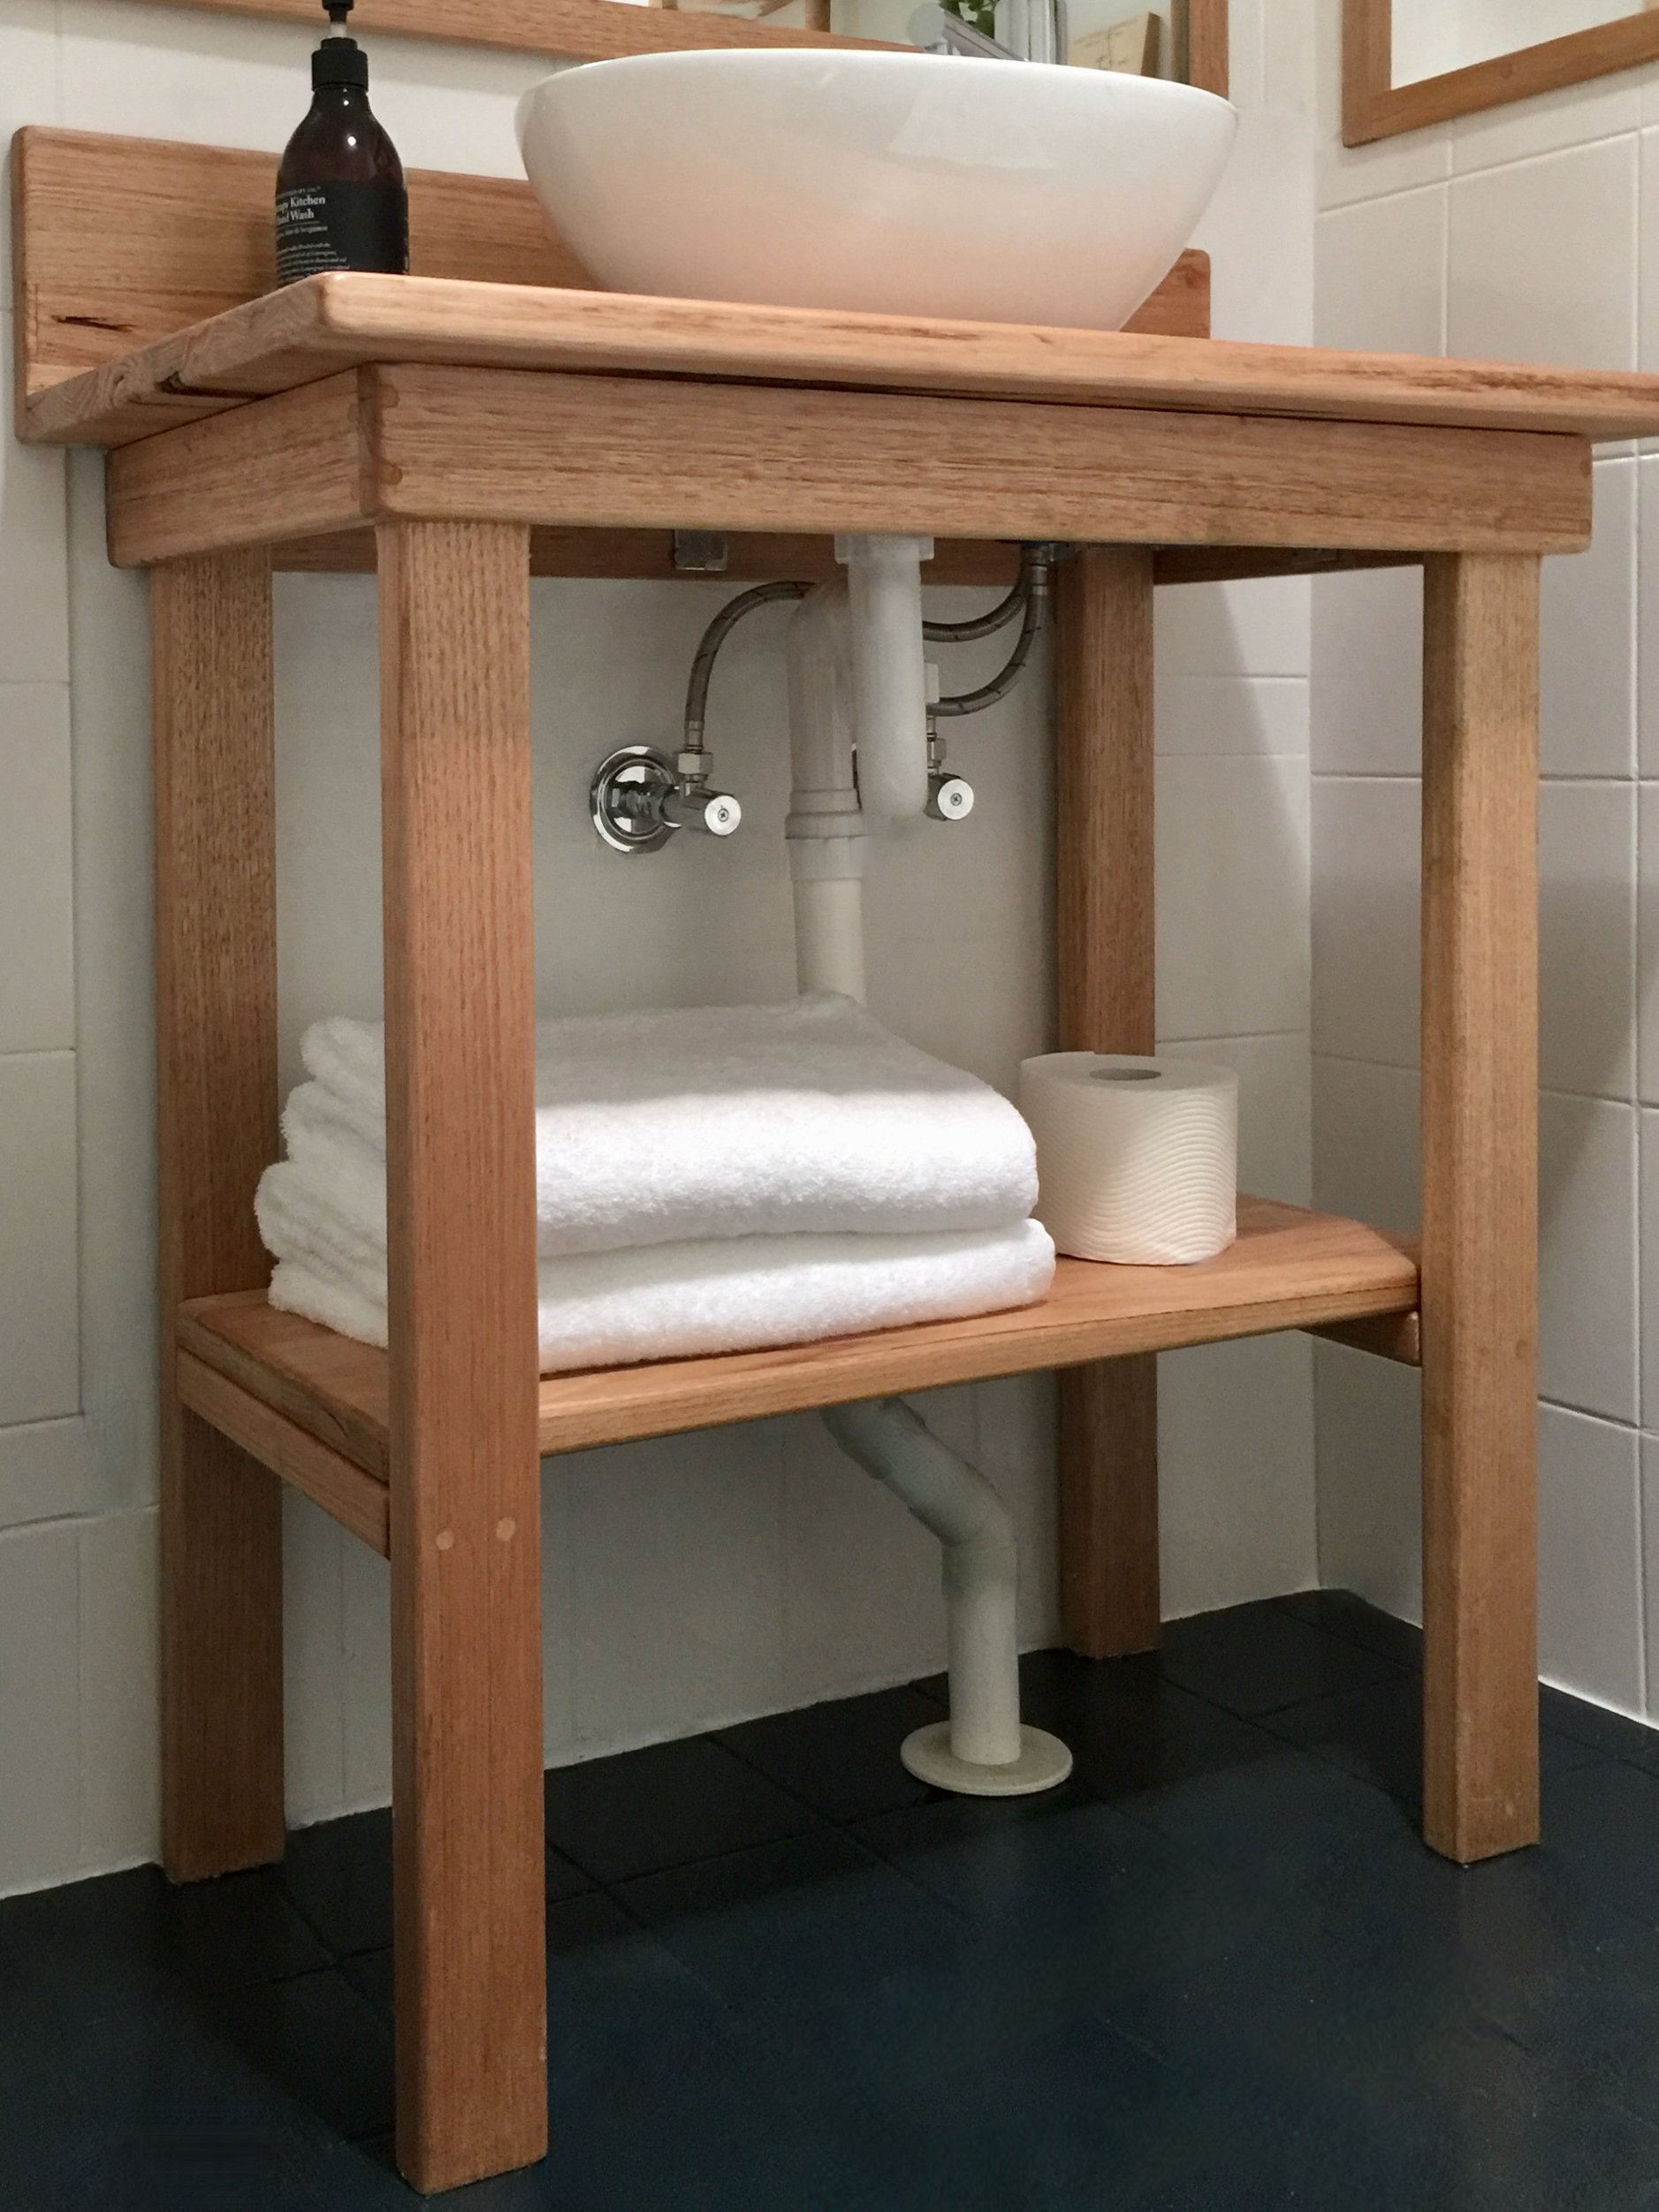
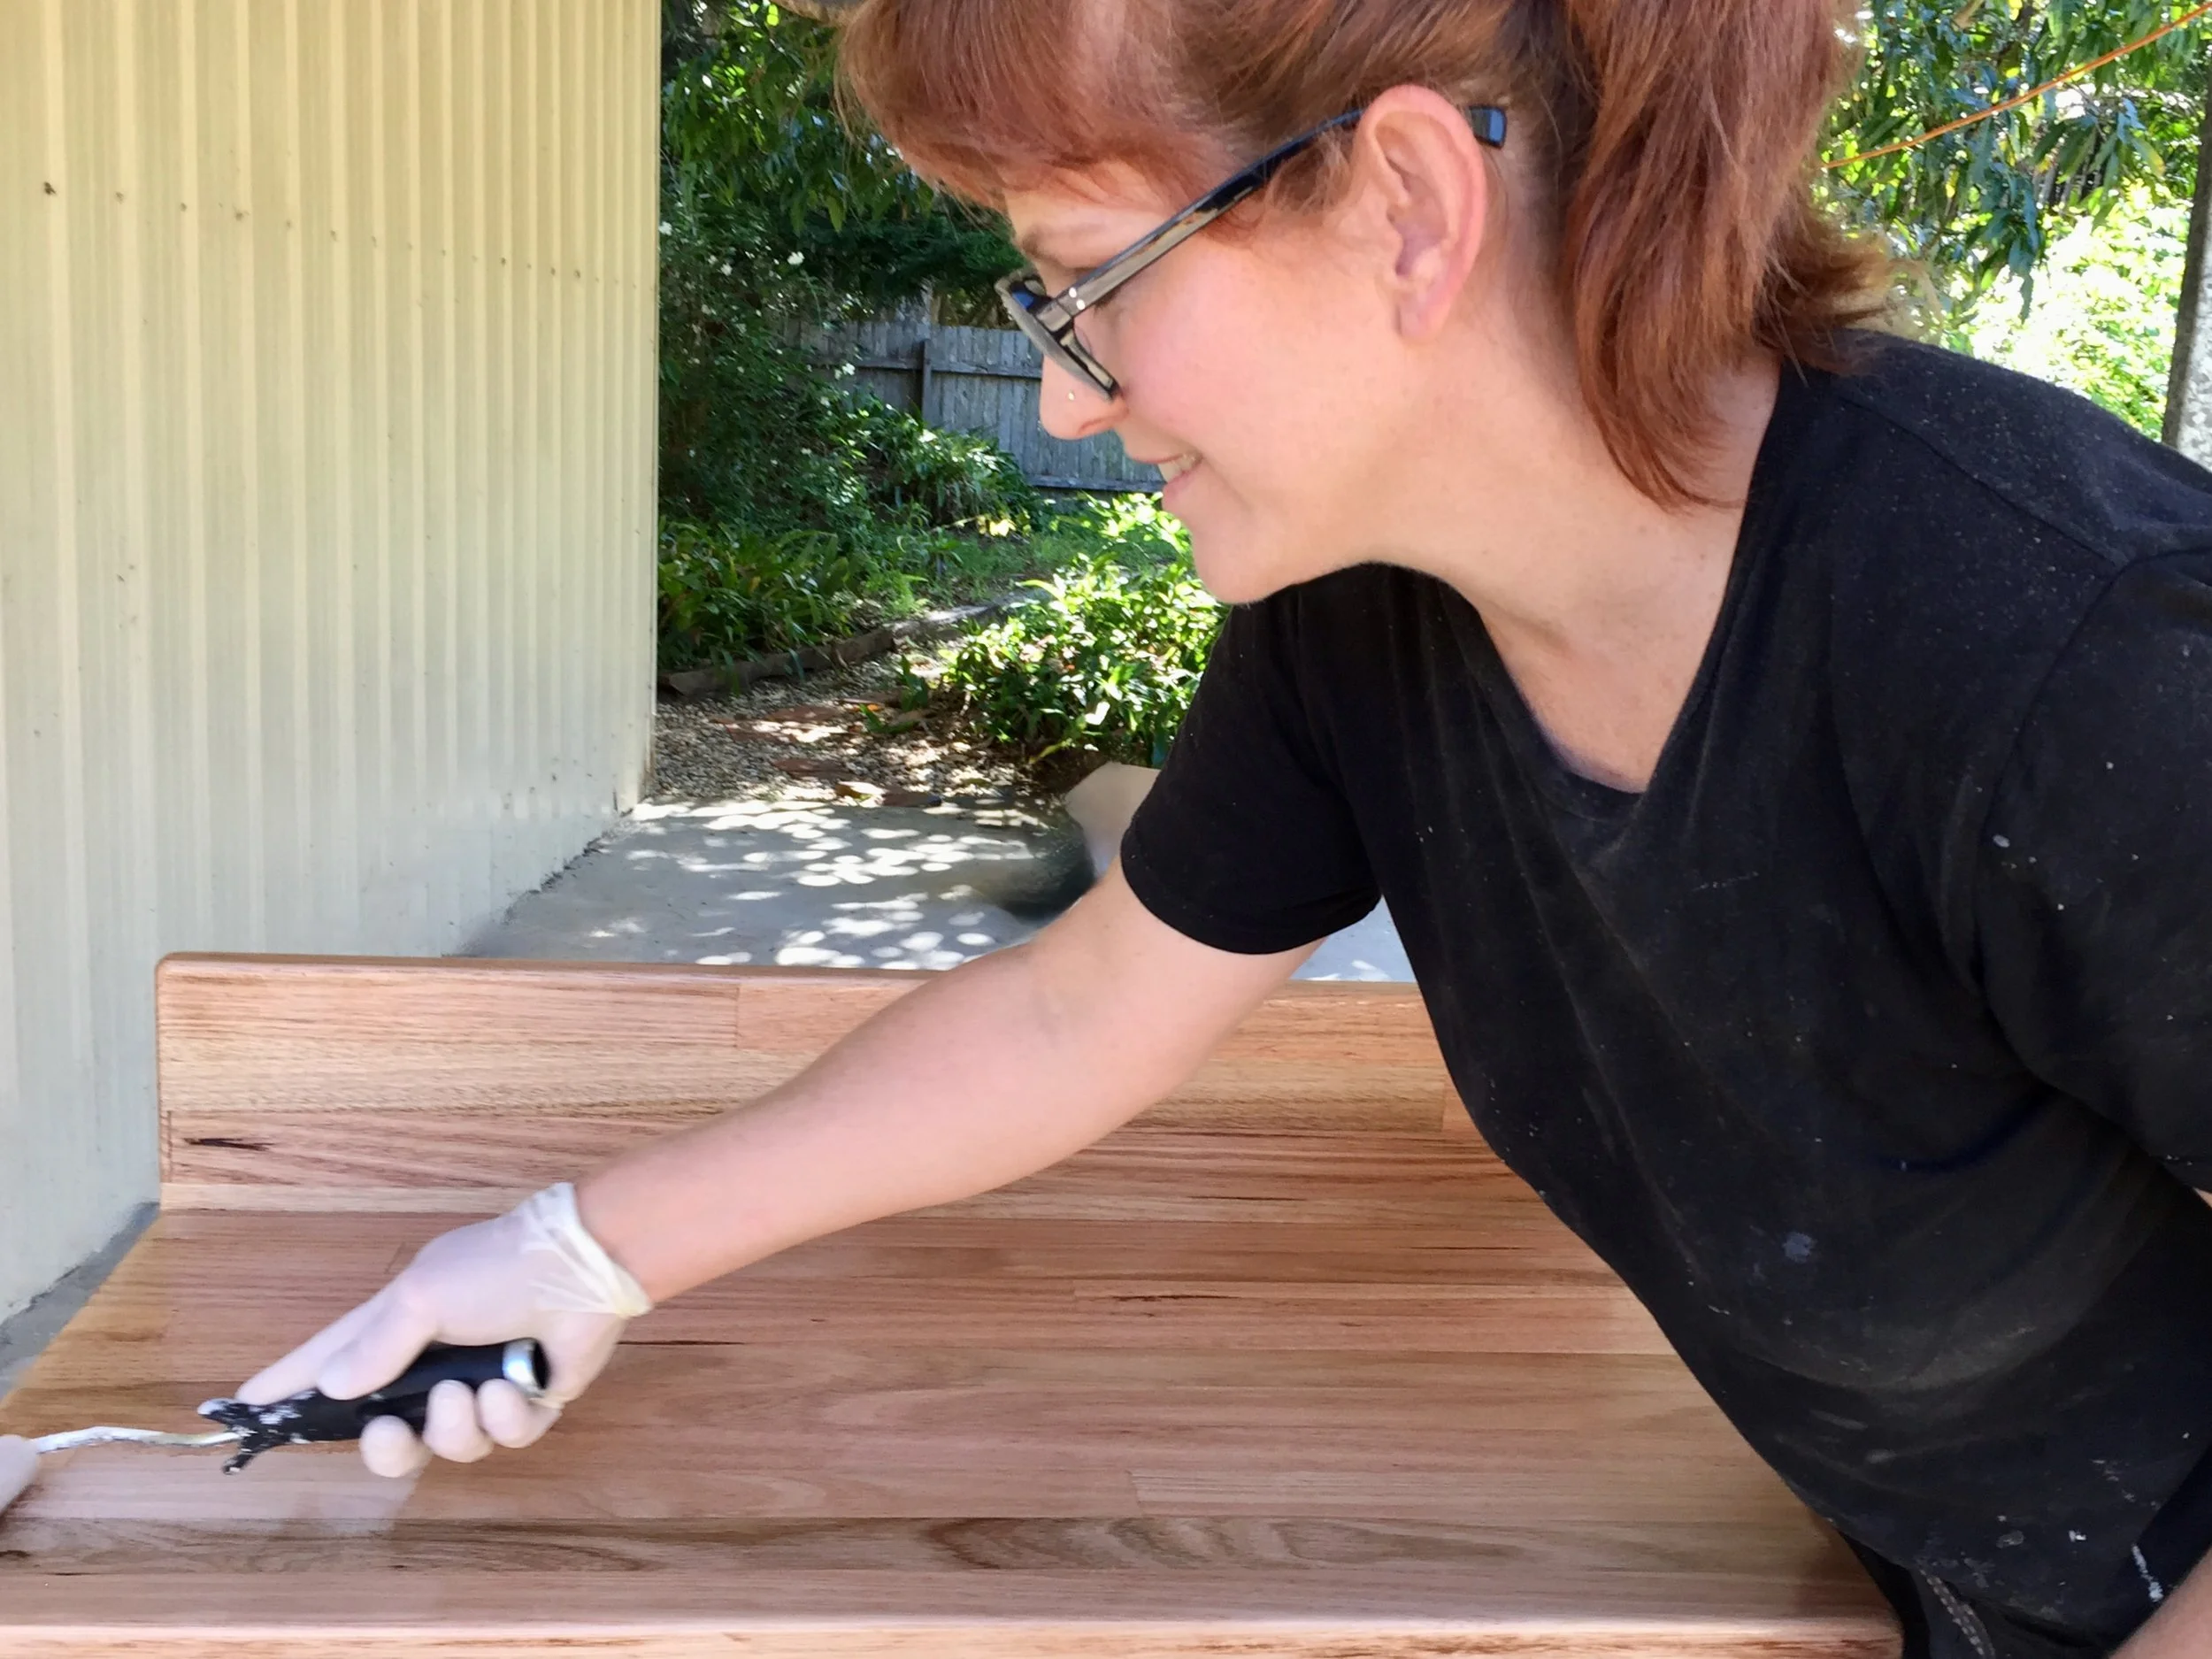
I bought the basin and tap before building the new vanity table so I could check the size, keeping it small but functional. It’s made from Tasmanian oak panel and DAR boards from my local hardware store and sealed in marine-grade varnish.
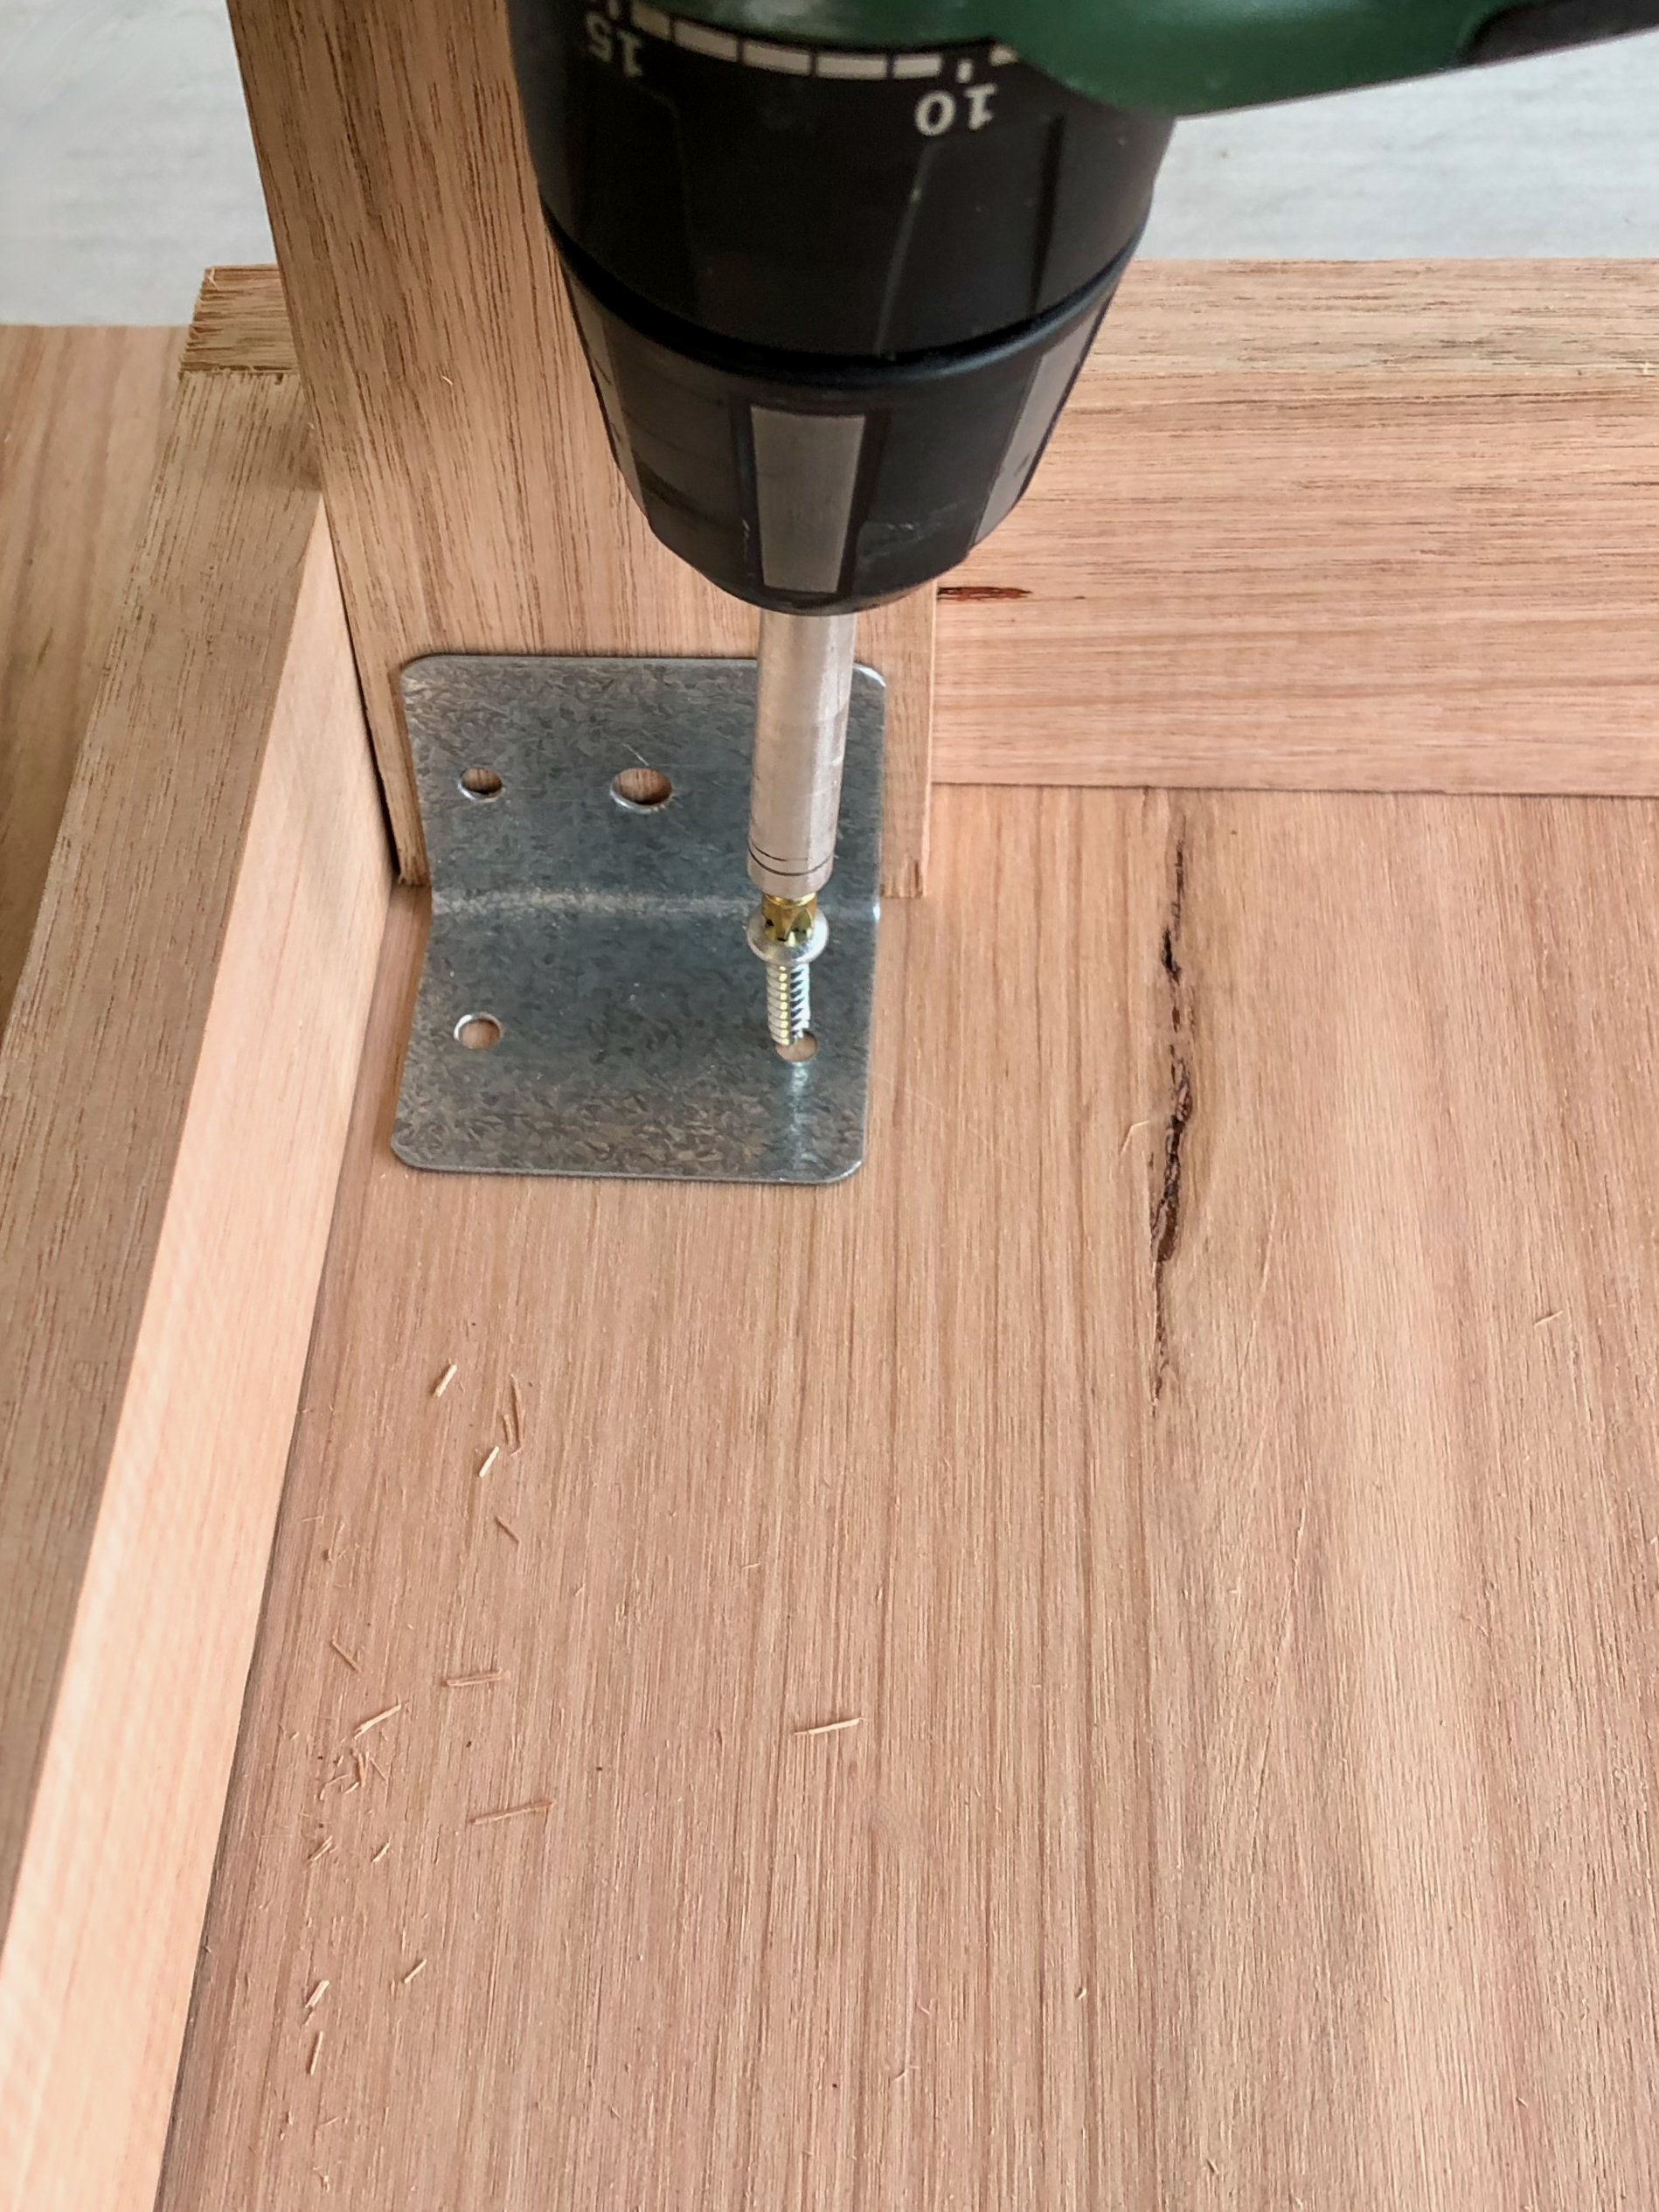
To keep the trades bill down, I had the table ready to go before the plumber arrived so they only need to visit once.
On the day, they fixed off the taps and waste so I could remove the old cabinet and drop in the new table. The plumber then drilled through the top and drop-in shelf to hook up to the existing pipes.
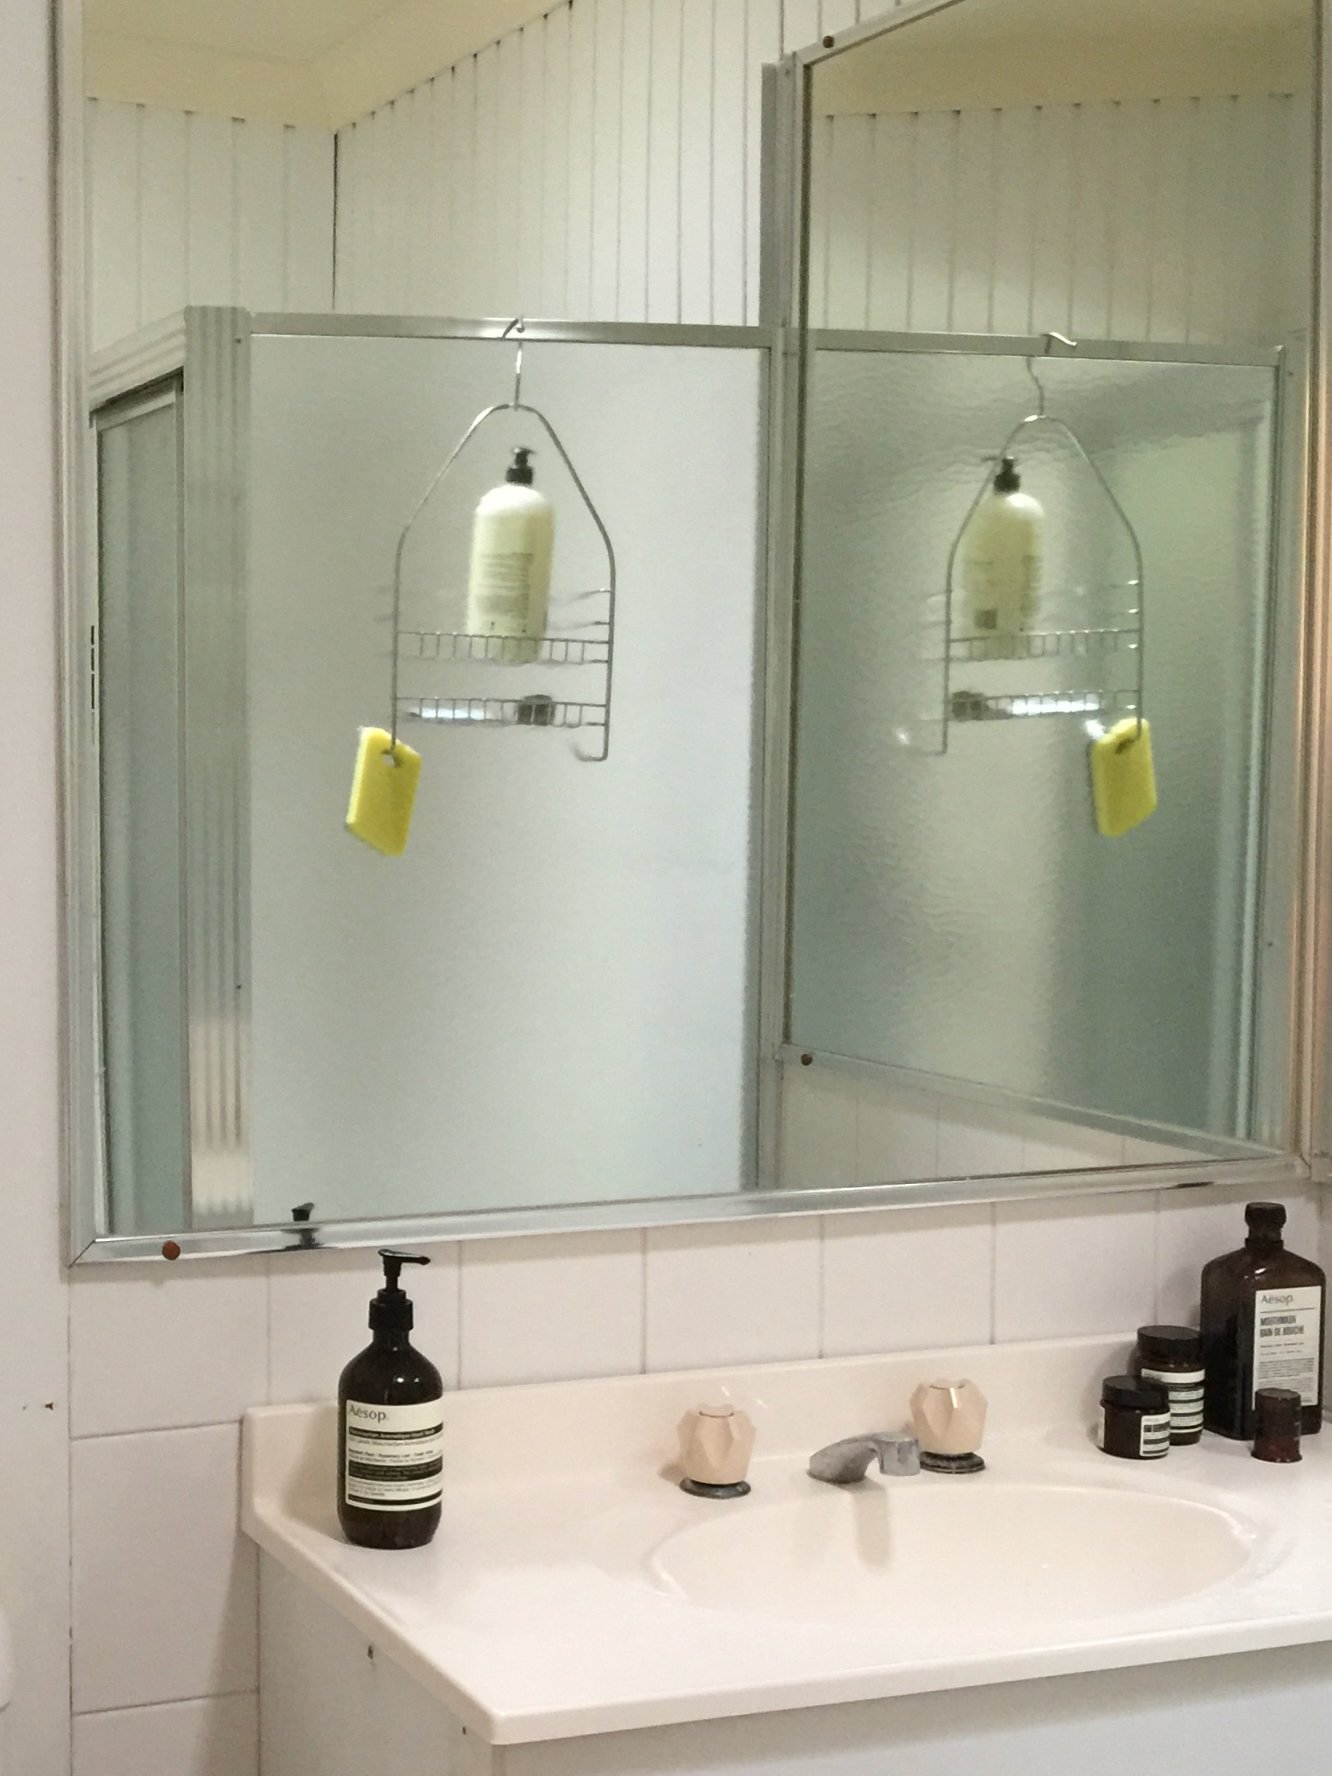
Two large wall mirrors were originally positioned in the corner over the vanity. I took them down to re-frame and re-hang one above the vanity.
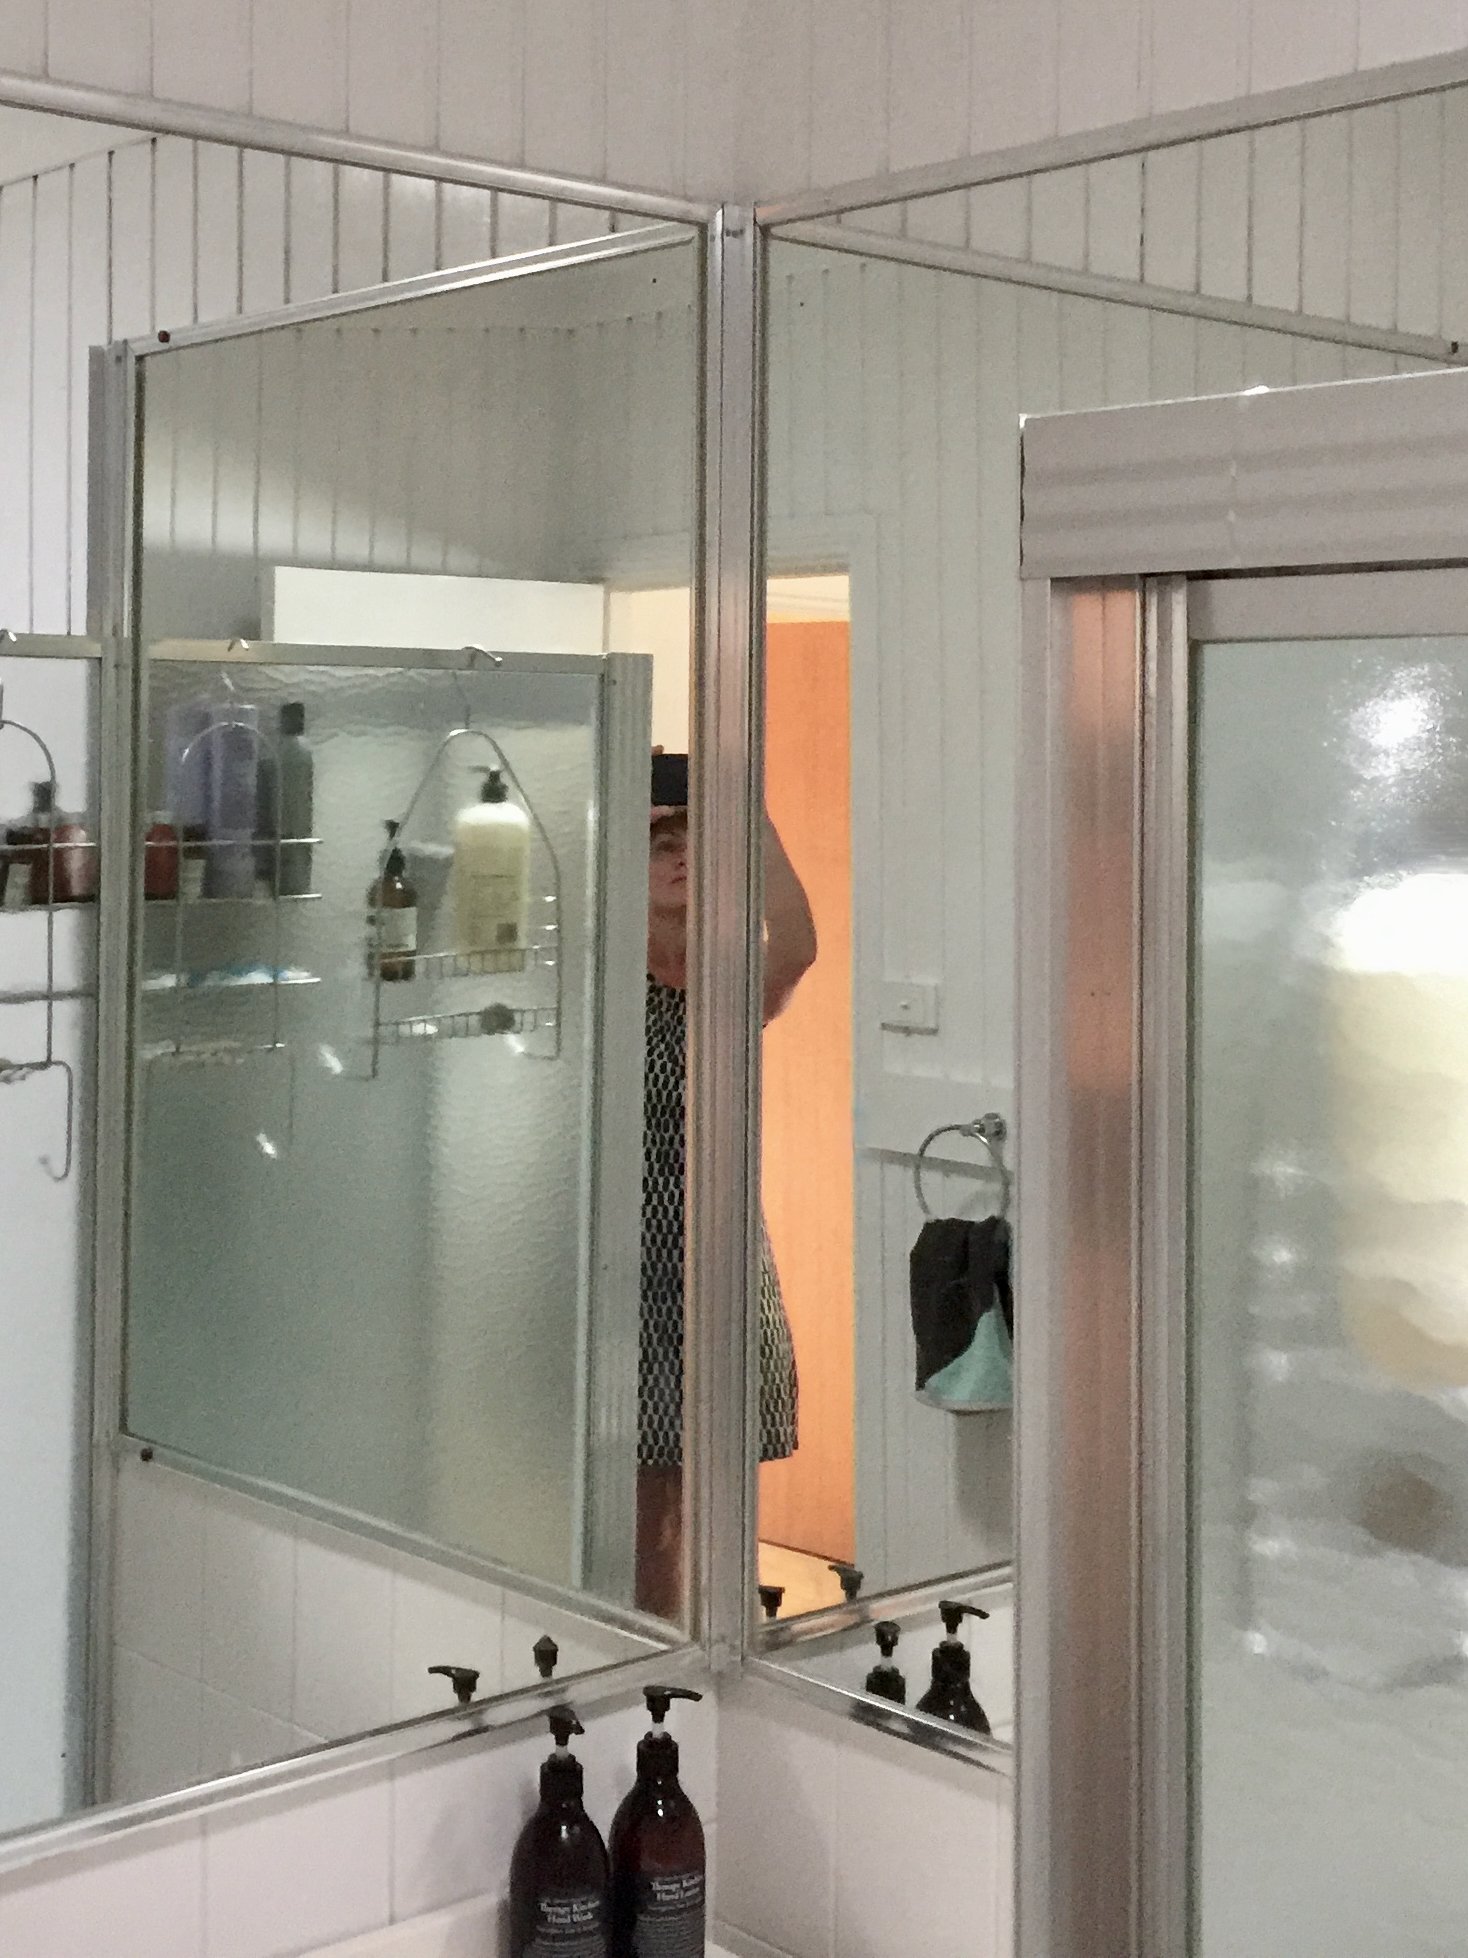
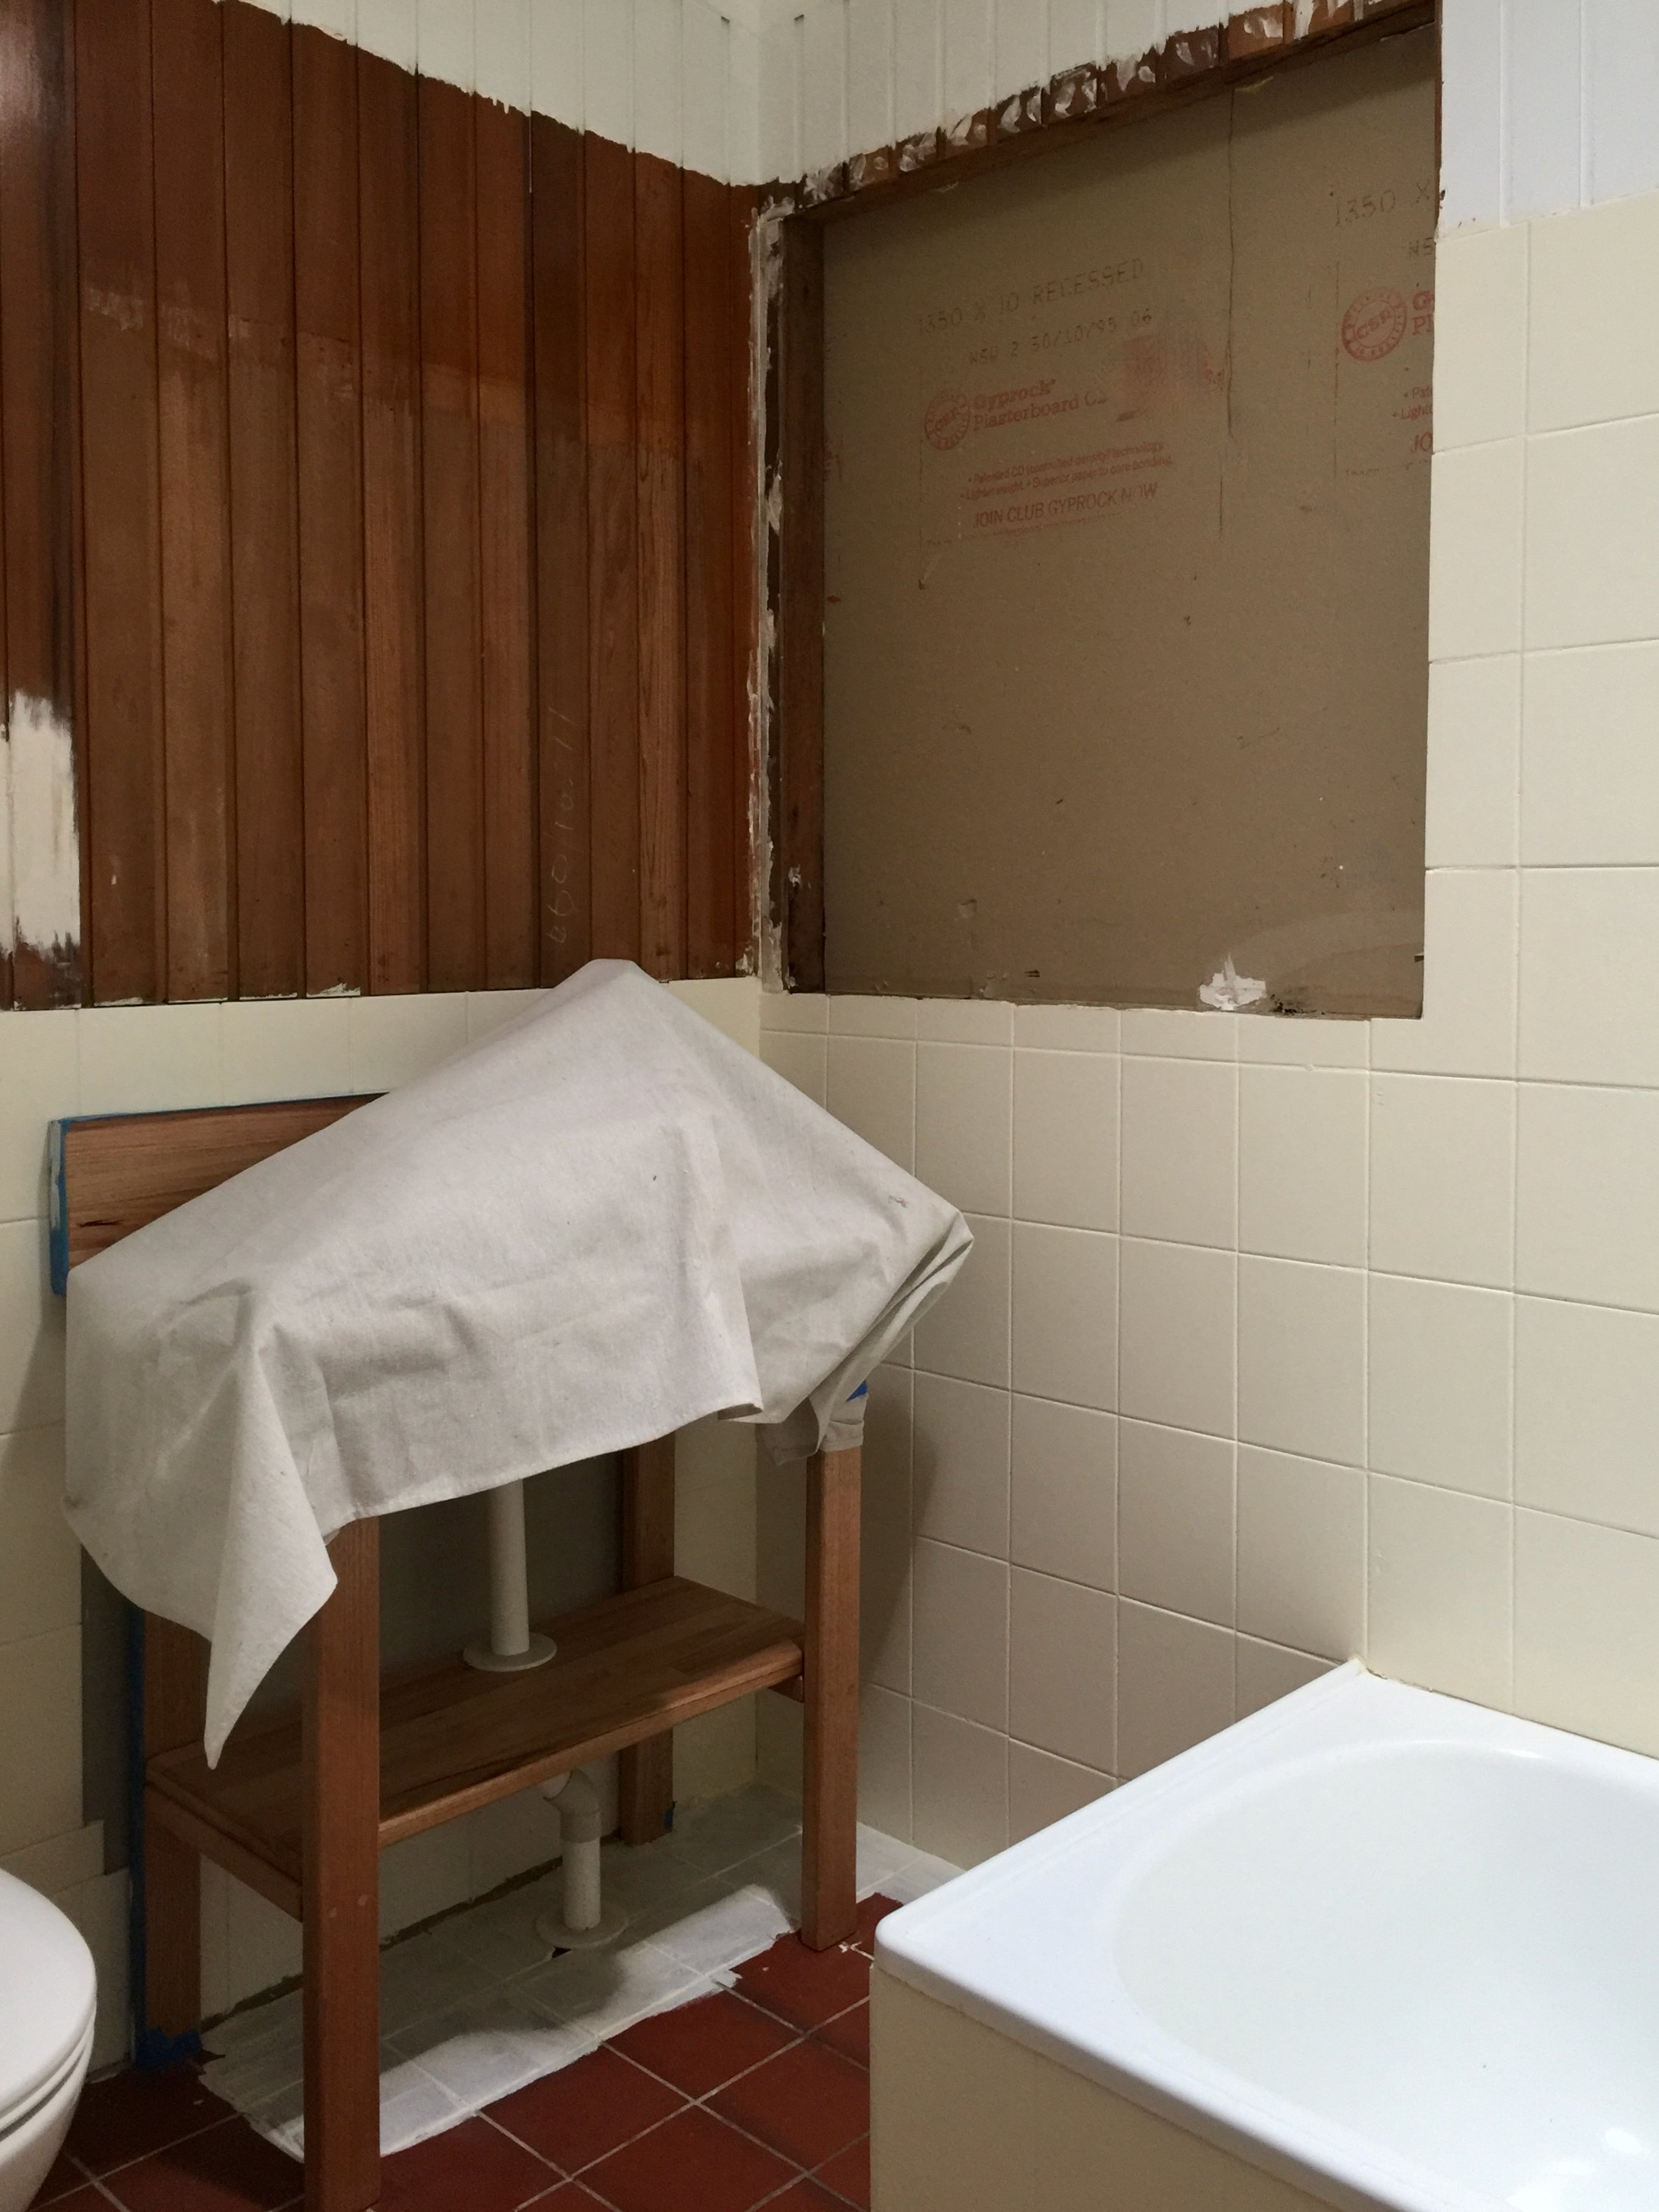
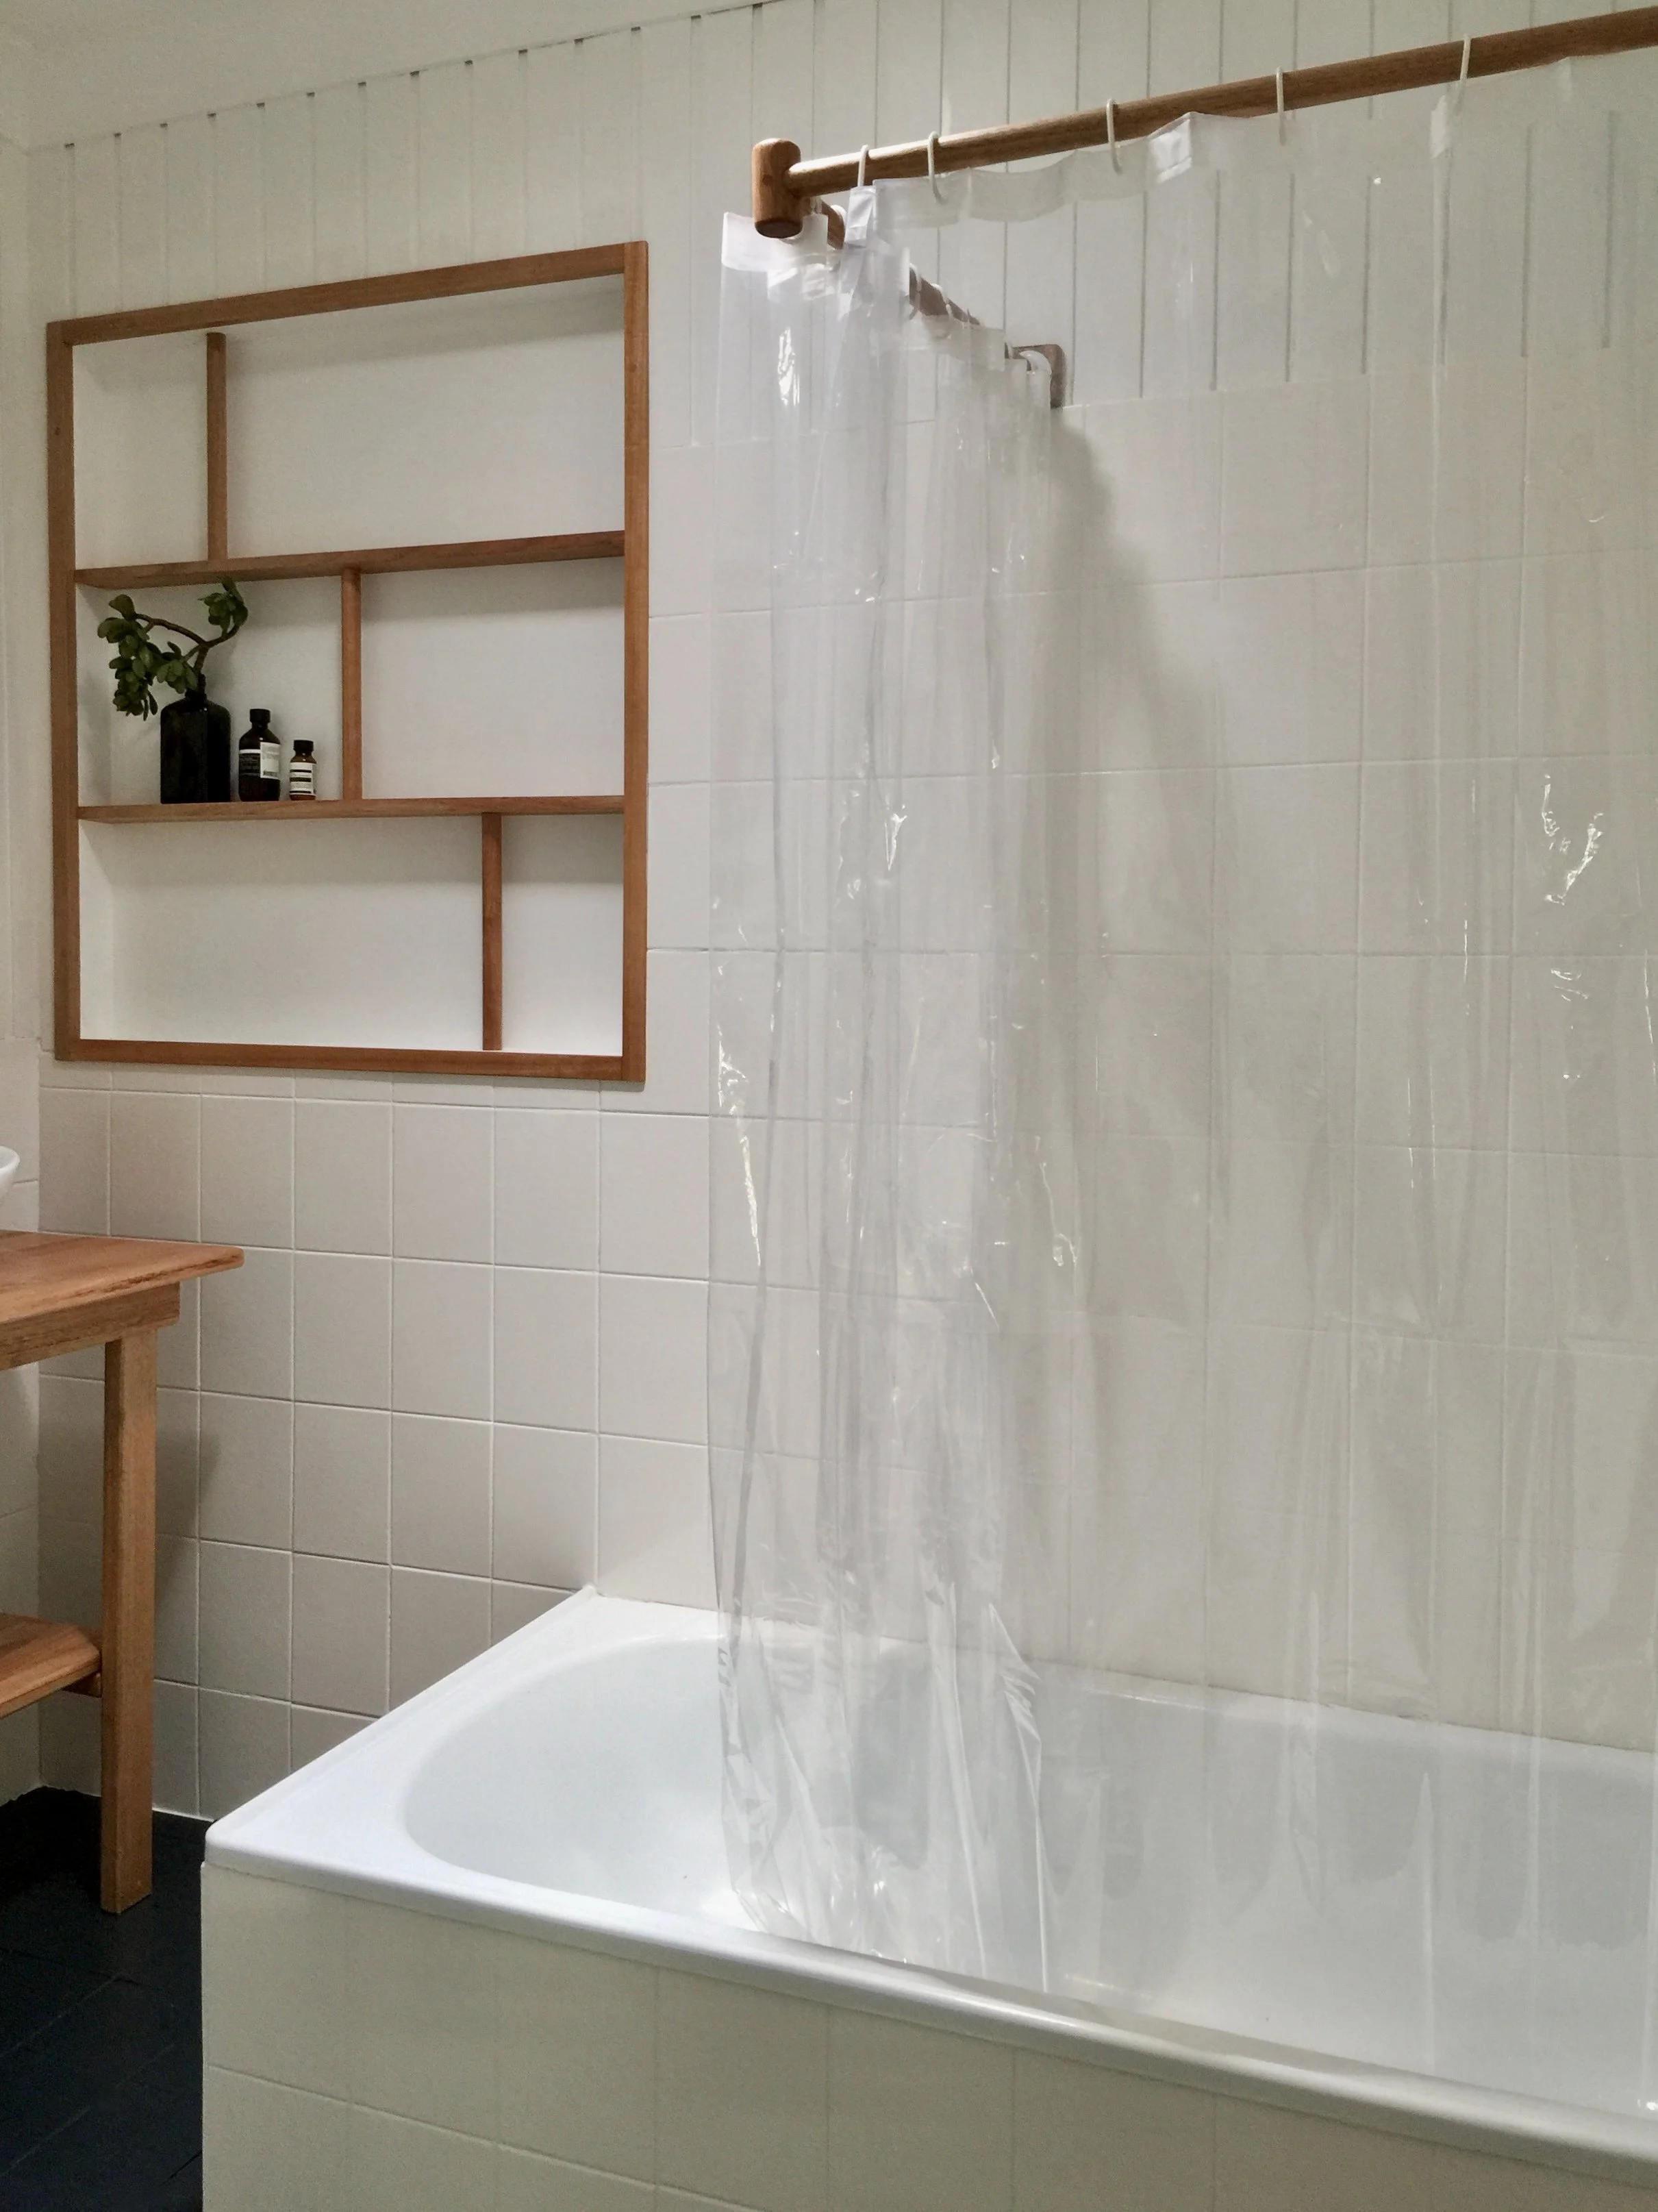
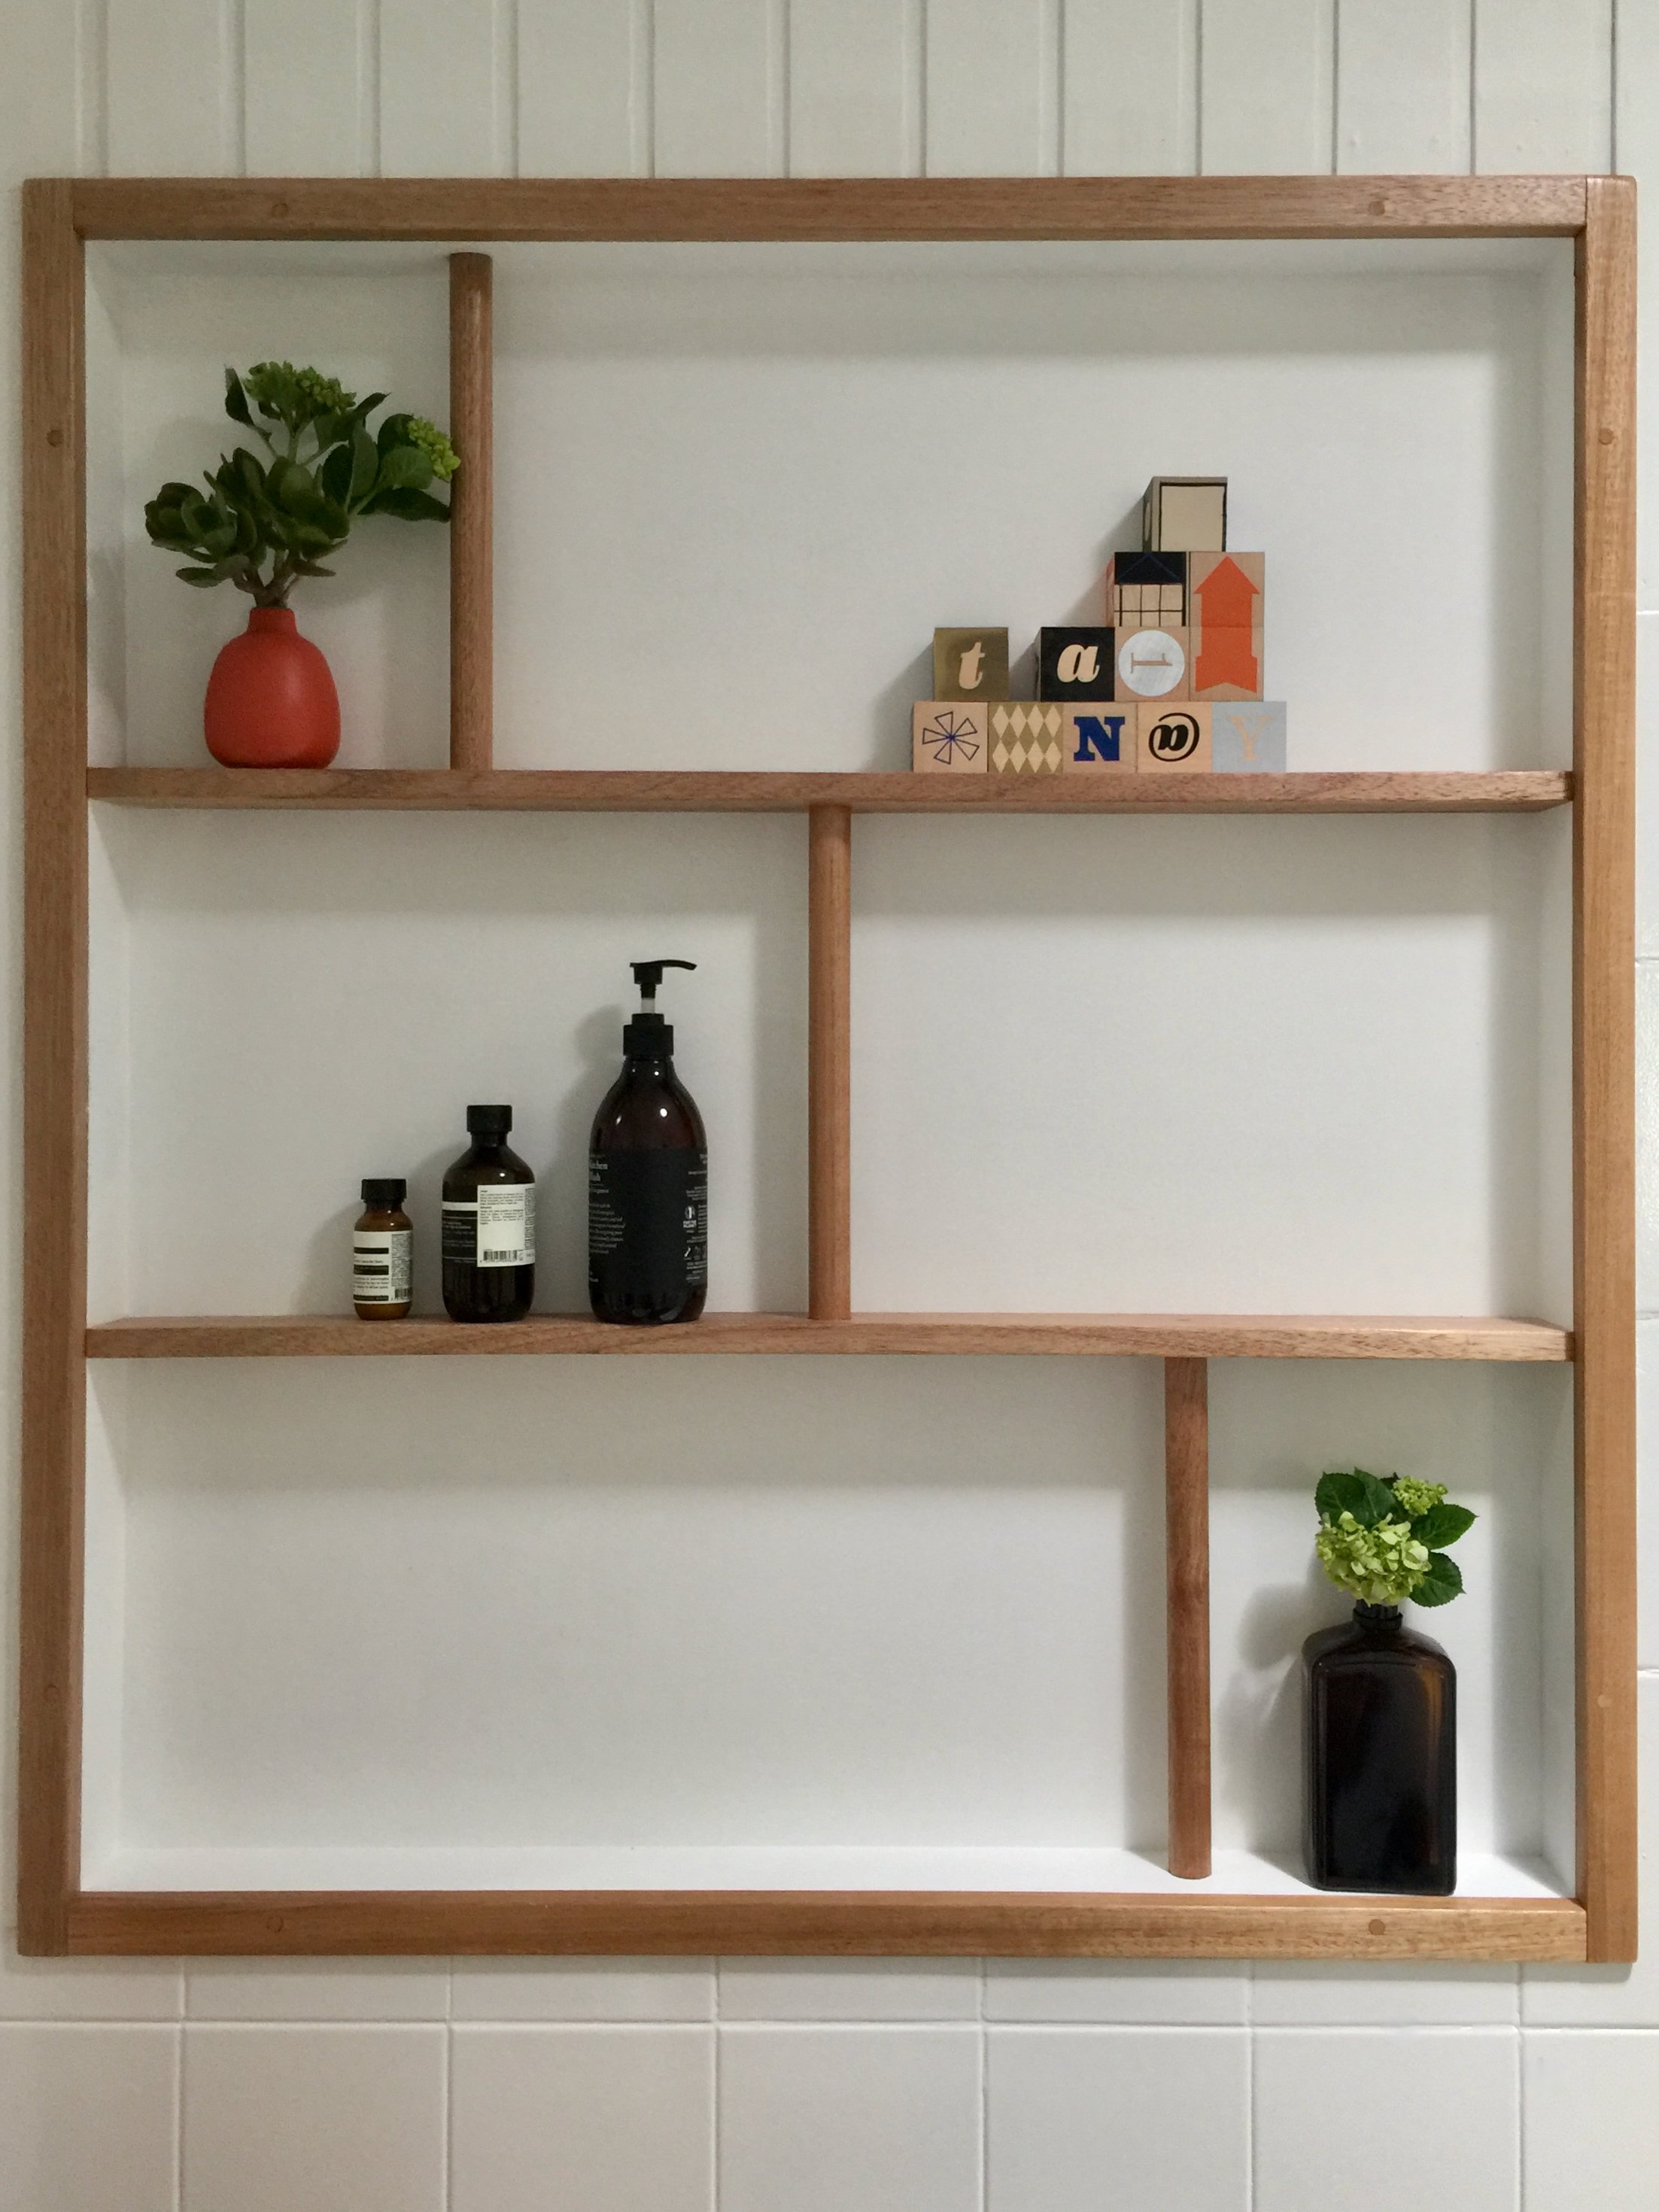
The reason for the odd mirror placements became obvious when I removed them to reveal a former window on the right, which I decided to fill with slim shelving.
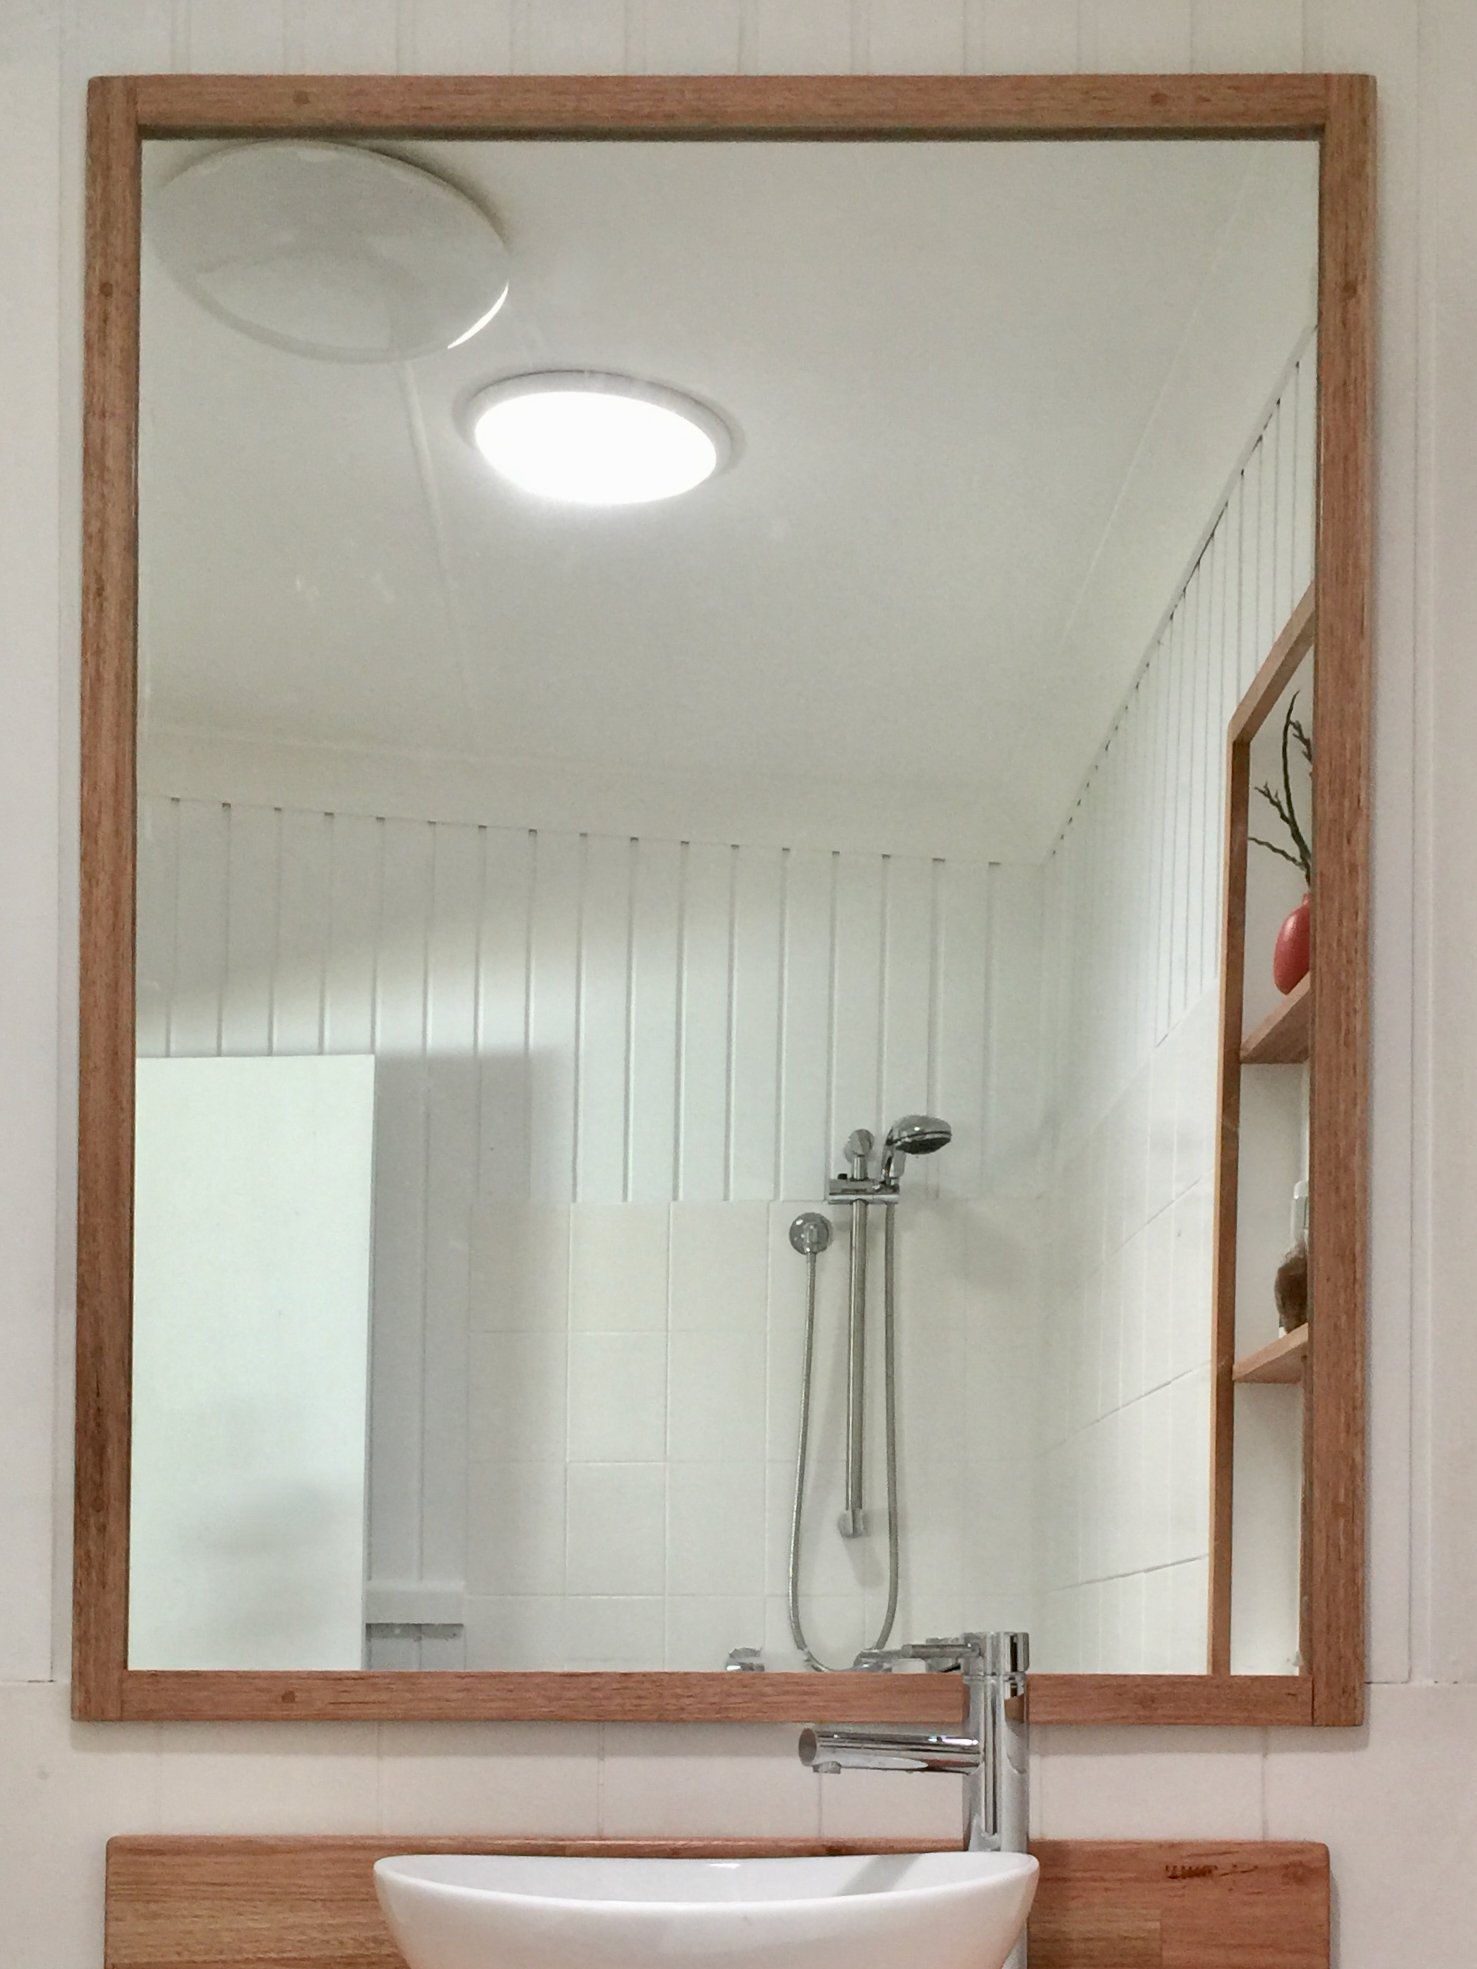
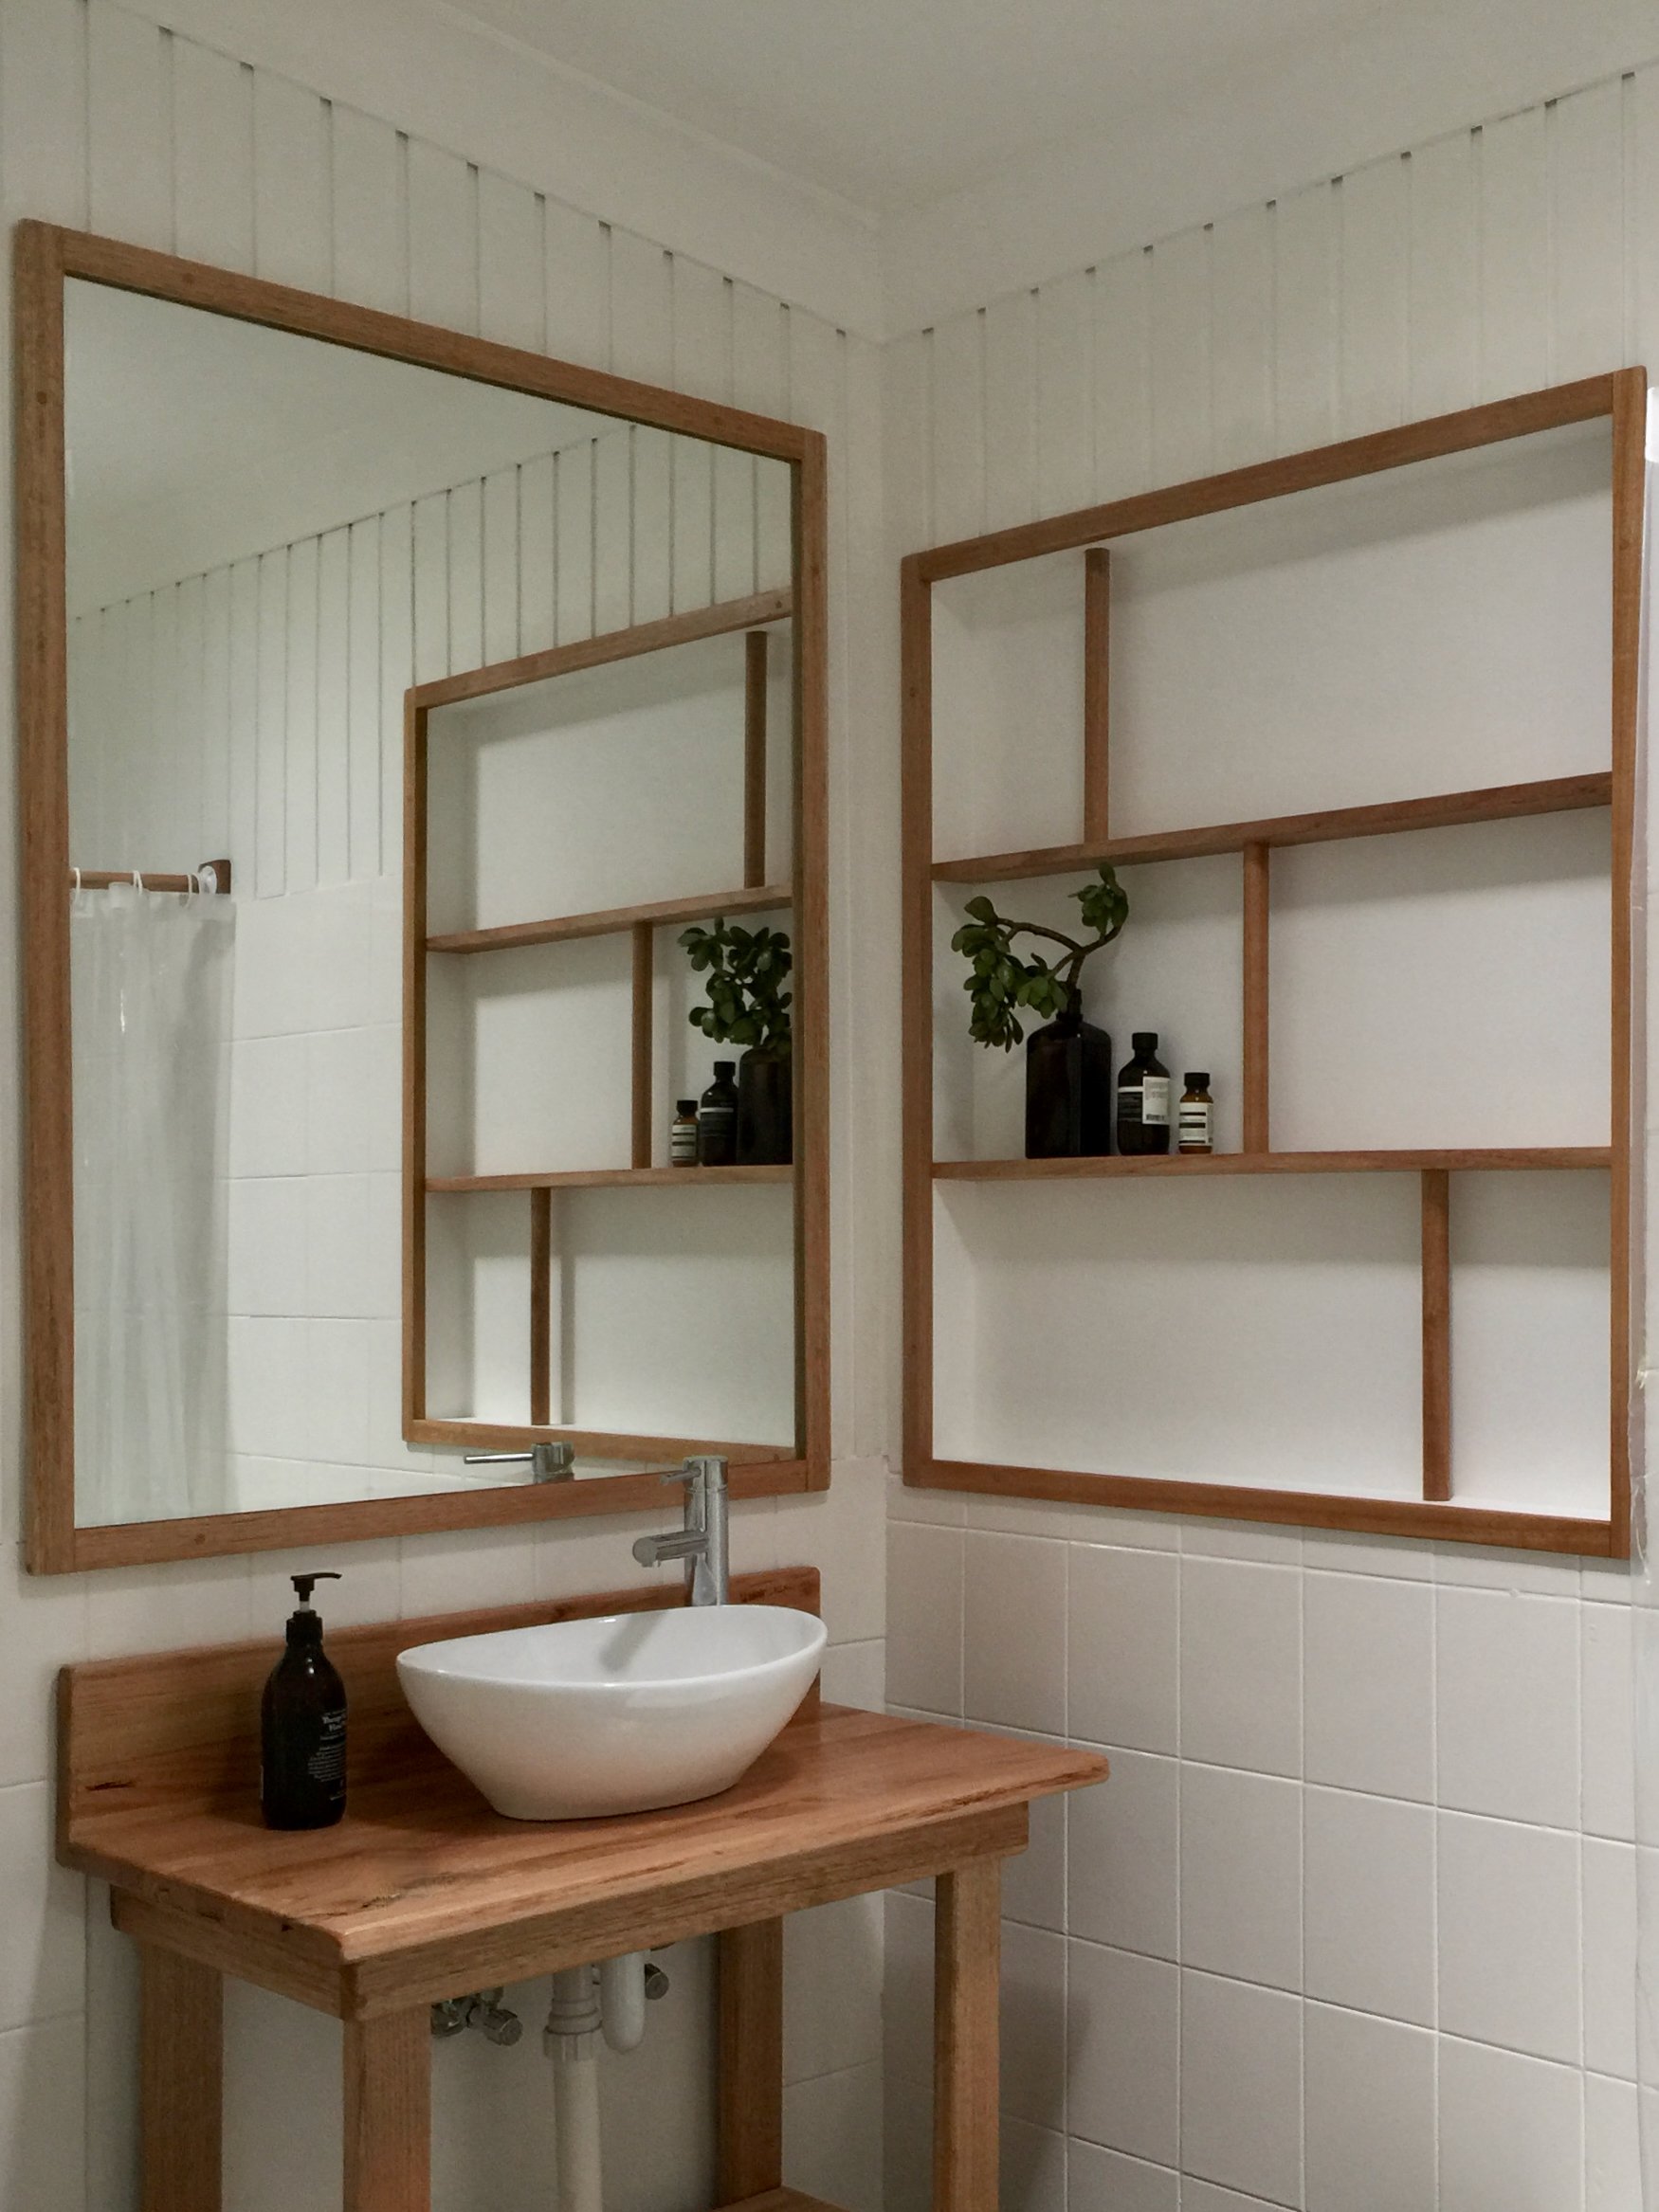
To repurpose one of the mirrors, I removed the aluminium frame and replaced it with Tasmanian oak moulding, sealing it with the same marine varnish.
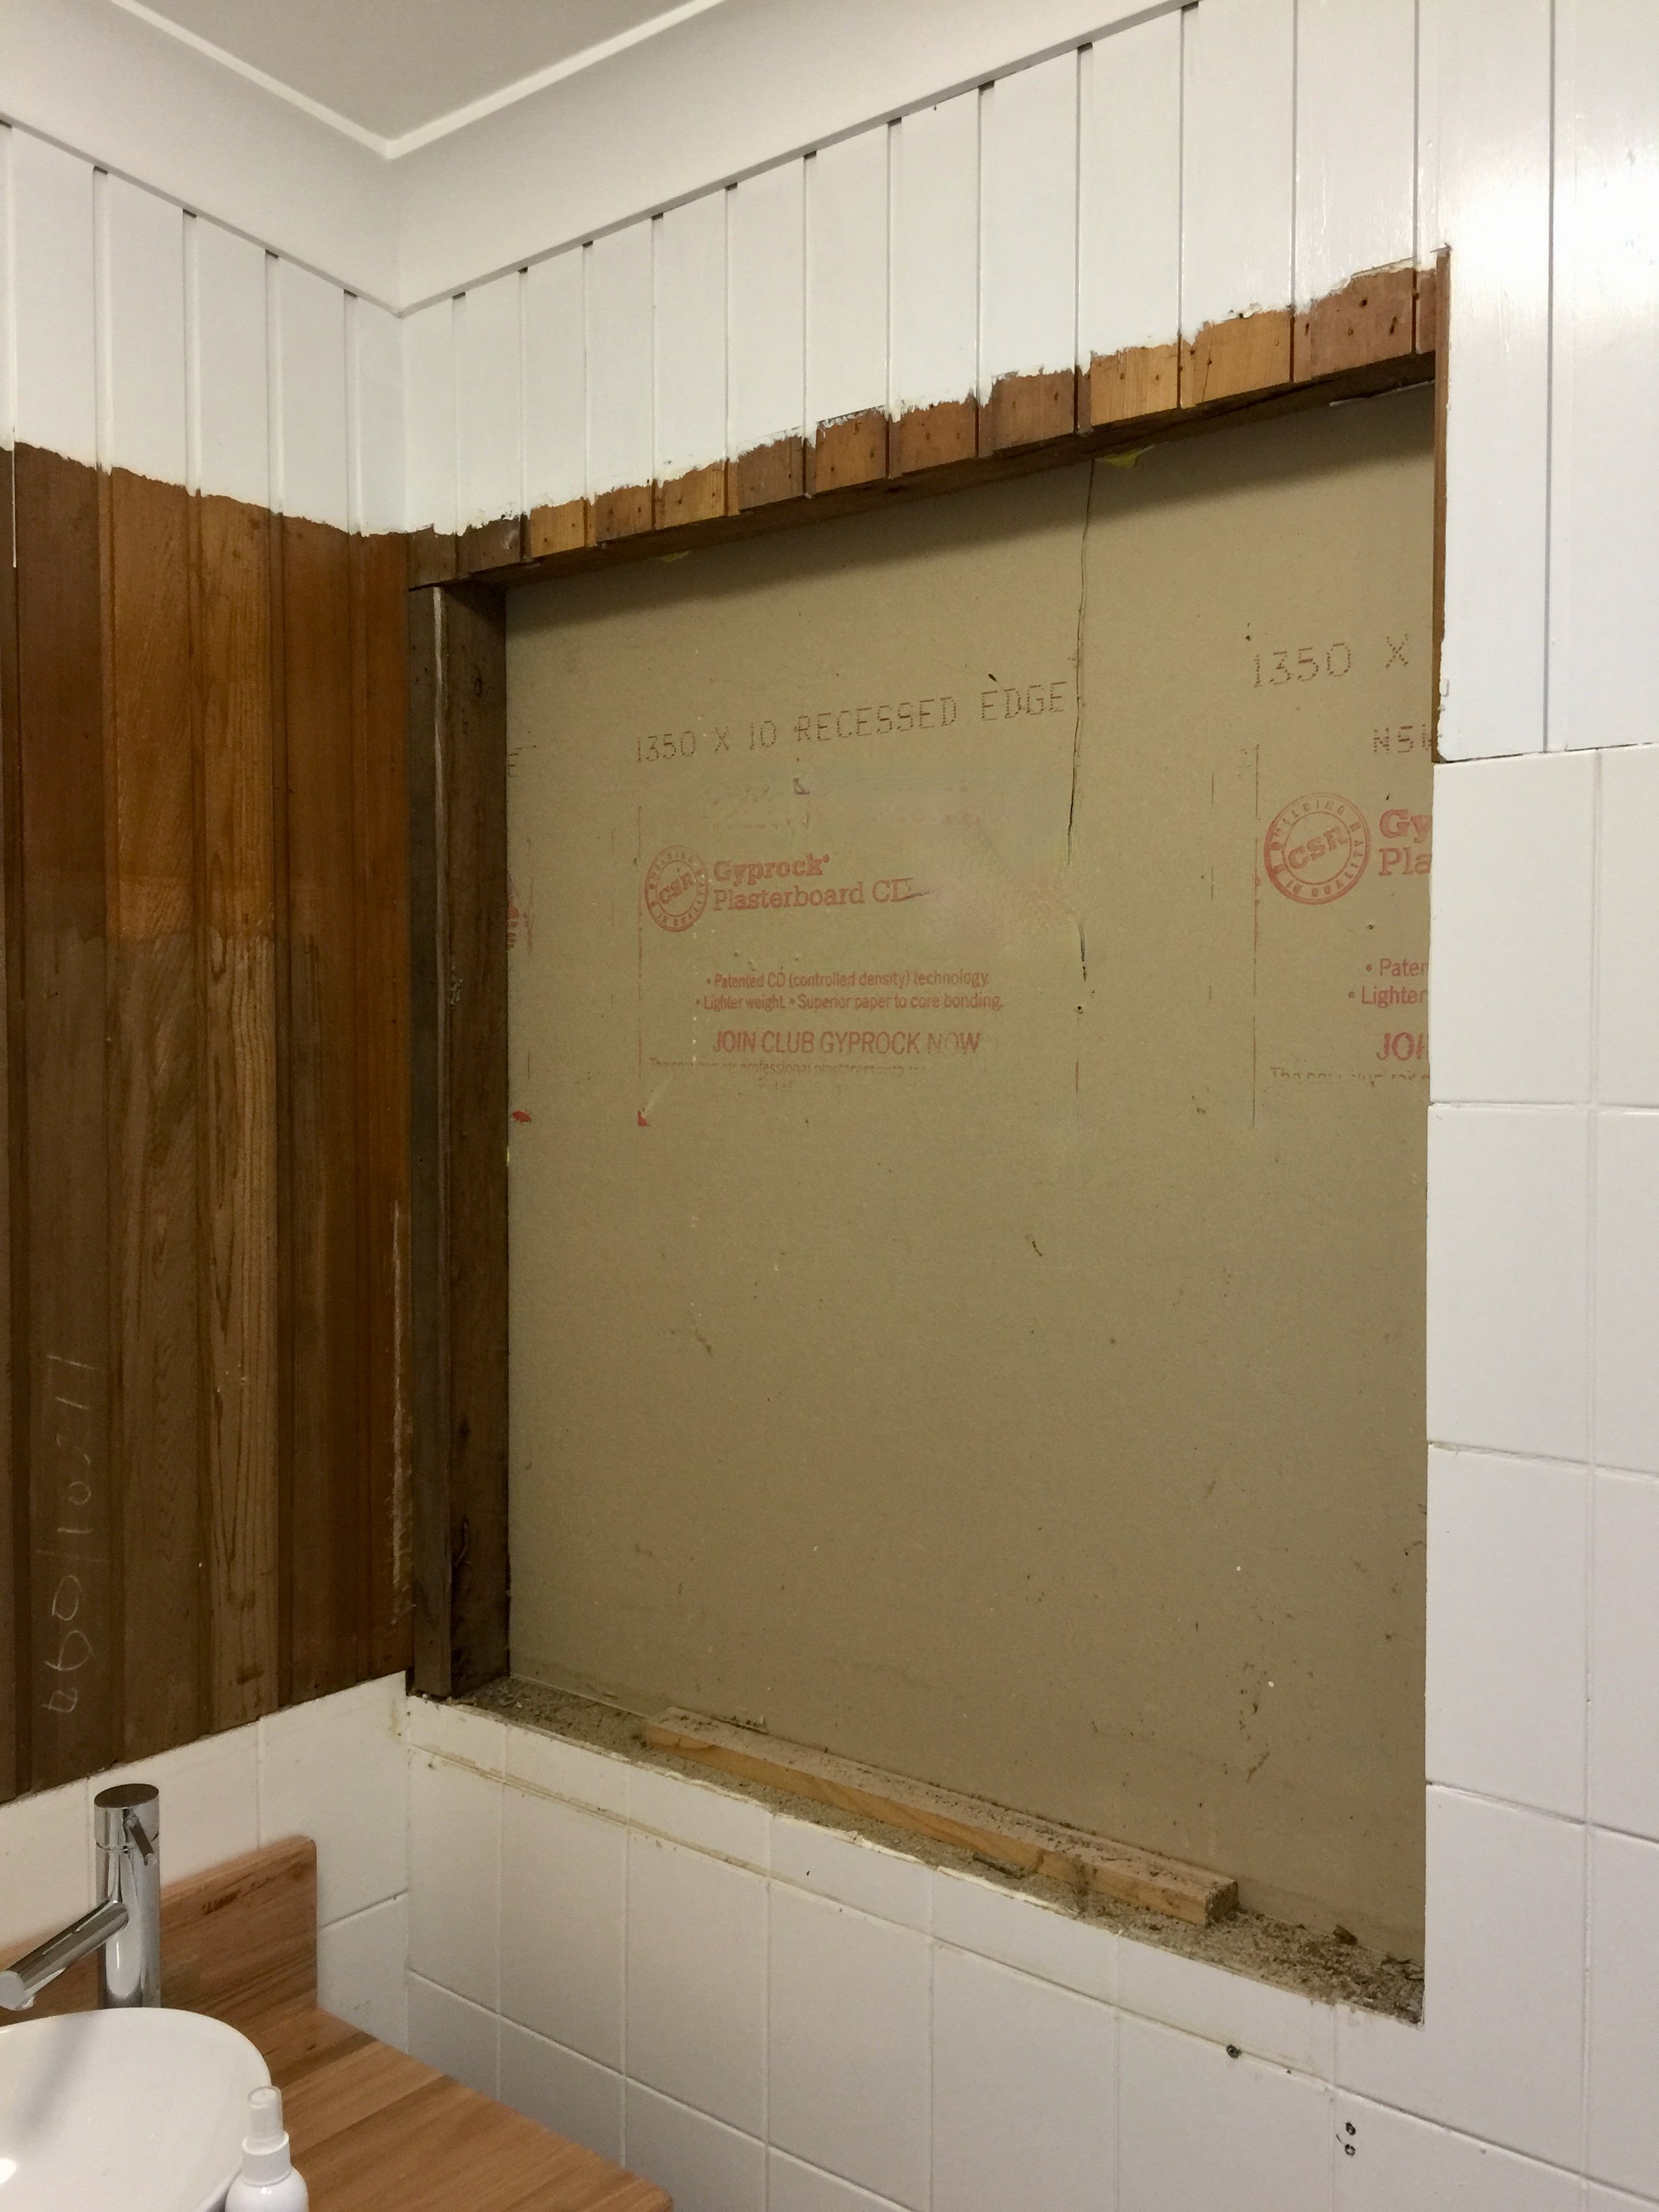
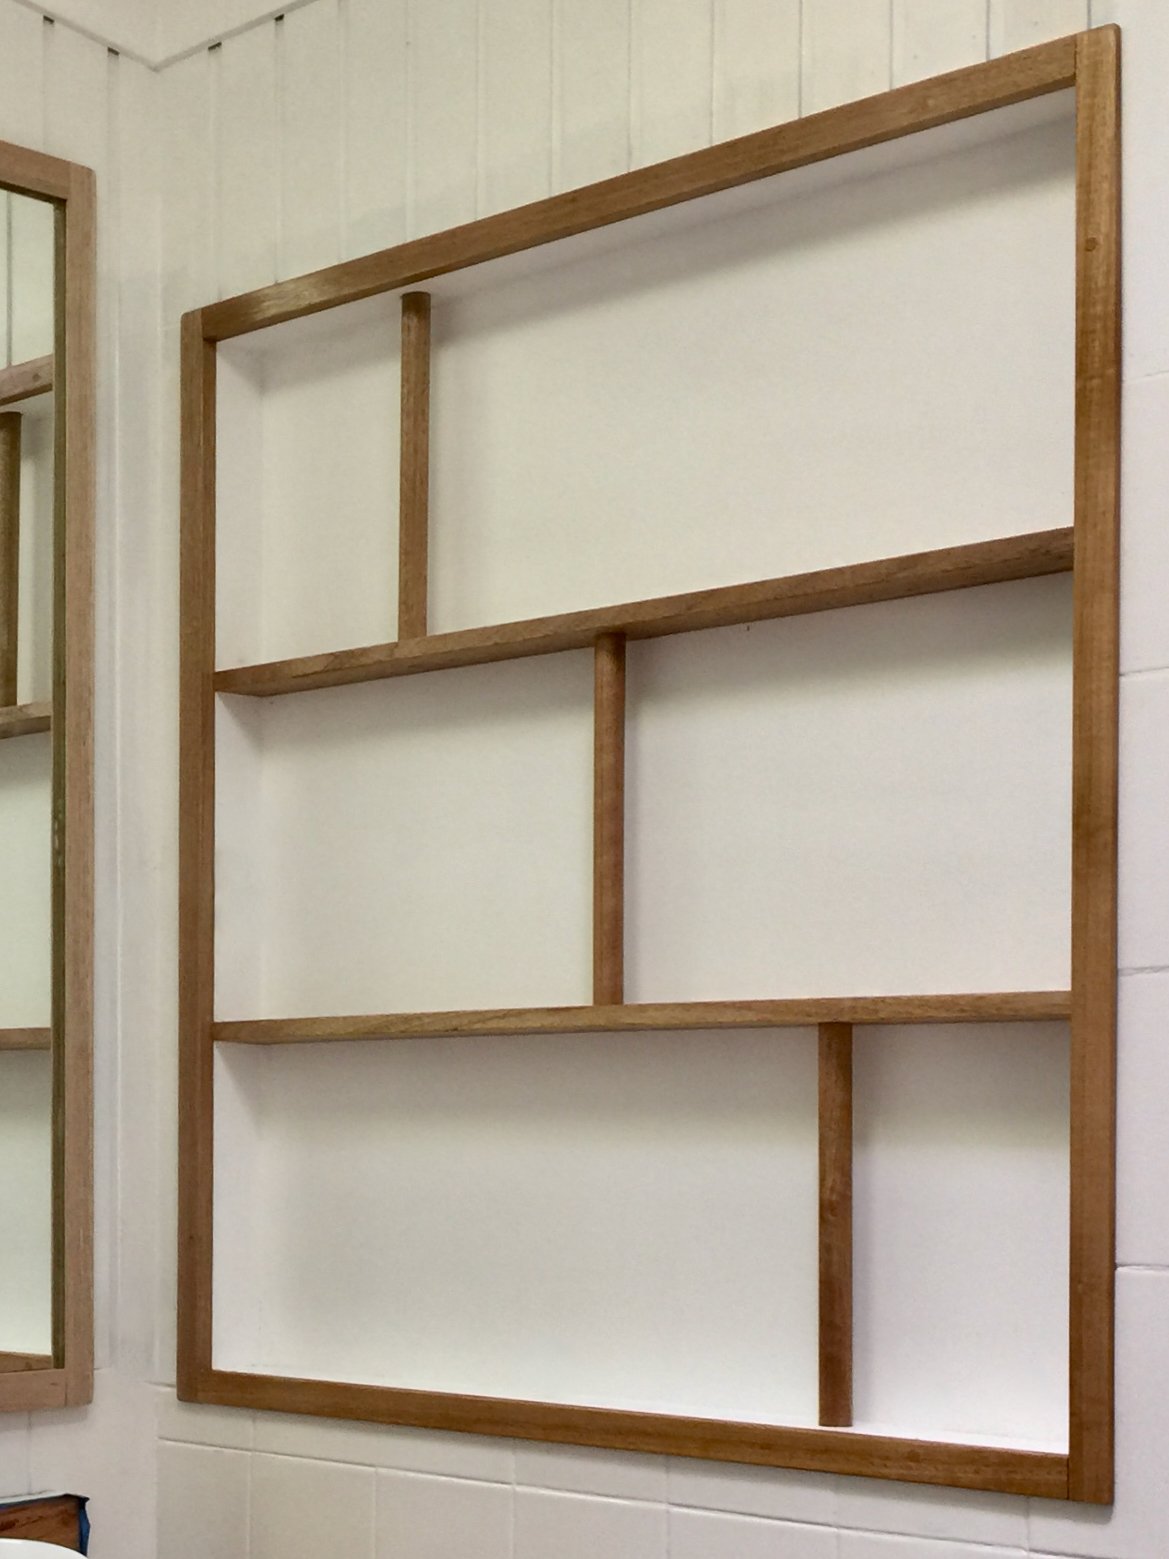
The hidden window cavity was the perfect size for recessed shelving. Inside is painted the same white as the walls. The Tasmanian oak shelves and frame are sealed with varnish. The result has a midcentury style that features throughout my house.
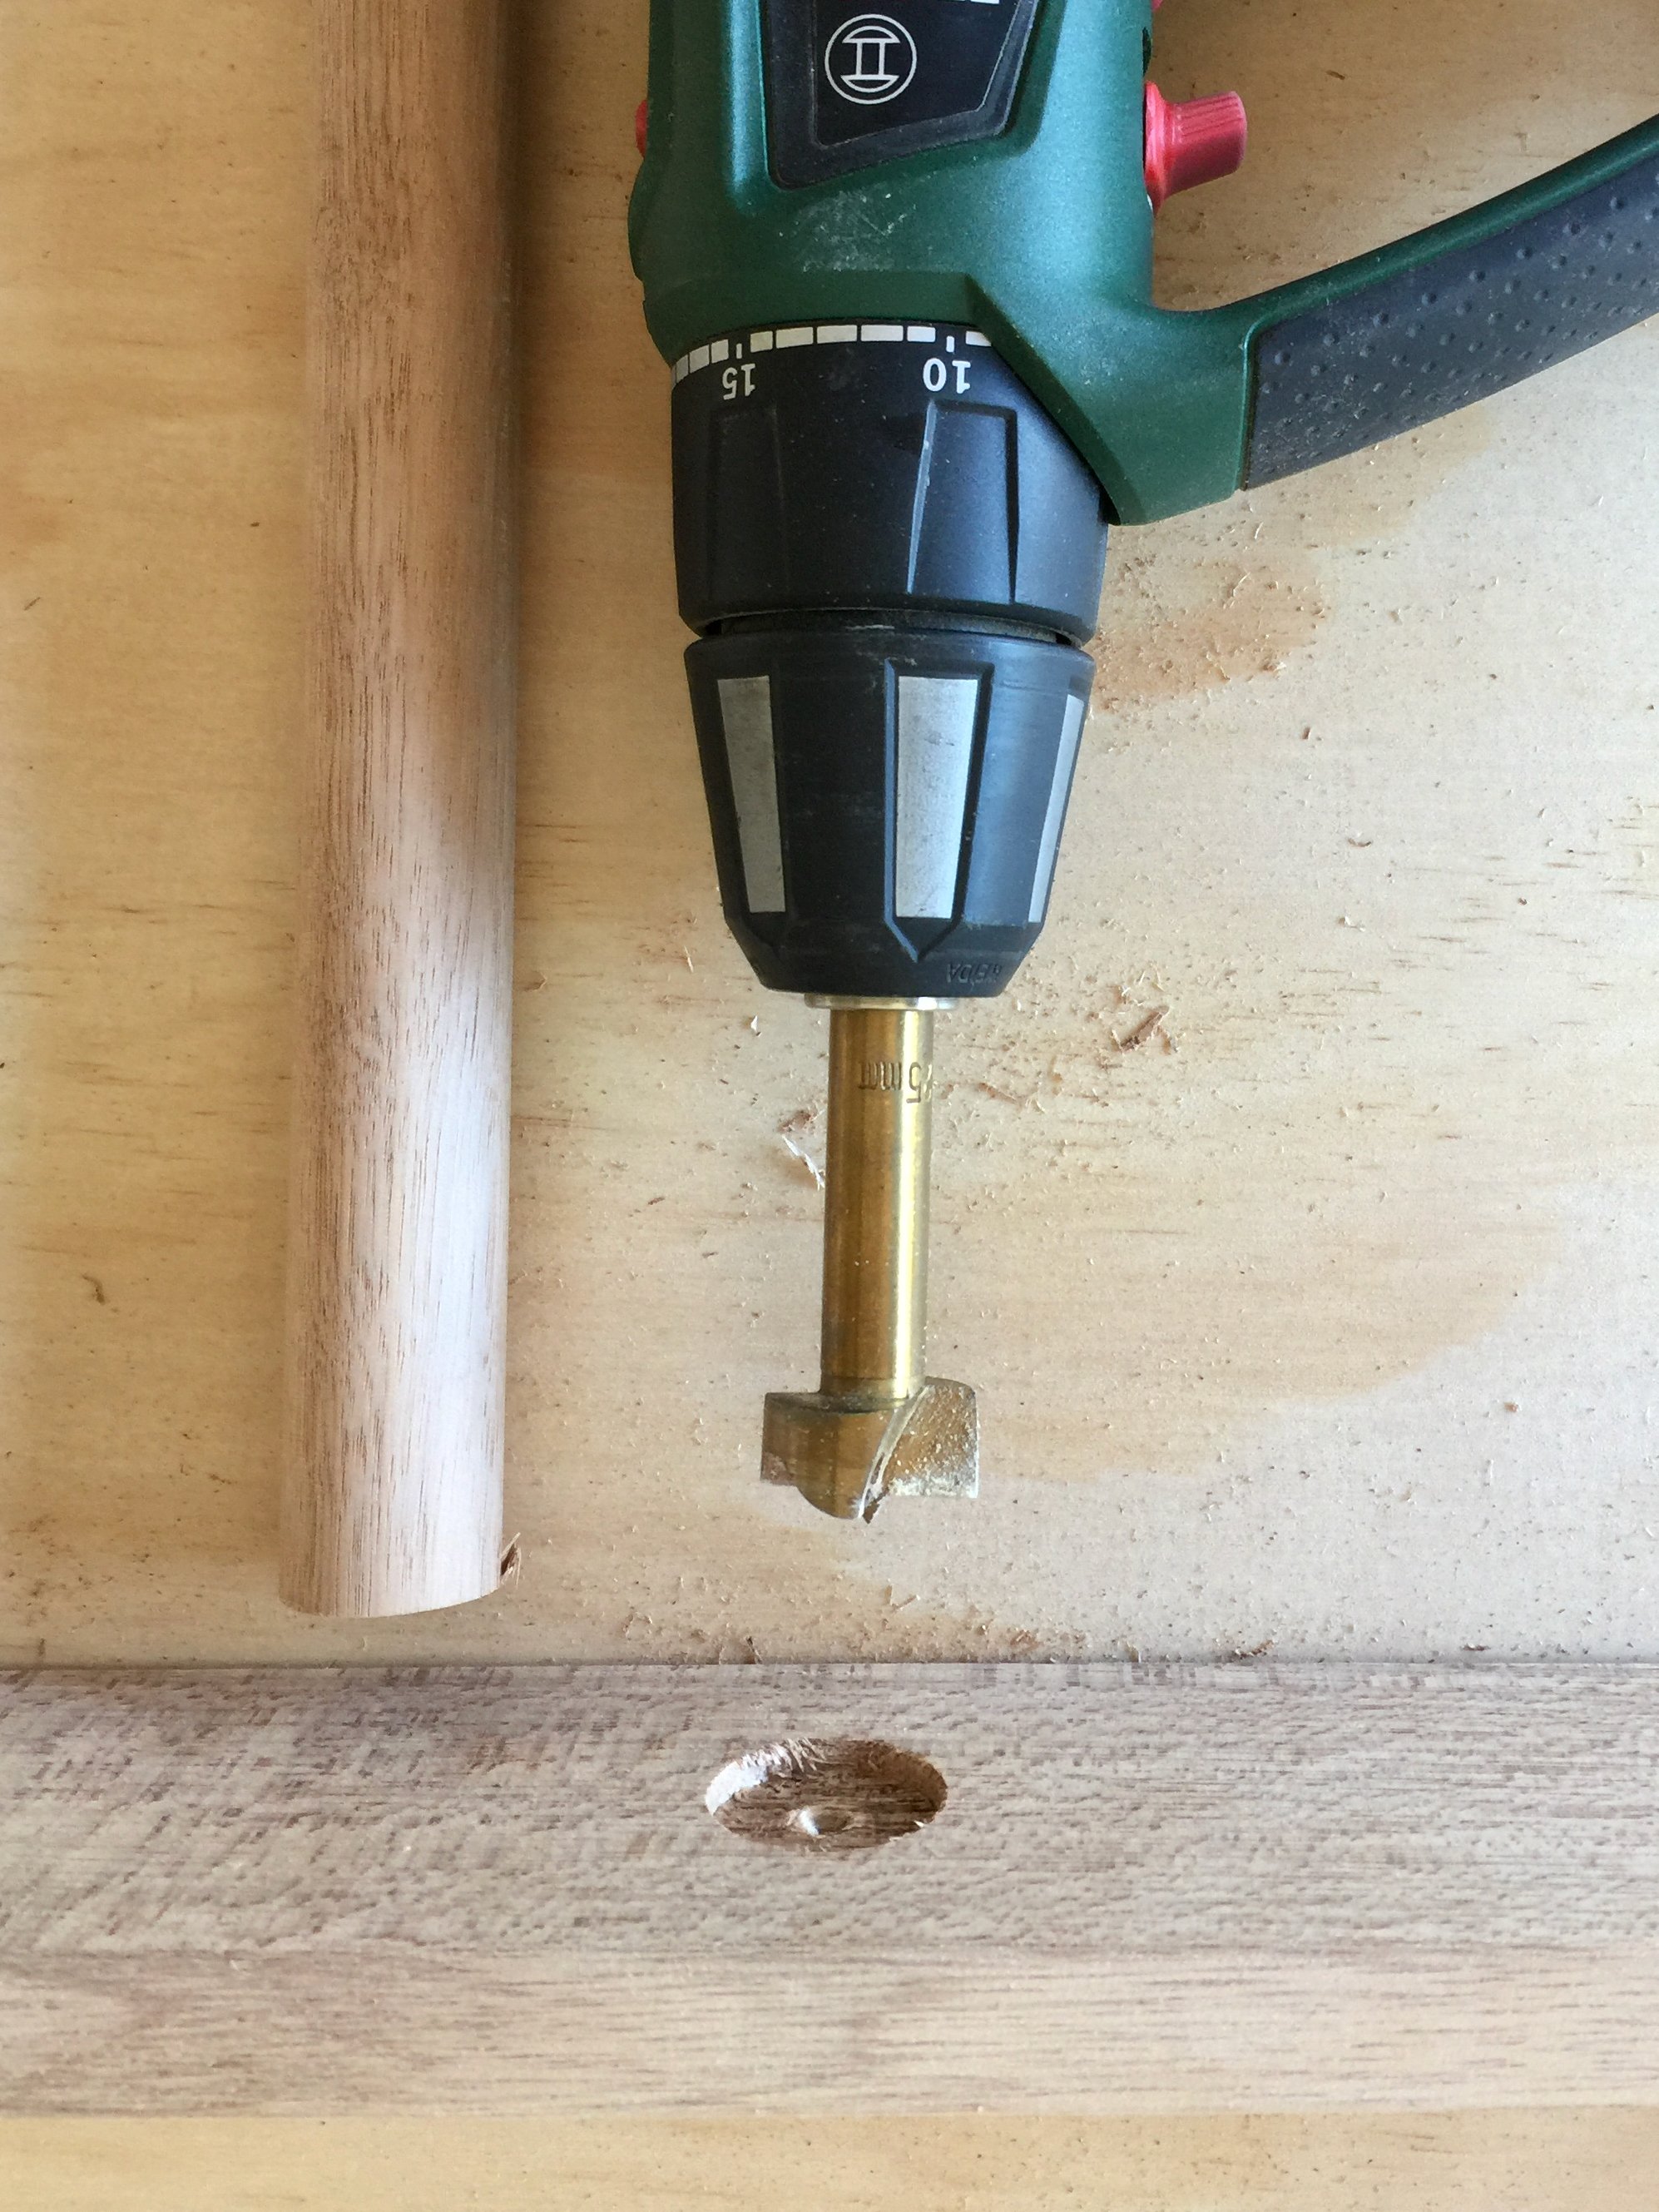
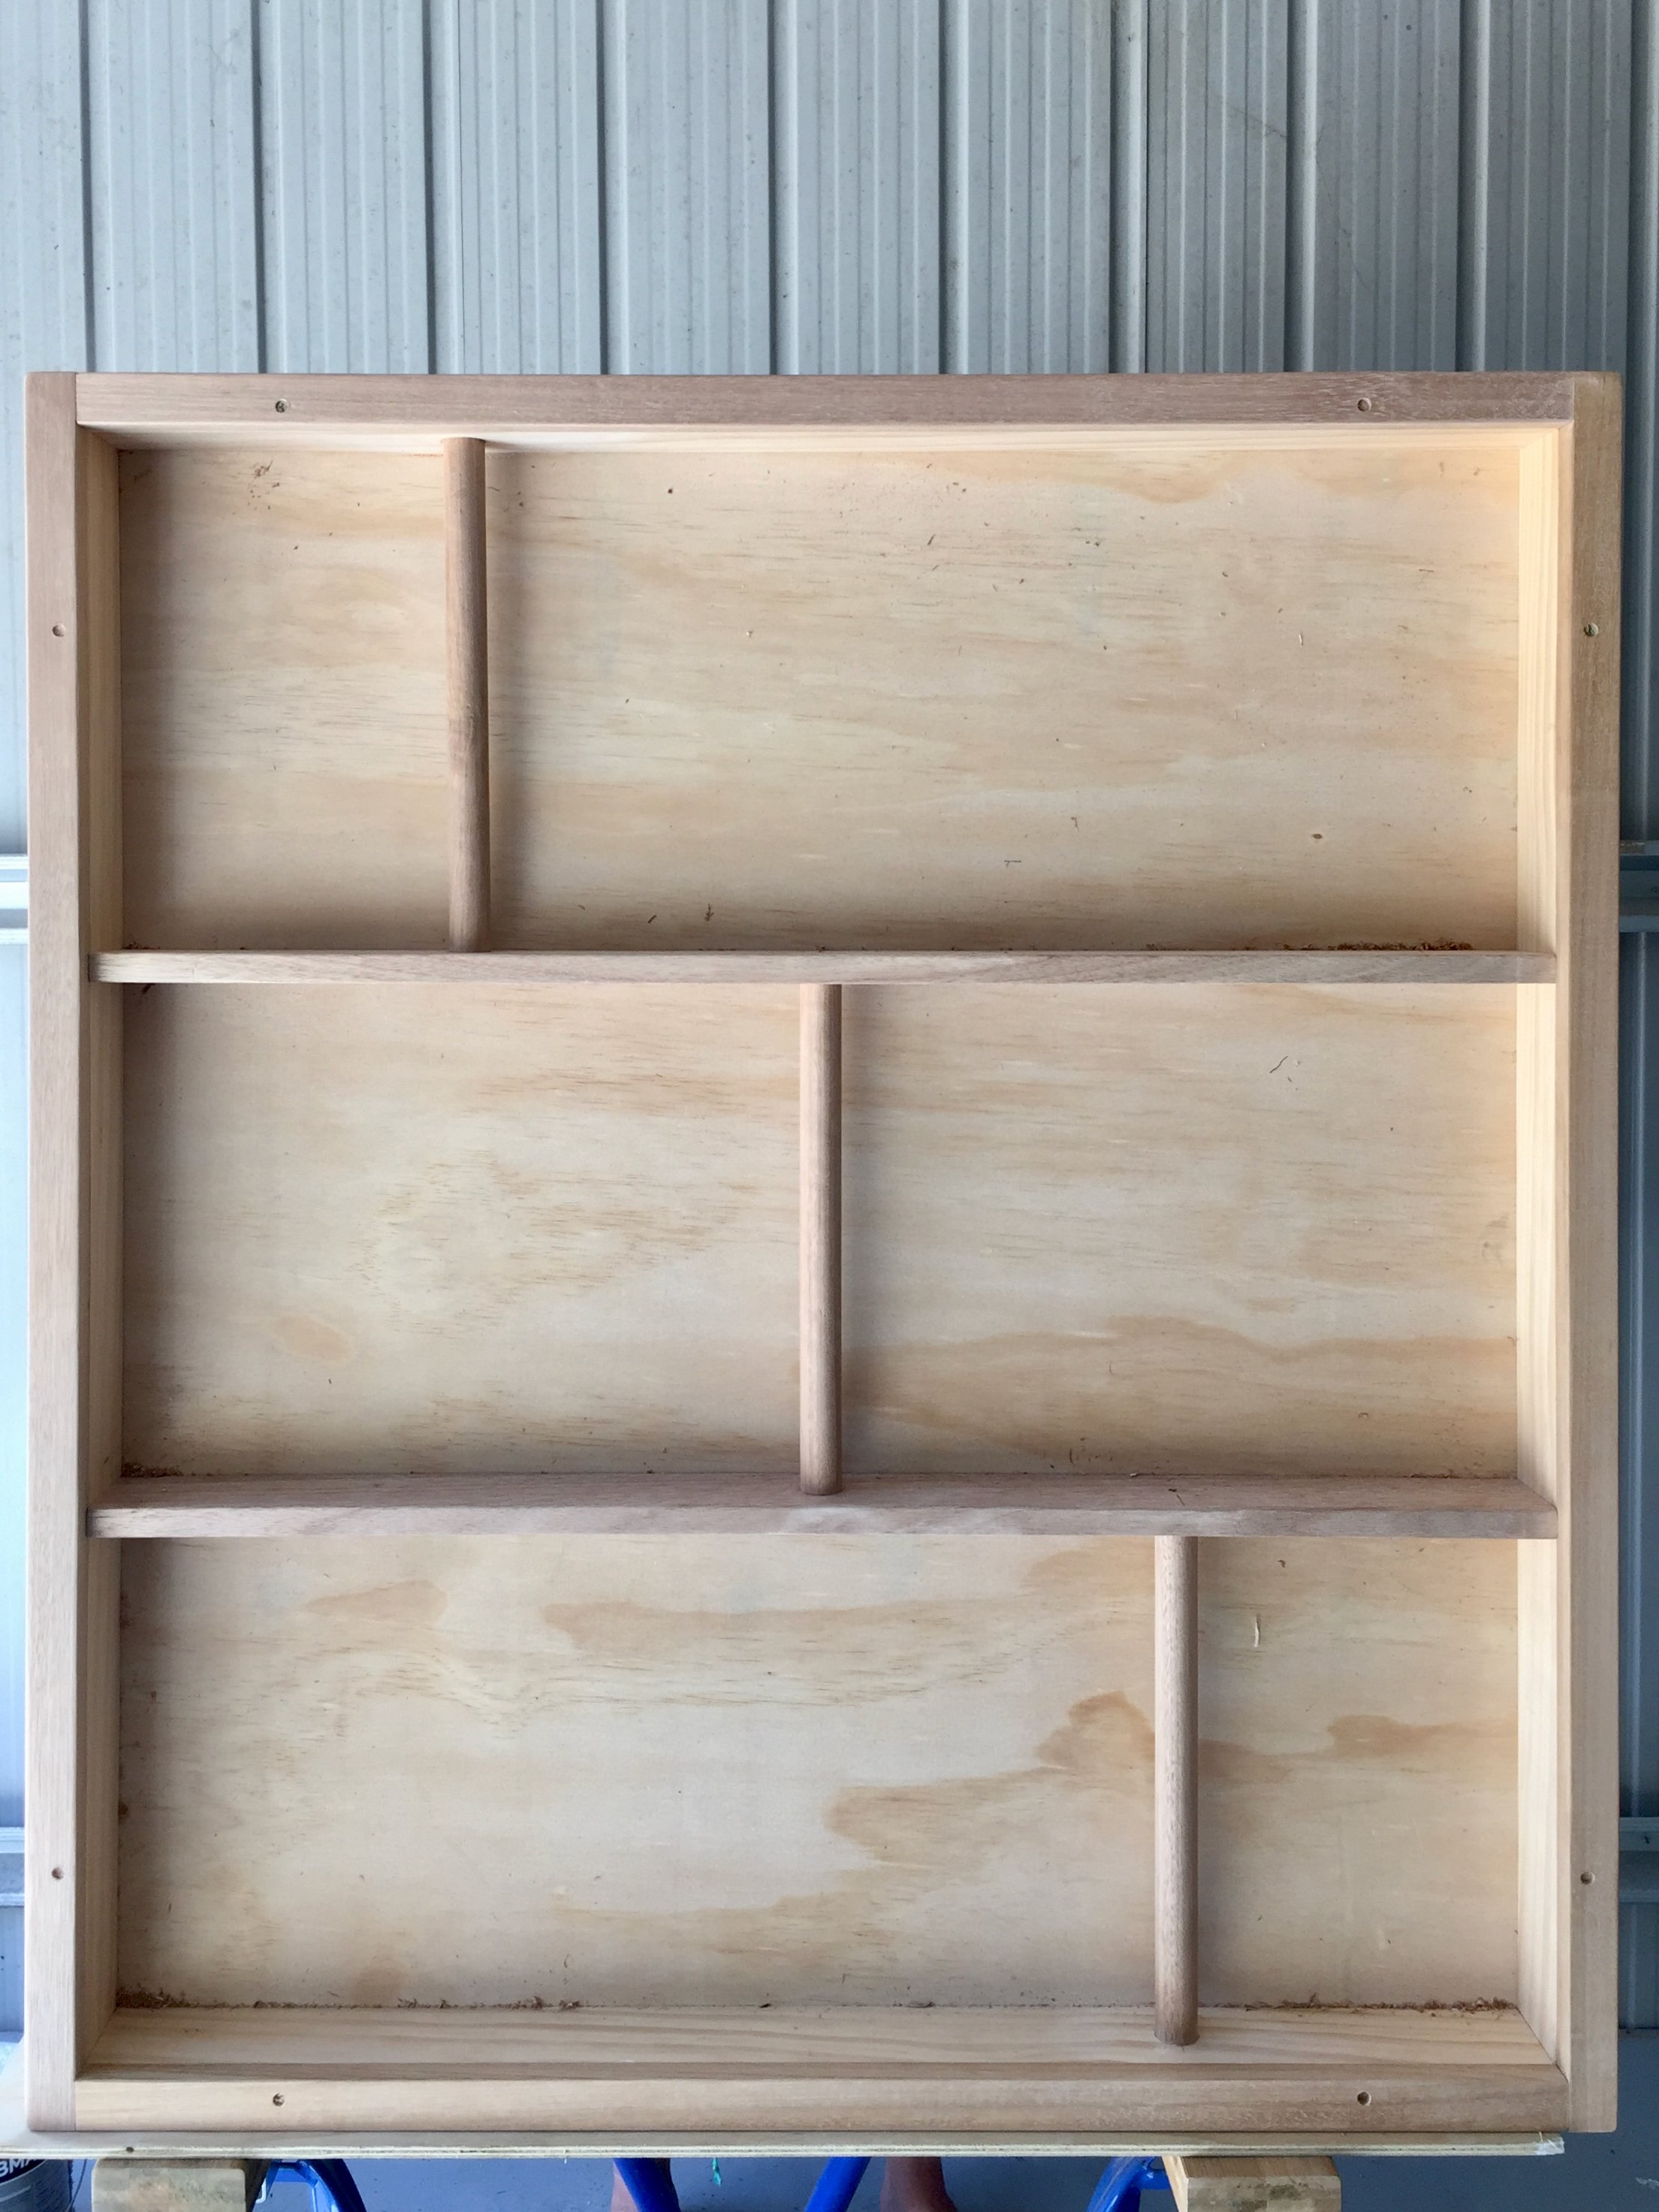
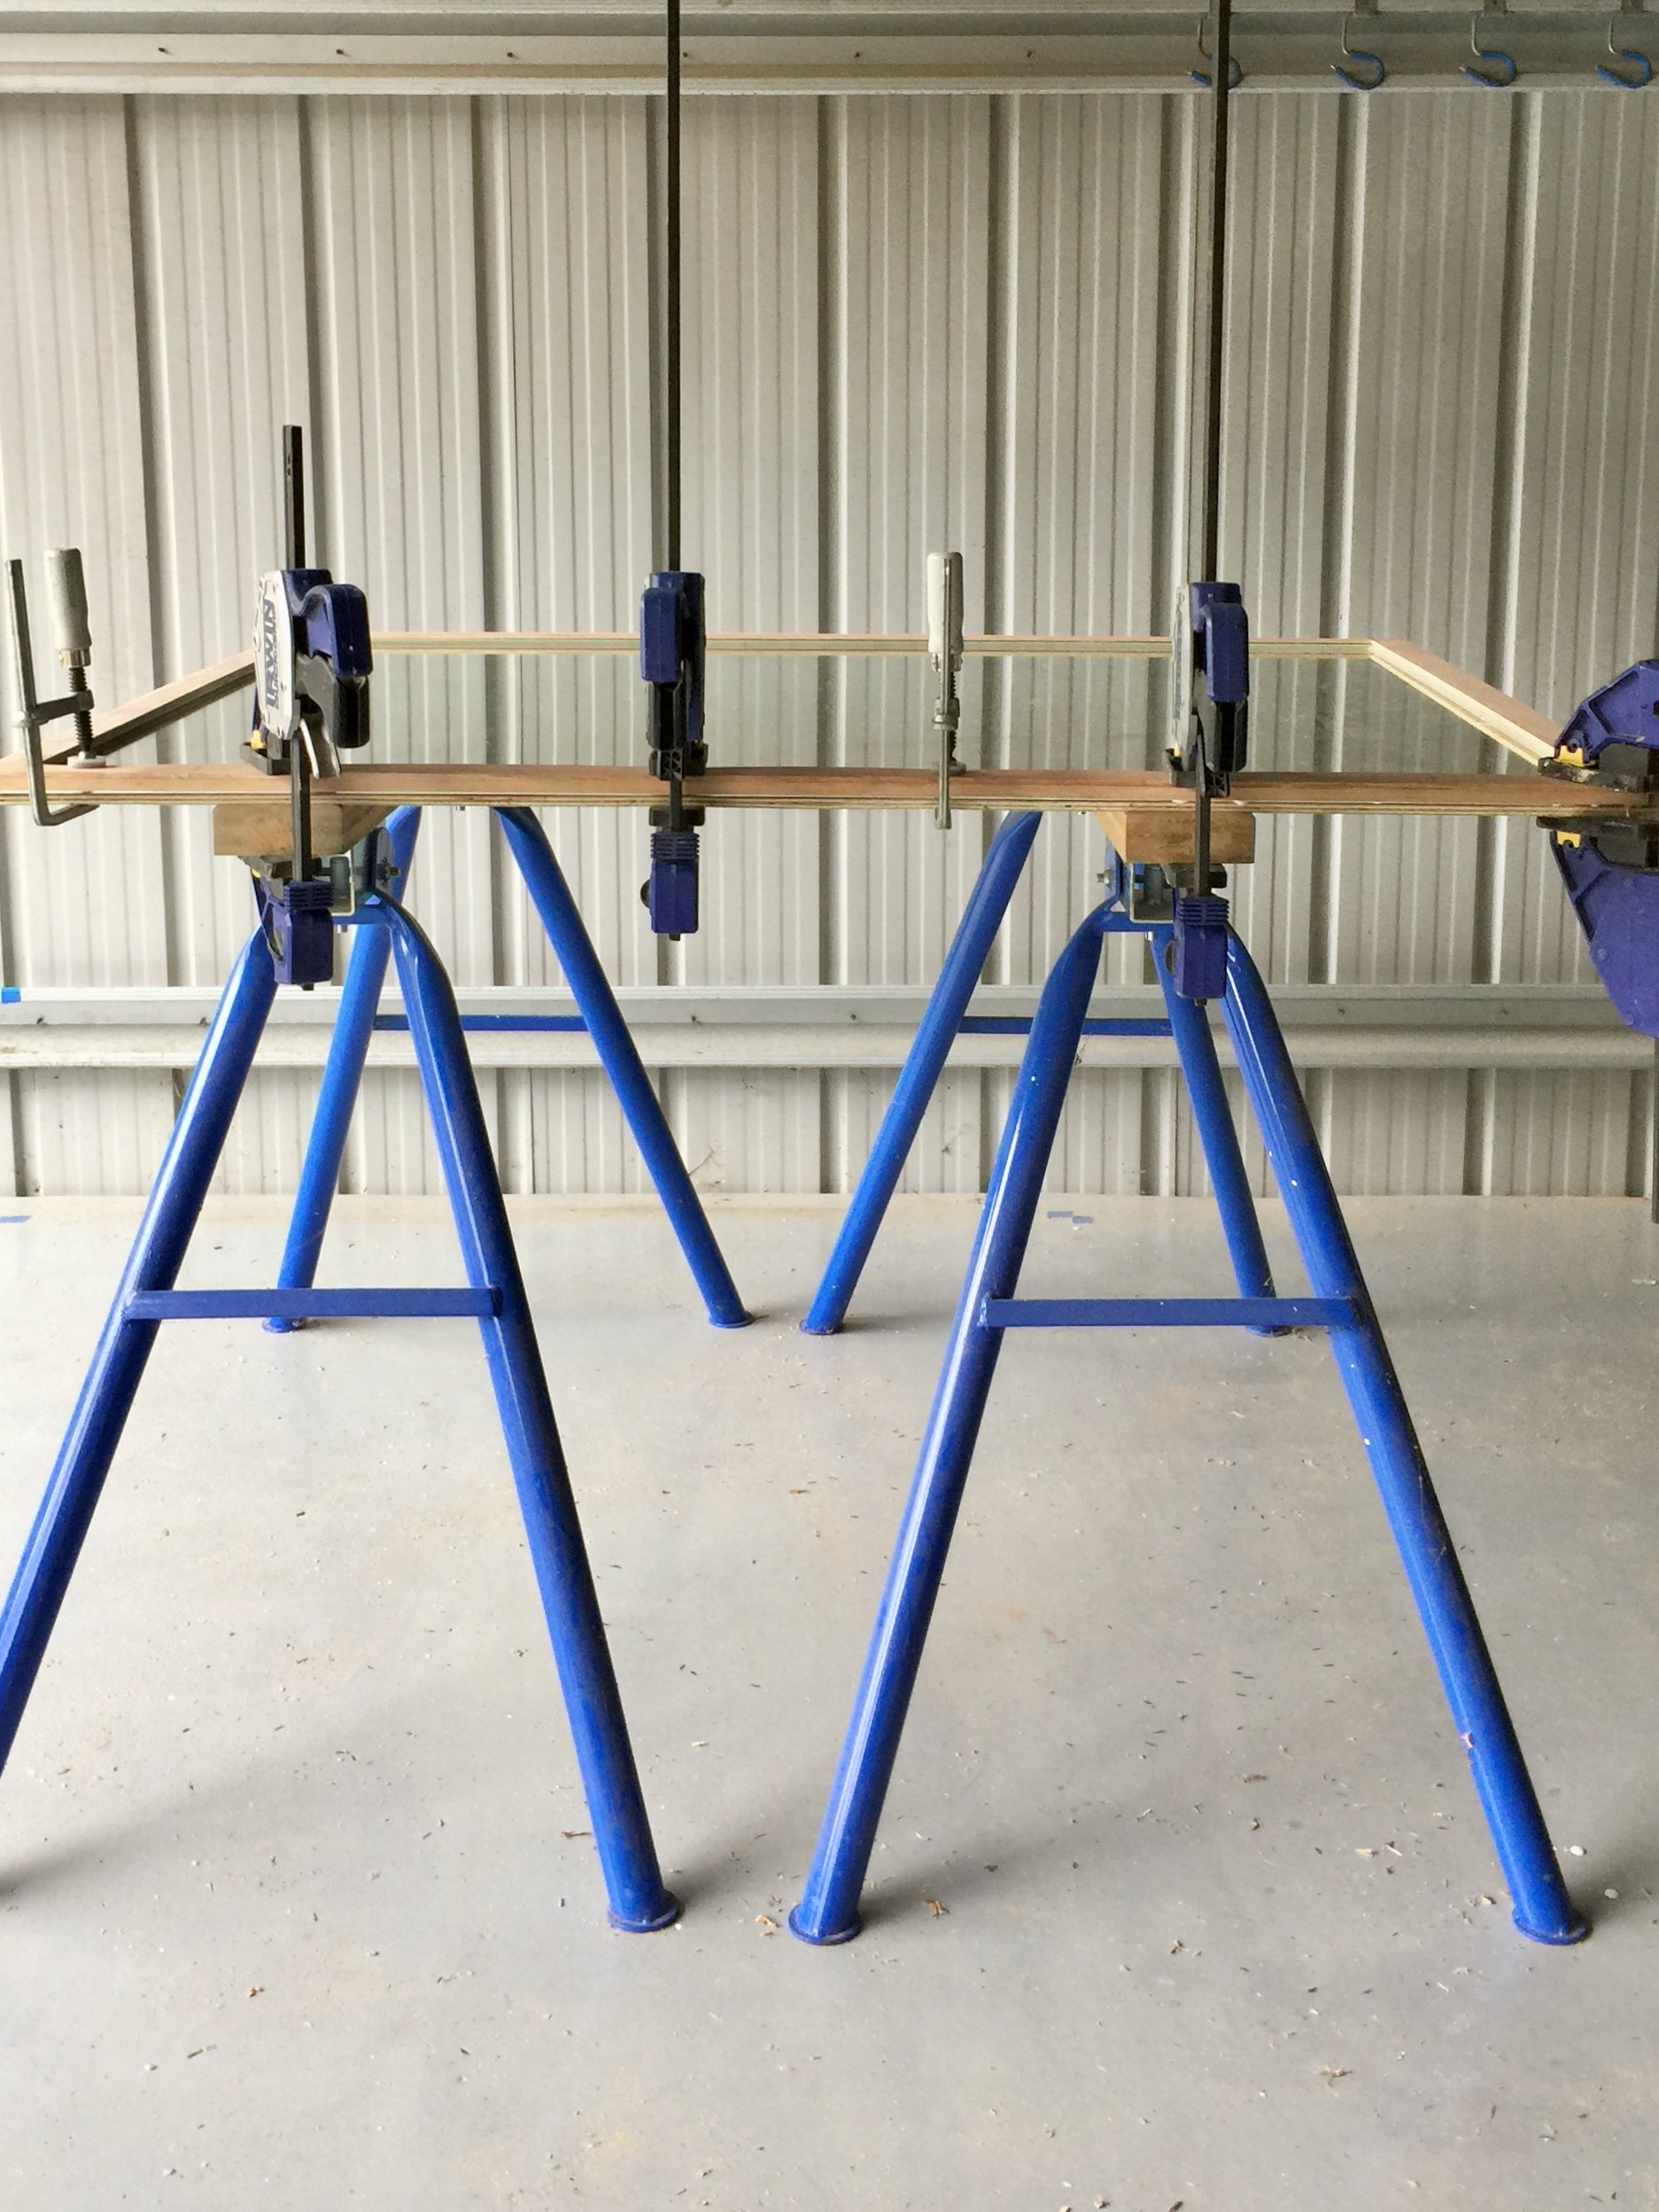
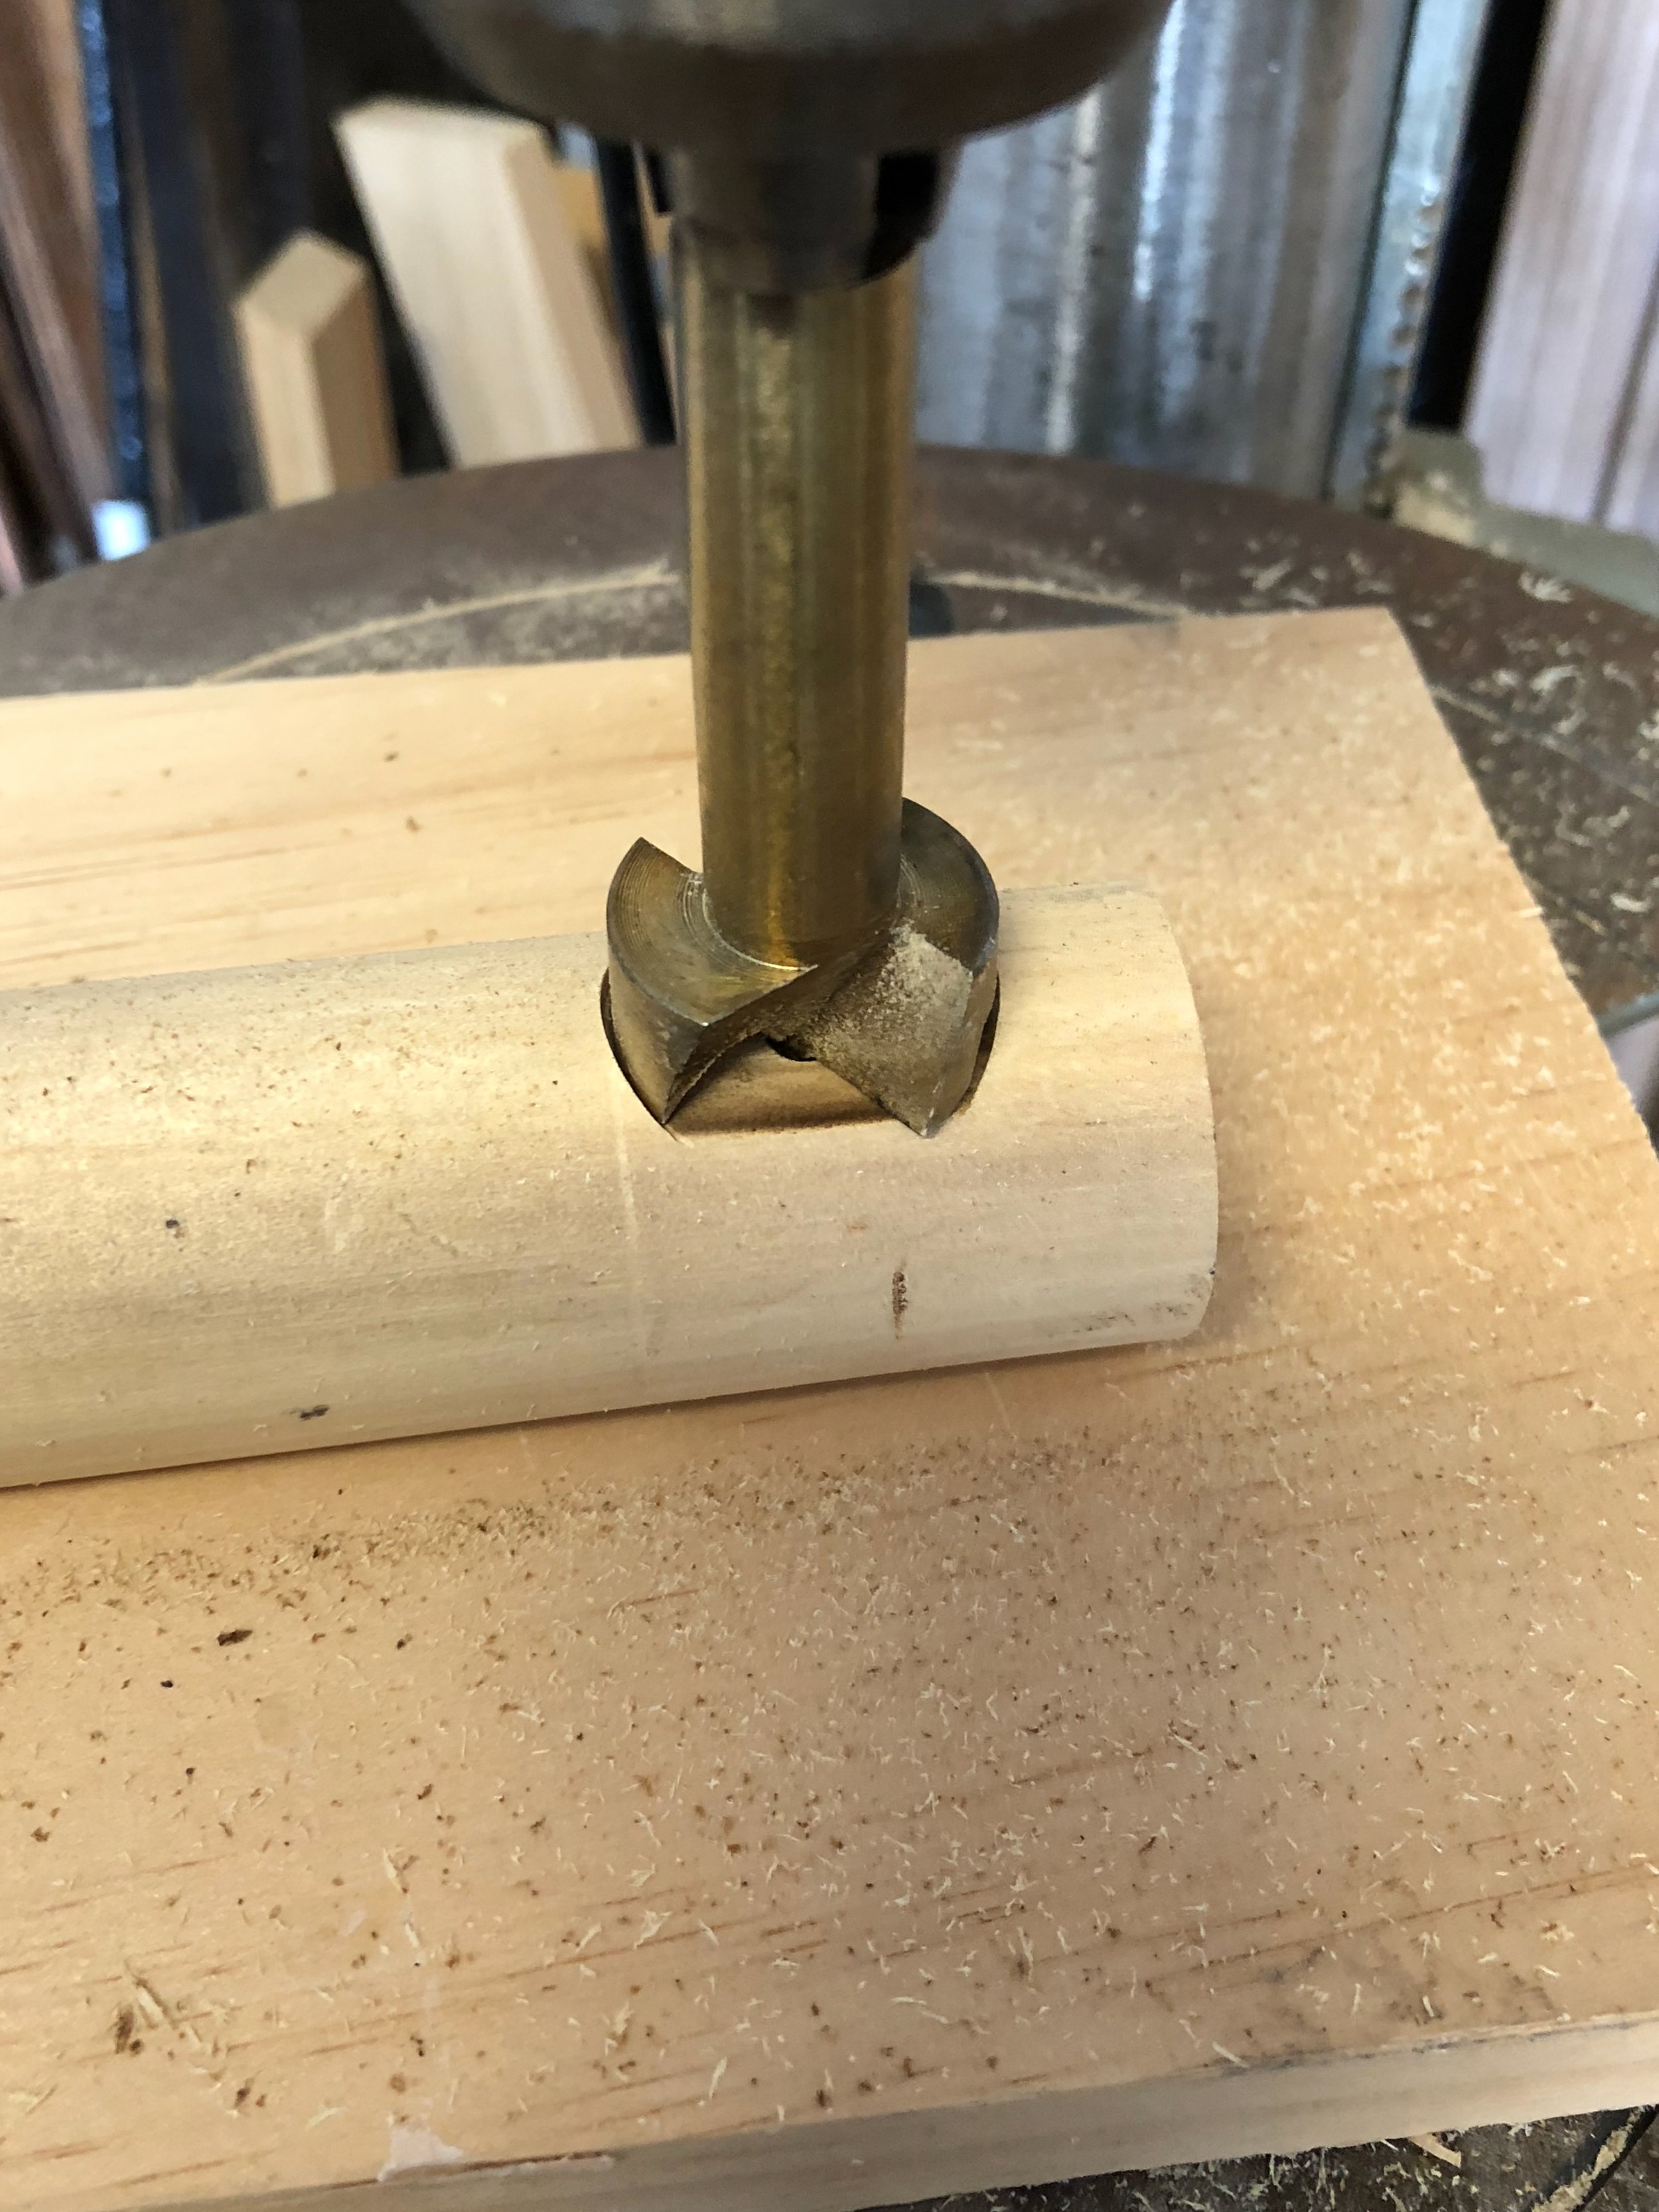
To make the recessed shelving, I built an internal frame from pine to fit snuggly in the cavity. I added a 6mm plywood backing then set out Tasmanian oak shelves with dowel supports using a 25mm Forstener bit. I also fit a frame around the front with an overhang that sits against the wall.
Once painted, sealed and reassembled, the shelving simply slid into the cavity. I secured it with screws, filled and sanded them, then touched up with paint.
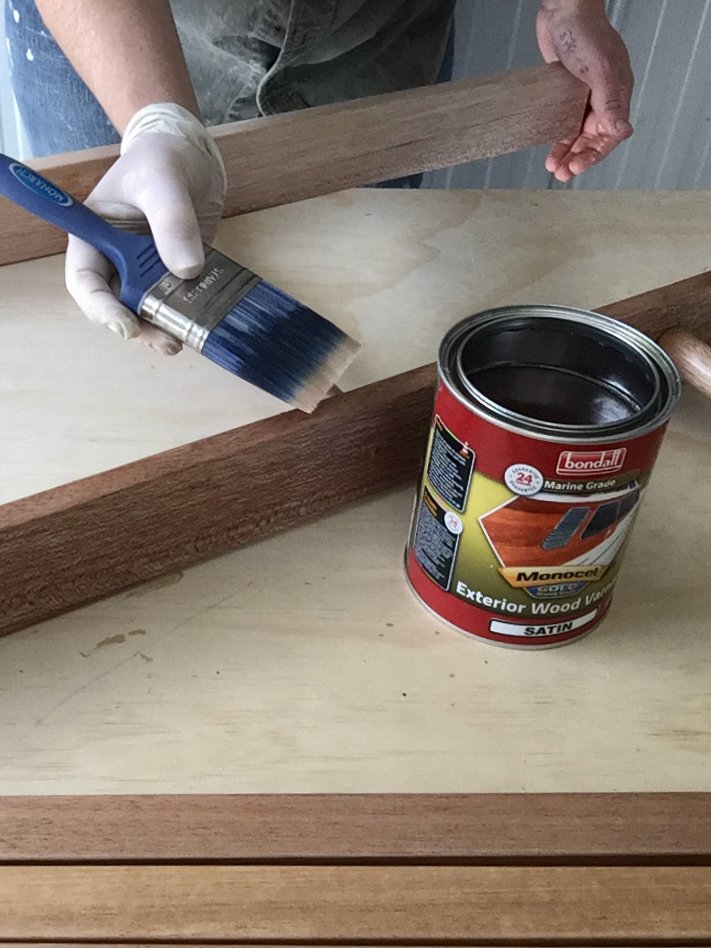
To keep the style cohesive, I chose Tasmanian oak for all the timber components, from the recessed shelving and moulding around the mirror to the variously sized dowel.
Each piece was sanded and sealed with Monocel Gold, a marine-grade varnish designed for boats that protects from moisture while still looking good.
TIP I’ve used Tassie oak panels and dowel throughout my home, all sealed and finished in the same method, from this tiled kitchen island and built-in banquette to an entertainment cabinet and furniture pieces.
“At the time of this makeover I was doing lots of woodwork and wanted to try my hand at adding handcrafted timber elements for warmth and interest.”
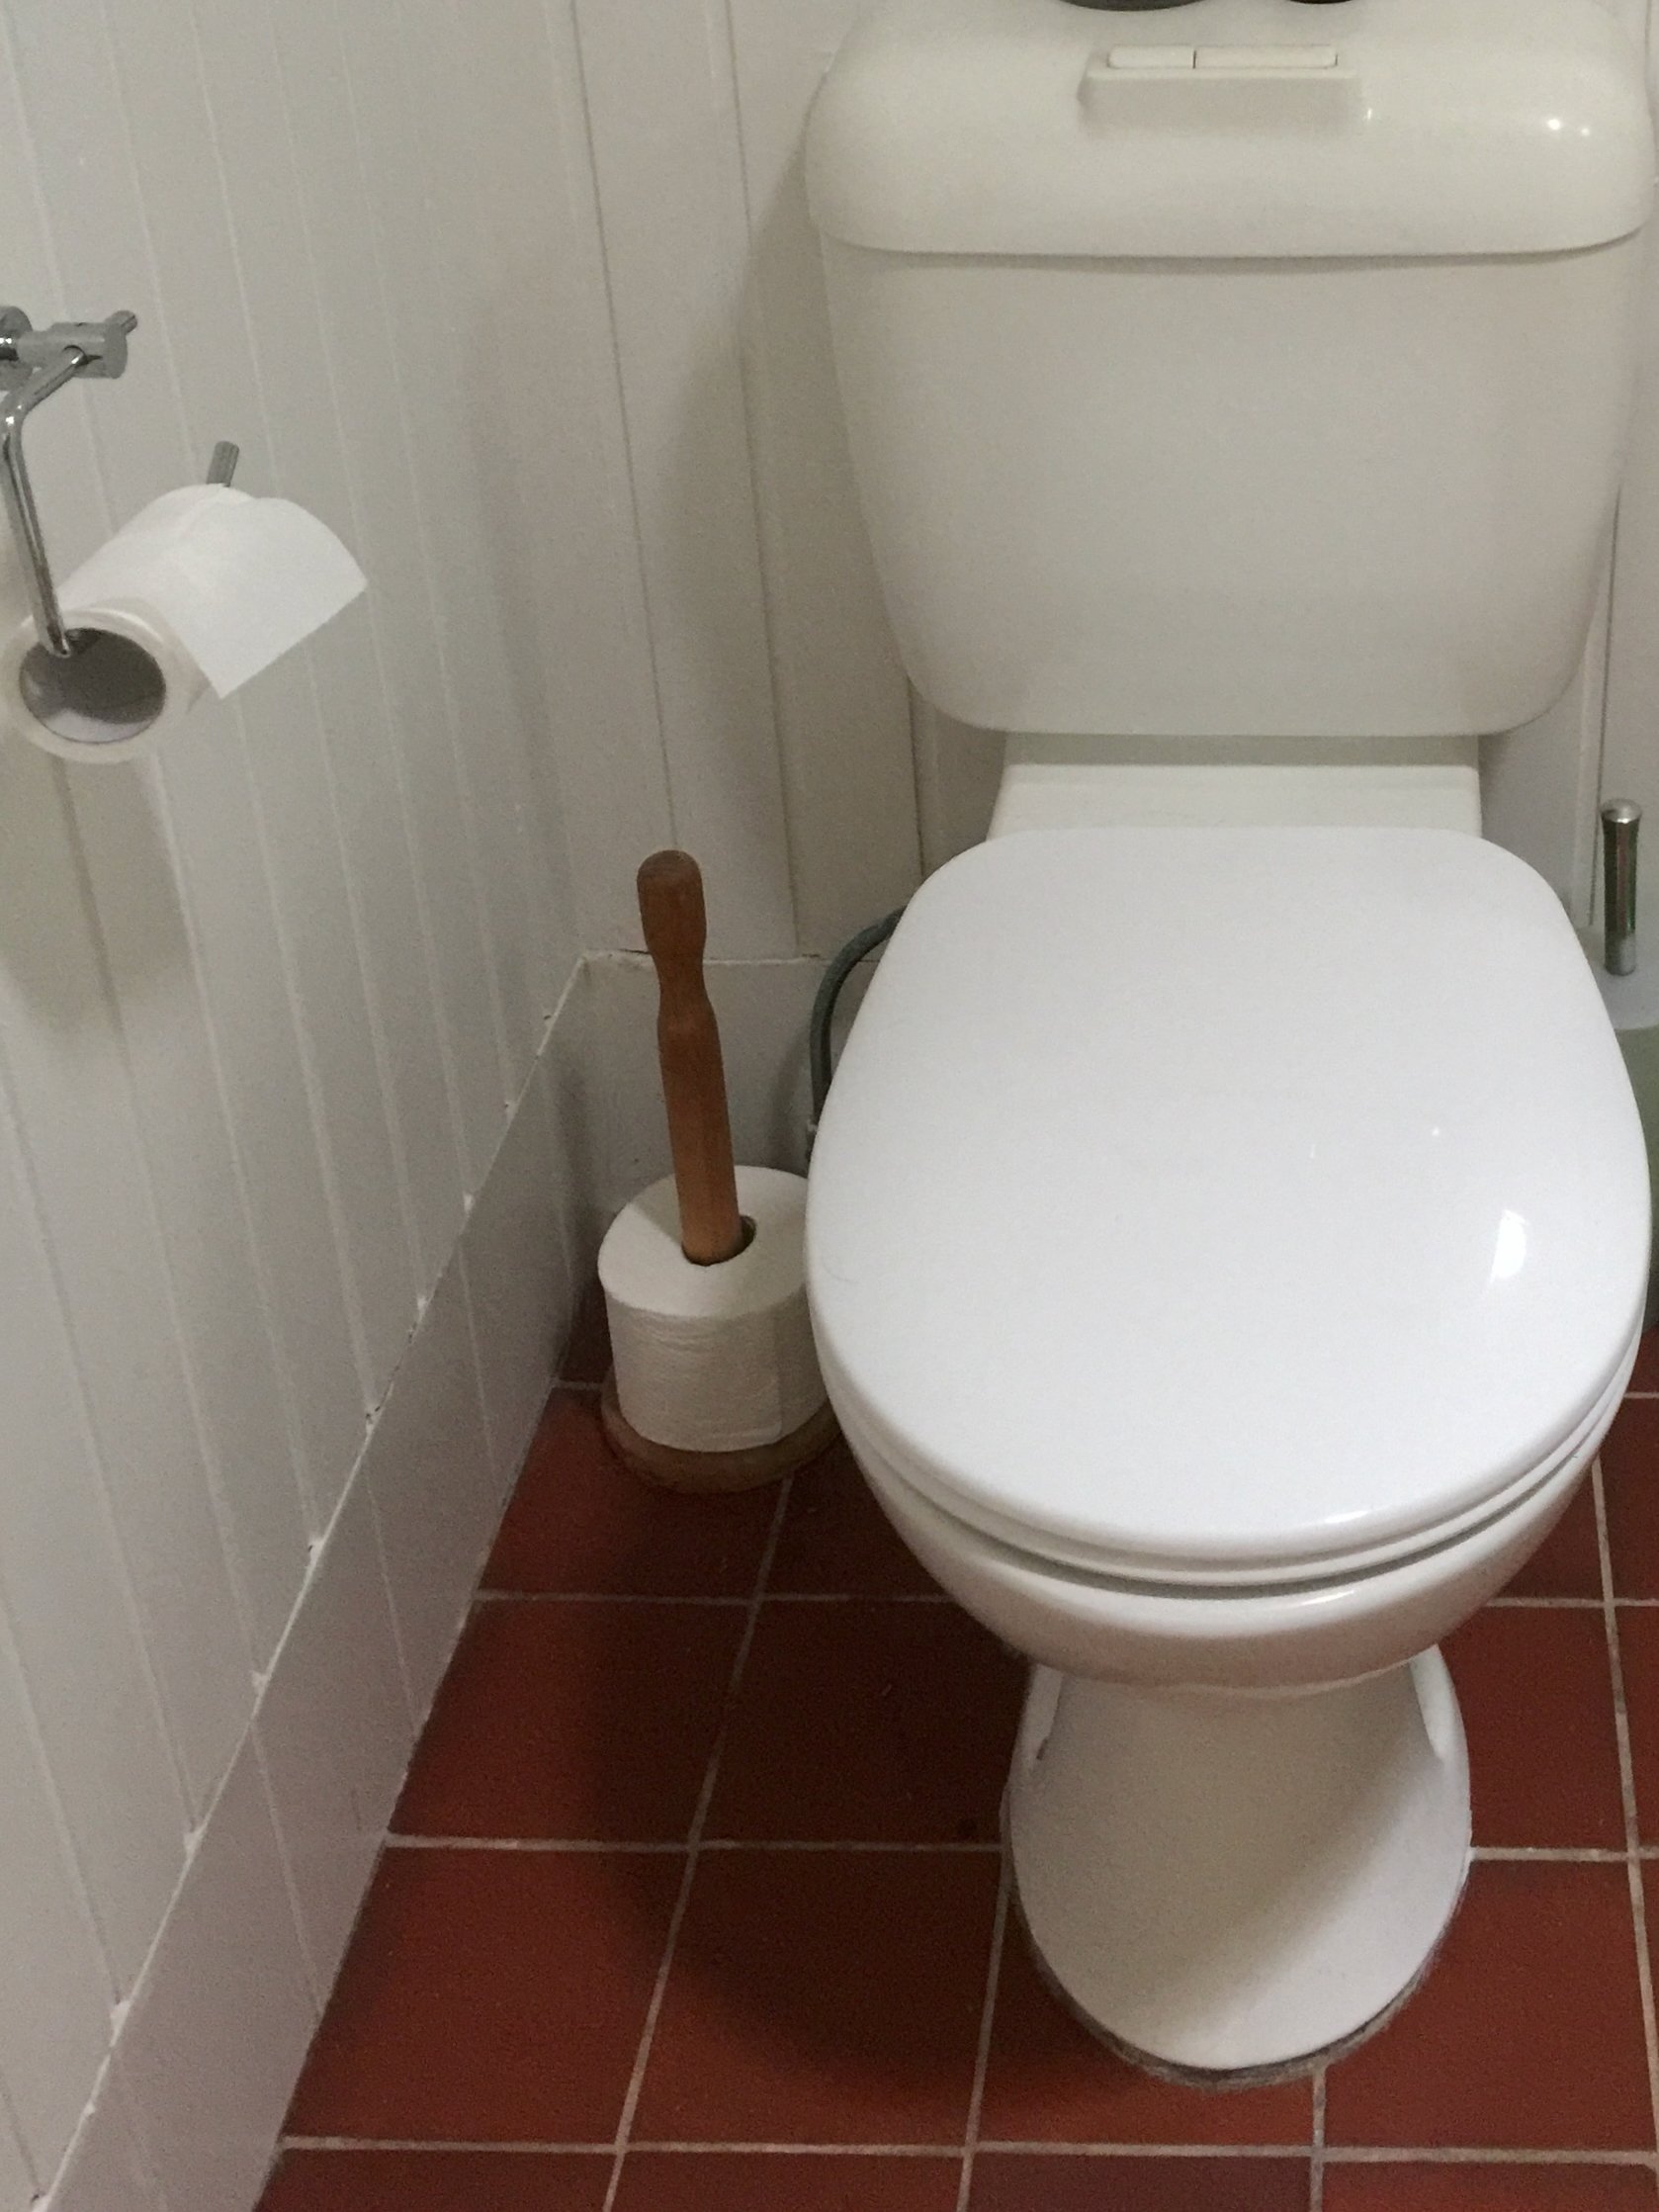
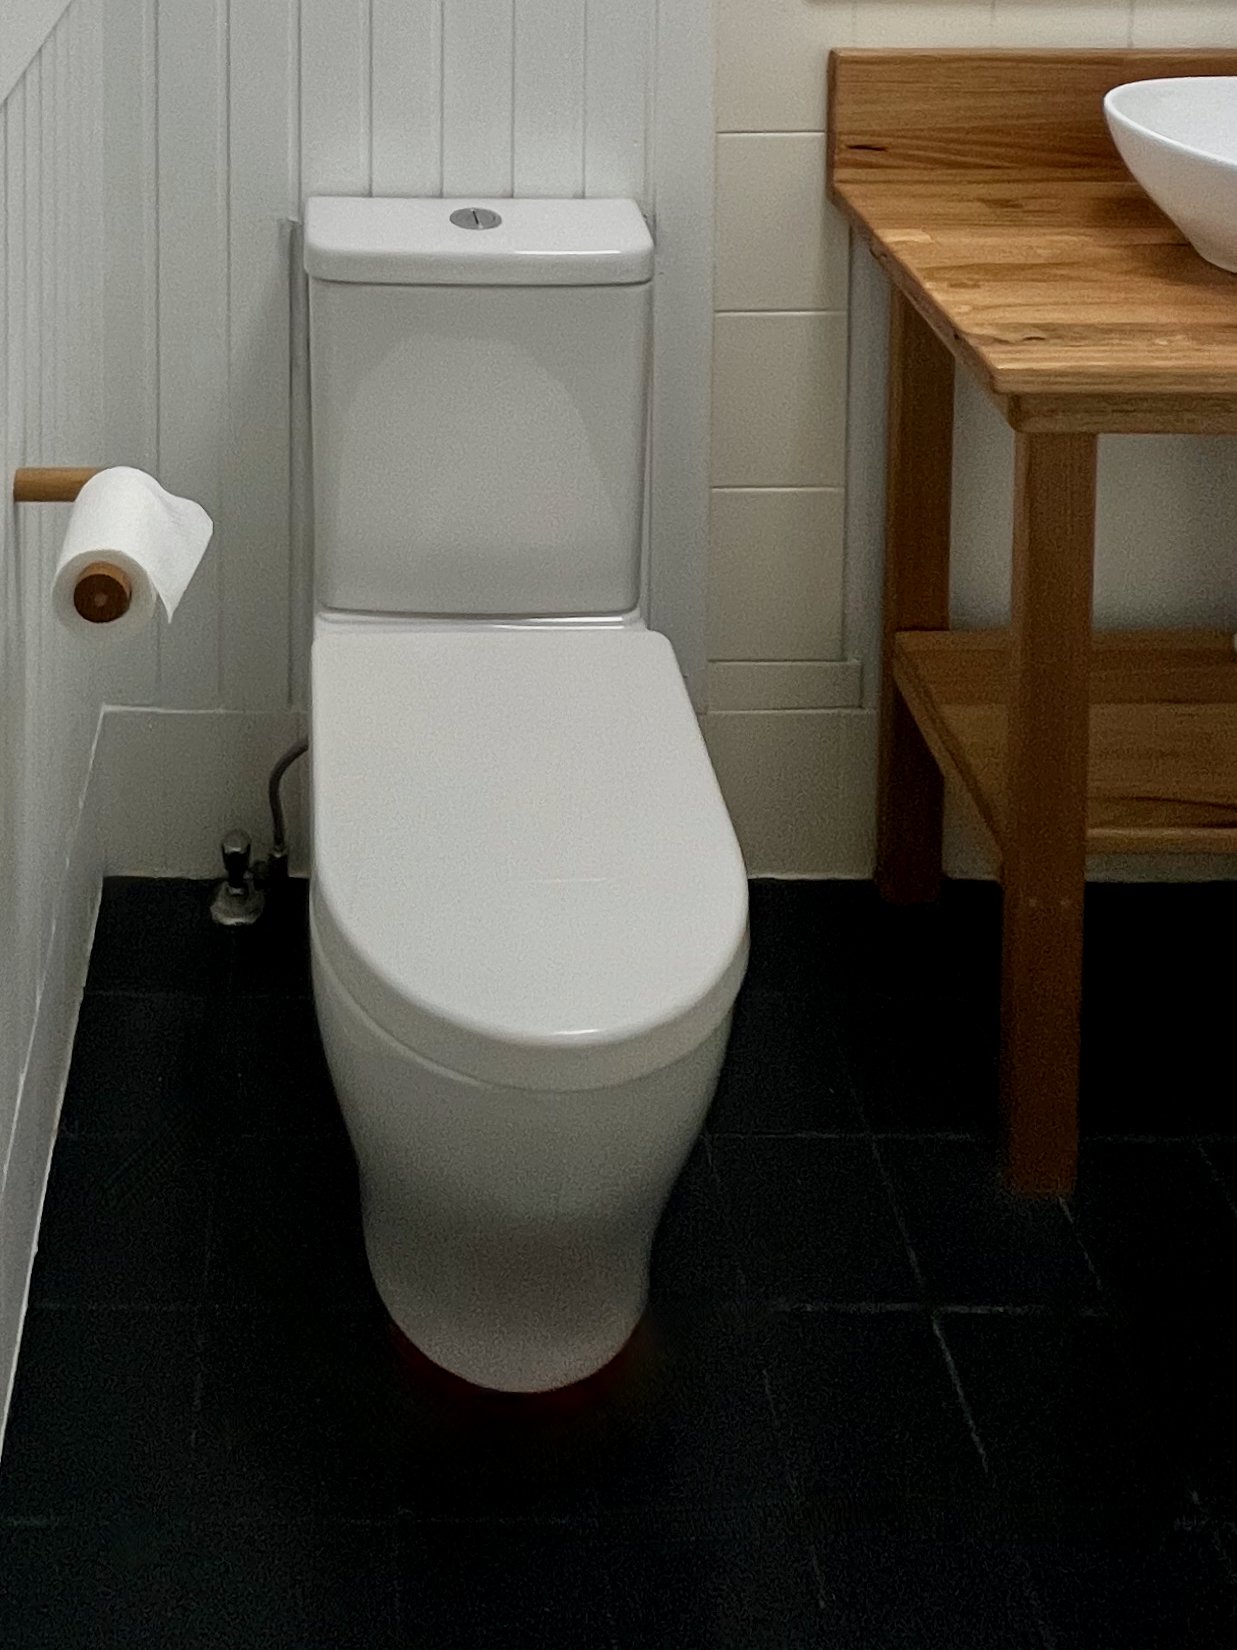
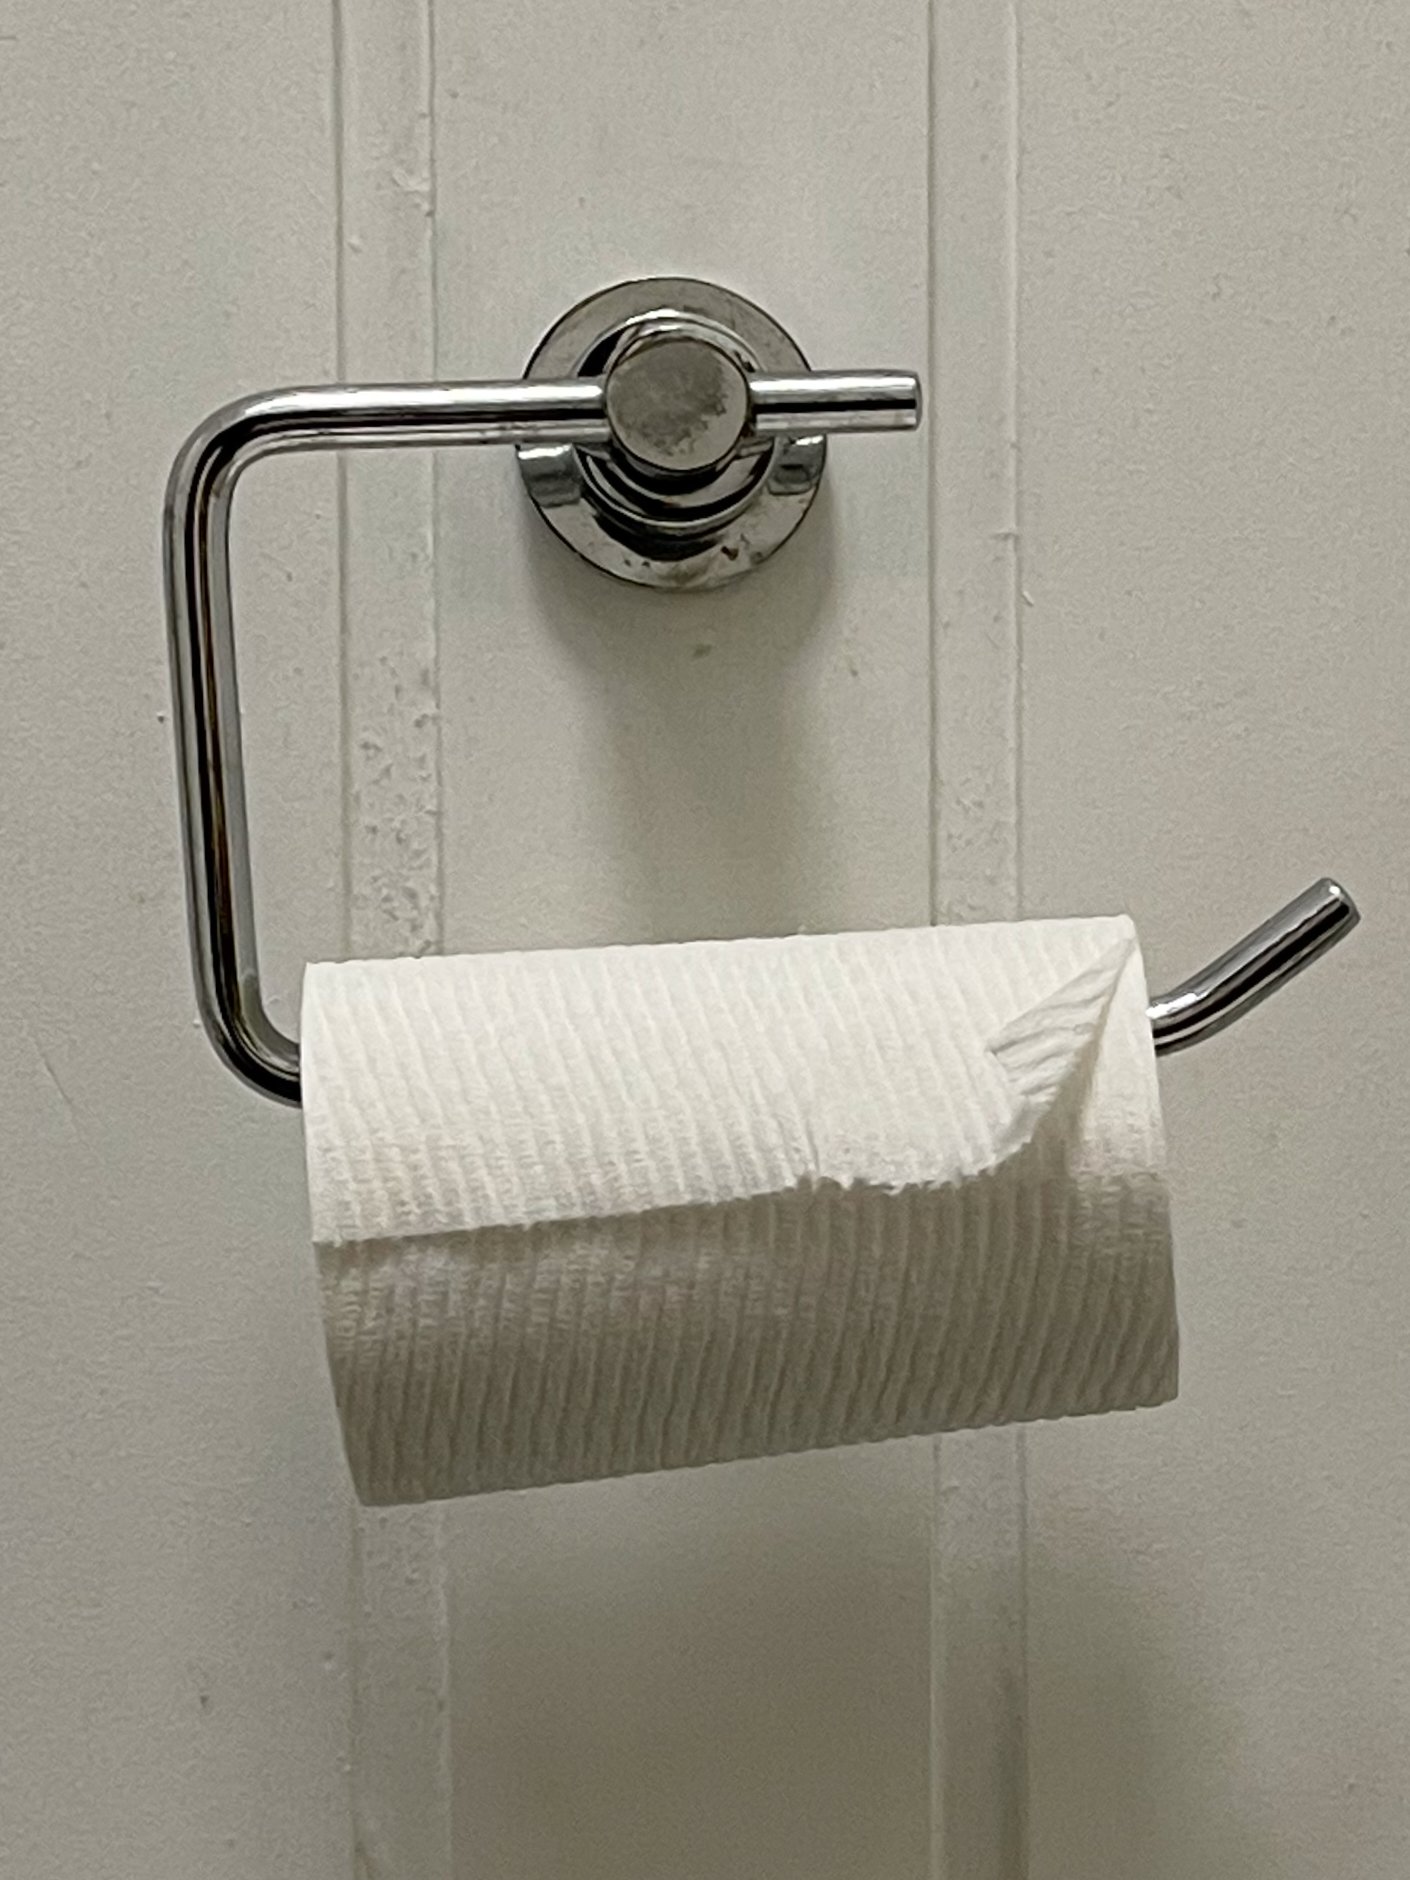
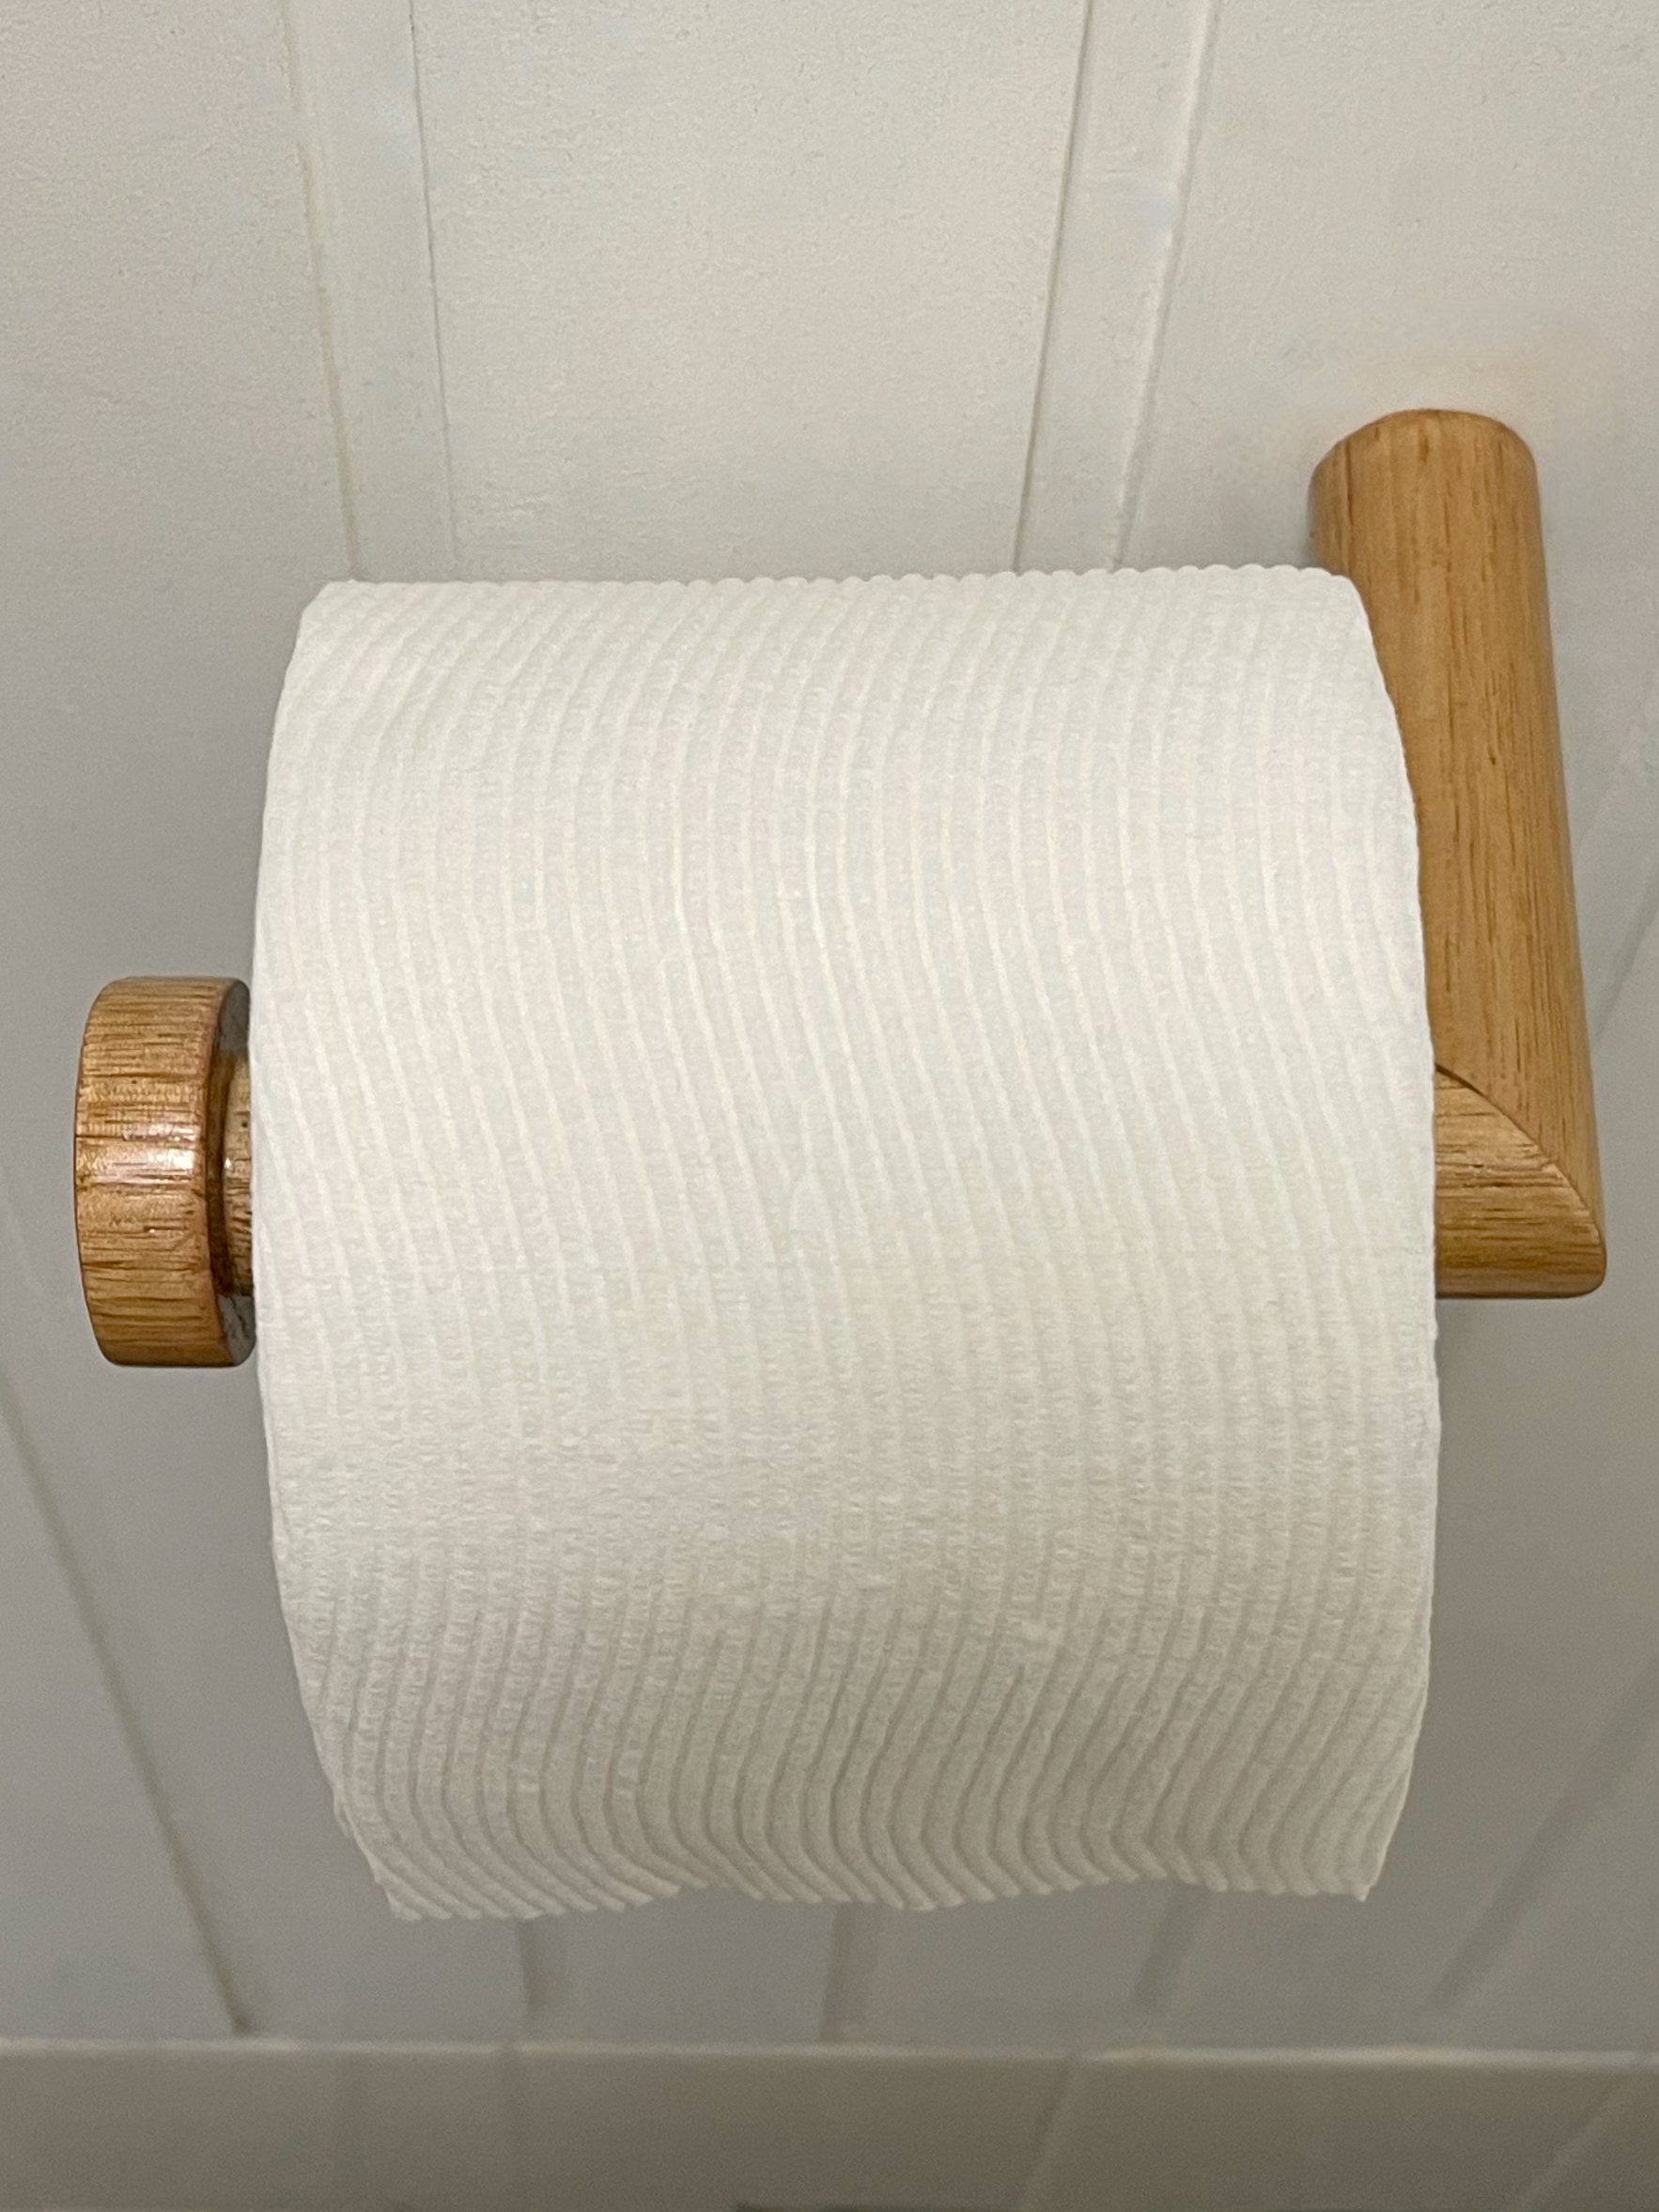
Then I made a toilet roll holder! The roll used to slip back off the original one, so I changed the orientation and added a stopper so it now stays in place. Here are the step-by-step instructions to DIY your own.
After a few attempts at fixing the old toilet, it continued to leak noisily. The seat also banged when it was closed. The new loo is slimmer, easier to clean and soft-close, so is quieter in every way. Totally worth the investment.
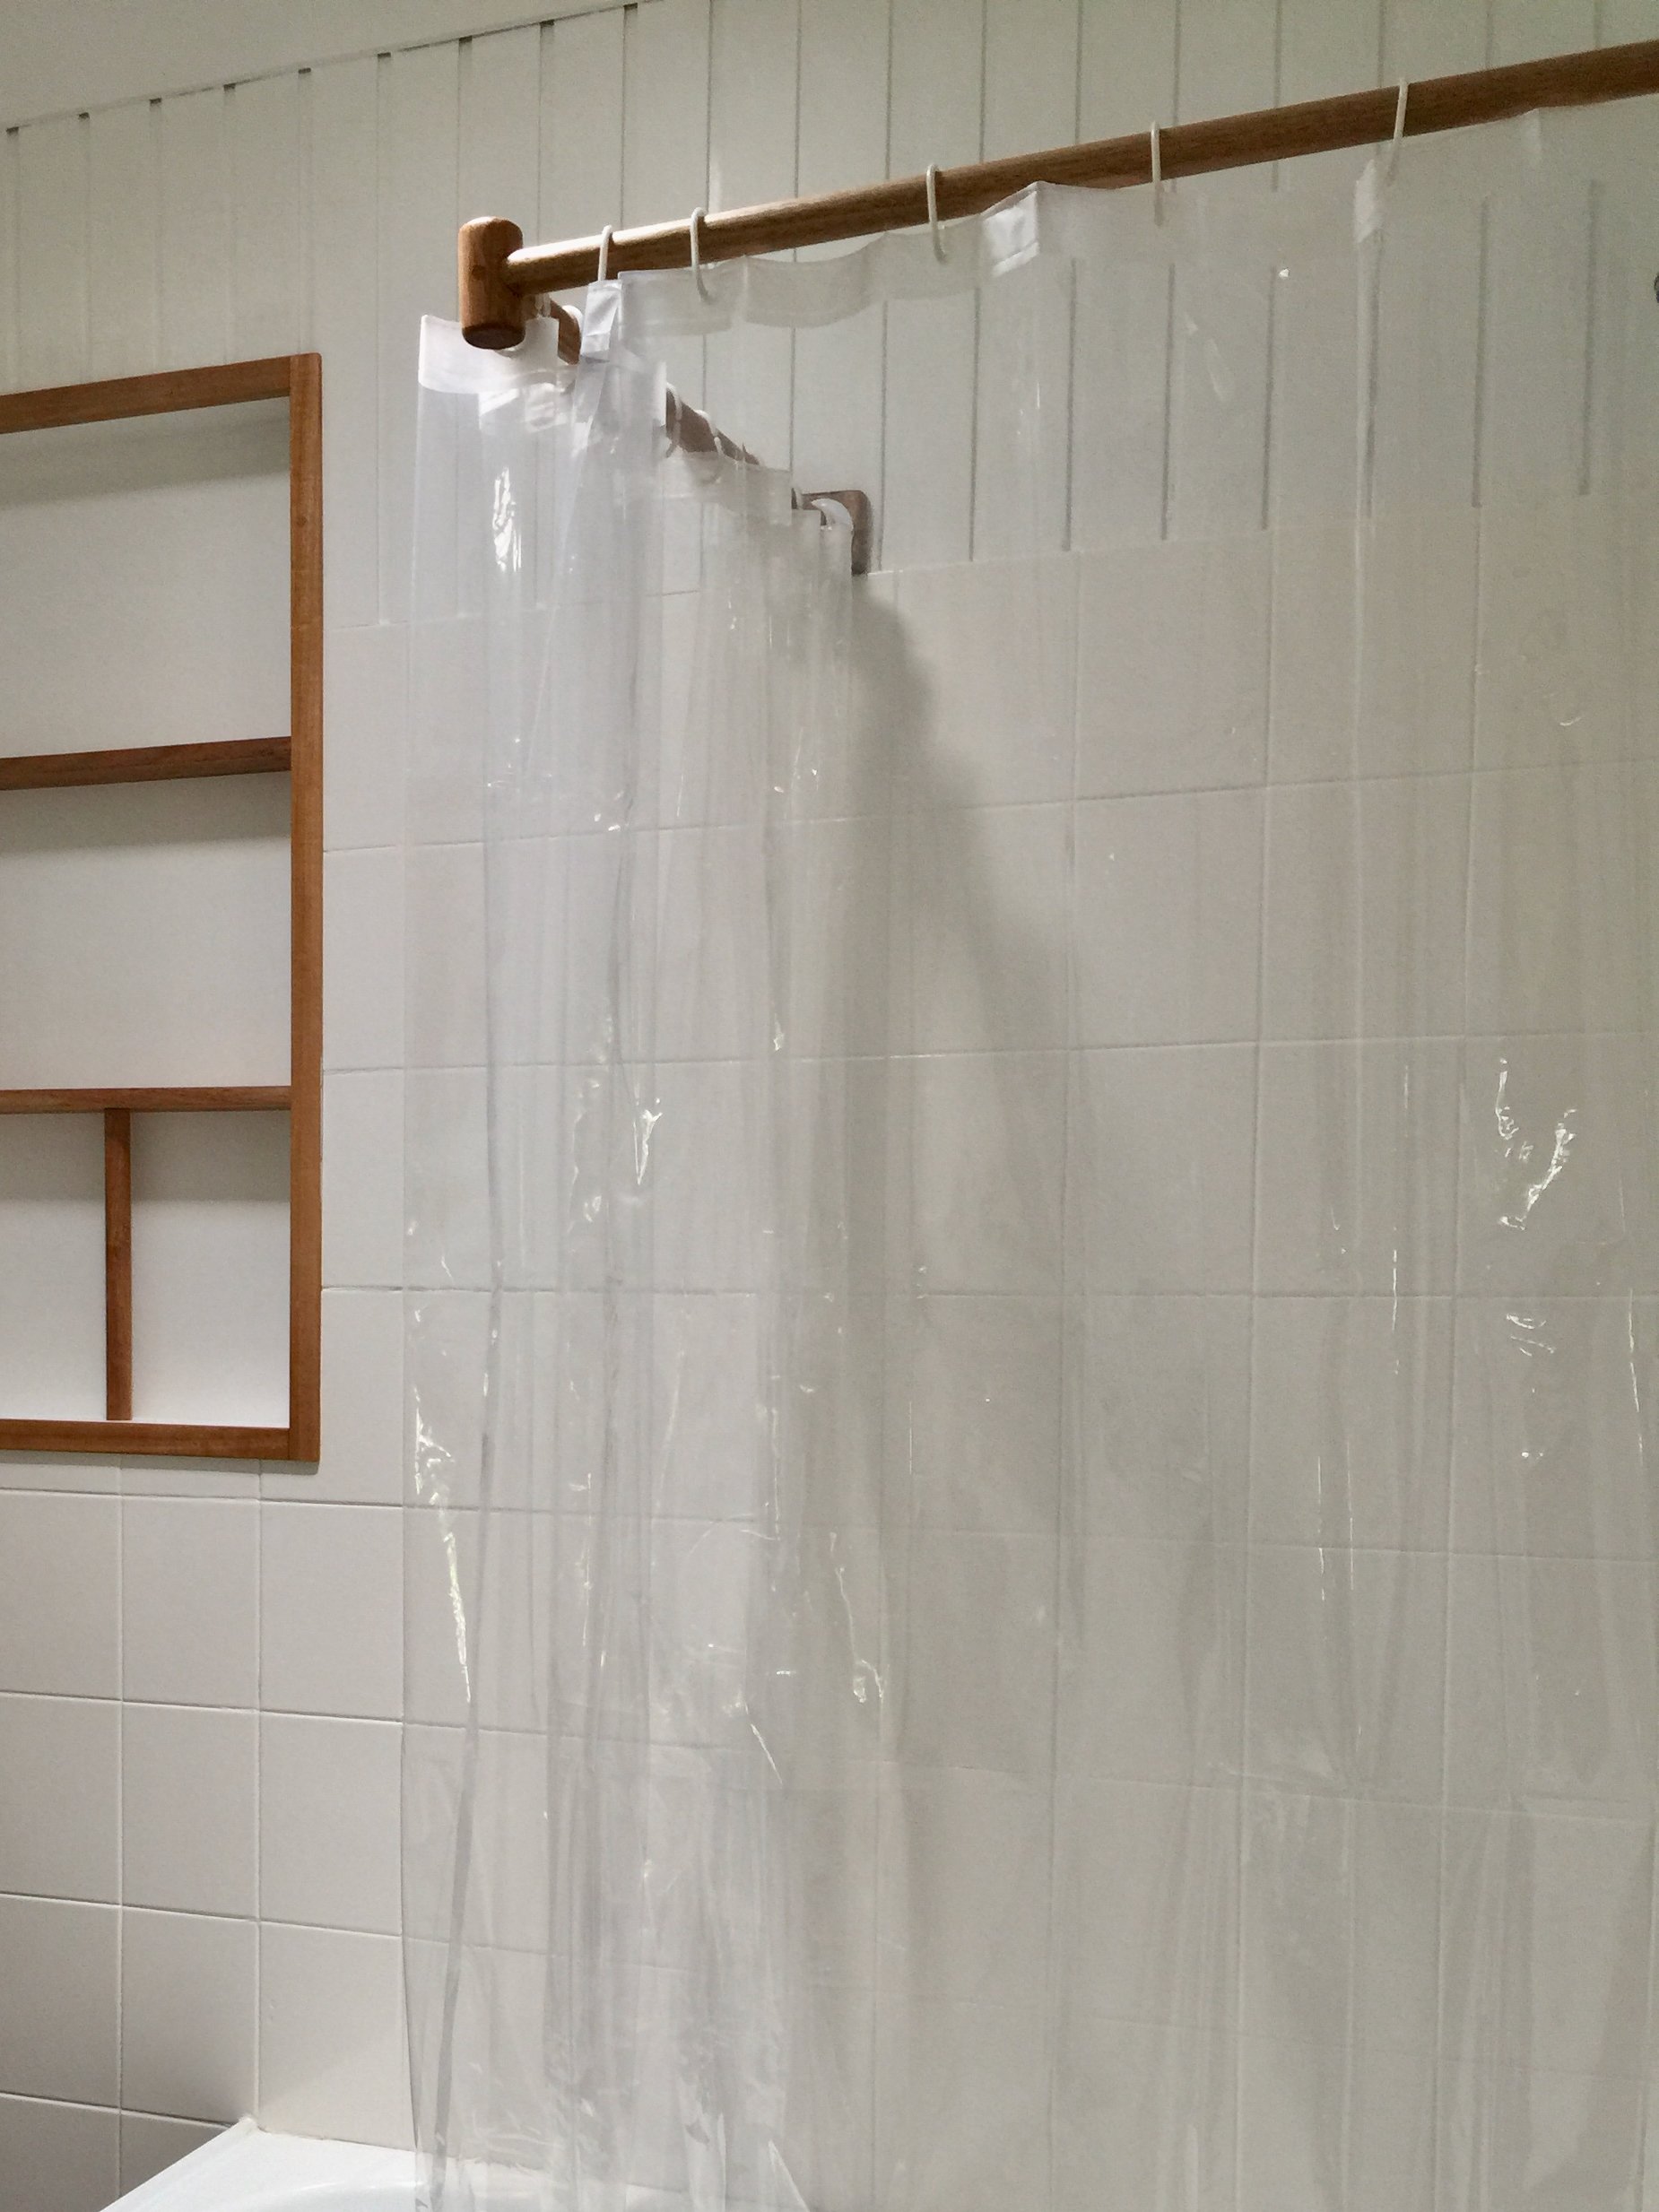
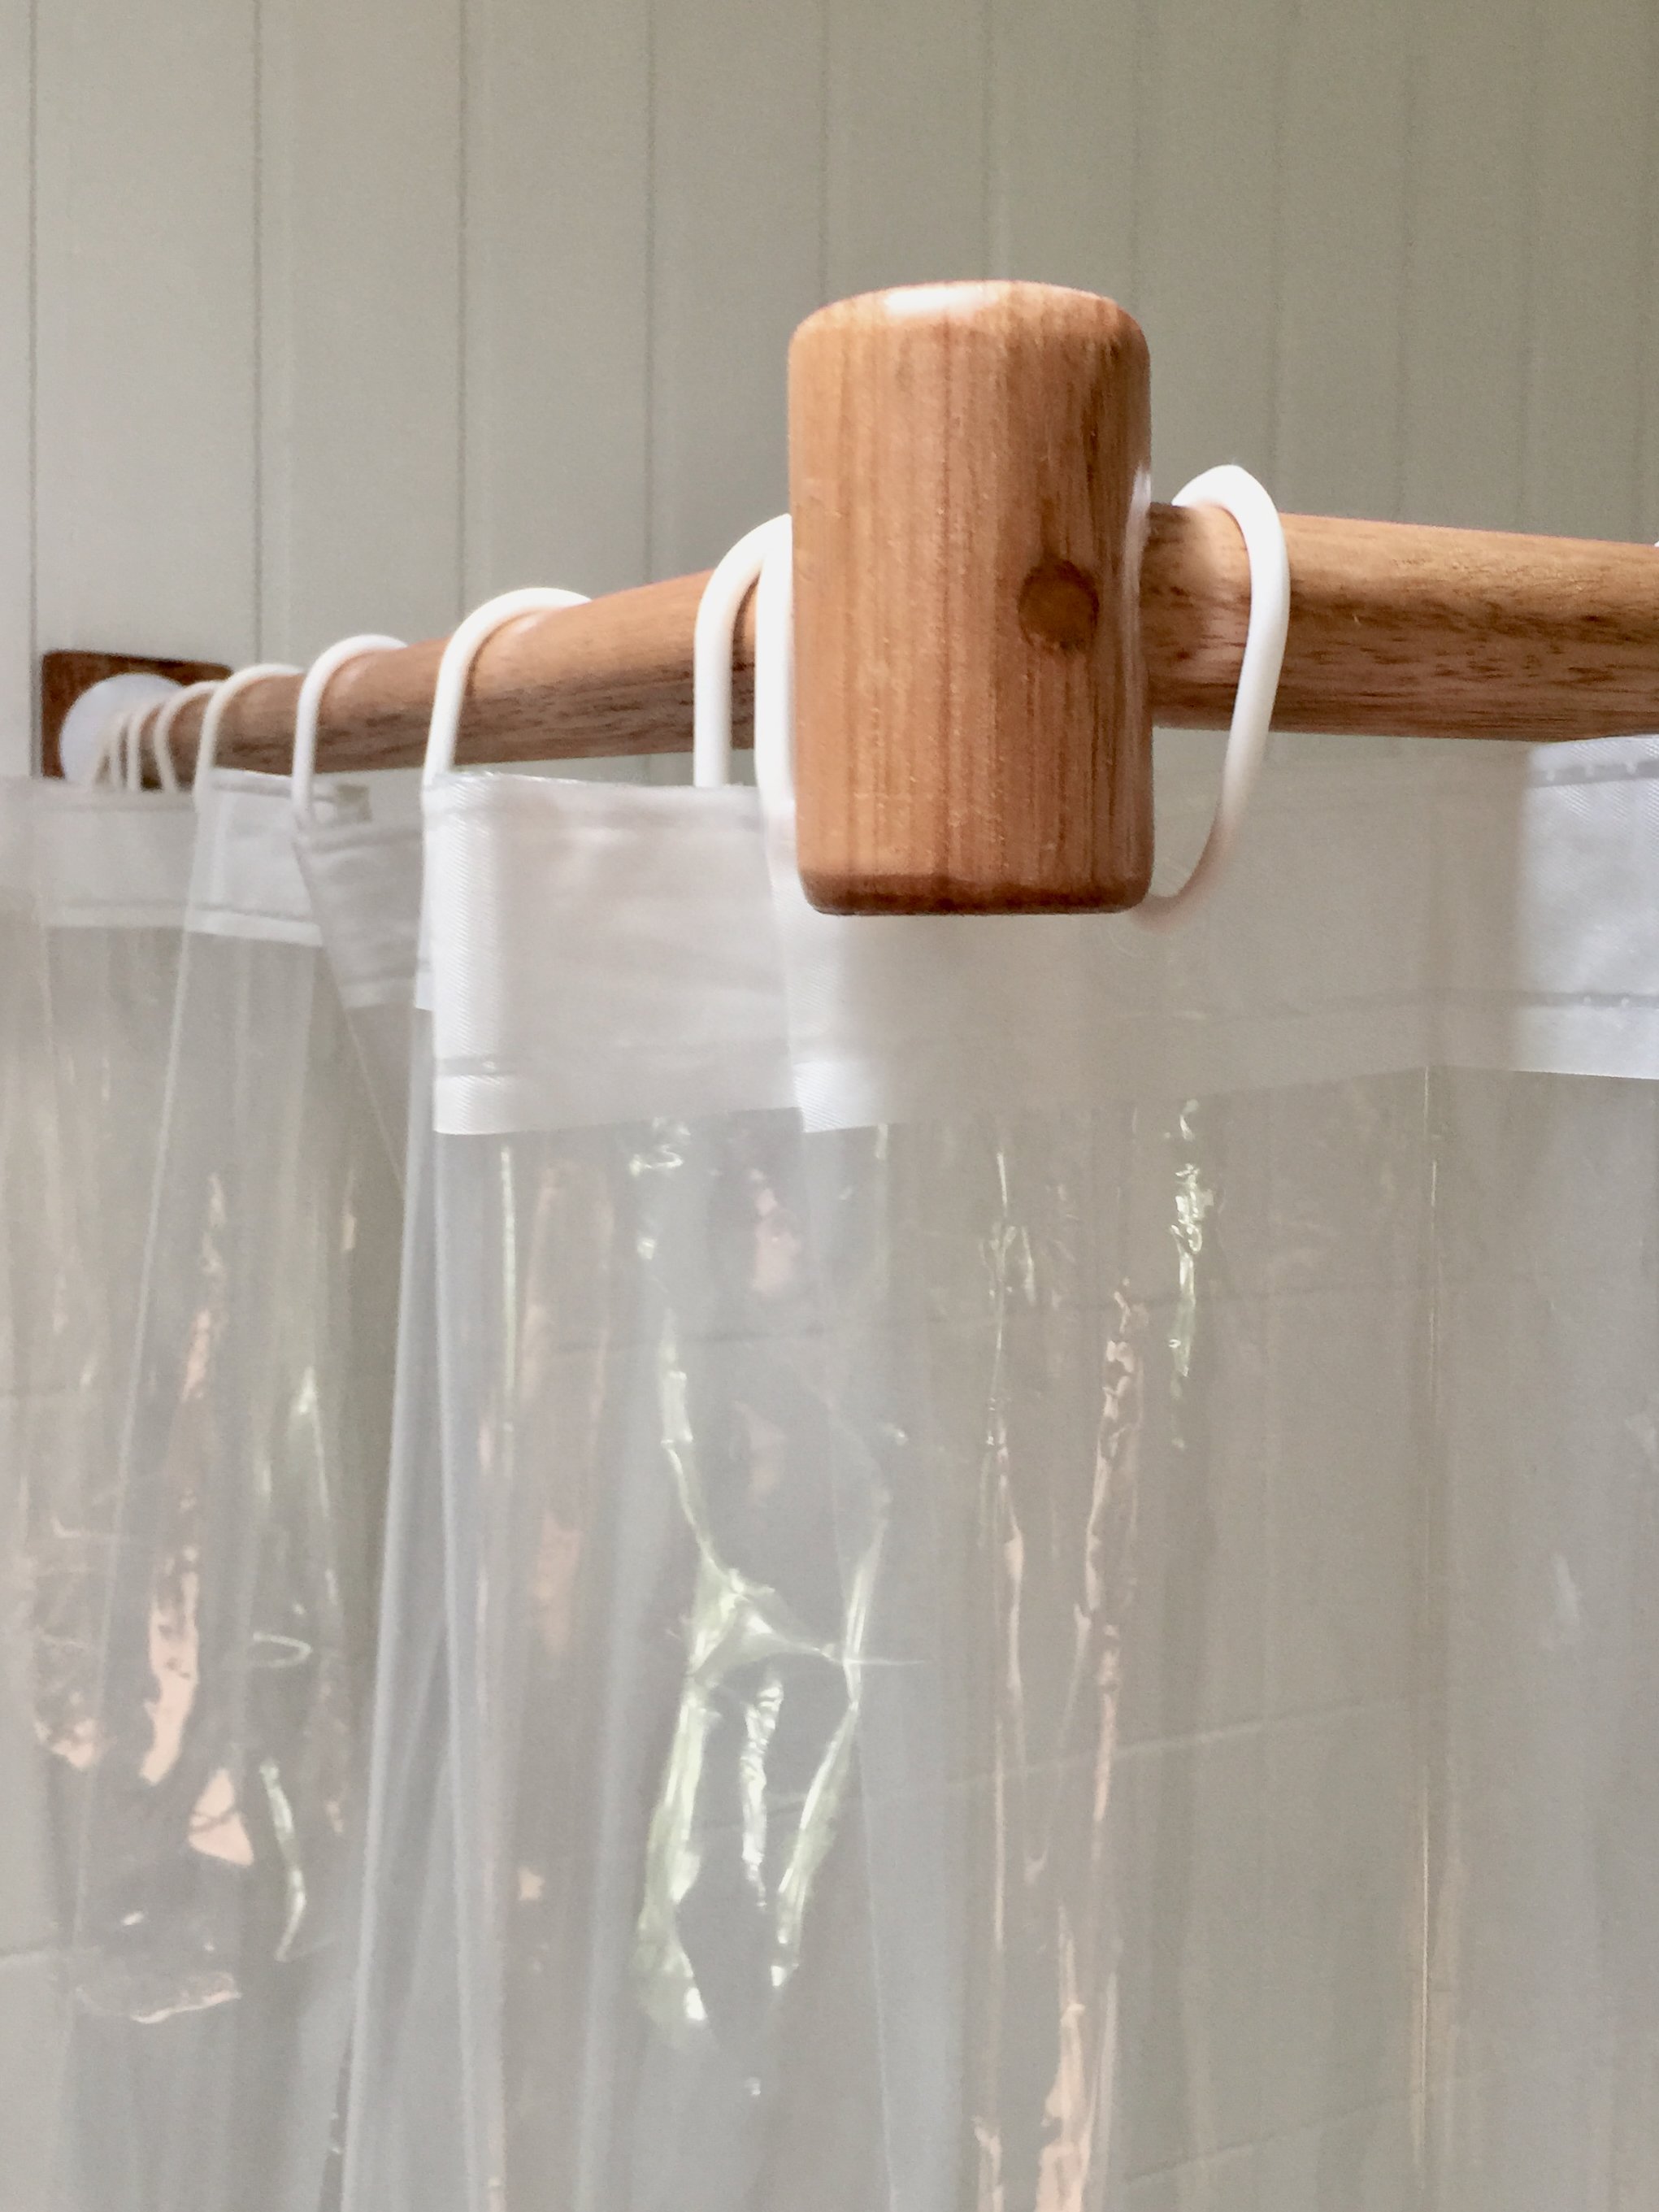
I finished by installing a handcrafted rail above the bath made from various thicknesses of dowel and sealing with varnish. Hanging a clear curtain helps prevent the feeling of showering in a cave.
We later found that showering without the curtain didn’t create much of a splash and later removed it for one less thing to keep clean.
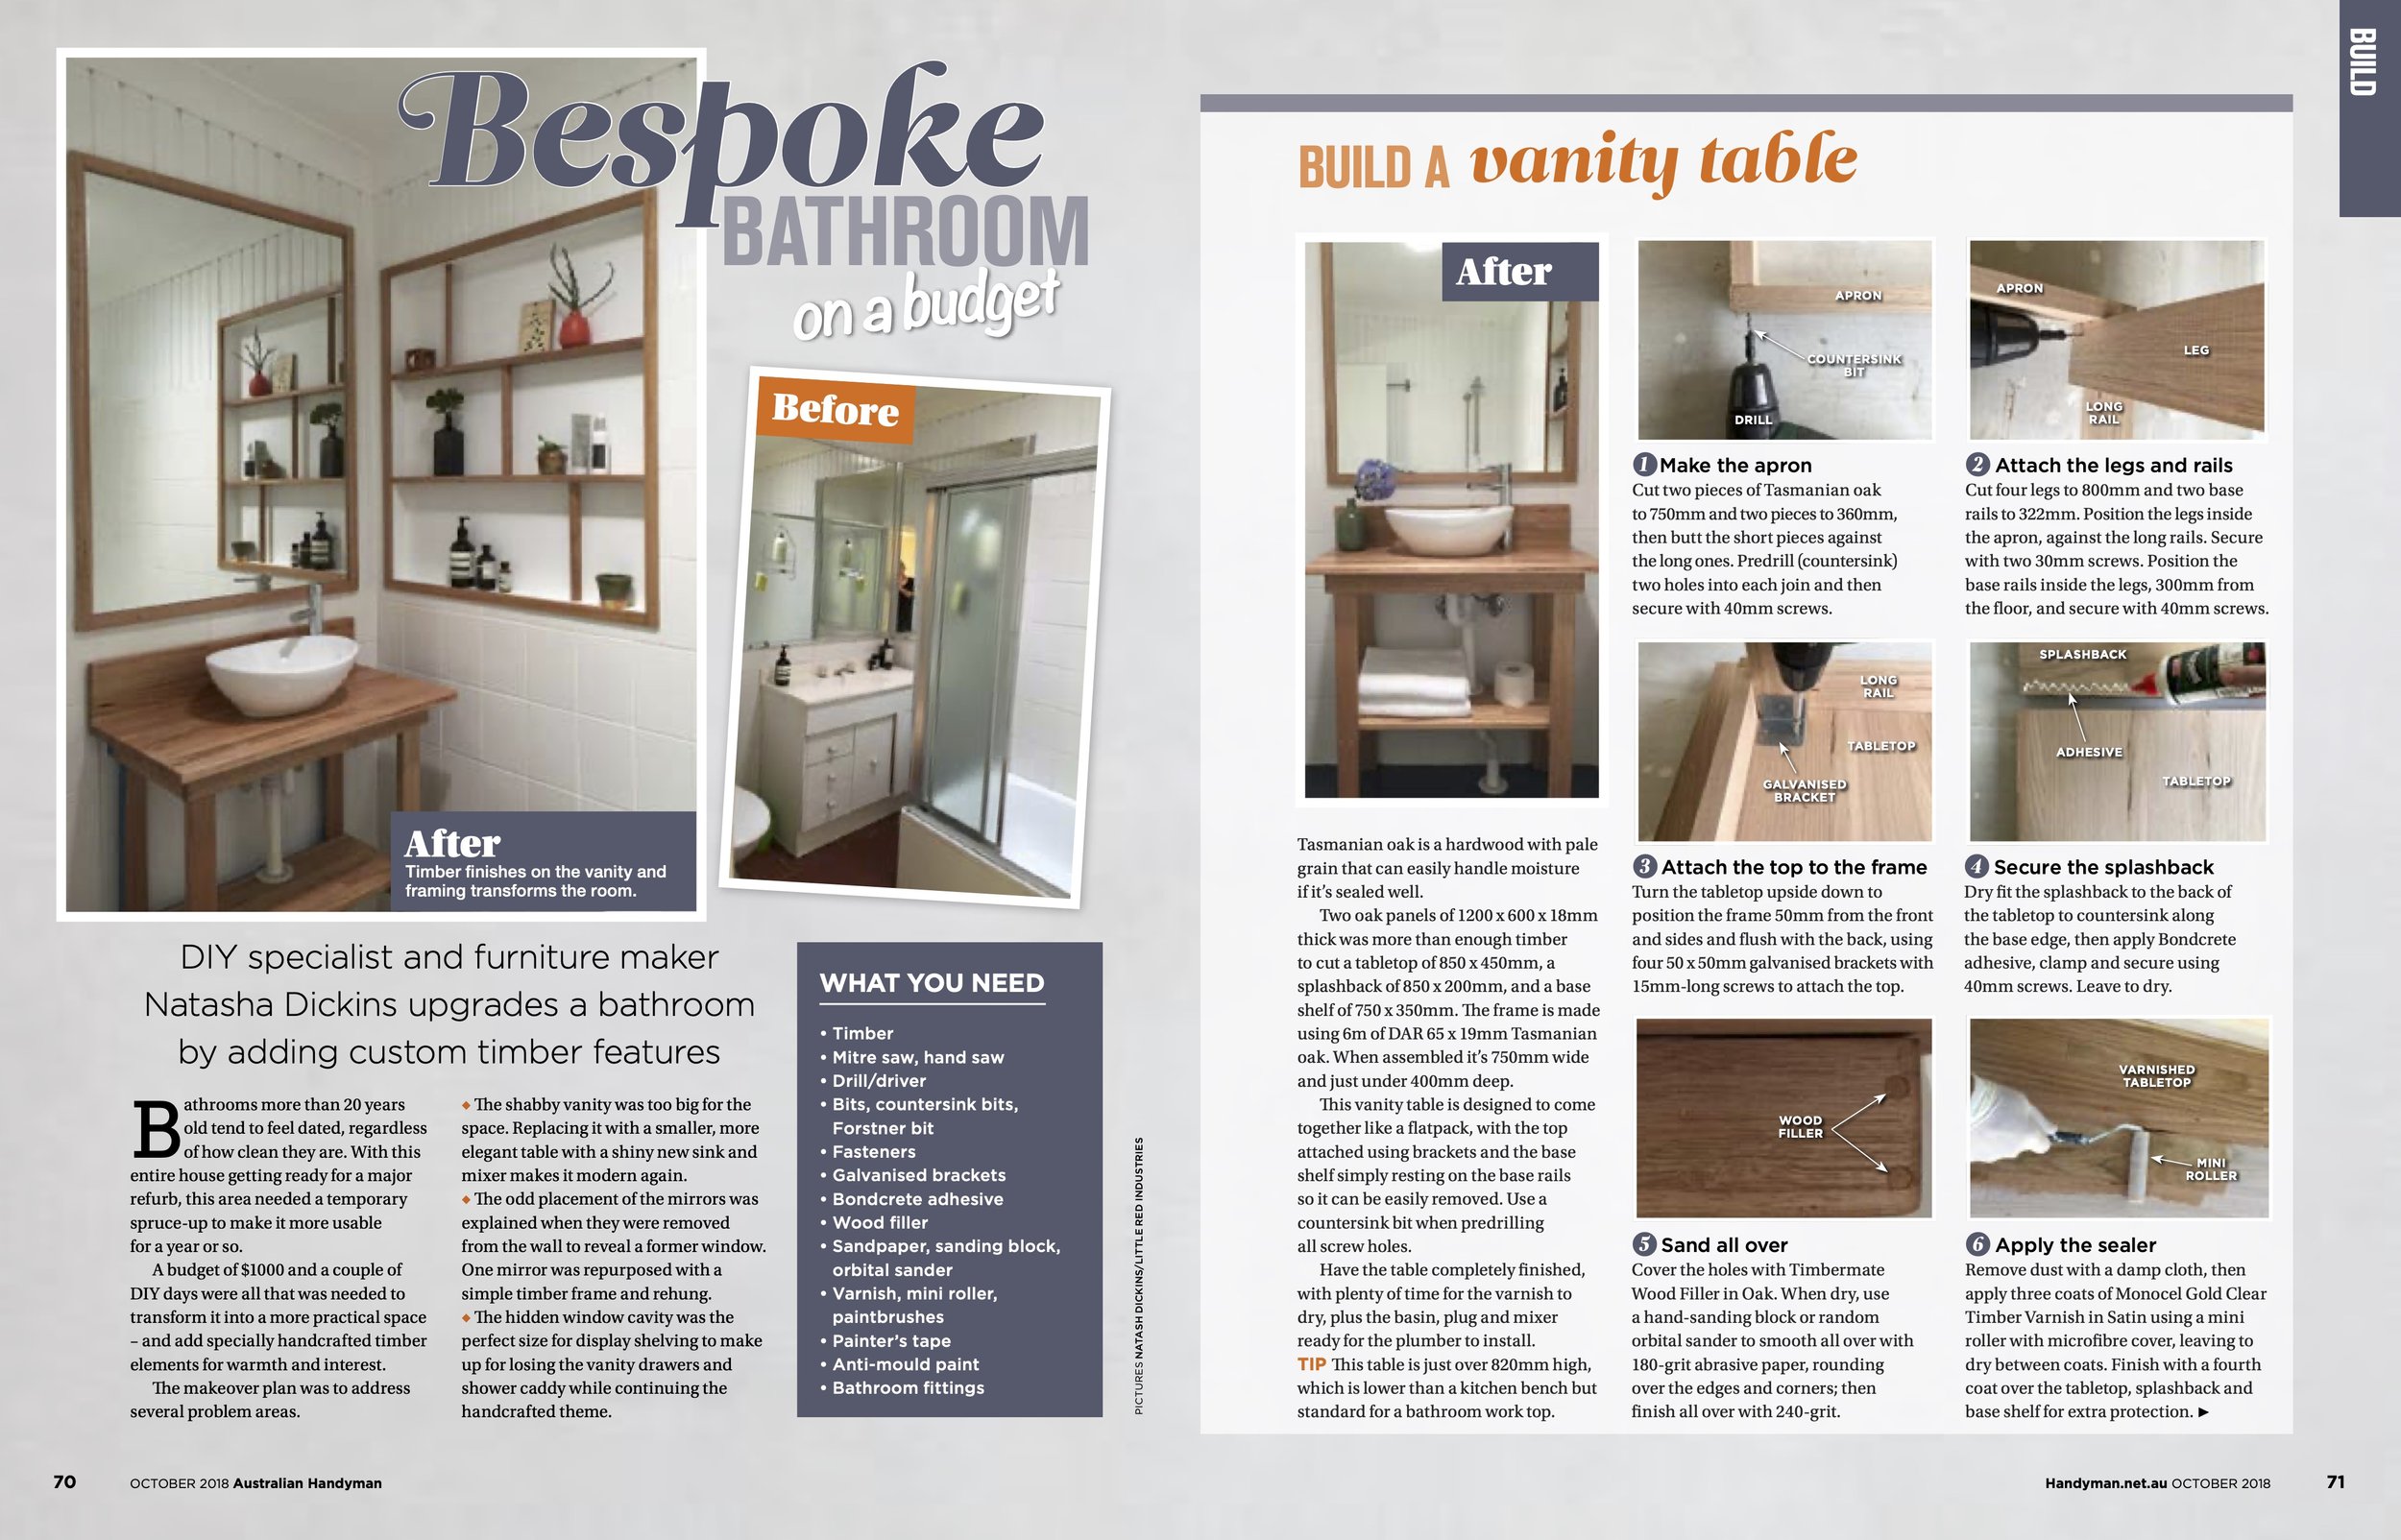
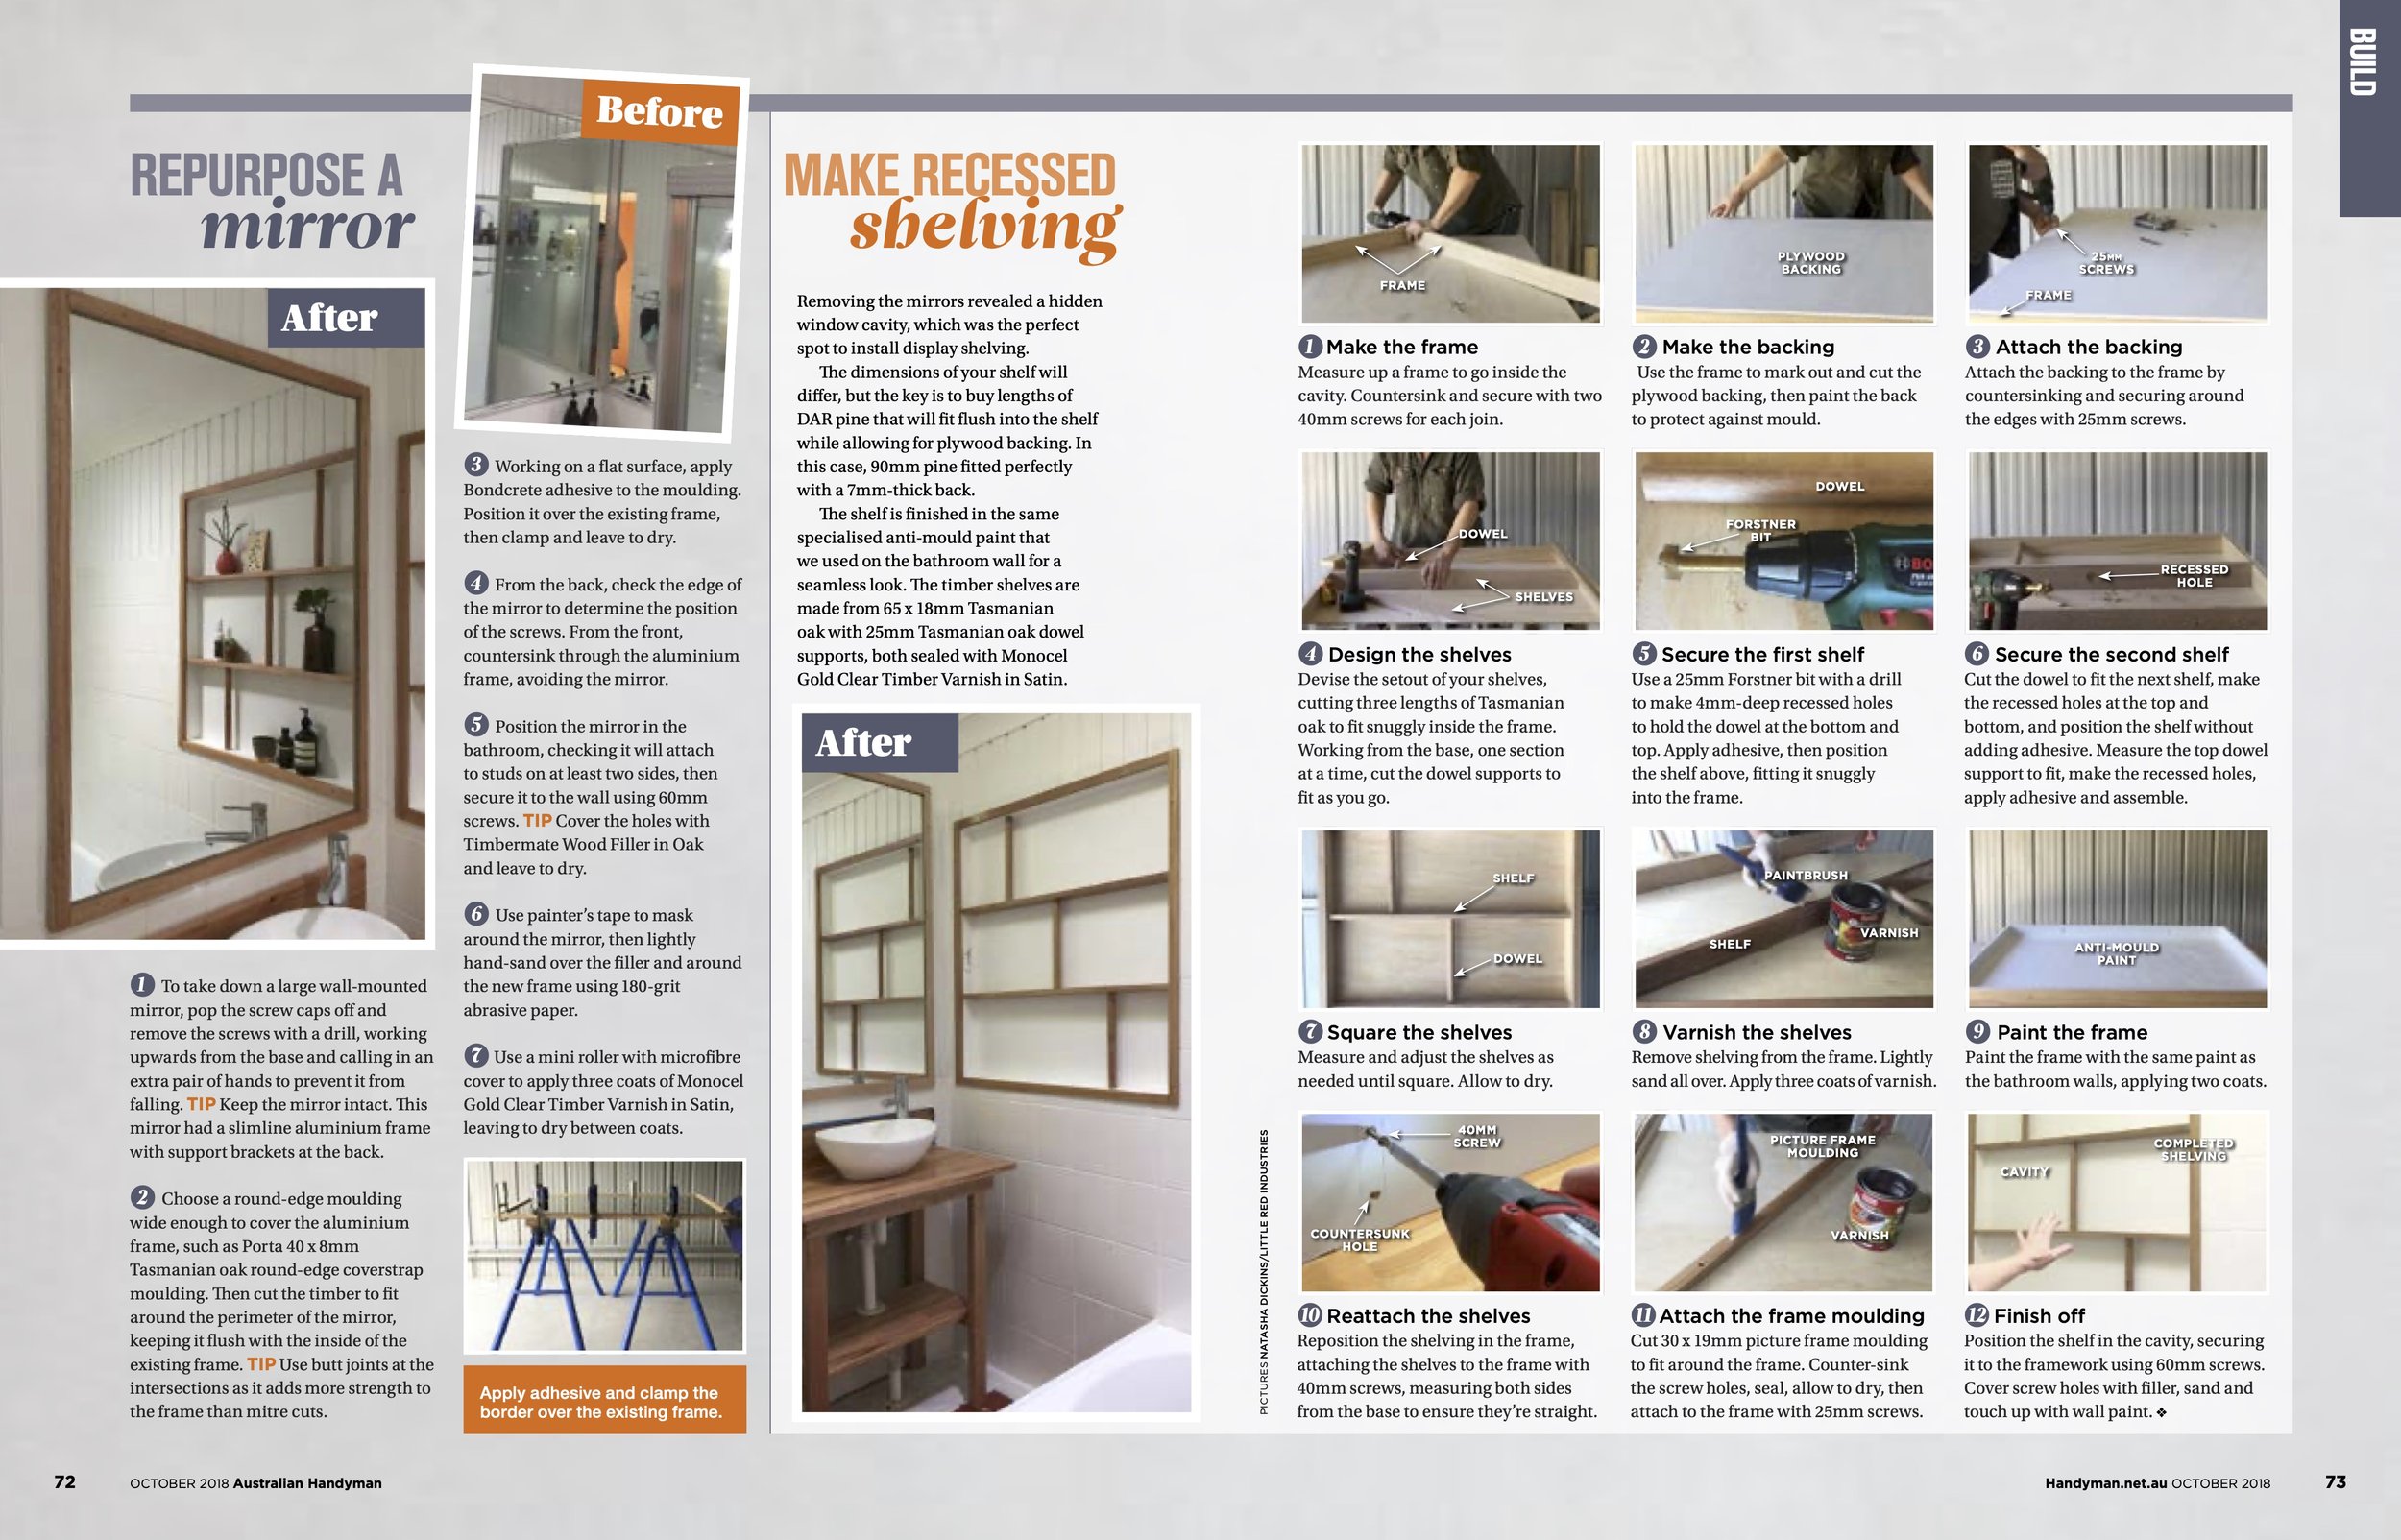
The results featured in Handyman magazine, where I gave more details on how to DIY a similar vanity table, repurpose a mirror with a new frame and make midcentury-inspired recessed shelving.
A ‘couple of years’ stretched out to six, but my bespoke budget bathroom stood up to the test of time.
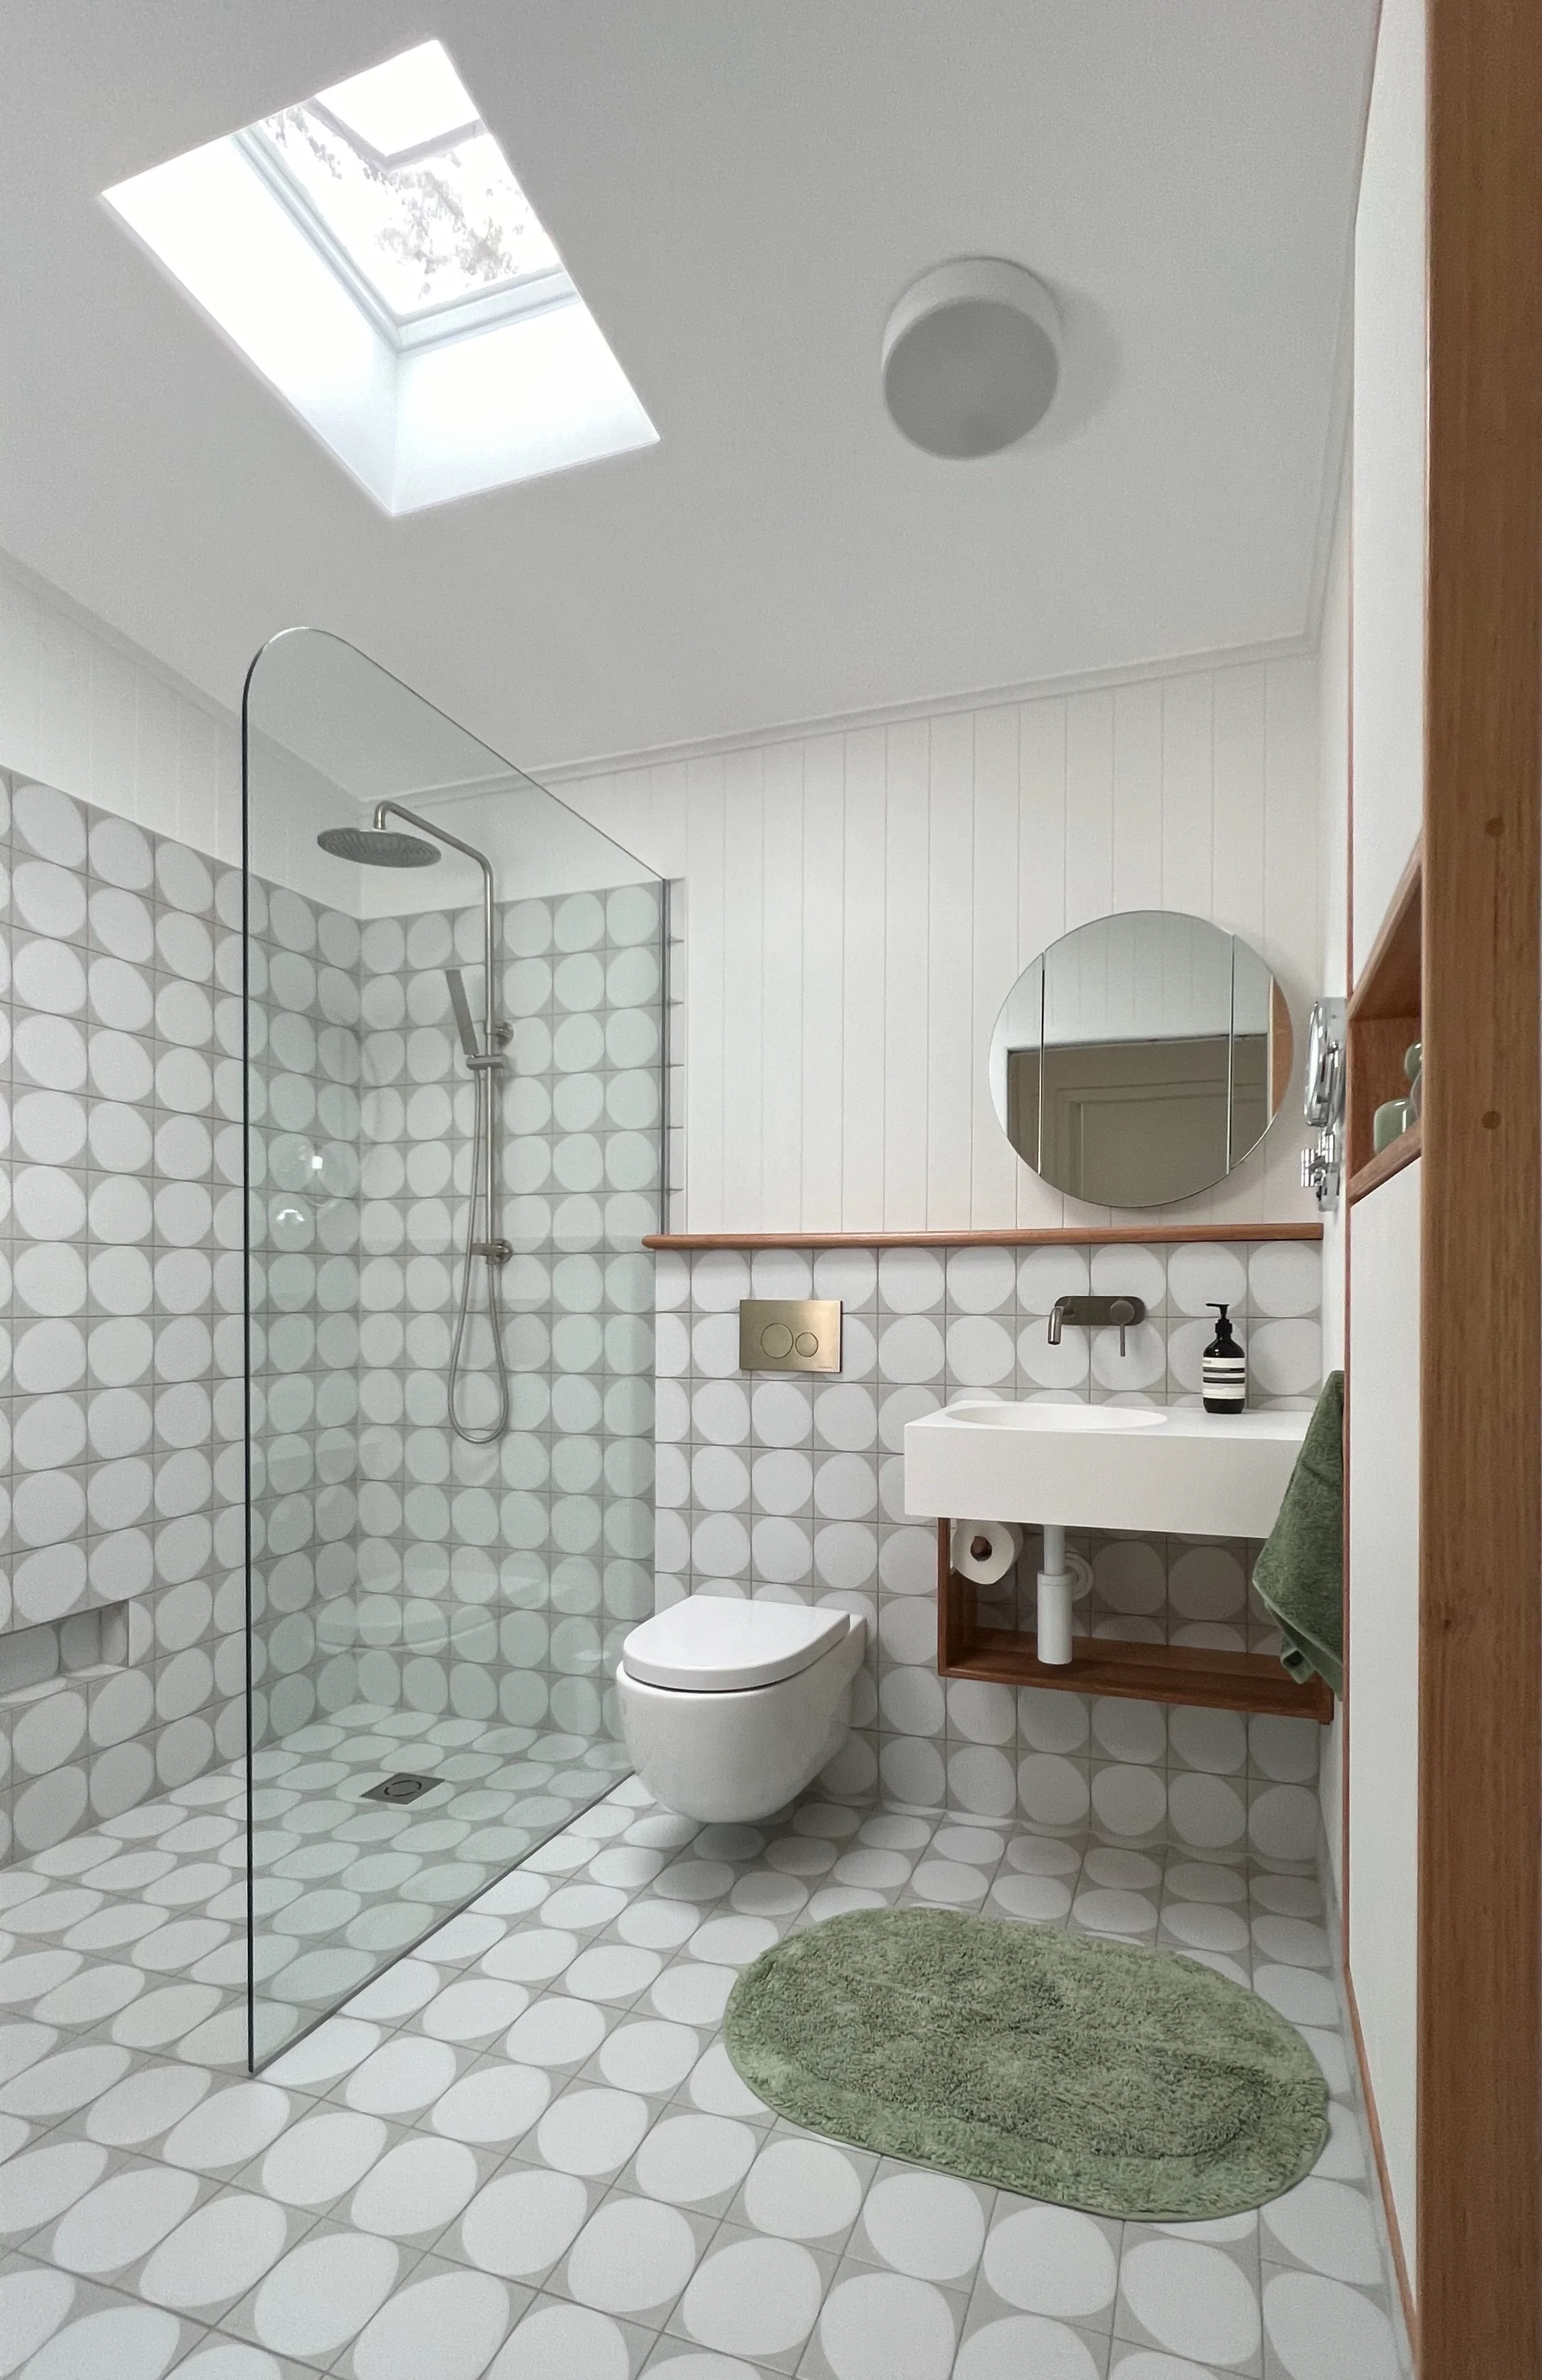
Then this happened! But that’s another story…
Have you done a cosmetic reno on your bathroom?
Tag me on your project and follow more of my DIY journey on Instagram for tool tips, home improvement and simple building projects.