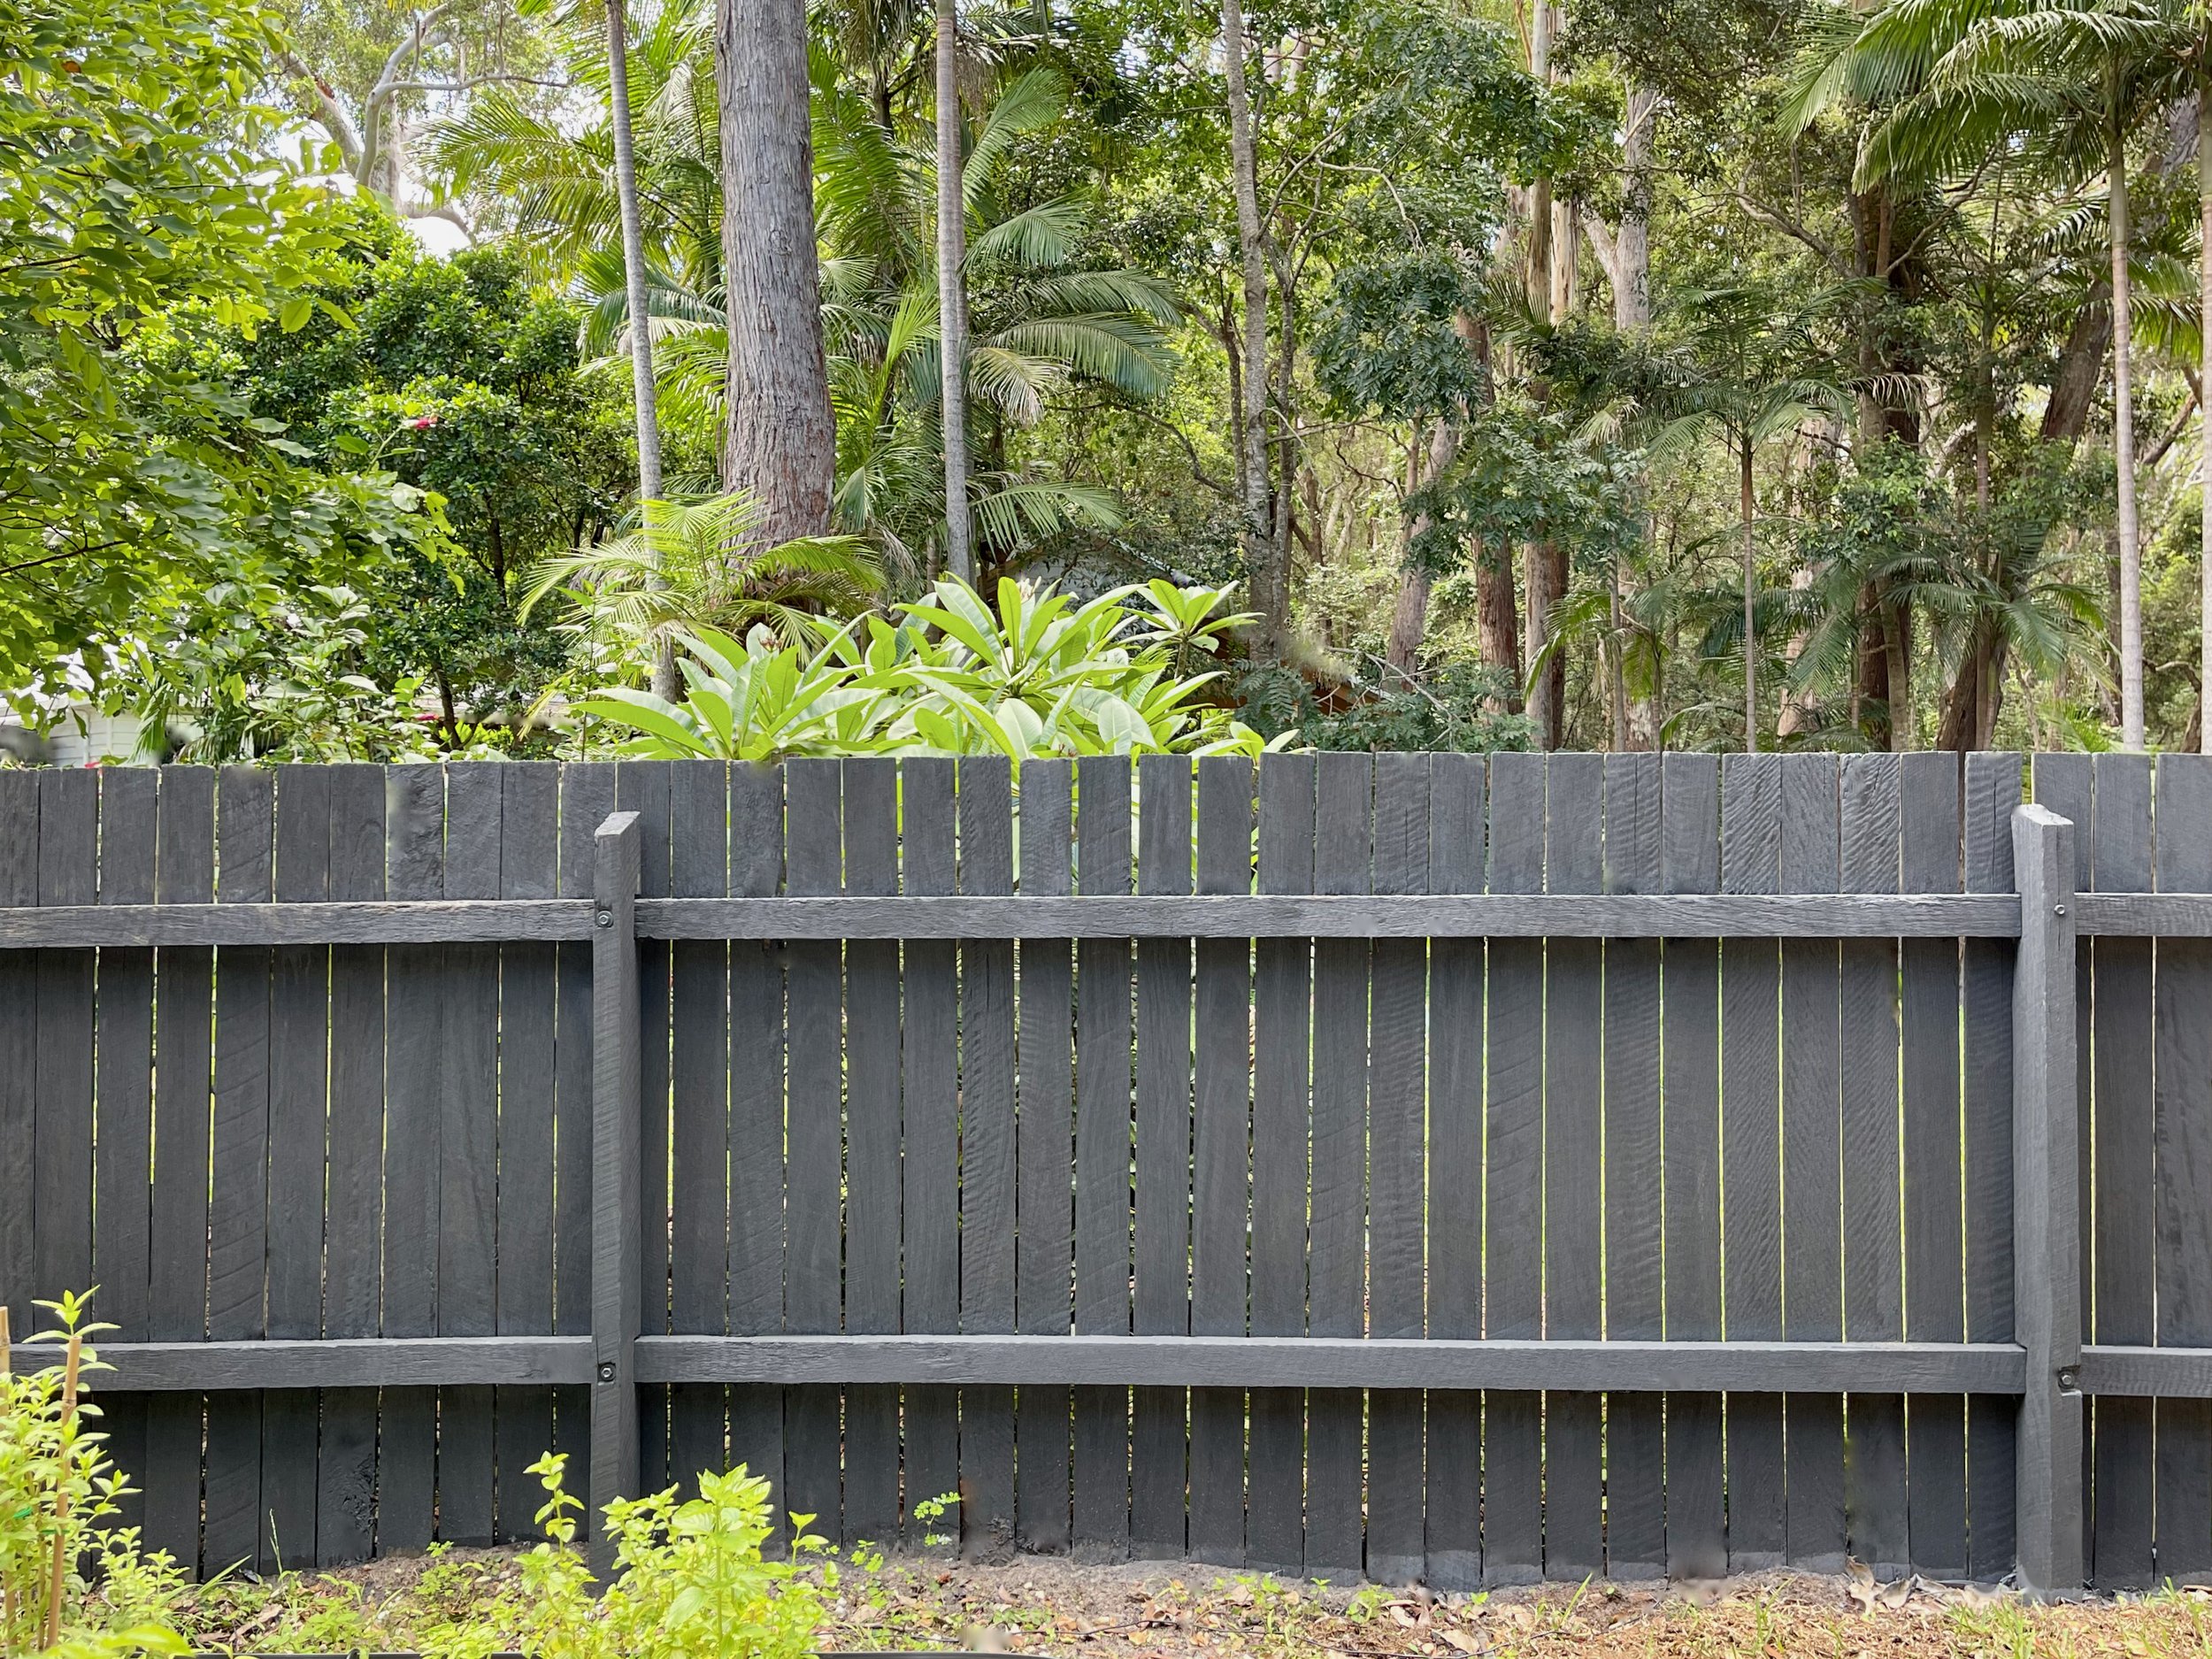
Paint a paling fence the fast way
Alun Machin
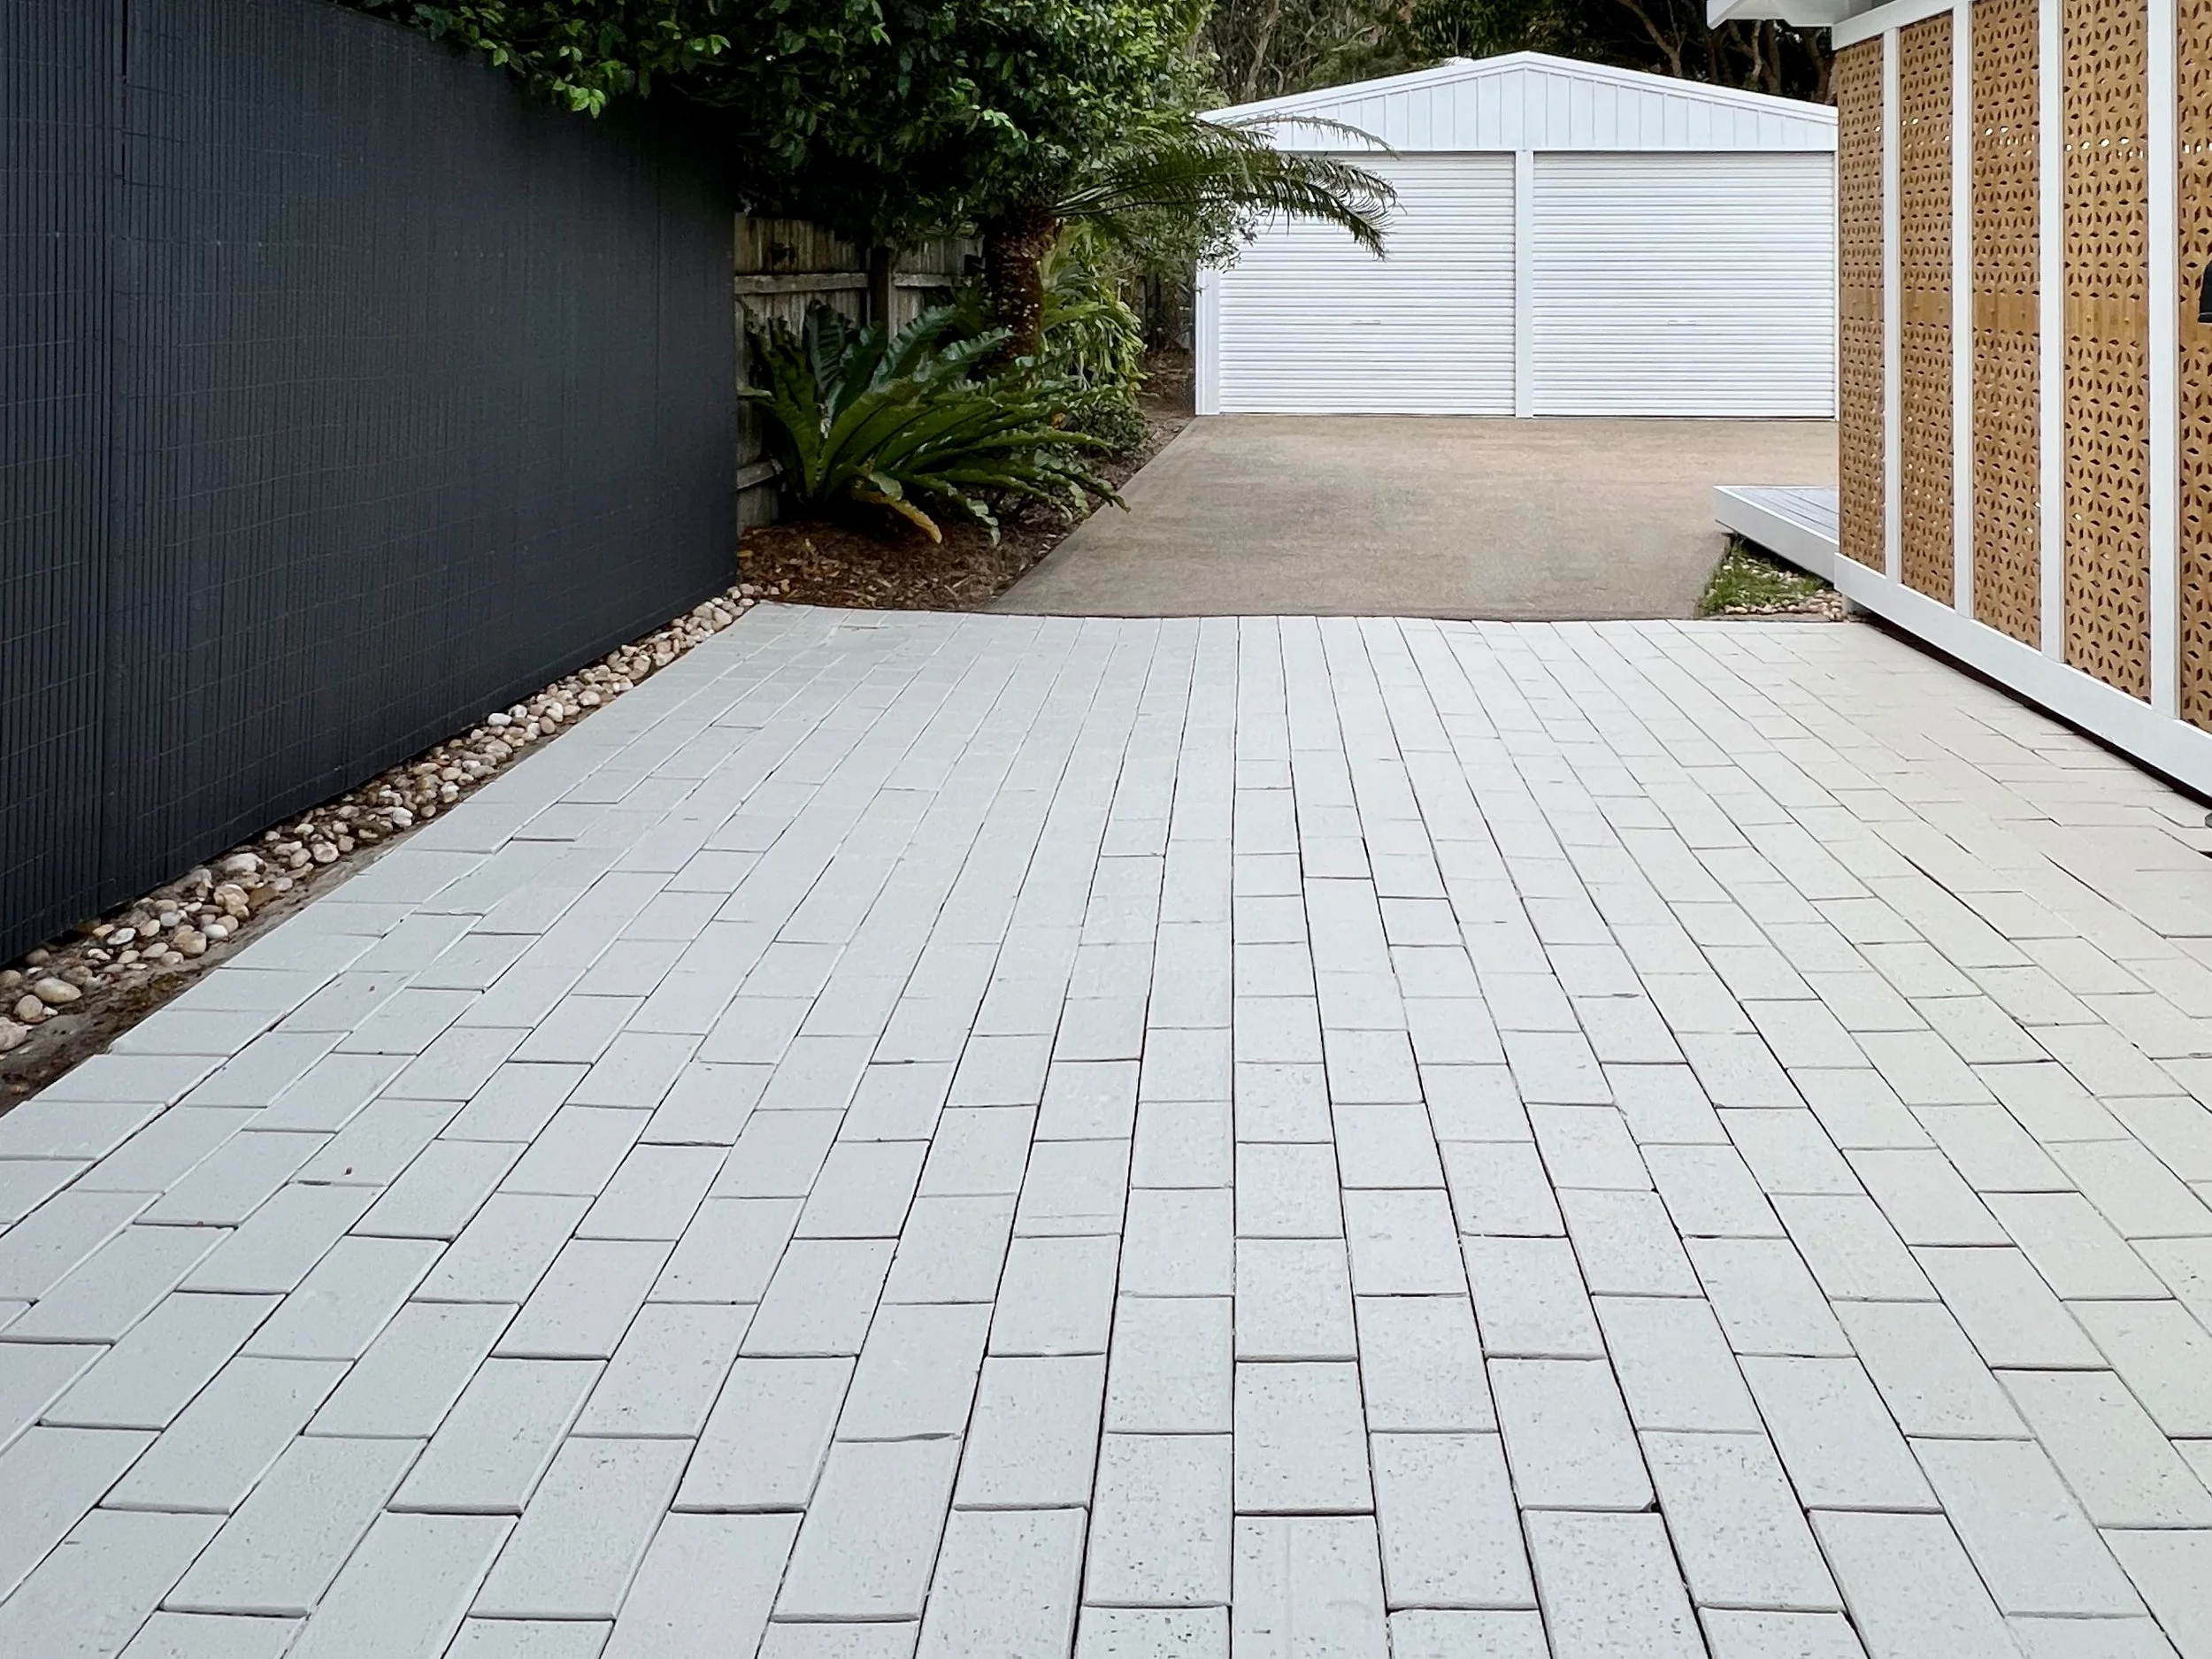
This fence is here for a good time, not a long time, but it needed a quick makeover to be a neat background for a photoshoot.
Here’s how I did it in just a couple of hours and for less than $90…
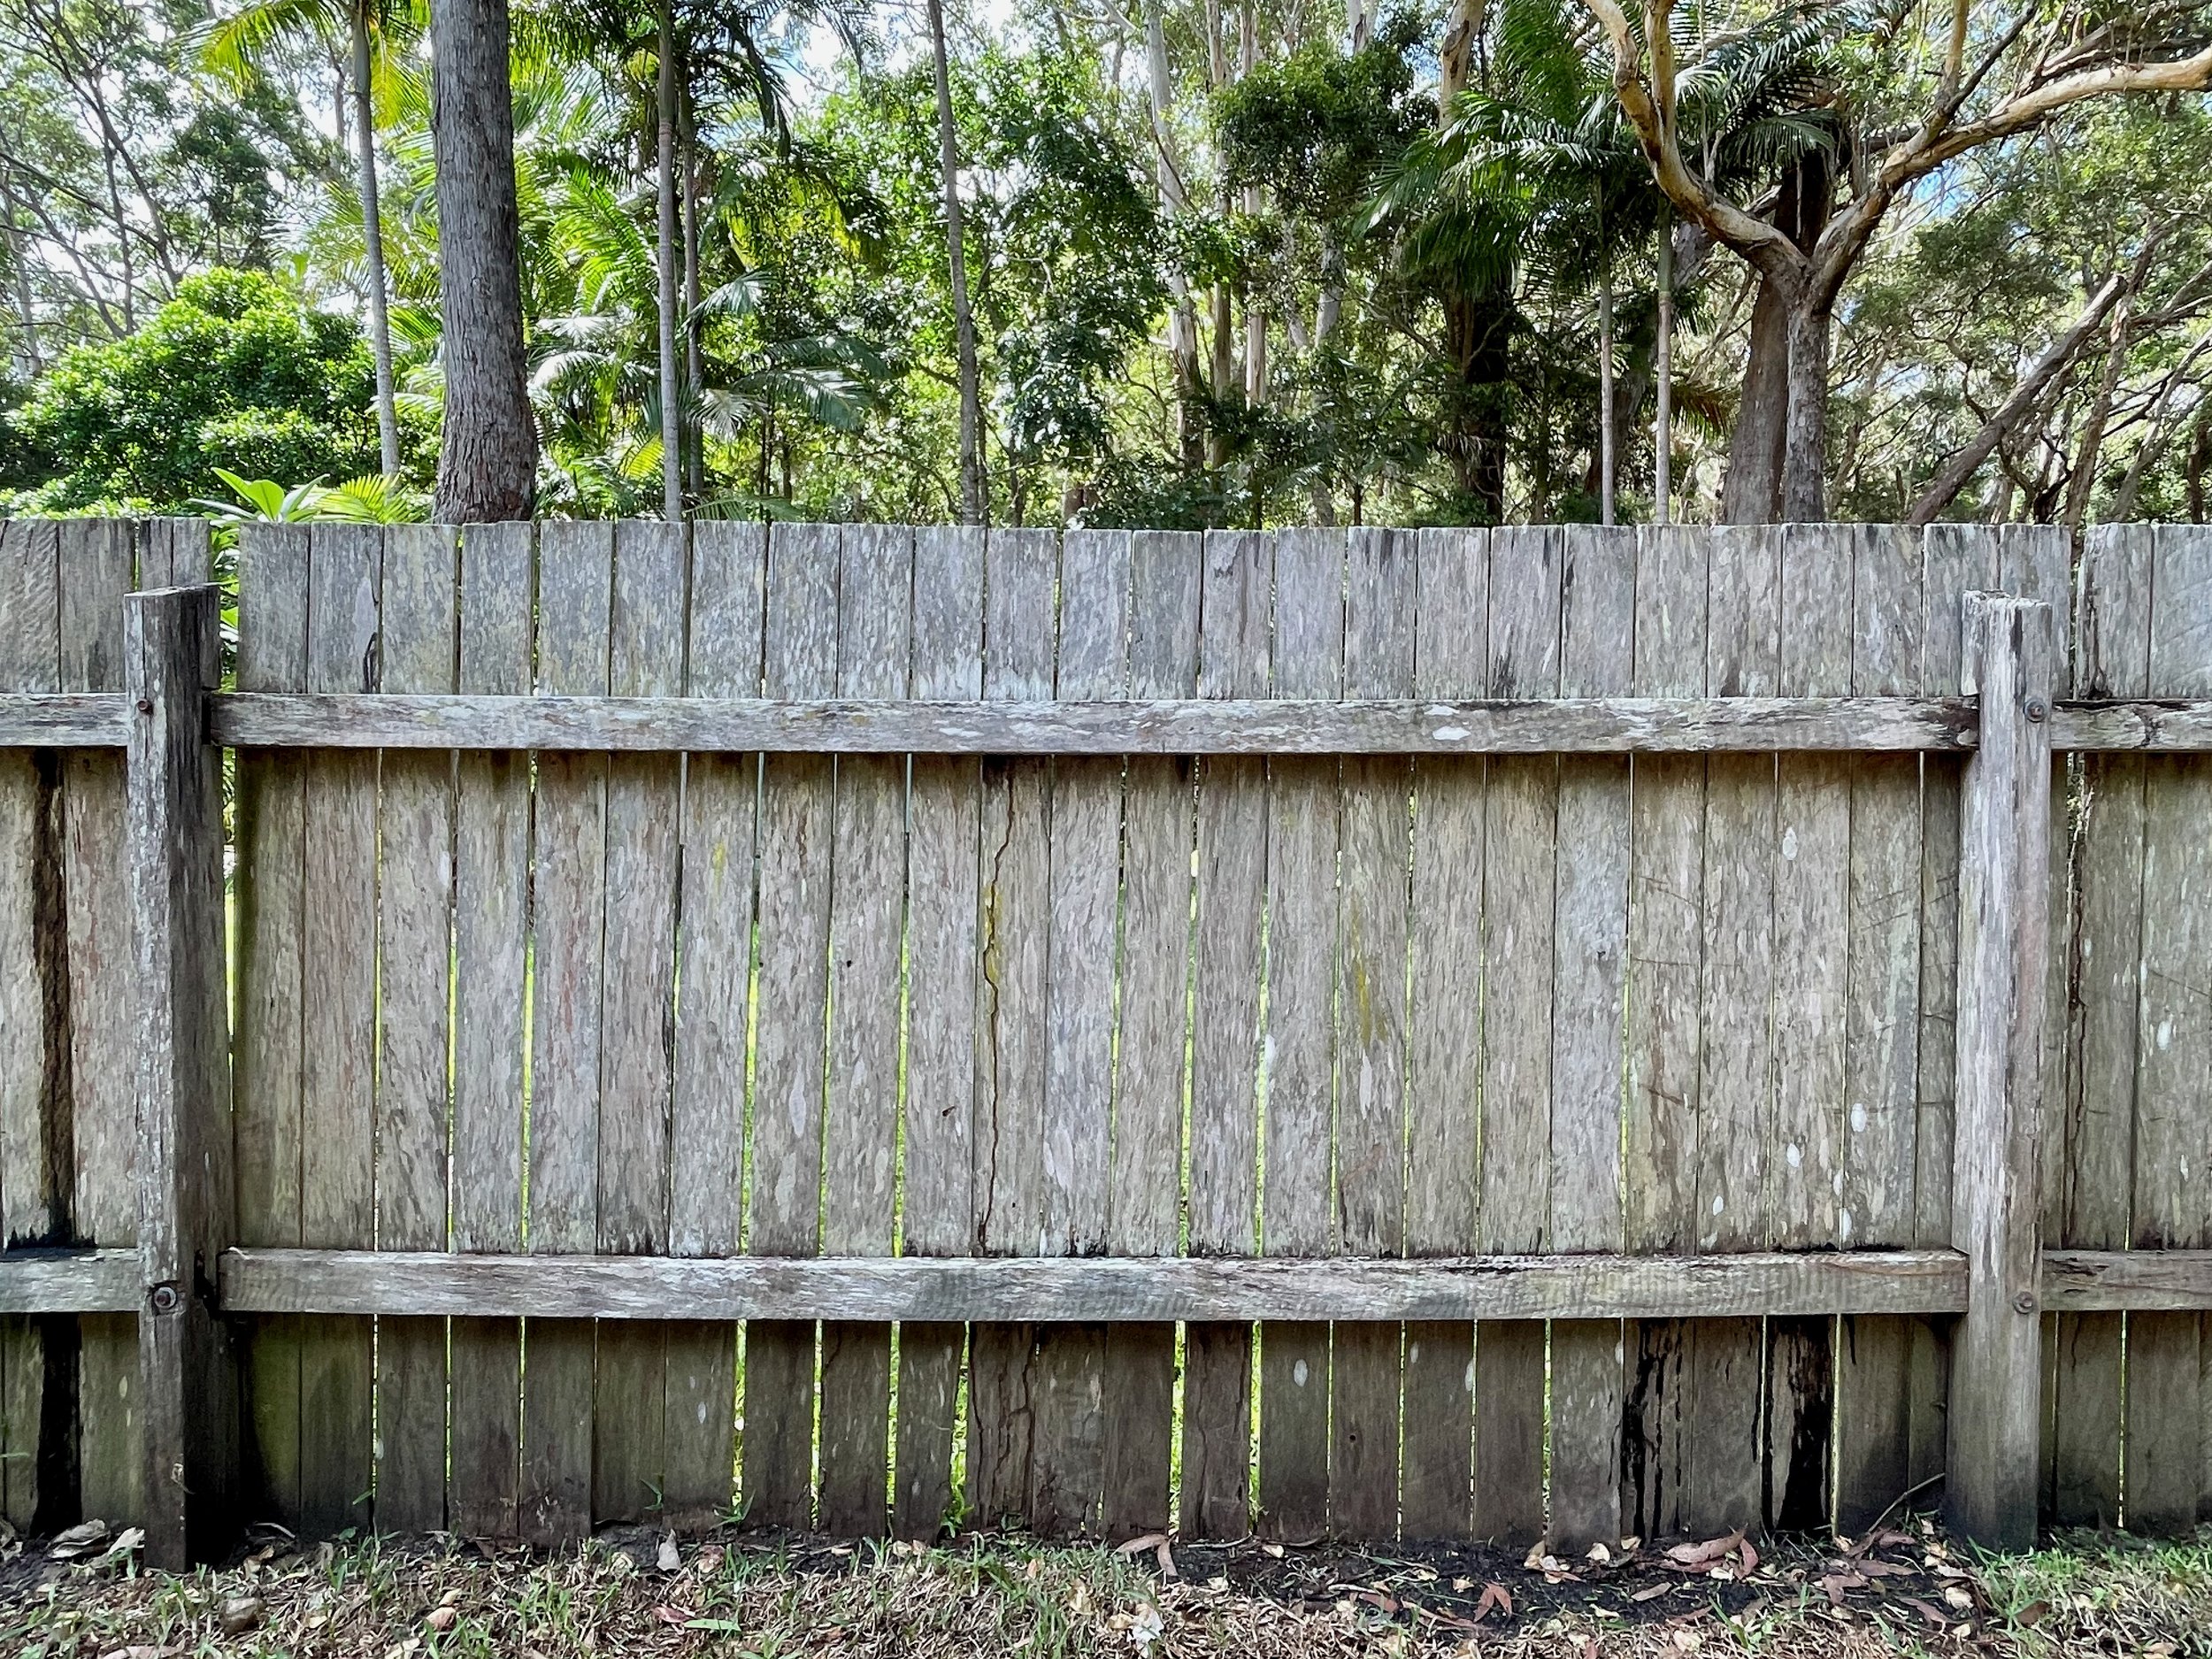
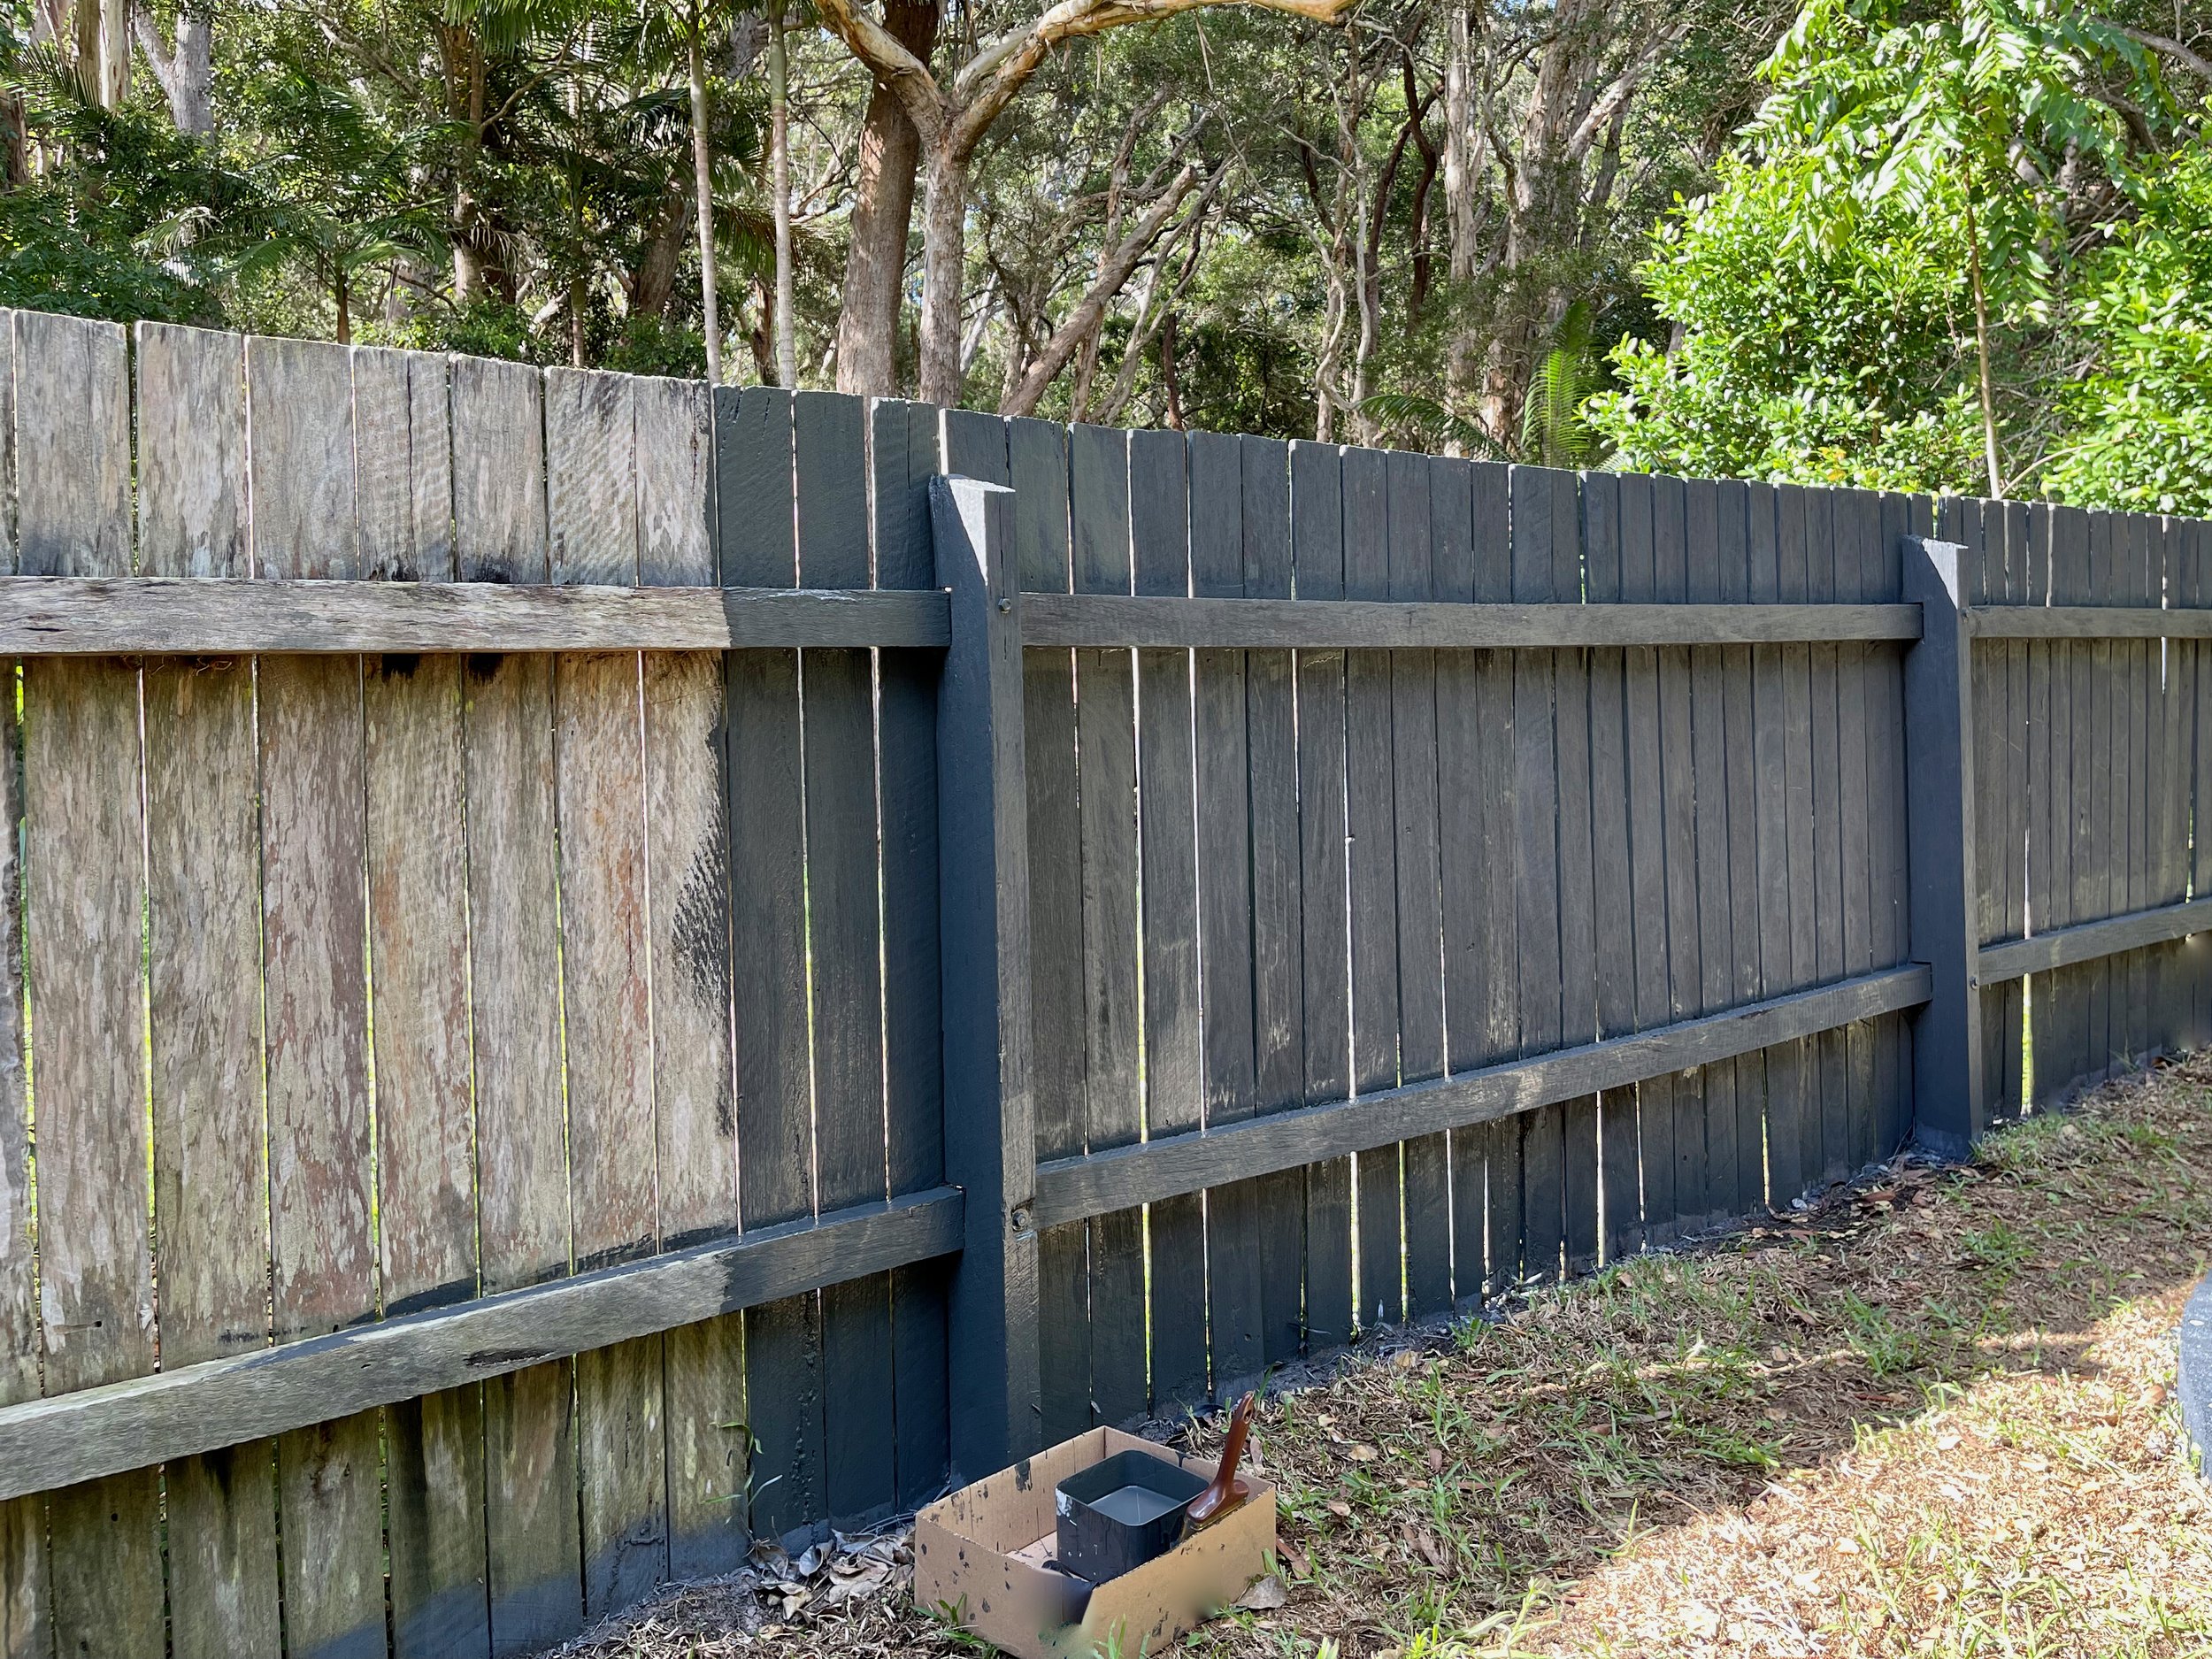
BEFORE Installing timber fencing in coastal bushland that’s prone to termites, bushfire, corrosion and extreme weather is crazy. This bug-ridden one is rotting and will eventually be replaced with more a durable material.
“This method isn’t for DIY purists. If you have a fence that needs some TLC, do take the time to replace rusty fasteners, treat deteriorating sections properly, give it a pressure clean and sand before painting.”
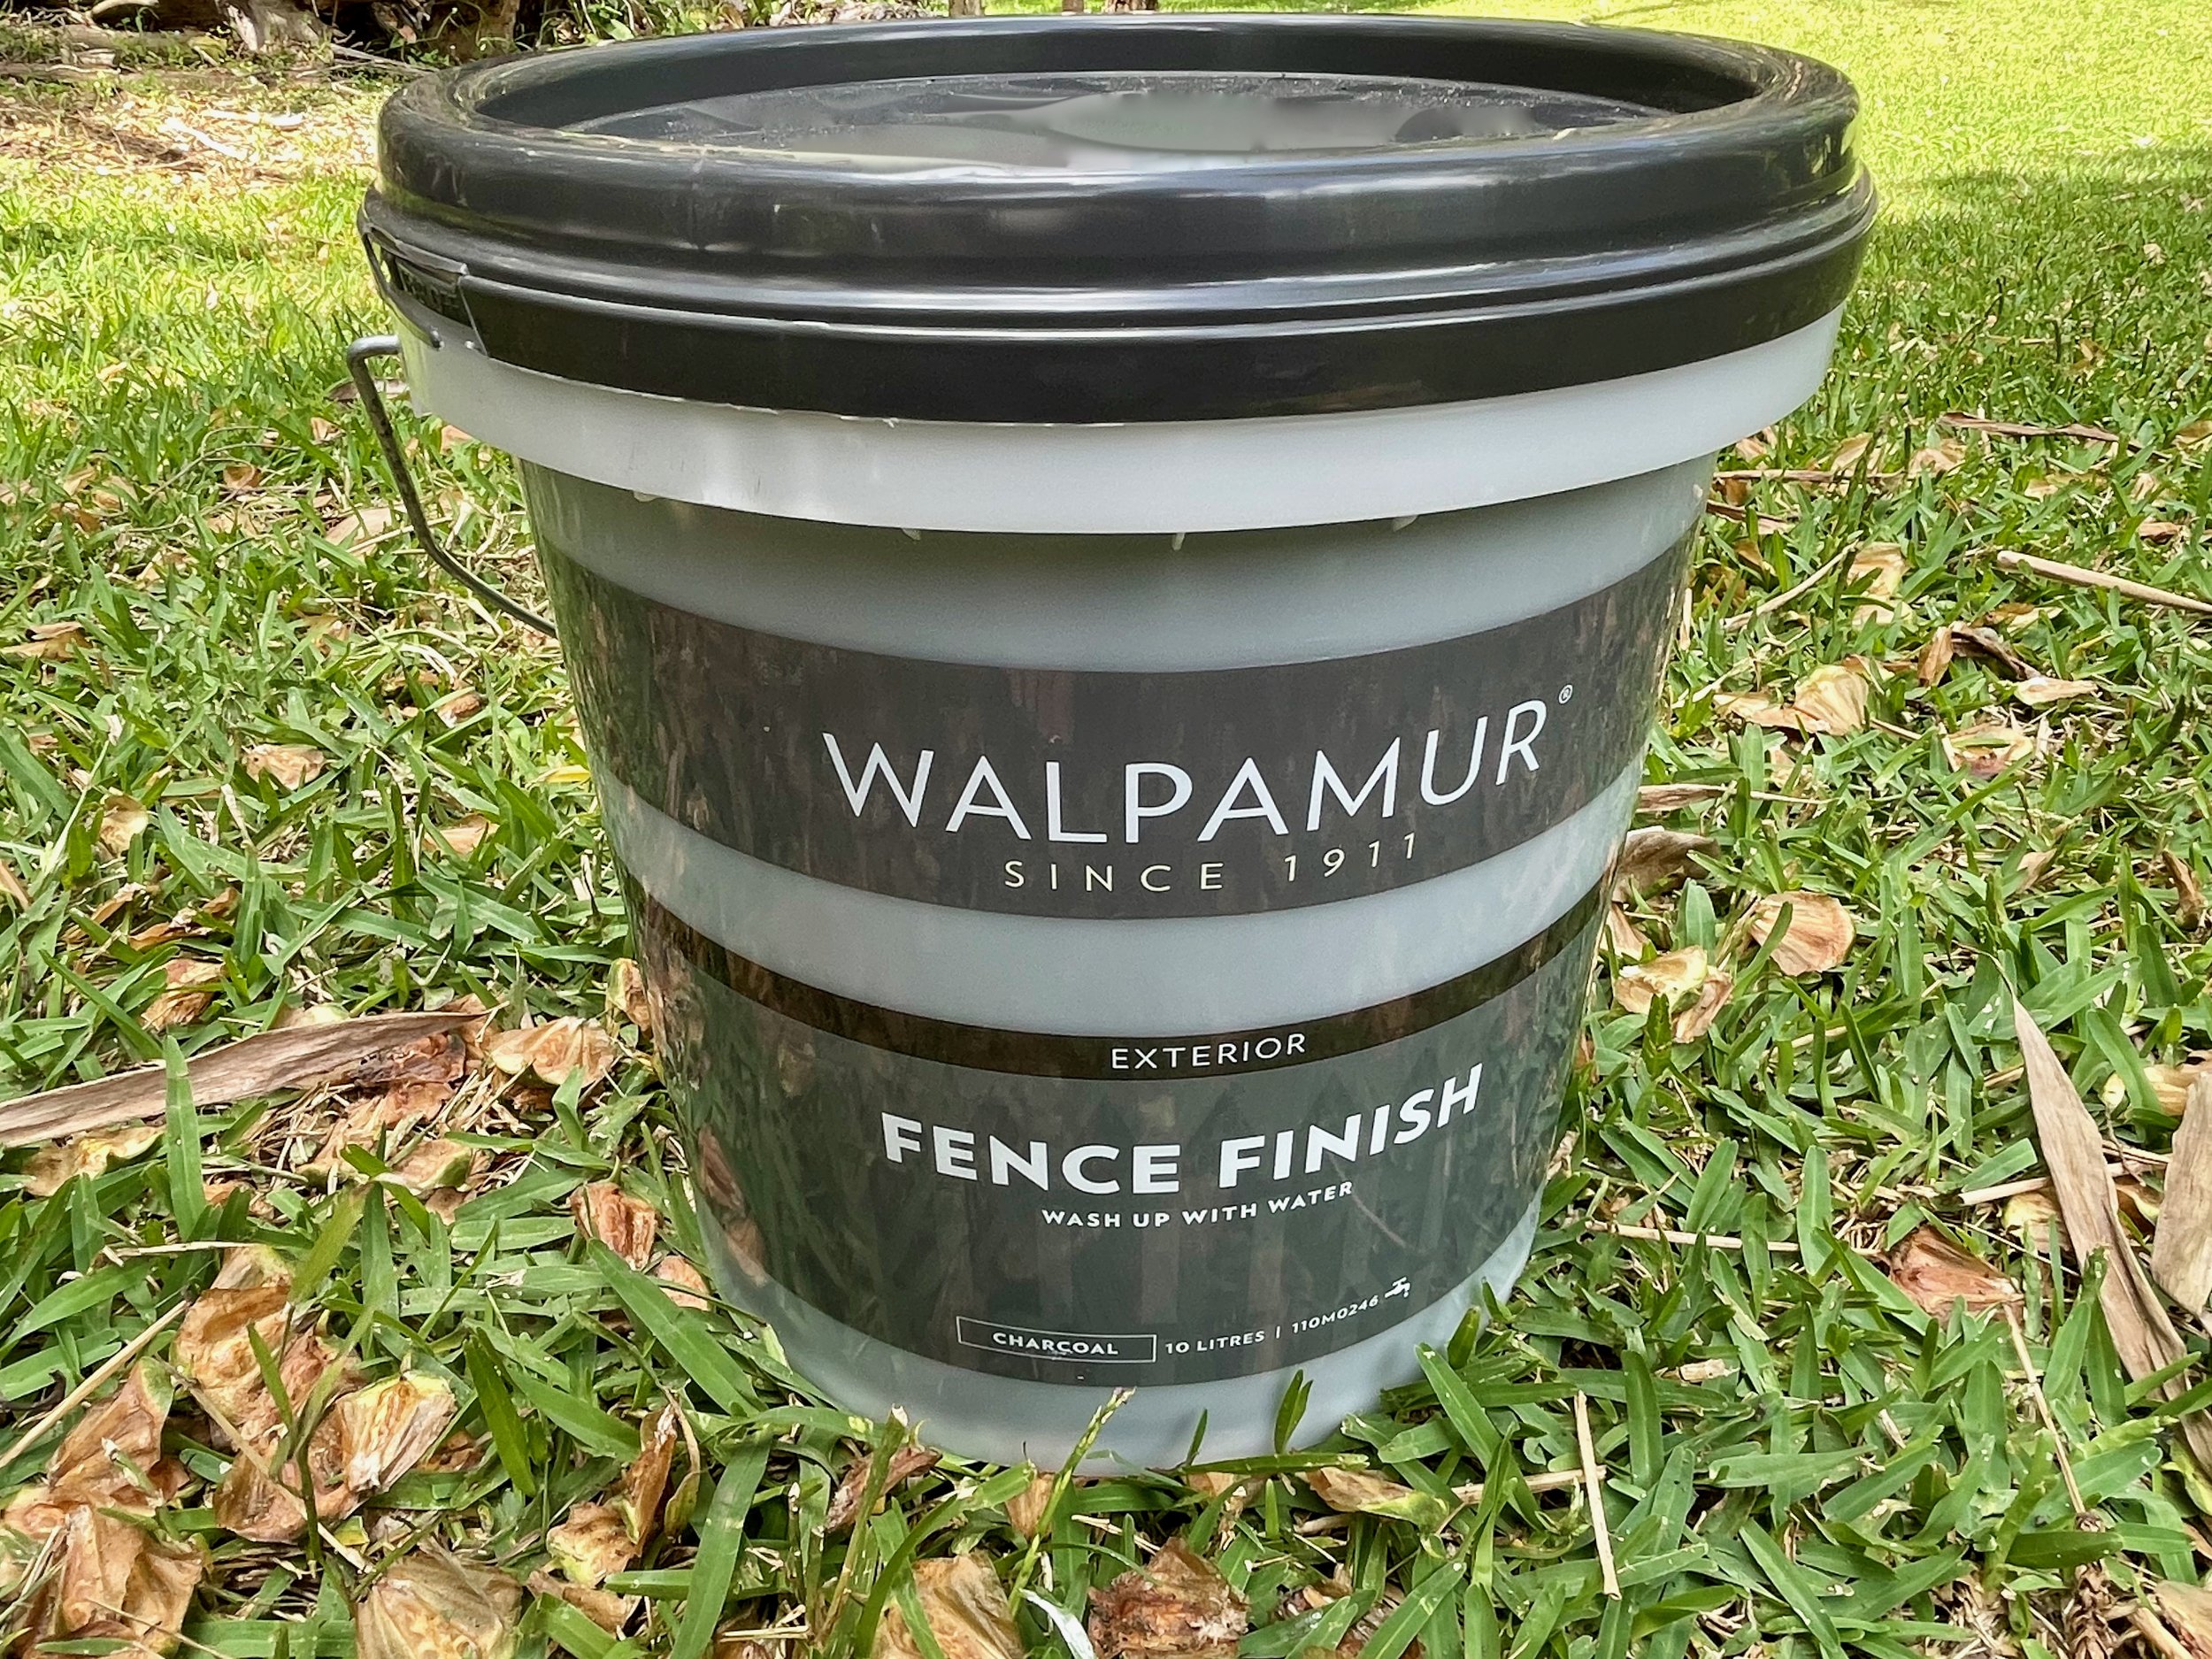
I picked up a 100mm Monarch Fence Brush for about $6 and 10L of Walpamur Fence Finish in Charcoal from Bunnings for about $81, although only used half.
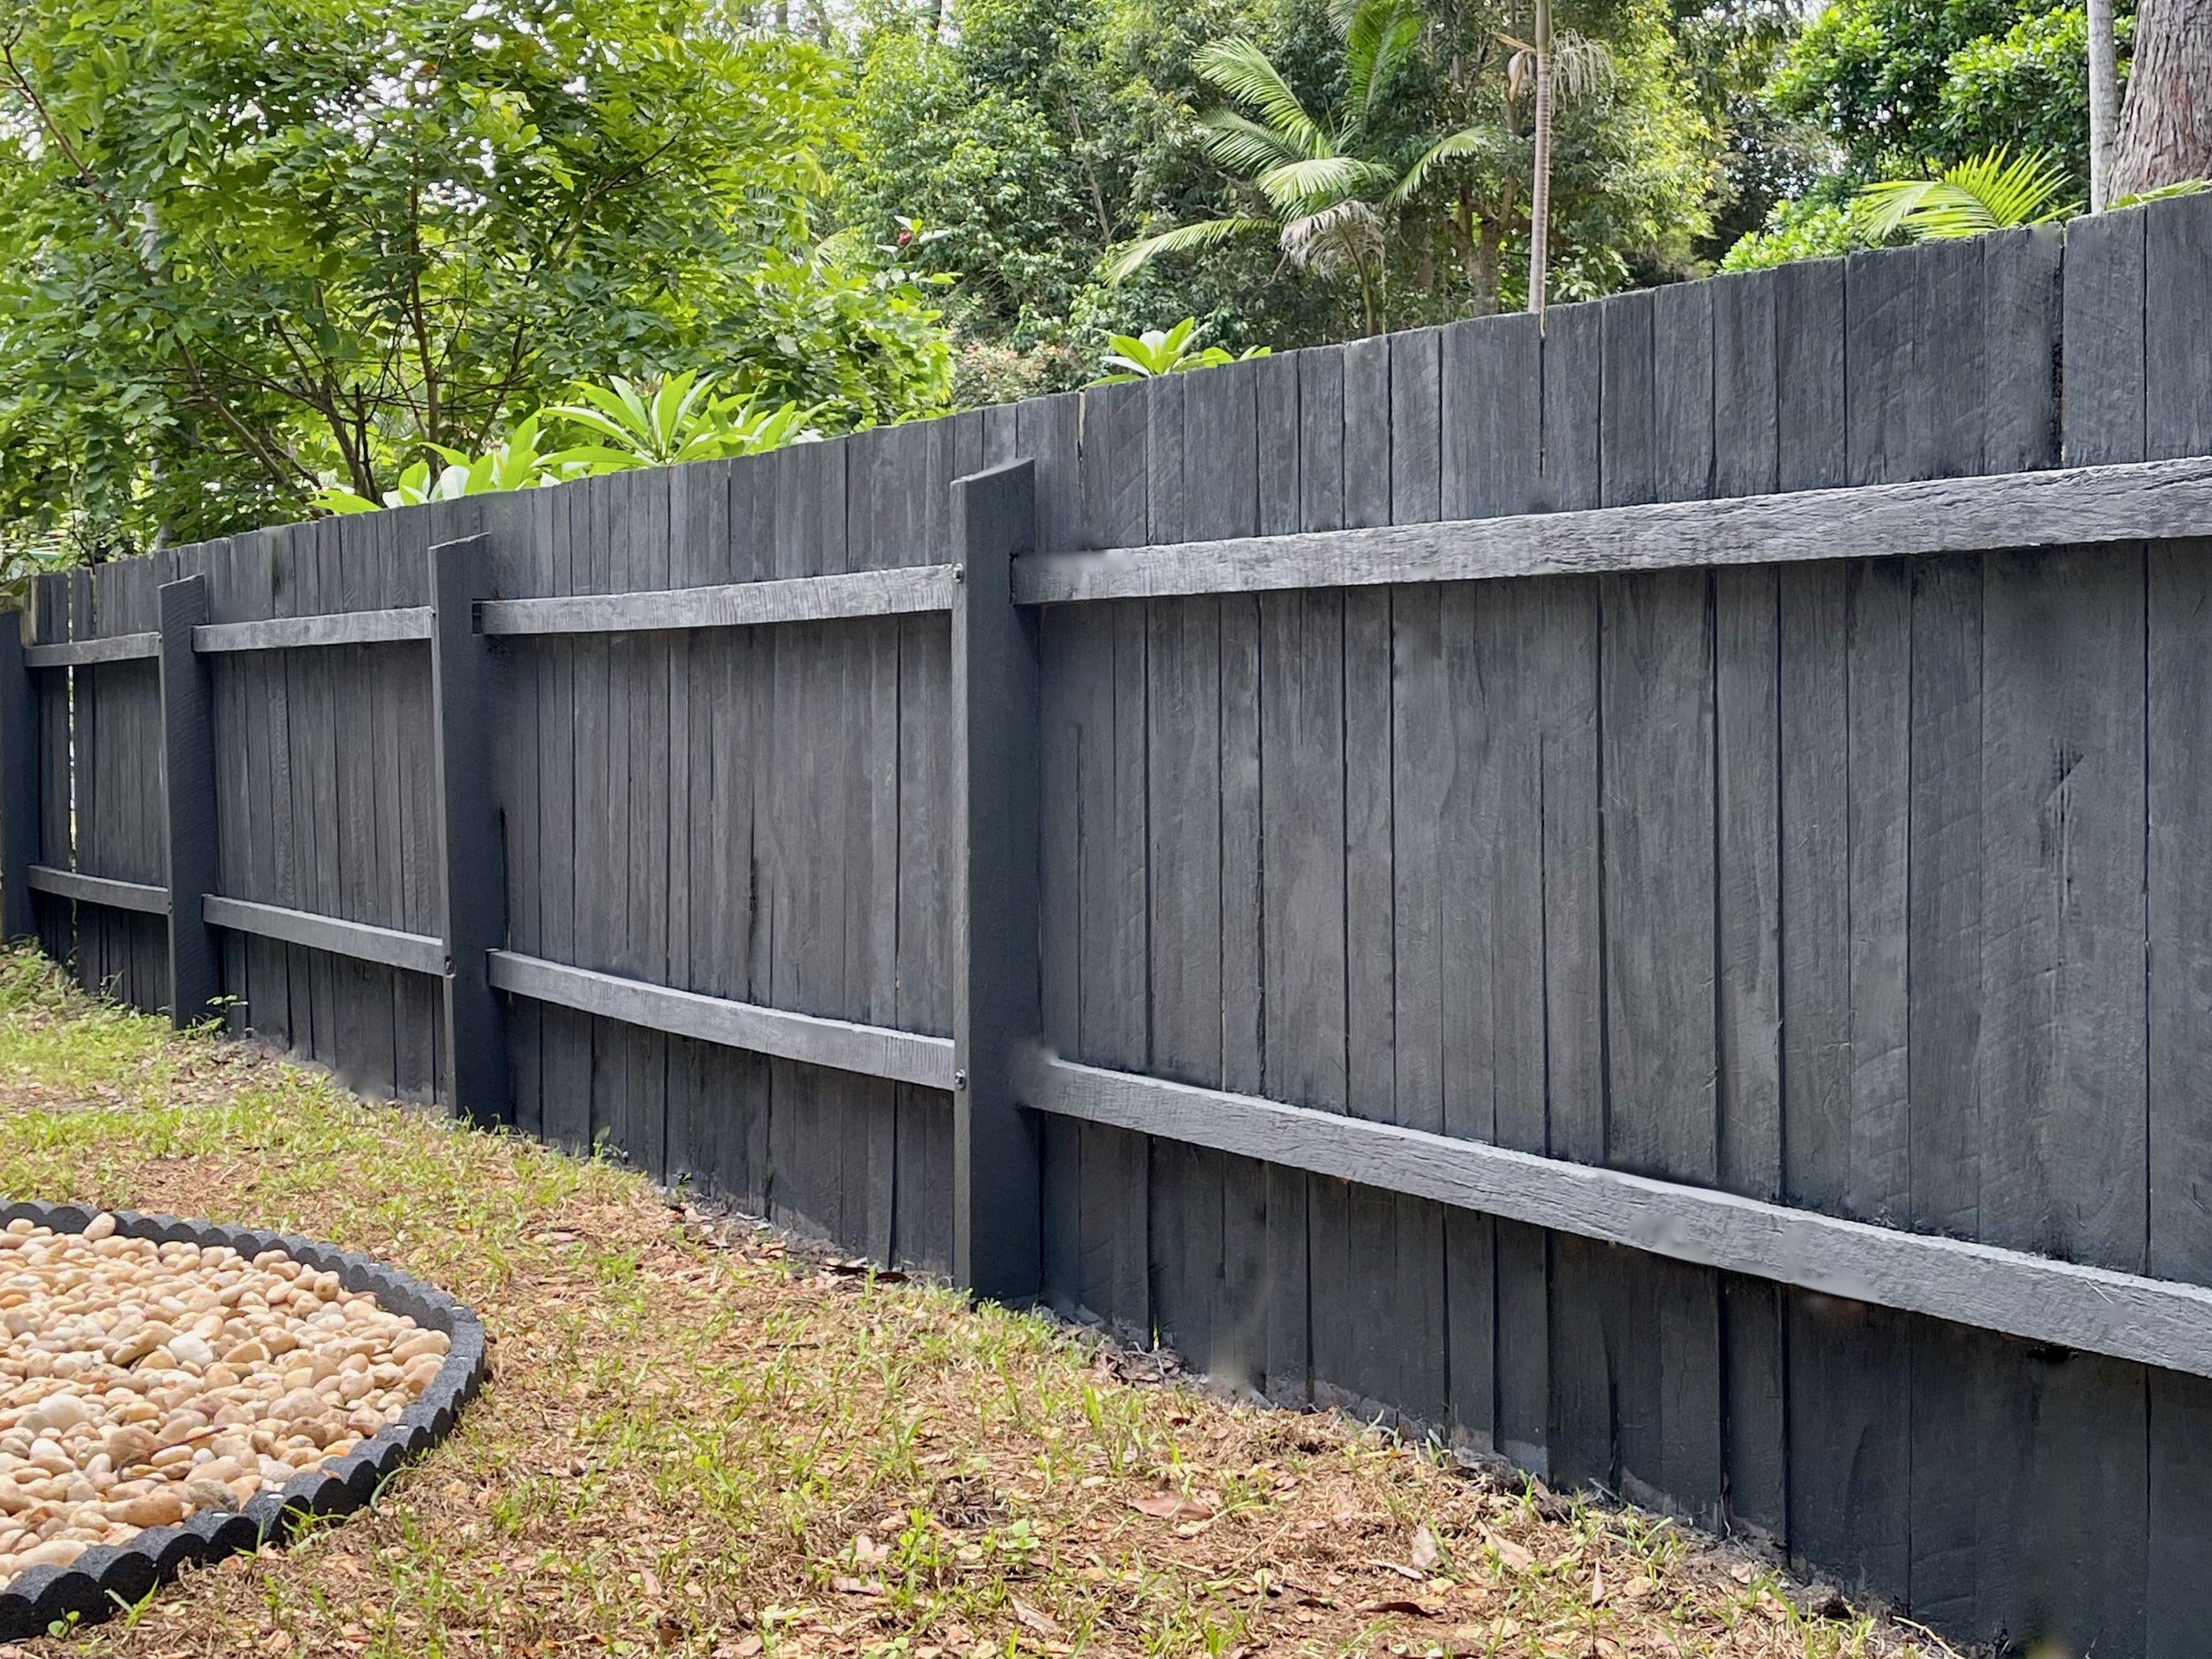
Never used this brand before, but was super impressed with the just-right consistency and perfect colour that dries quickly and fades to be slightly more grey than blue. And it’s completely odourless.
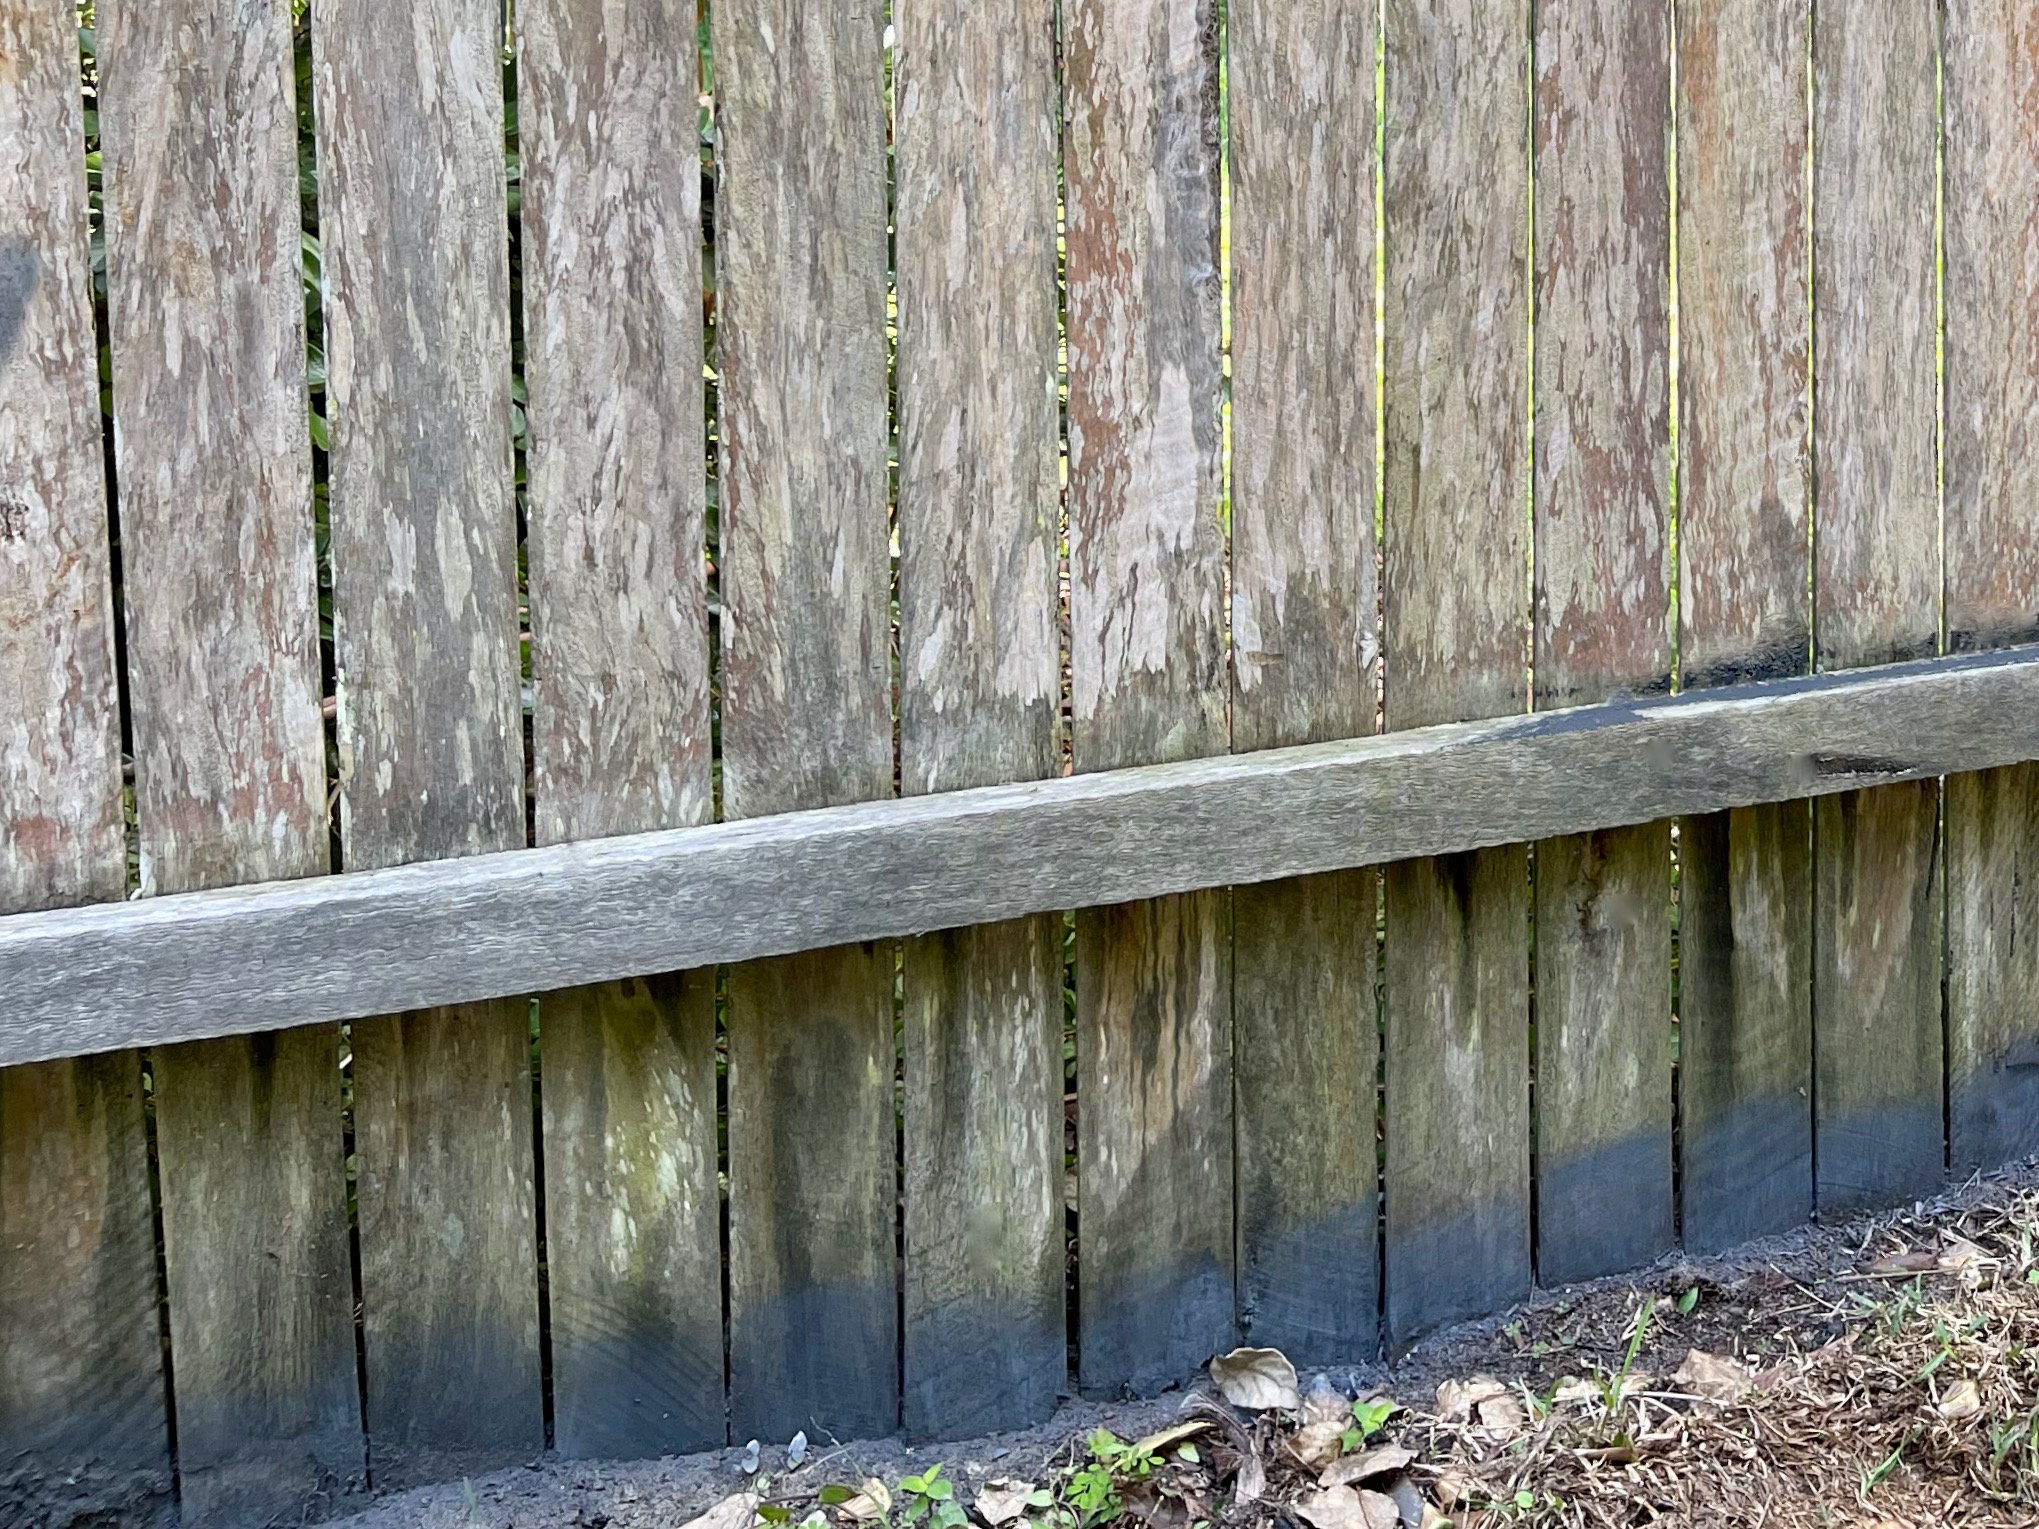
After brushing down the timber, I used White Knight Squirts in Medium Grey along the base of the pickets and either side of the rails, into any rotting cavities and over rusty nuts and bolts.
This helps avoid picking up sand and debris with the brush to maintain as much full coverage as possible.
TIP Use the same-colour spray paint if you have it, but any darker colour does the trick.
Working in sections, I cut in along the rails and posts then worked down each picket, brushing into the sides, taking the time to apply the paint thoroughly.
TIP Transfer paint into a small container and refill as needed. Don’t dip strait into the original tub as this can contaminate the leftover.
Just one coat and some touch-ups over spots I’d missed was all it took to transform this fence!
Are you planning to try painting a fence?
Tag me on your project and follow more of my DIY journey on Instagram for tool tips, home improvement and simple building projects.
