Bedroom Door Revamp (with a secret DIY technique)
Alun Machin

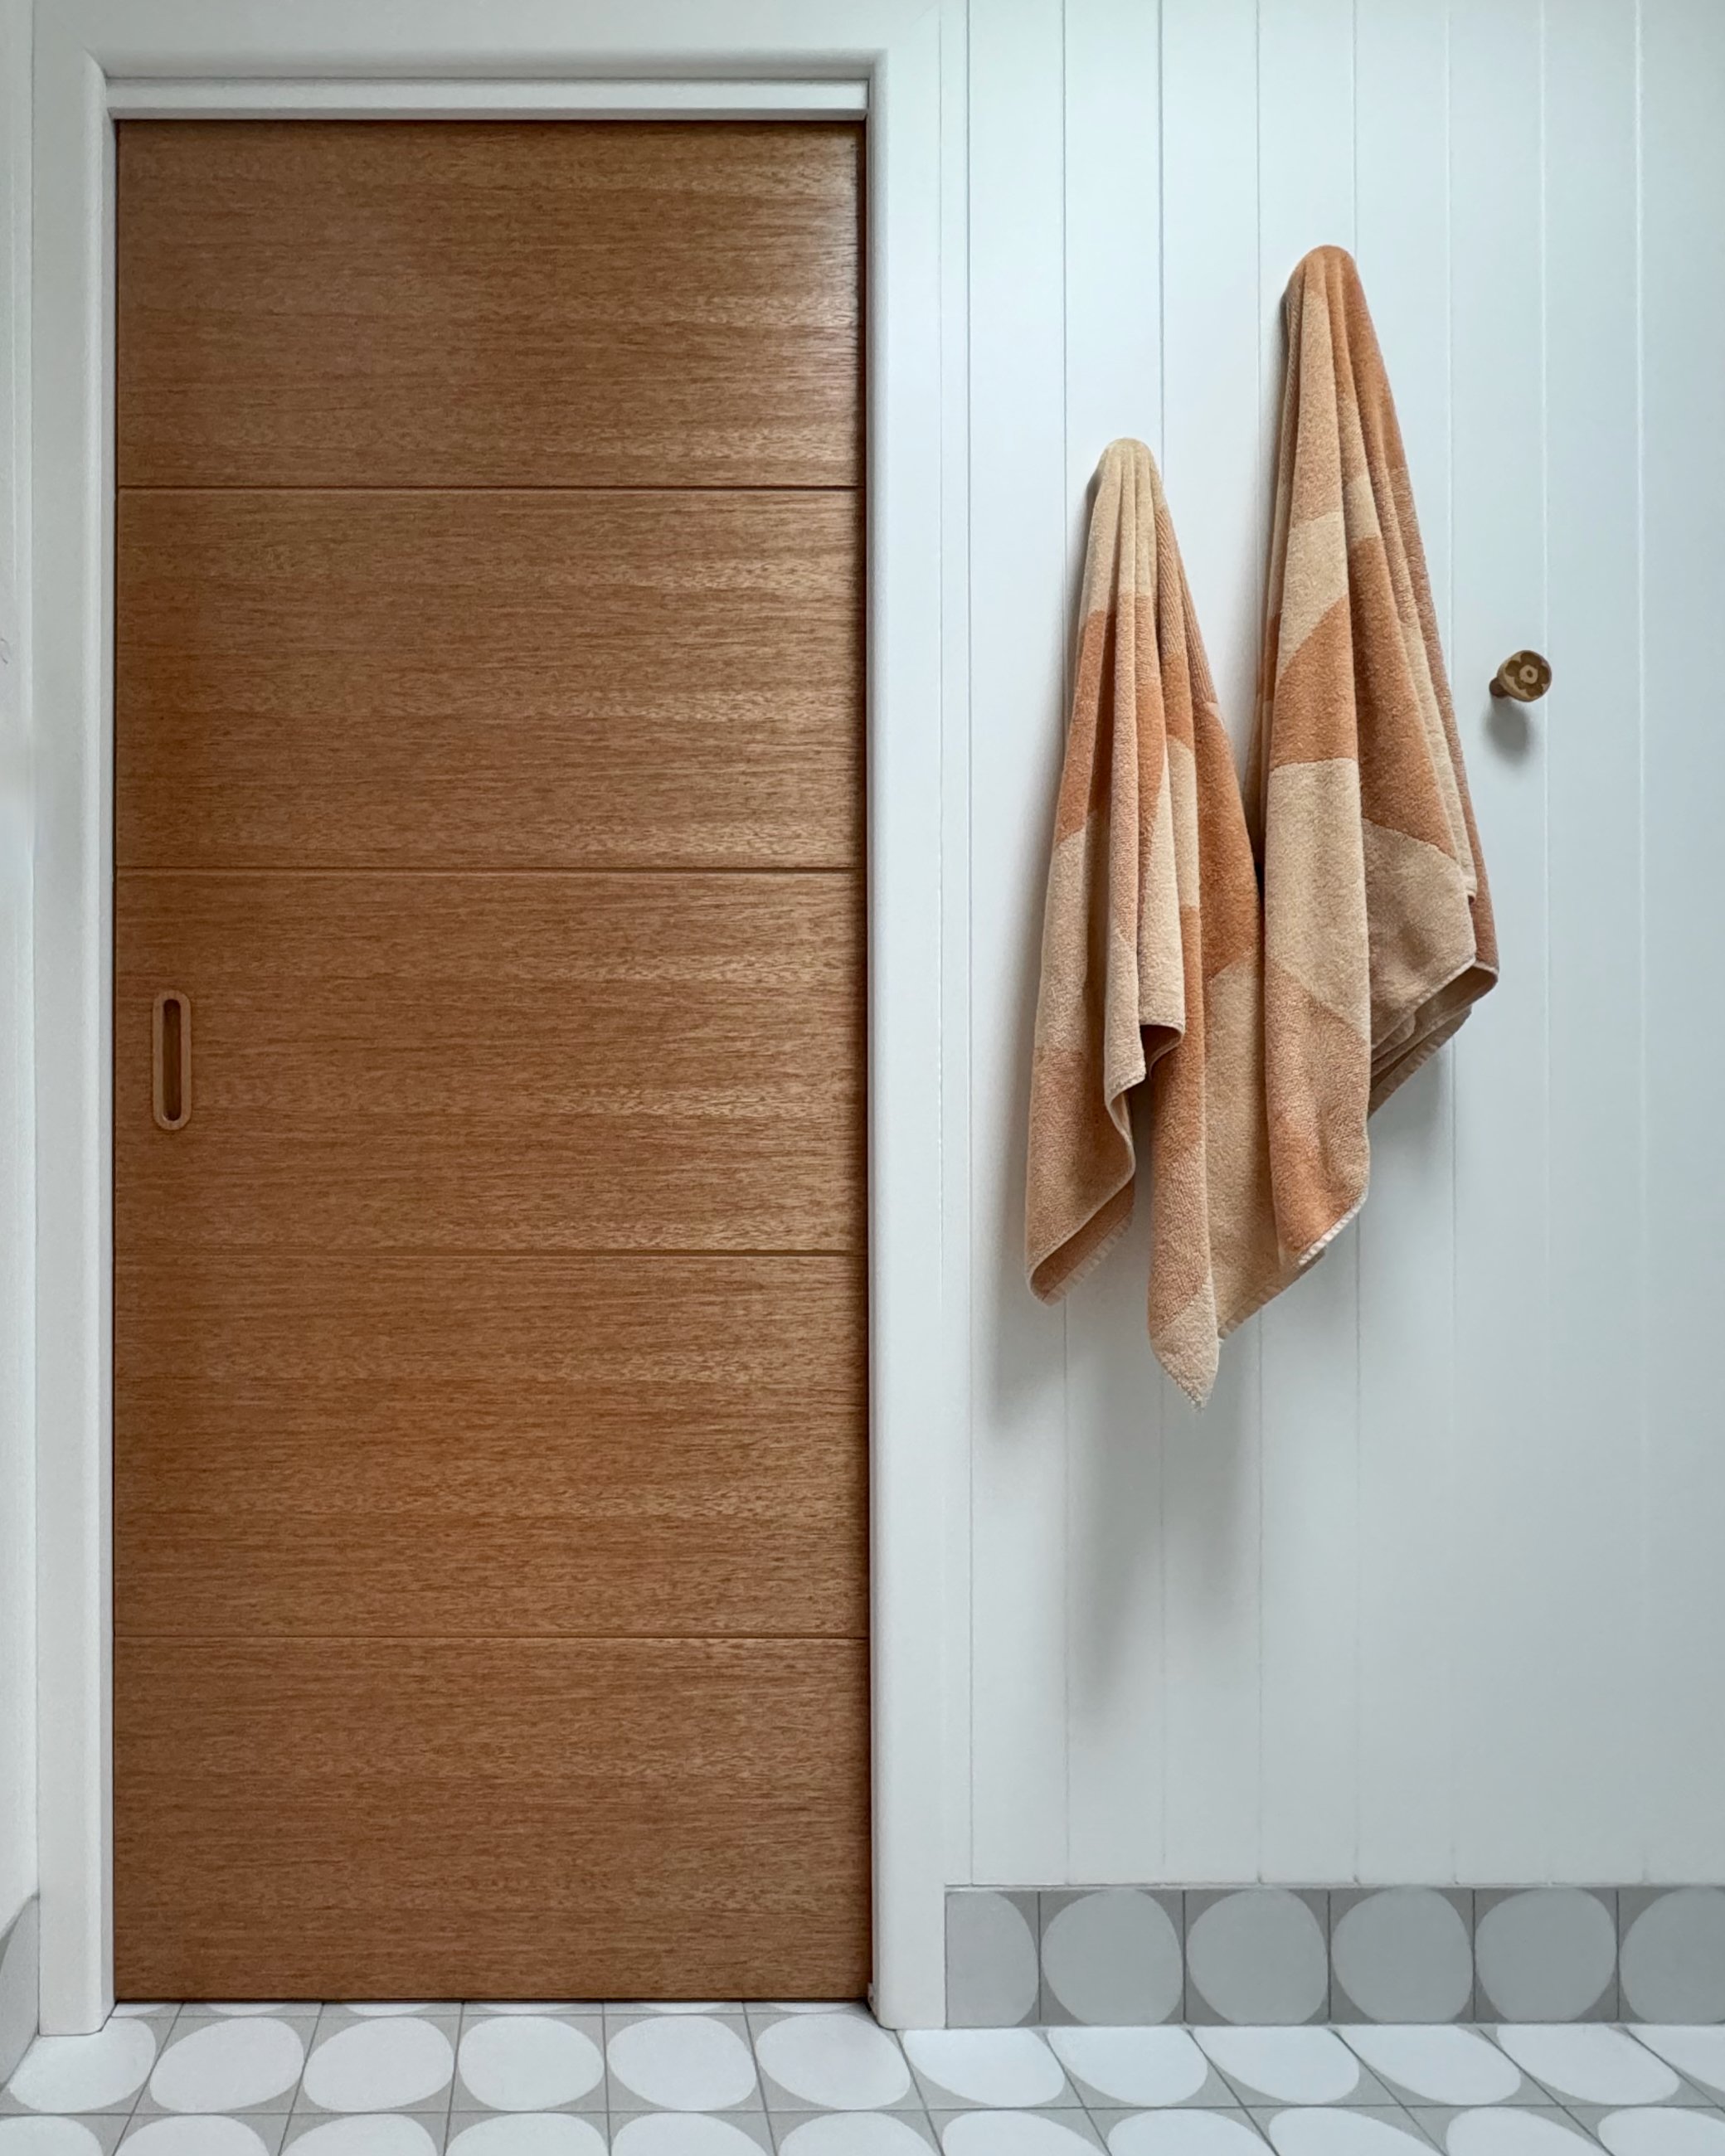
Transforming an everyday, functional element of your home into a showcase for art and pattern is a great way to brighten up a space and give an average bedroom entry a point of interest.
This project is fun and very simple. It uses fabric and a new sealing technique I designed with Bondall’s Monocel Water-based Varnish – a bit similar to the retro concept of decoupage with that classic formula called Mod Podge.

This hollow-core door had been damaged and badly repaired. And if you’re about to admit you prefer the ‘before’ to the ‘after’, I can assure you it doesn’t look so great up close!
Rather than simply paint the door, I turned it into a display for one of my favourite patterns – the iconic poppy print Unikko by Marimekko, designed in the 1960s. I’m such a big fan of bold, mid-century design!

Once you have the fabric, pick up everything else you need at a hardware store. Allow two days to work, mostly for drying time. Put the door on a flat surface, outside and undercover so you can leave the varnish to dry overnight.

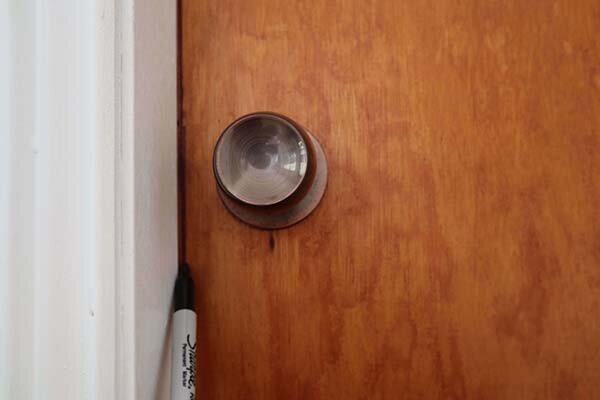
While the door is removed, spruce up the jamb with a fresh coat of paint. I also decided to update the door hardware and chose a modern matt black lever so it’s almost invisible on the pattern. The black hinges match nicely too.

DIY TOOLS & MATERIALS
Felt-tip pen
Drill or screwdriver
3 lengths of 2.4m Porta 12 x 6mm half round flybead moulding for the frame
Mitre box with handsaw
180-grit abrasive paper with hand-sanding block
Water-based enamel paint
Mini roller with tray and two microfibre covers, one foam cover
Fabric to fit the door, about 2040mm x 820mm
Ruler or tape measure
Scissors
Bondall’s Bondcrete adhesive 1-litre tub
Masking tape
Print roller or rolling pin
Bondall’s Monocel Water-based Clear Varnish in satin, 1L
25mm x 1.6mm bullet head nails
Small hammer
Utility knife
Small paintbrush
Pair of Zenith 90mm Radius Butt Hinges in matt black
Lane Passage leverset in matt black
STEP 1 MARK UP THE DOOR
Close the door to trace around the inside of the jamb with a black felt-tip pen as a guide for positioning the moulding frame.

STEP 2 REMOVE DOOR HARDWARE
Use a drill or screwdriver to remove the handle and strike plate, then remove the door and hinges, taking off on the bottom one first so the door doesn’t fall on you.
TIP Set up the door outside, on a flat surface and undercover so you can leave it dry overnight.

STEP 3 SET OUT THE FRAME
To make the frame, position the moulding inside the pen marks, using the mitre box and hand saw to cut one corner of the moulding at a time. Check the pieces fit then sand the edges smooth.

STEP 4 PREP AND PAINT
Lightly sand the door then apply a two or three coats of paint on both sides and edges using a microfibre roller. Also paint the frame pieces.
TIP Use a specialty paint for doors and trim as it’s more resistant to scratching than a wall paint. If you have white fabric and a dark door, apply a few coats of paint so the woodgrain doesn’t show through the fabric.

STEP 5 FIT THE FABRIC
Position the fabric on the door, moving it to showcase the pattern. Measure from the factory edge, tapping a guide to cut with scissors so the fabric fits inside the lines.
TIP Be sure to show off the pattern! In this case, the flowers are positioned to run down the centre, with a black background around the handle.

STEP 6 ADHERE THE FABRIC
To glue the fabric, tape the bottom half to the door to secure it while working on the top. Fold the fabric back to apply the Bondcrete adhesive in a light, even coat. Fold the fabric back and use a print roller or rolling pin to push out air bubbles. Tape down the edges then repeat with the bottom half of the door, leaving to dry thoroughly for a couple of hours.
TIP Use a mini foam roller to apply the adhesive, which has the perfect, fast-but-forgiving dry-time for this project.

STEP 7 SEAL THE FABRIC
Use a microfibre cover with the mini roller to apply varnish over the fabric, working around the edges to prevent fraying. Cover the roller with plastic wrap and leave the door to dry for at least four hours. Cut out the handle hole then apply a second coat and leave to dry.
TIP Although the instructions for Monocel Water-based Varnish suggest sanding between coats, it’s best to avoid sanding the fabric.

STEP 8 ATTACH THE FRAME
To secure the frame, start with the top piece, tapping in nails at least 50mm from the ends to avoid splitting, and about 300mm apart. Fit the sides, nailing the corners first to ensure a neat join, attaching the base last.
TIP The frame covers the edges of the fabric. After nailing it down, trim any escaping frayed edges with a sharp utility knife.

STEP 9 TOUCH UP THE PAINT
Use a small paintbrush to hide the nail heads and touch up around the outside of the frame to cover any pen marks.
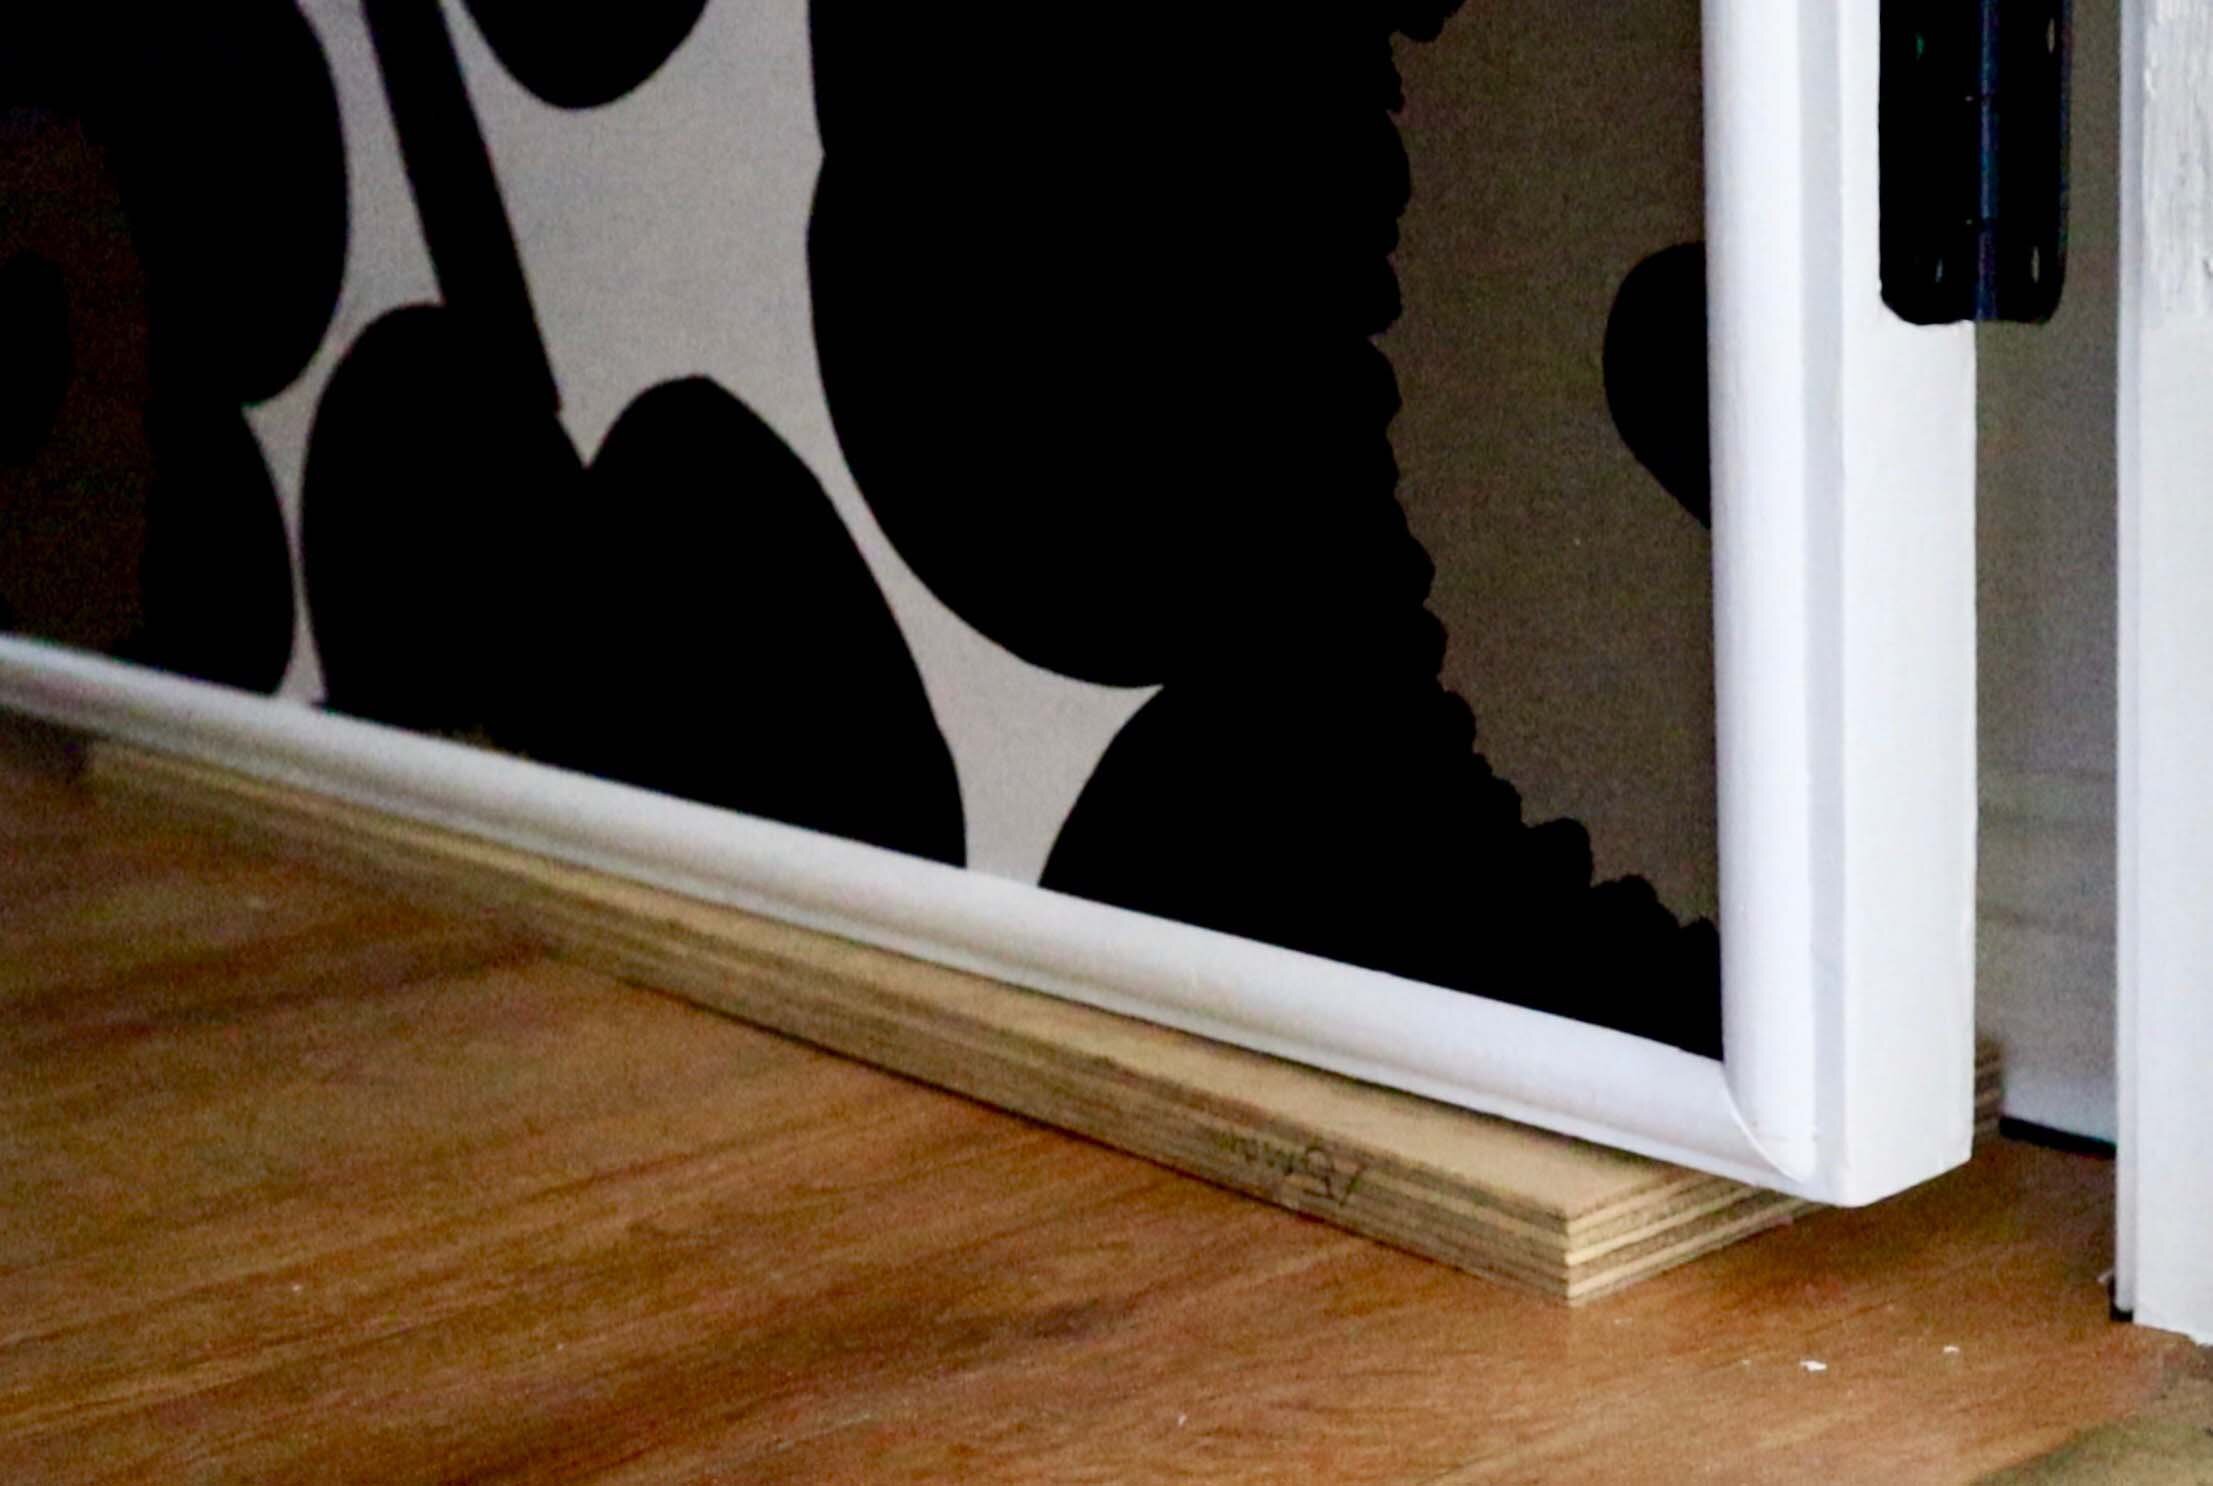
STEP 10 RE-HANG THE DOOR
To hang the door, attach new hinges then use a timber offcut to help lift and position it, securing the top hinge to the jamb first. Make sure the door closes without hitting the frame then install the new handle and strike to make an entrance!

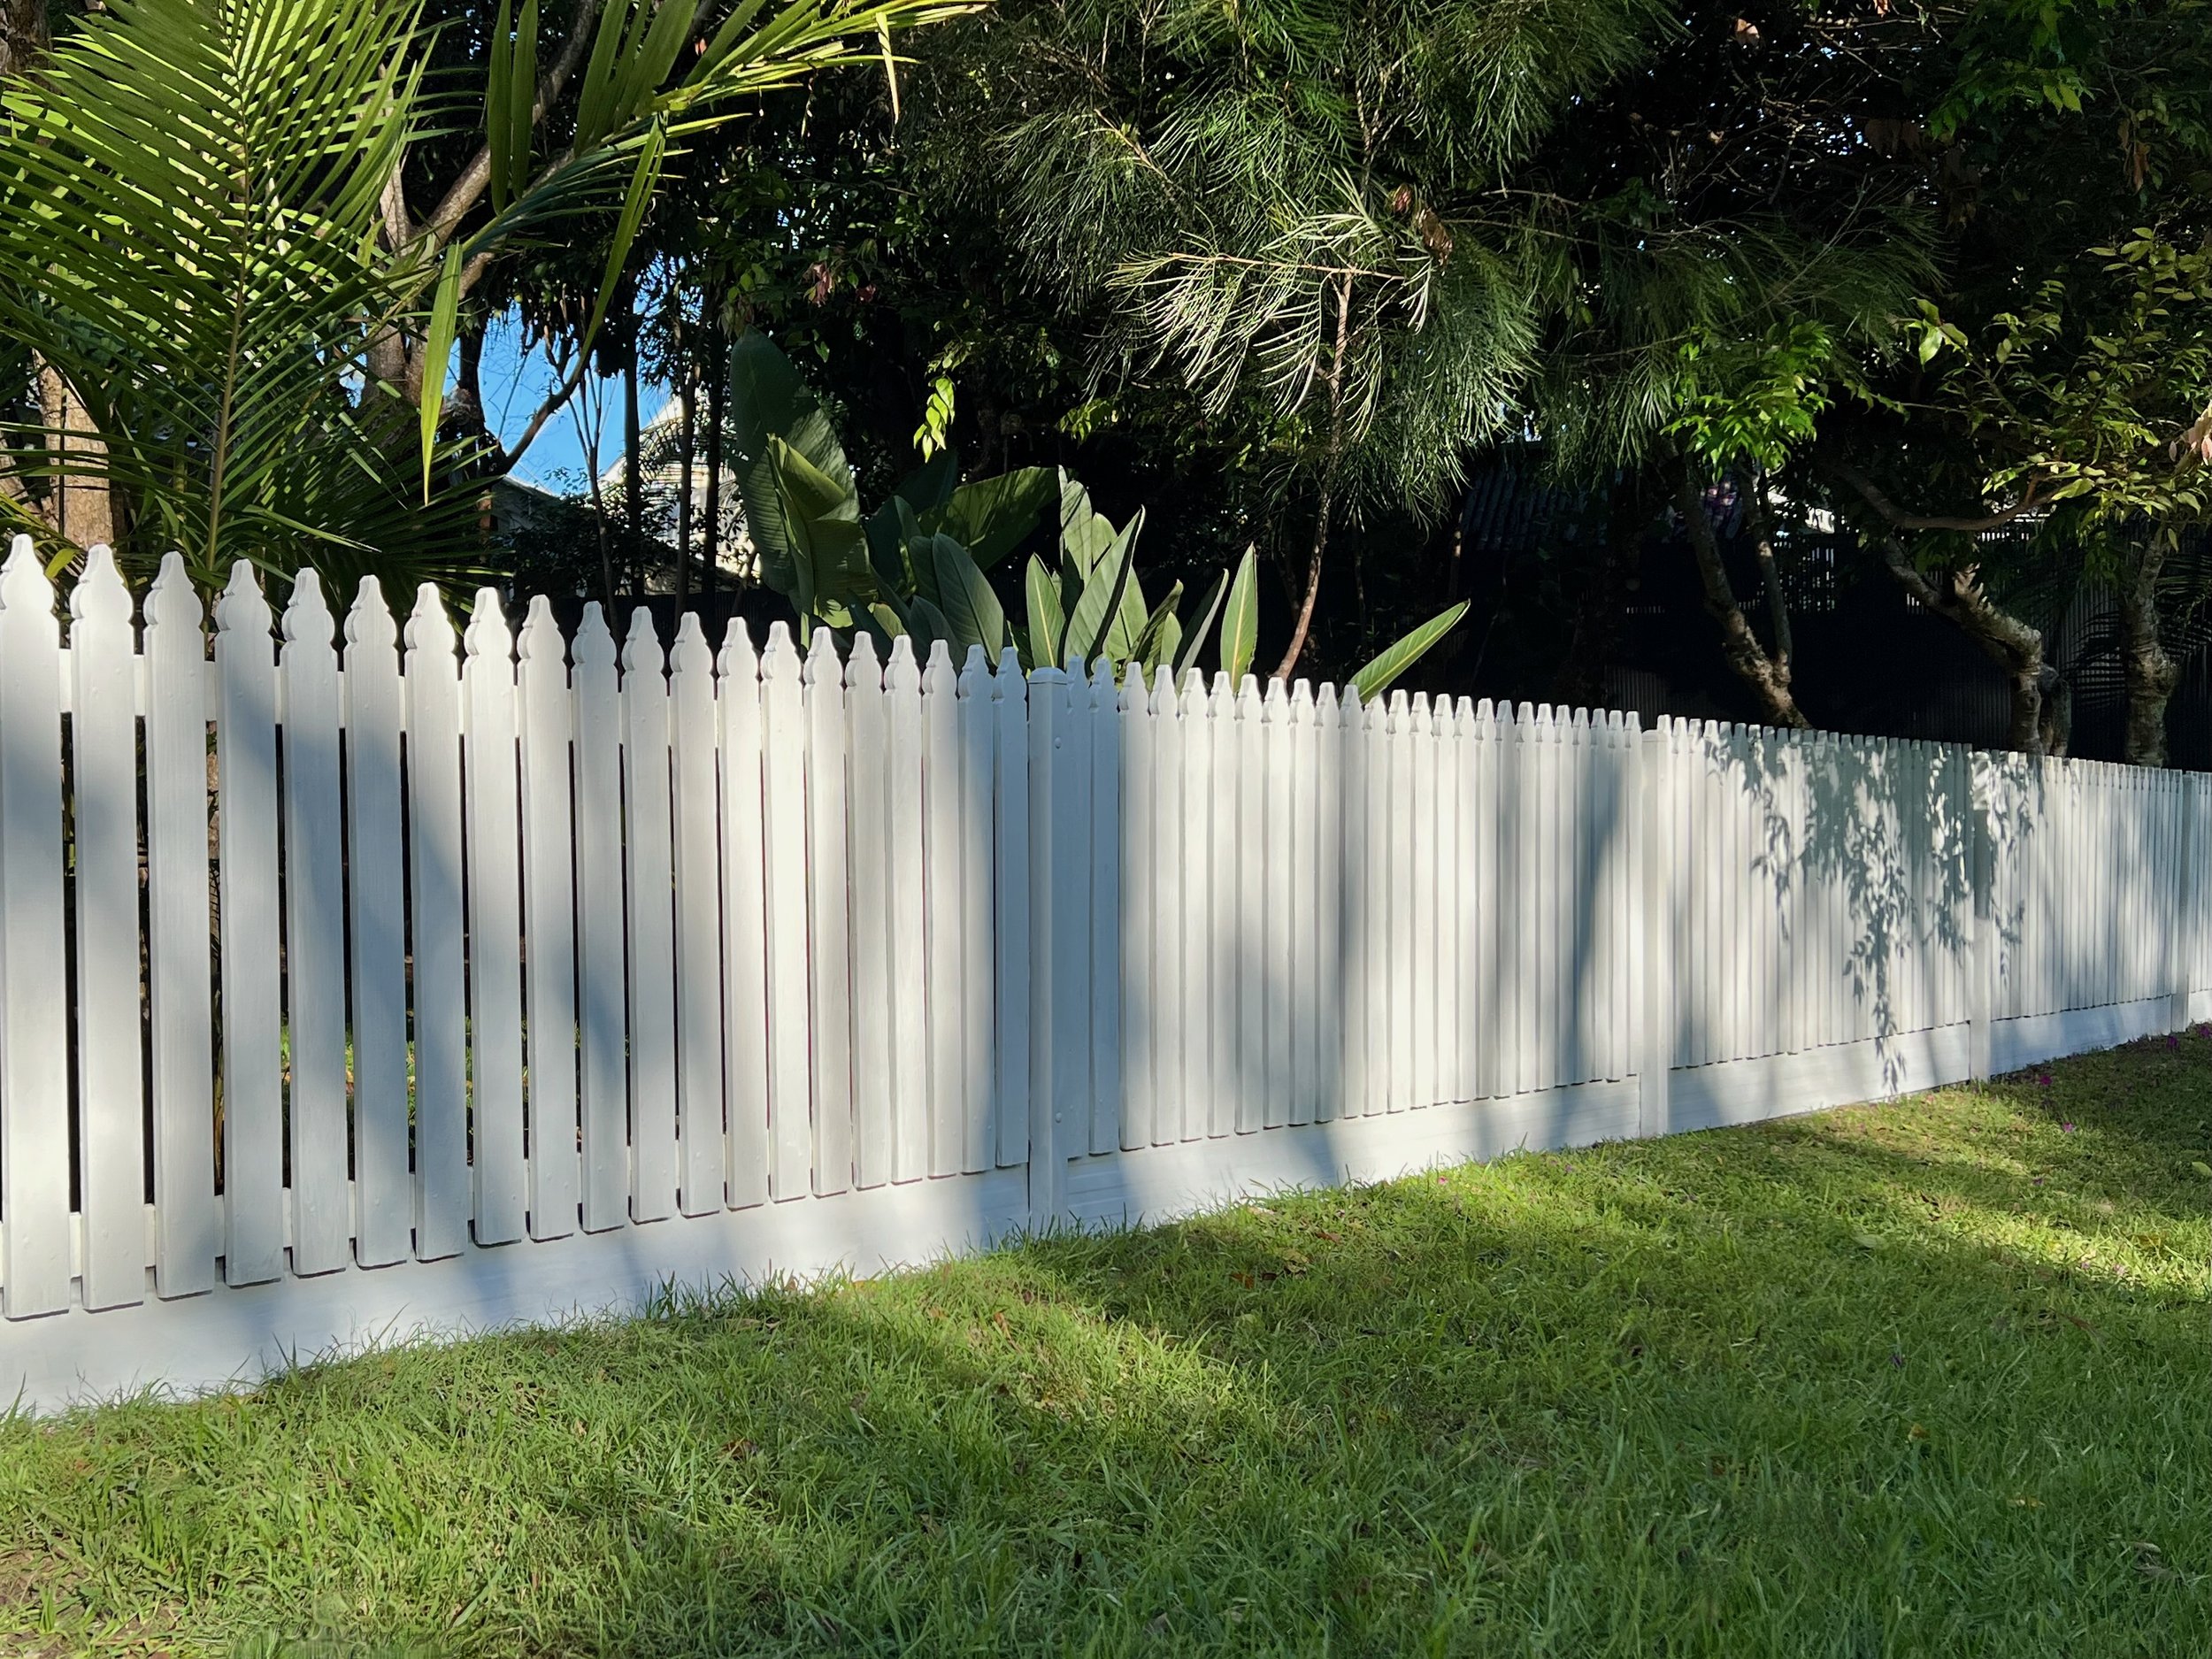
Doors have potential to make a surprising statement! Did you see my front door makeover?
How are you going to update your doorways? Tag me on Instagram or Facebook to share your DIY projects.